Apple Crumble Bars
Got apples? I have three words for you: Apple. Crumble. Bars.
Fall is just around the corner which means apples season is approaching, and if you find yourself at an orchard with a bushel in tow, head straight to the kitchen and make this recipe! Imagine something like an apple crisp but with a shortbread crust so you can hold all that autumn deliciousness in your hand.

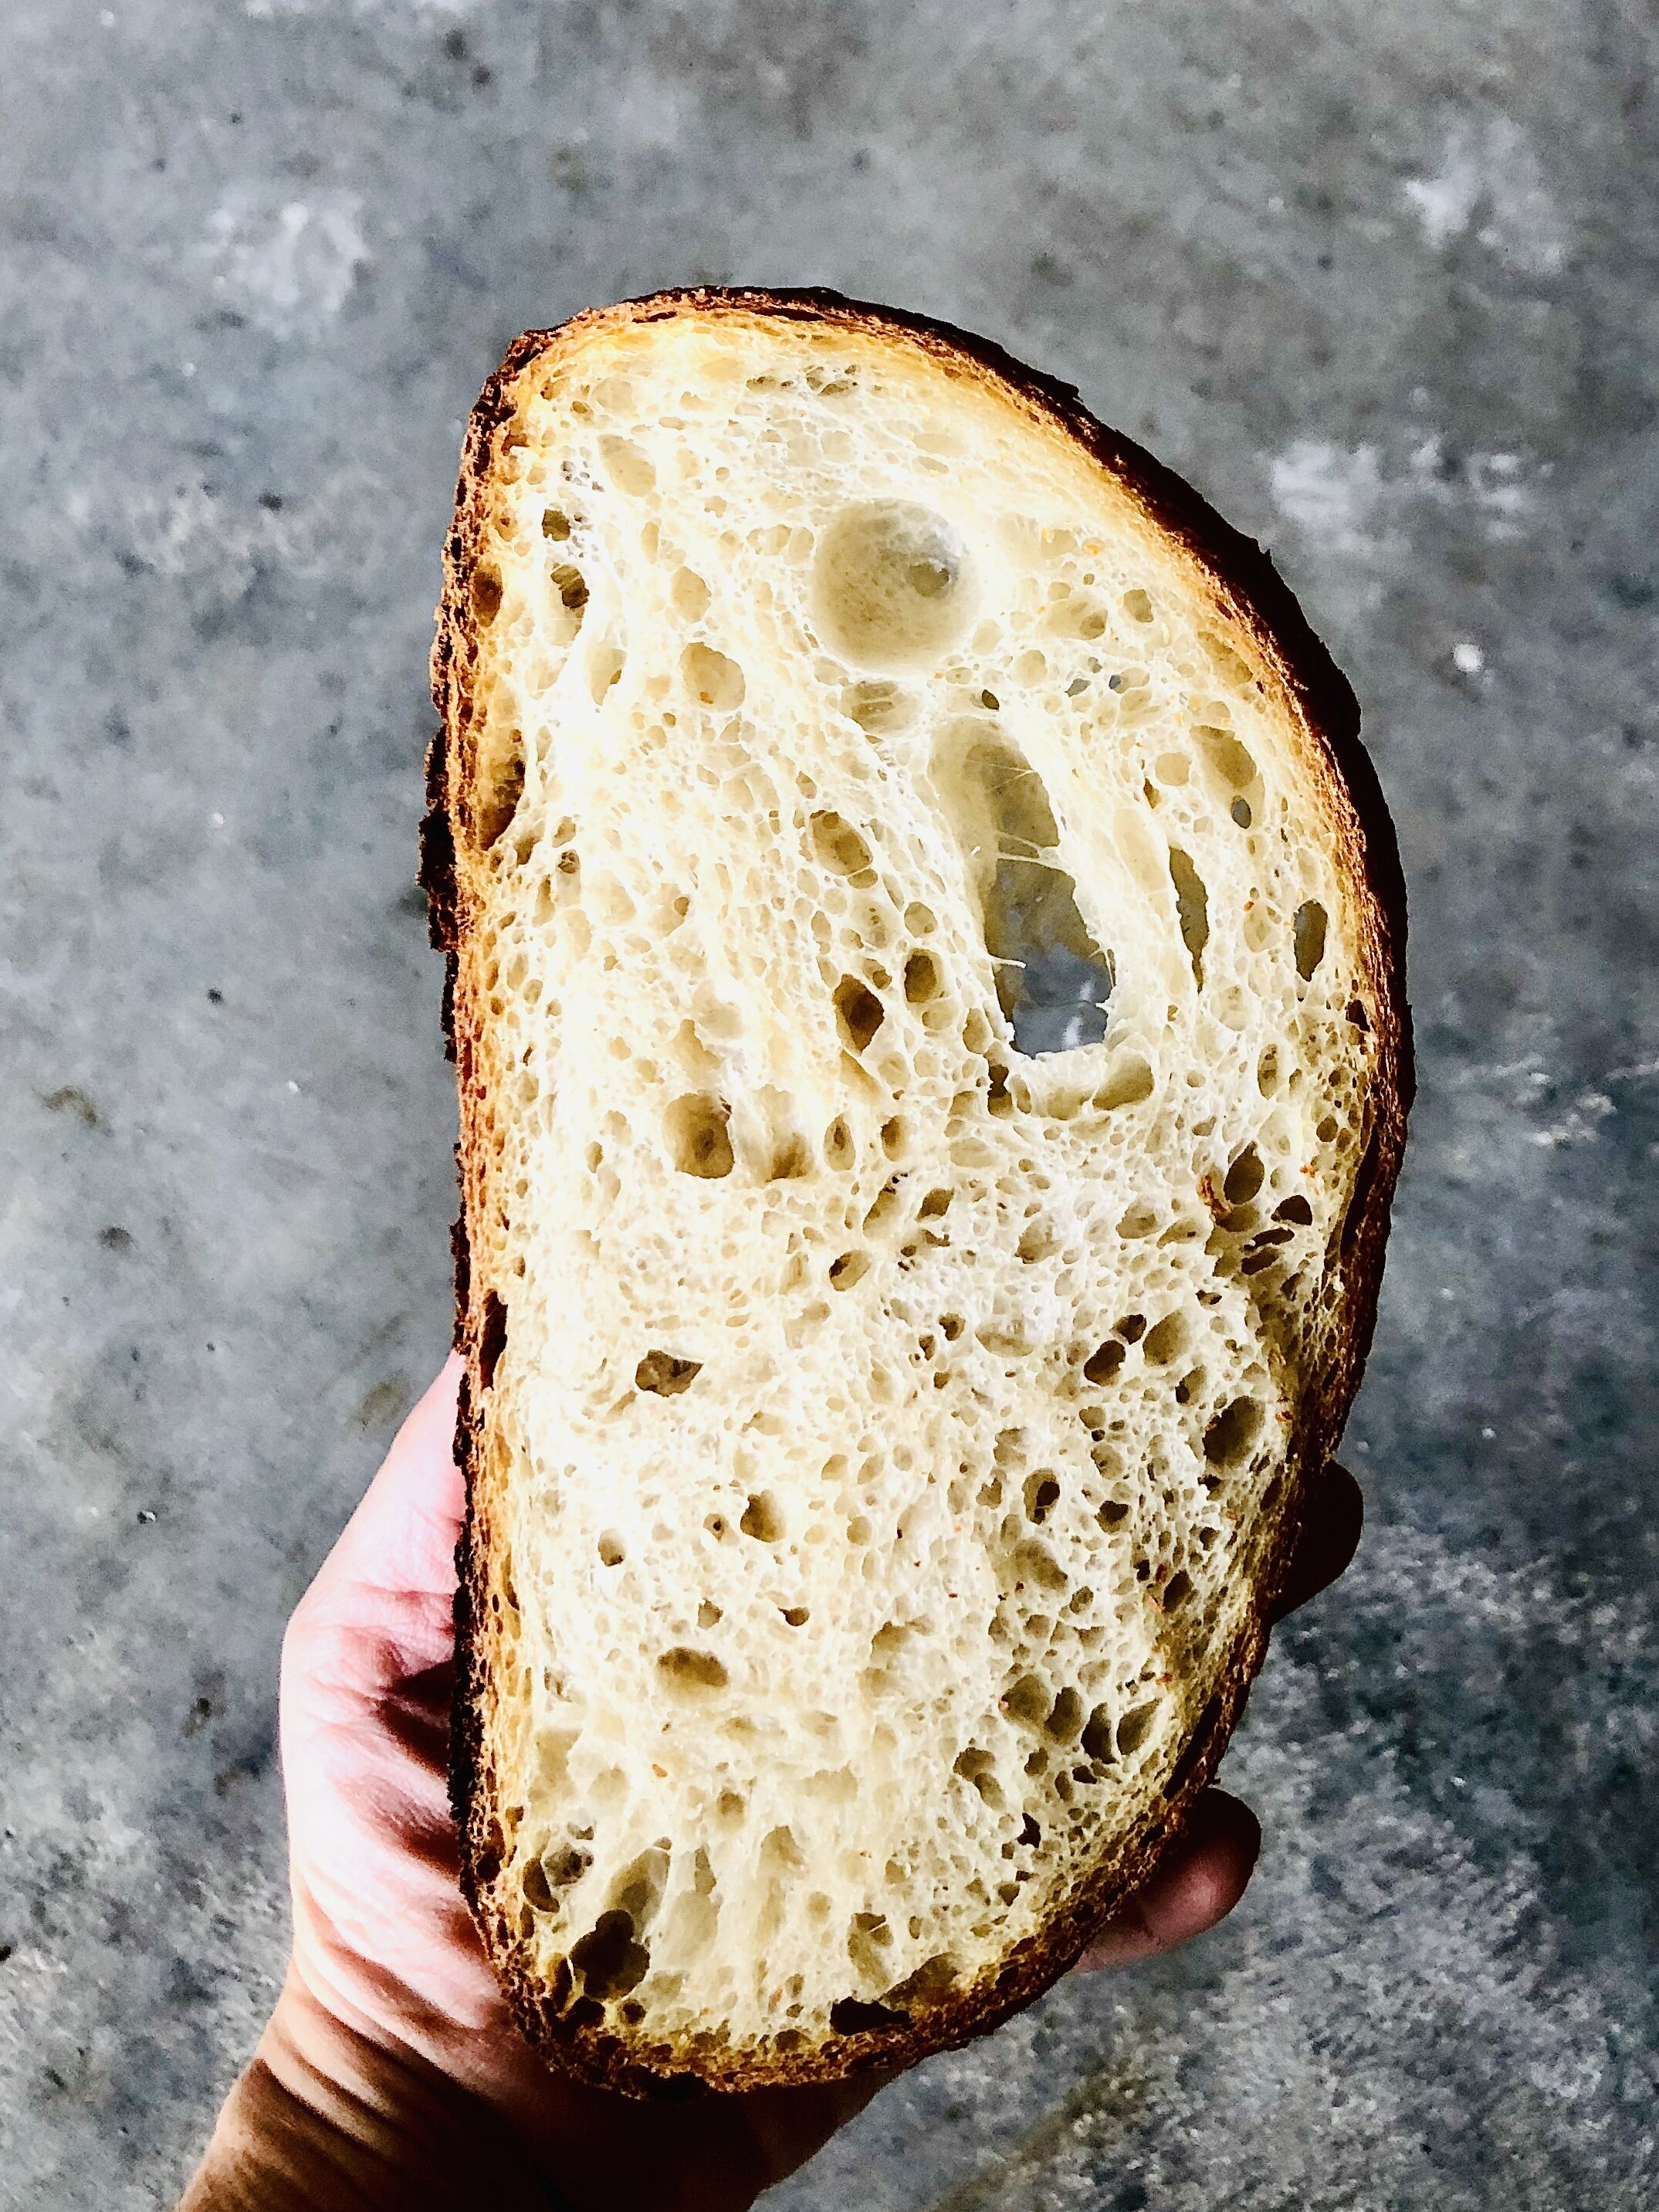
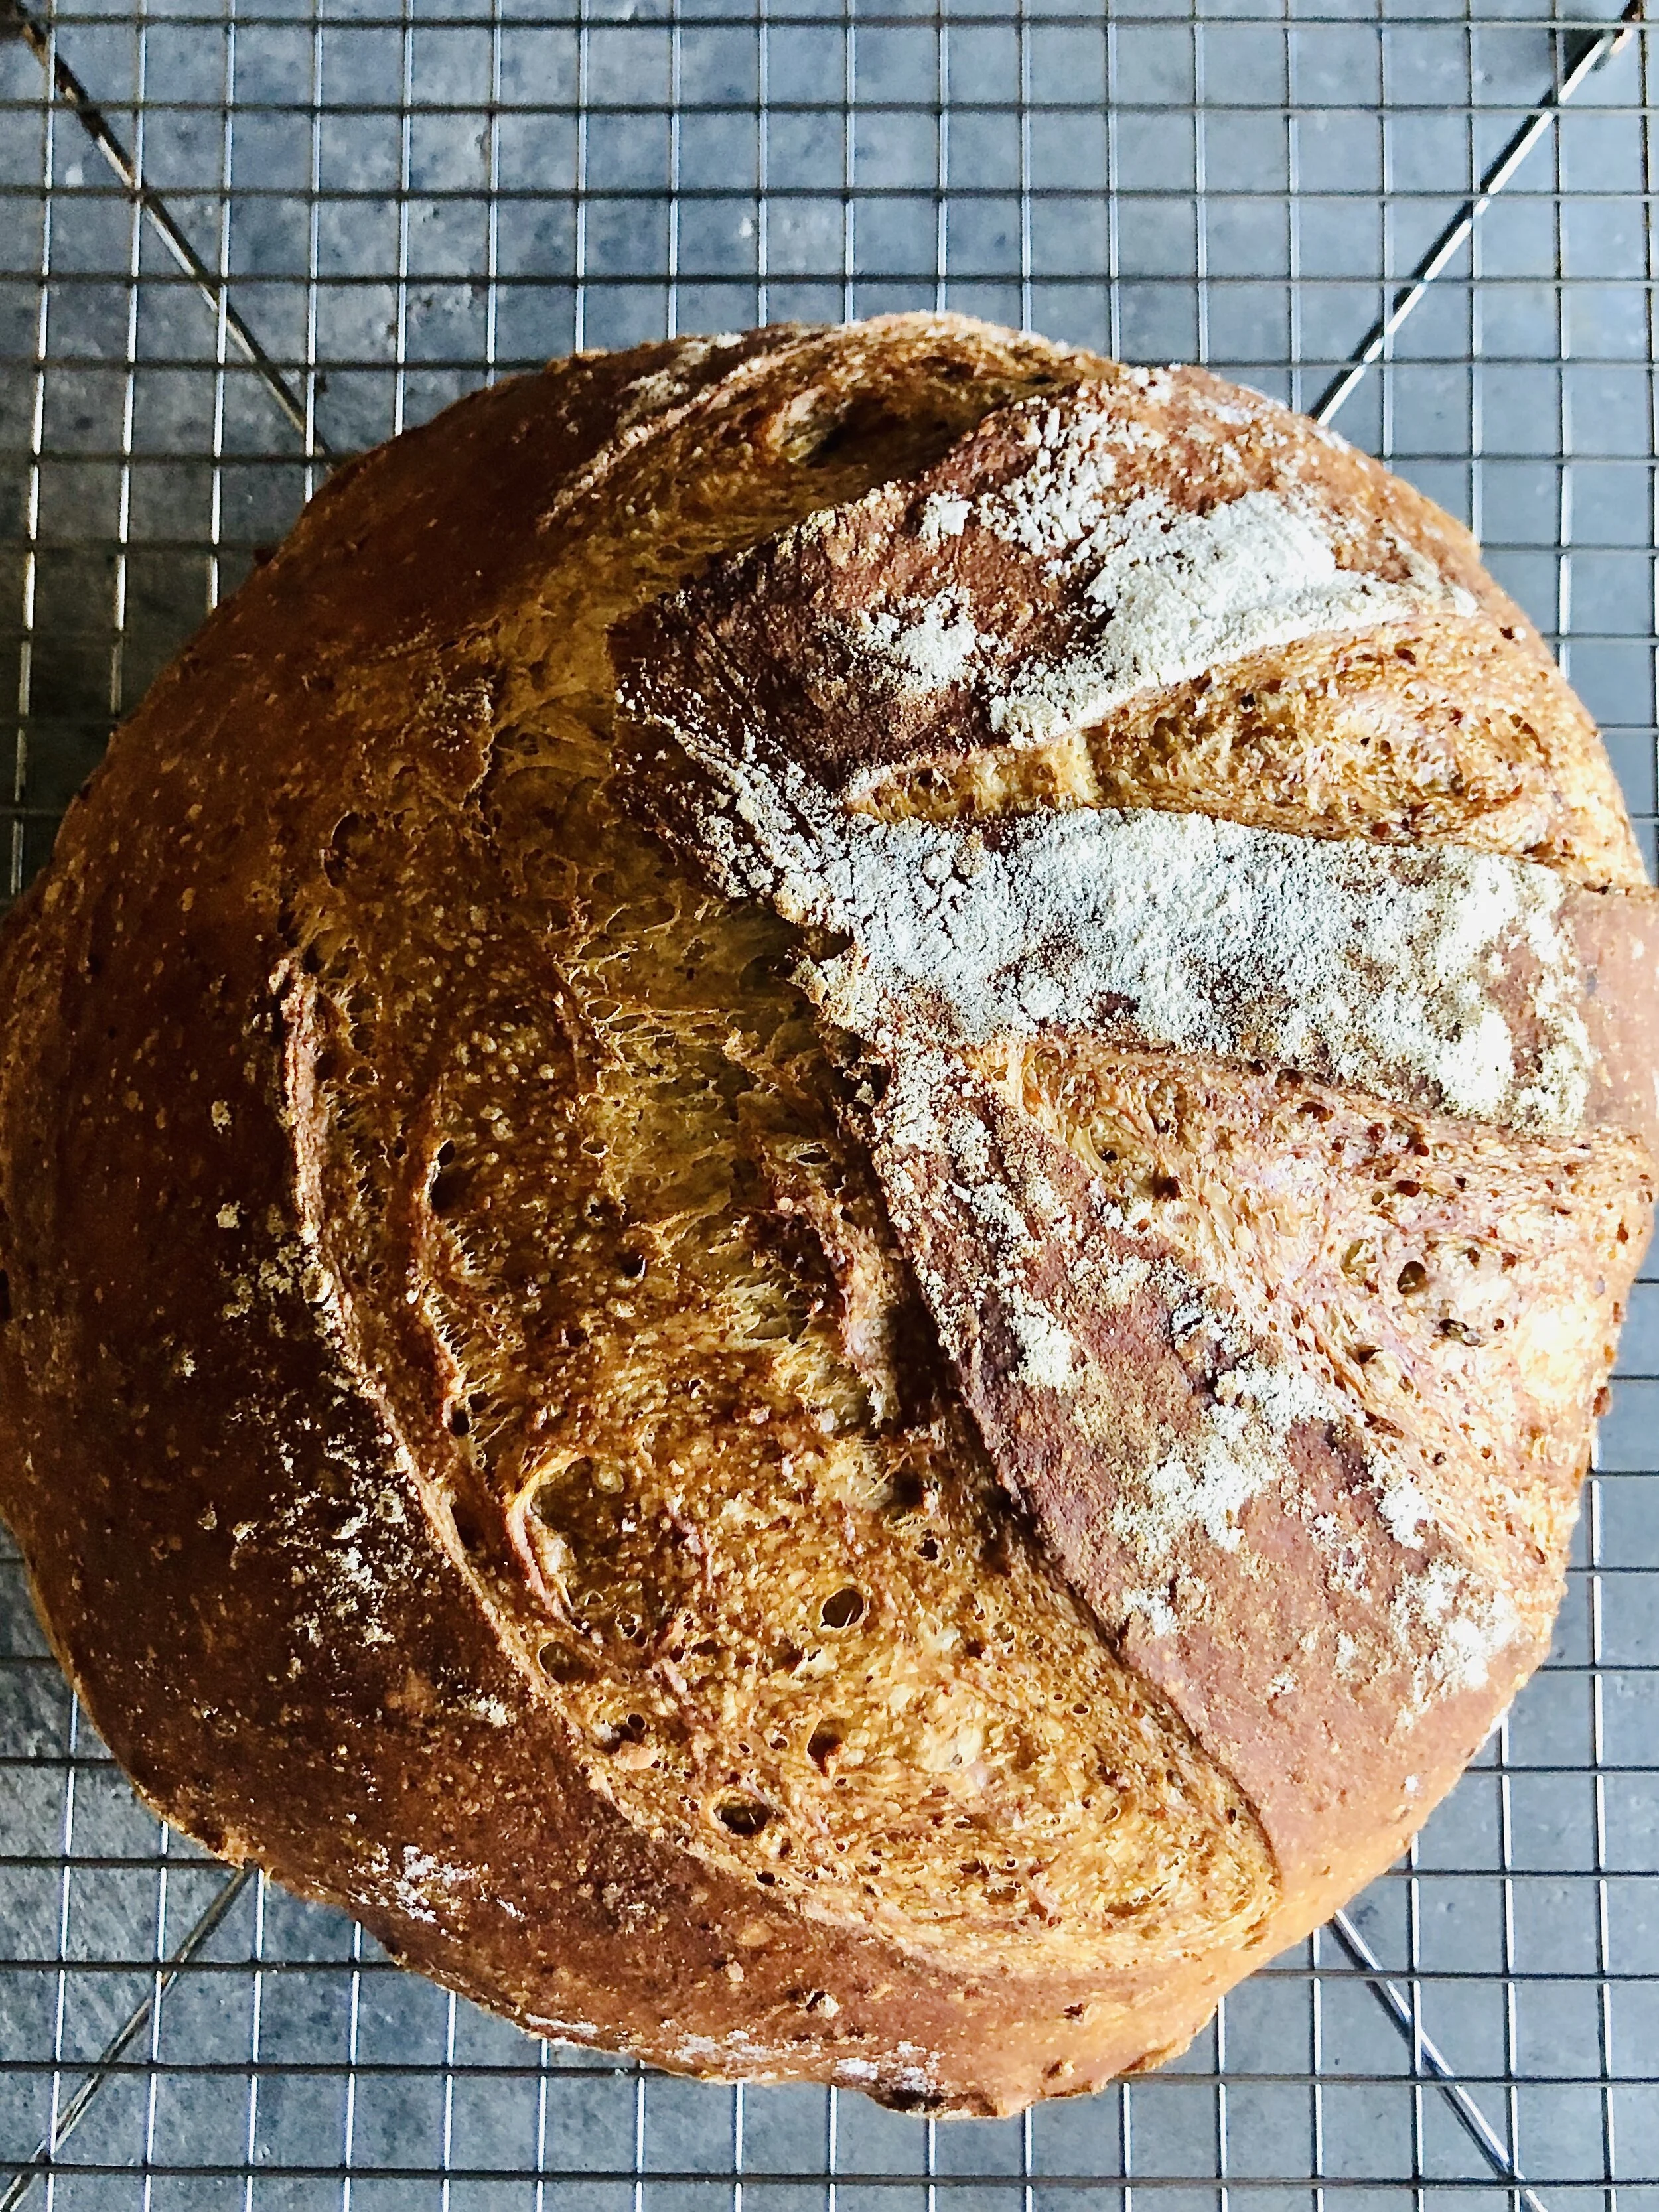
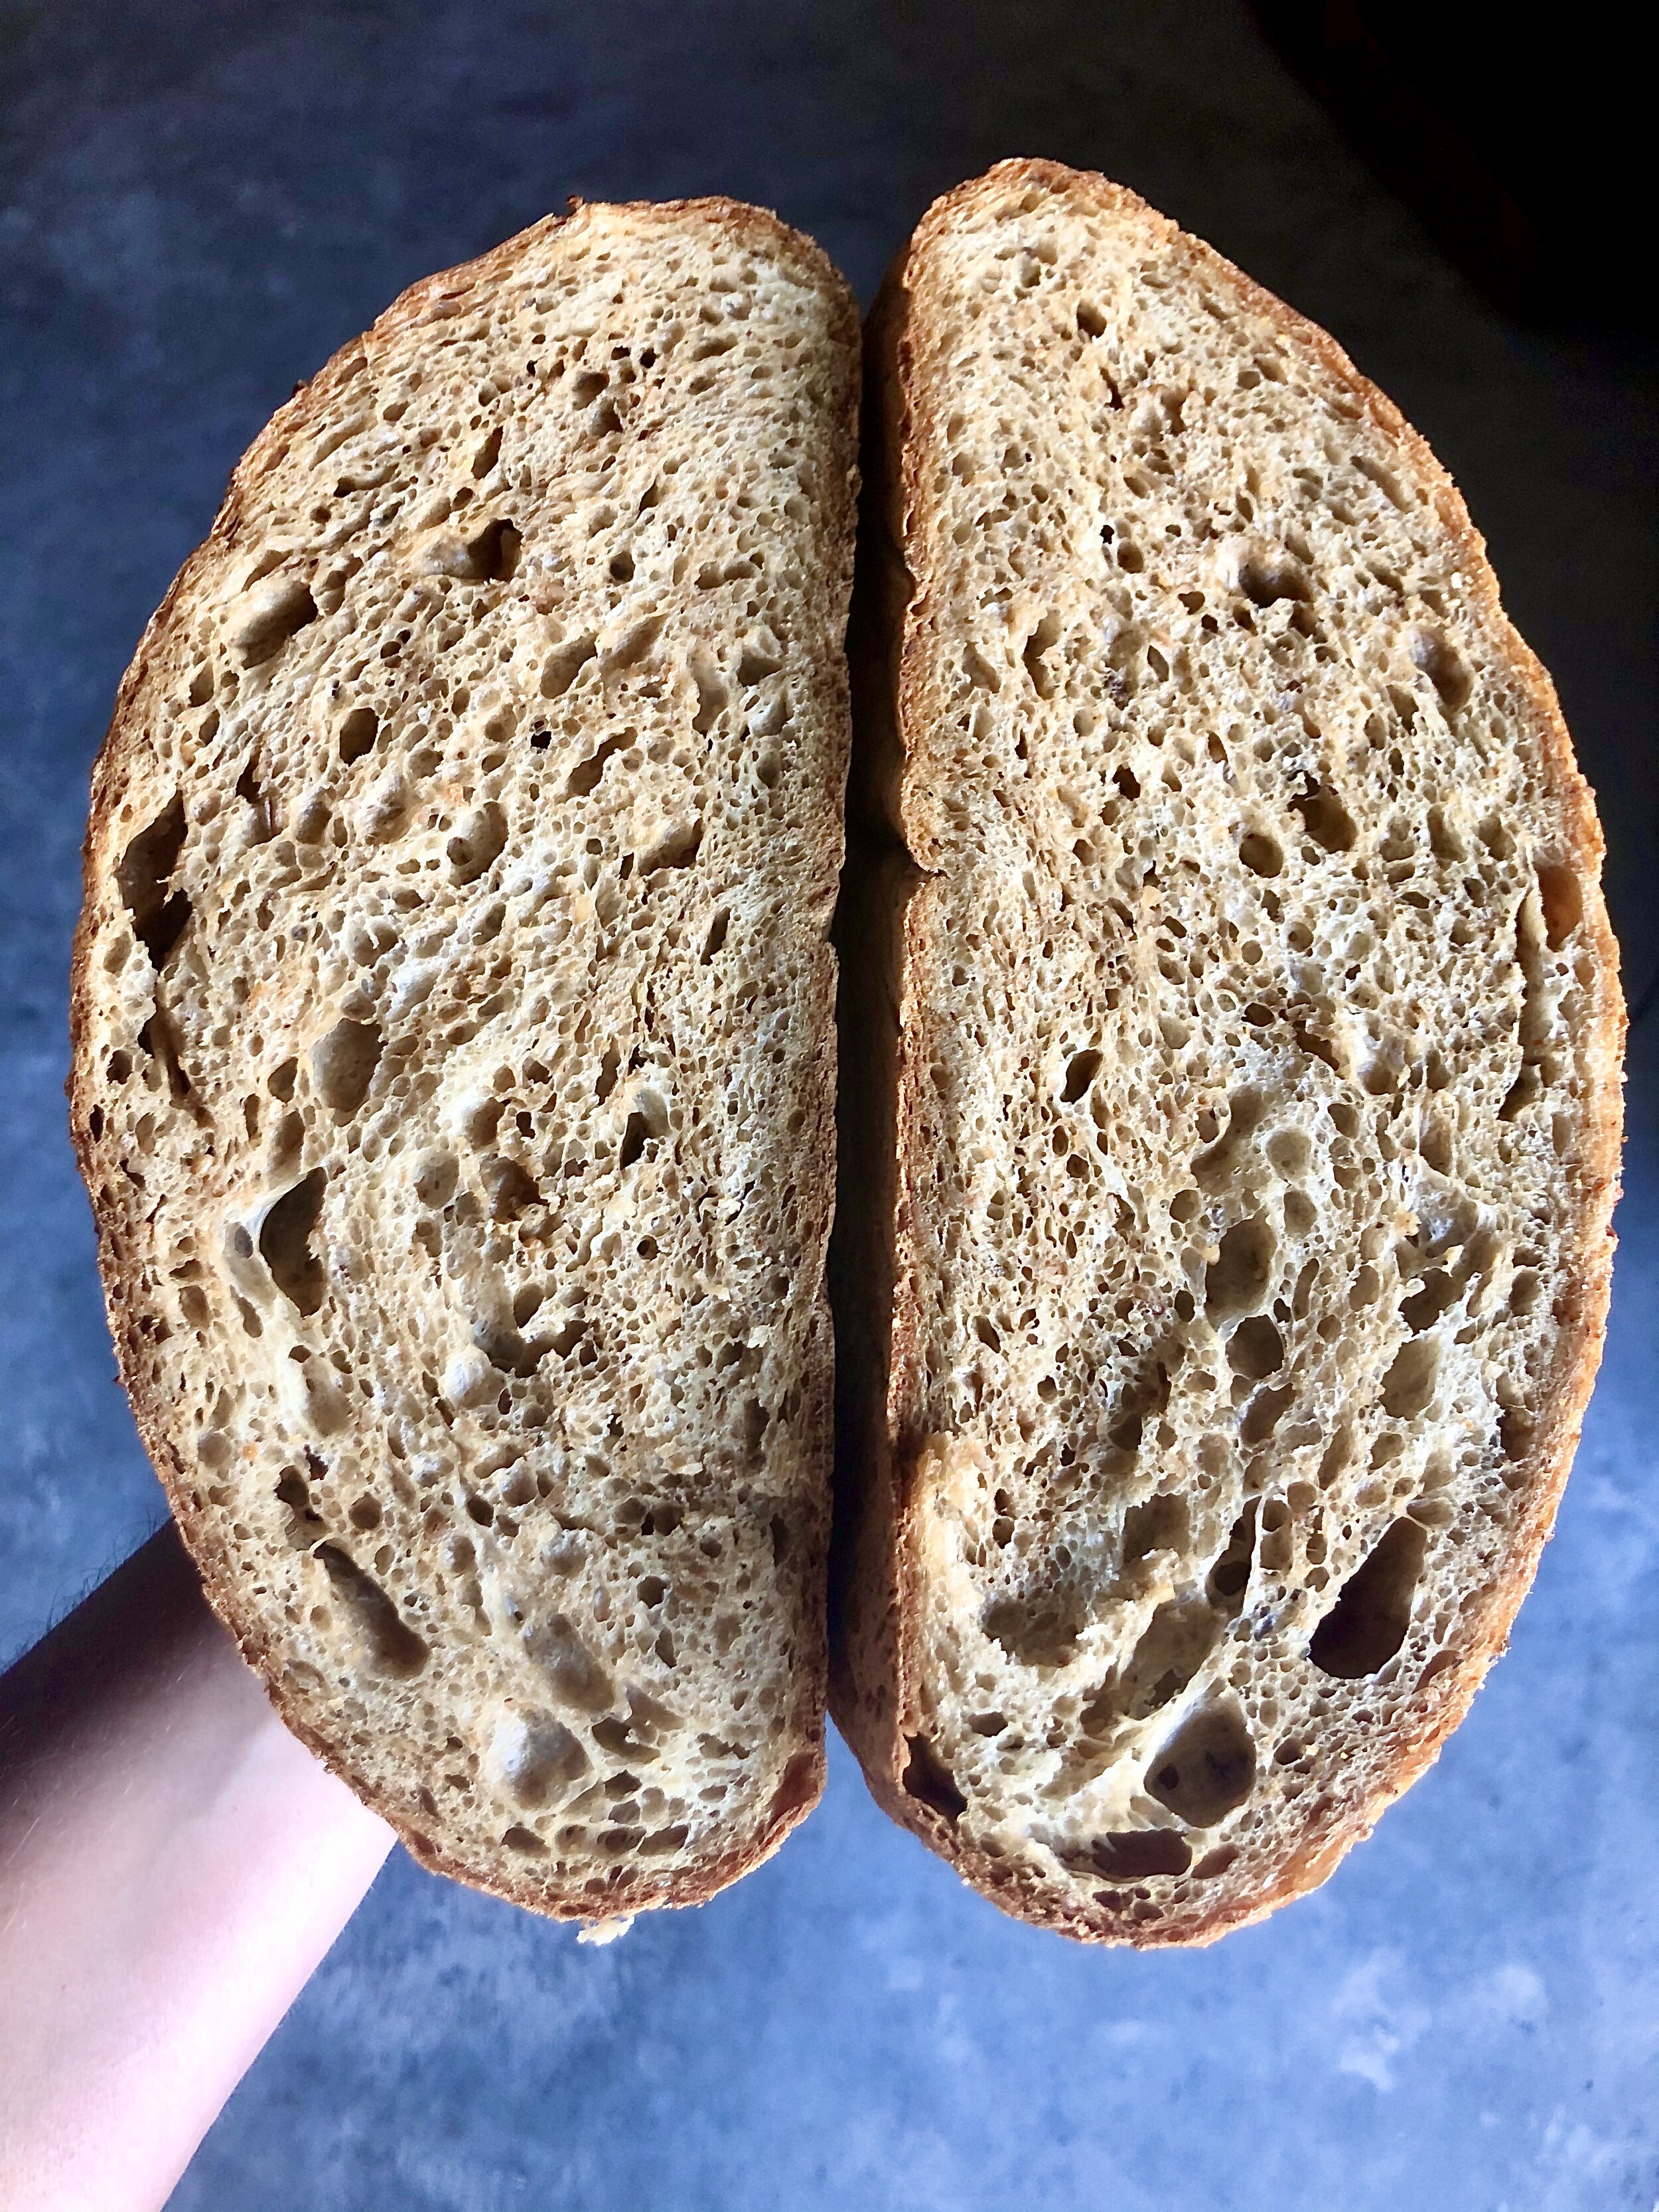
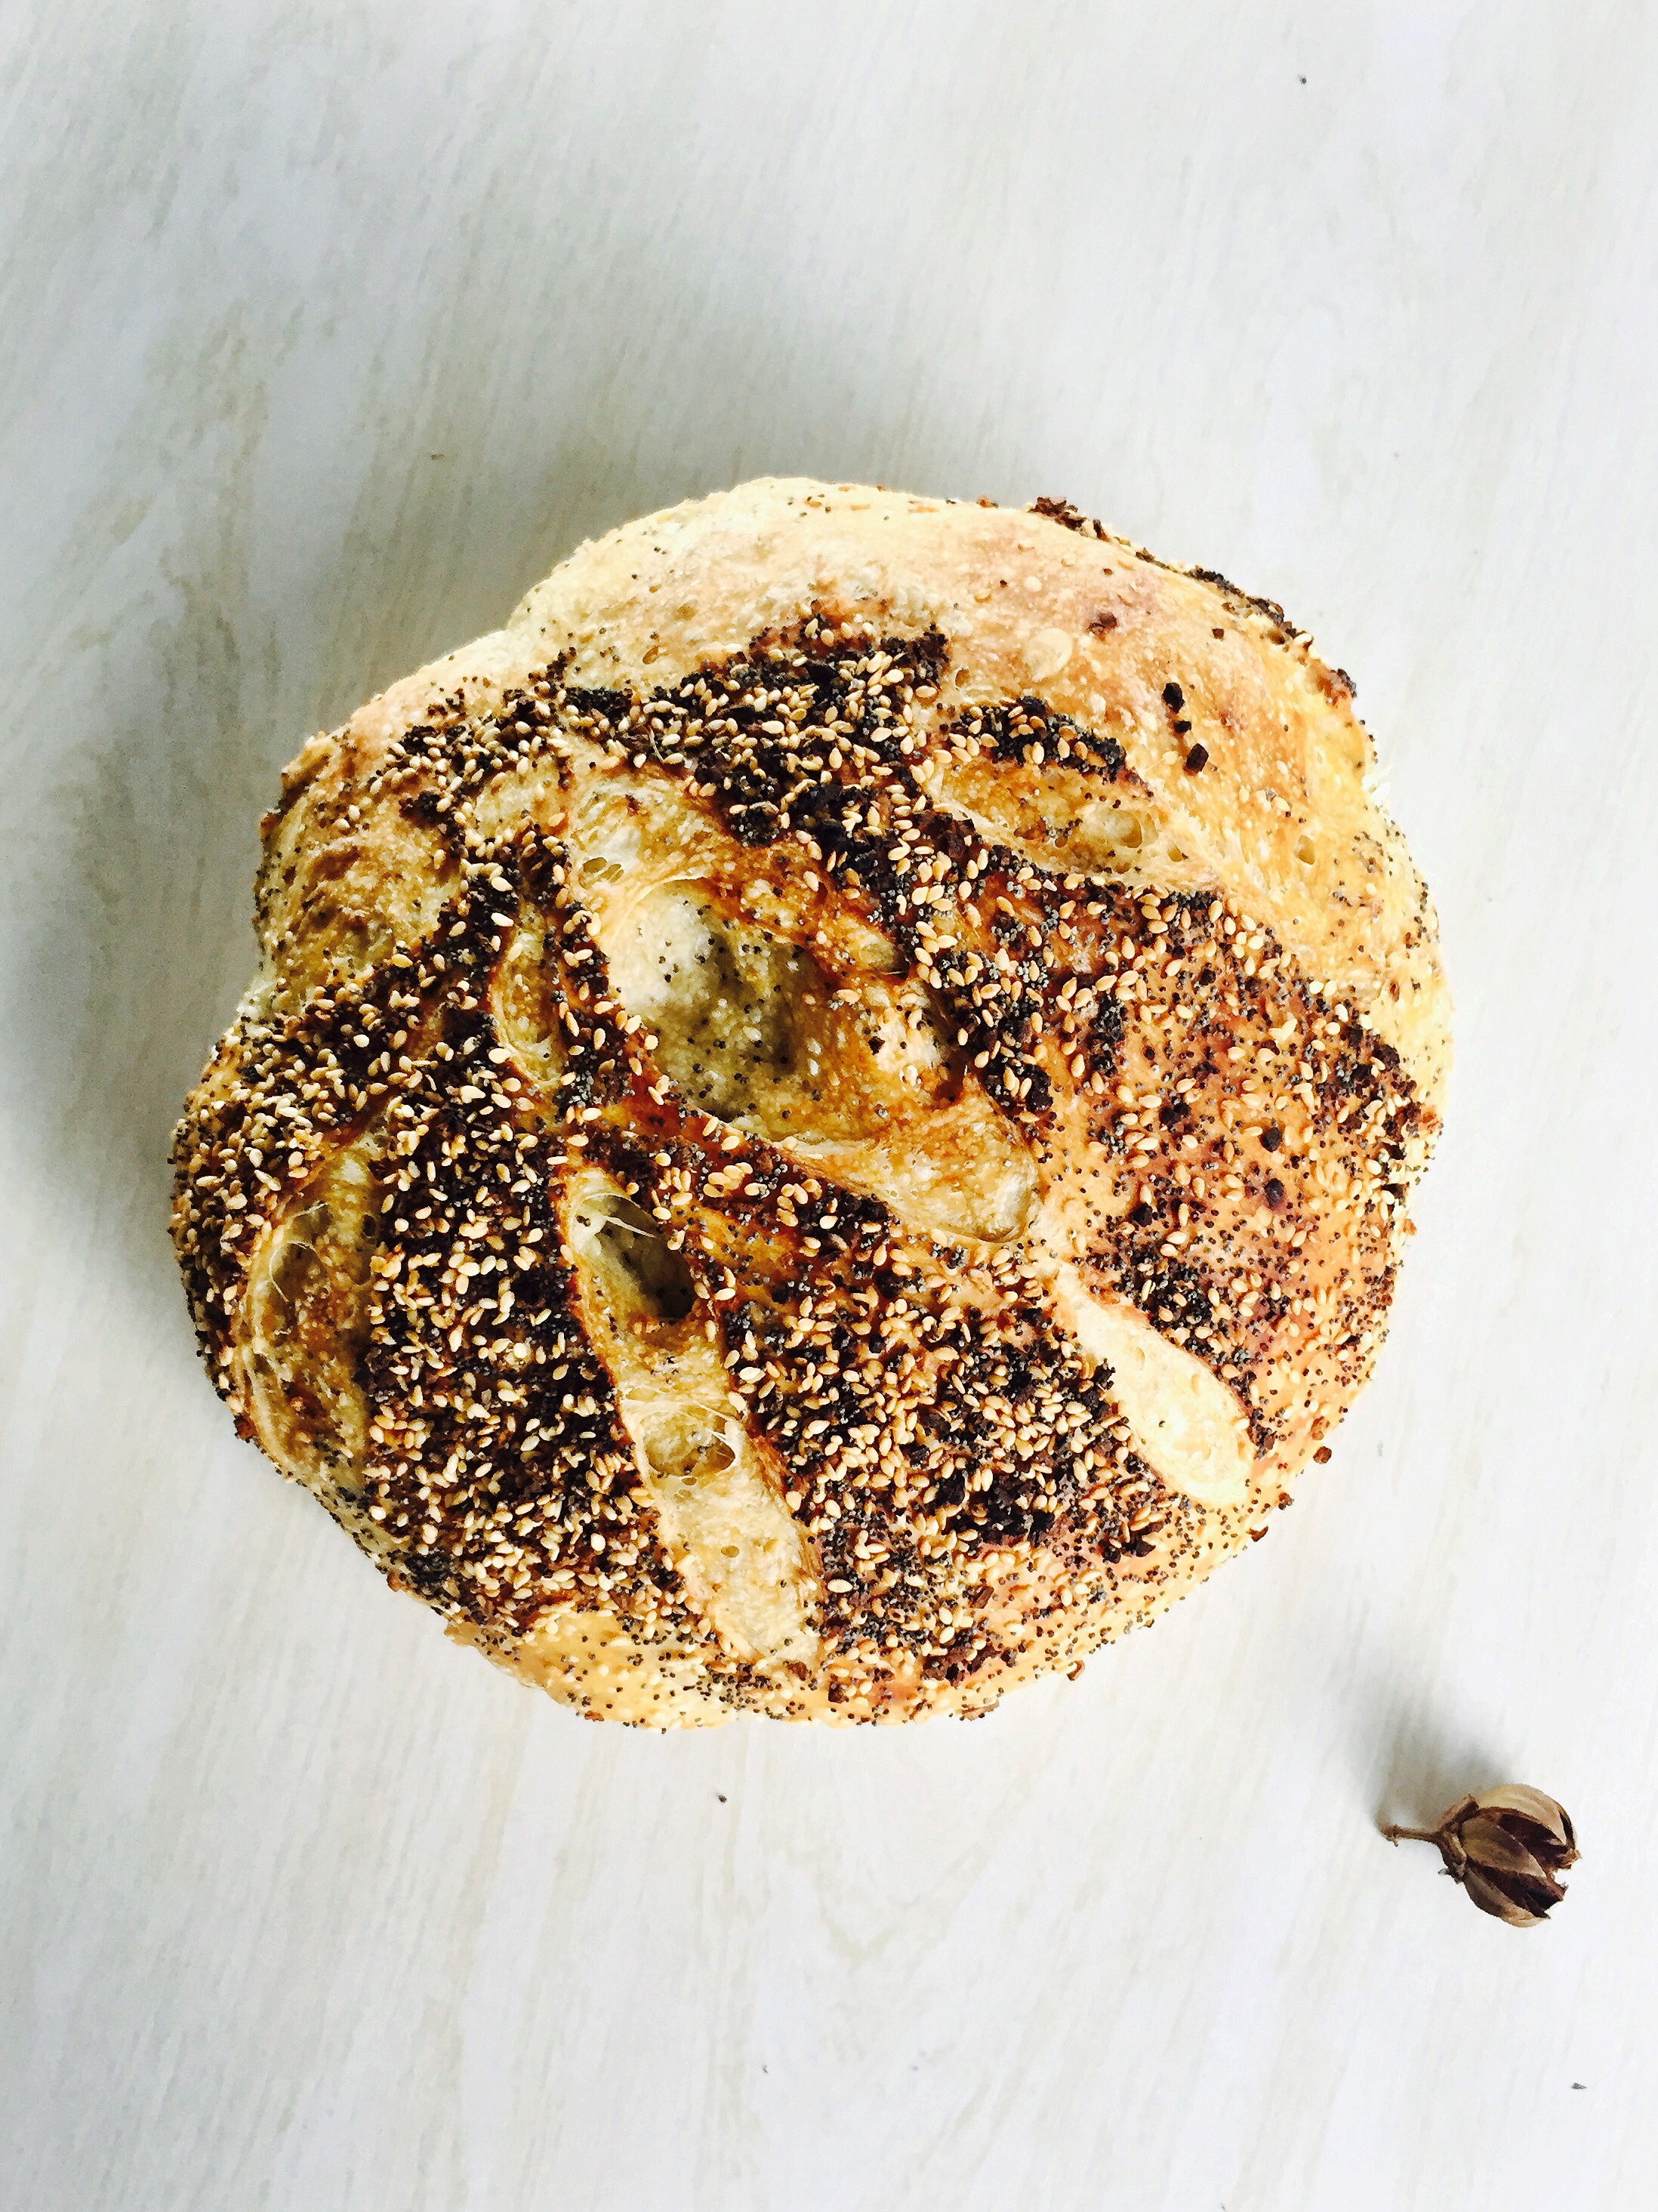
An apple crumble bar close-up so you can see that shortbread crust and crumbly topping.
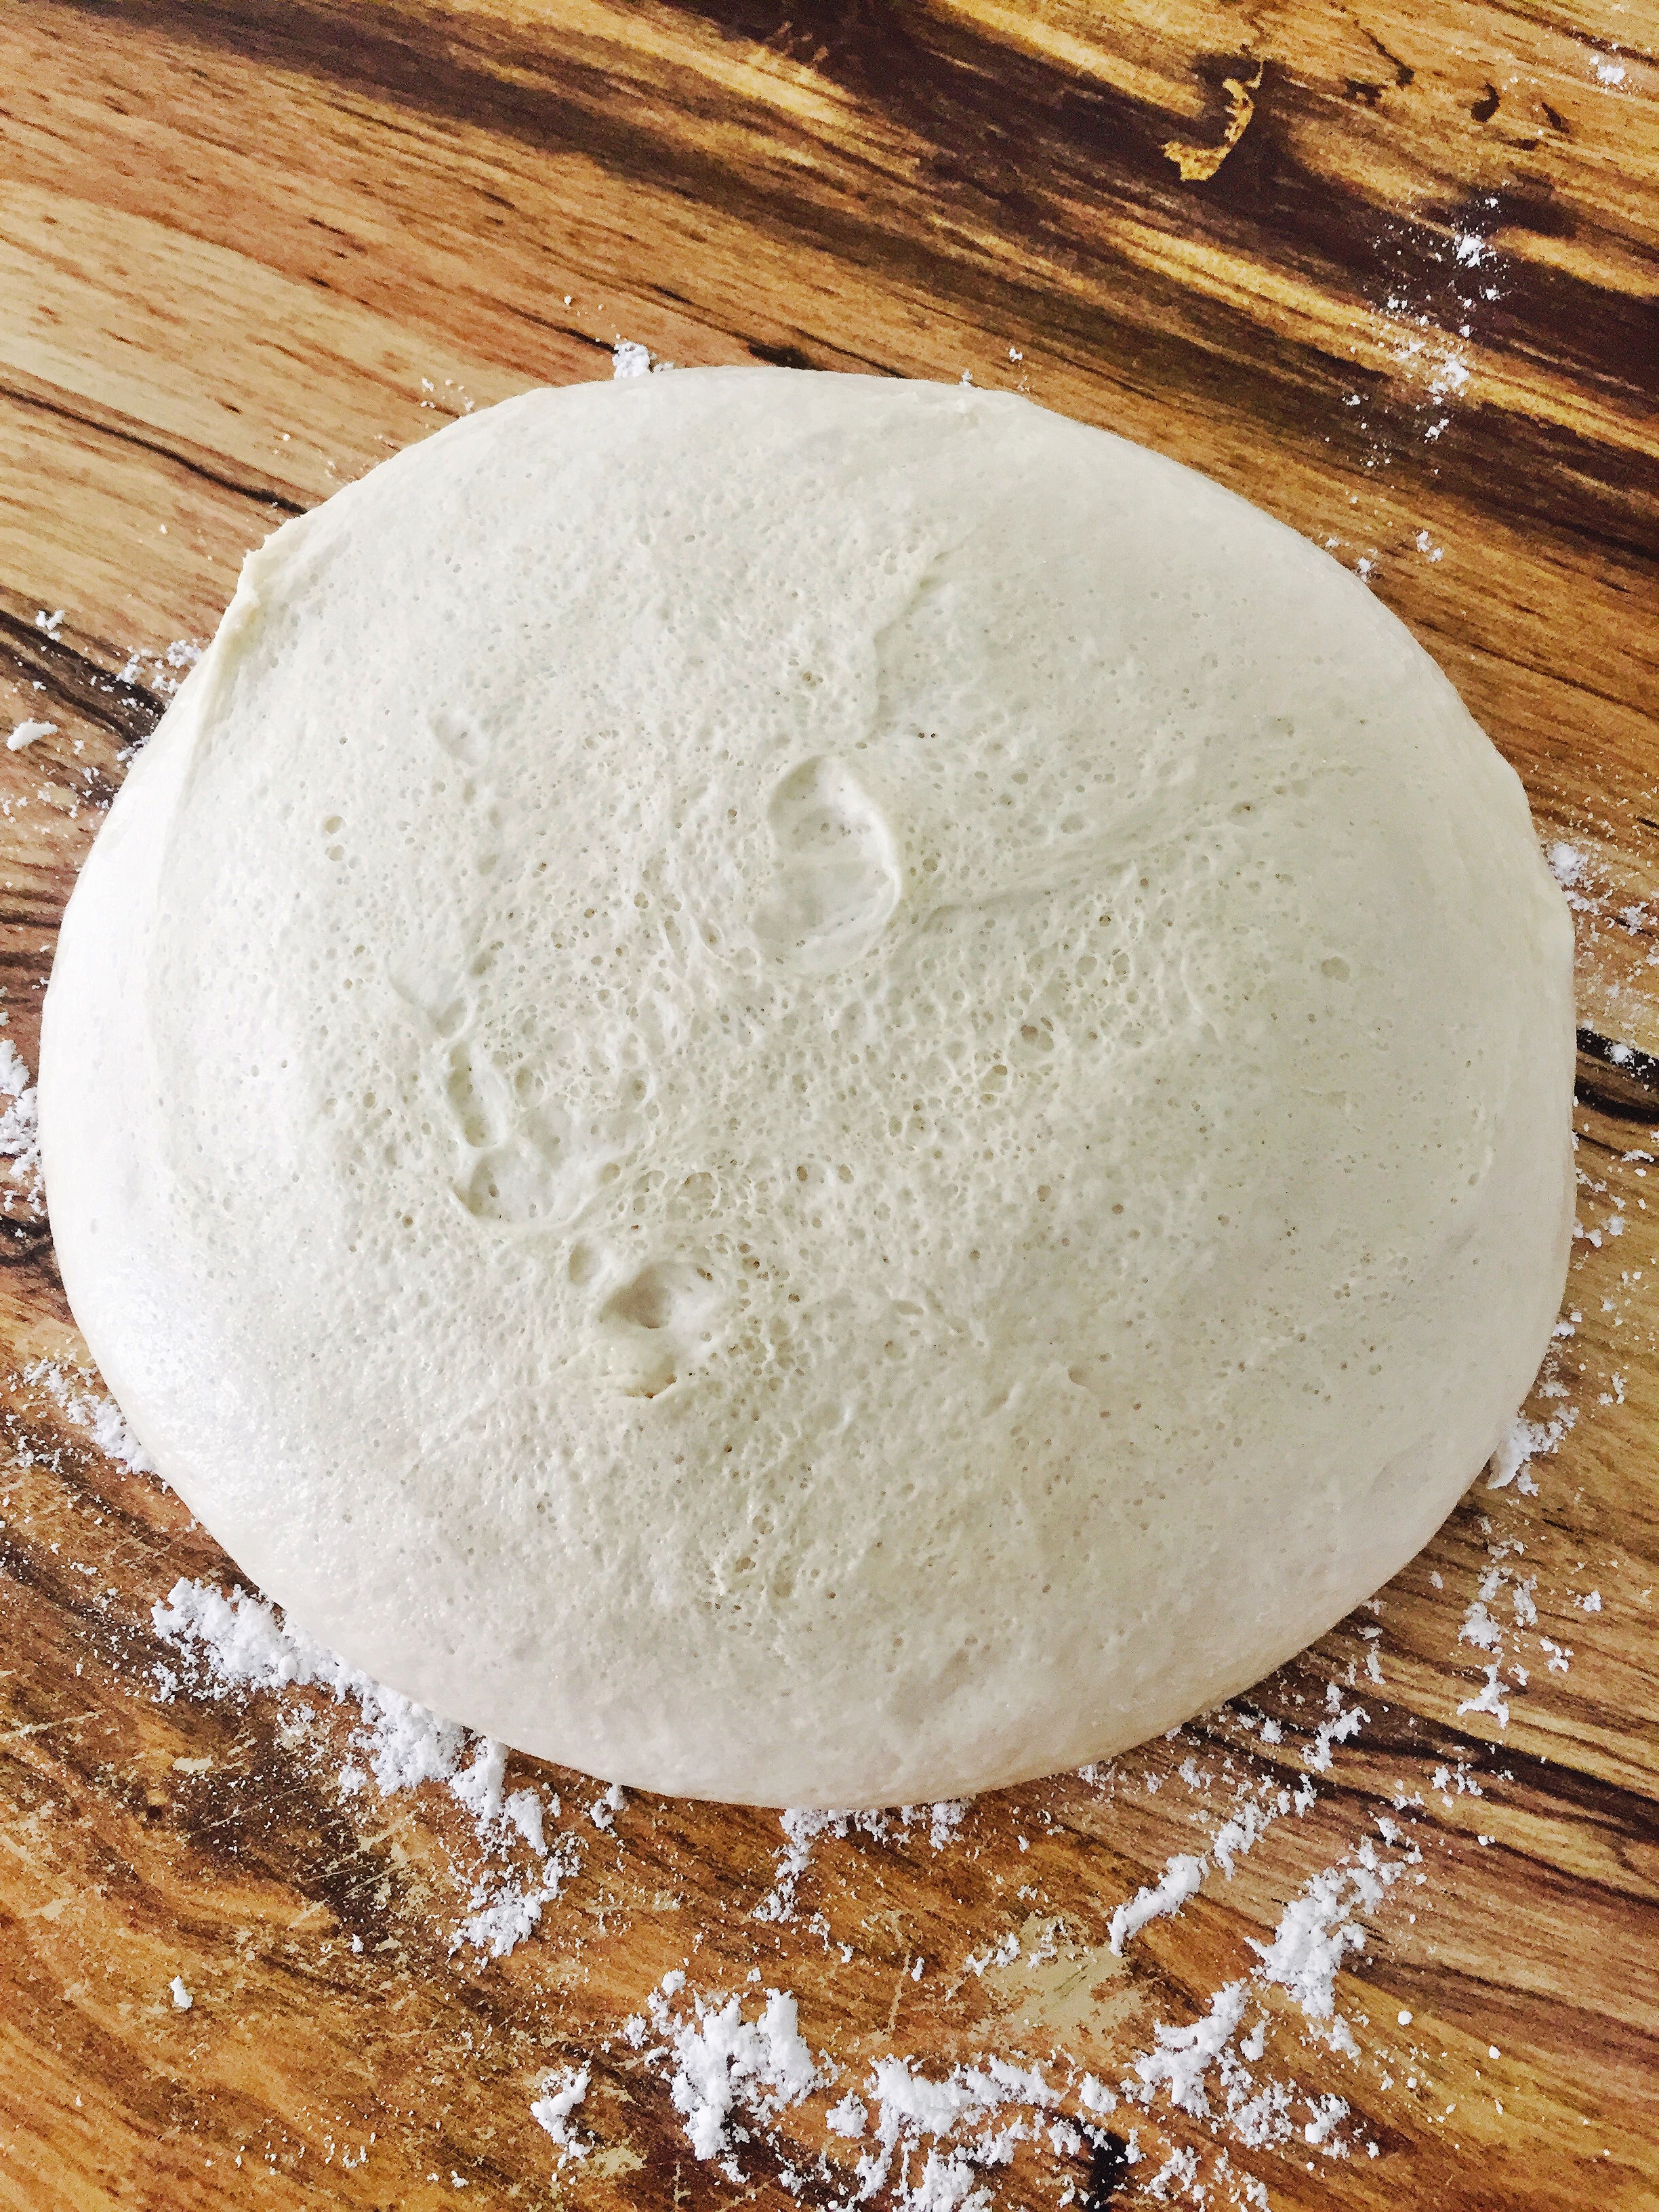
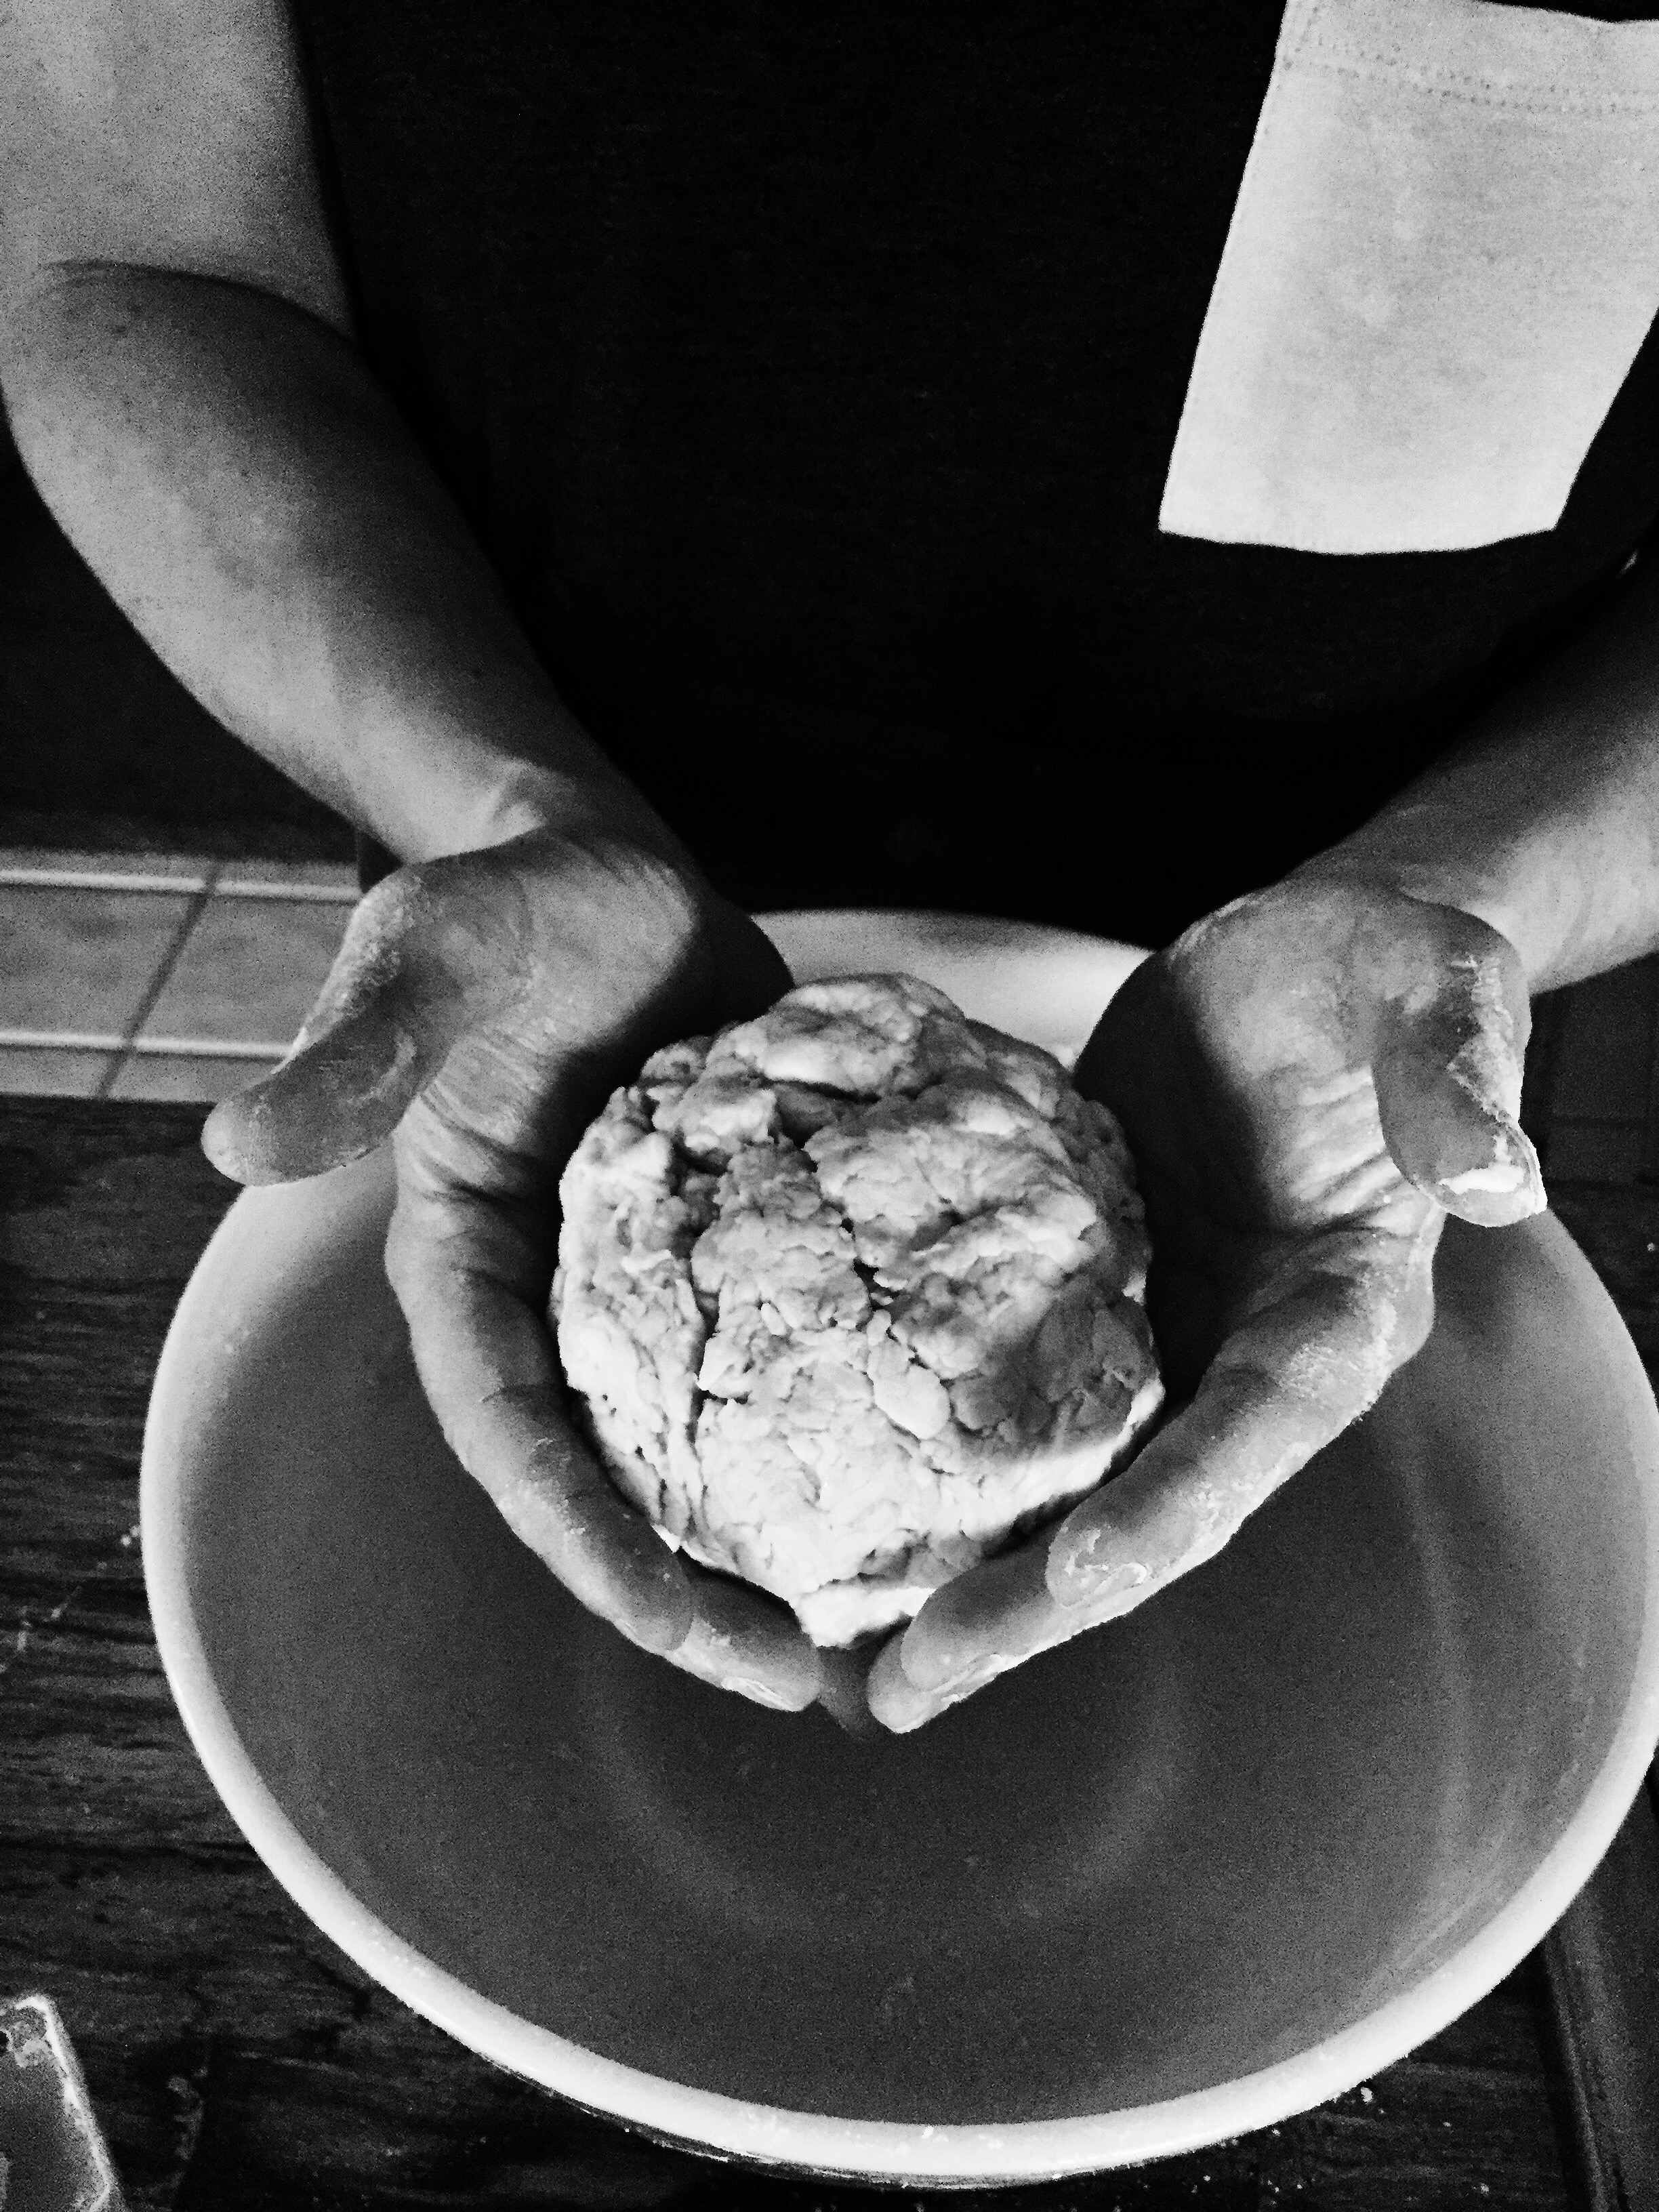
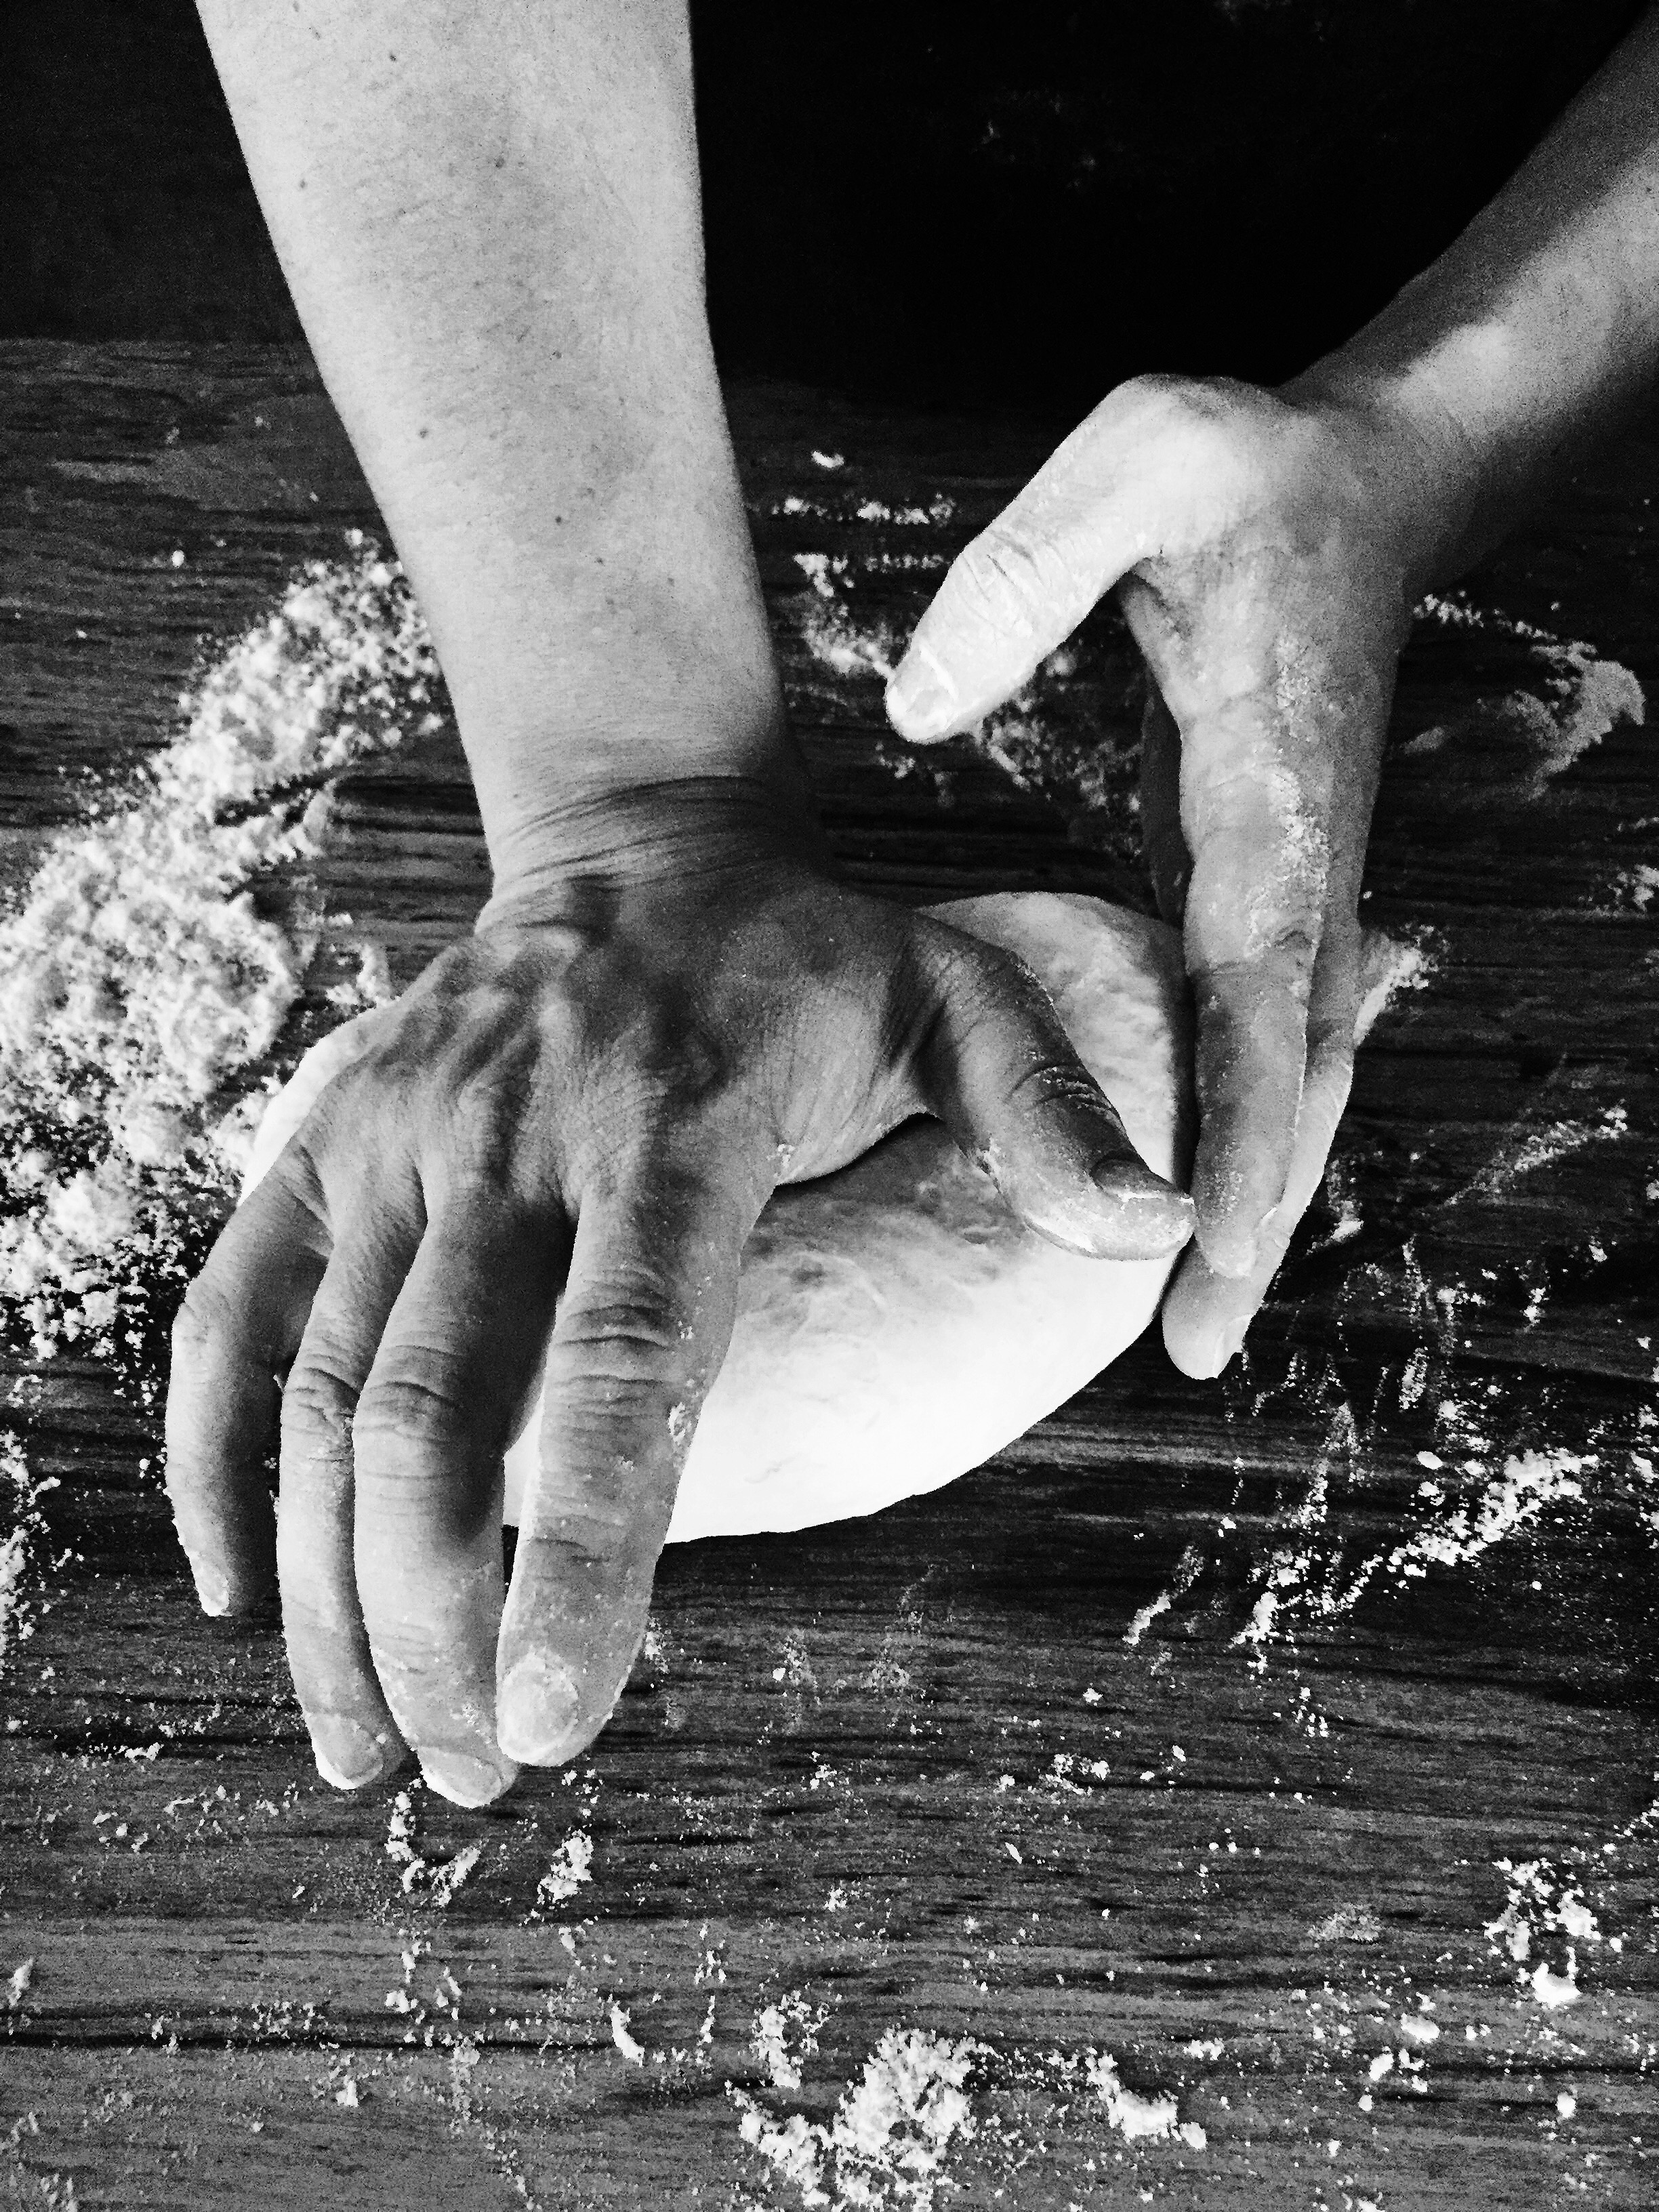
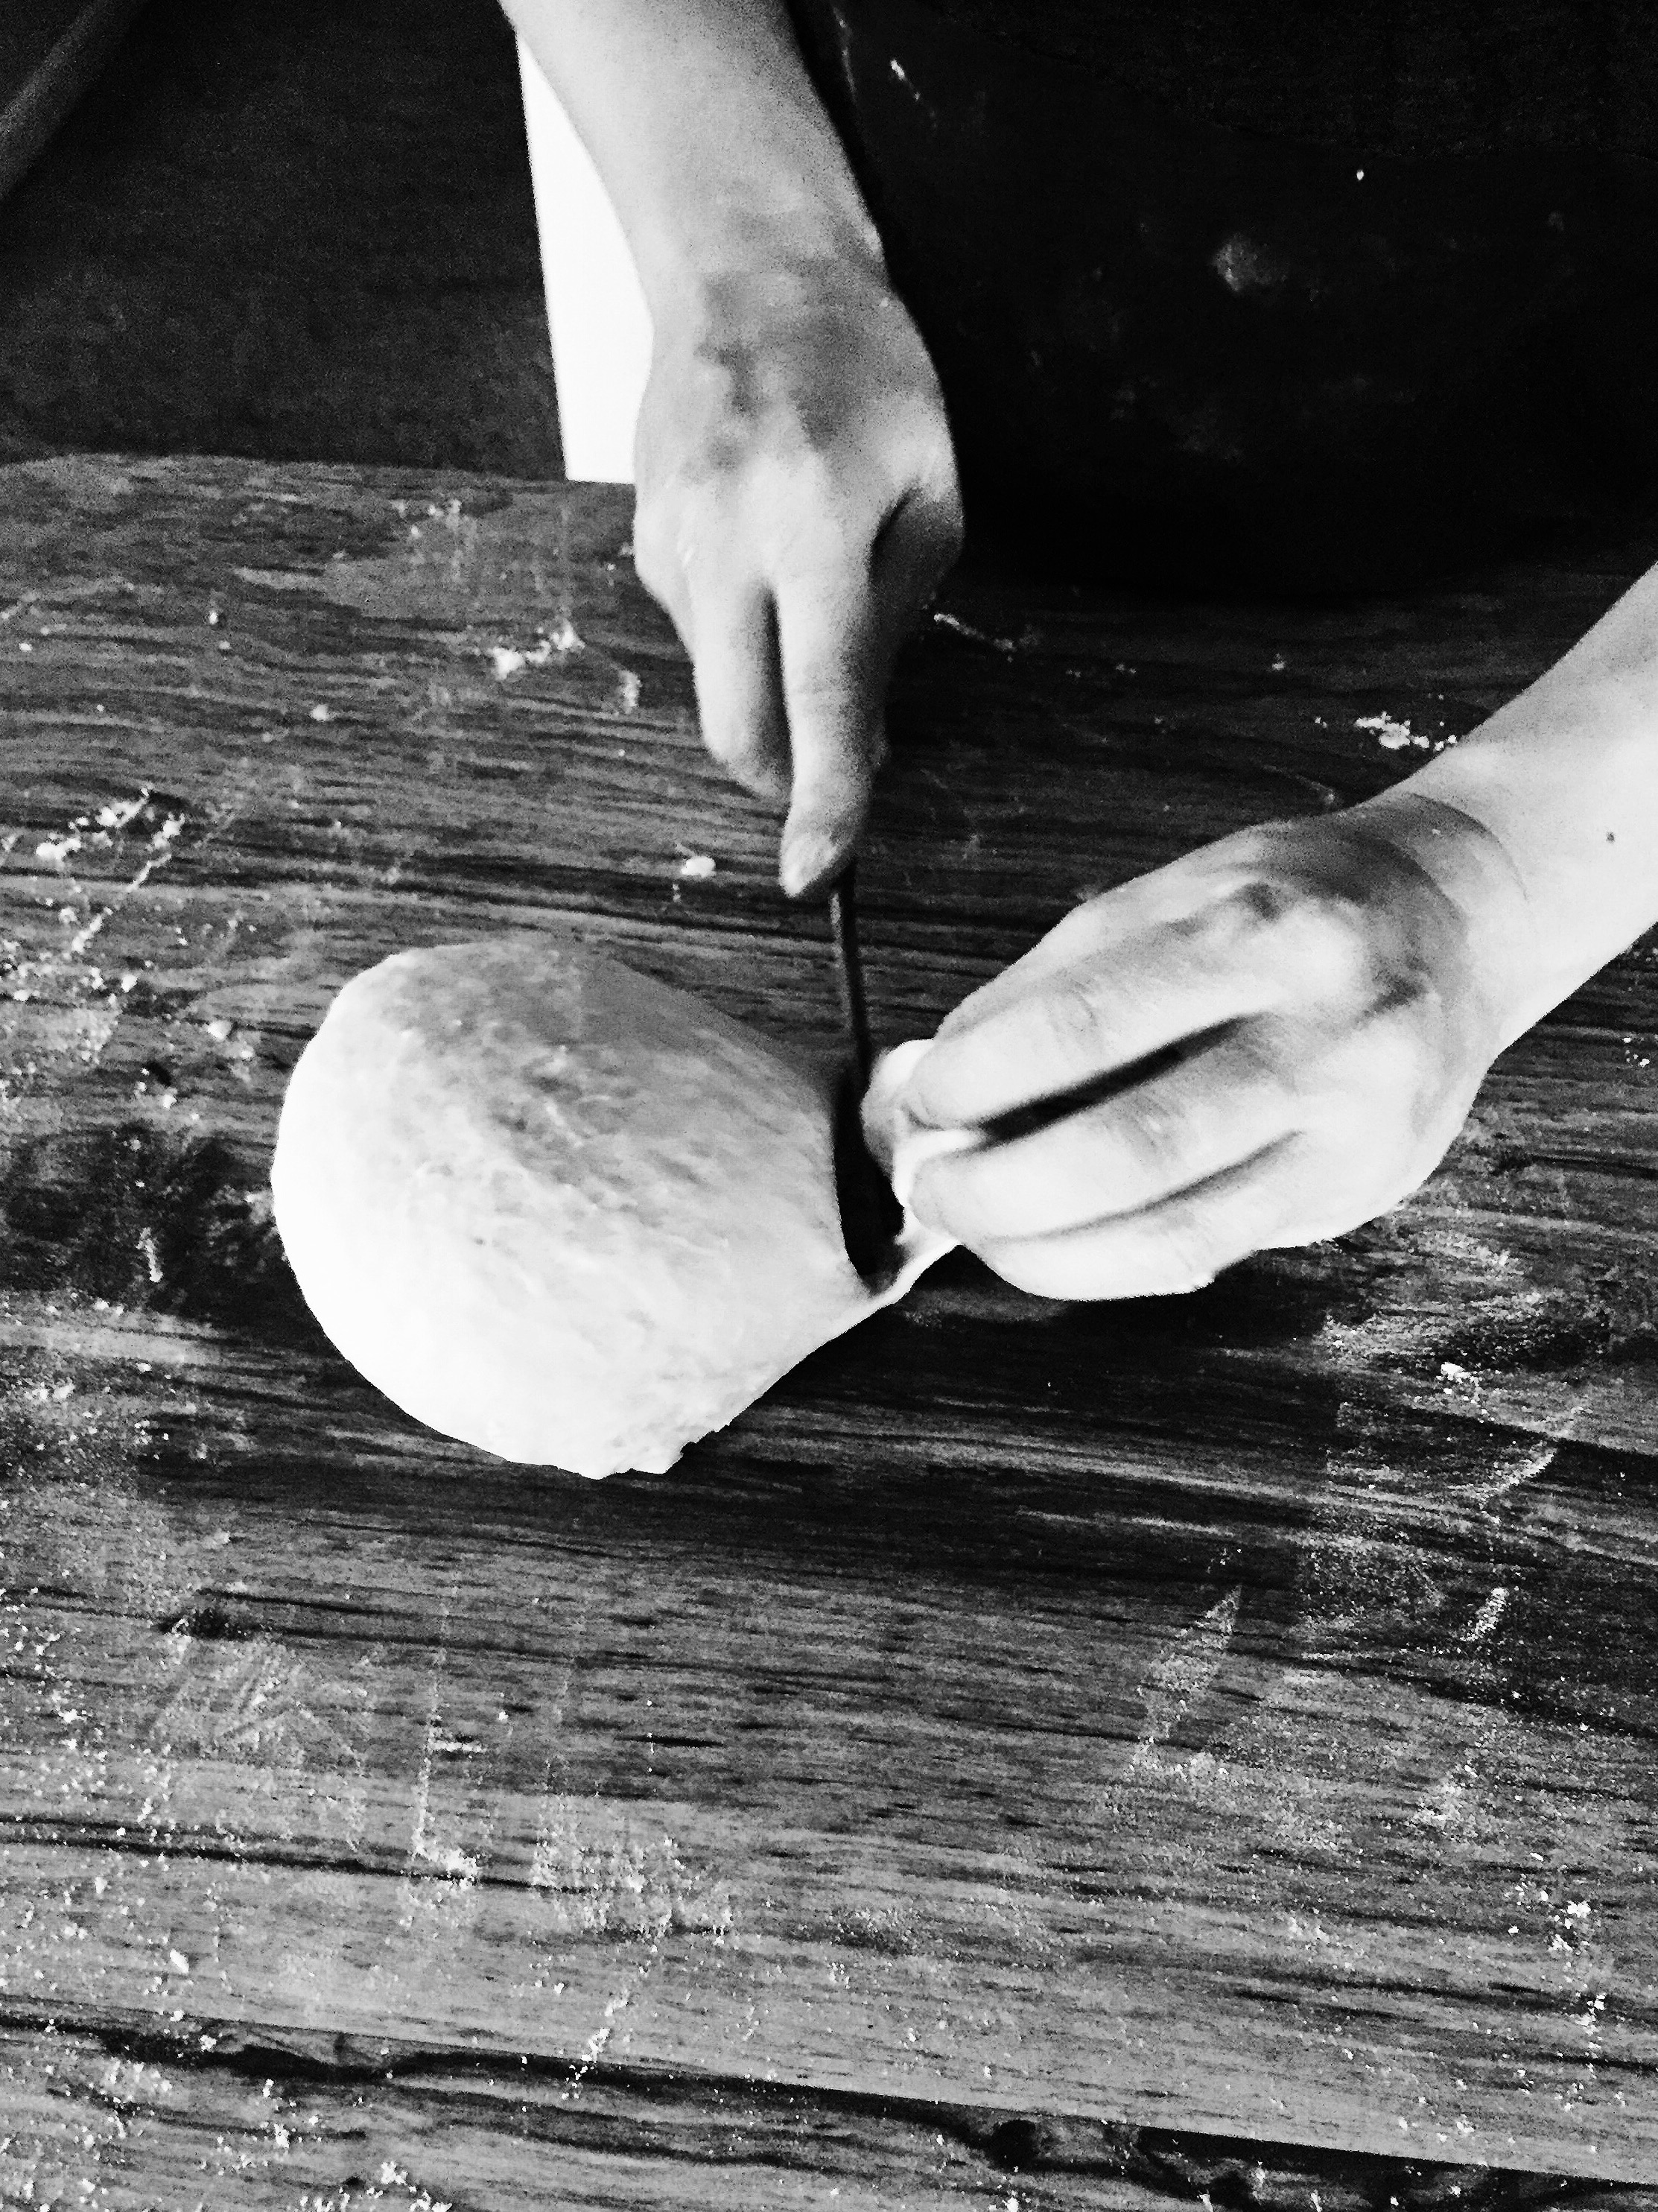
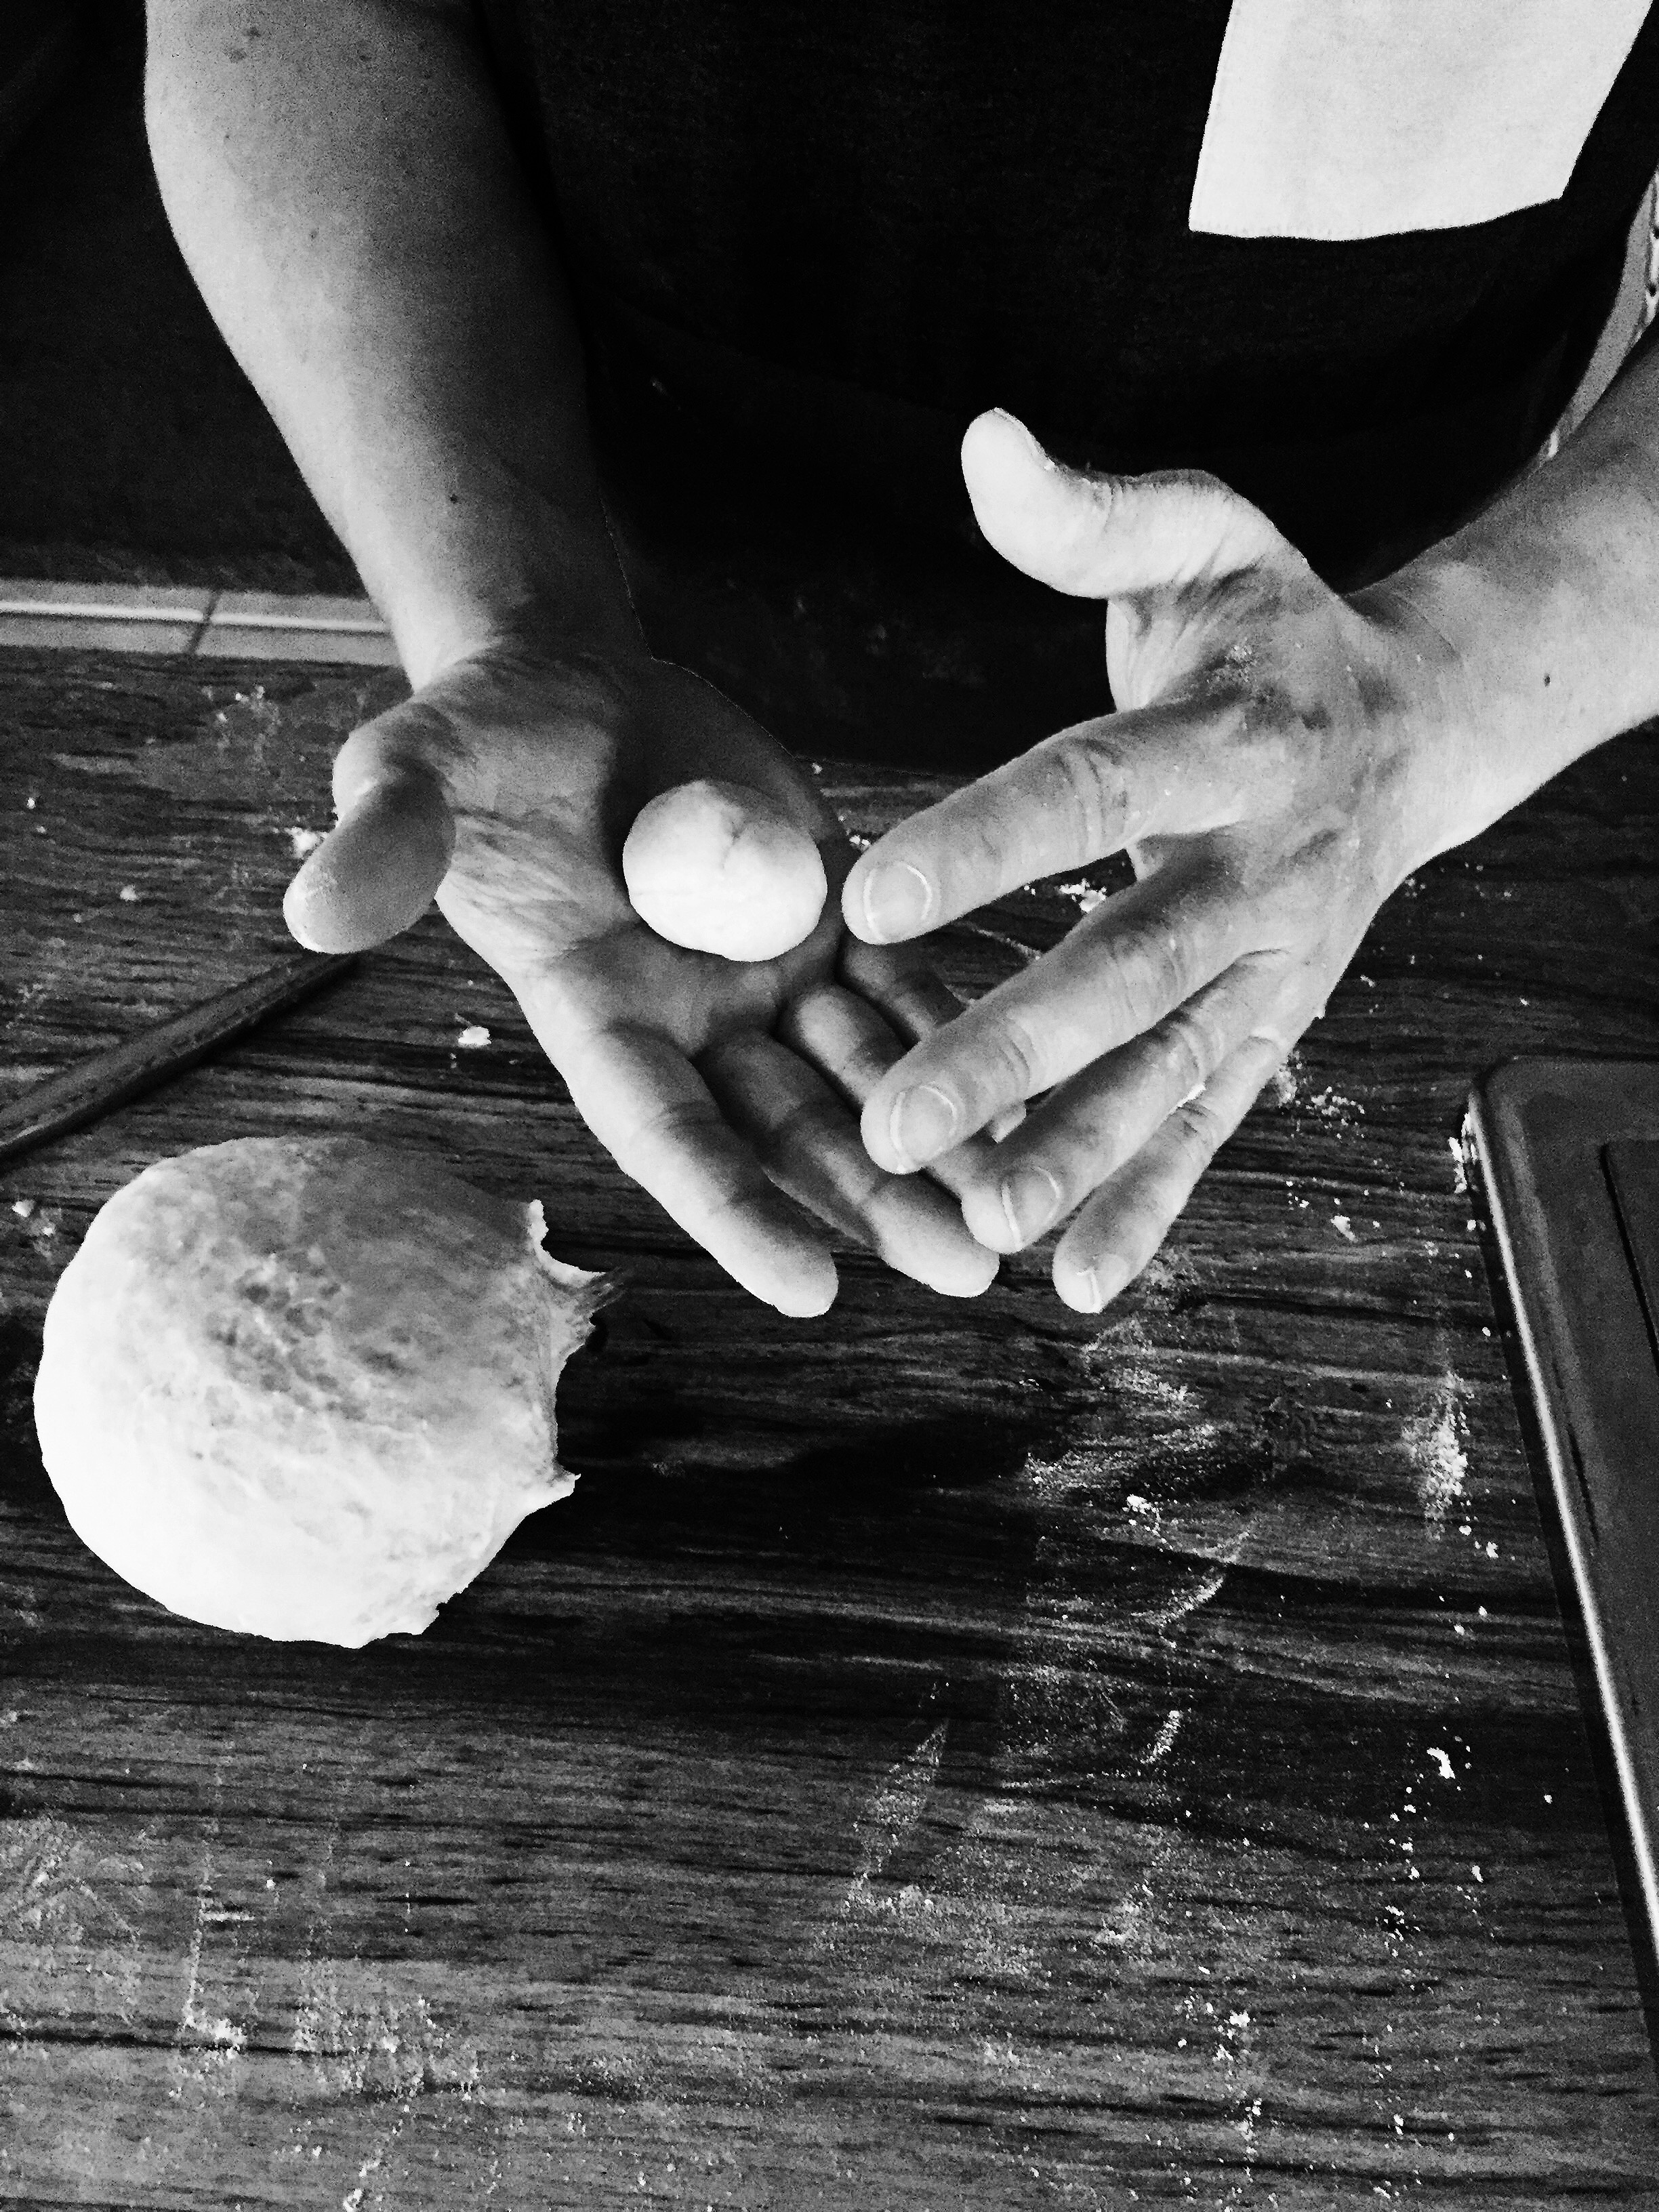
Making apple crumble bars is very similar to making an apple crisp. The only real difference is making the shortbread crust which gets pre-baked and honestly, it’s worth every ounce of effort. Don’t feel intimated by the extra step. Processing the apples is the most laborious part, so if you’re gonna go for it, just go all the way. The one major difference is you’ll want to let these cool before you cut into them. Unlike apple crisp which you might eat while still warm from the oven, these need to set up a bit or the crumble topping will crumble all over the place. I also suggest using parchment paper so you can easily lift them out of the pan. I baked the bars in a cast iron skillet (although you can use an 8 inch square baking dish) and then transferred the entire dessert to a cooling rack. After they cooled, I then transferred them to a cutting board to slice, and having that parchment made it easy to move them around.

I used two Granny Smith apples and a Honeycrisp in this recipe because that’s what I had on hand. You can use any kind of apples you want so have fun on your orchard adventures and don’t let the type of apples stand in your way from baking these. I would also advise you to store leftovers in an air tight container in the fridge. They keep just fine in there and in some ways, even improve the texture.
Ingredients
Shortbread Crust
- 1 stick of butter, softened
- 1/8 cup brown sugar
- 1/2 tsp vanilla extract
- 1 1/4 cups flour
Apple Filling
- 3 large apples, peeled, cored, and thinly sliced (about 4 cups)
- 2 tbsp flour
- 1/8 cup white sugar
Crumble Topping
- 1/4 cup brown sugar
- 1/8 cup white sugar
- 3/4 cup flour
- 1 tsp cinnamon
- 1/2 tsp salt
- 6 tbsp chilled butter, cut into pea sized bits
Directions
- Preheat the oven to 350 degrees F.
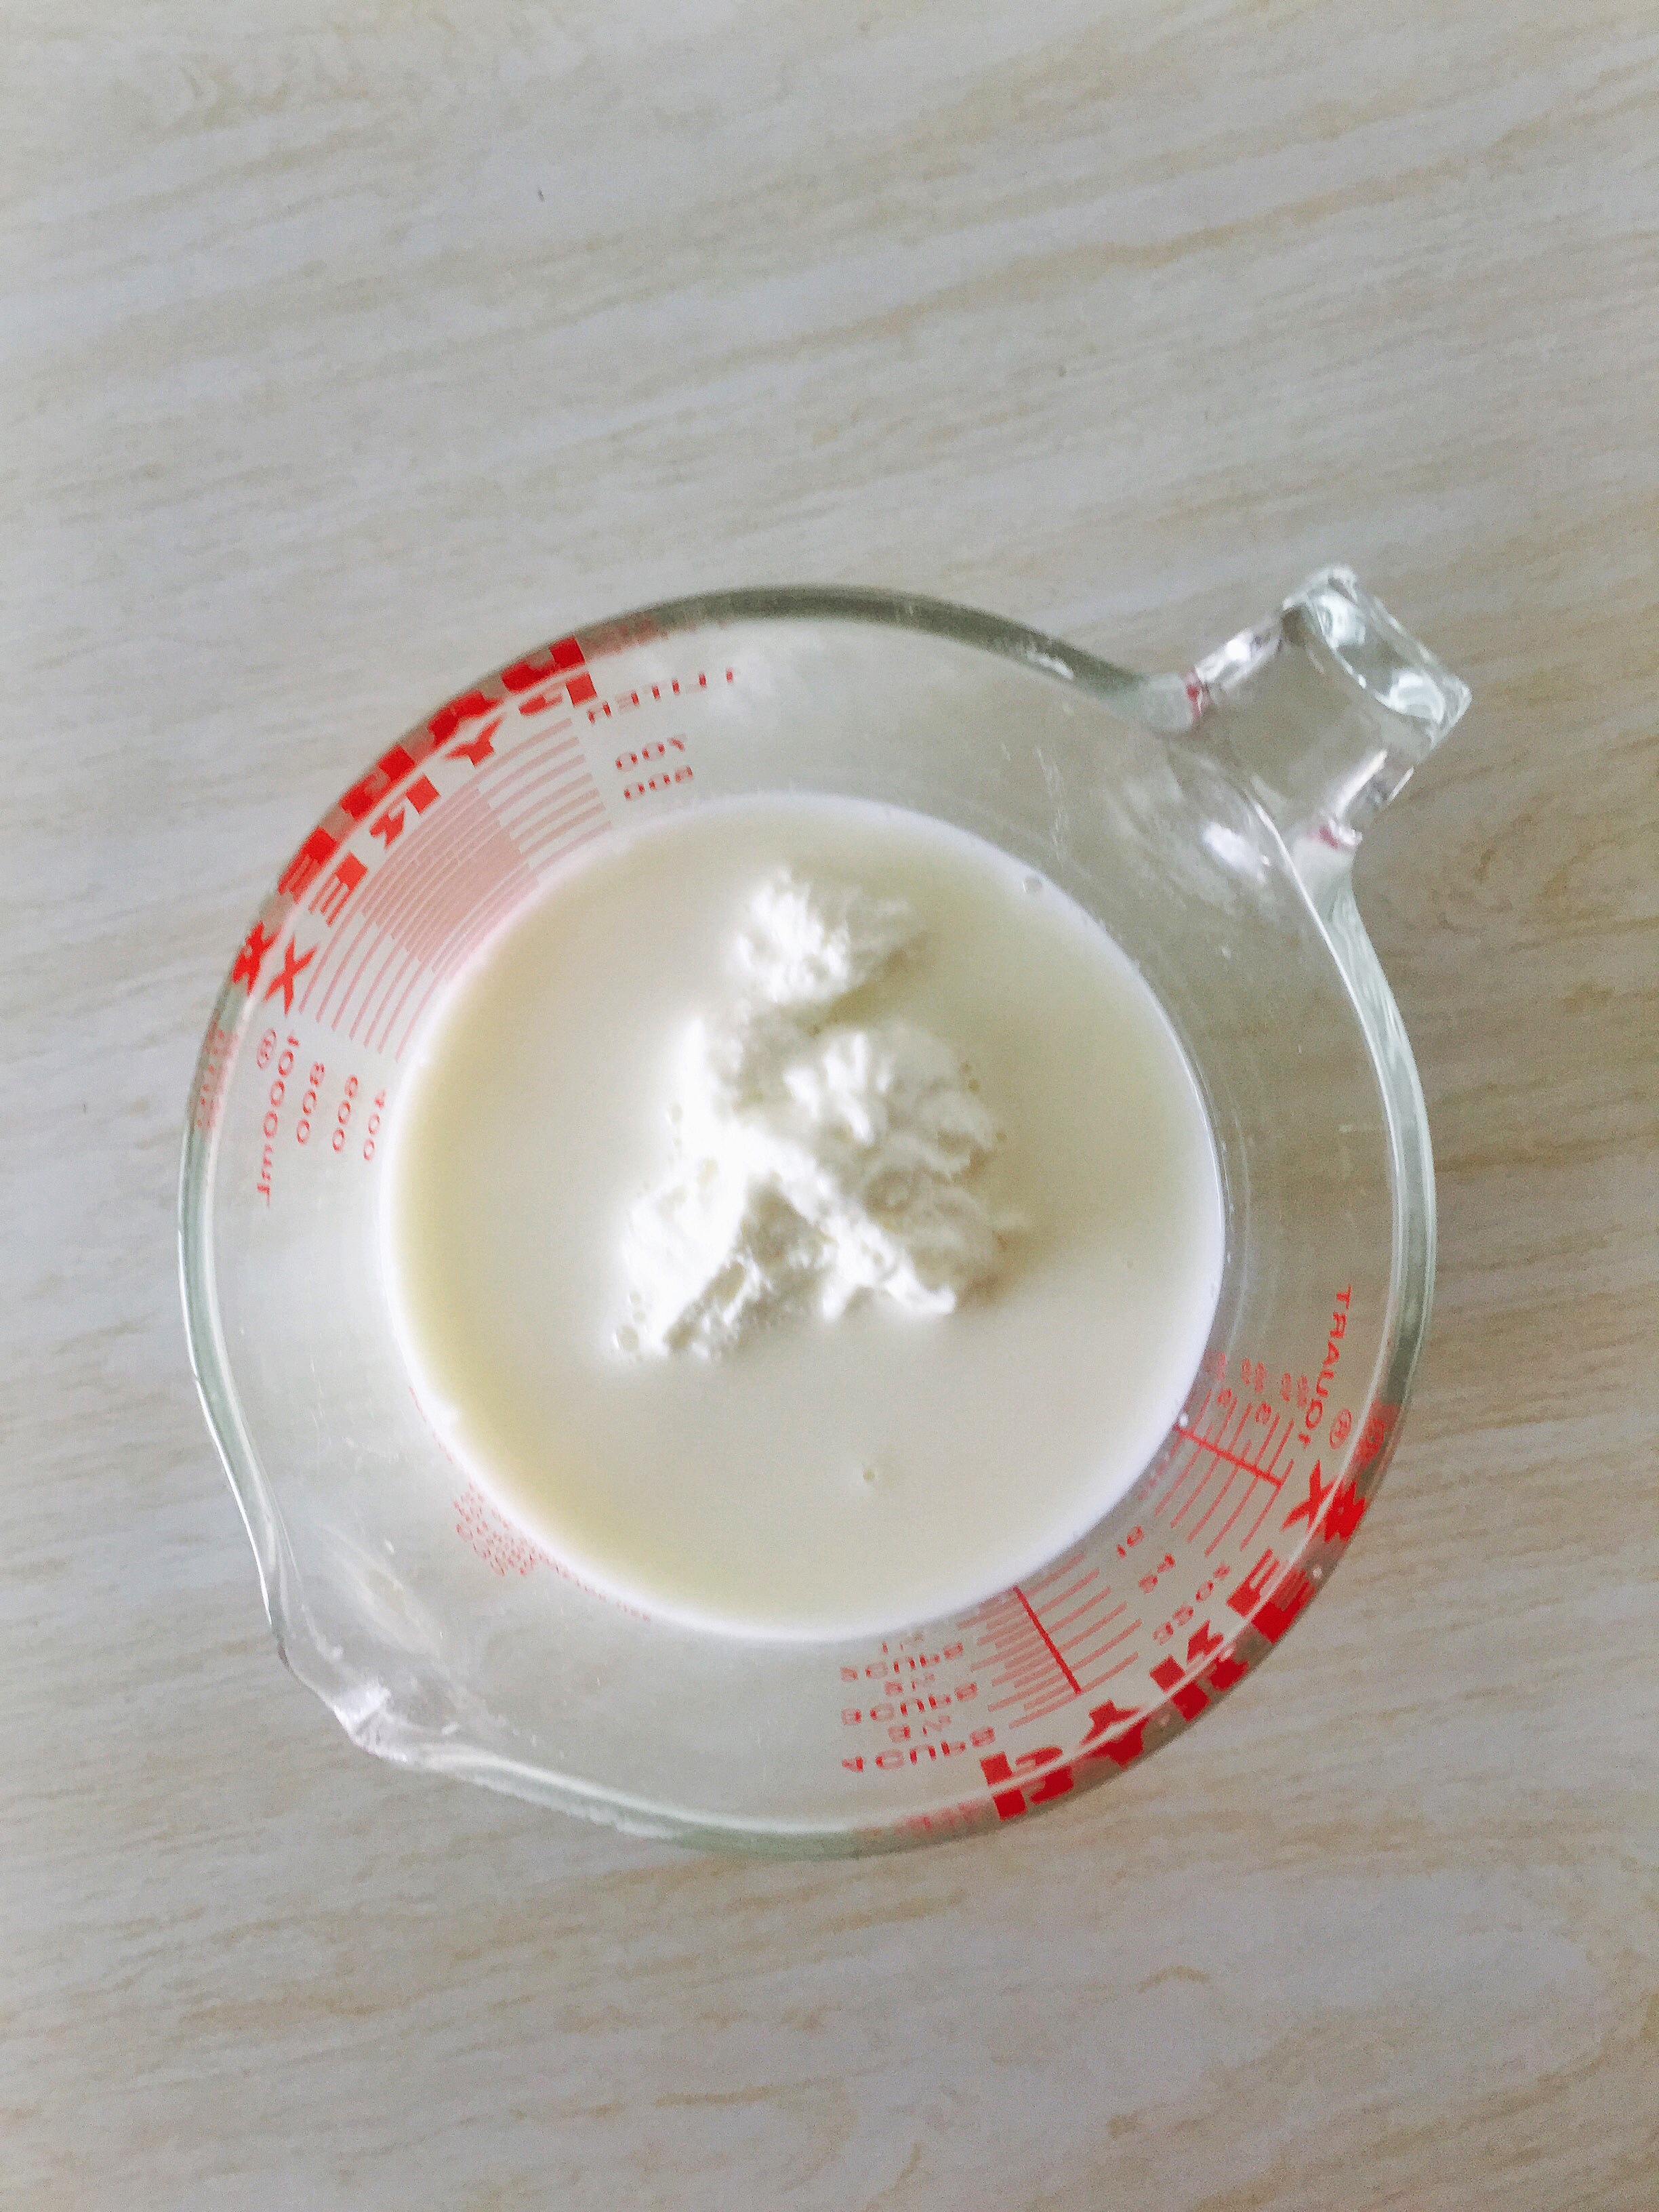
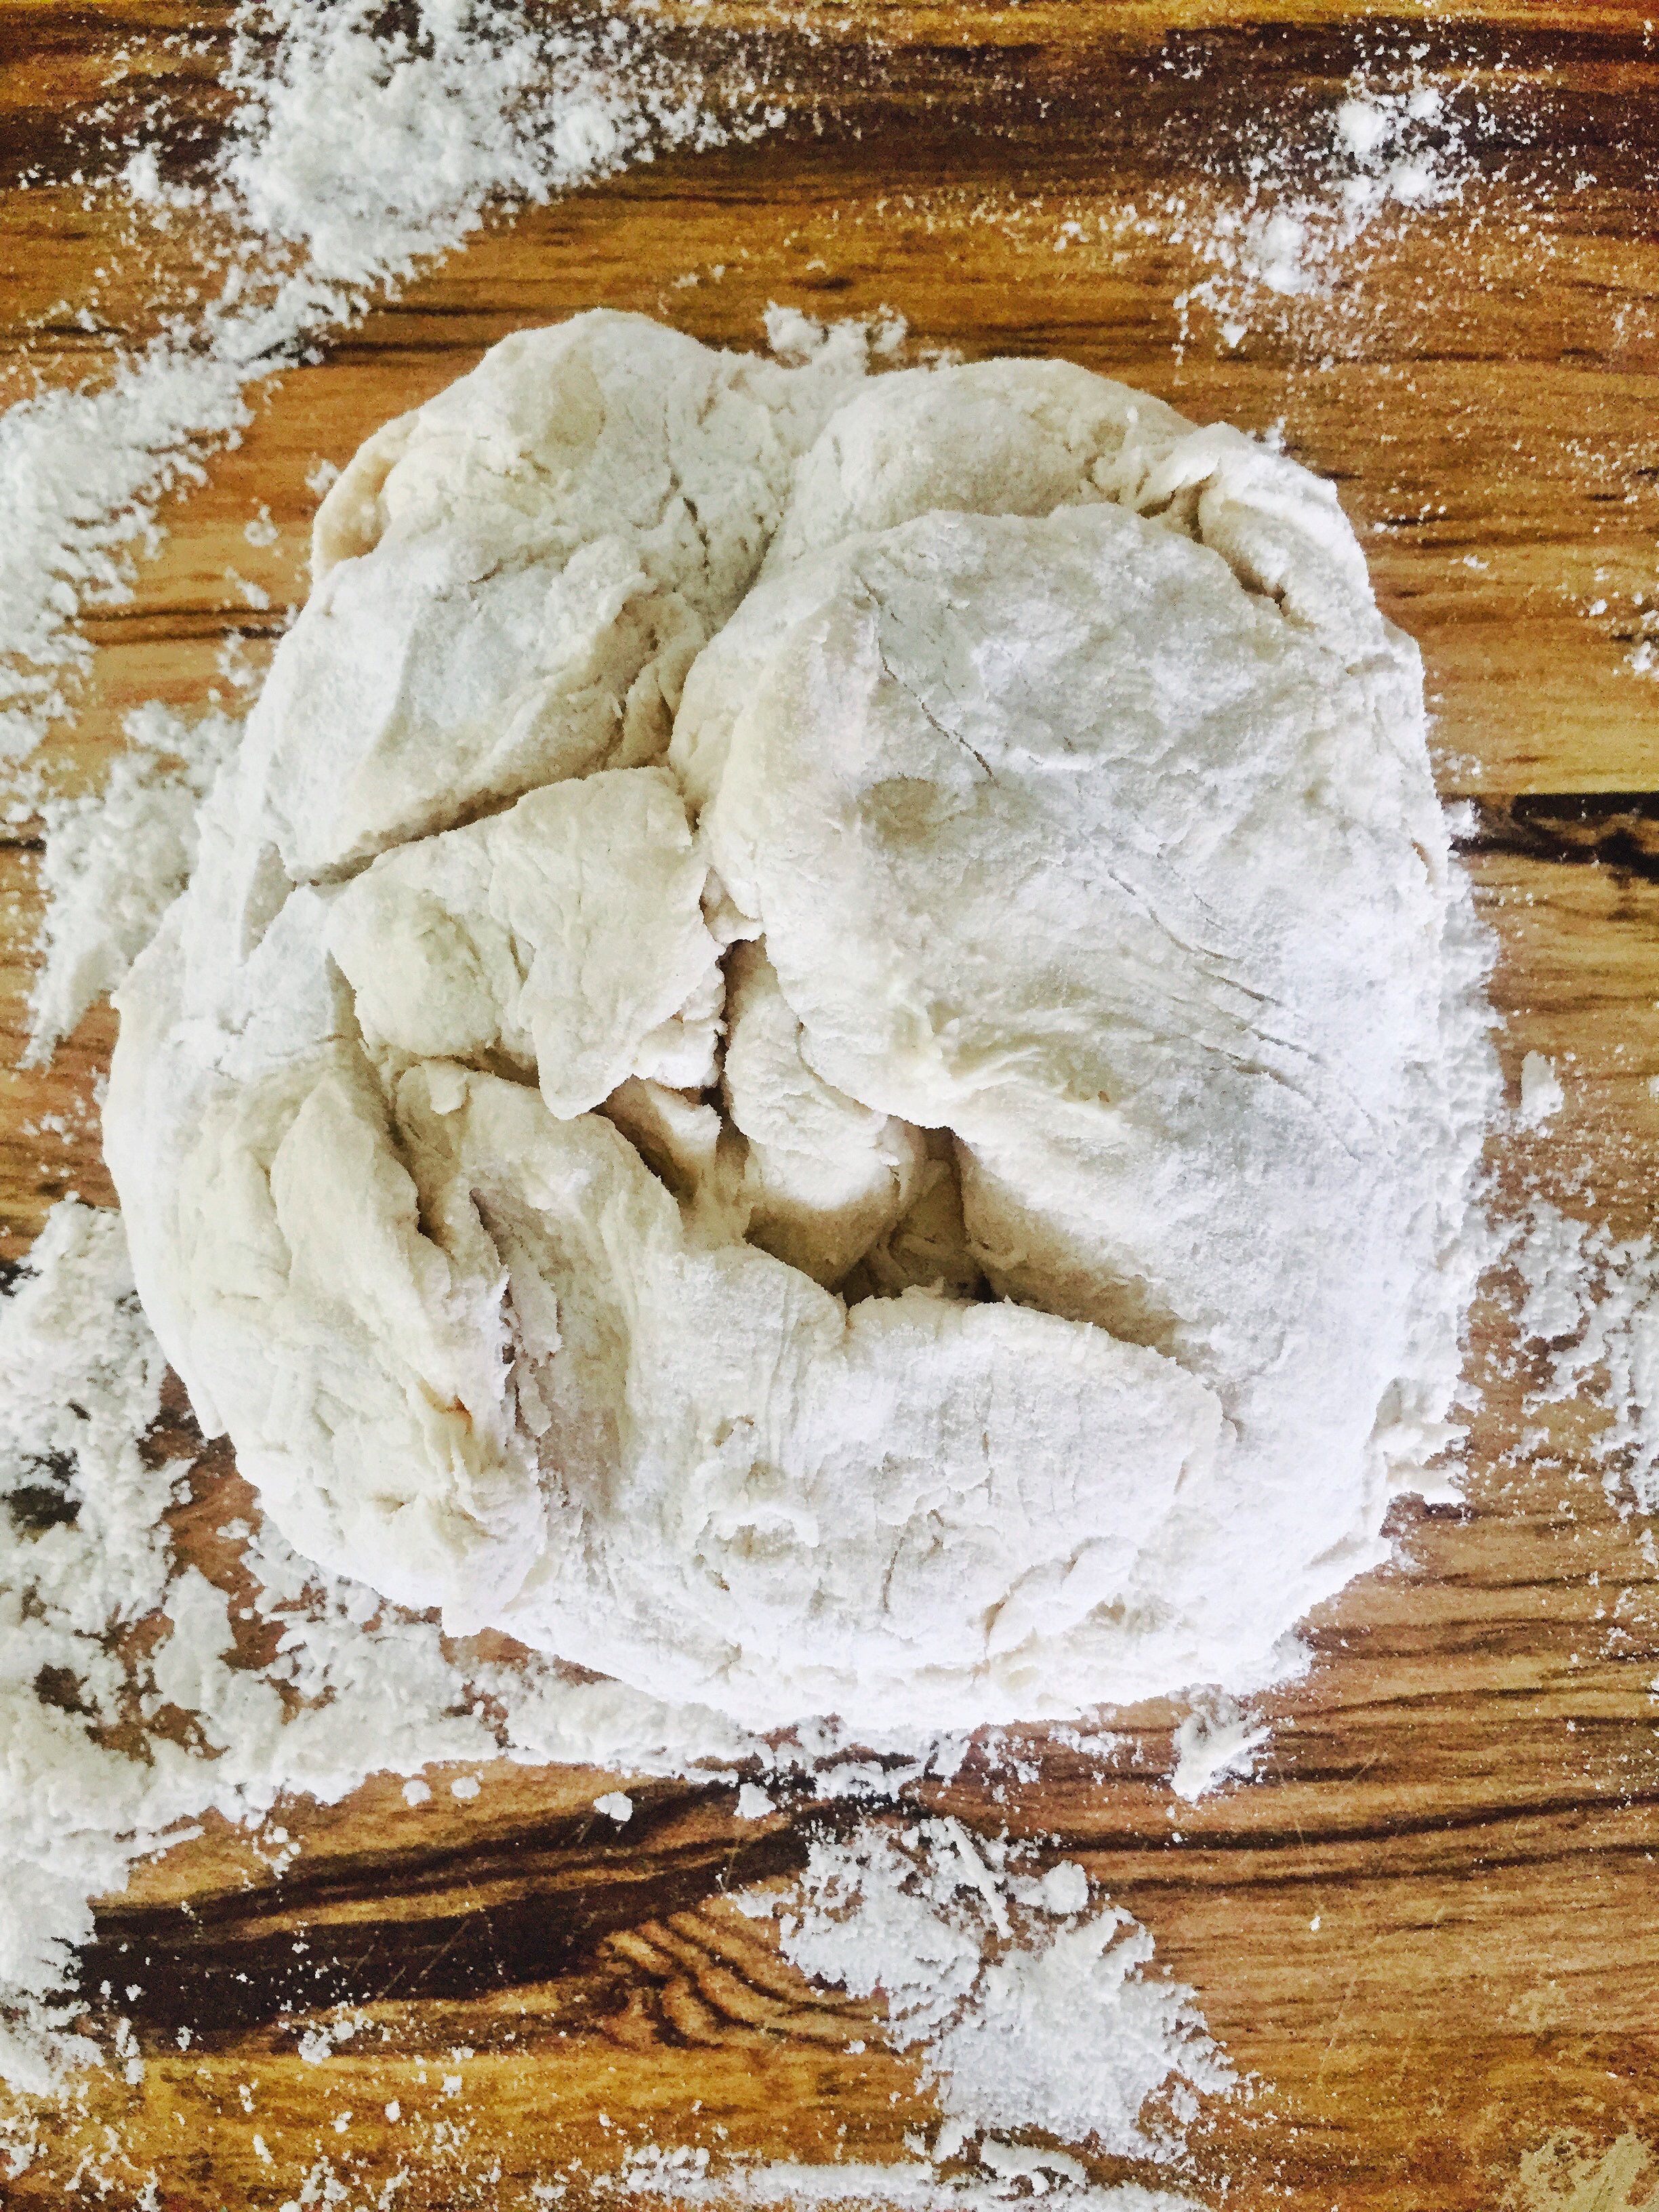
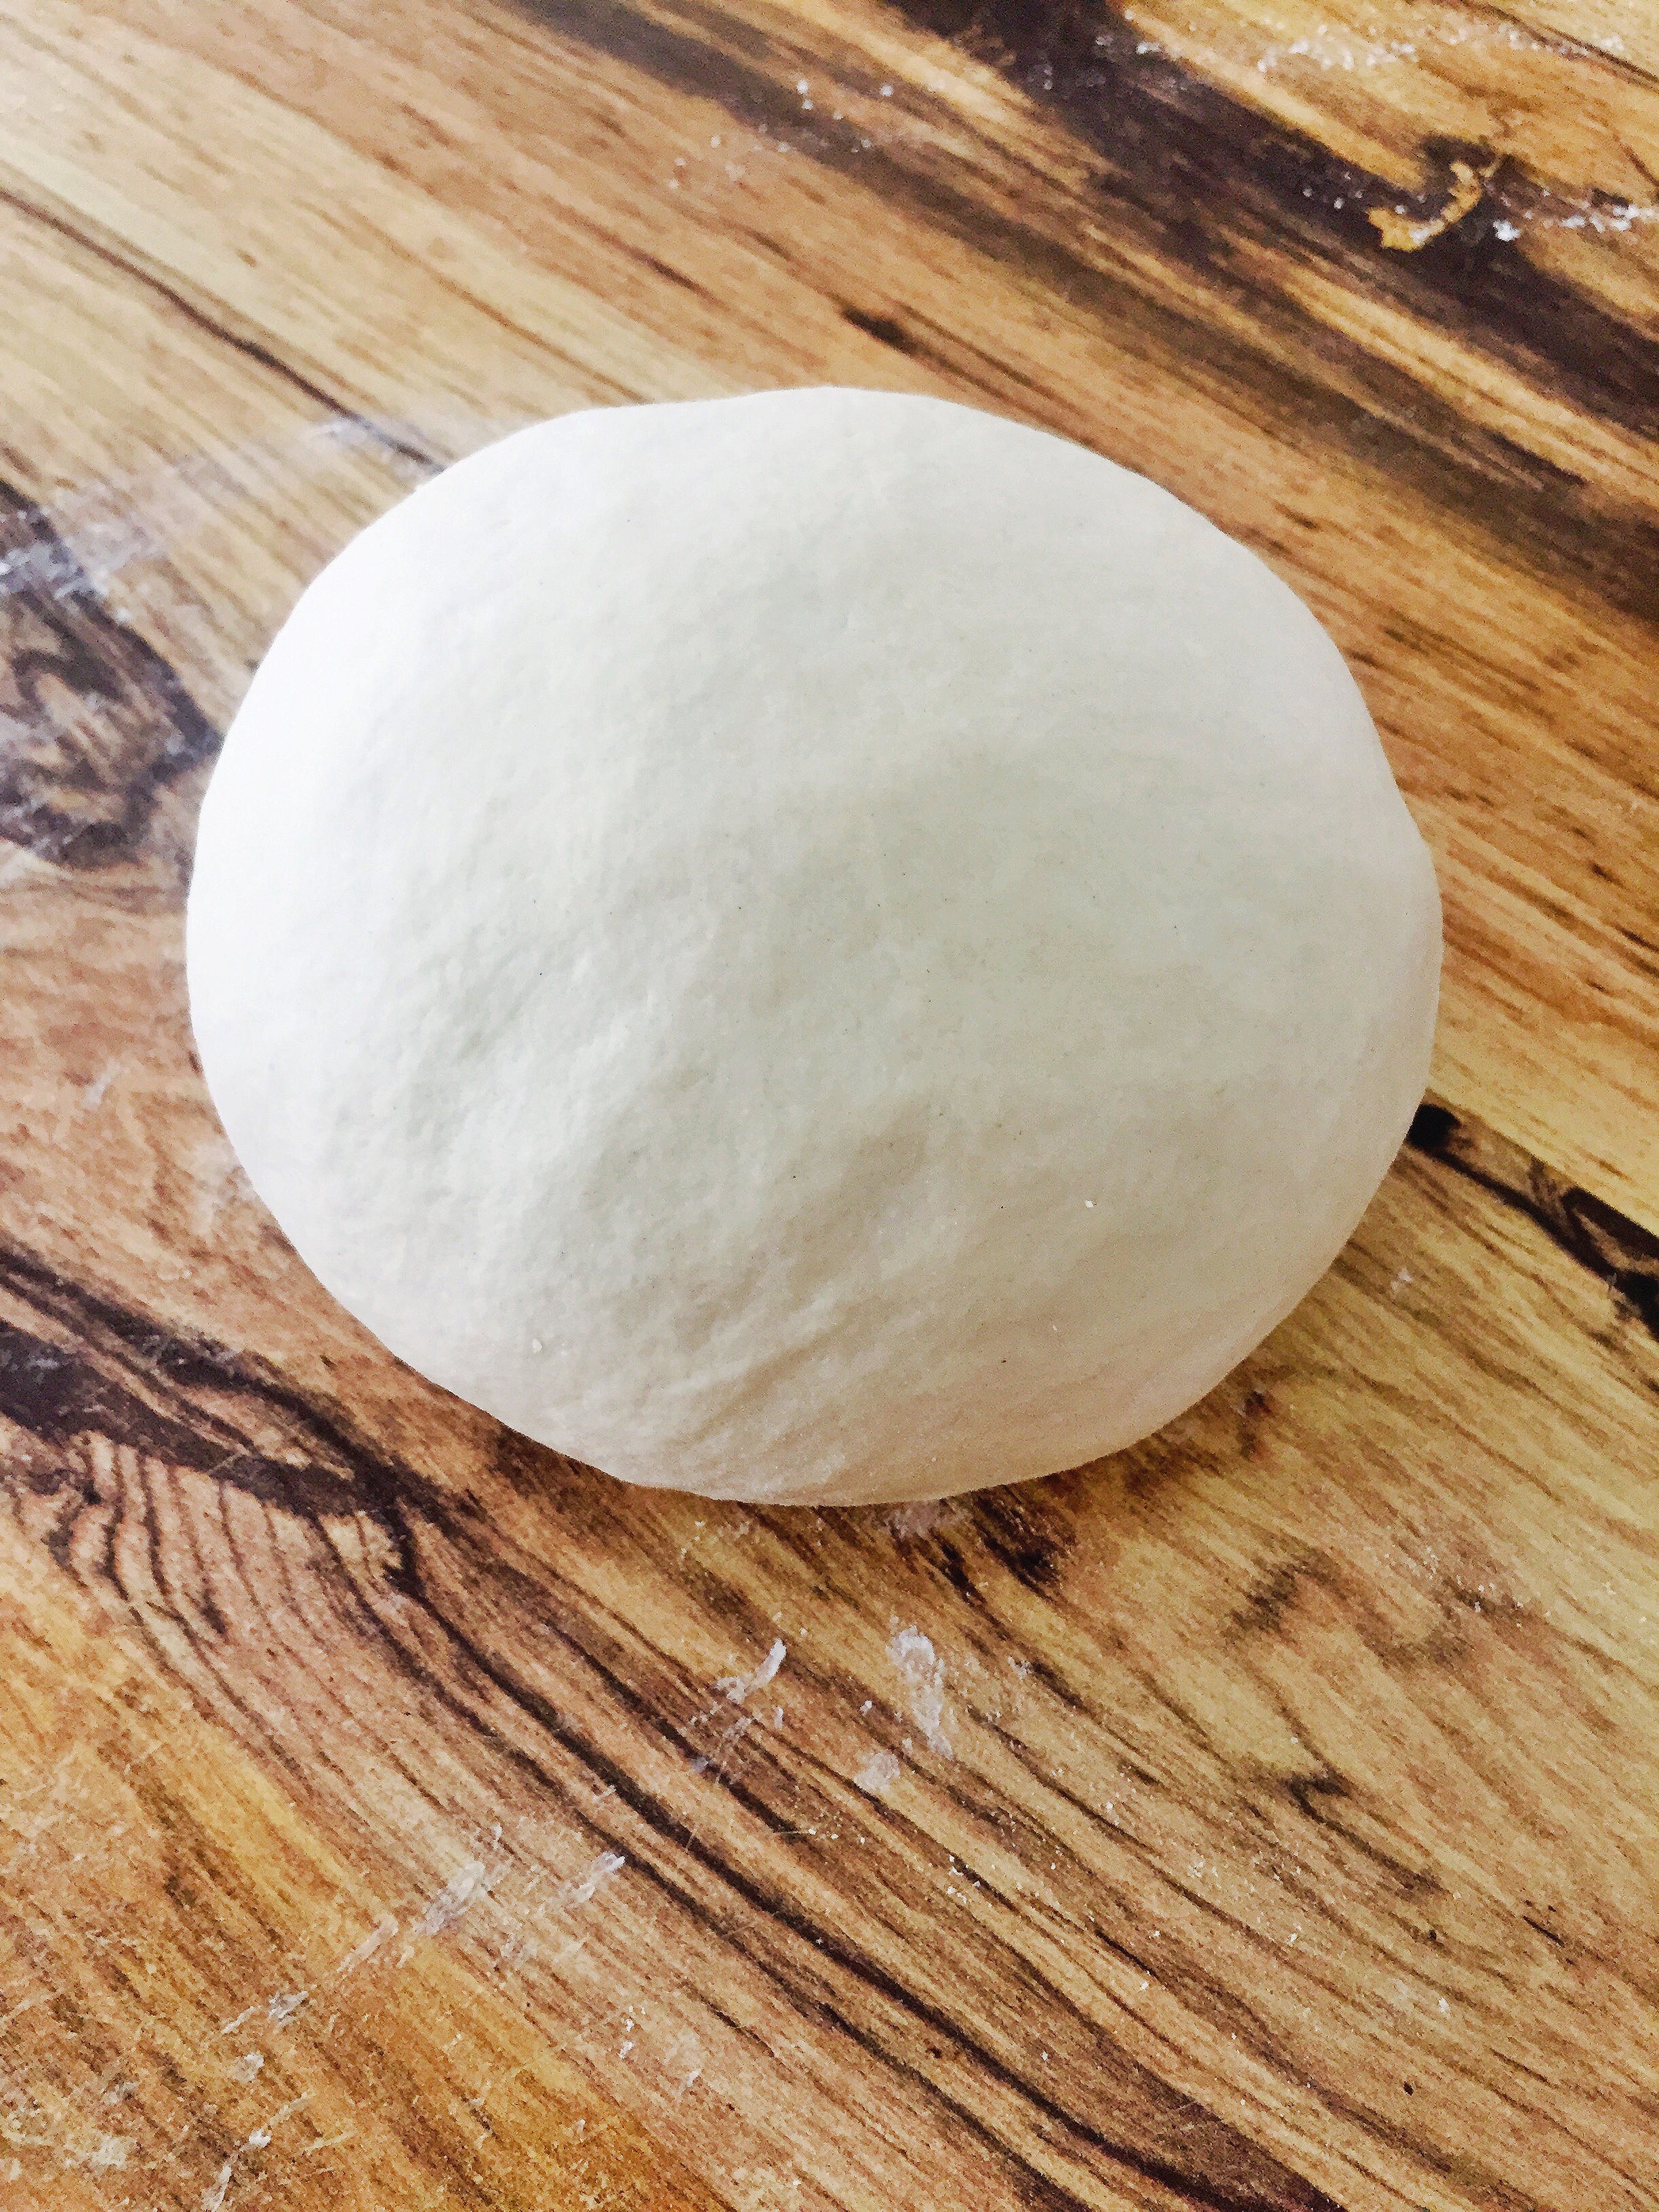
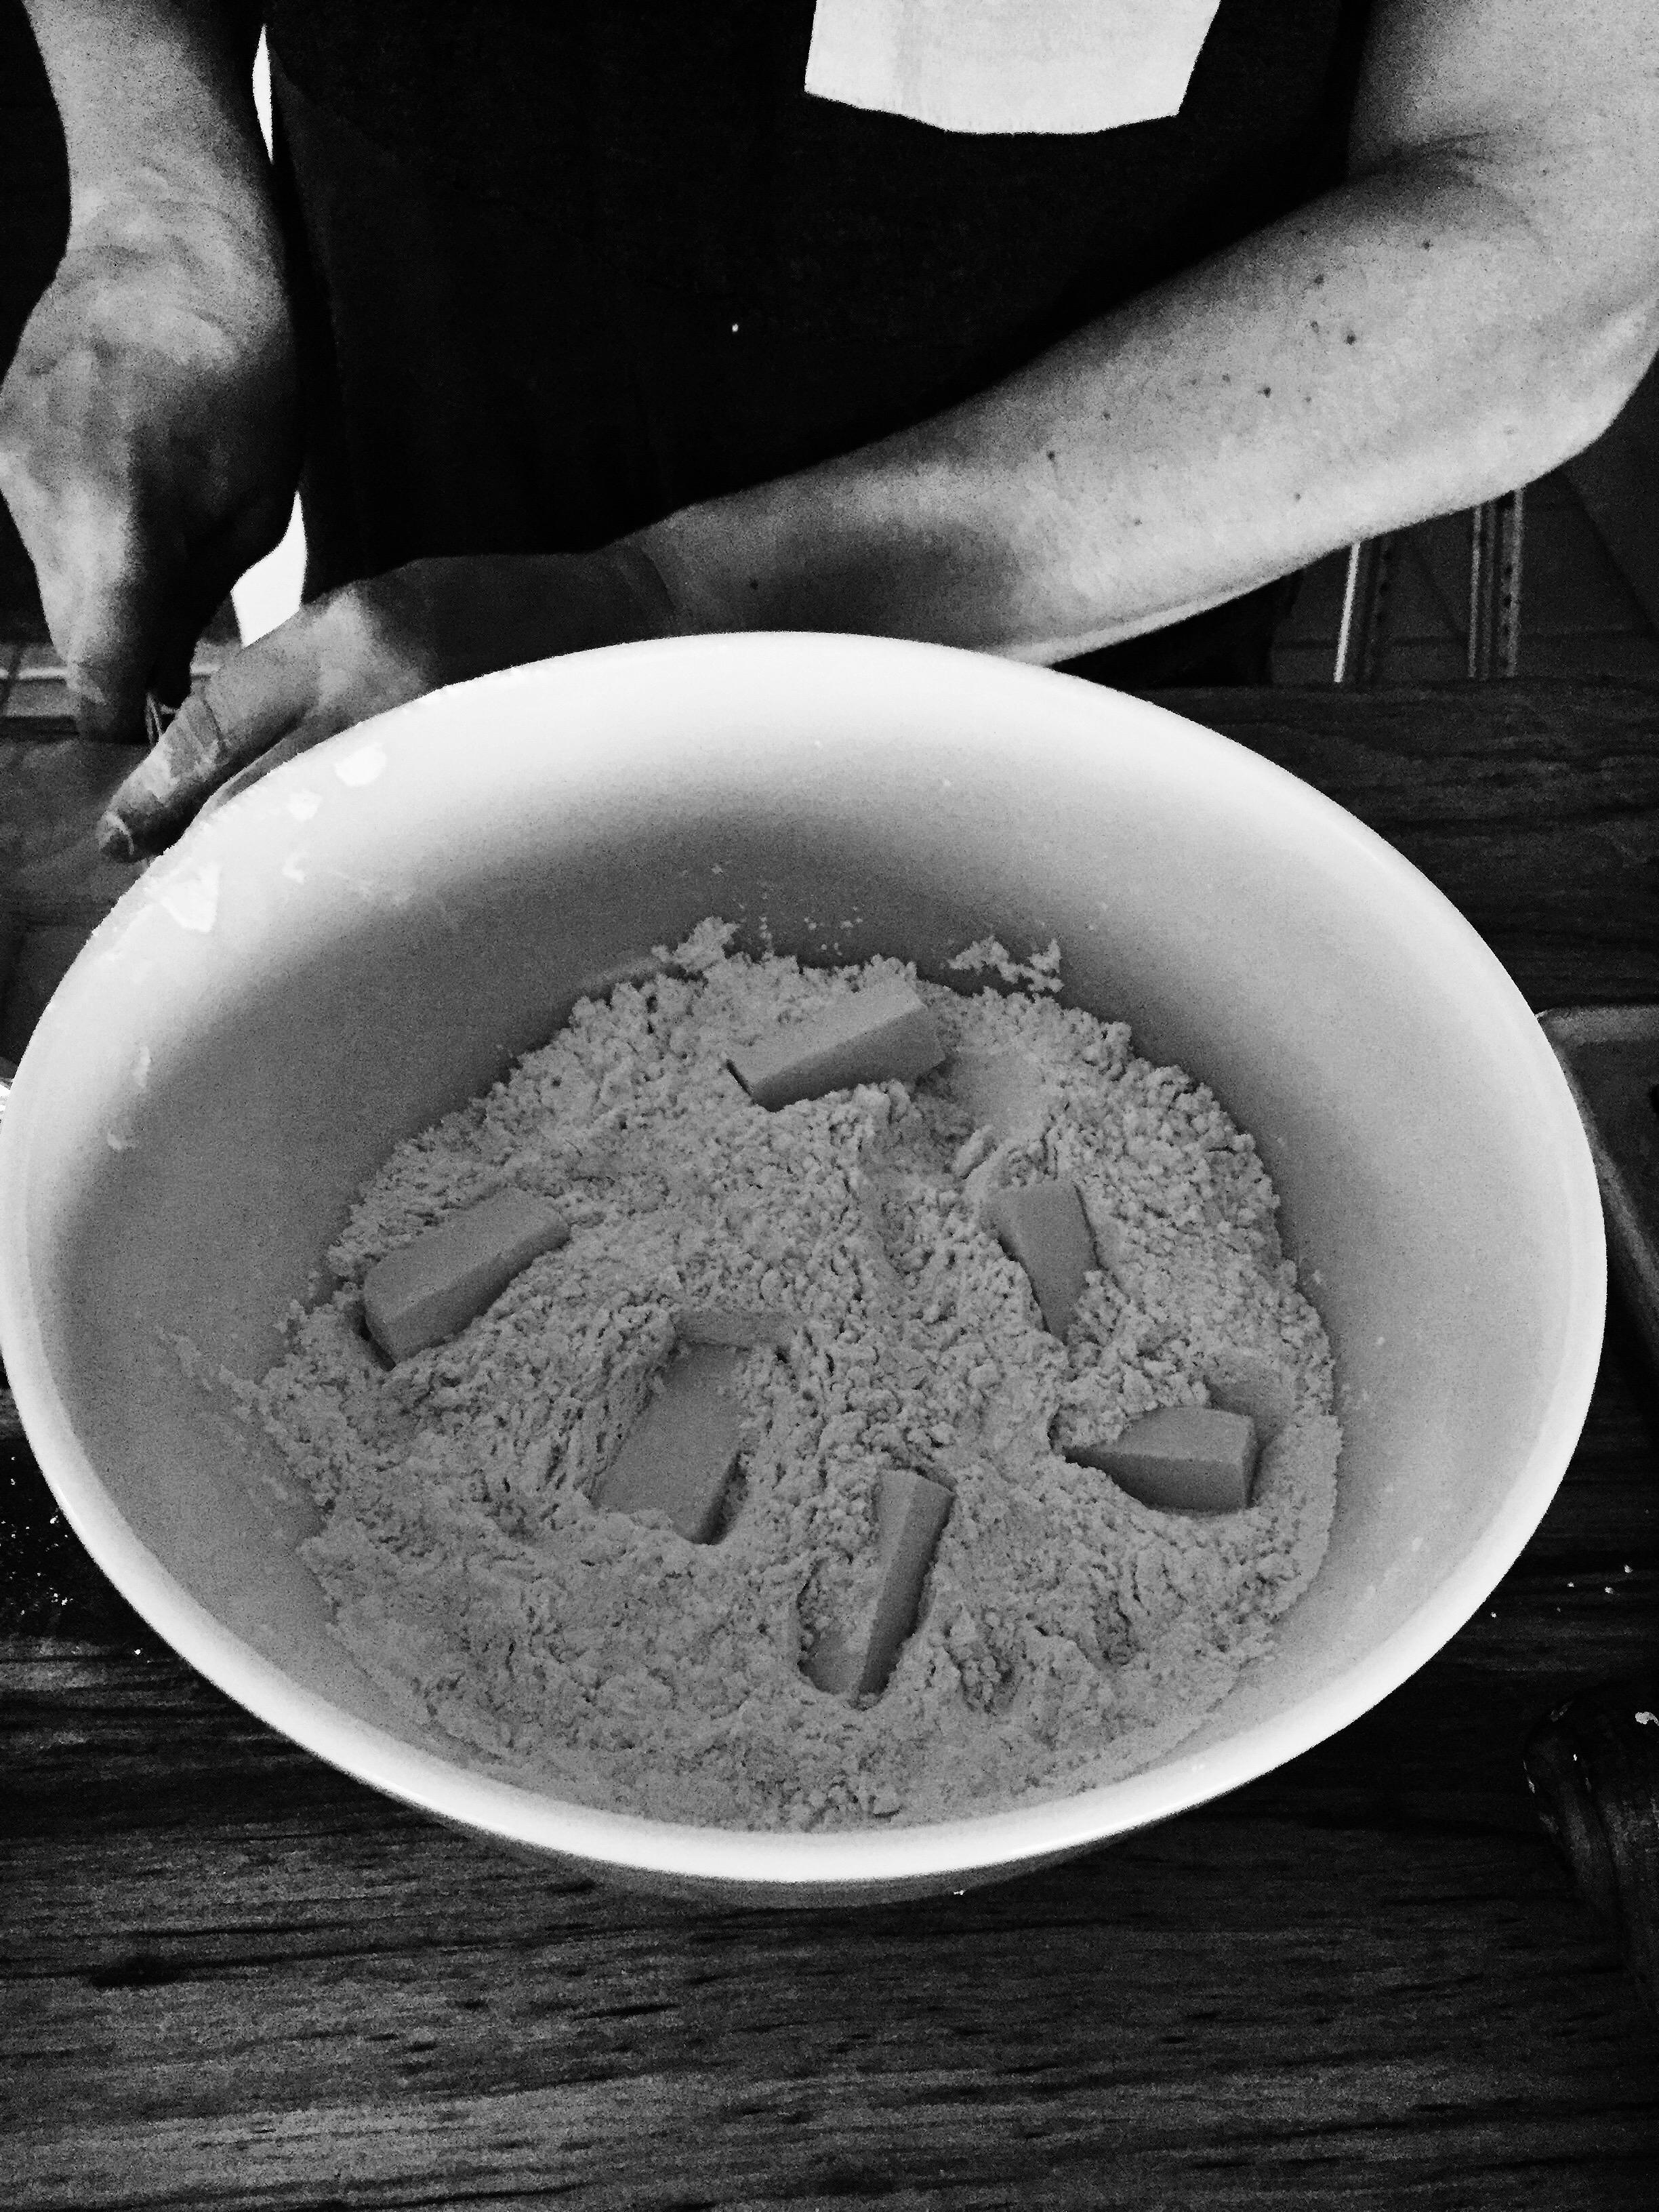
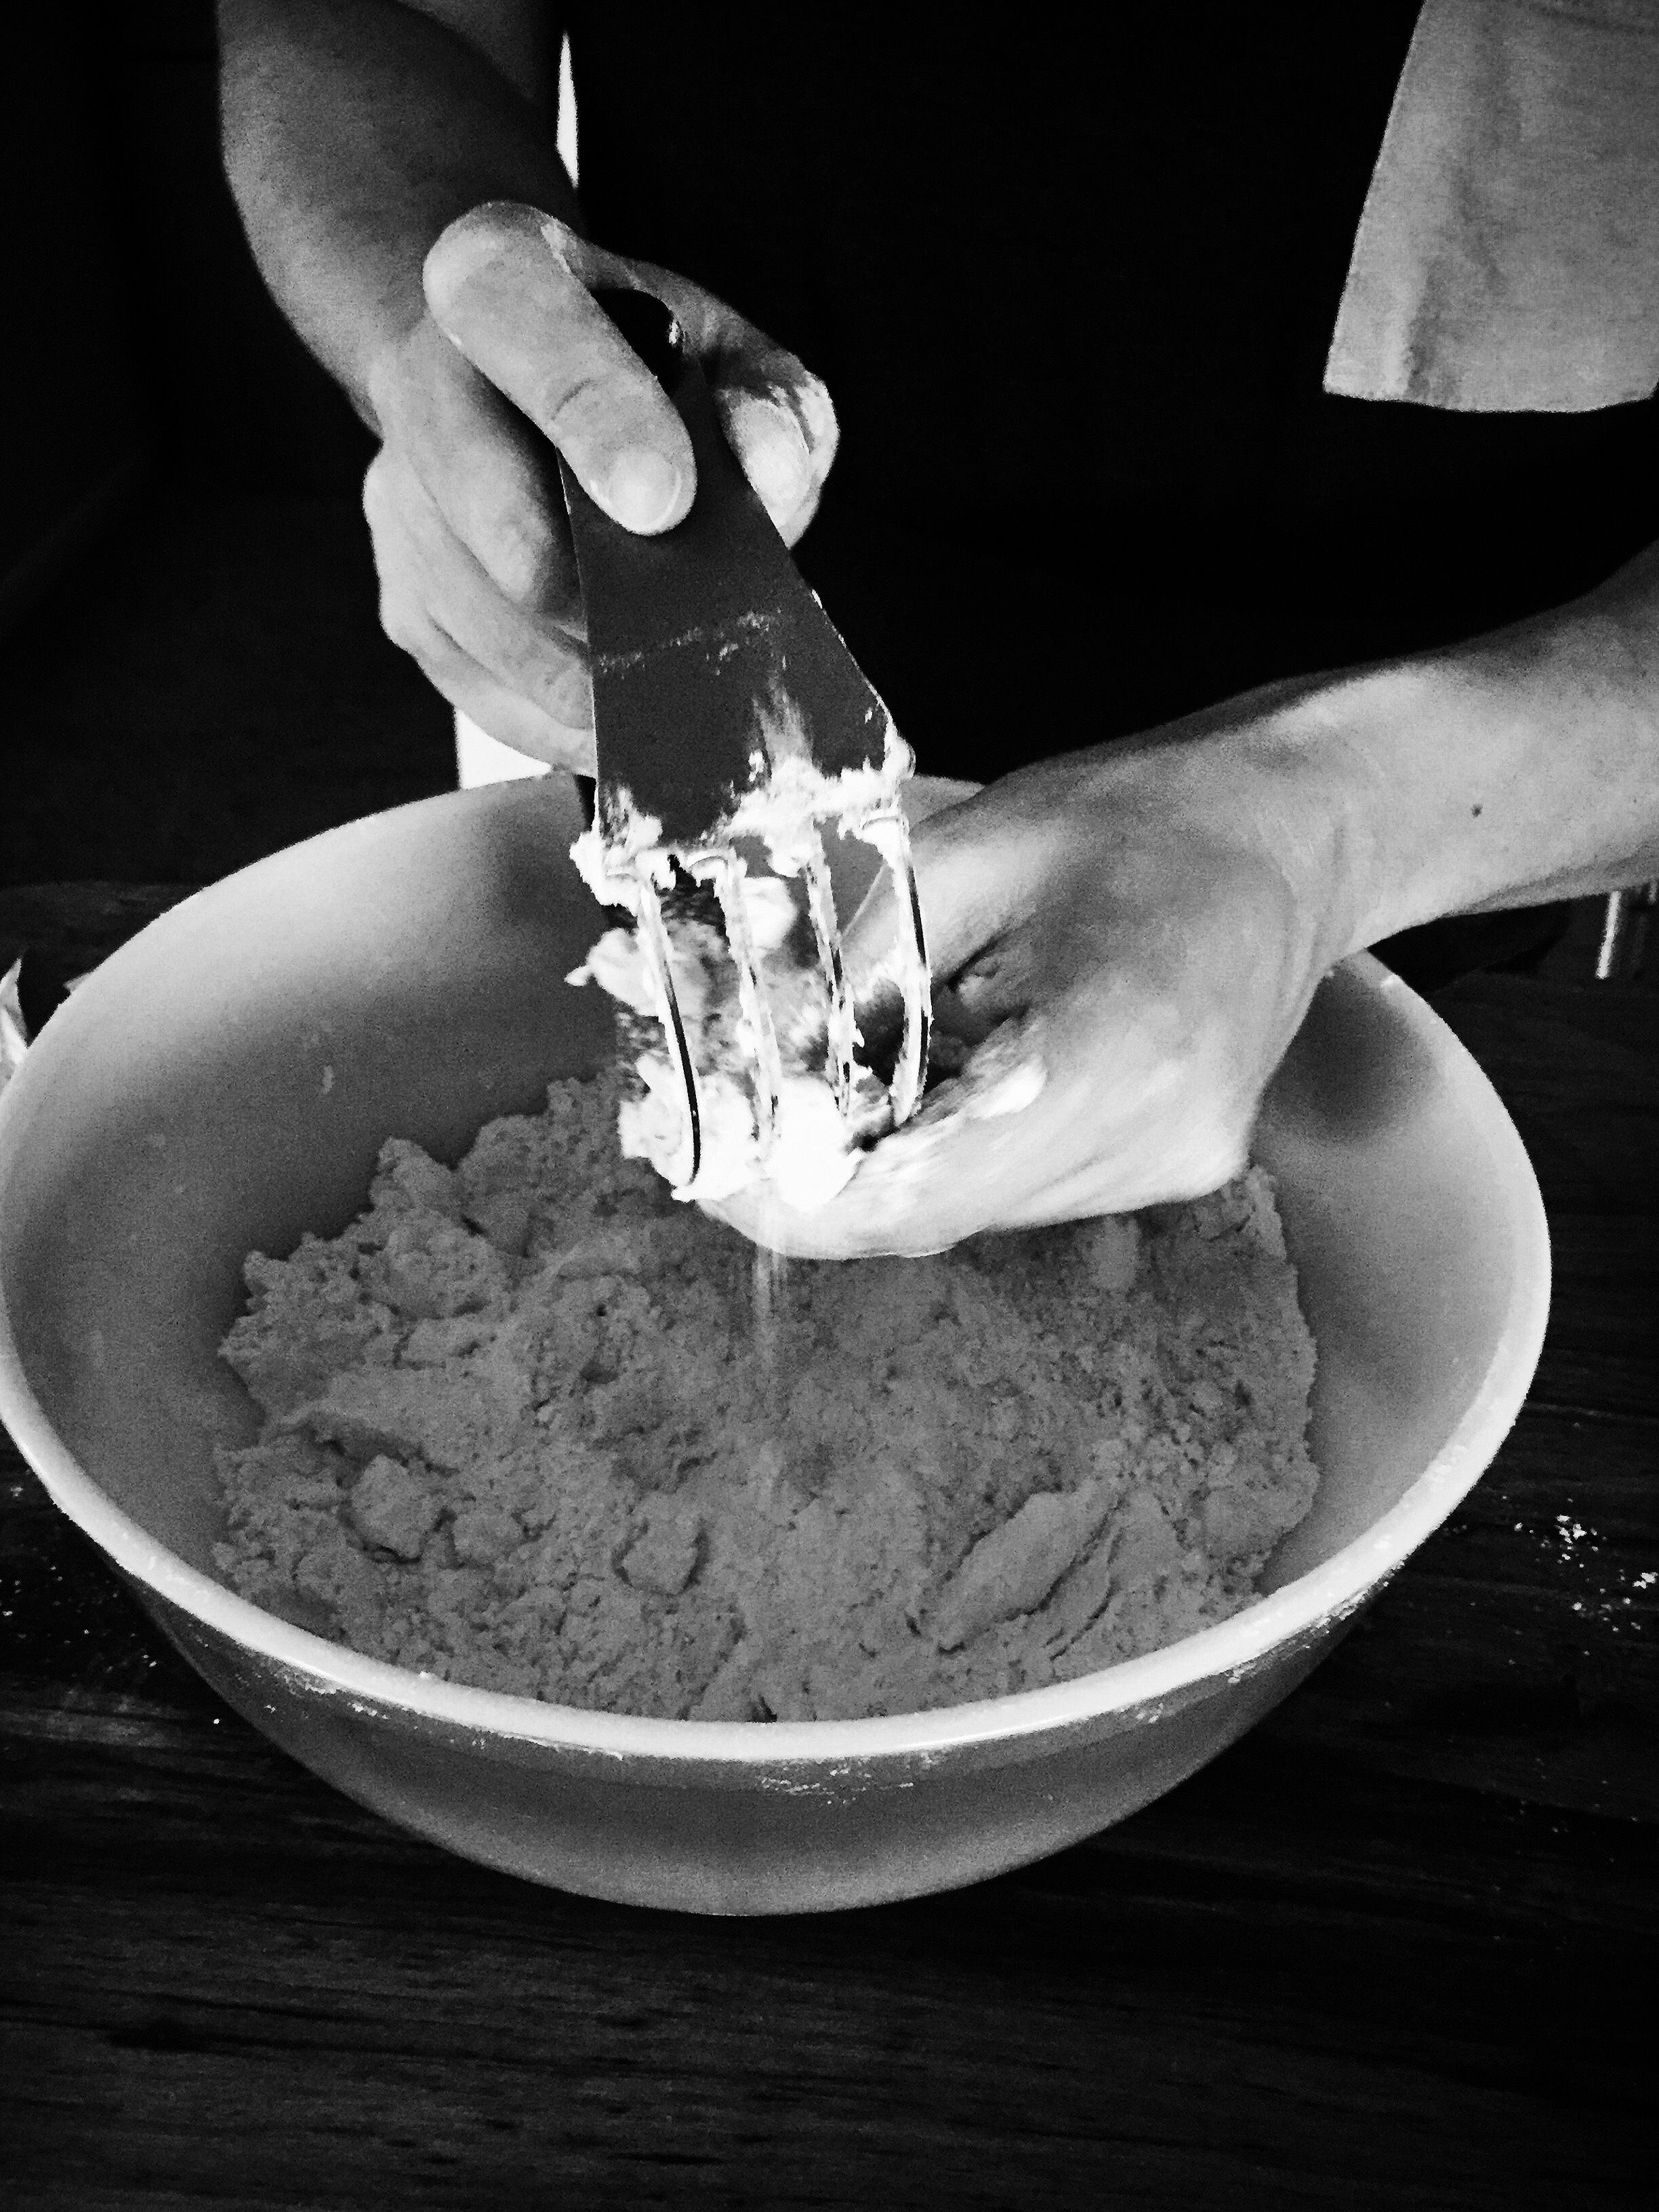
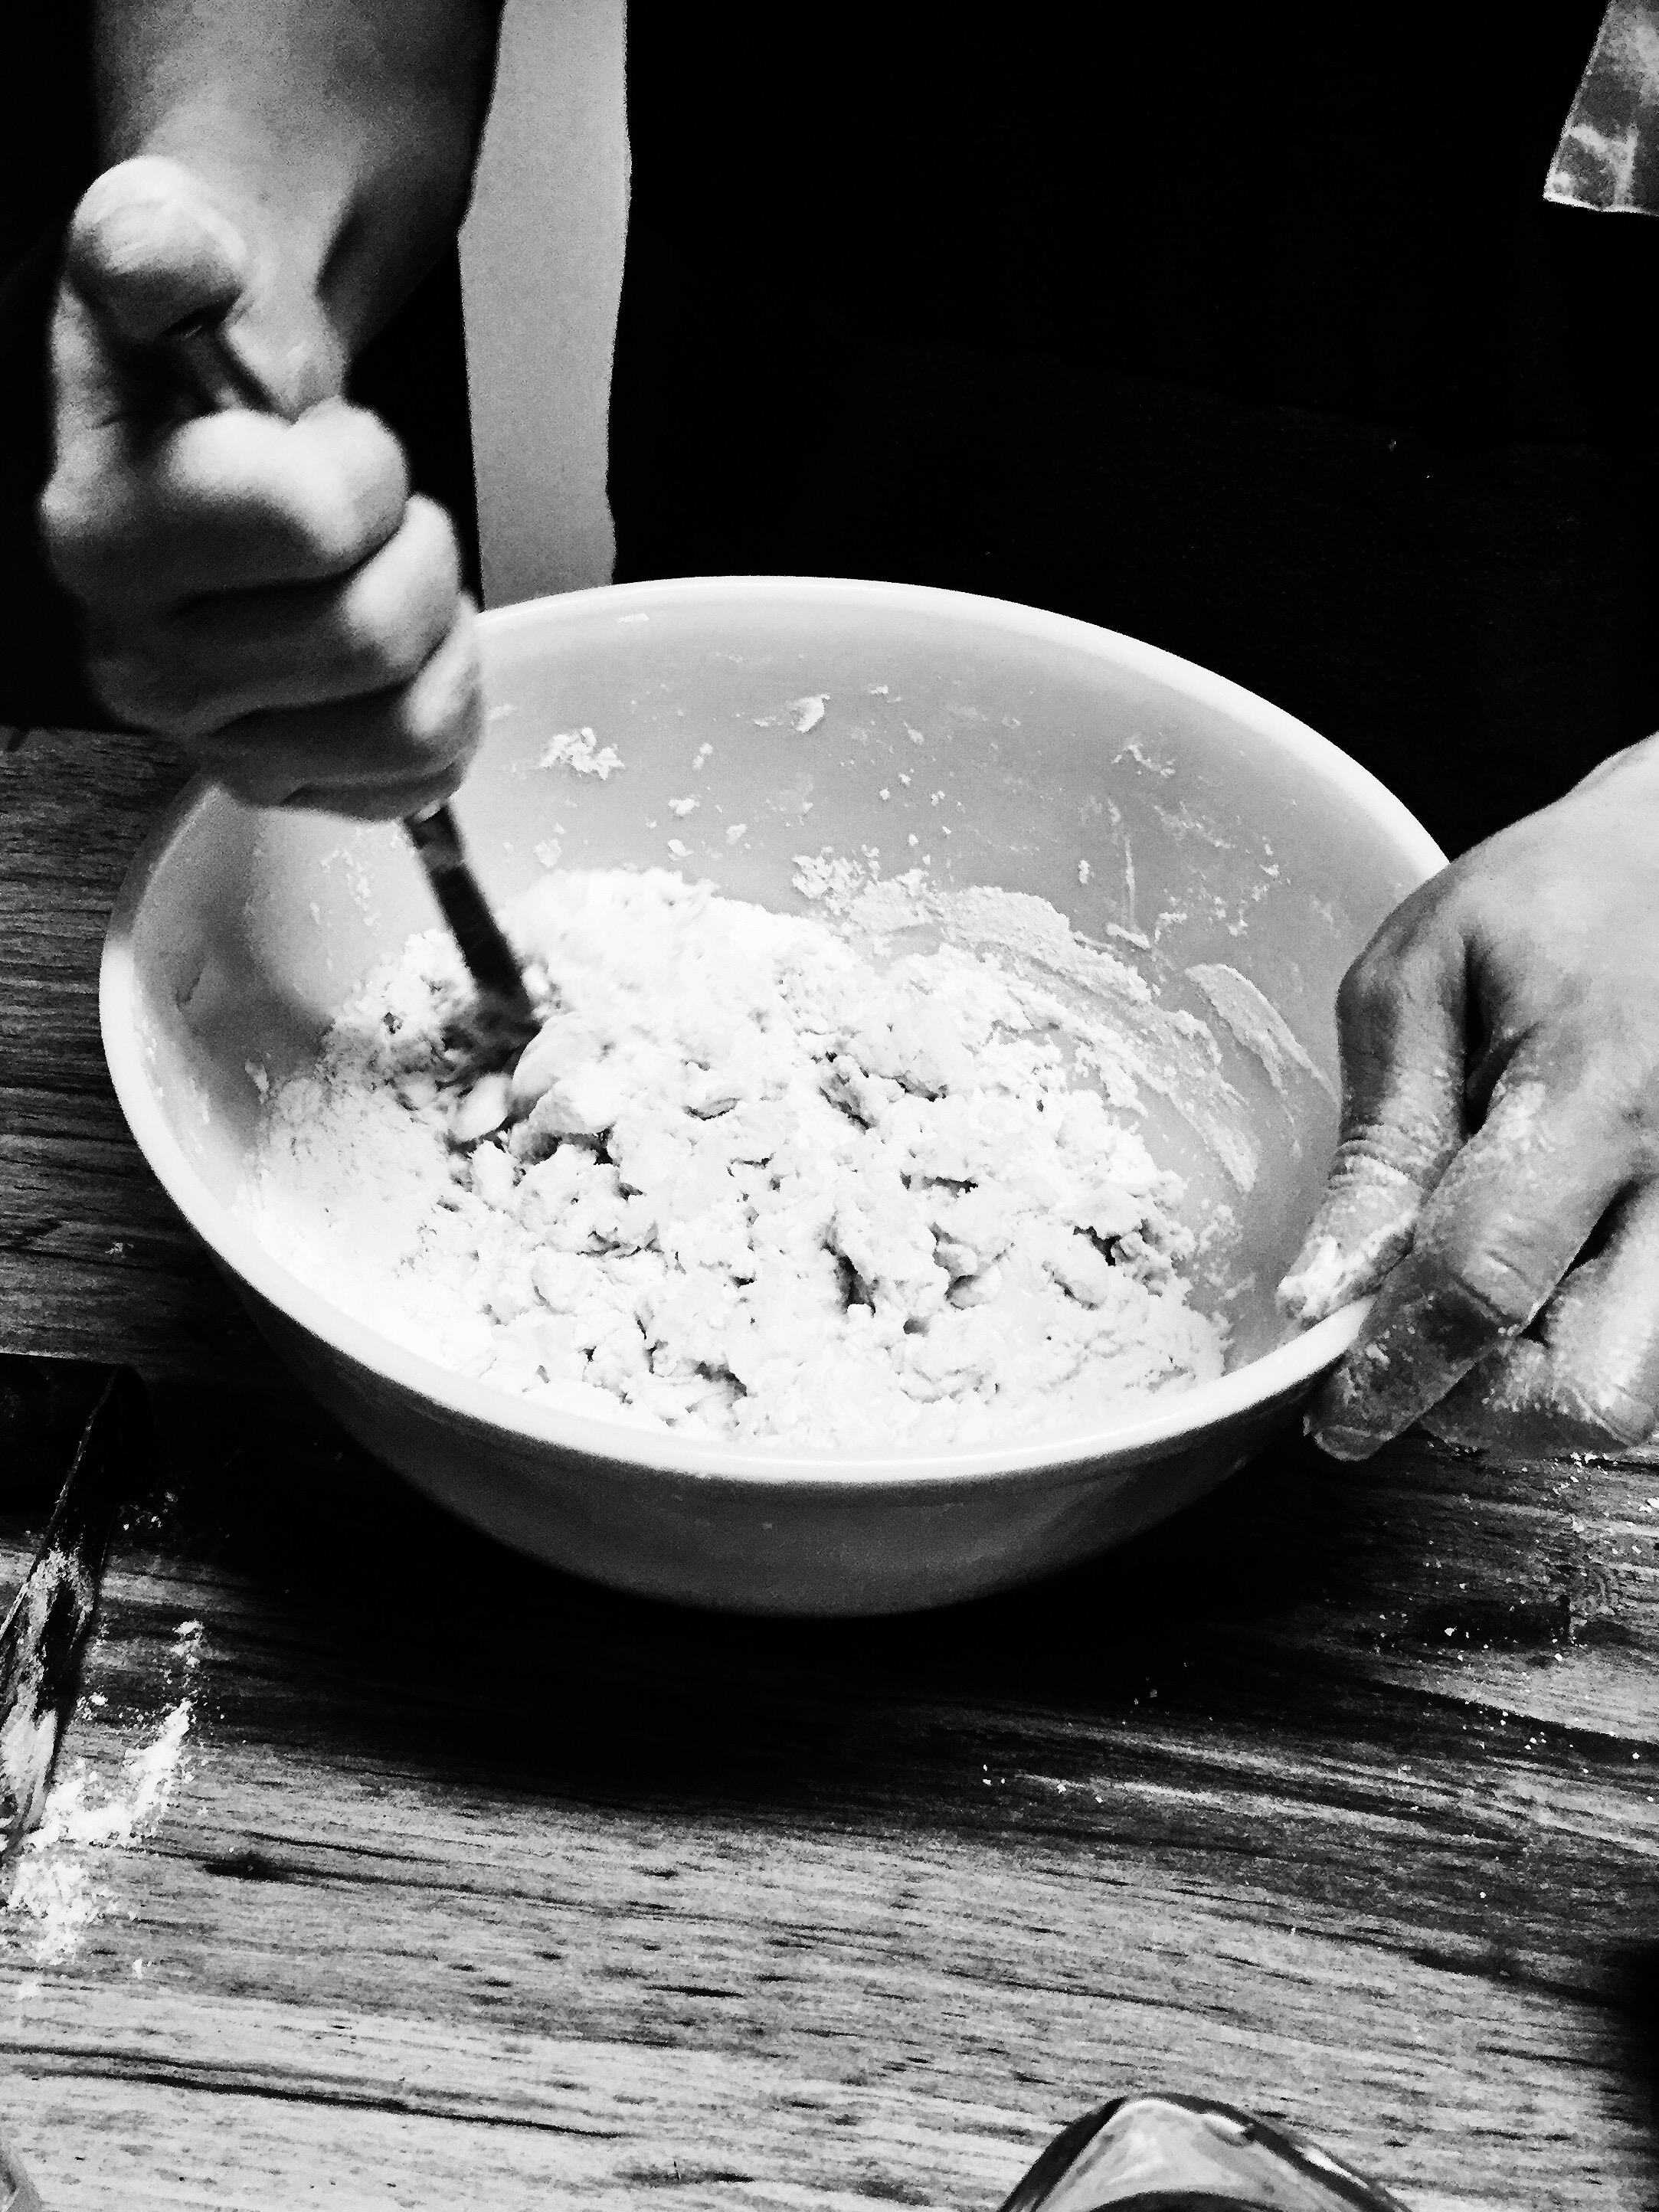
- In a large bowl, begin making the shortbread crust by mixing the butter and sugar and vanilla.
- Slowly add in the flour, mixing until the texture of wet sand.
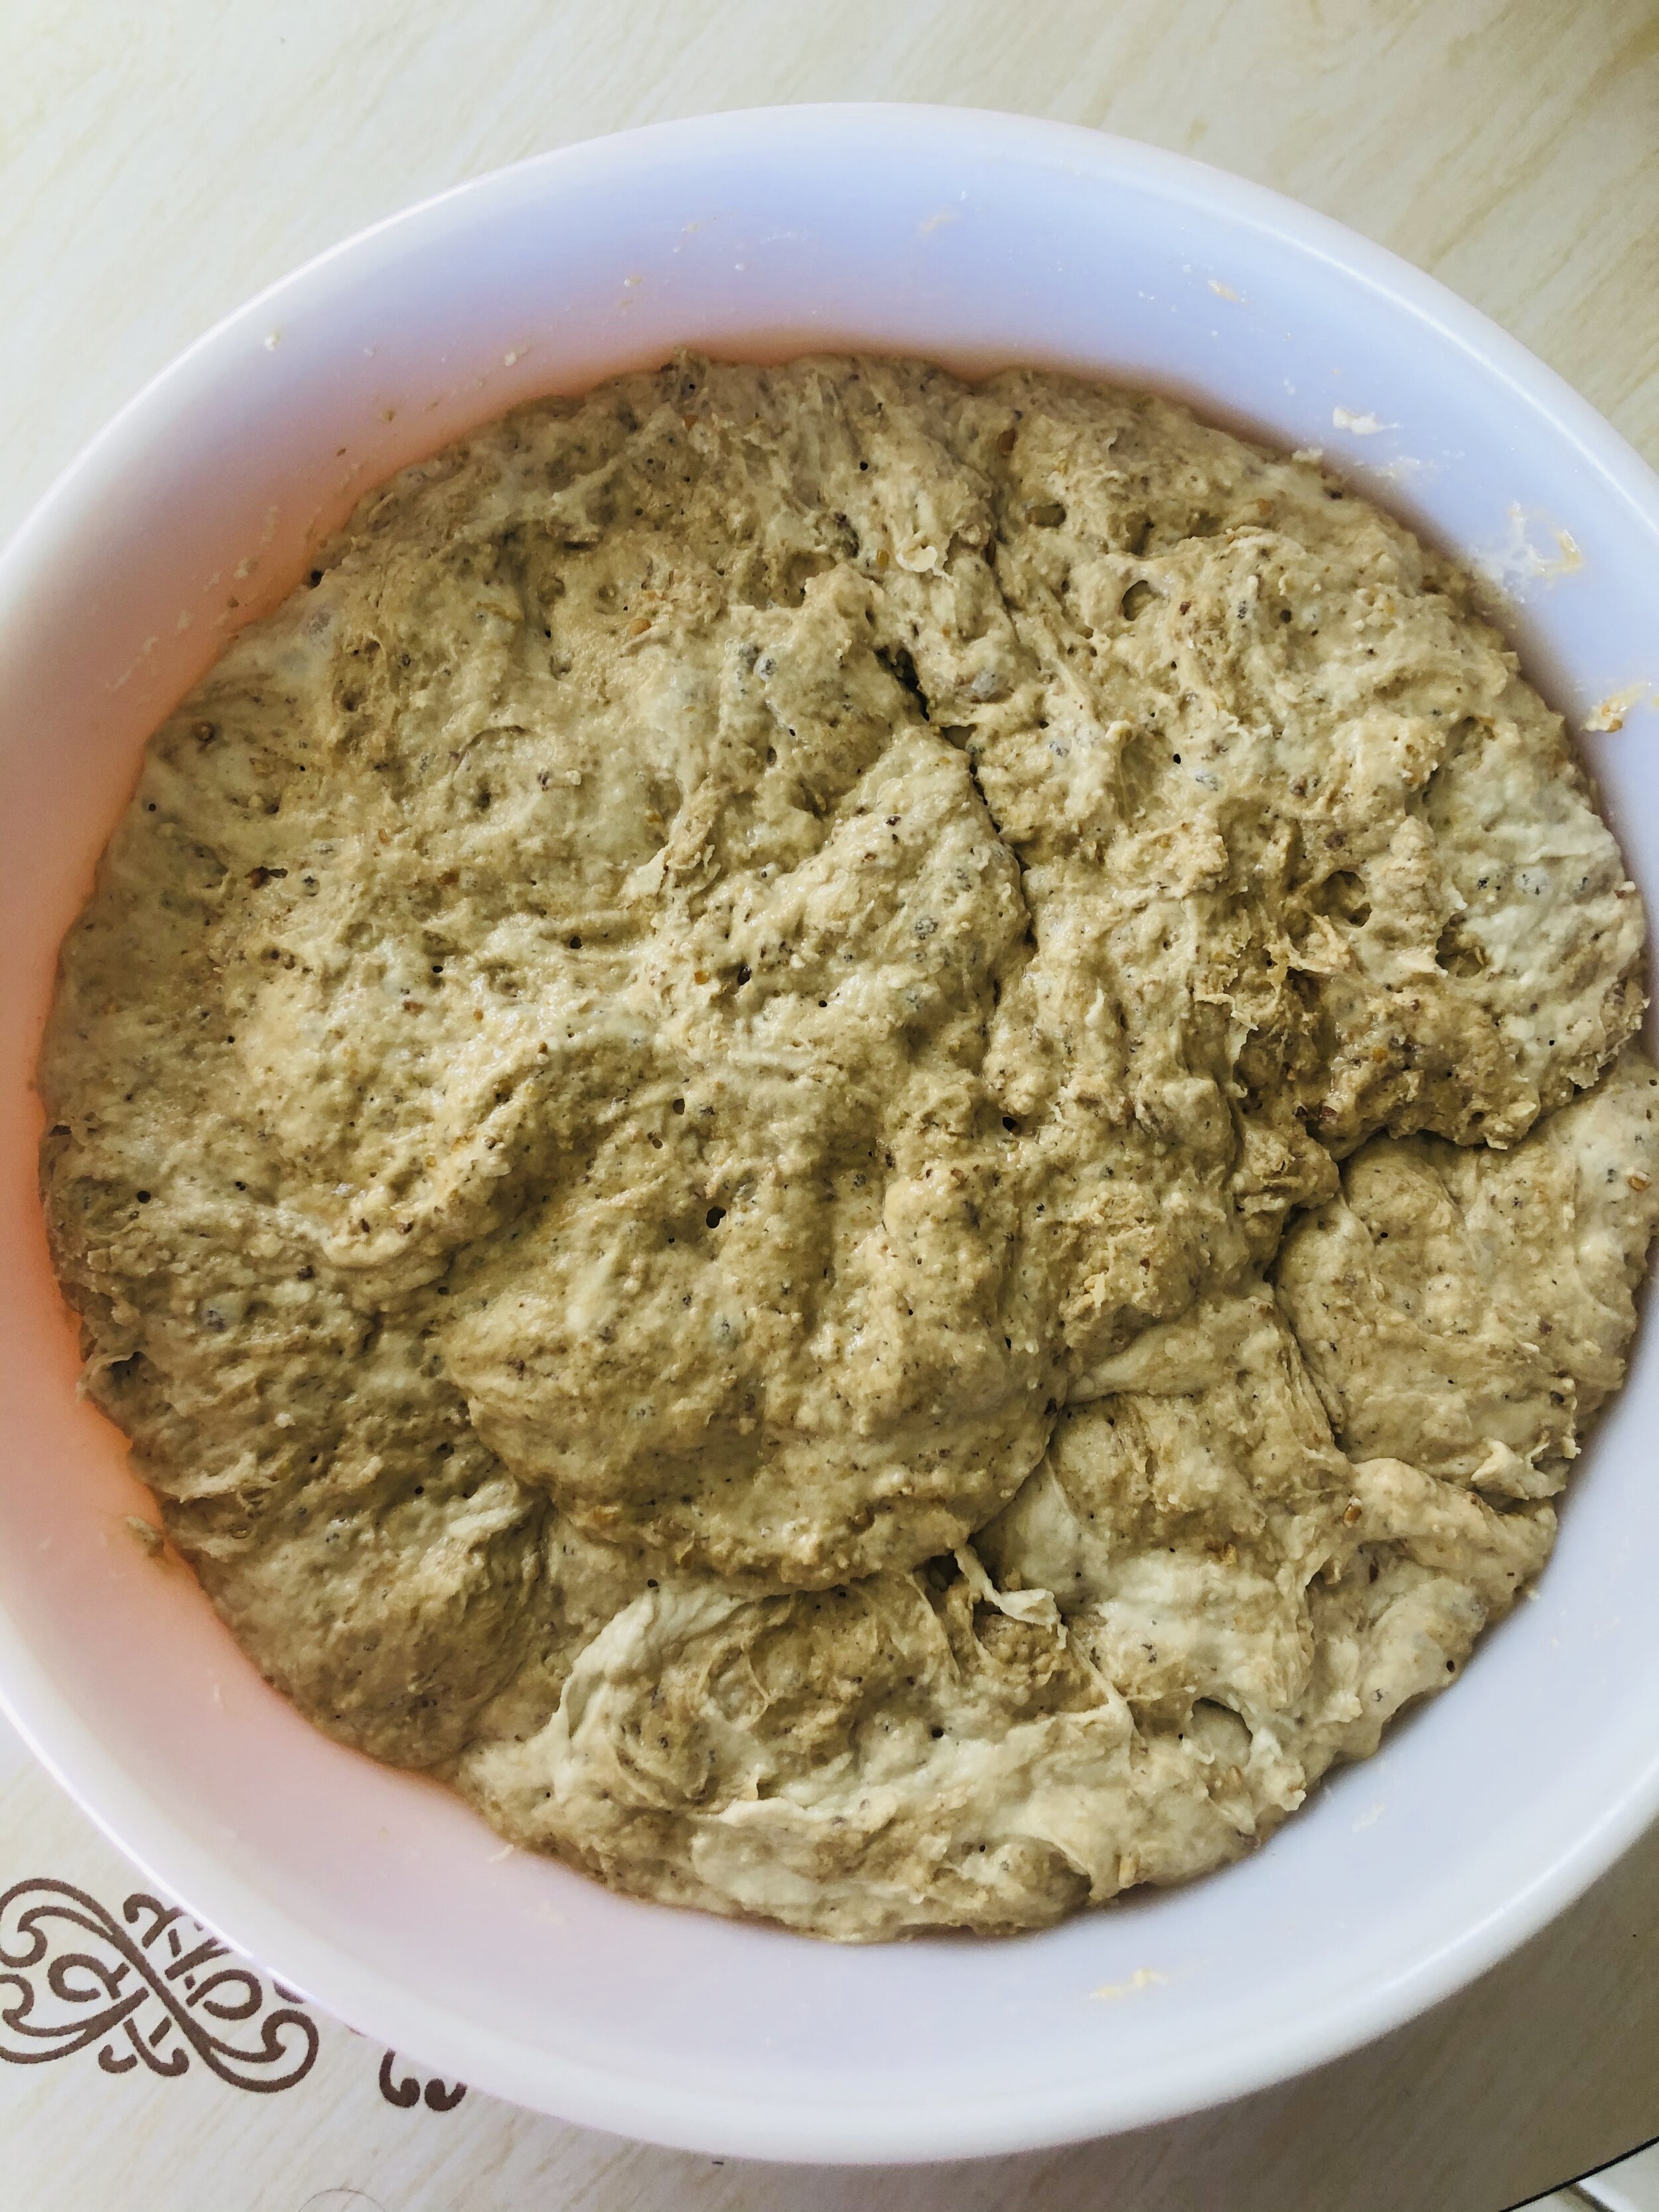
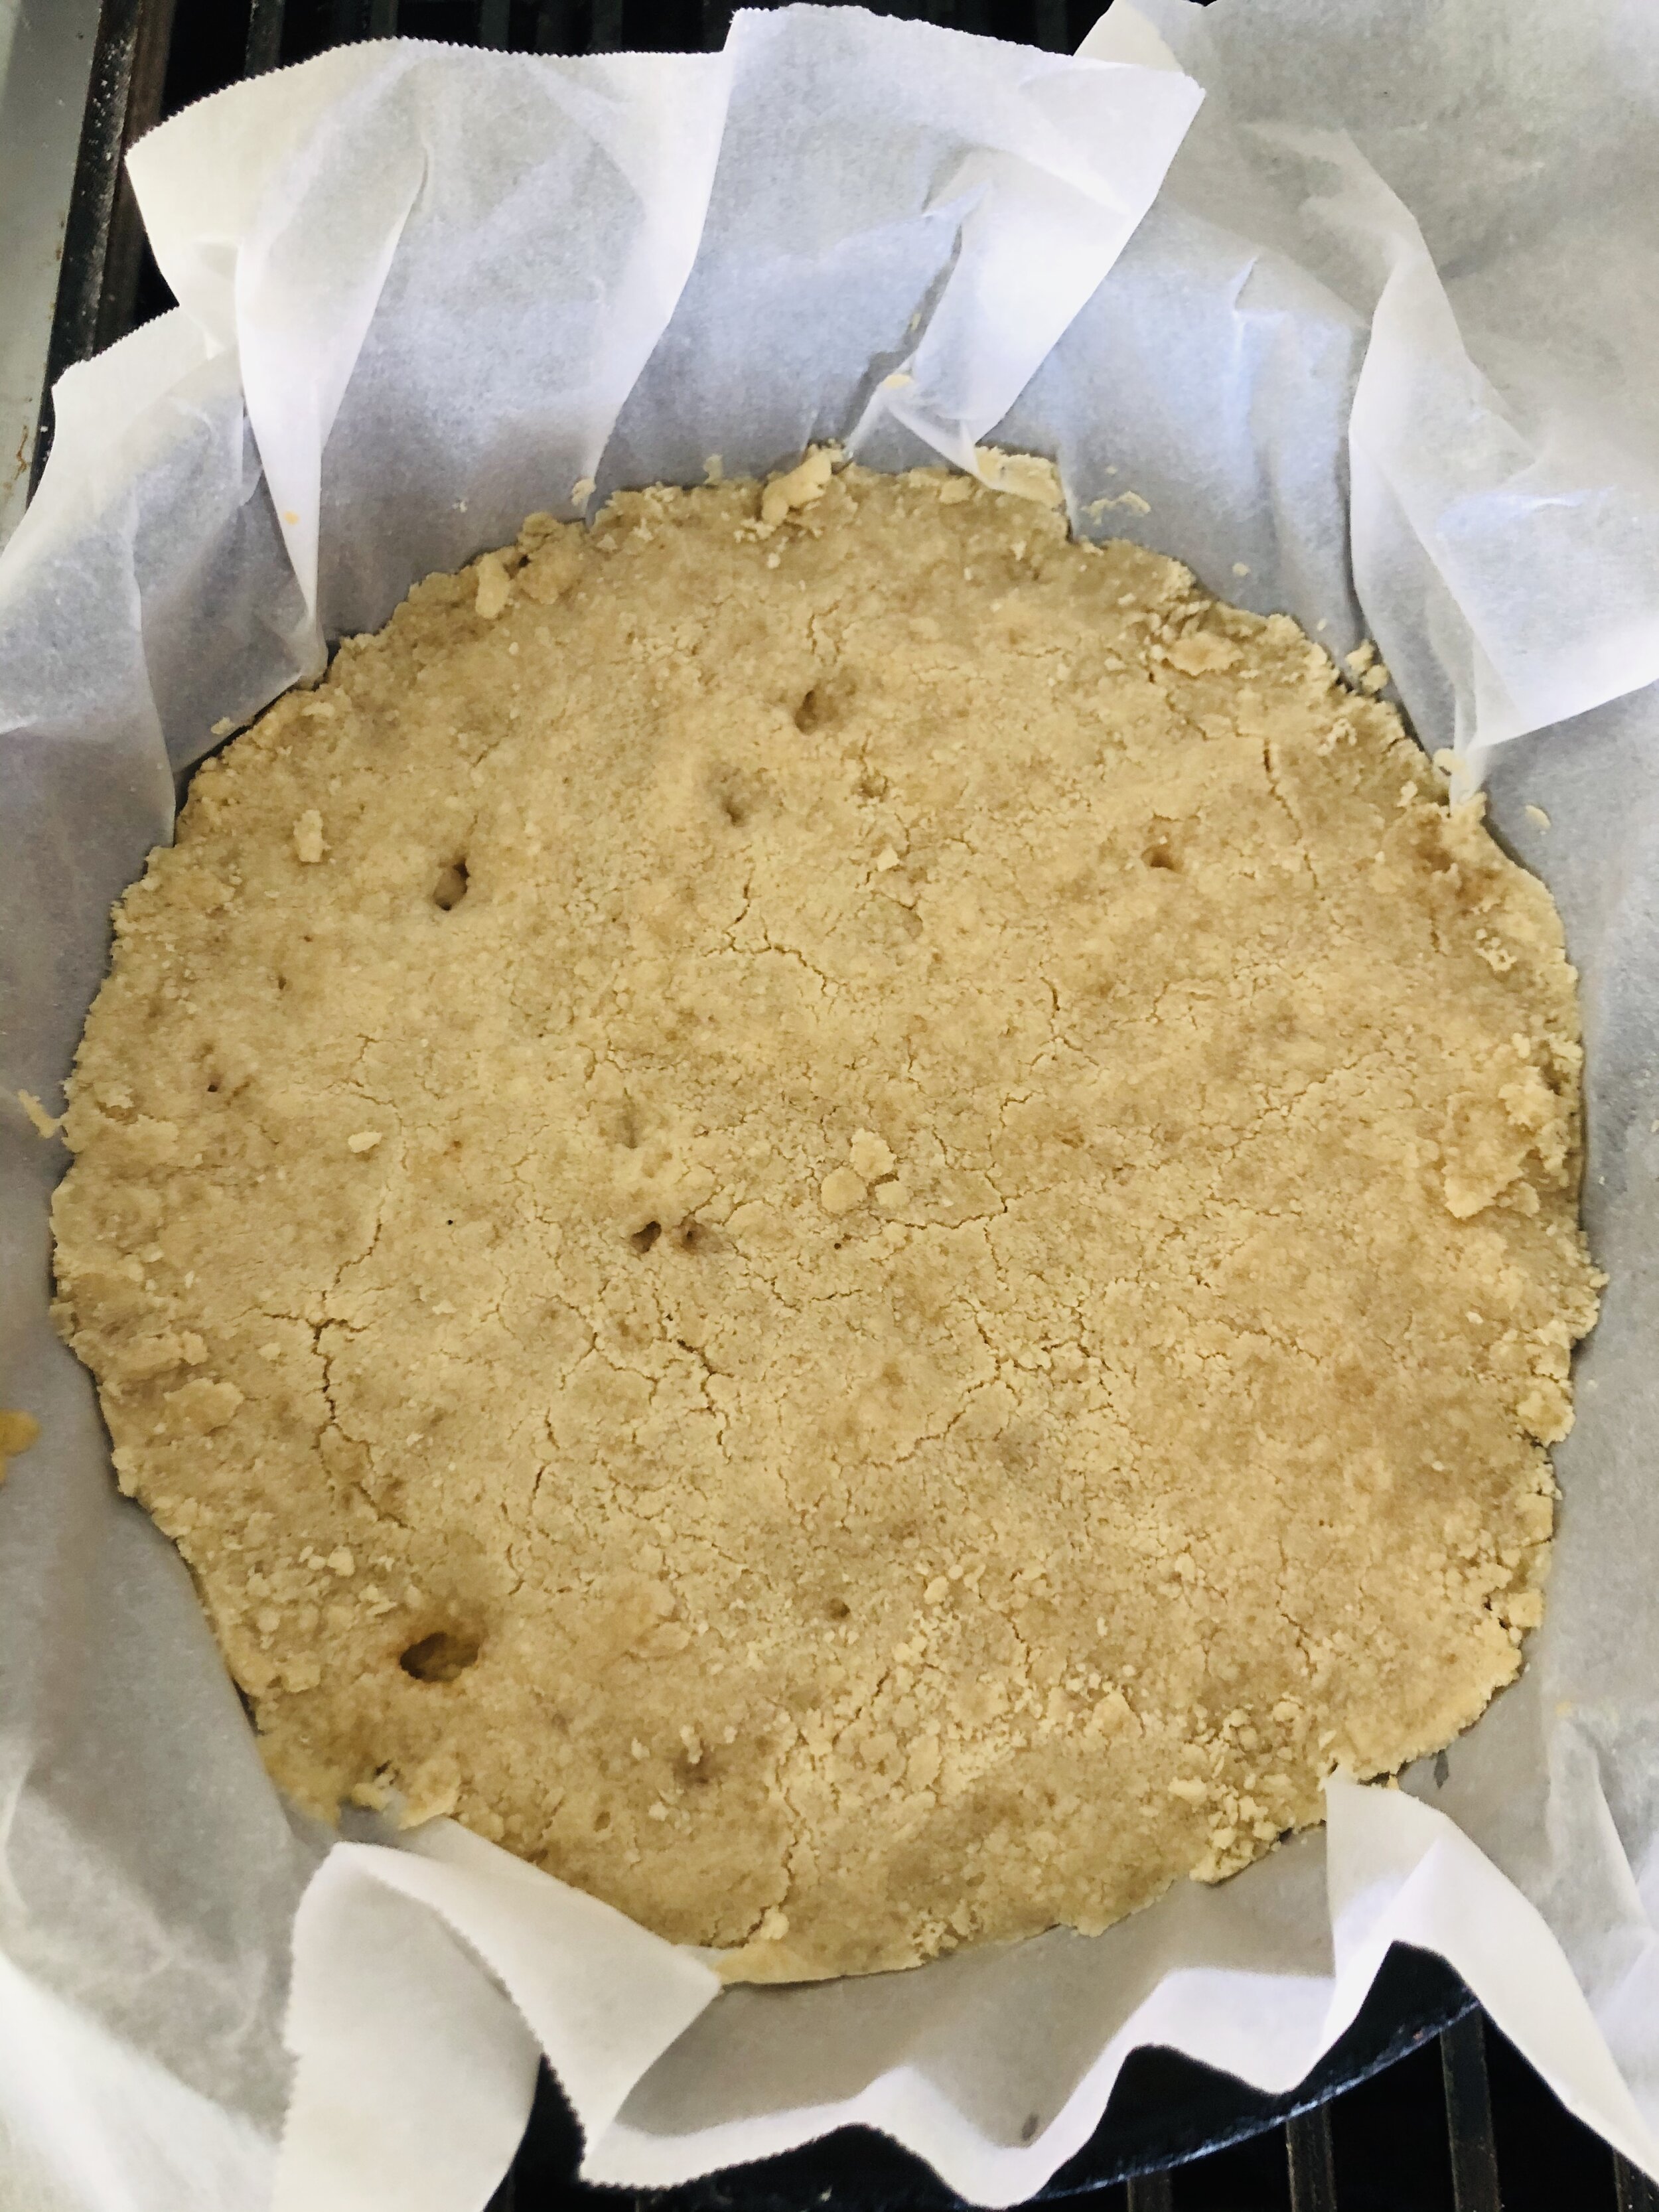
- Pat the crust mixture into an 8 inch square pan or oven safe equivalent and bake for 12ish minutes or until just barely beginning to golden.
- While the crust is baking, toss the sliced apples with the flour and sugar.
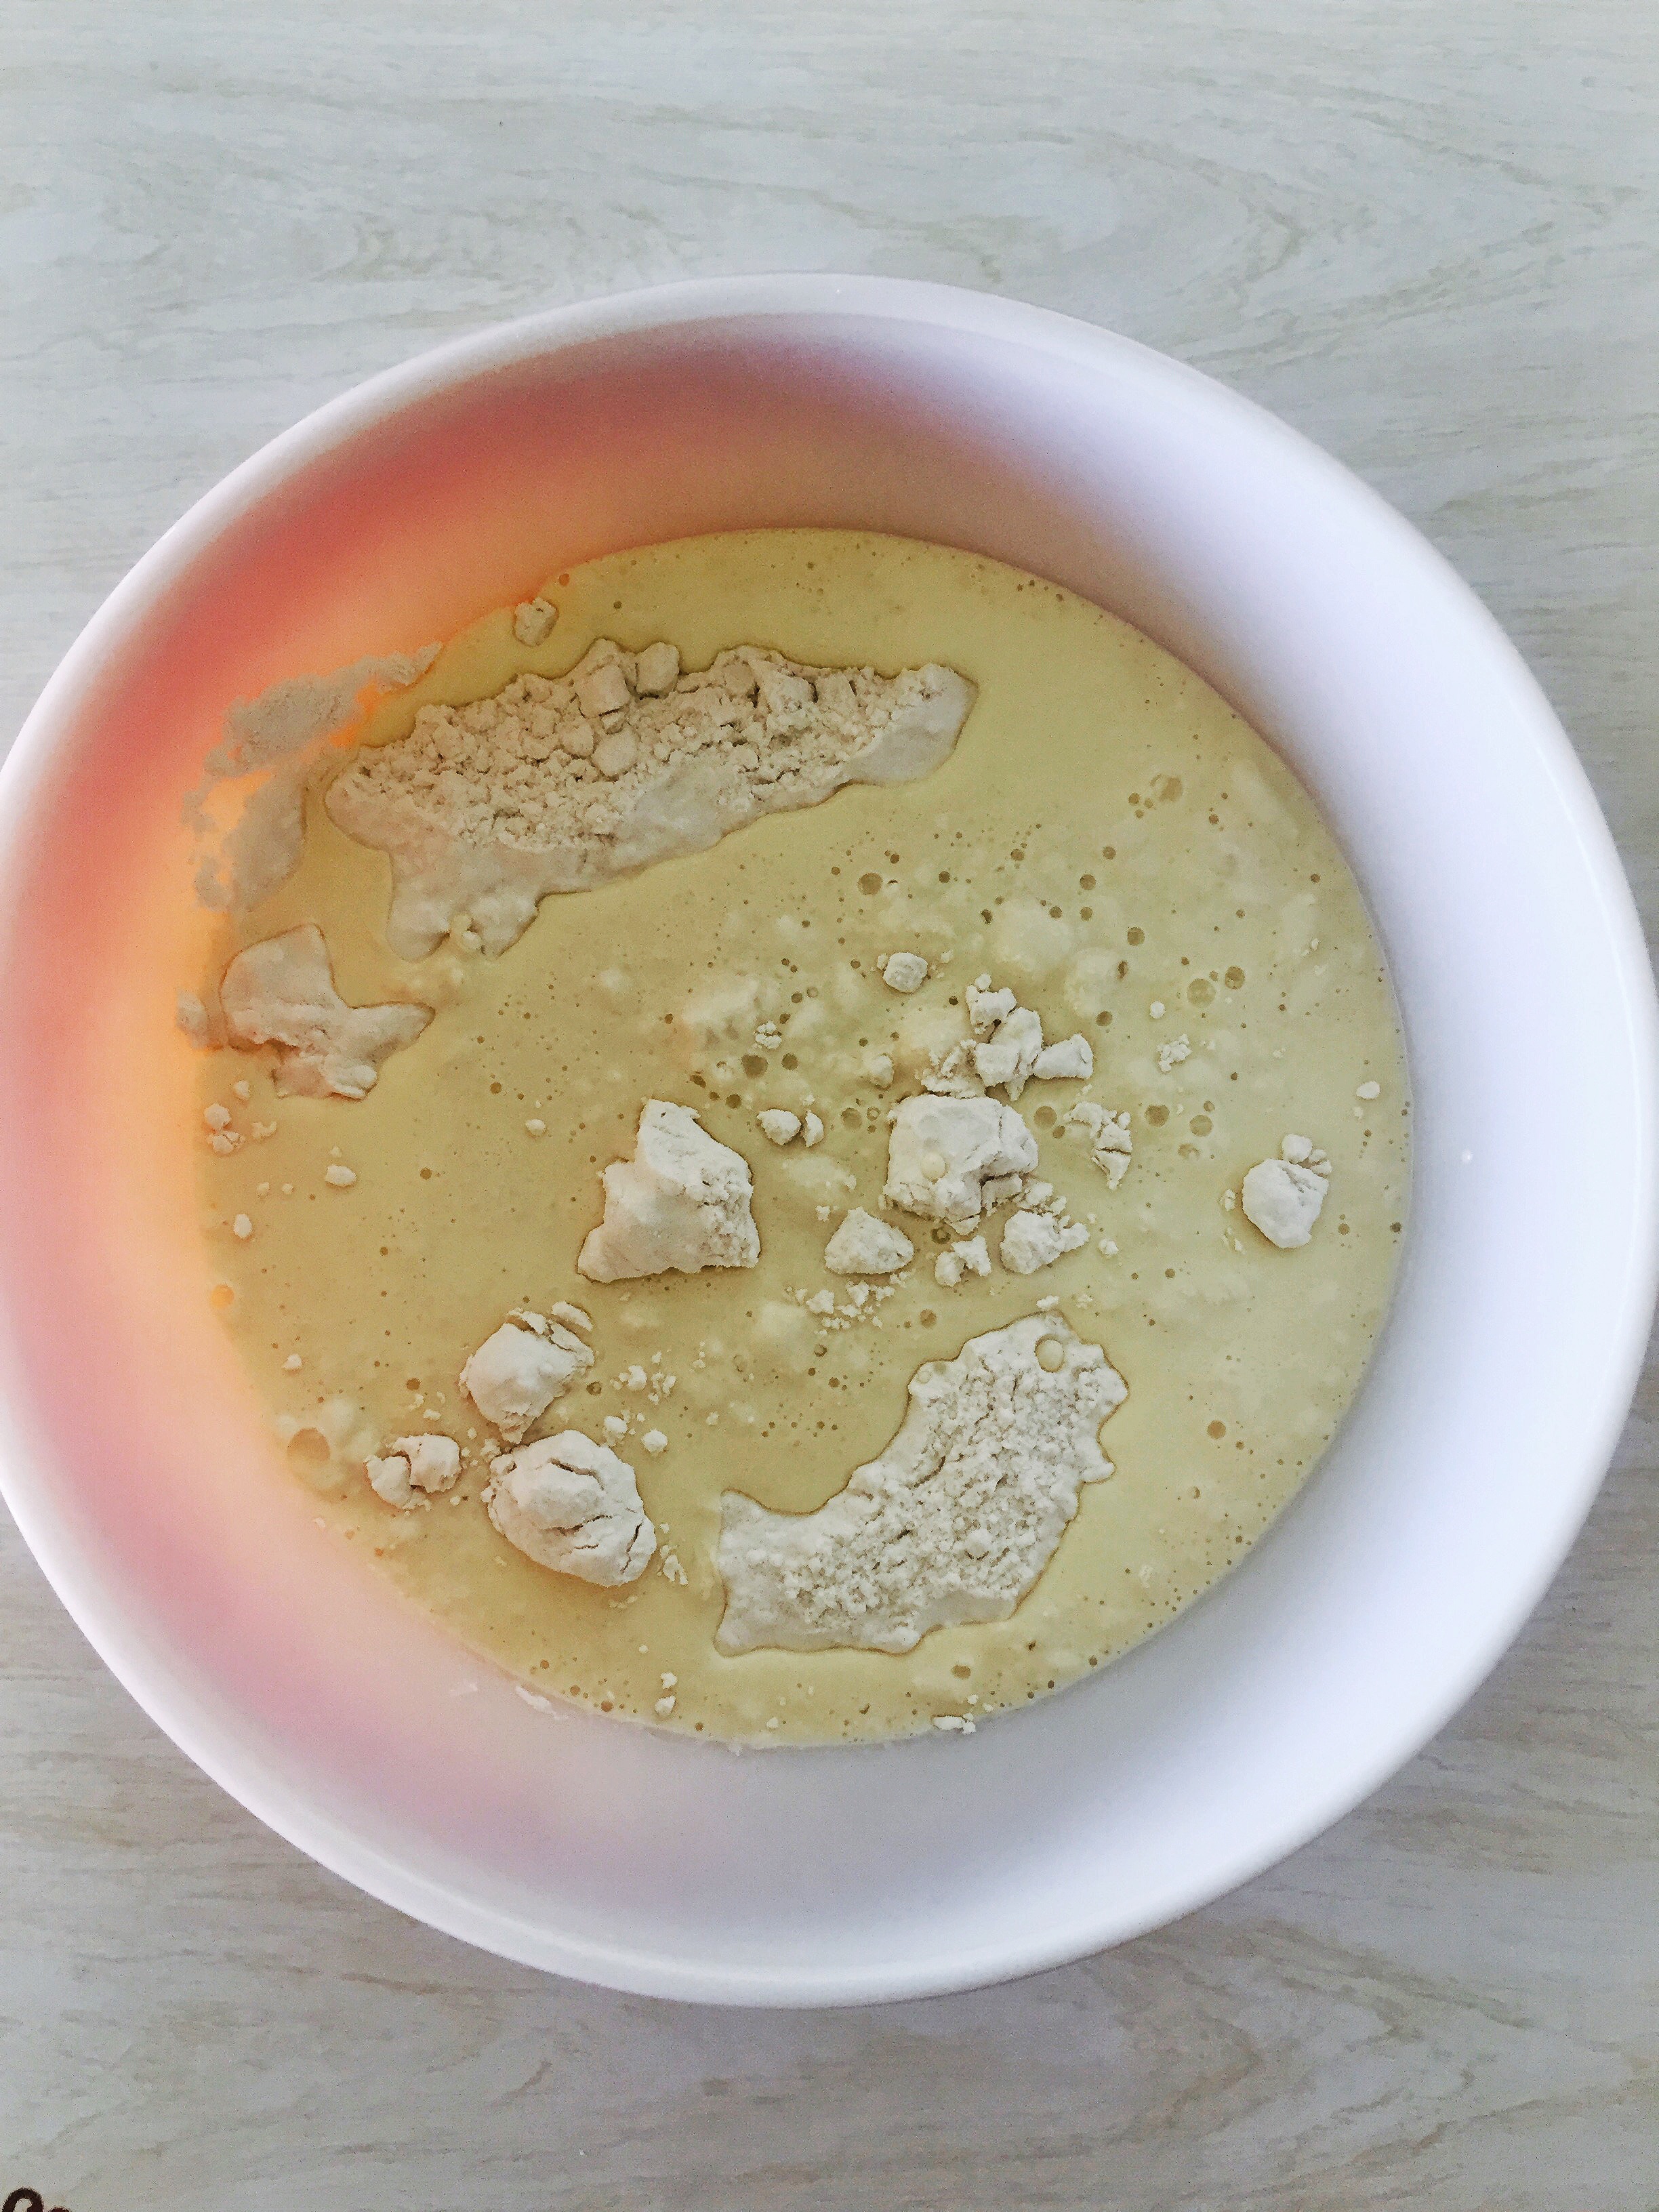
- In another bowl, add the dry ingredients for the crumble topping and toss to blend.
- Next cut in the butter using a pastry cutter or two knives, blending the ingredients till clumpy, like wet sand.
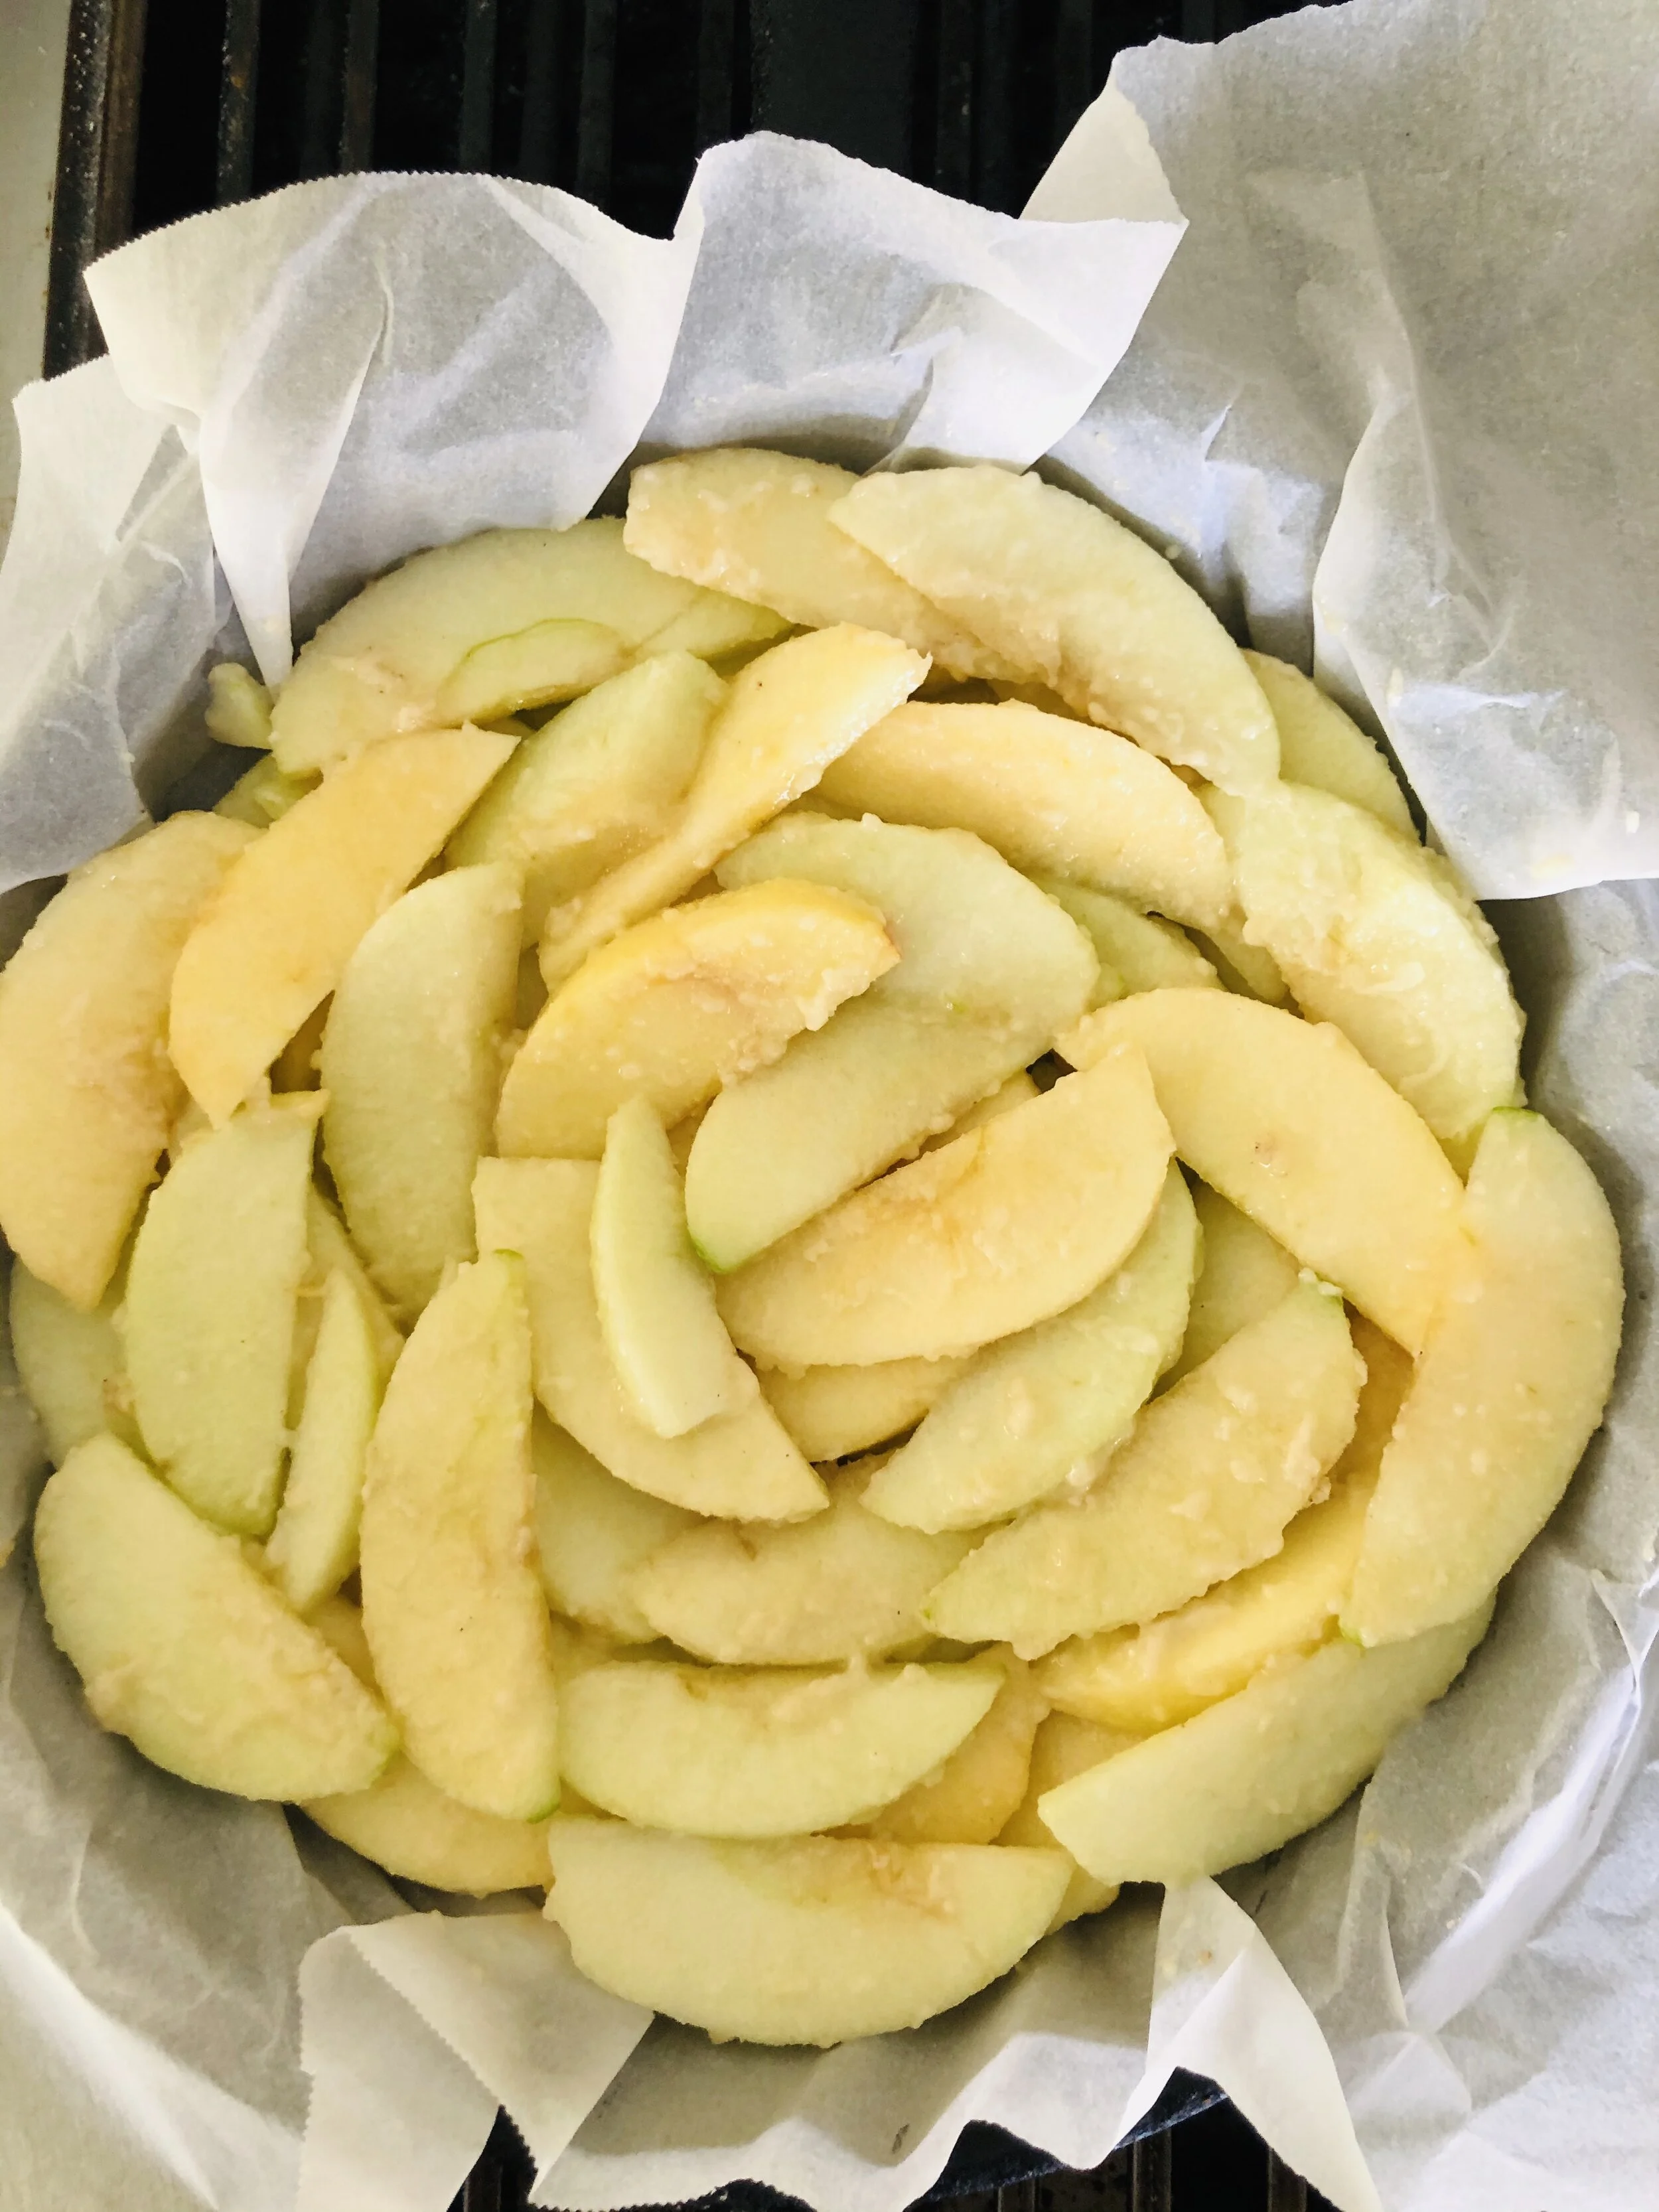
- When the shortbread crust is finished baking, layer the apple slices on top, stacking them as necessary to assure a solid layer.
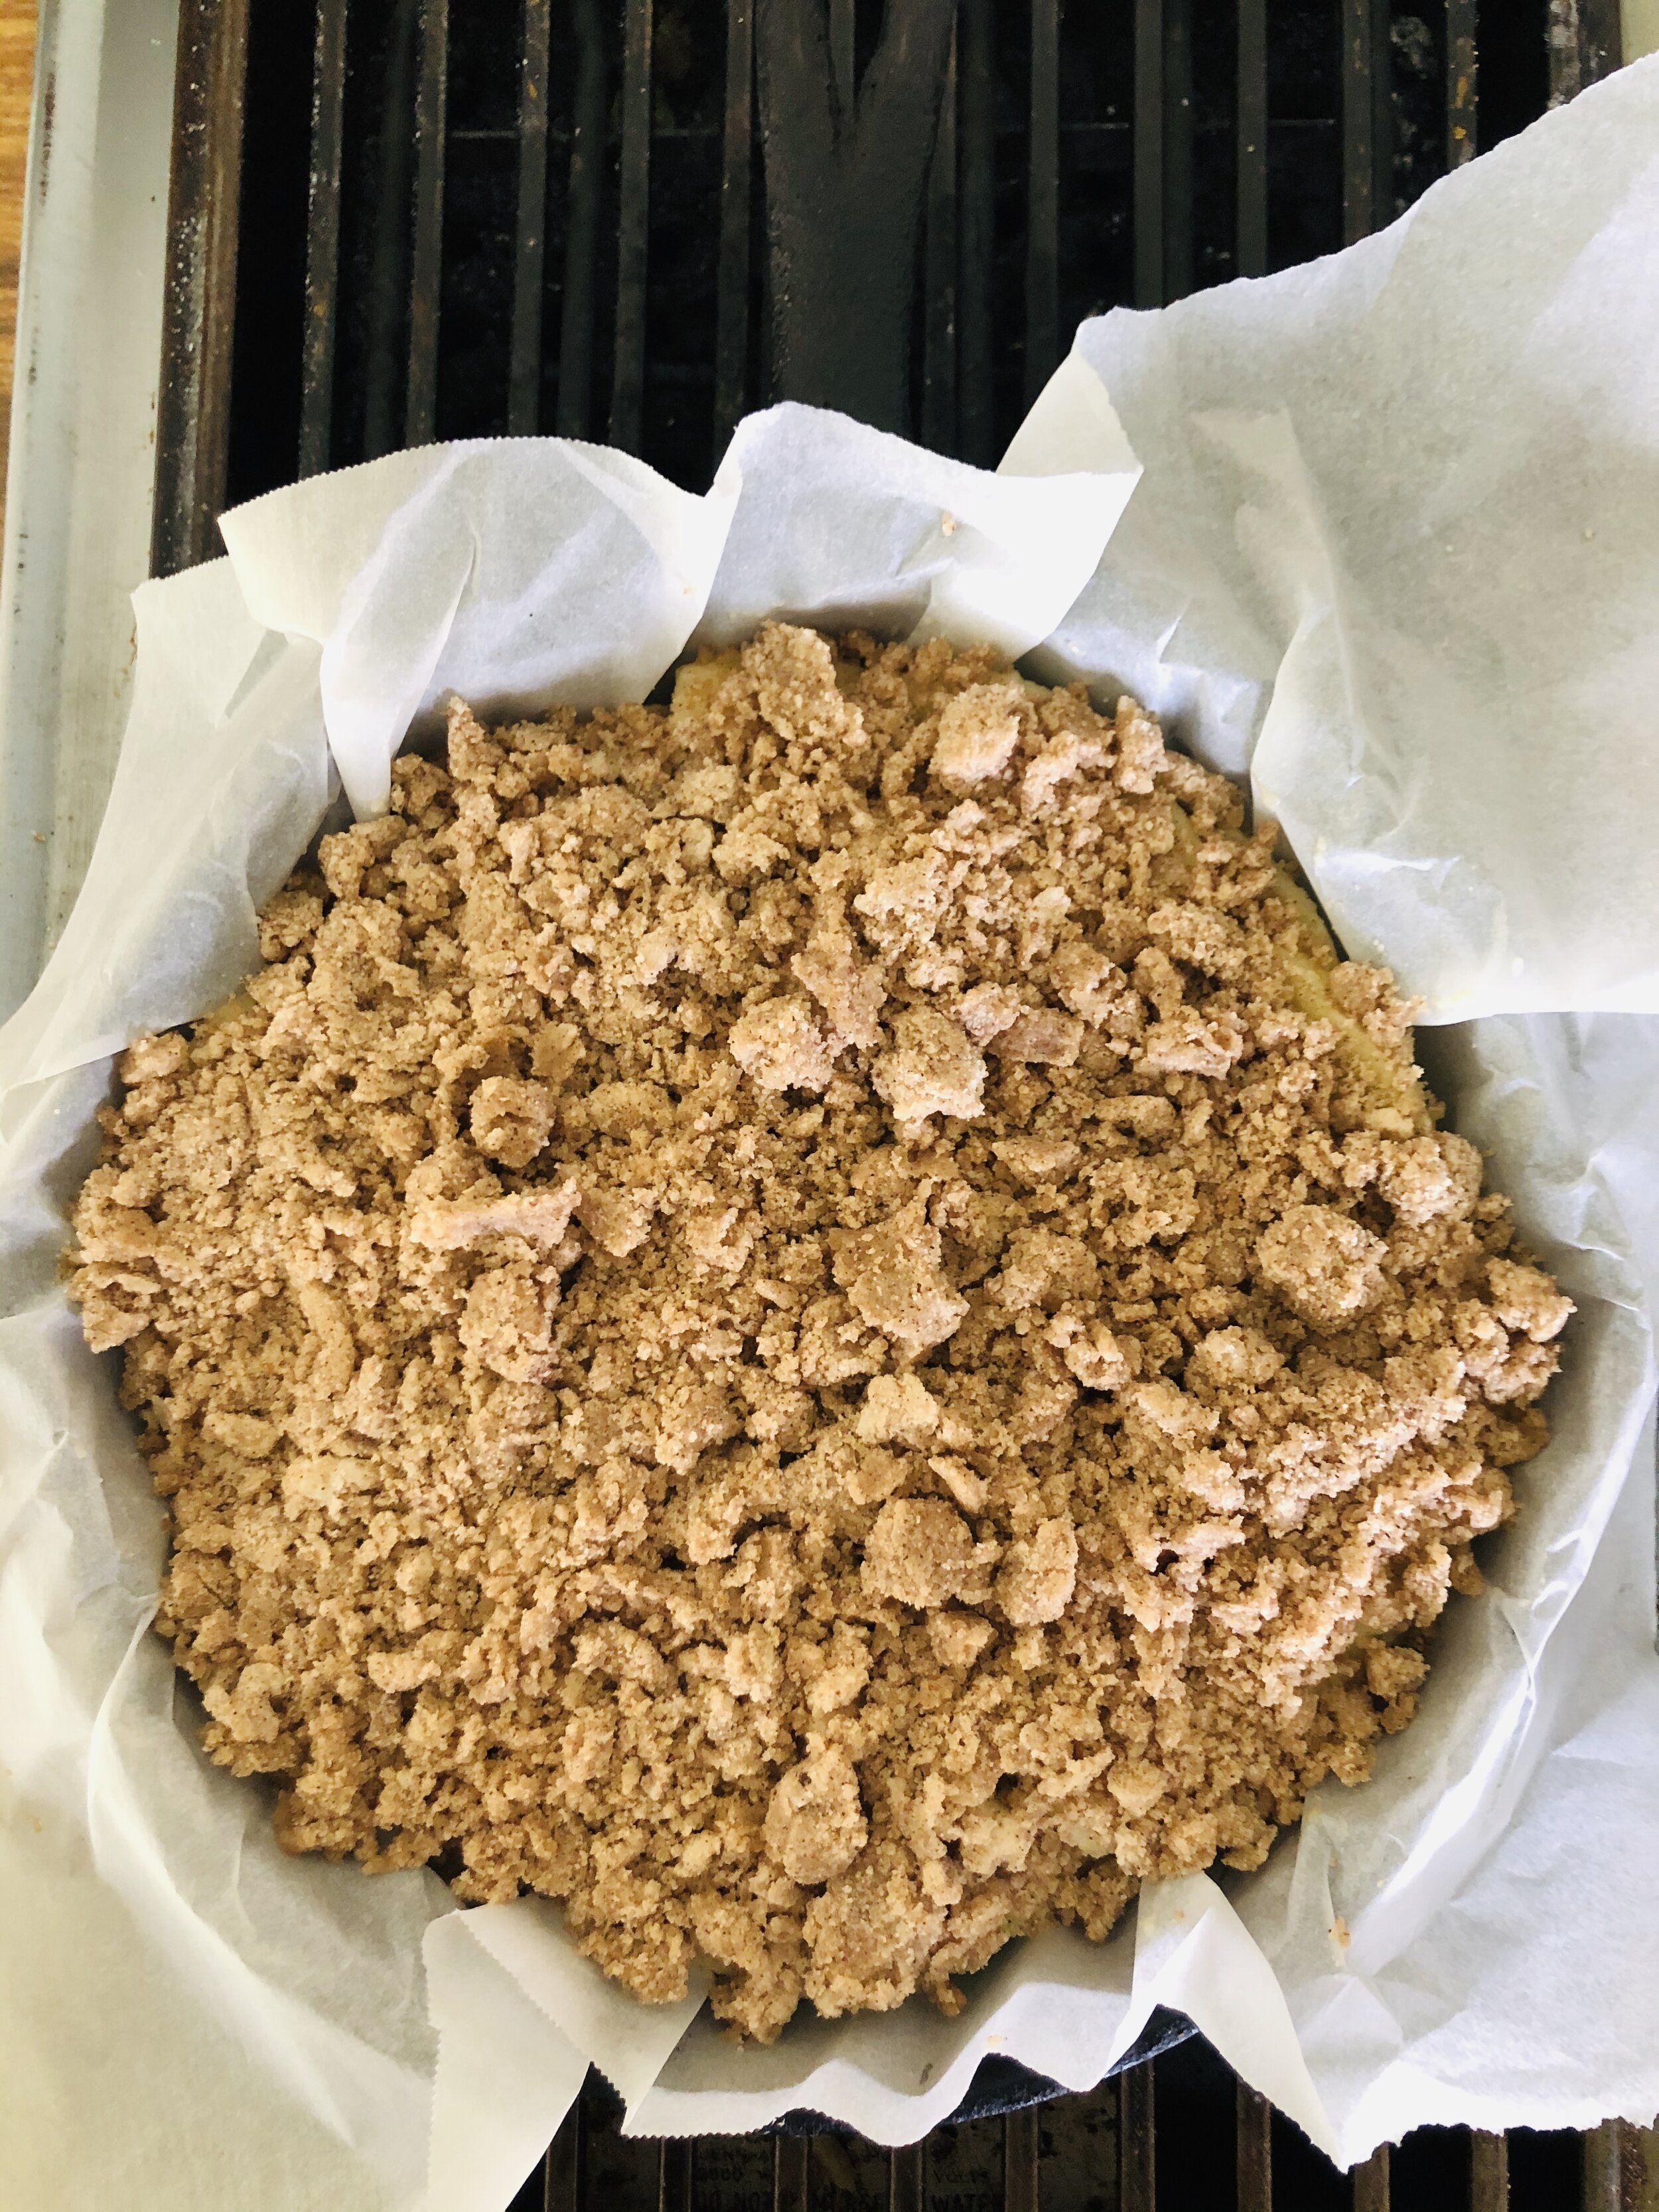
- Next, squeeze small handfuls of the crumble mixture and scatter over the apple slices.
- Continue with the crumble topping so apples are fully covered and then bake for 40 to 45 minutes in the oven at 350 degrees until apples are bubbly and the topping is golden brown.
- Let cool a bit, then carefully remove the bars from the pan using the parchment paper to assist you, and place on a wire rack to cool and stiffen up.
- When completely cool, cut into bars.
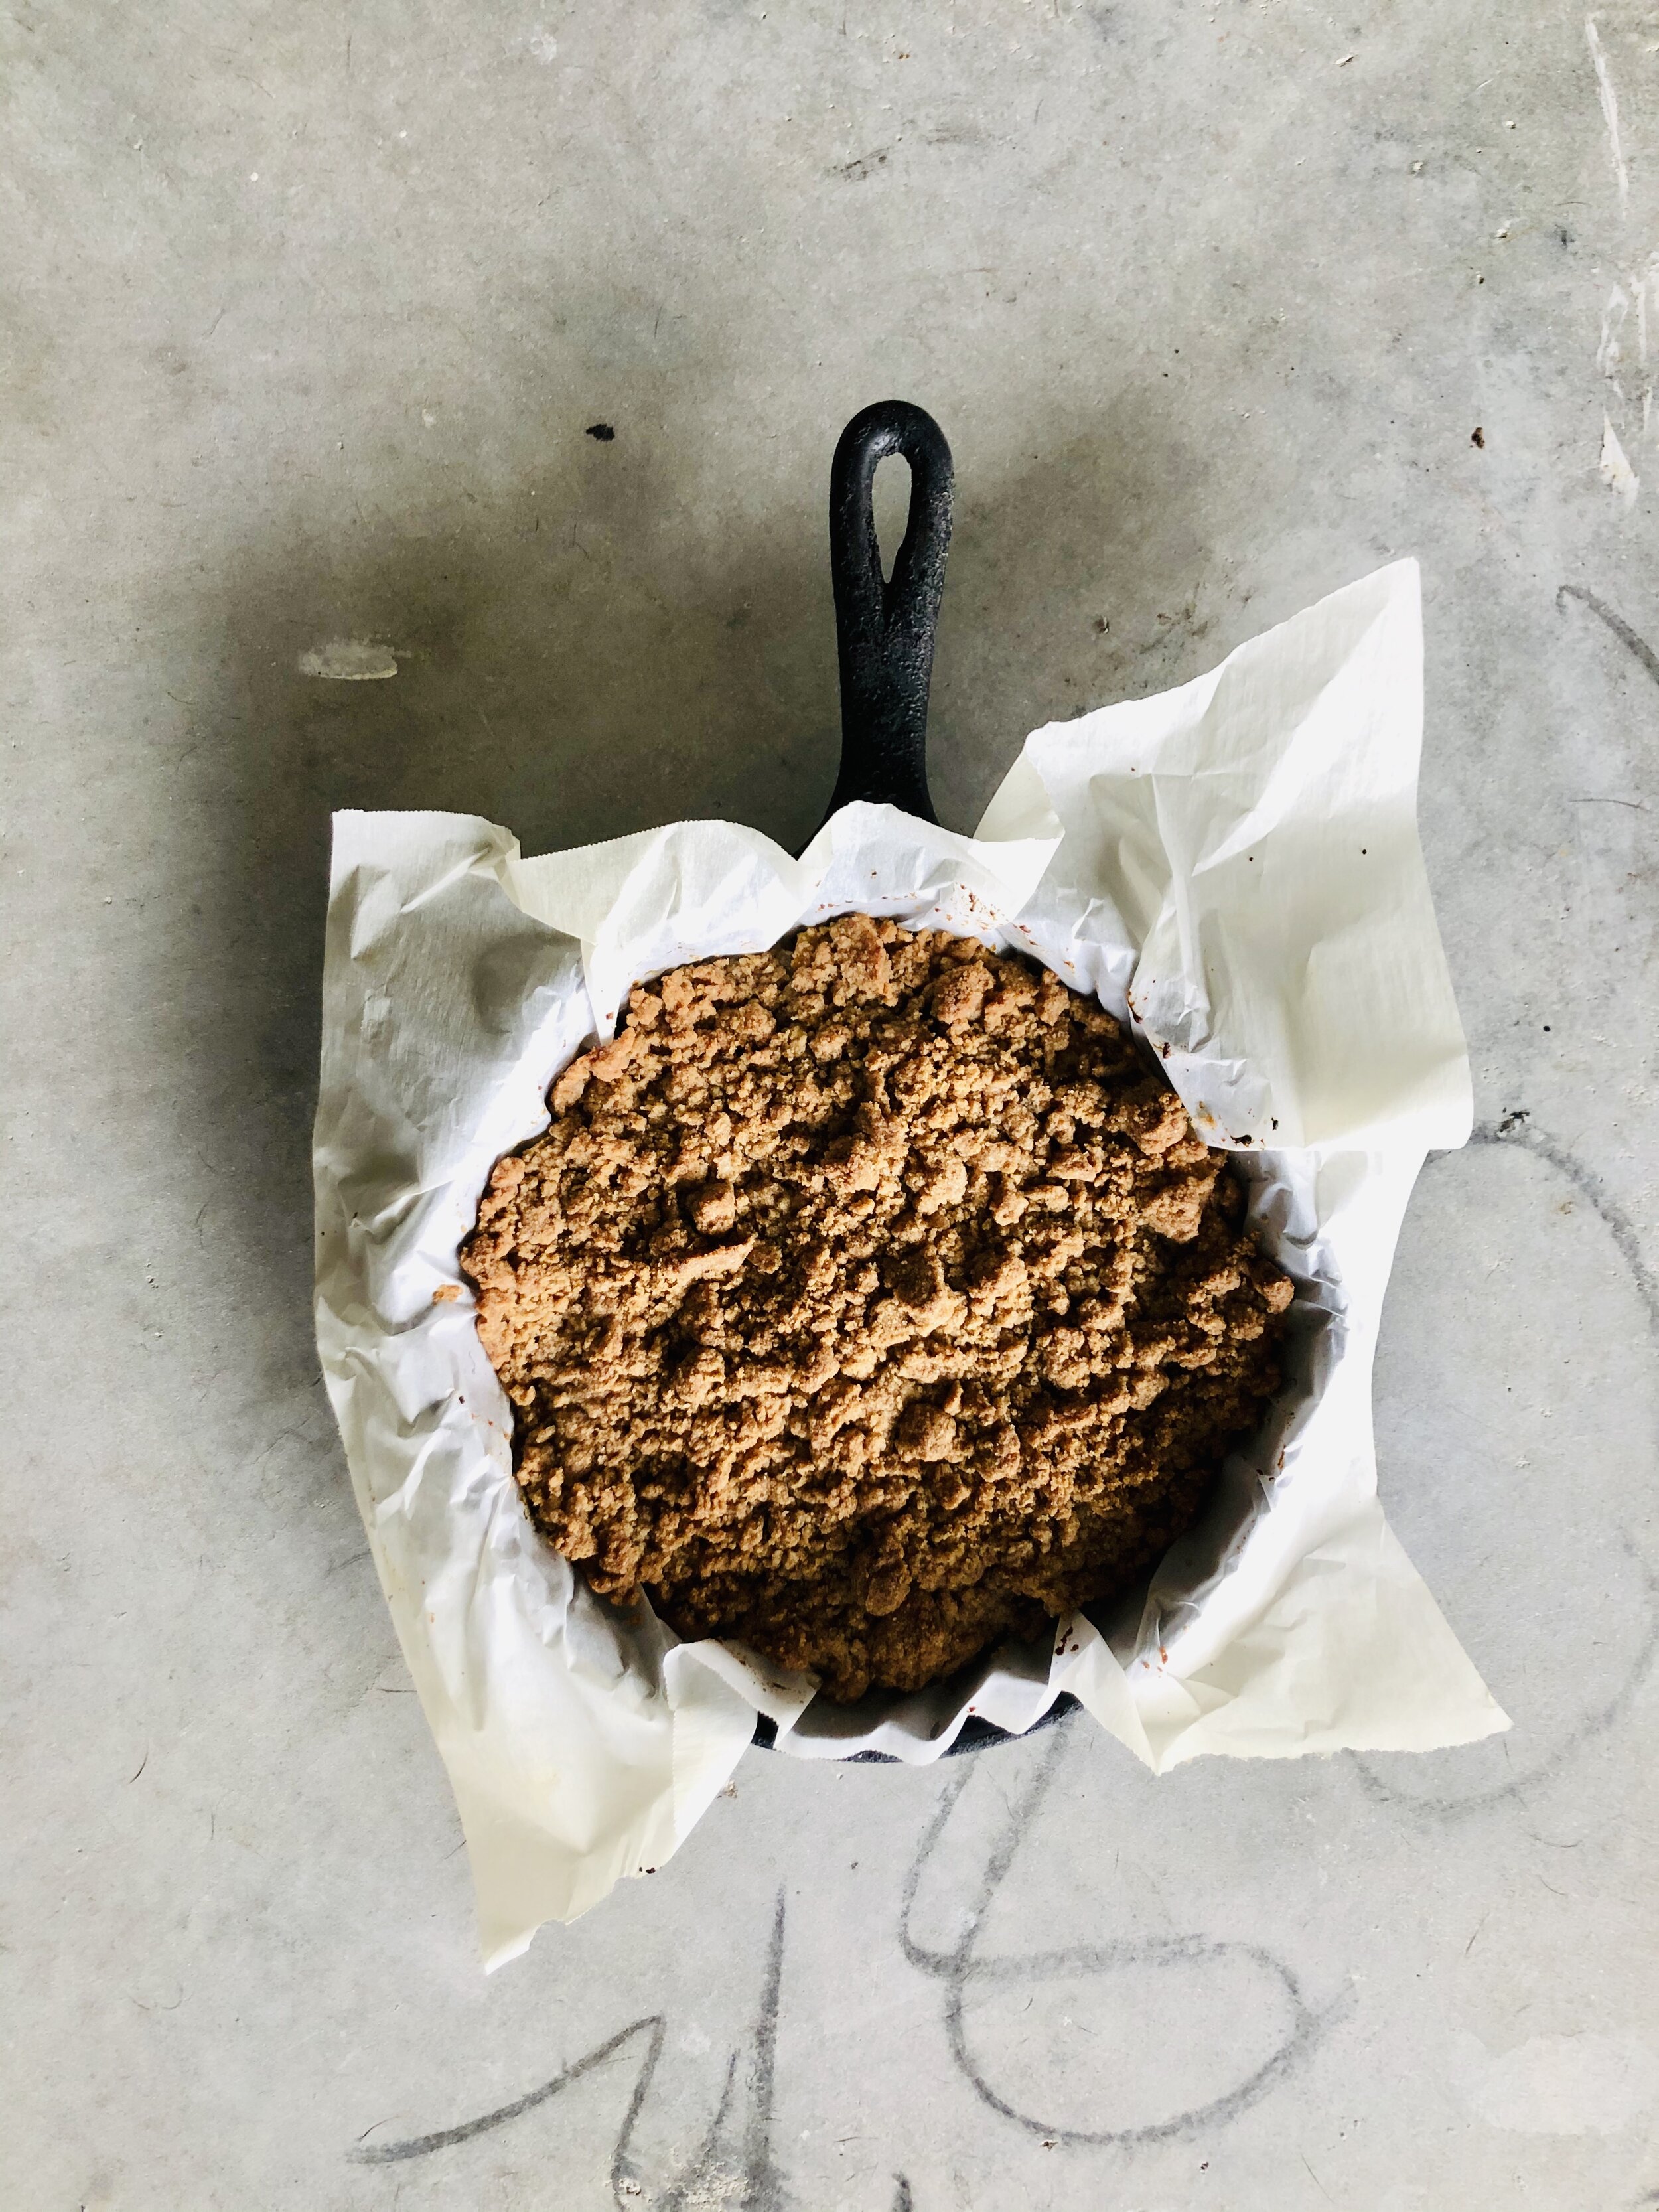
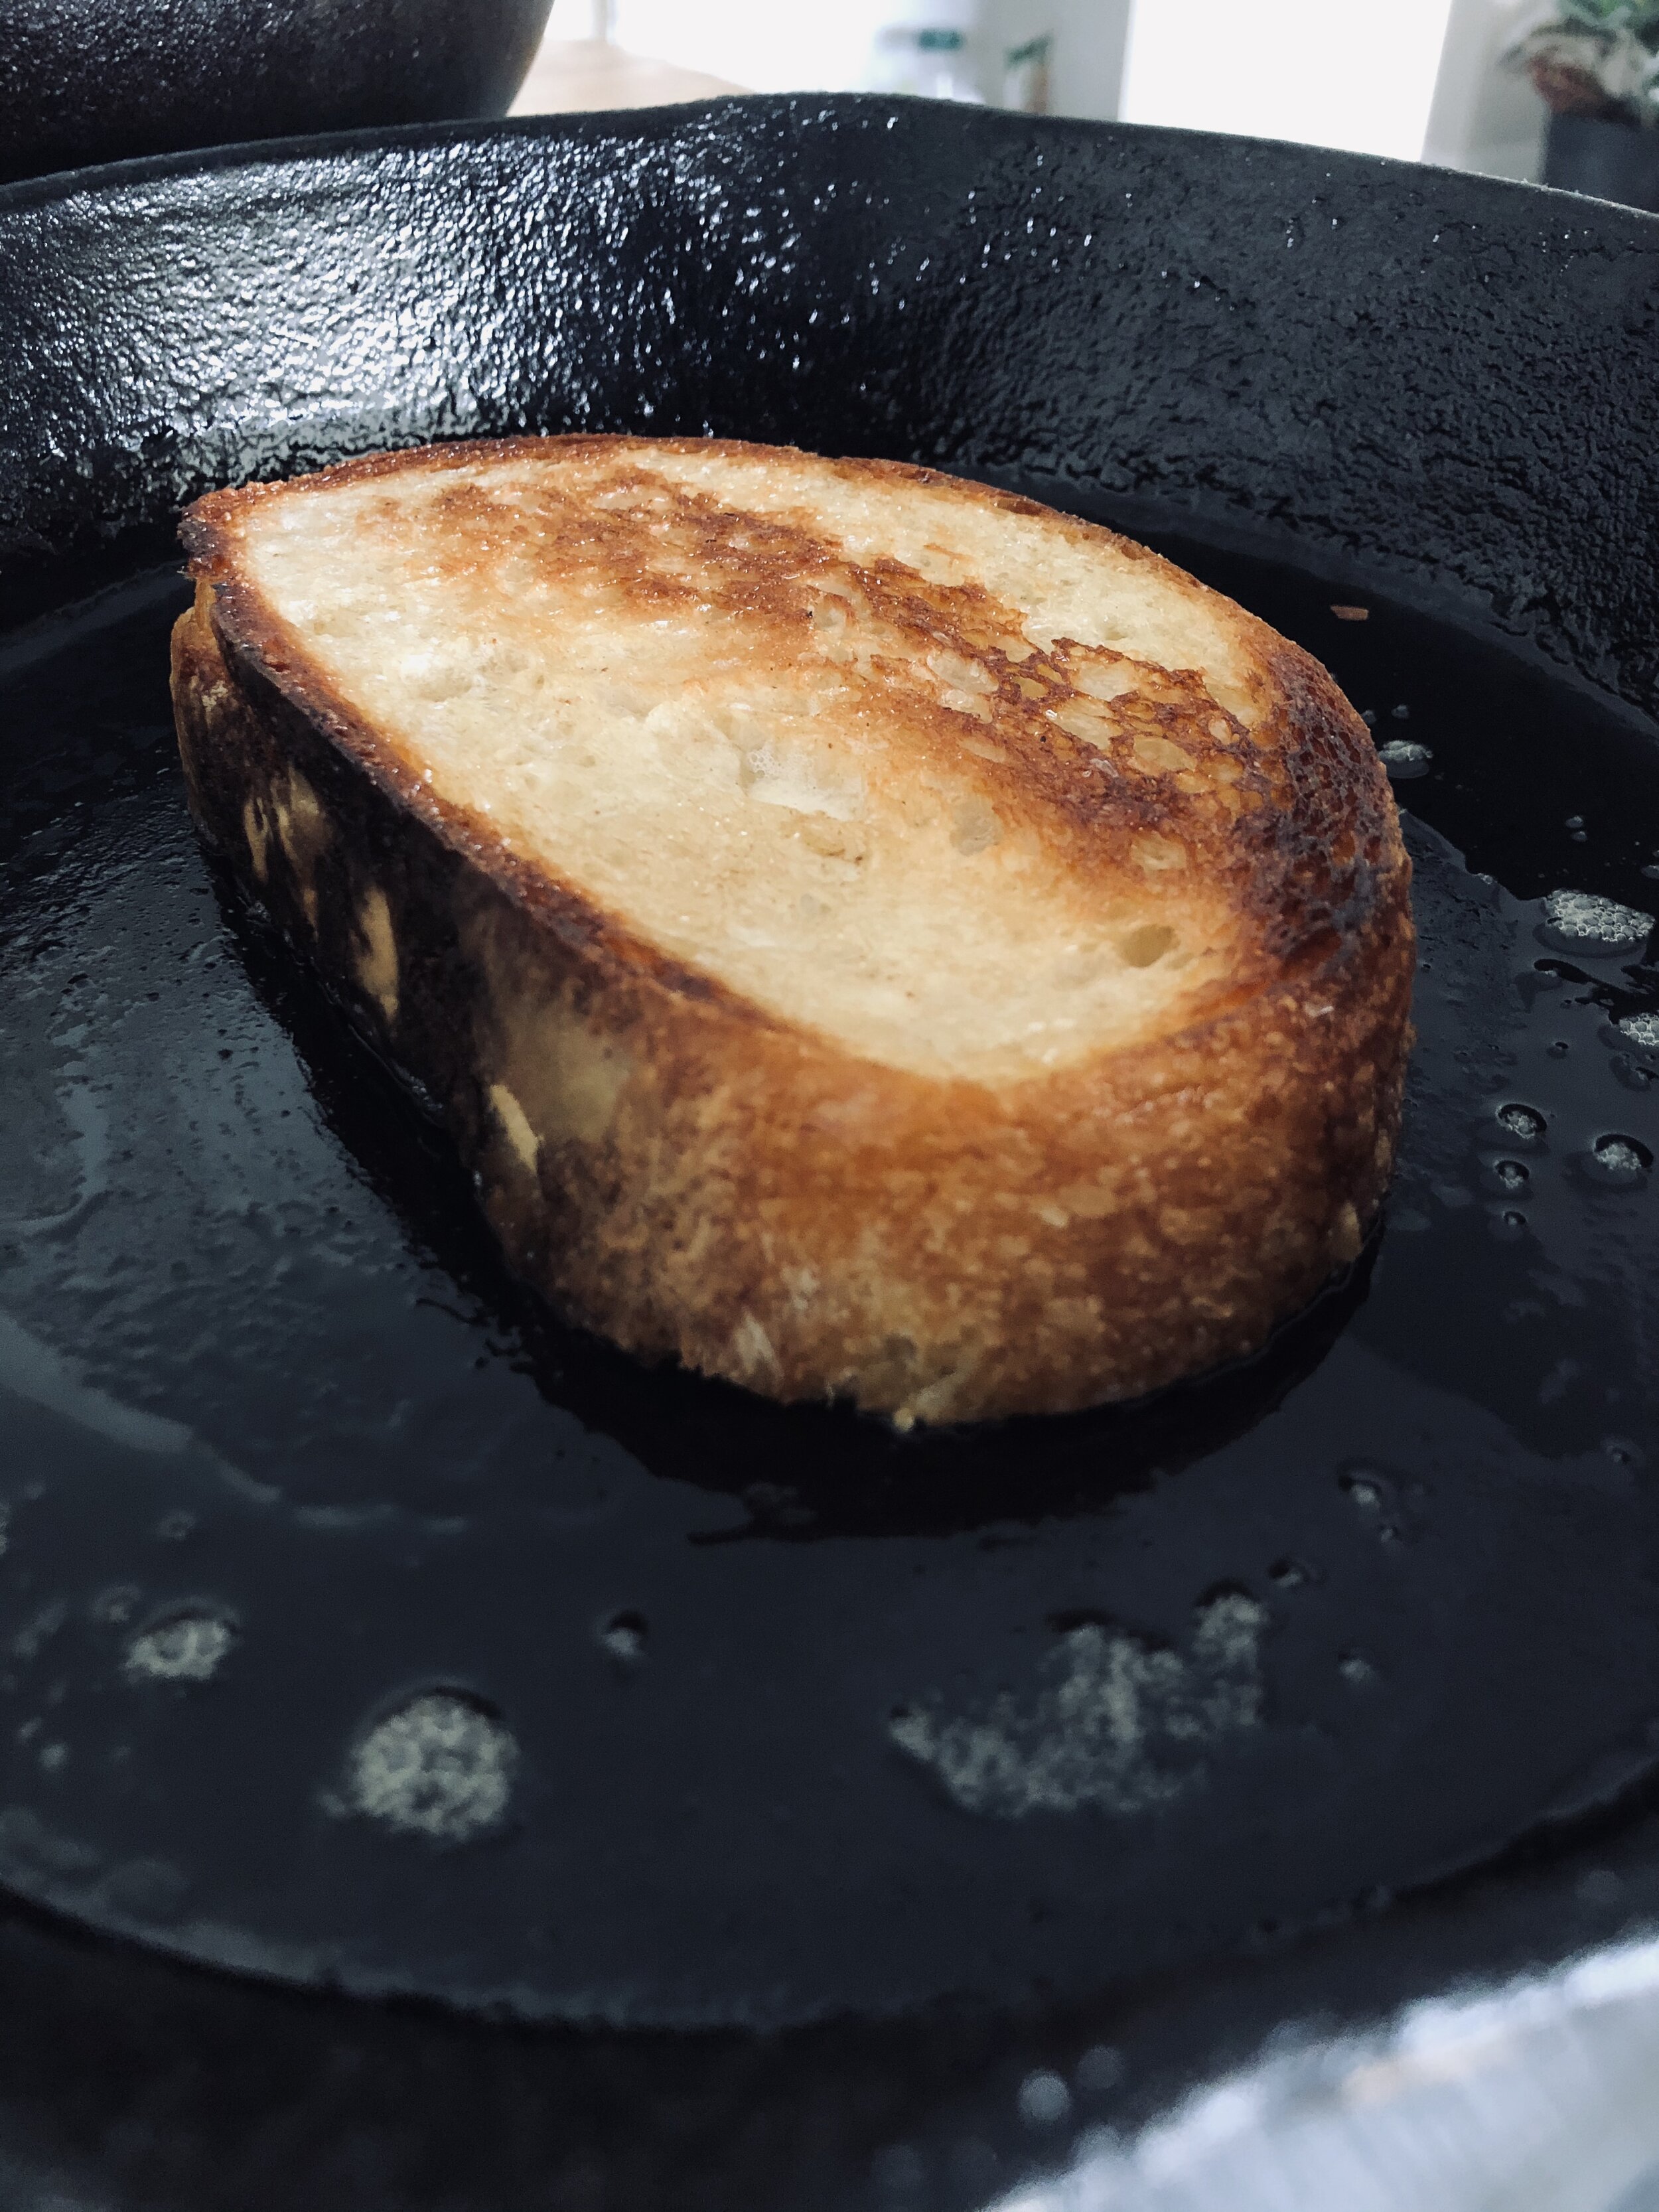
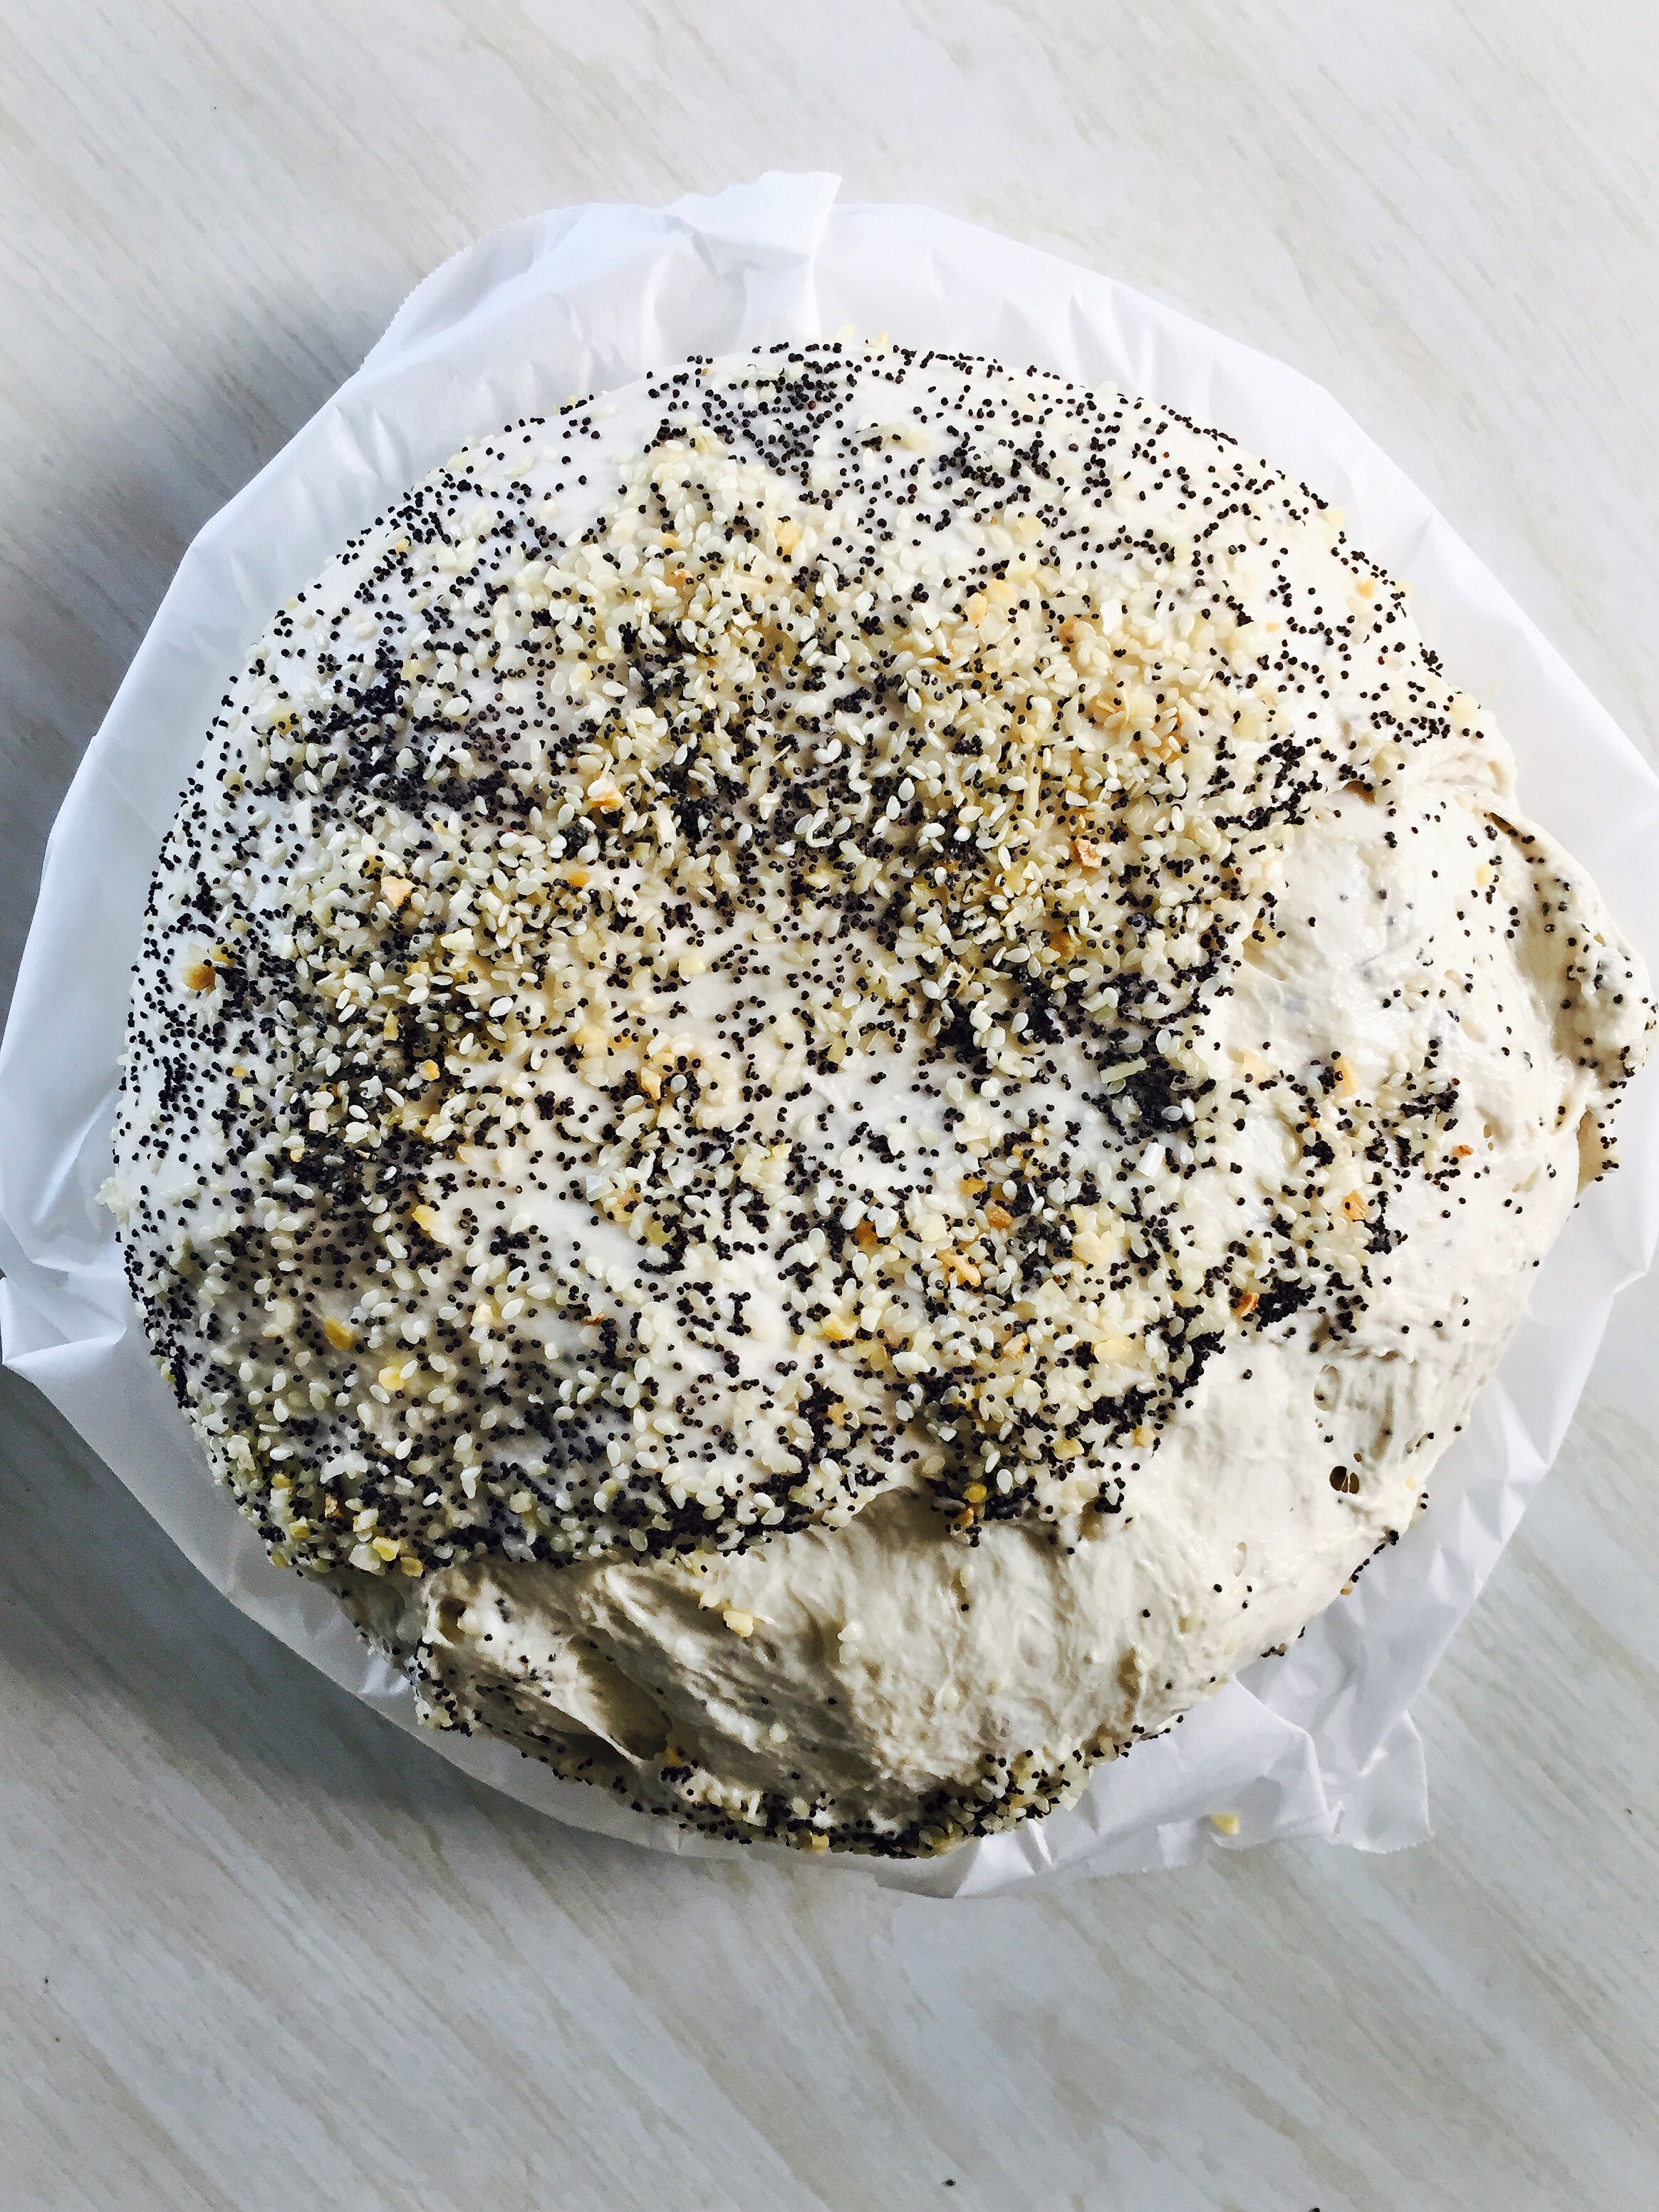
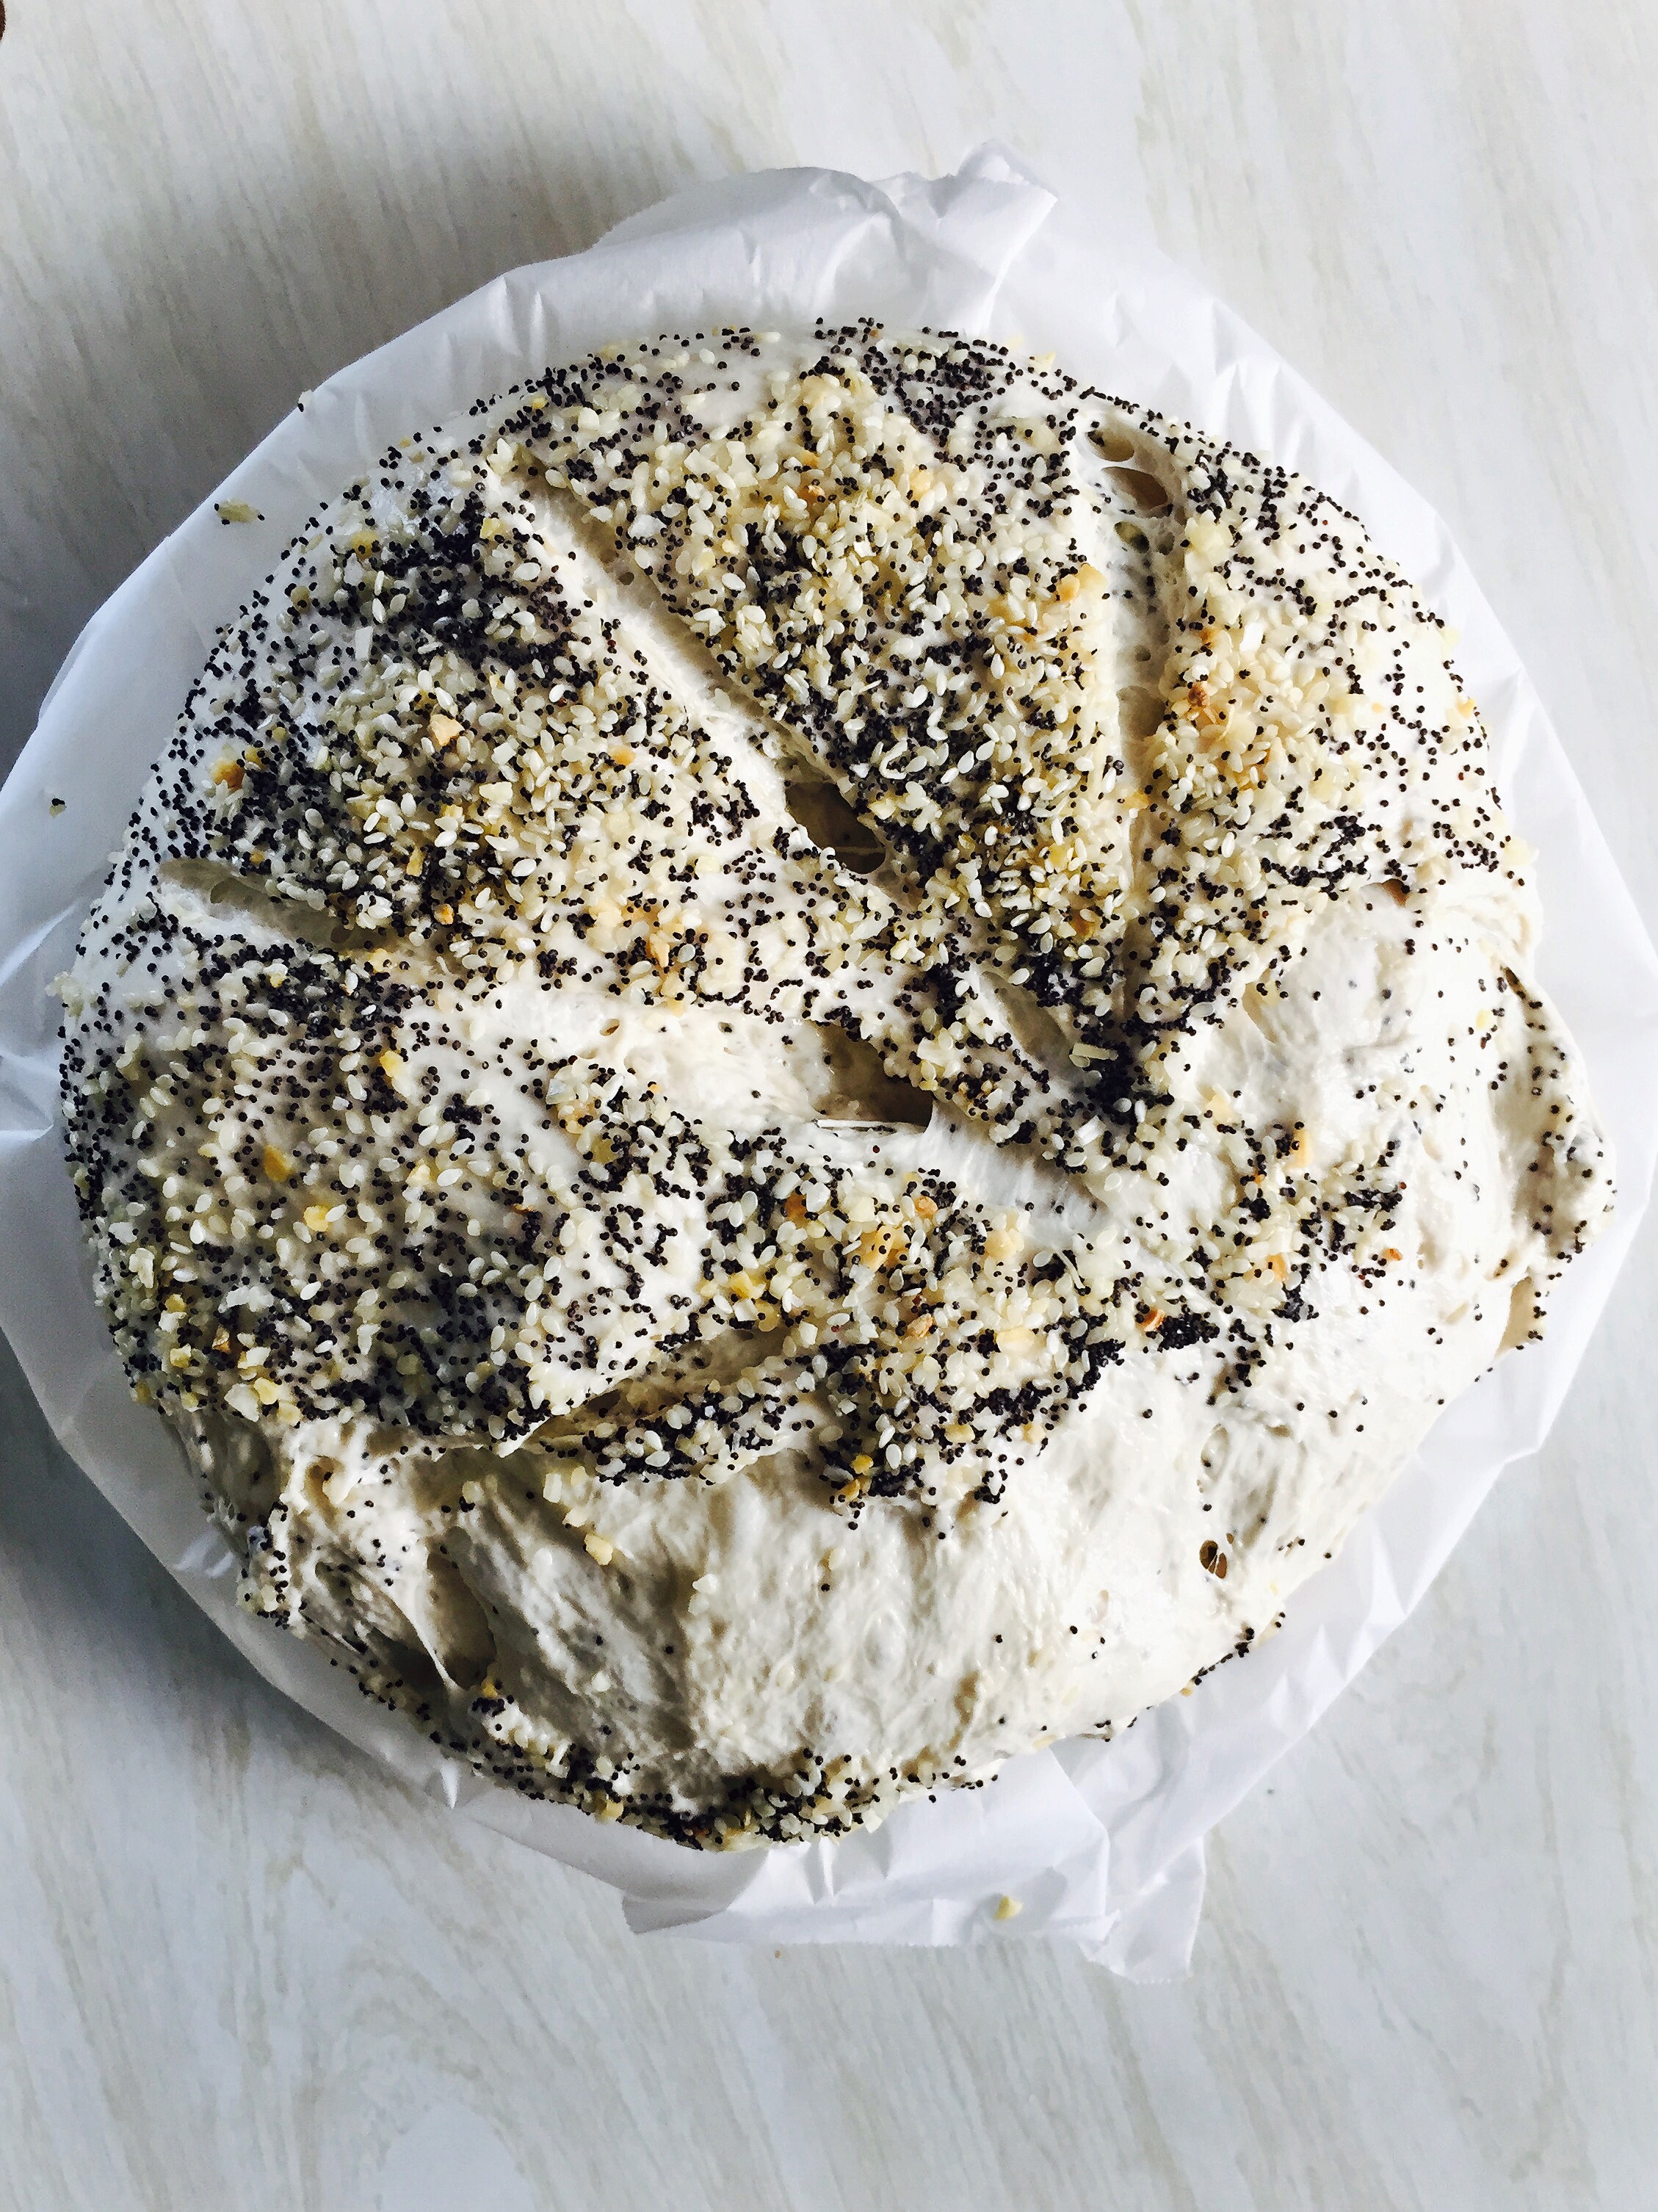
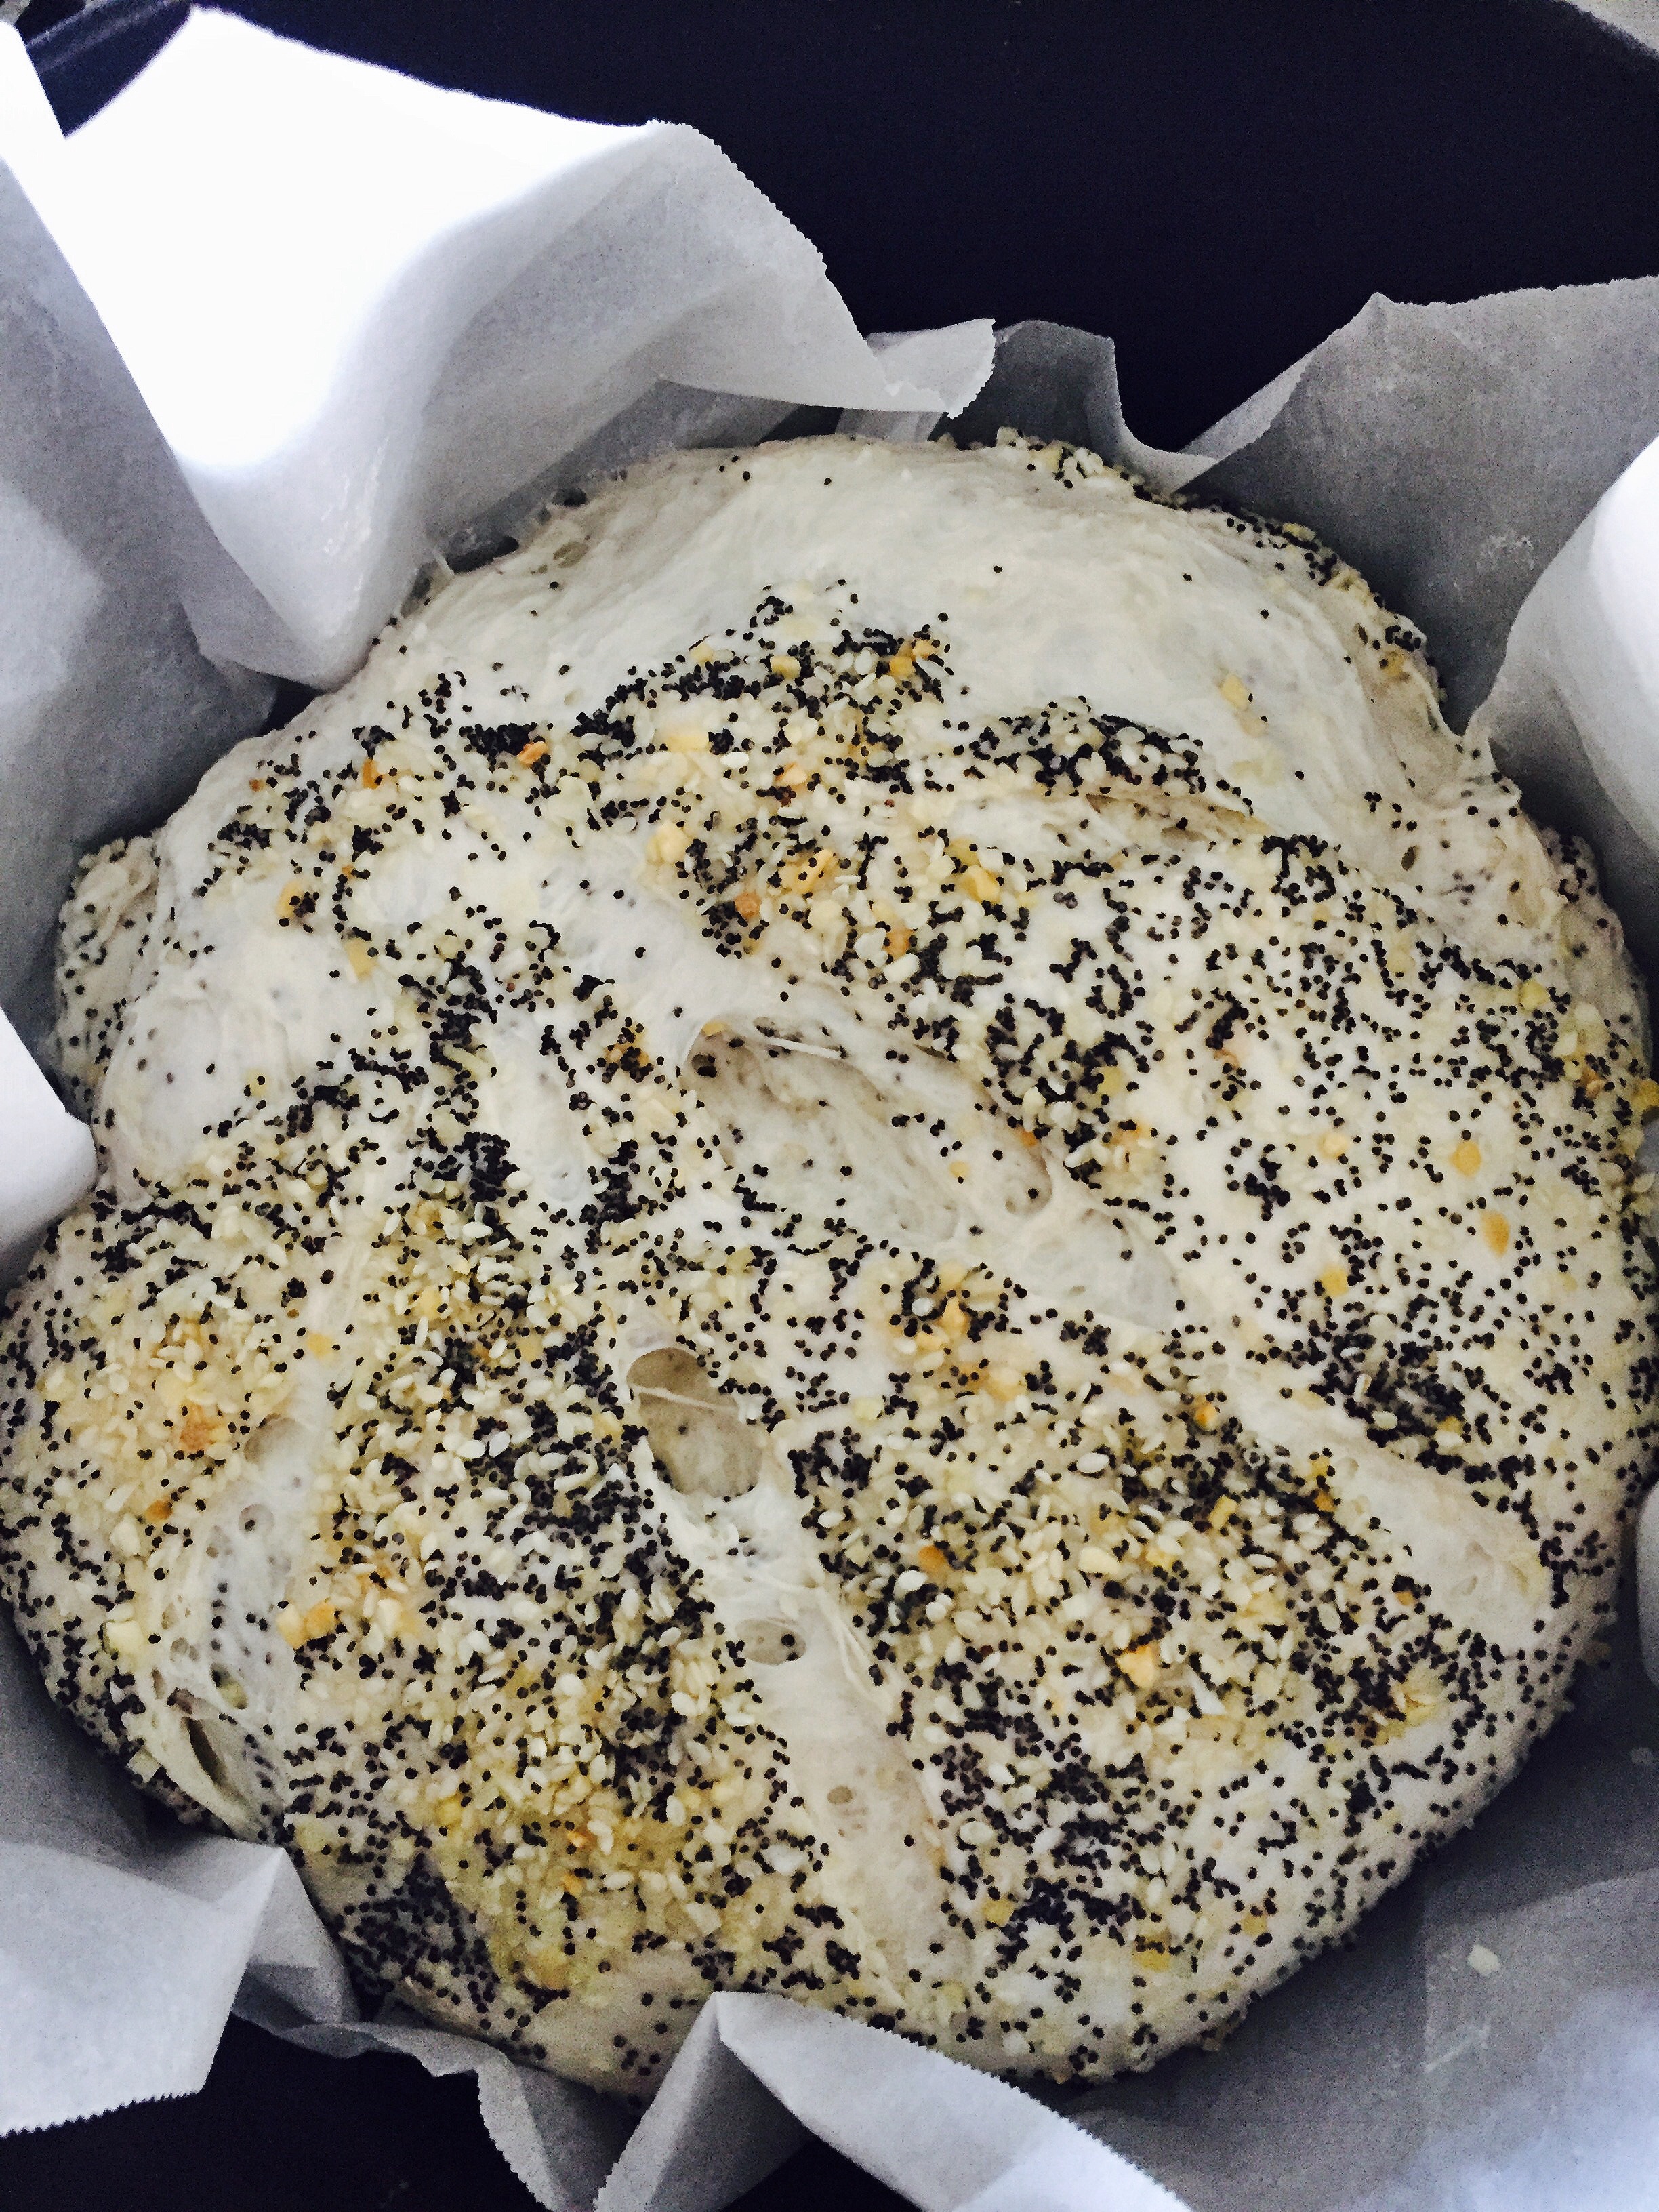
The skillet version of my apple crumble bars because I couldn’t find an appropriate sized baking pan.
Let me know if you make these bars. I’d love to hear what you think. I found them delicious and I think you will too.
Enjoy!