Of Grain and Grain  |  Tactile Explorations of Flour and Wood

By Ashley Look

  • Blog
  • Flour
  • Wood
  • Shop
  • Services
  • Events
  • About
  • Contact
  • Search
IMG_0139.jpeg Bathtub soak.jpg A good soak.jpg

The value of a good soak: A bread story

February 12, 2023 by Ashley Look in Flour, Breads

Fun fact about me; I’ve never met a soak I didn’t like. Pools, spas, friend’s bath tubs… I live for anything resembling an immersion tank. I’m not joking. I will plan trips around where I can get my soak on, and occasionally have resorted to sneaking around town, just to sneak myself into a local hotel hot tub. Being up to my ears in water has a calming effect and the warmer the water, the better! Half the time I bring myself to the brink of fainting. I know that probably sounds extreme but ascending from a tank so utterly depleted, lends itself to some mad rest. Such lassitude is where the aches of life get a chance to heal and I can move about my days a bit softer and more forgiving. Well guess what? The same goes for bread making!

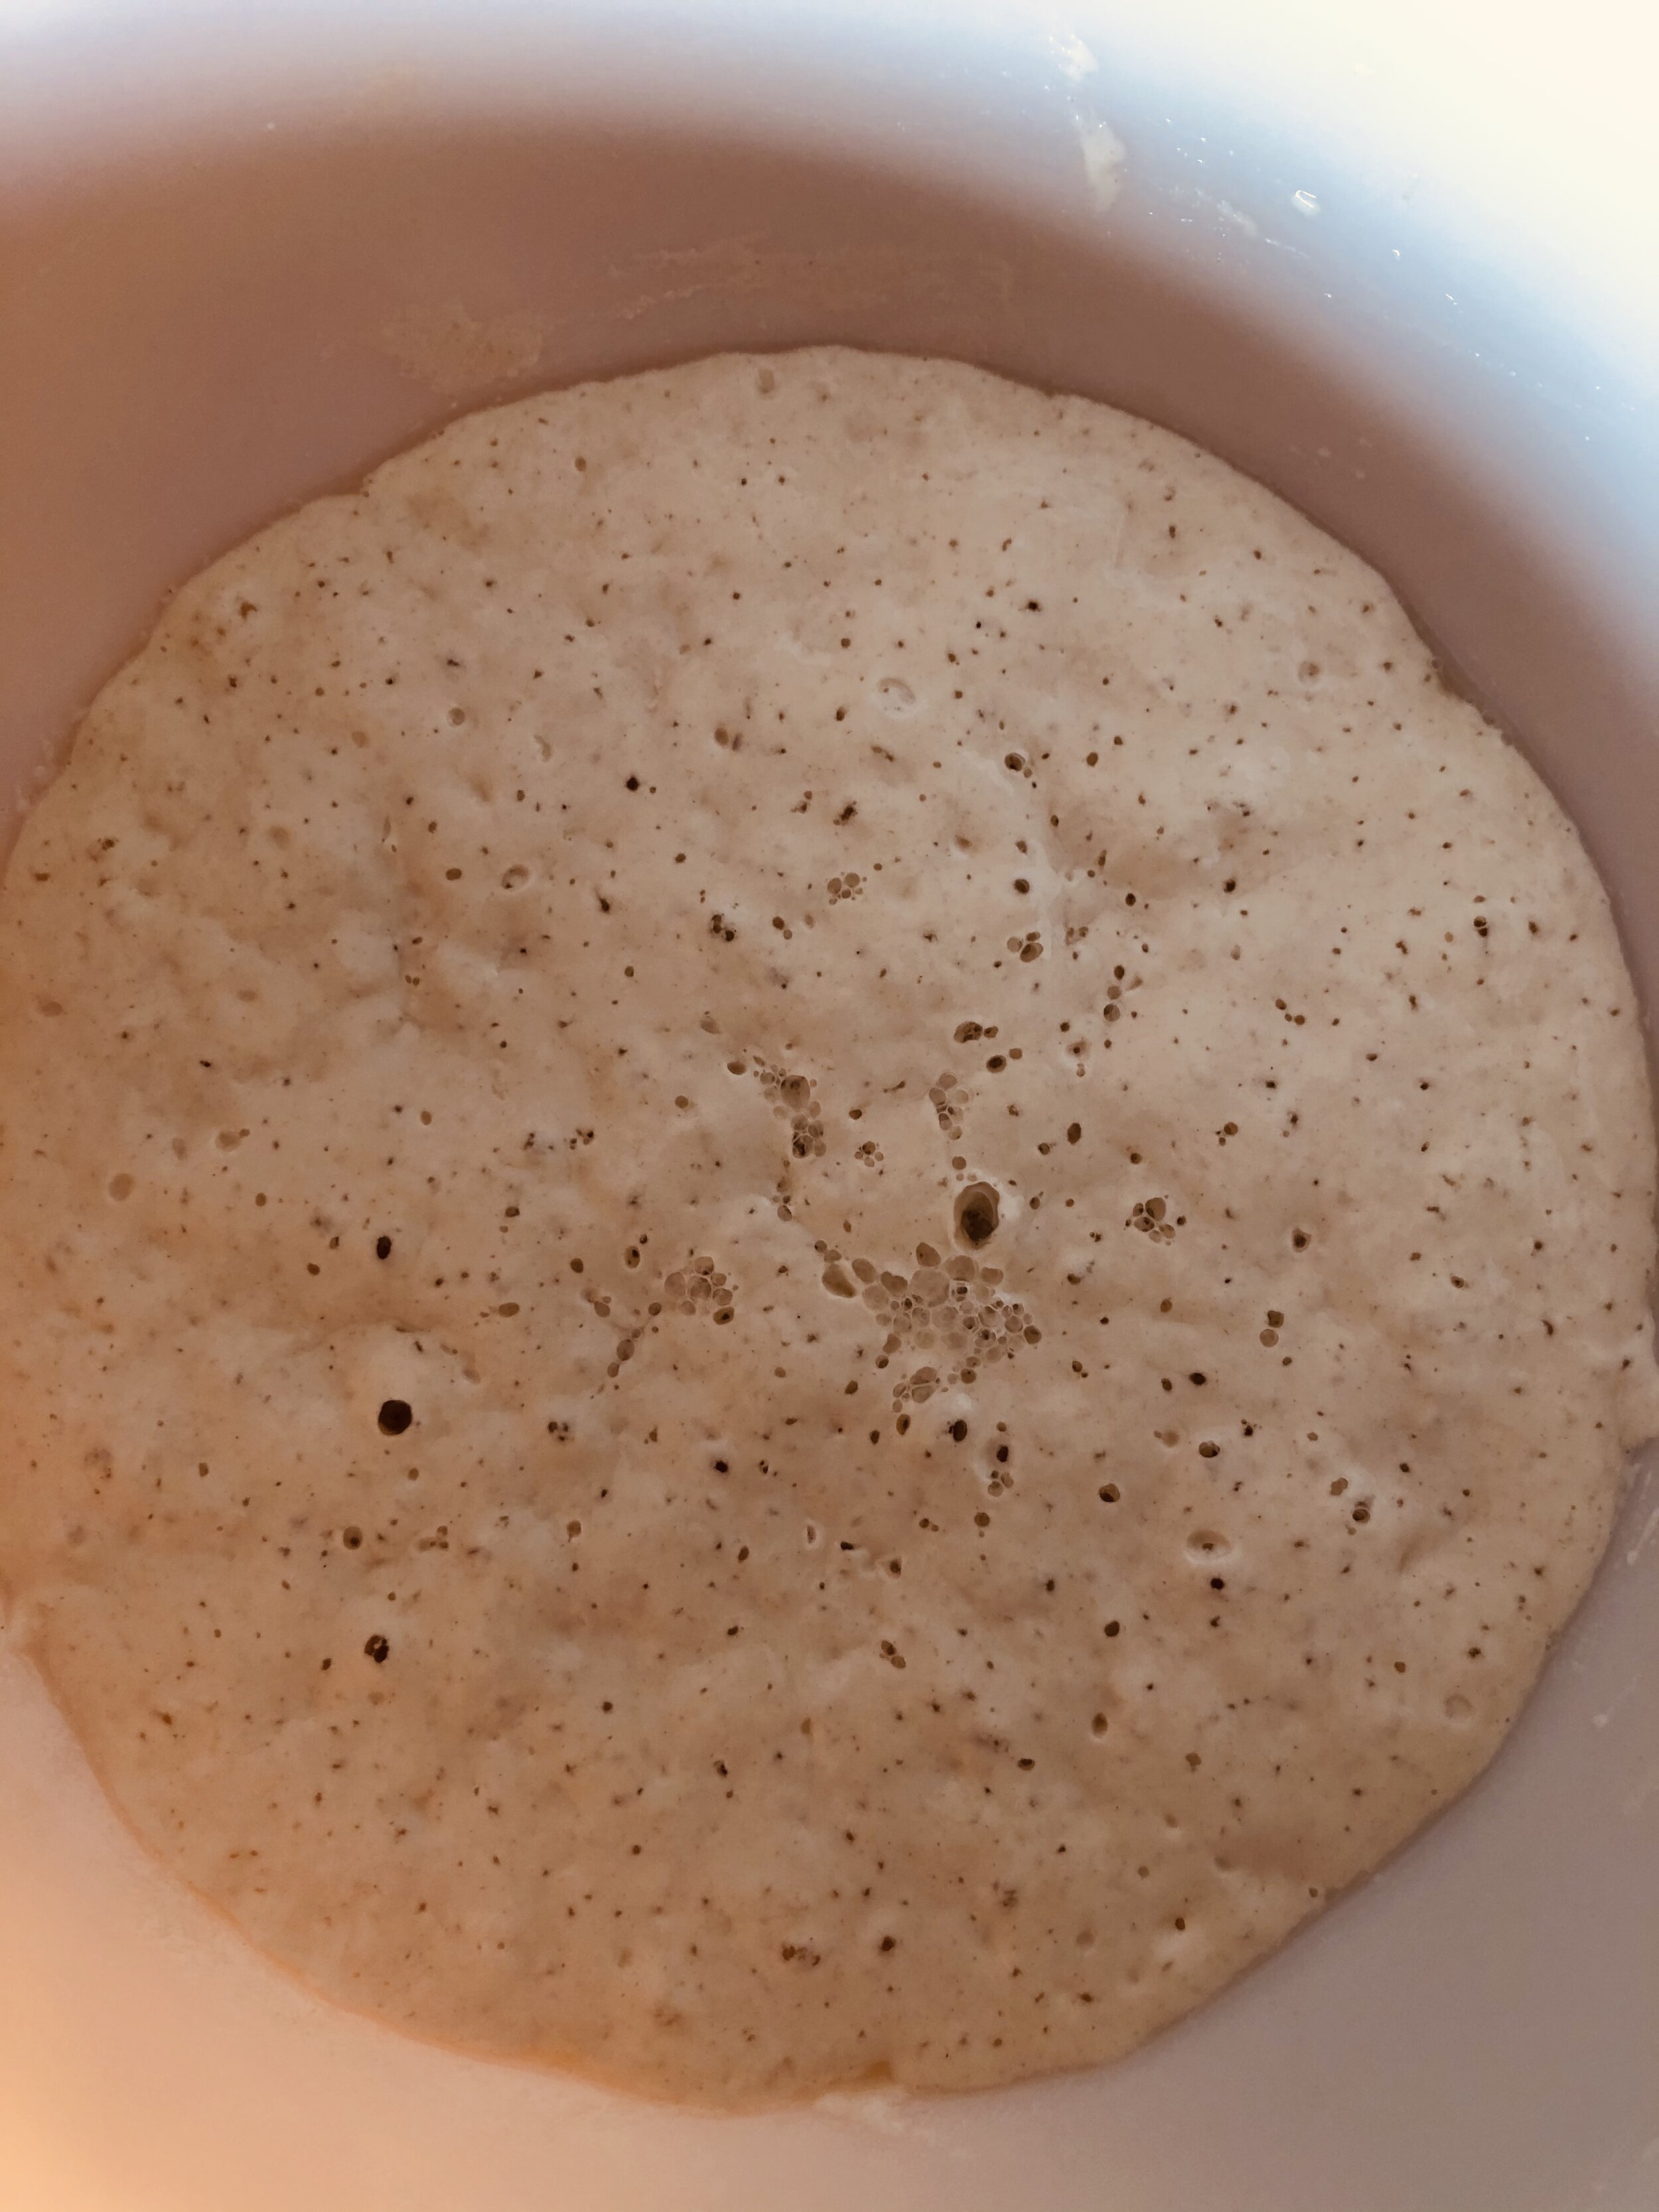
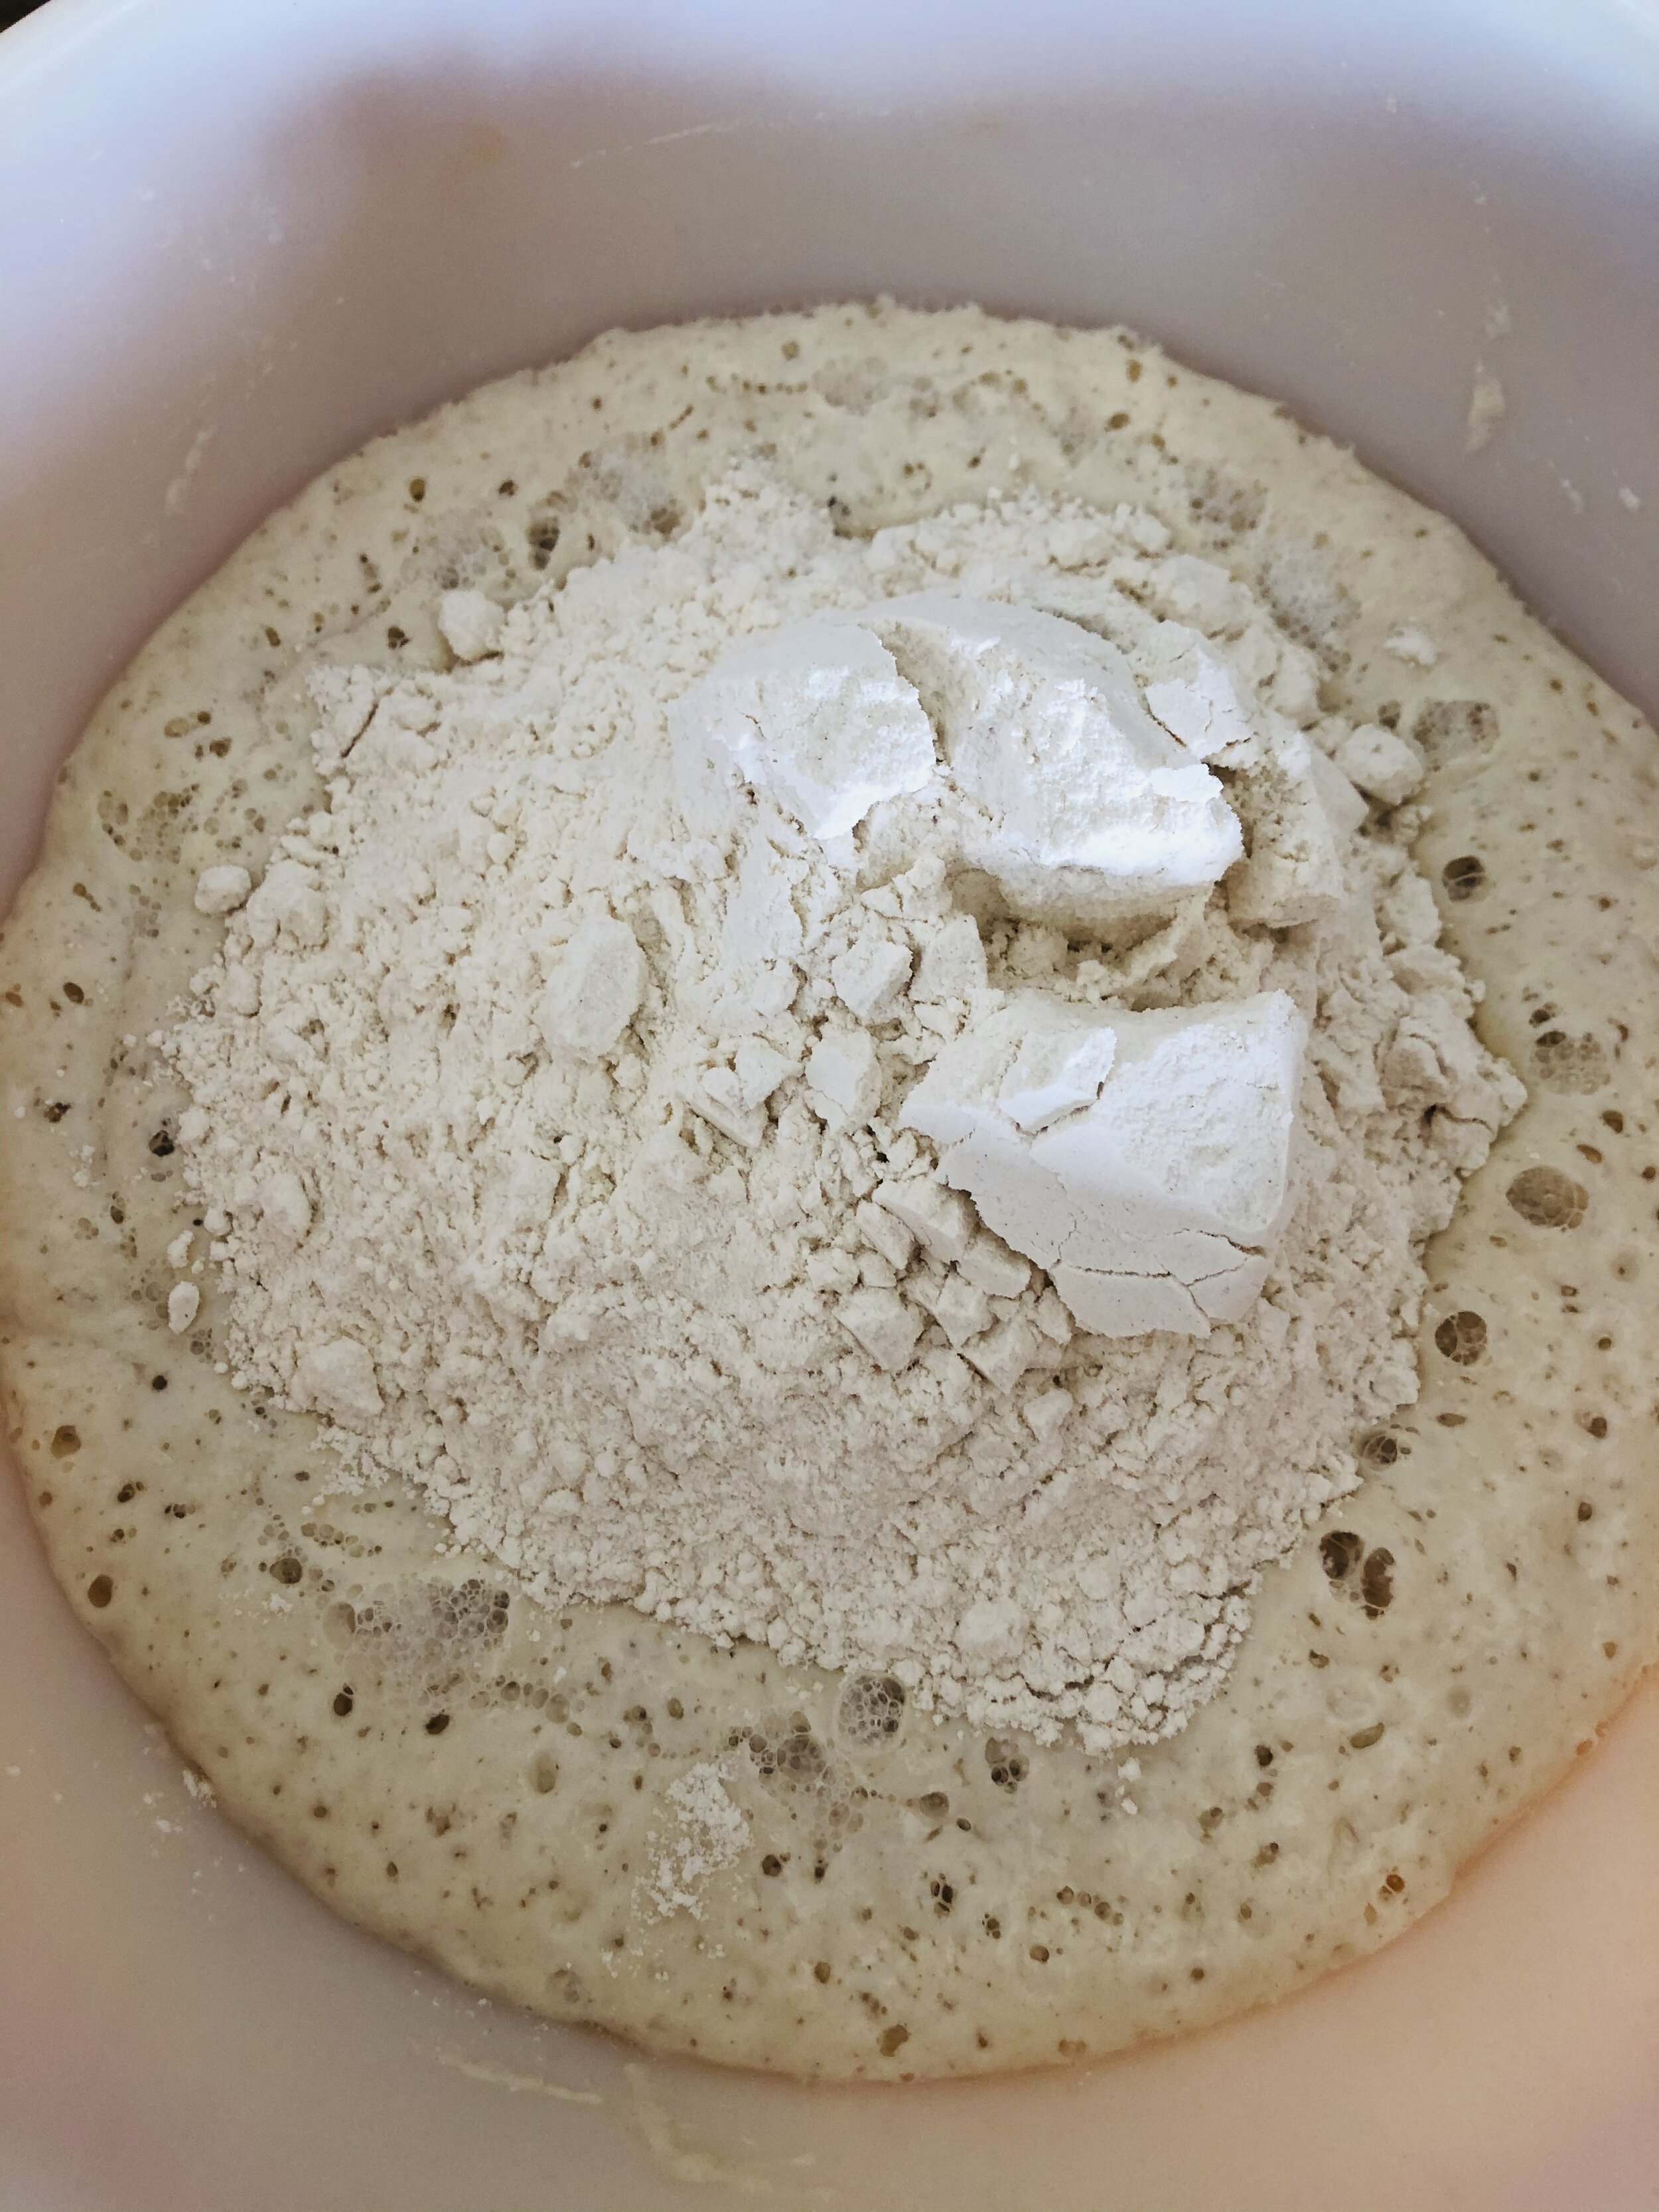
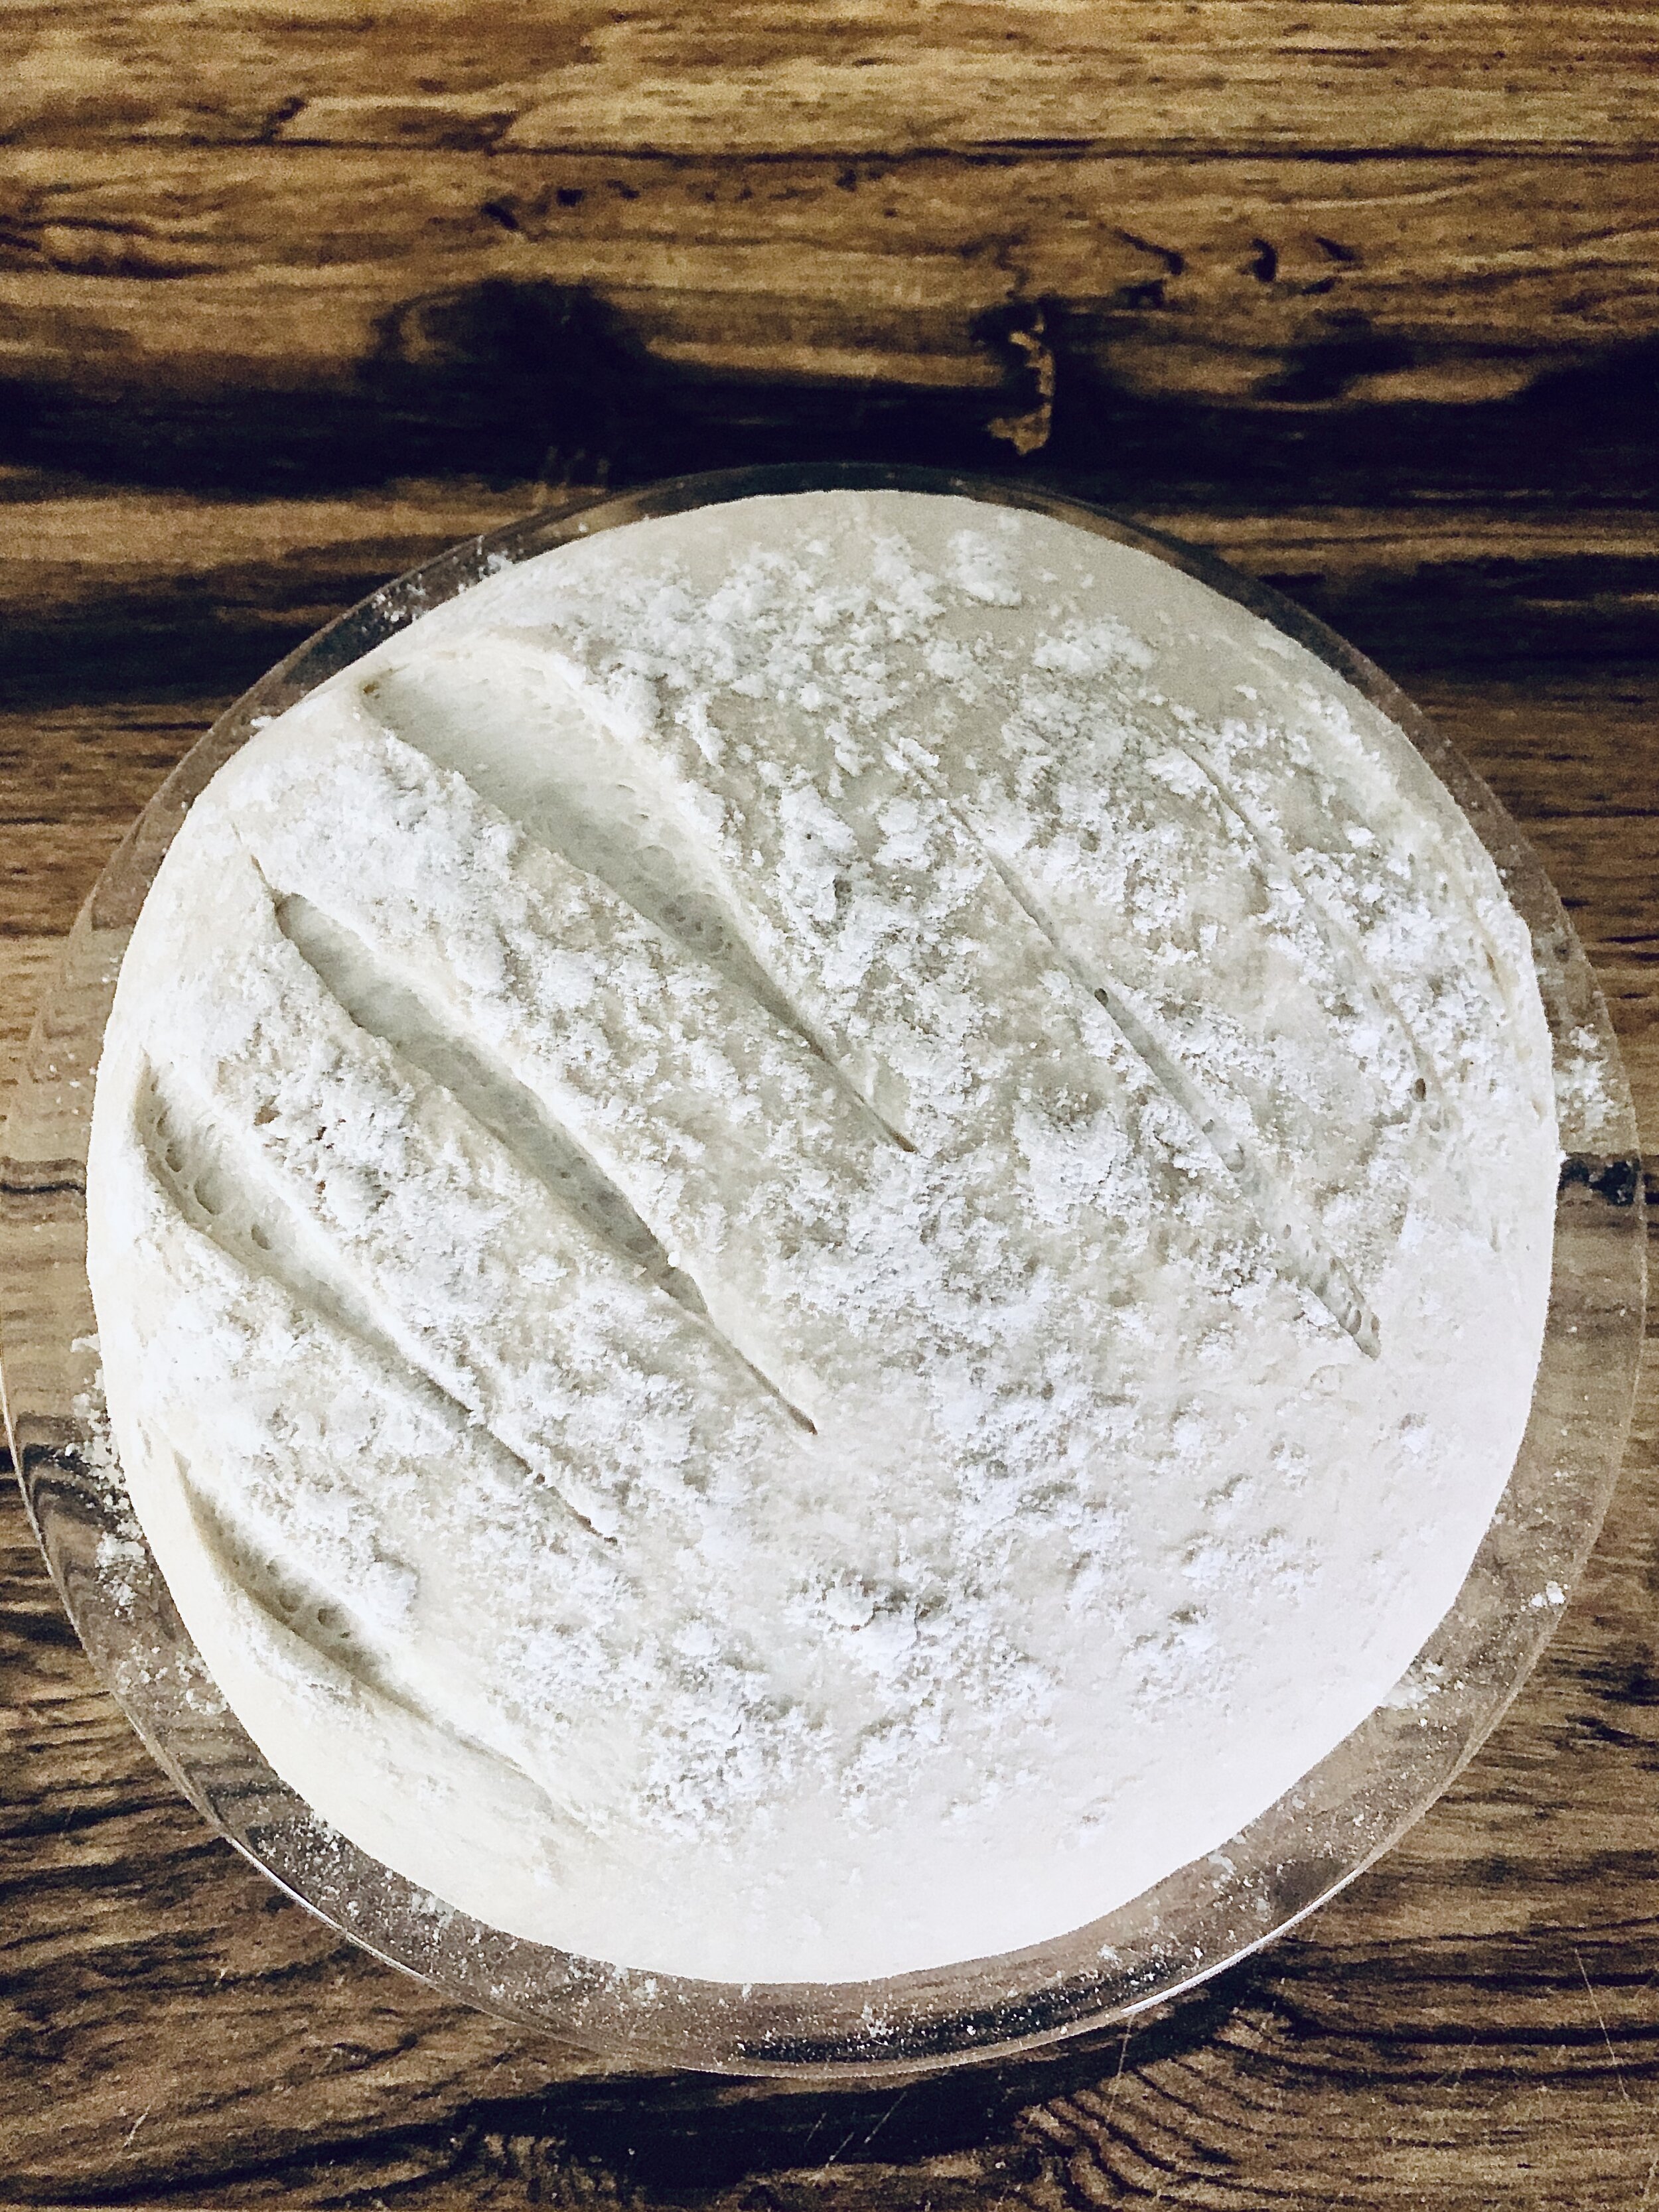
Soaking flour in bowl.

Equal parts flour and water soaking in a bowl.


Recipe

Soaker:

  • 1 cup flour

  • 1 cup water

Dough:

  • 2 cups flour

  • 1 1/4 tsp yeast

  • 1 1/2 tsp salt

Process:

  1. Combine the soaking ingredients in a large bowl and let rest for 2 to 8 hours.

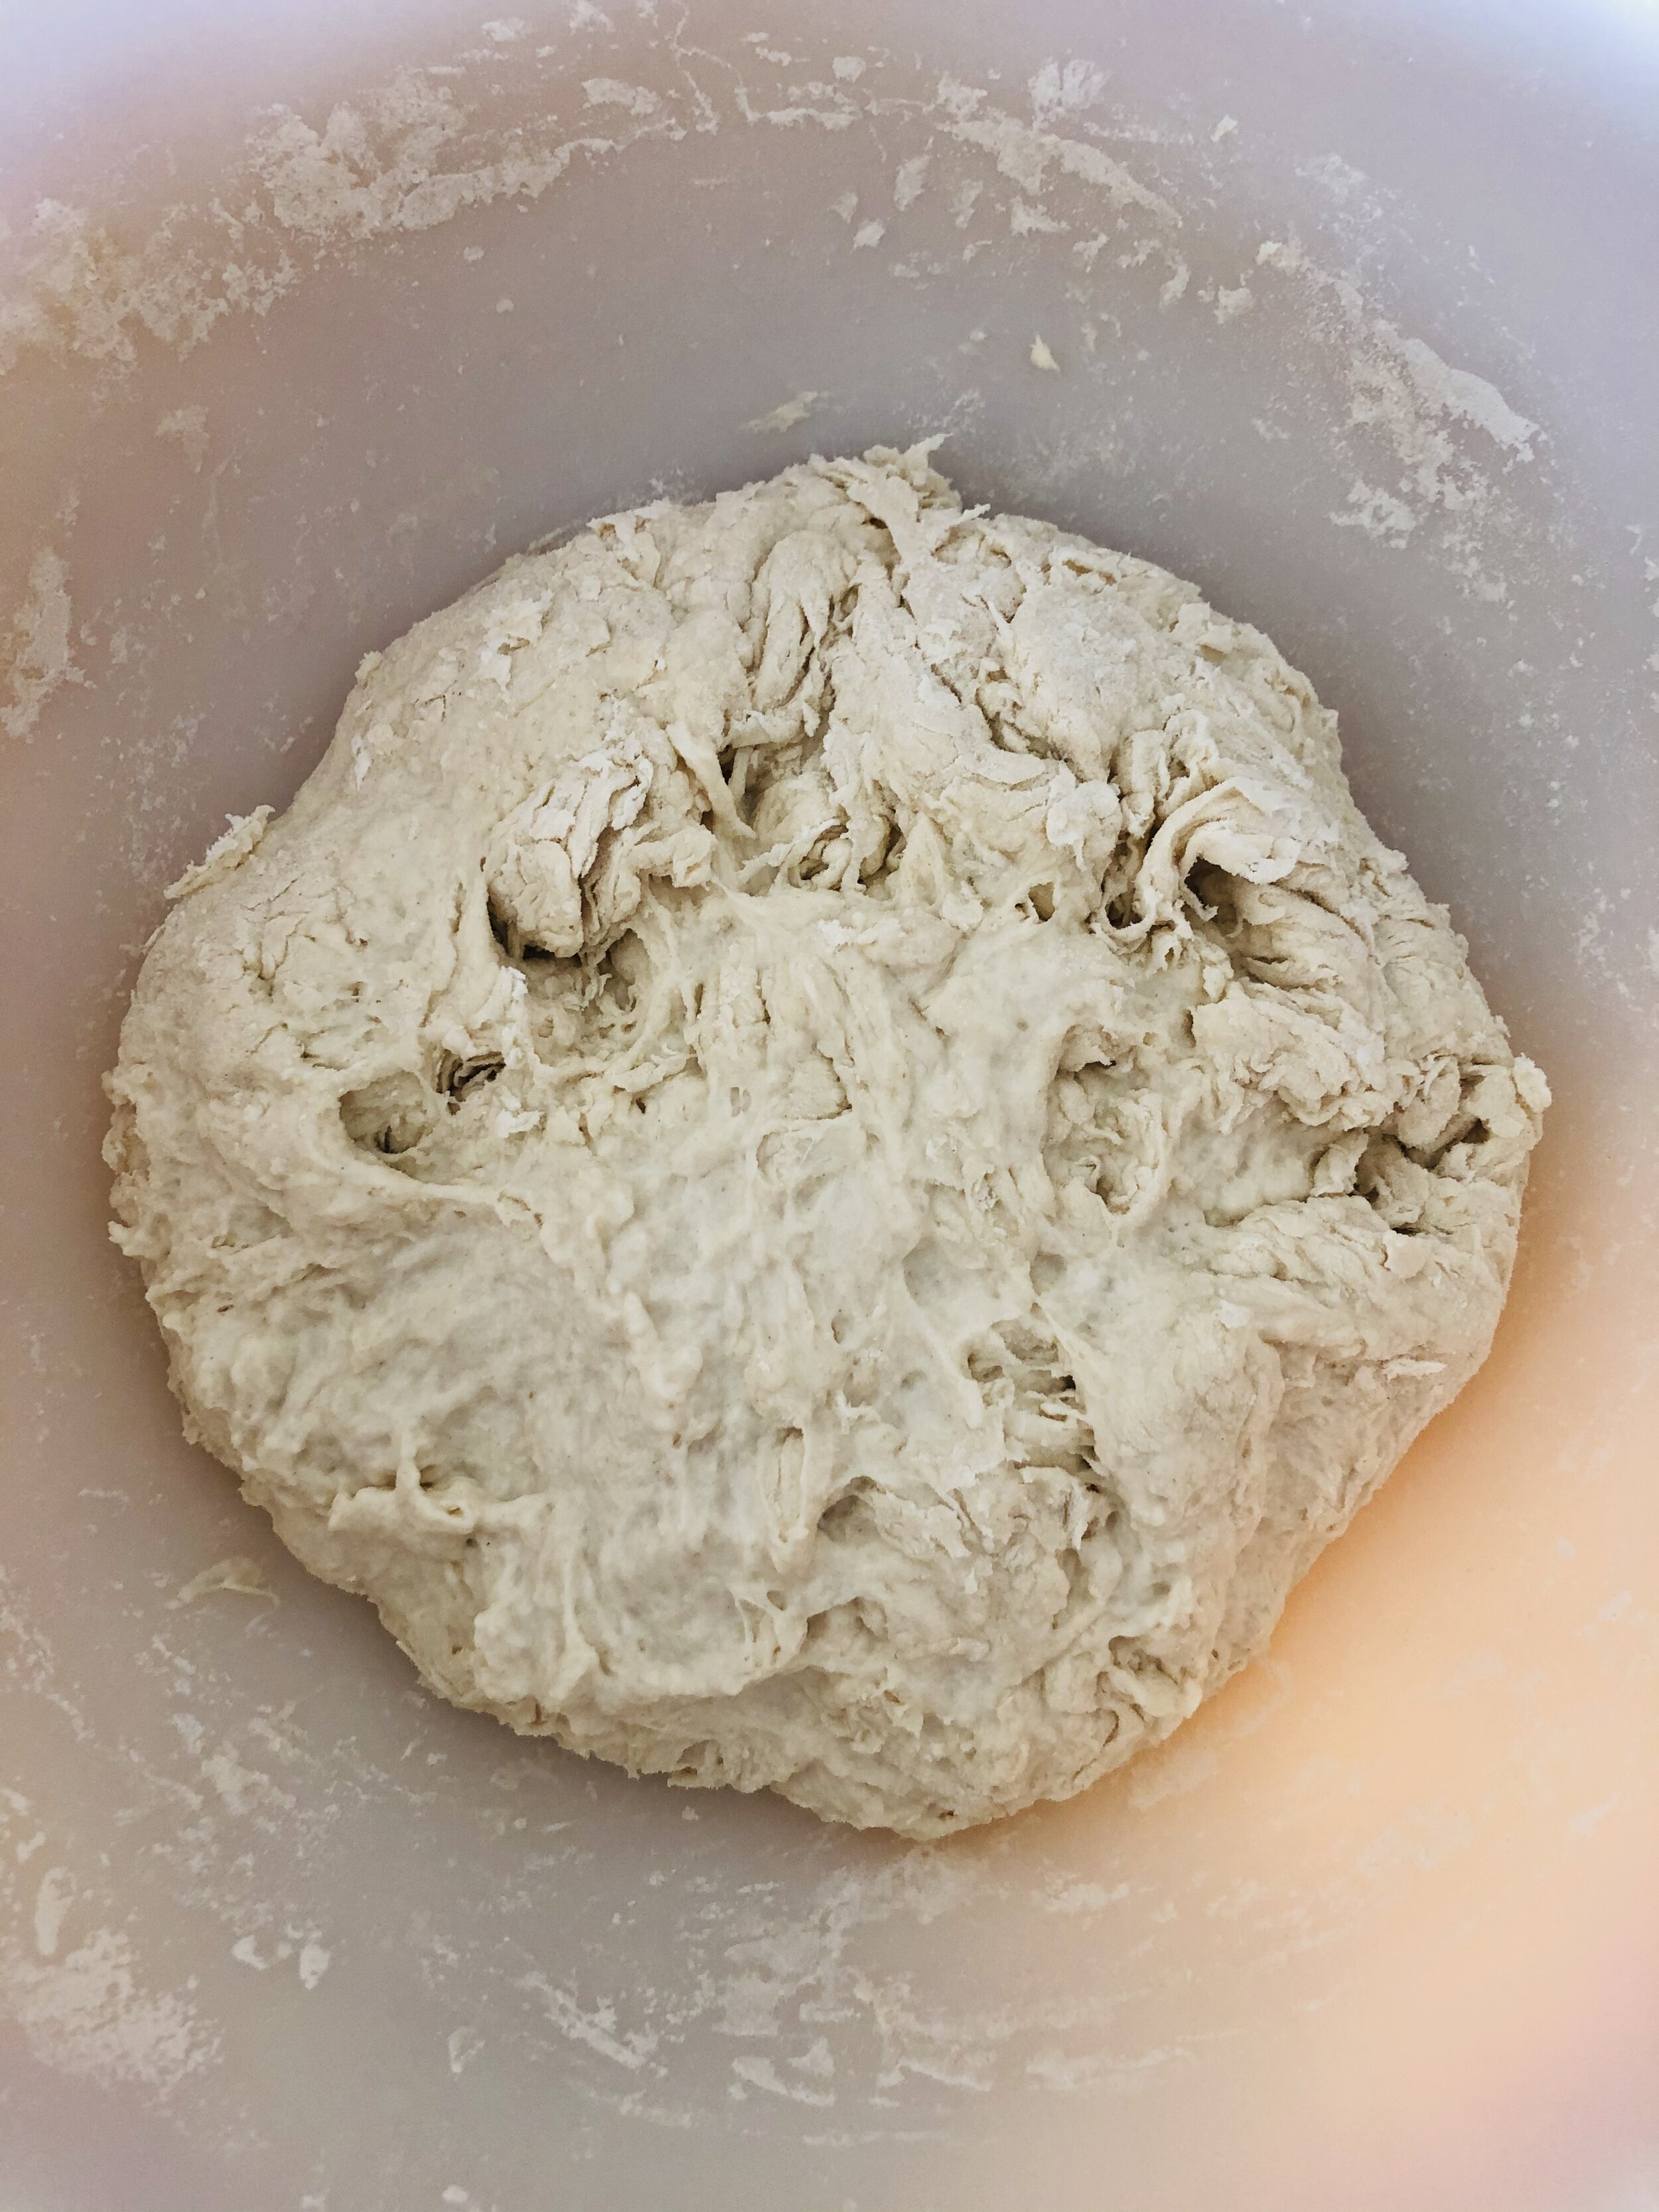
  2. After resting, add the additional ingredients to make the dough.

  3. Mix it well so the dough starts to form and then knead it until it’s springy (10 minutes-ish?)

  4. Cover and rest for 1 hour in a clean bowl that’s been greased with oil.

  5. After resting and the dough has doubled in size, punch it down and knead it again.

  6. Shape the dough, and let rest another hour.

  7. Preheat a dutch oven to 450F degrees.

  8. Score the dough and carefully transfer it to the preheated dutch oven and bake for 25 minutes.

  9. Remove the lid and reduce the temperature to 410F degrees and continue baking for 15 more minutes.

  10. Carefully remove the bread from the oven and let cool before slicing.

  11. Enjoy!


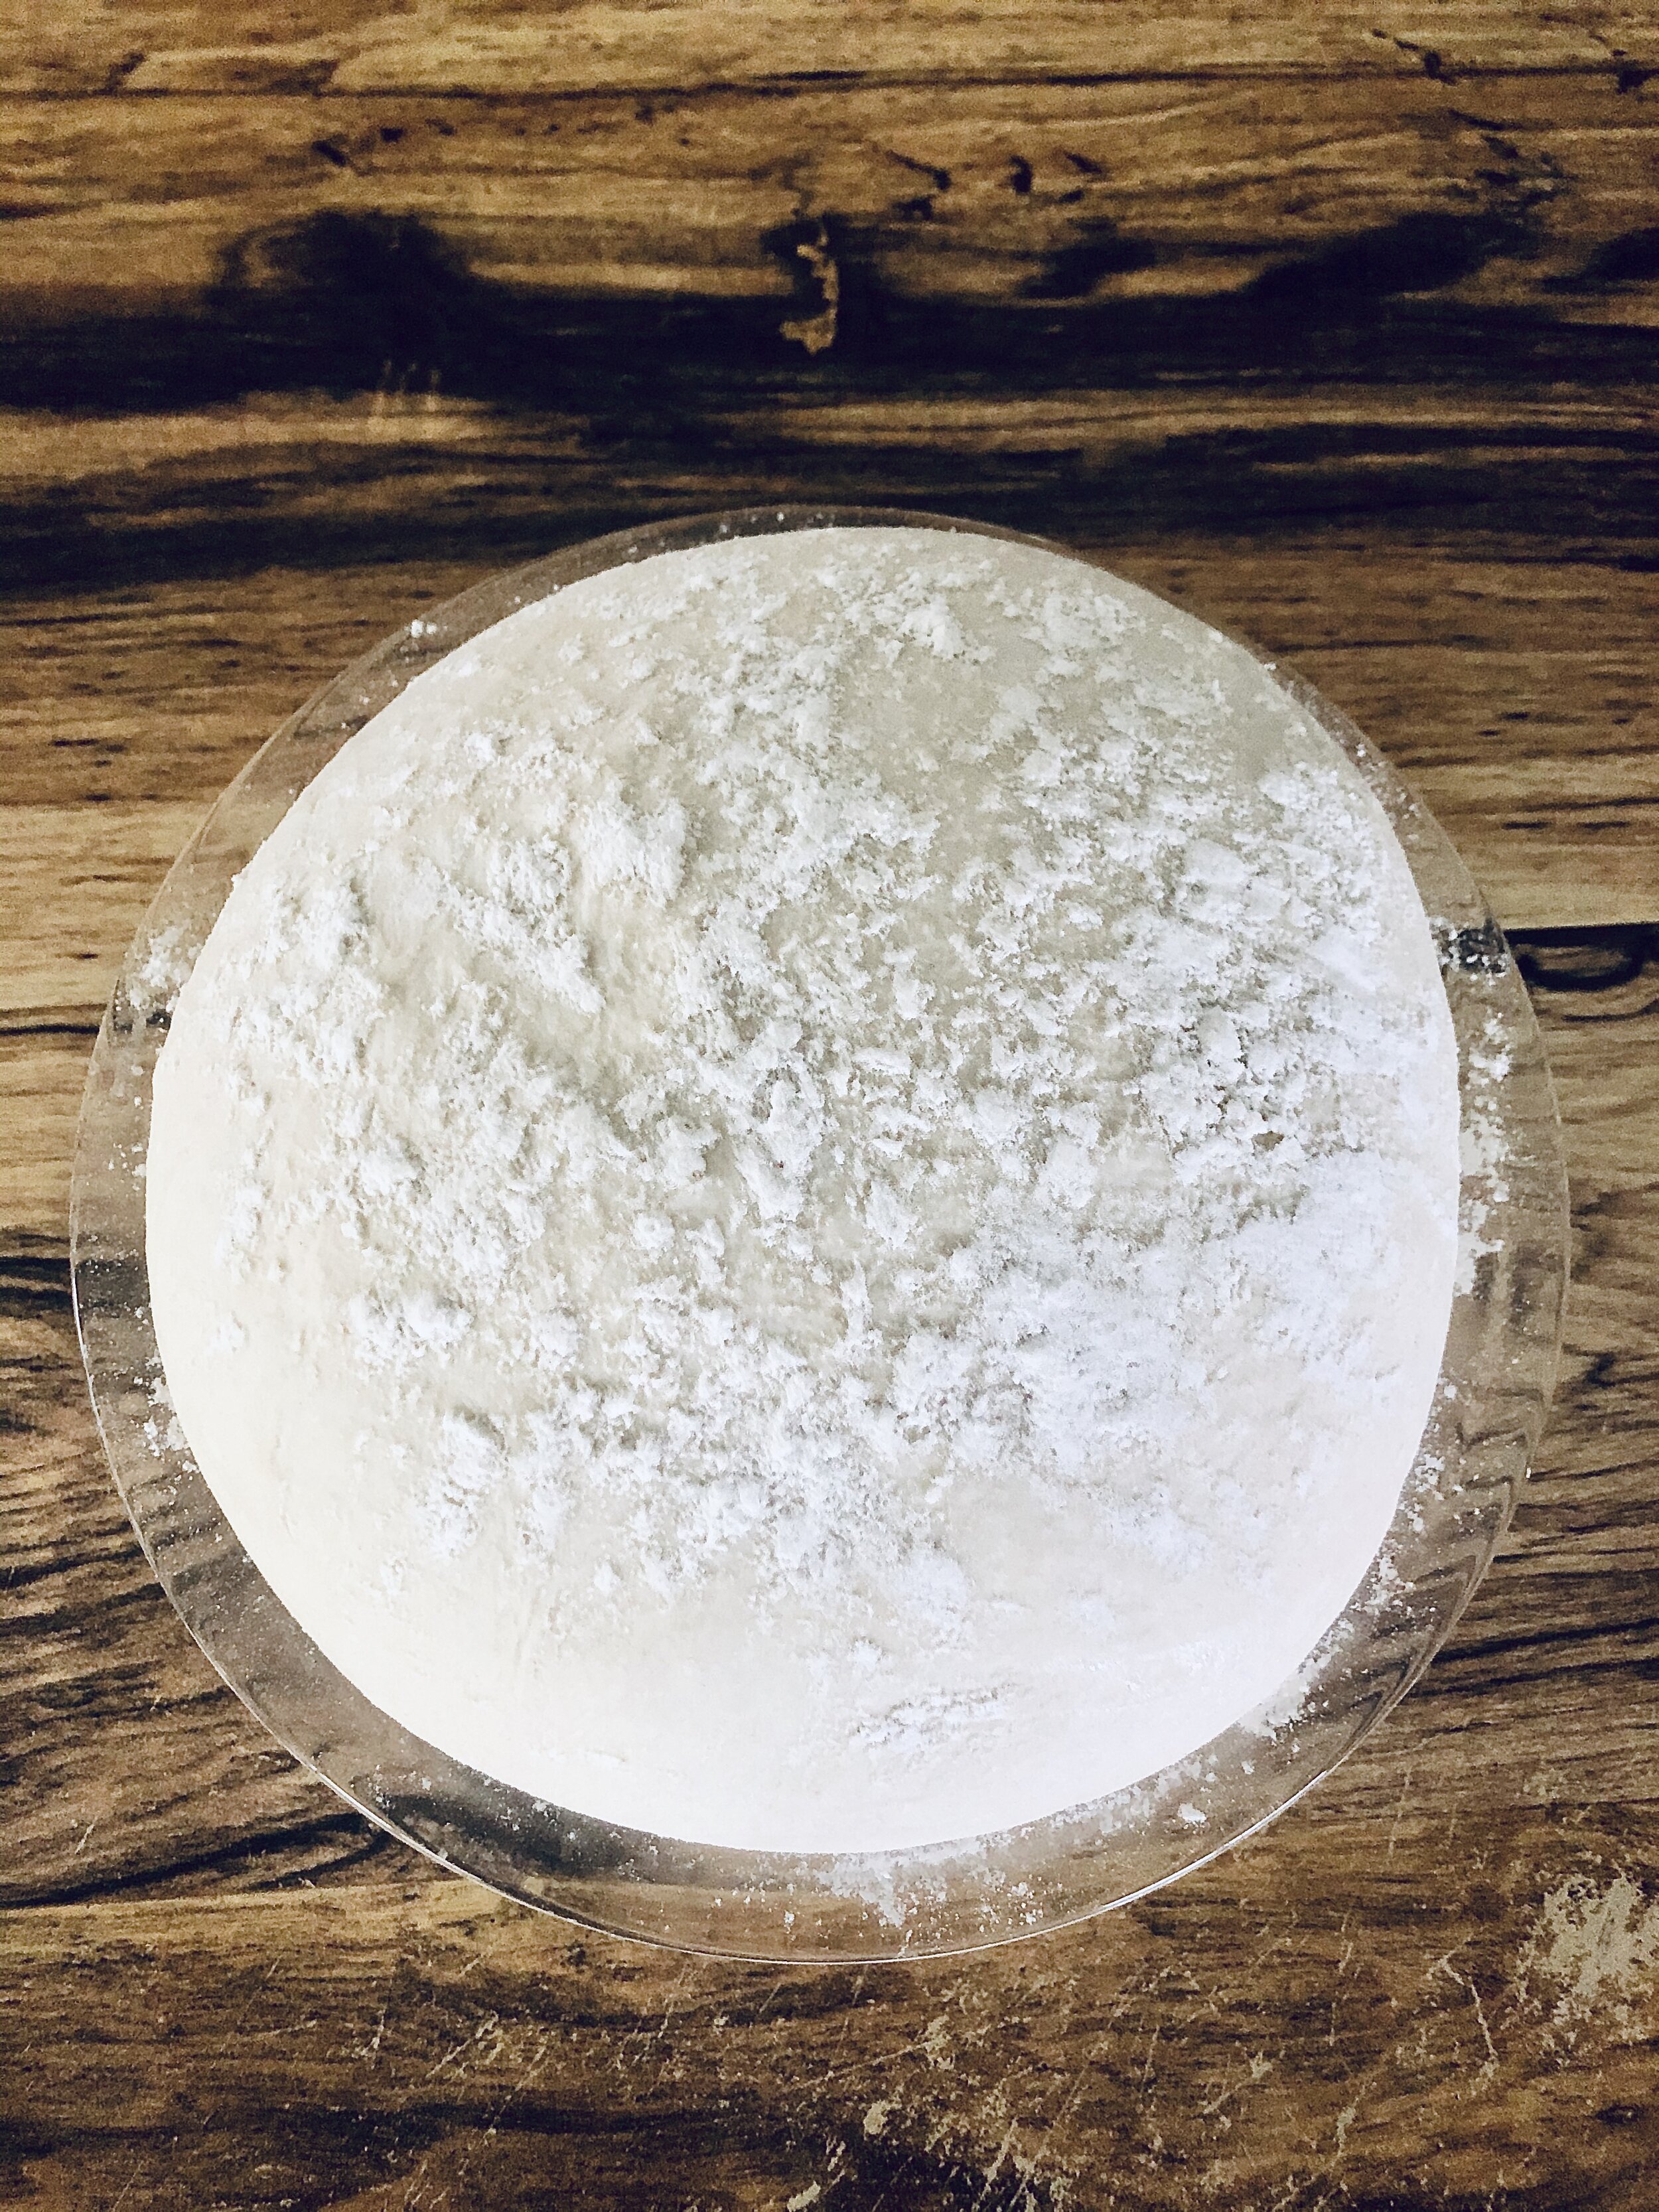
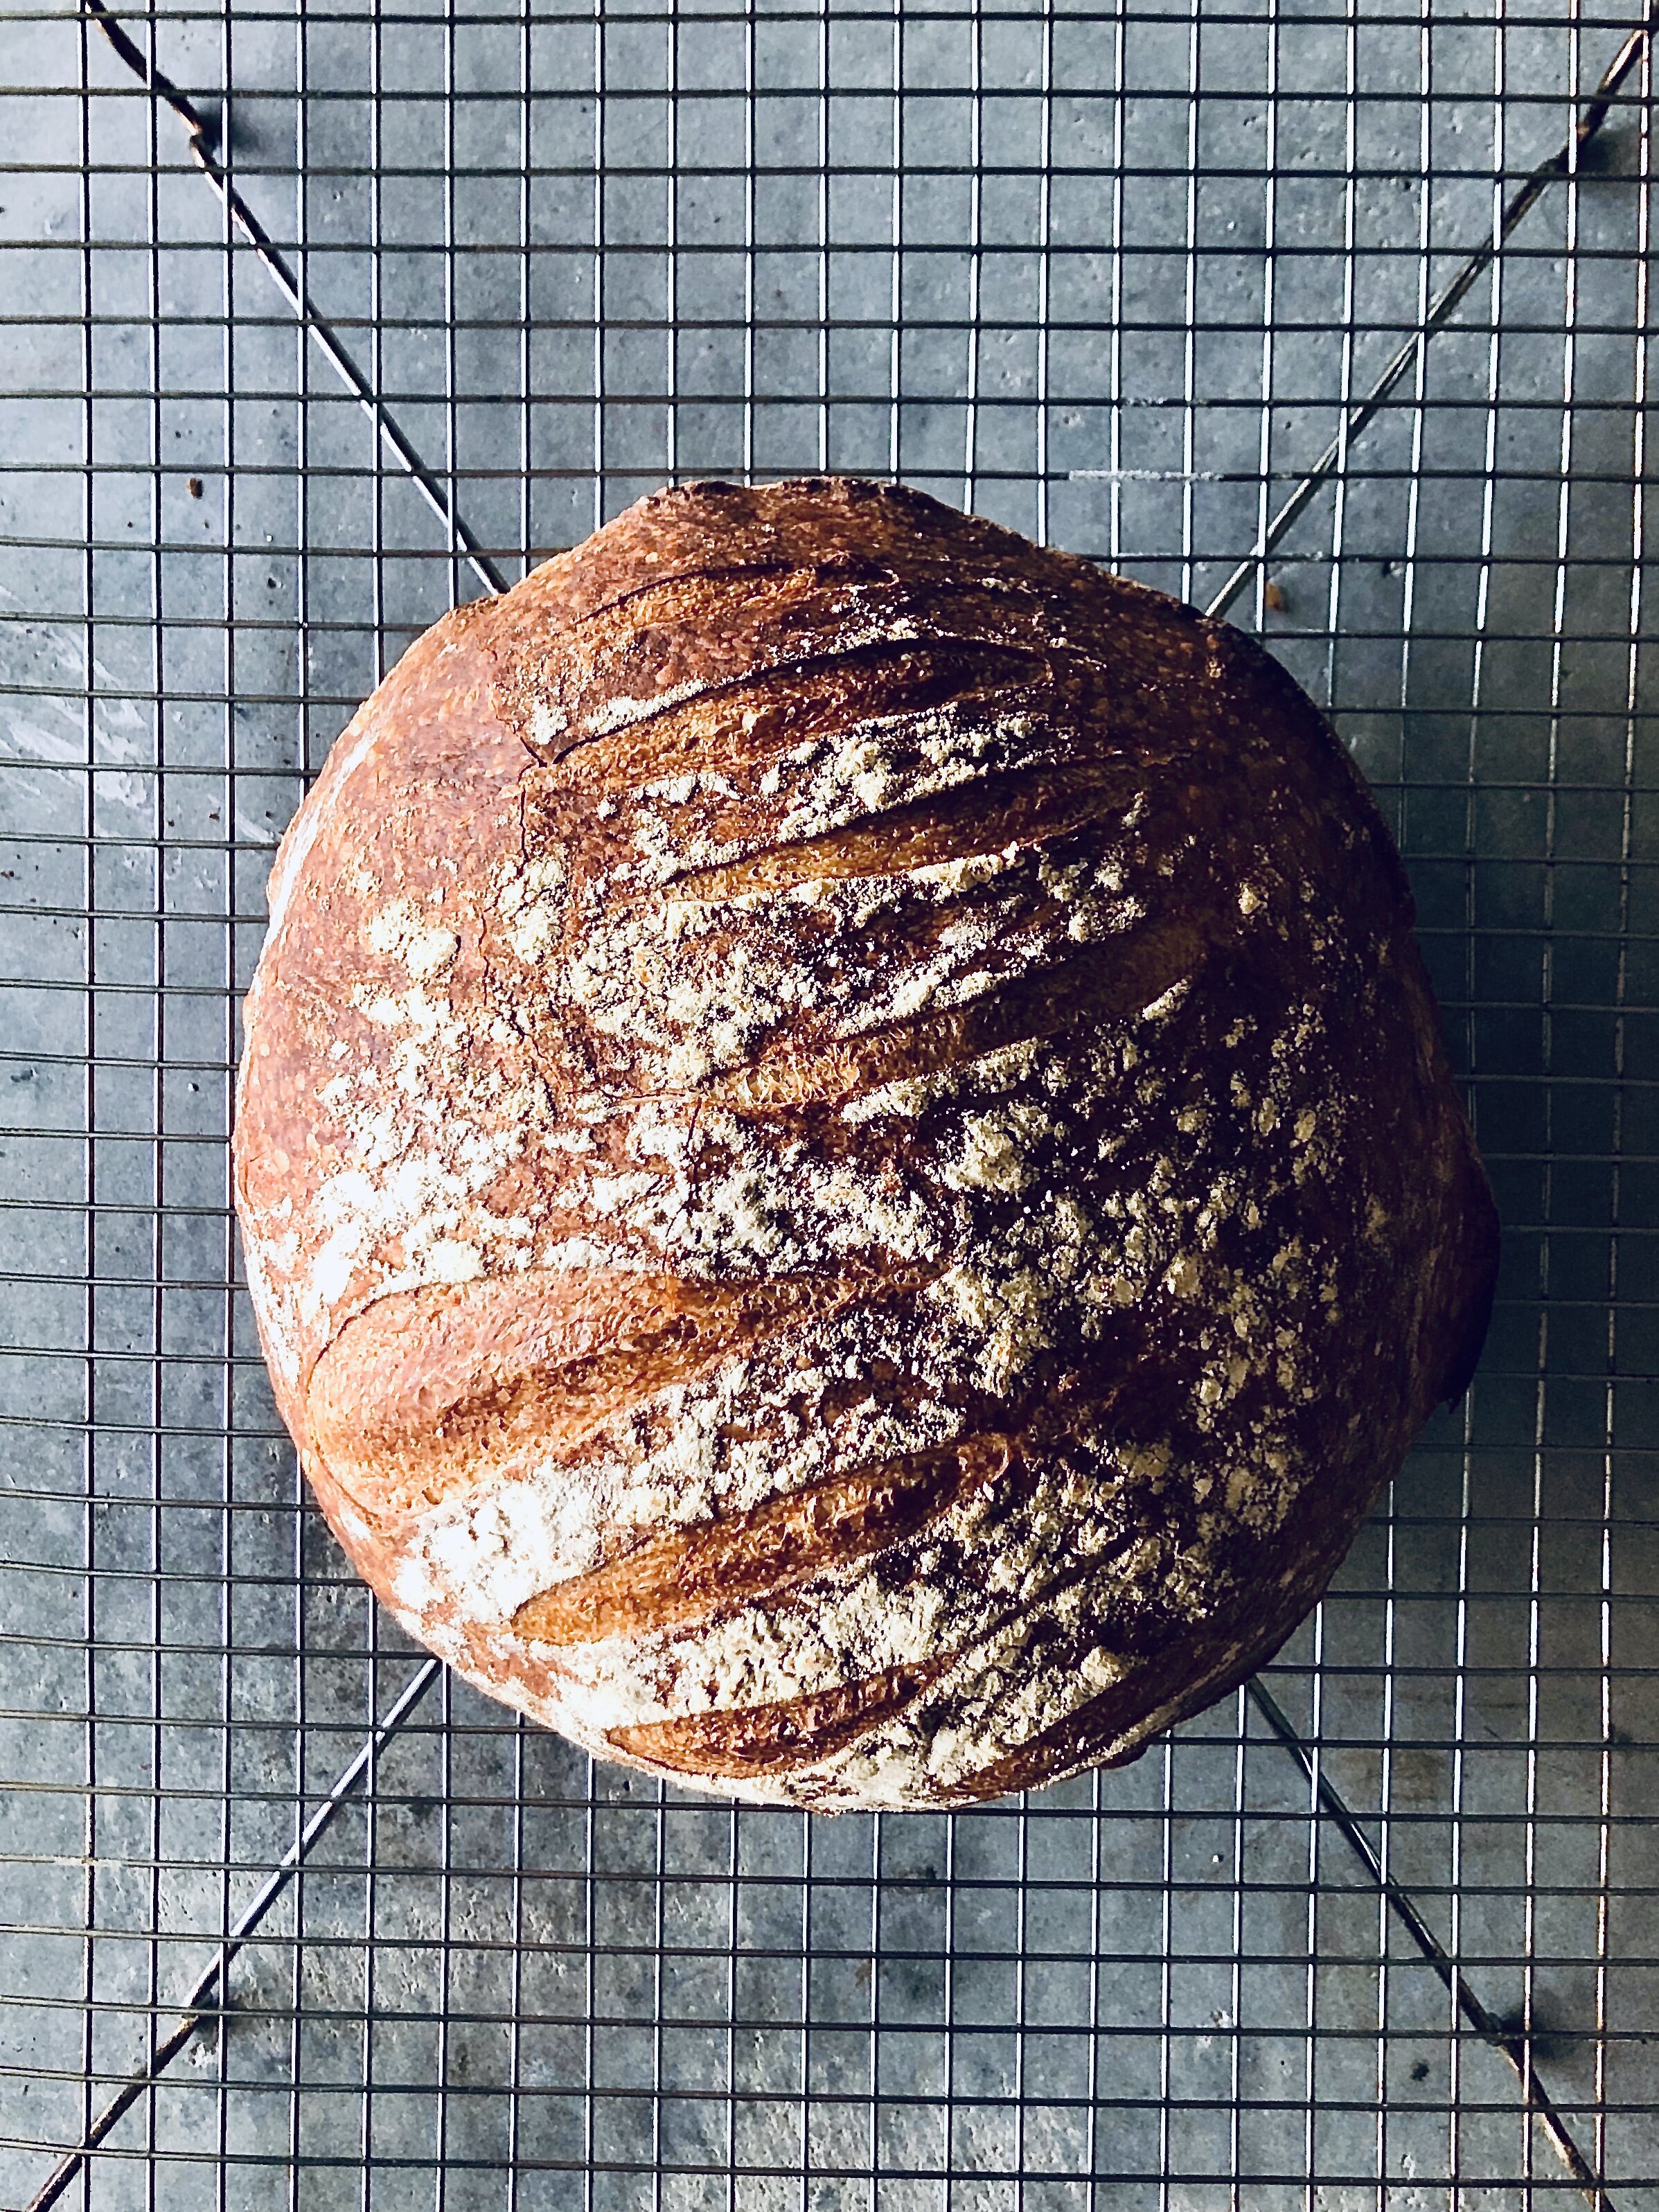
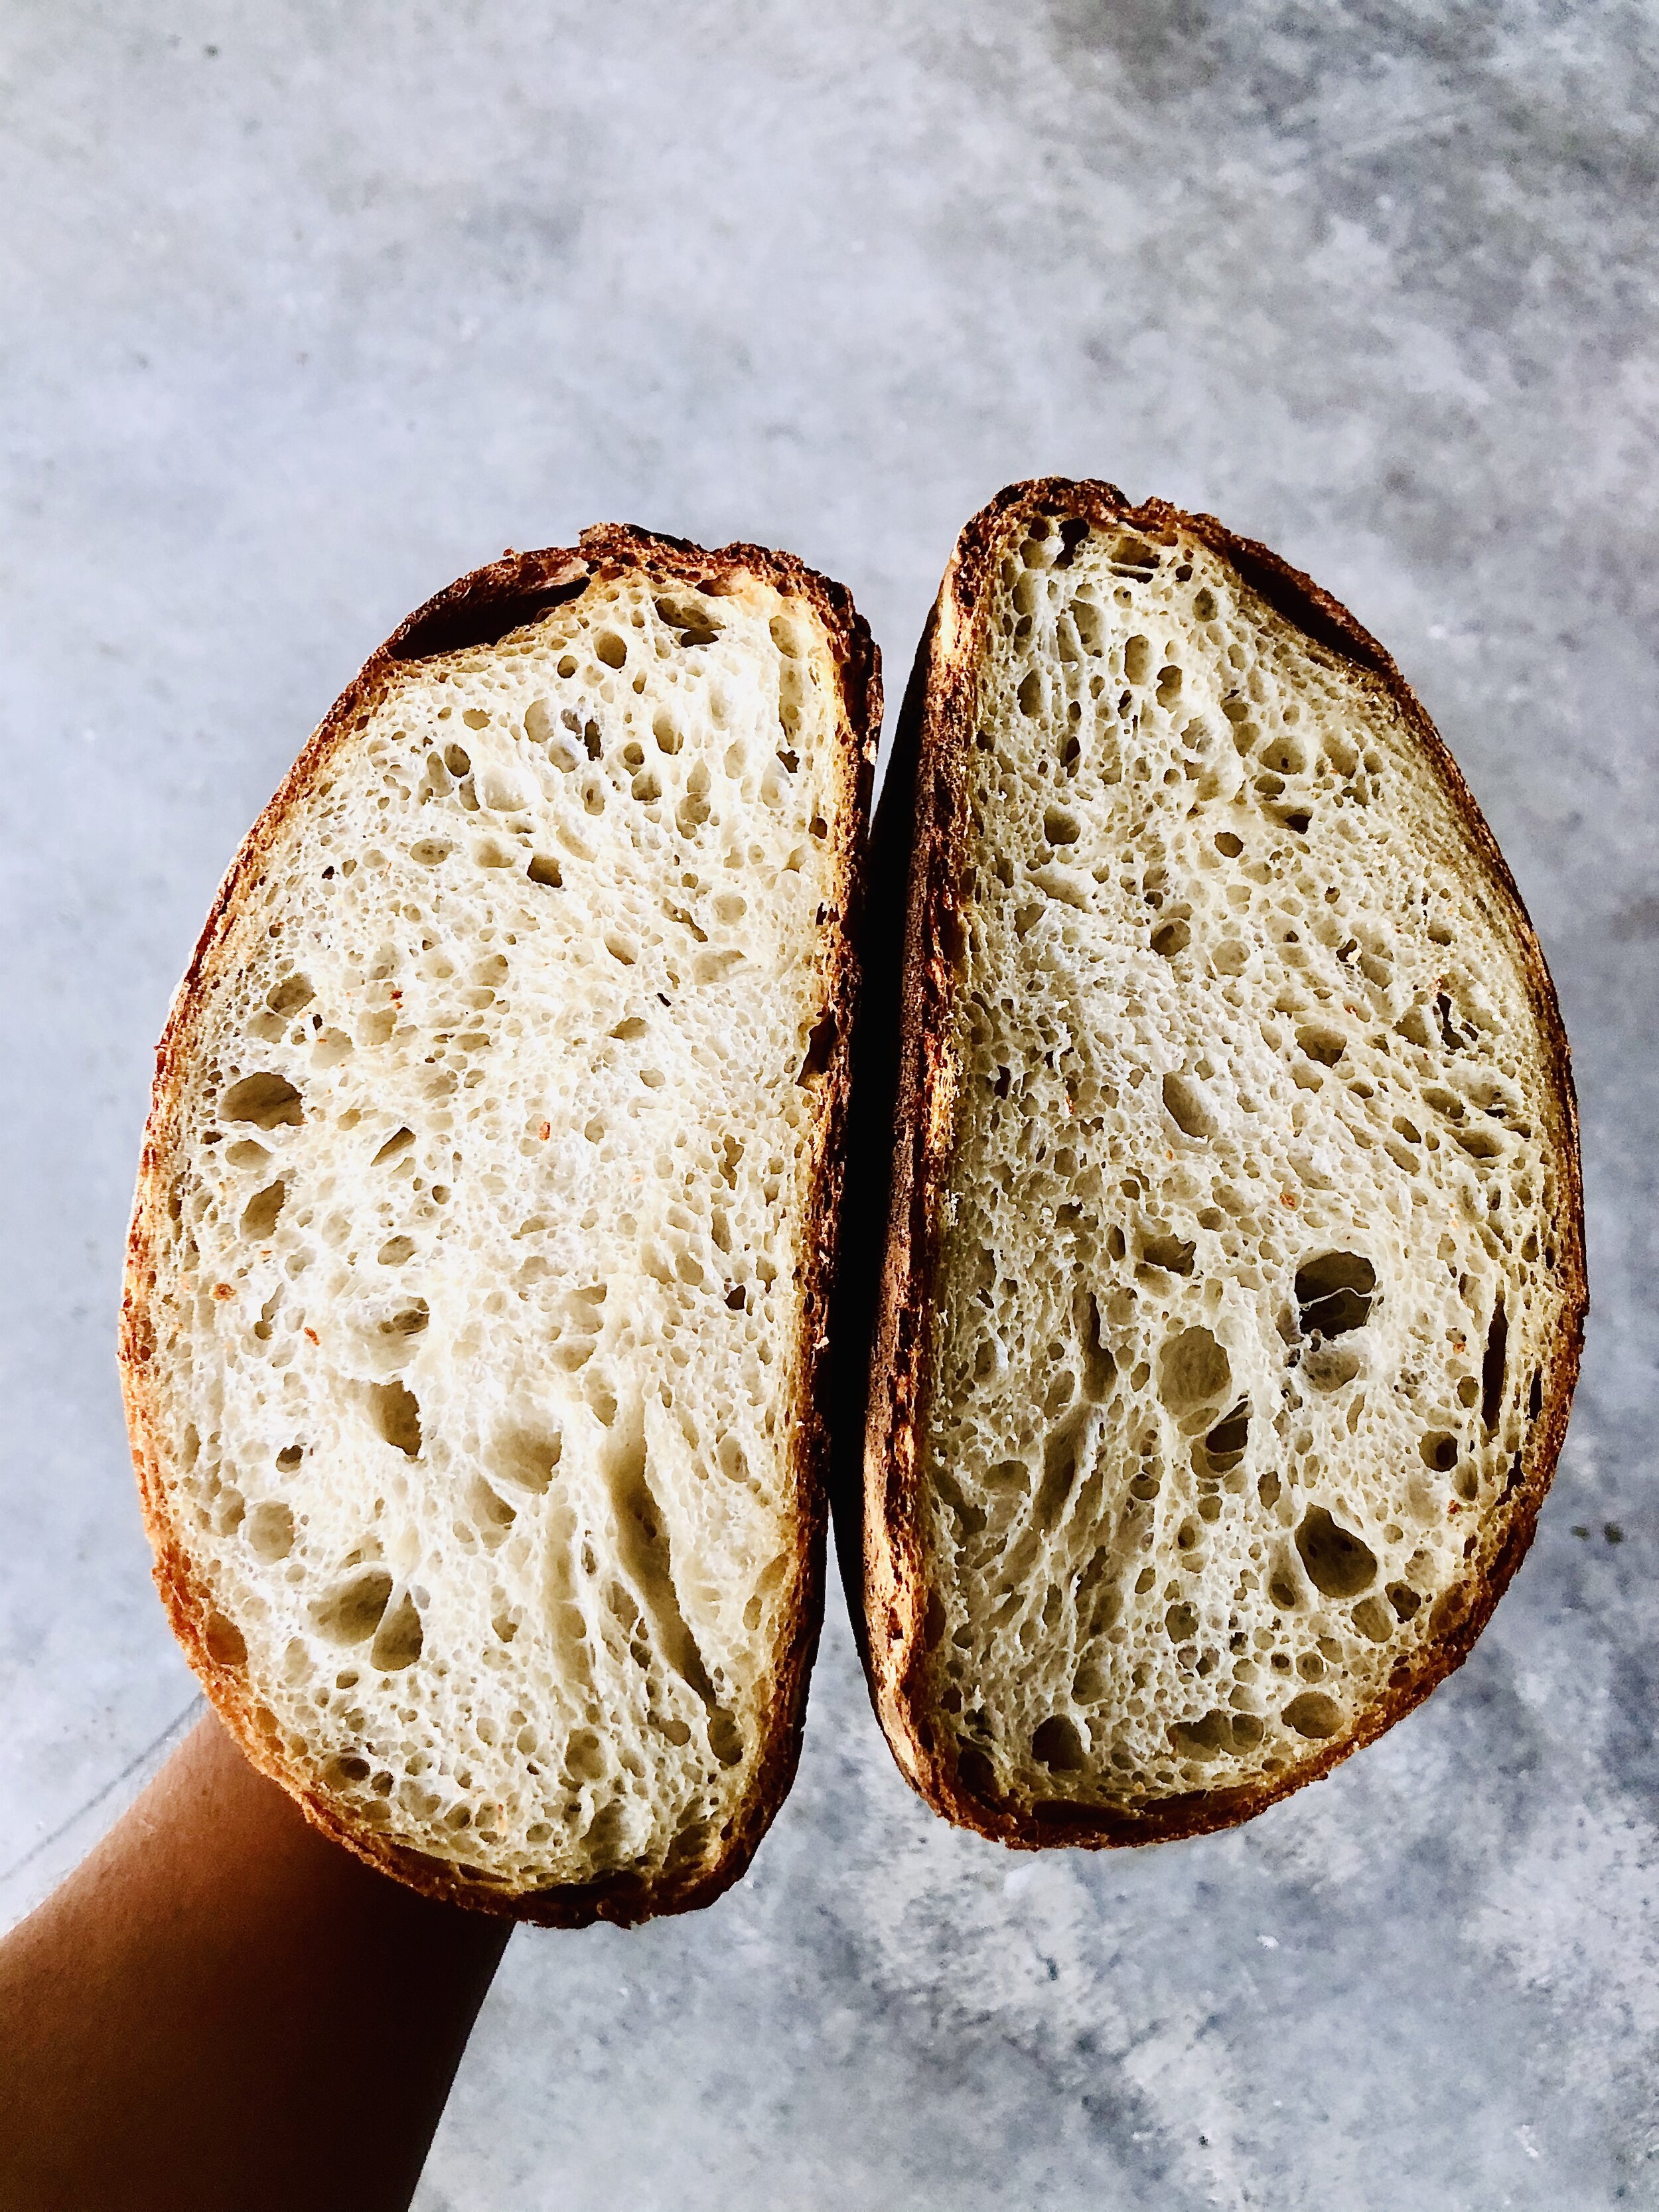
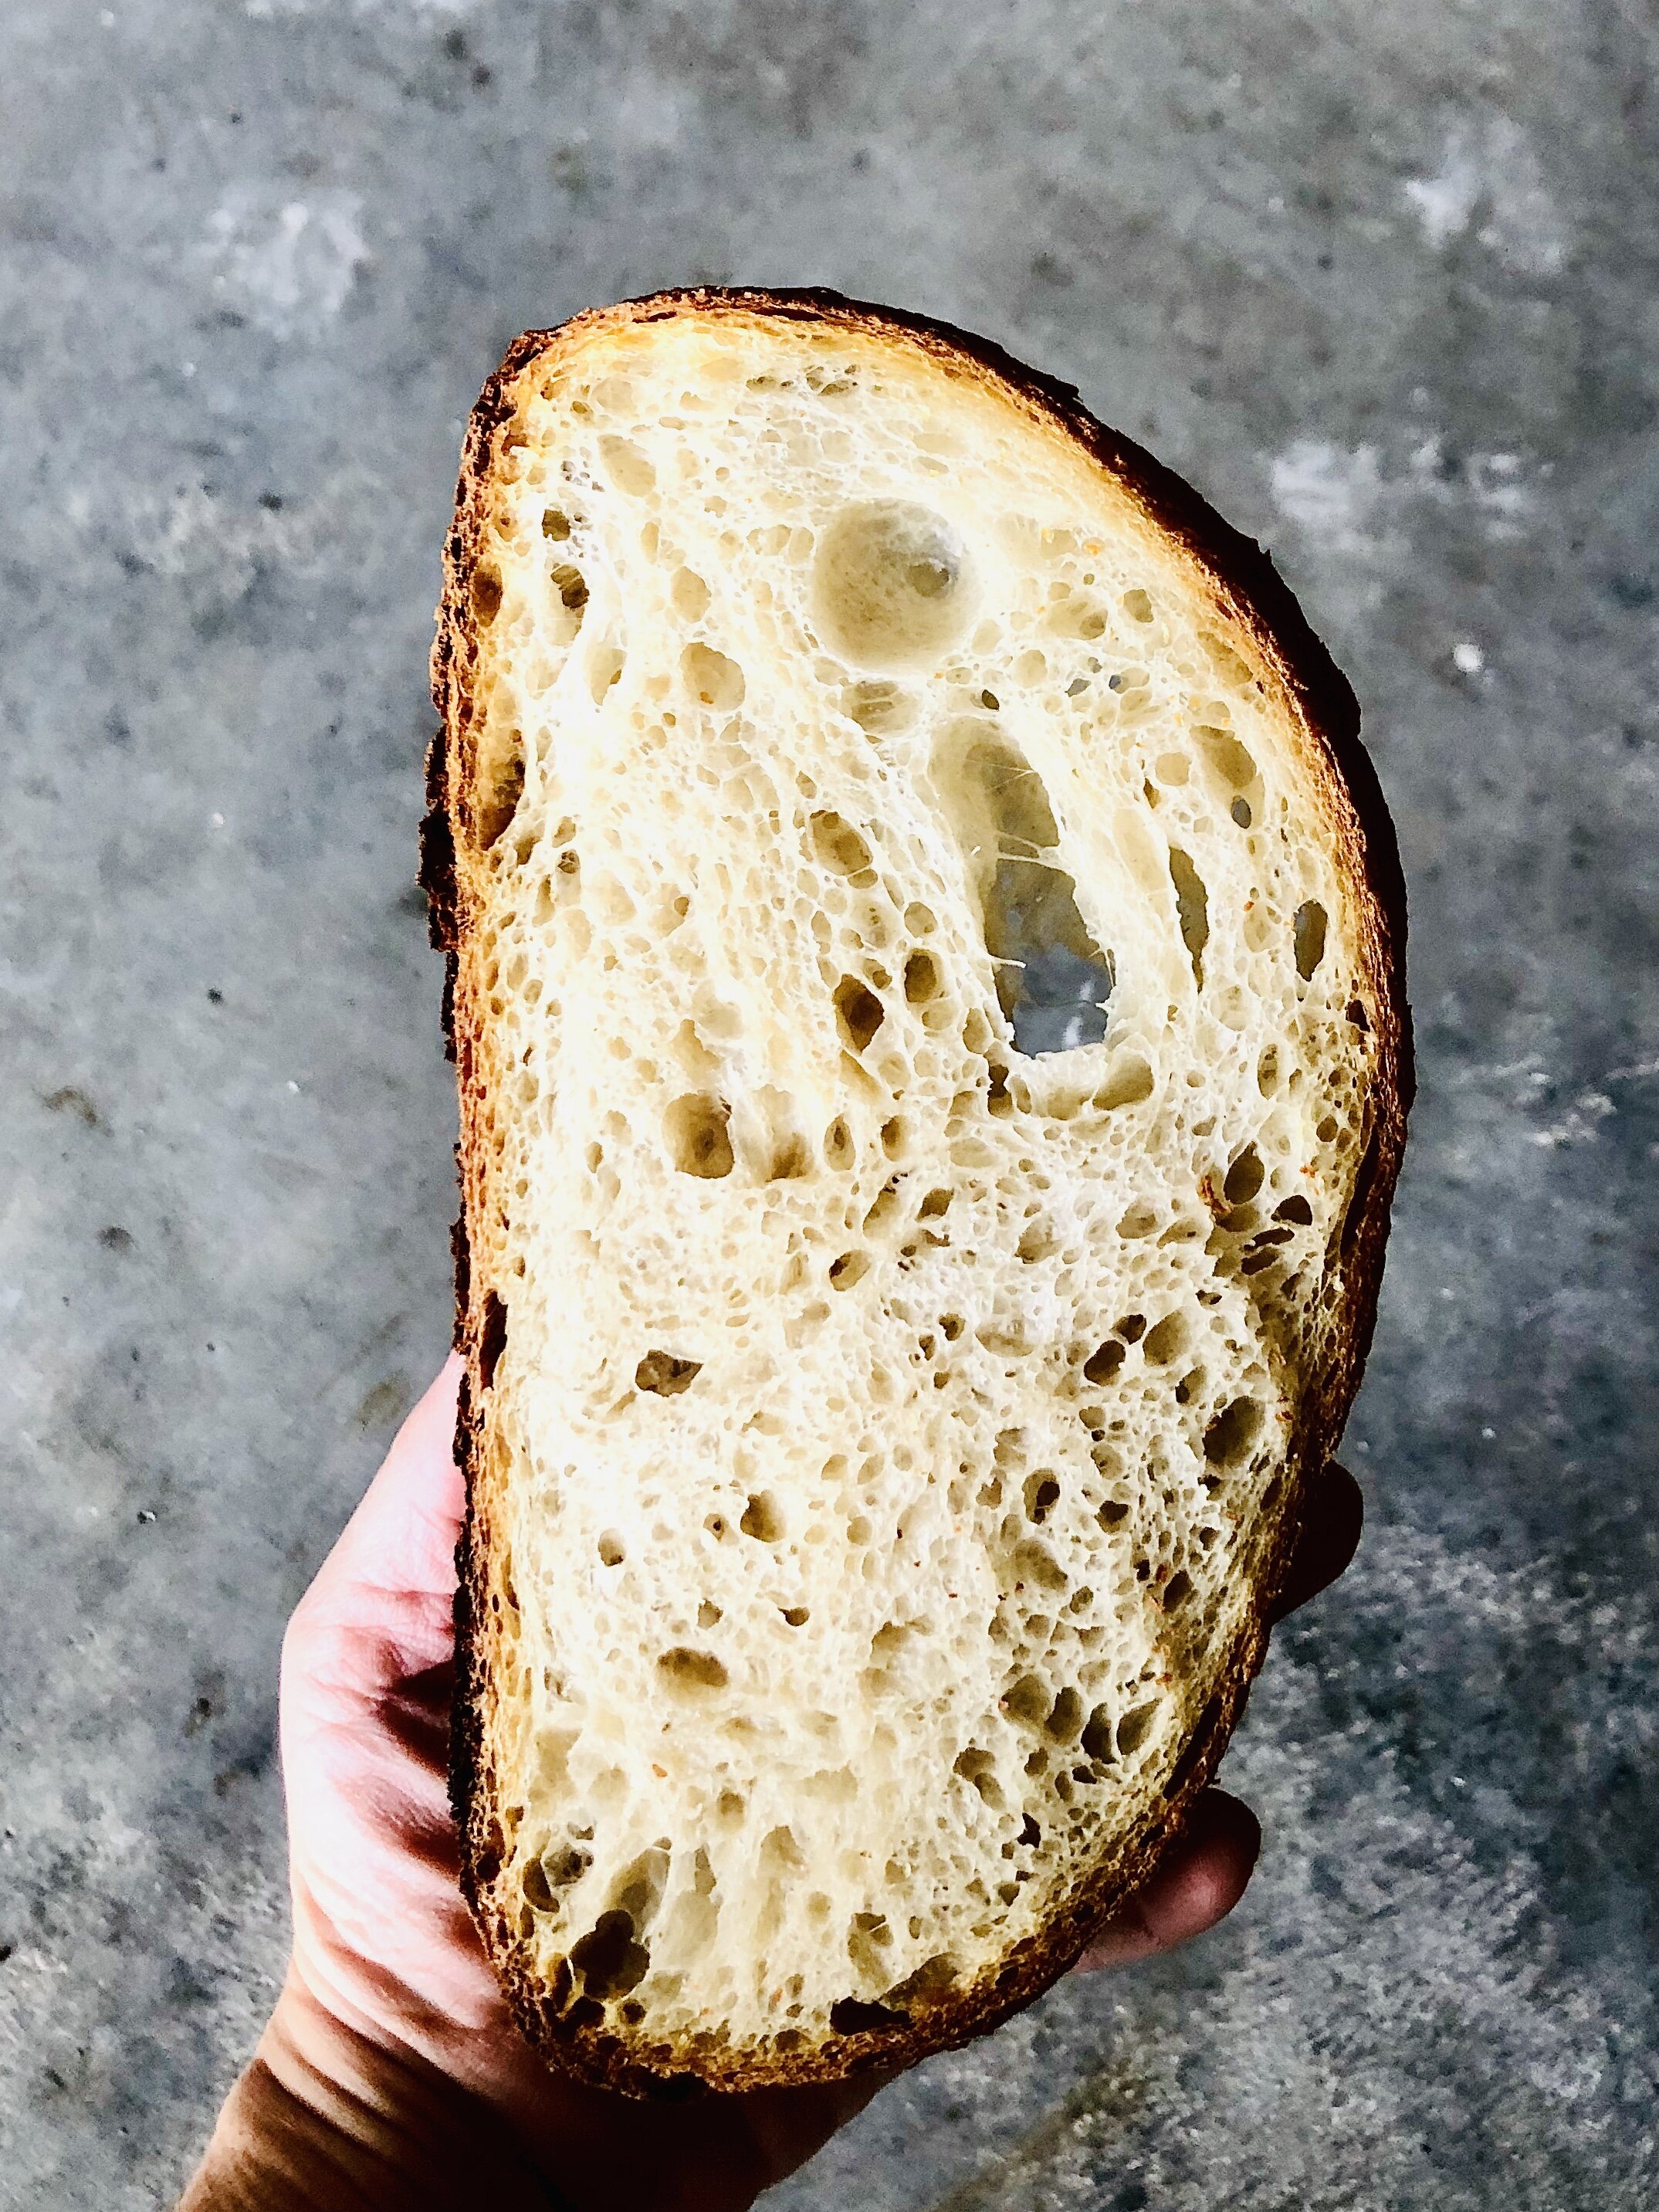
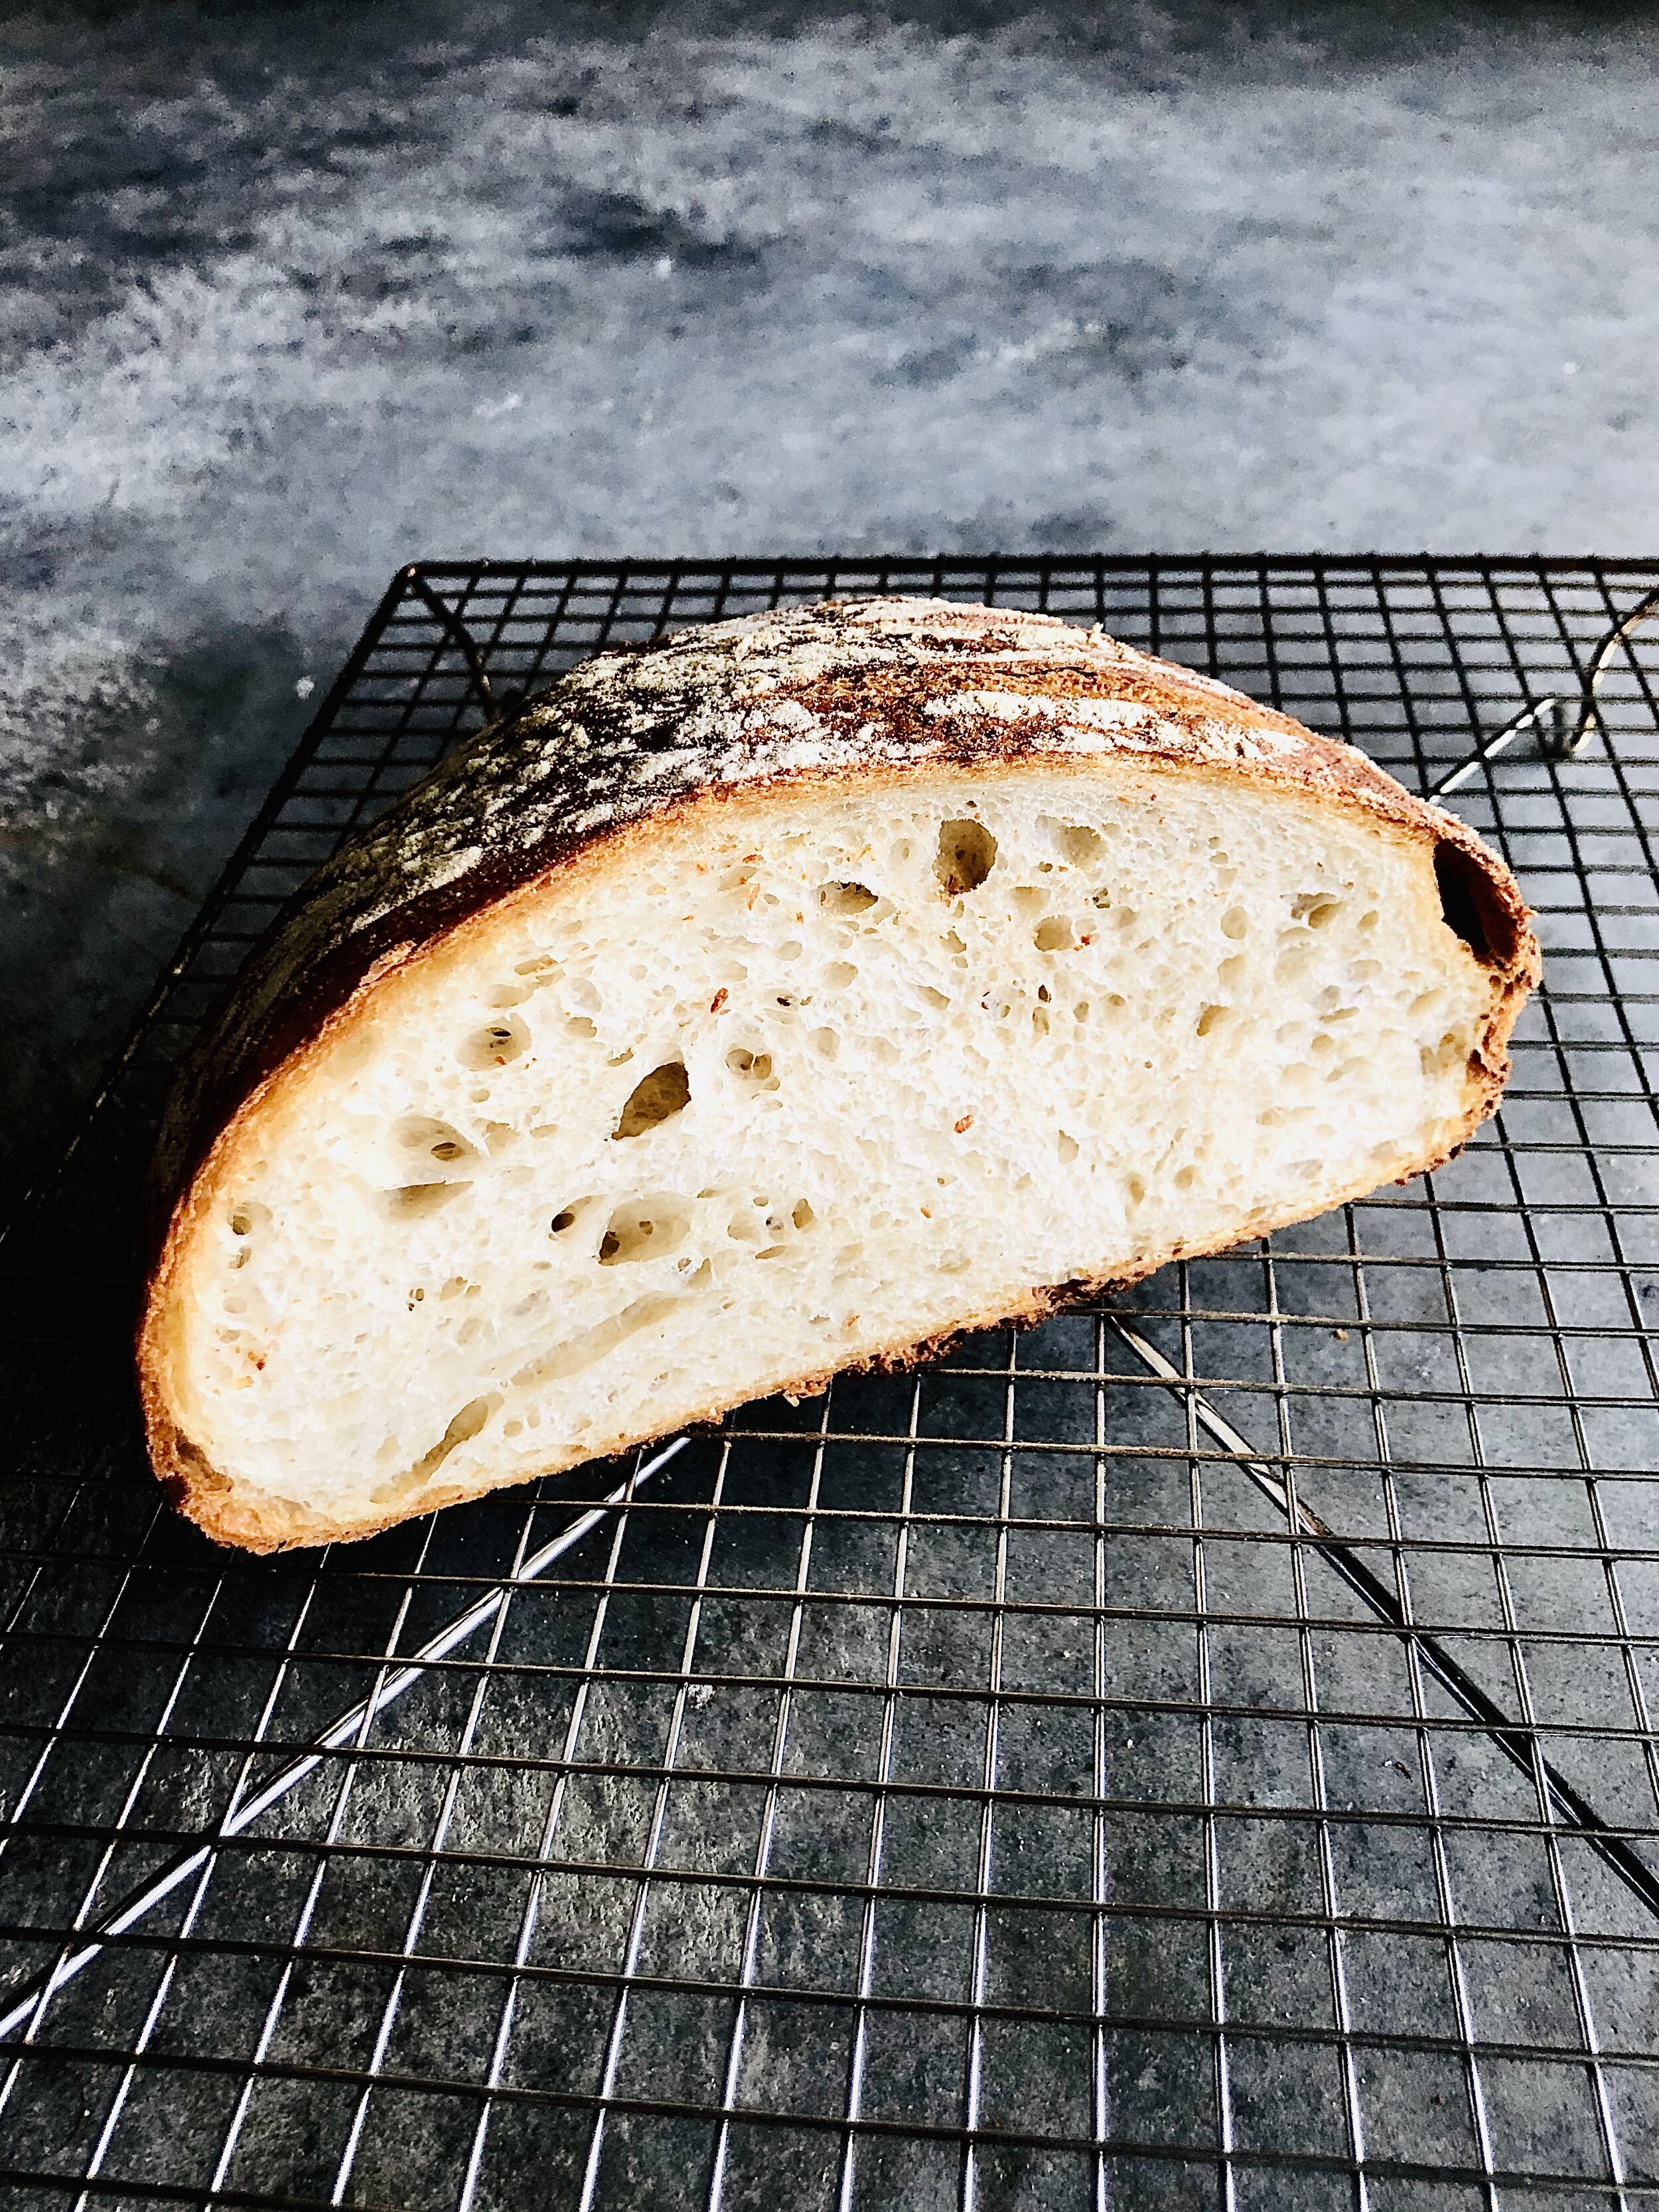
Bread baked from soaked flour.

So, soaked flour, soaked self… both produce good results. Give it a go and feel your way through the process. The dough will be light, and the crumb of the bread softer. Not a bad things really.

Bake on!

February 12, 2023 /Ashley Look
Soaked flour, bread, recipe, dough, soft dough, crumb, dutch oven, yeast, of grain and grain
Flour, Breads
Comment
Homemade zeppoles, or Italian doughnuts, were made with leftover pizza dough, got tossed in powdered sugar and drizzled with chocolate sauce for an unexpected but easy dessert.

Homemade zeppoles, or Italian doughnuts, were made with leftover pizza dough, got tossed in powdered sugar and drizzled with chocolate sauce for an unexpected but easy dessert.

September 2020: Zeppoles- Fried Dough Recipe

September 02, 2020 by Ashley Look in Full Moon Baking Club

Fried dough, also known as zeppoles, are easy to make with leftover pizza dough. If you participated in last month’s Full Moon Baking Club challenge, you’ll have no trouble making these Italian doughnuts because I used the same recipe. Instead of making pizza, cut the dough into little rectangle shapes and then fry them in a pot of oil. After, toss them in a bag with some powdered sugar for a slightly sweet coating. Mine got drizzled with some Hershey’s Chocolate Syrup circa 2017, cause I found a random bottle of it the back of the fridge and thought, heck, it’s 2020! It’s a year for taking risks. Or not… but does chocolate syrup even go bad?

Zeppole Dough Recipe

Ingredients for making the dough:

  • 3 cups flour
  • 2 tsp yeast (rapid rise and dry active are both fine)
  • 1 1/2 tsp sugar
  • 1 1/2 tsp salt
  • 1 1/2 cups warm water
  • 1 tbsp oil (for the dough mix)

Ingredients for frying the zeppoles:

  • 1 quart of vegetable oil or another high heat oil for frying the dough
  • 1 tbsp powdered sugar (or to taste) for tossing the zeppoles

Directions:

  1. In a large mixing bowl, make the dough by combining the dry ingredients.
  2. Add the warm water and tablespoon of oil and start mixing.
  3. Mix until the dough starts to come together and pull away from the bowl, and then dump out onto a lightly floured surface.
  4. Knead the dough until it comes together and forms a ball.
  5. Continue to knead for about 10 minutes until the ingredients are well combined.
  6. Divide the dough into into 4 pieces and reshape into balls. Lay the balls on a greased sheet tray and then cover with a damp towel till they double in size (about an hour).
  7. After they rise, you can then make two or three personal pizzas (by continuing here at step 7) but keep at least one dough ball for the zeppoles.
  8. For the zeppoles, take a large heavy pot (I used a dutch oven) and pour in the frying oil so that it's at least two inches deep, and heat it to between 350F and 370F. Anything below 350 will take too long to fry causing the zeppoles to absorb the oil.
  9. With your zepploe dough, flatten it out as if you were going to begin making the crust of a pizza. Stretch it out gently rather than rolling it because you want to keep the dough light and fluff. It's ok if the dough is not circular. You just want to lay the dough out so the thickness remains even throughout.
  10. Next, take a pizza slicer and slice the dough into strips about 1 inch wide.
  11. Then, slicing from the other direction, cut the dough at 1.5 inch so you end up with a series of 1 x 1.5 inch rectangular dough pieces. (It's ok if they aren't perfect.)
  12. Once the oil is hot, gently using a spoon, drop the dough pieces into the oil. You can fry several at a time. Just be sure not to overcrowd them keeping plenty of space for them to move around in the pot.
  13. Fry for roughly 5 minutes or until they float on top of the oil. Be sure to flip them over as necessary so that they fry on all sides.
  14. After frying, remove the zeppoles and lay them on a plate with a paper towel to help soak up any extra oil.
  15. When you are finished frying them, you can gently toss them in a paper bag with powdered sugar for a light coating.

I tossed my zeppoles in powdered sugar and drizzled with chocolate syrup but I think you could have fun exploring other option. Cinnamon and sugar I’m sure would taste just as delicious, so feel free to get experimental. I’d love to hear what you come up with.

Happy full moon! I challenge you to make these before October 1, 2020 which is the next full moon. You have almost a month from today to give these a shot. Good luck!

September 02, 2020 /Ashley Look
How To Feed A Senior, Full Moon Baking Club, pizza, crust, dough, zeppoles, doughnuts, donuts, dough balls, flour, fried dough recipe, powdered sugar, dutch oven, chocolate syrup, cinnamon
Full Moon Baking Club
1 Comment
A simple sourdough recipe to get you in on the sourdough game.

A simple sourdough recipe to get you in on the sourdough game.

May 2020: Simple Sourdough Recipe

May 07, 2020 by Ashley Look in Full Moon Baking Club, Recipes

This is a shout-out to all the new bakers that have embarked on the sourdough journey but feel defeated in effort. Hey there…I hear you. It’s a lot of flour feeding and discarding and questioning if the hobby is worth it or wasteful… Well, buck-up friend! If there’s one thing I can tell you about bread baking, it’s that the recipes themselves matter less than your relationship to the dough. Over time, you come to learn that a good bread is something you feel. You can tell long before it’s baked if it’s going to perform well and my advice to you is, just stay with it. Practice, make a mess, and enjoy the process regardless of result because you will get better with time. Breads take time… I’ve been baking for a while now and it’s the relationship I have created with time that makes bread such great company. And now, as we all sit idle in our quarantined quarters, where time escapes us and loneliness set in, it’s nice to have a friend, especially a nourishing one that provides a taste of companionship.

As for sourdough specifically, my fandom was born thanks to the pandemic and the sudden hunt for yeast. Albeit my yeast supply remains plentiful, I’m here for the herd. The thought of would-be-bakers being left behind due to yeast shortages was enough for me to join the sourdough bandwagon. I don’t care if it’s trendy because of the pandemic. The truth is, anything that enables you to provide for yourself reduces dependency at large. The fact that you can make your own bread means you don’t have to buy it from the grocery store, reducing demand on the supply chain which reduces the demand on factory workers which right now, are at the very heart of the virus outbreak. So, trendy or not, if you’re better able to shelter in place thanks to what might be a new hobby, by all means, go for it! Reducing your demand for market needs is one step closer to sustainability. Even thought it’s a small step, it’s still a step, and in times of crisis, little things matter.

So, don’t be discouraged by your bread flop, or shamed into thinking your’re just following a fad. Who cares? It’s fun. It’s therapeutic. And when you get the hang of it, it taste good! It’s a win for you, front-line workers, and the environment. Gawd… Just writing that feels like a sales pitch but honestly, this is not a hard sell. If bread baking is a coping mechanism for dark times then consider me an apocal-optimist cause I think its awesome!

As the sourdough starter ages, the holes get better and better!

As the sourdough starter ages, the holes get better and better!

Before I get into the recipe, I have to say one thing. Screw recipes! It’s so easy to get bogged down in how-to’s that quickly turn to overwhelm. That is how I have felt about all the sourdough recipes I’ve found so I’m giving up and going with what I know and chalking the failures up to learning along the way. I’m not getting into levain, or biga, or poolish and all the fancy names that boiled down, amount to “sponge” in my book. The semantics in bread making can leave a new baker confused, so let’s ignore that for now We’re keeping things simple. Ready?

Simple Sourdough Recipe

Step 1: Create the “sponge”

  • 1/4 cup starter
  • 1 cup warm water
  • 1 cup flour
  1. Mix sponge ingredients in a large bowl.
  2. Cover and let rest for 4 to 6 hours or when a small amout can float when placed in a bowl of water. This is known as a float test.

Step 2: Create the dough

  • 2 cups flour
  • 1/2 cup water
  • 1 1/2 tsp salt
  1. Add the dough ingredients into the sponge bowl and combine.
  2. Mix until a shaggy dough forms and all ingredients are incorporated.
  3. Cover and let rest 6-8 hours or overnight.

Step 3: Knead the dough

  1. With a wet hand, reach along the inside edge of the bowl, lifting the dough up, so you can fold it onto itself.
  2. Do this this three or four times and then cover and let the dough rest in the bowl for 30ish minutes.
  3. Repeat Step 3, three more times.

Step 4: Shape the dough

  1. On a lightly floured surface, dump out your dough and gently shape into a round form being mindful of the gas bubbles.(You want to keep those intact as much as possible. That's what helps give the crumb those big sourdough holes.)
  2. Once it's shaped, place on a piece of parchment paper and place it in a clean bowl.
  3. Cover and let rise in the fridge overnight.

Step 5: Bake

  1. Remove bowl from fridge and let come to room temperature.
  2. Preheat a dutch oven in your oven to 500 degrees F.
  3. When the oven reaches tempurature, score the top of your bread dough with a few slits and carefuly place the dough with the parchment into the dutch oven.
  4. Cover it with the lid and place it back into the oven. Lower the tempurature to 450 degrees F and bake for 30 minutes.
  5. After 30 minutes, remove the lid, lower the tempurature to 400 degrees F and continue baking for 15 more minutes.
  6. Remove and let cool on a wire rack.
Sourdough starter.jpg Sourdough Sponge.jpg Sourdough ingredients.jpg overnight rise.jpg first knead.jpg third knead.JPG sourdough dough.jpg scoring.jpg Simple Sourdough Loaf.jpg Simple Sourdough Holes.jpg Simple Sourdough Slice.jpg Sourdough Still Life.jpg

Hot damn! This is me trying to simplify things but my head is already hurting so not sure it worked.. Good luck and remember that the Sourdough Support Group is here for you! I’m posting my updates over on Instagram so if you want some behind the scenes shots check the sourdough stories. Don’t hesitate to message me with your successes, failure, questions or requests. I’m just as bored as you are so lets get gaming and have some fun. You have one month to complete this recipe mission. The next full moon is June 5, 2020 so you got four weeks to give this a shot. Good luck. You got this!

Piece out!

Simple Sourdough Slice.jpg
May 07, 2020 /Ashley Look
How to feed a senior, Simple Sourdough Recipe, sourdough starter, baking, bread making, pandemic, flour, sourdough support group, float test, levain, biga, poolish, sponge, dough, knead, gas bubbles, crumb, Full Moon, Full Moon Baking Club, Yeast, shaping dough, dutch oven
Full Moon Baking Club, Recipes
Comment
 
Search