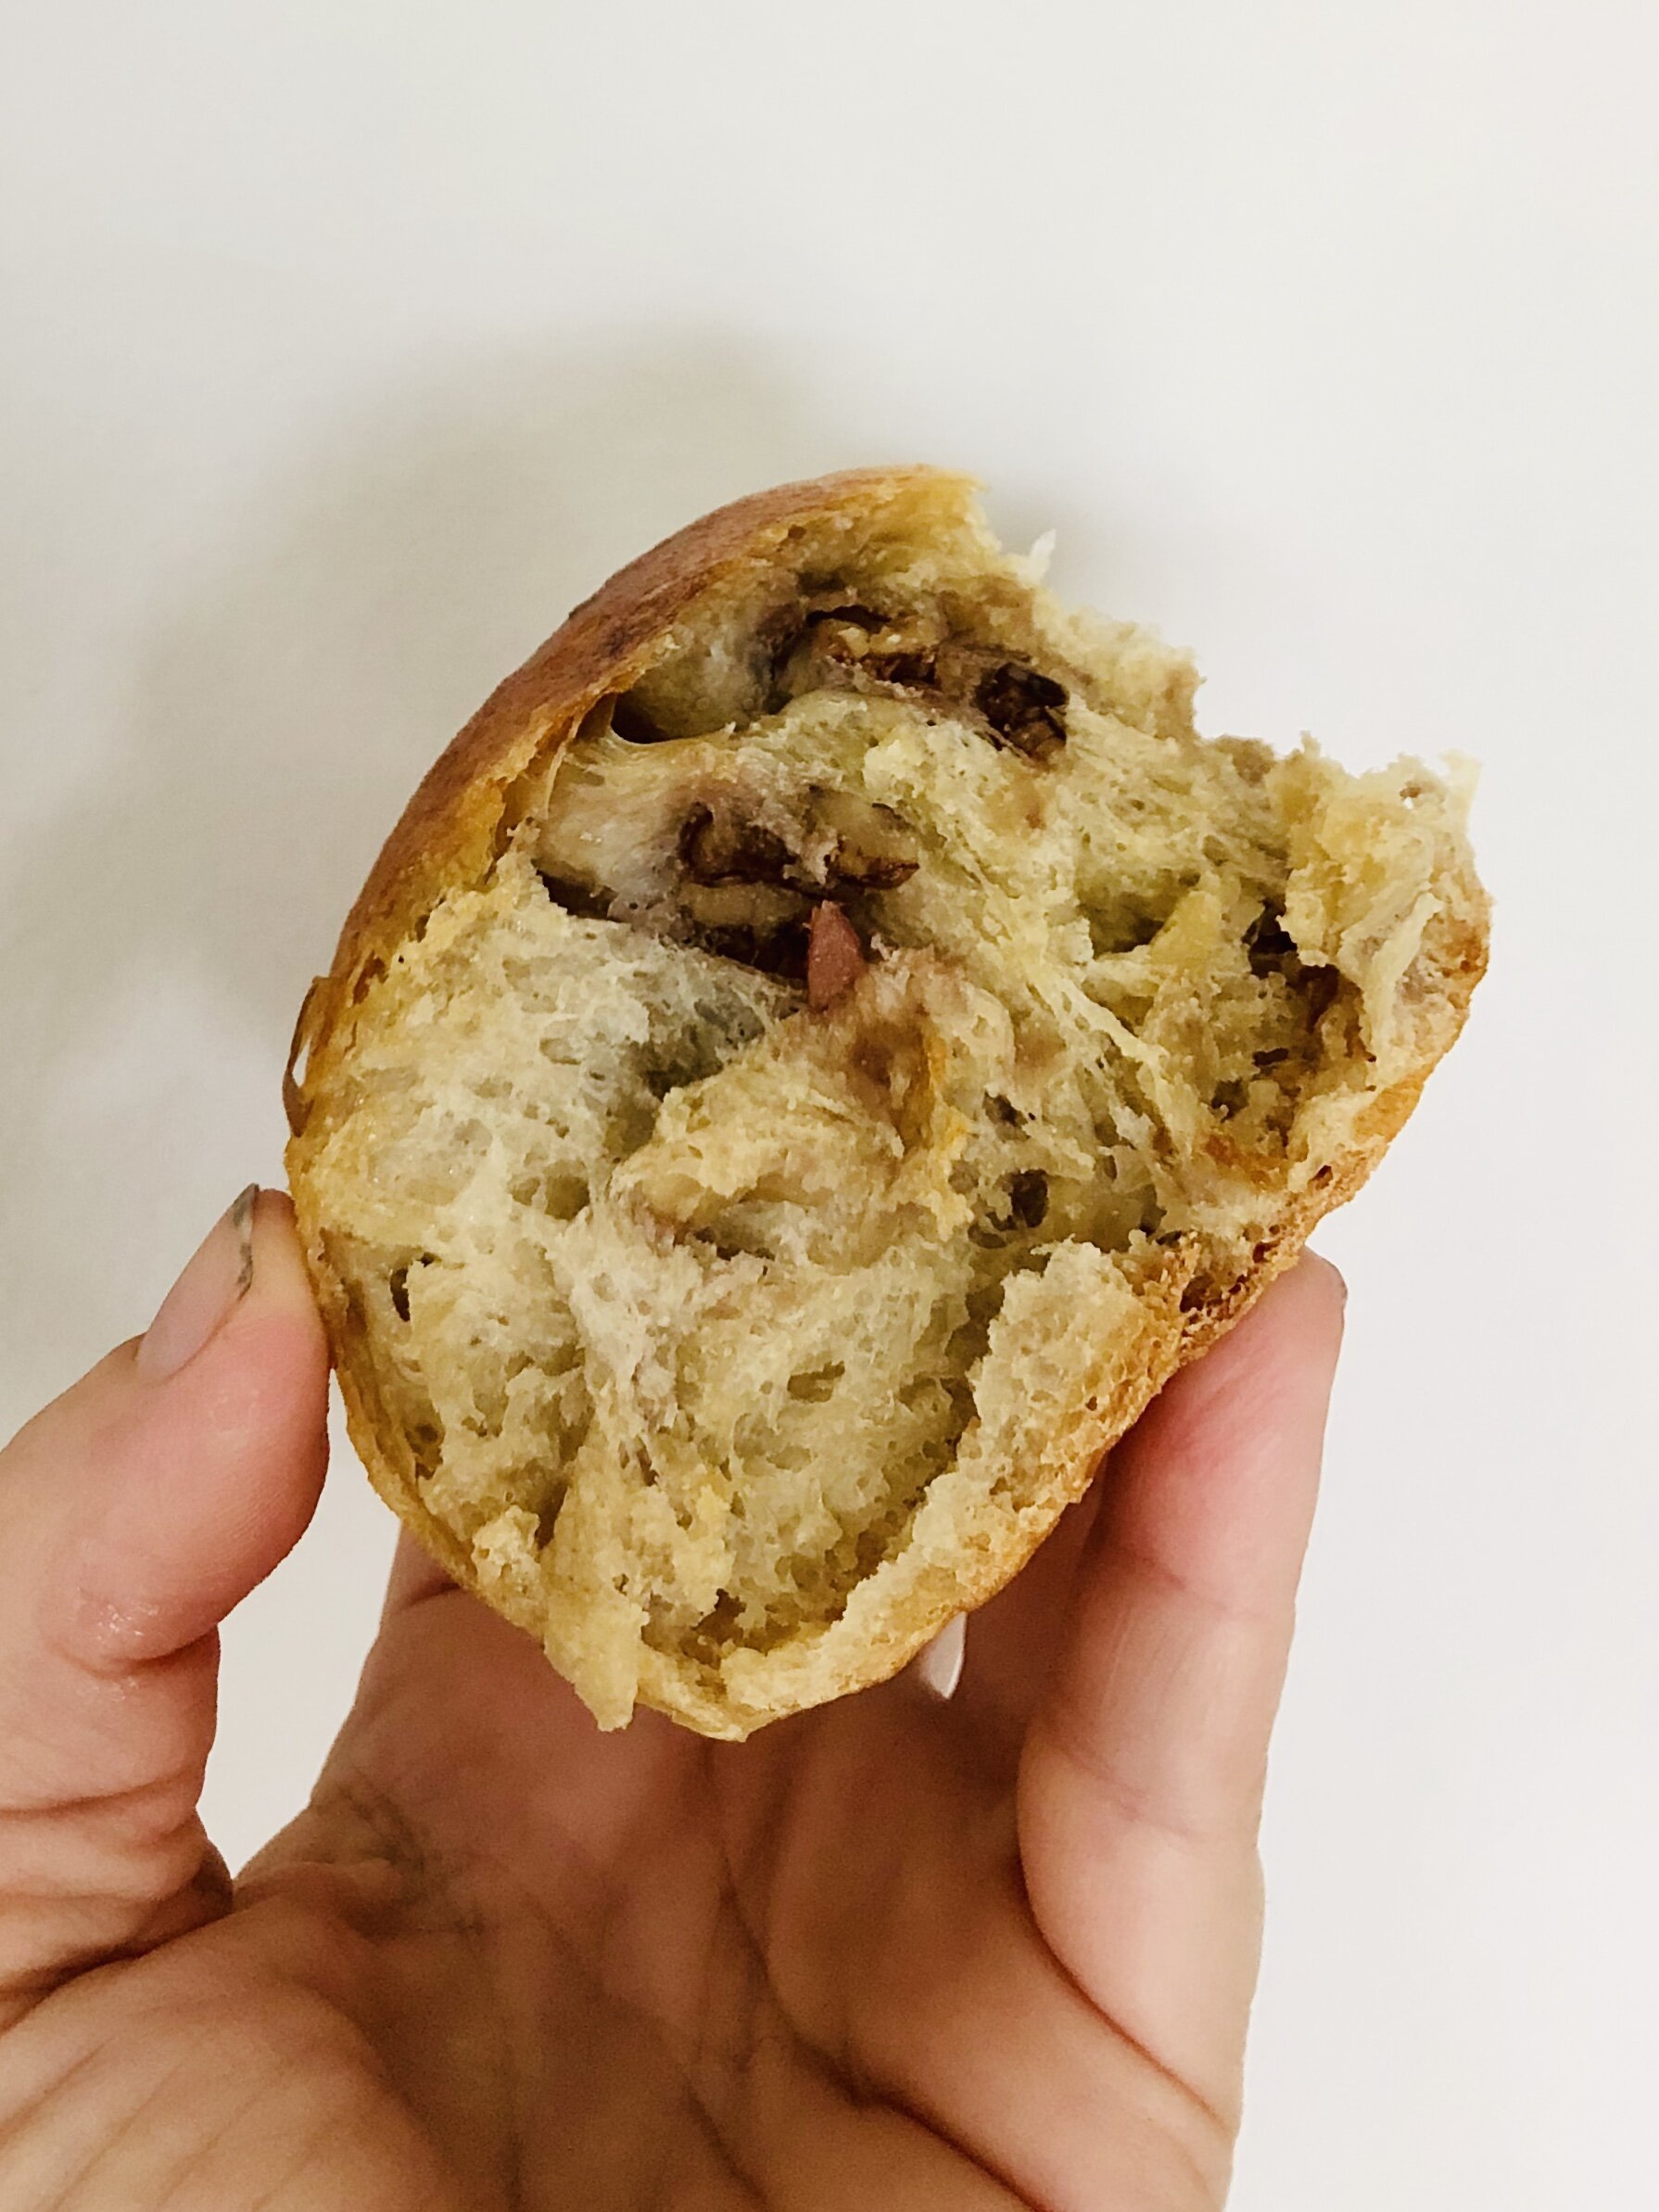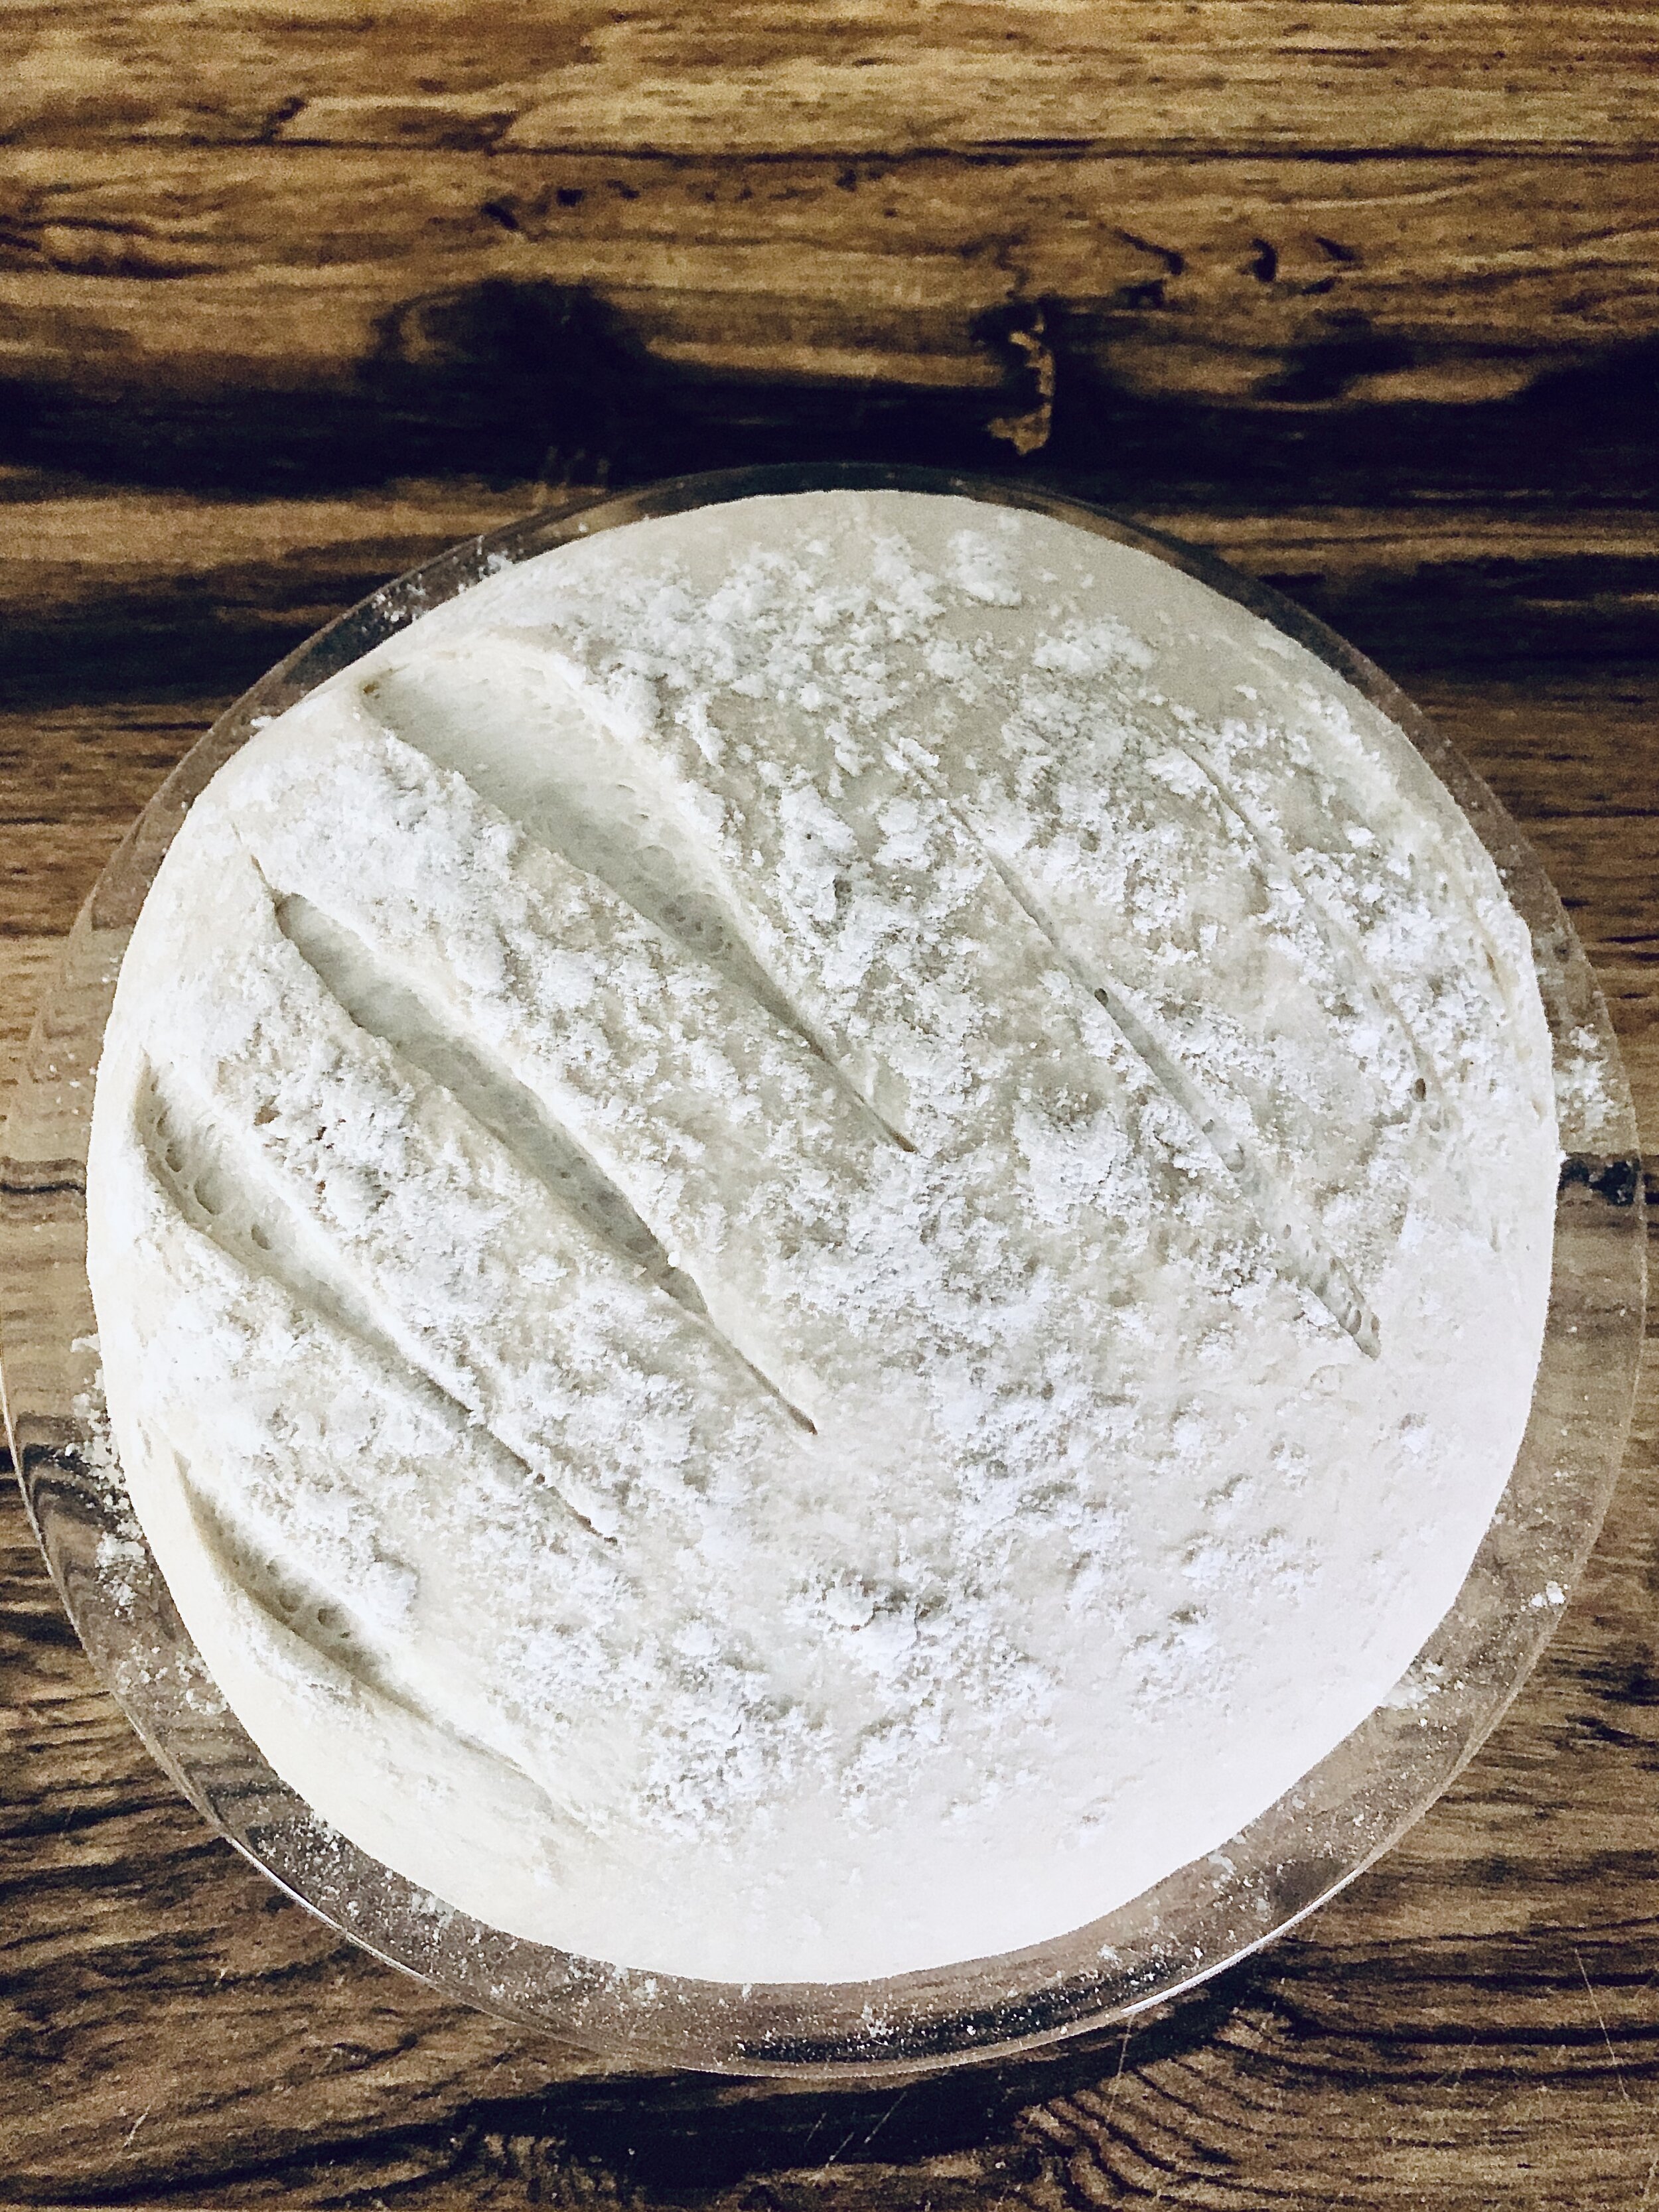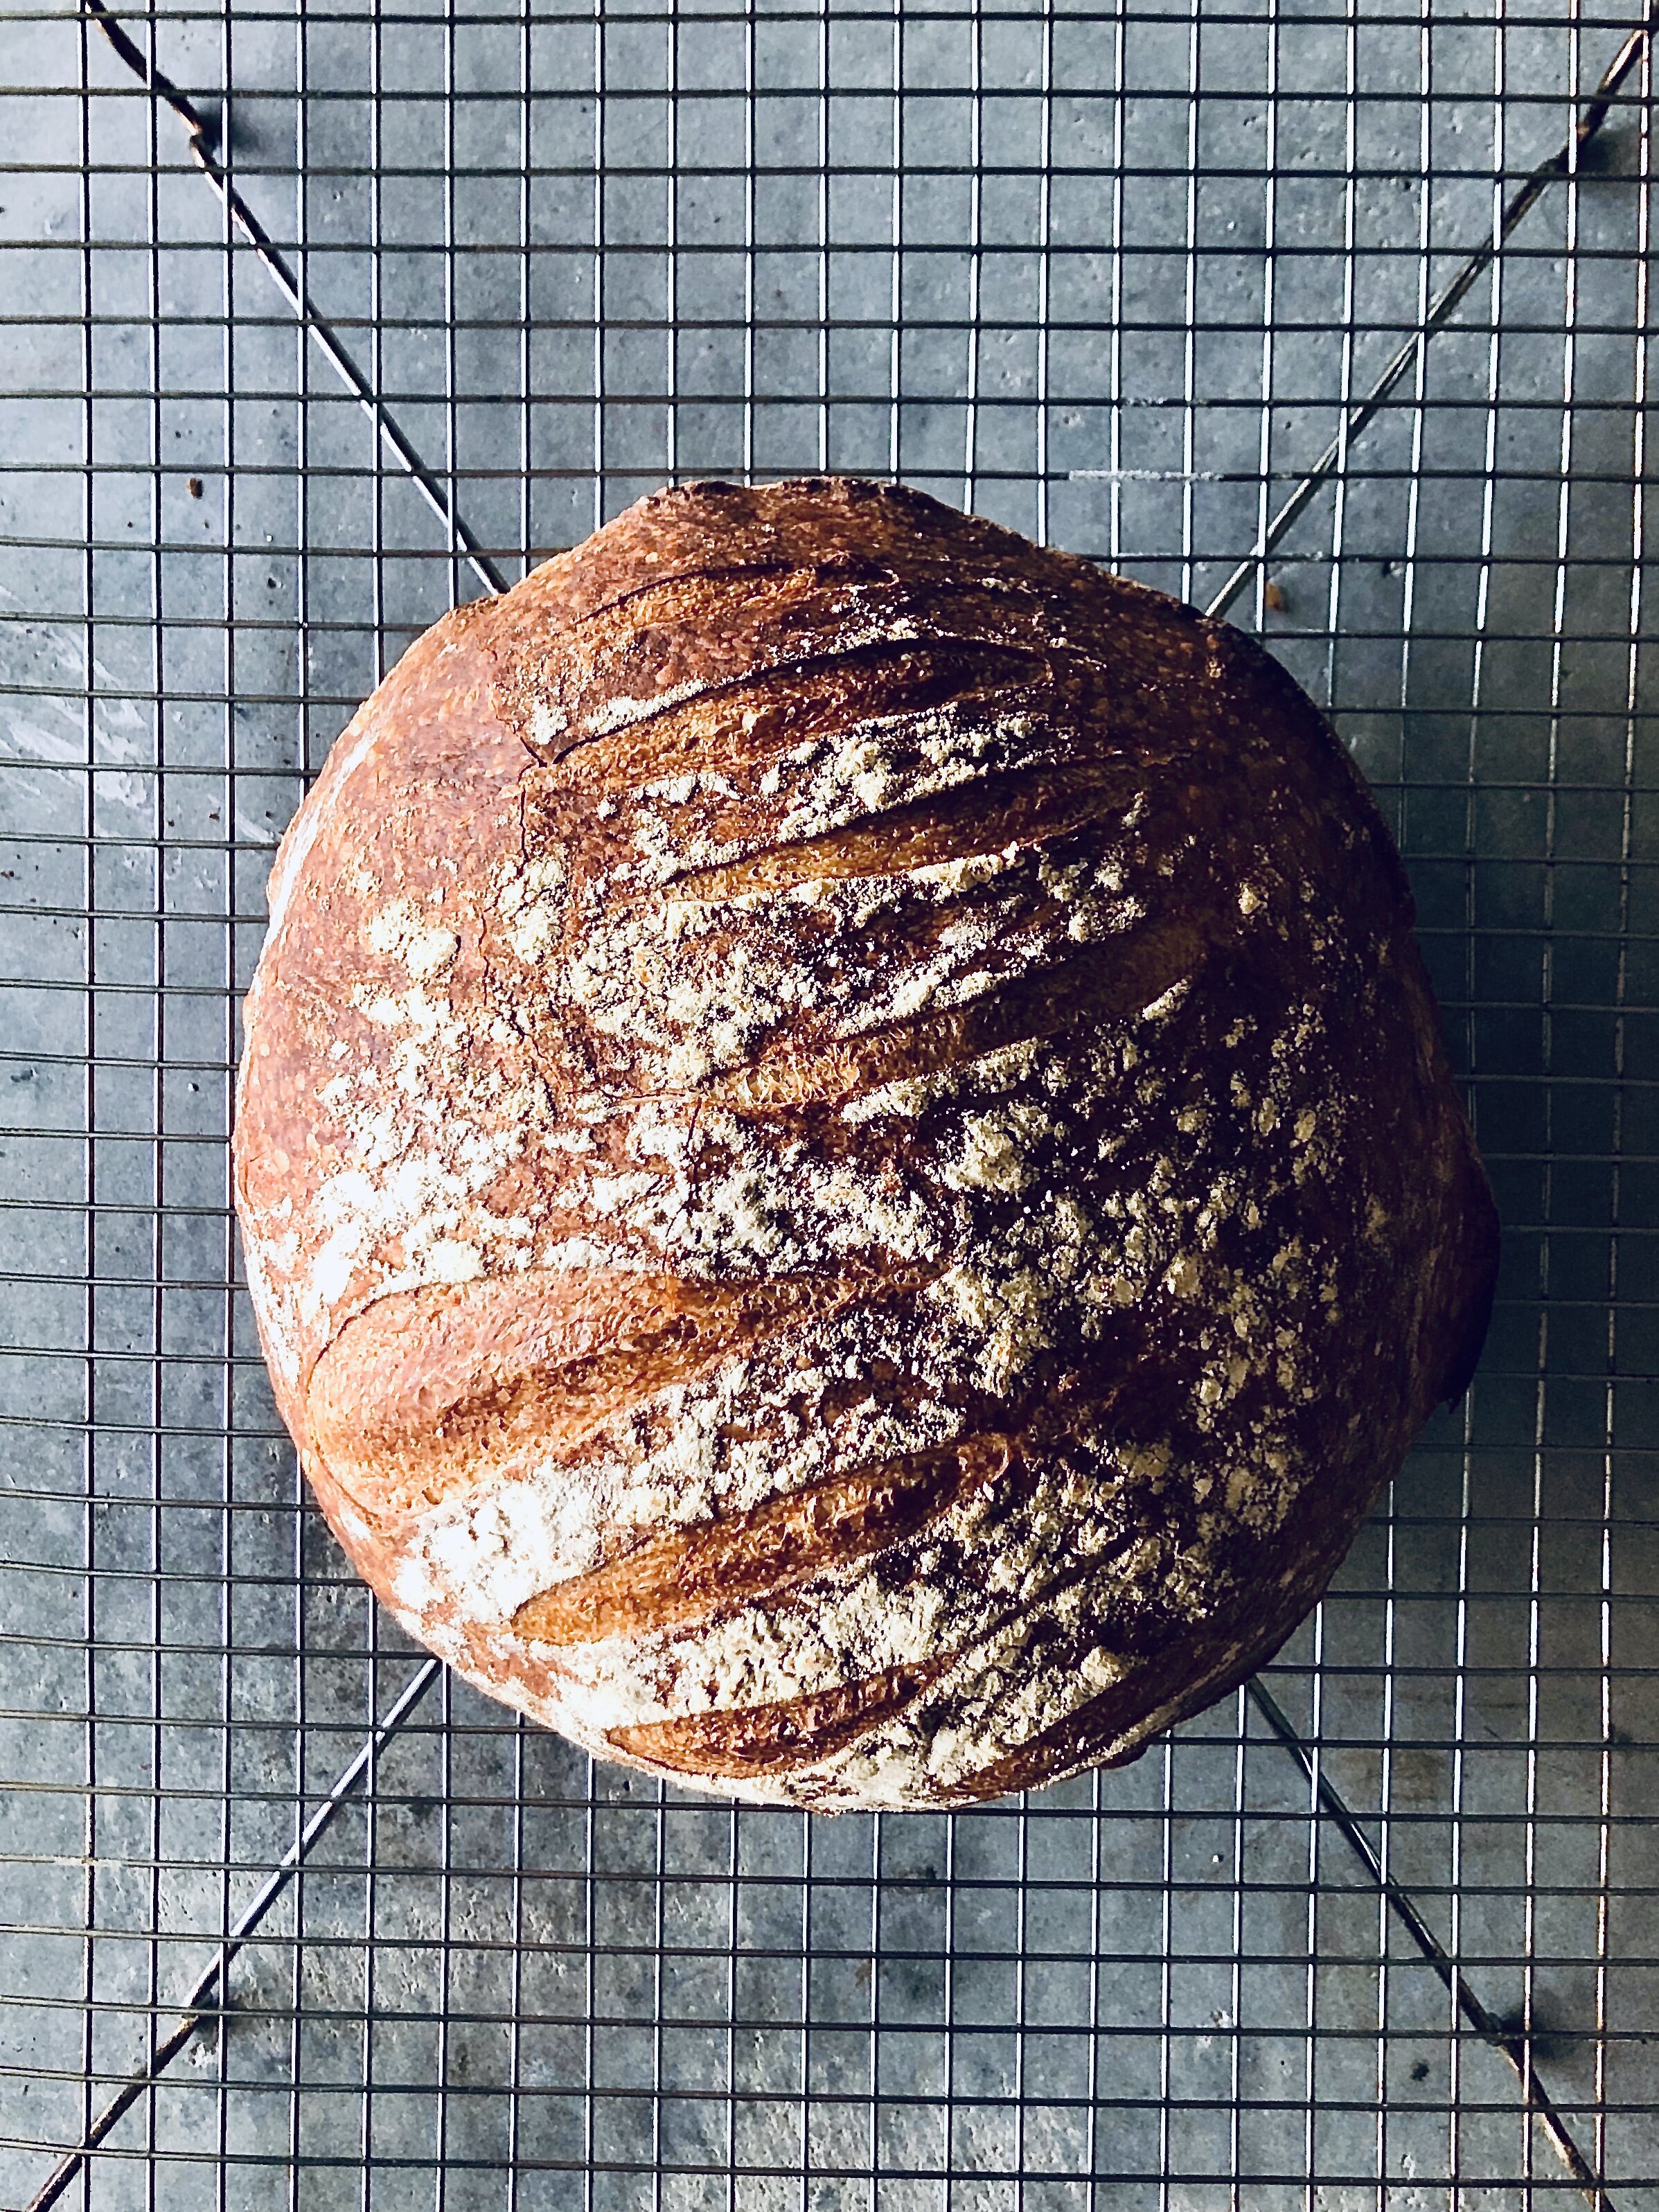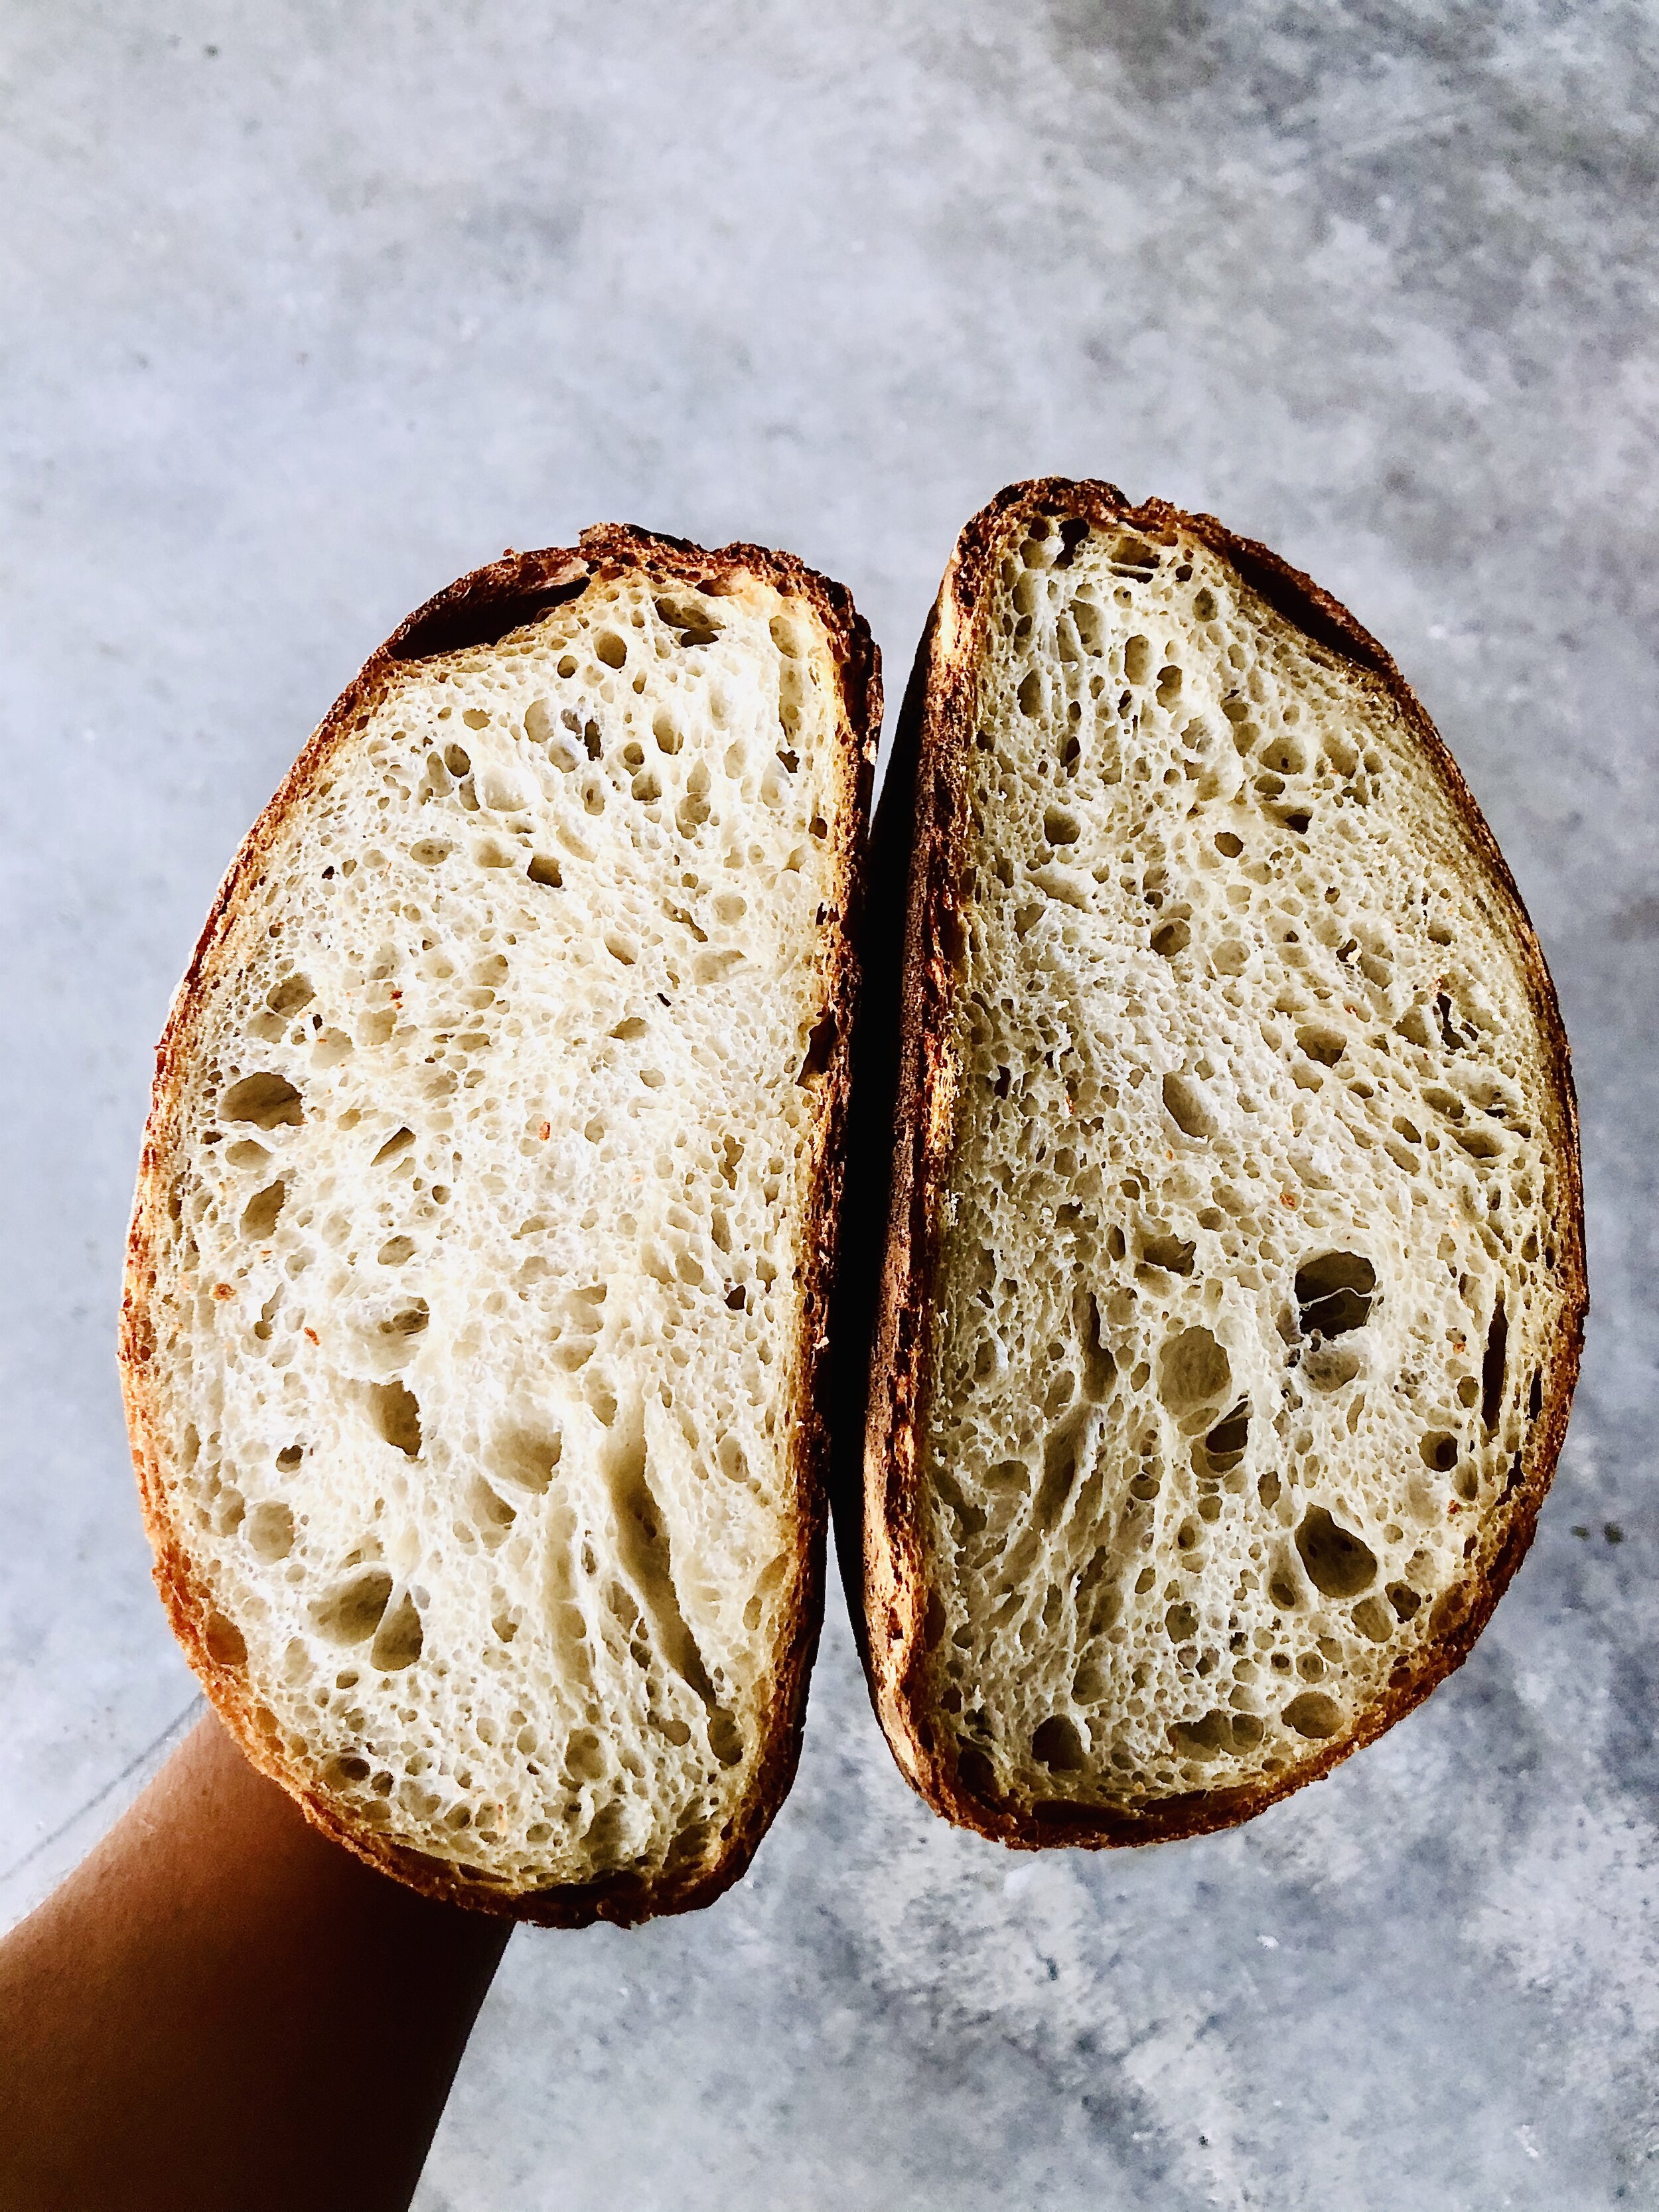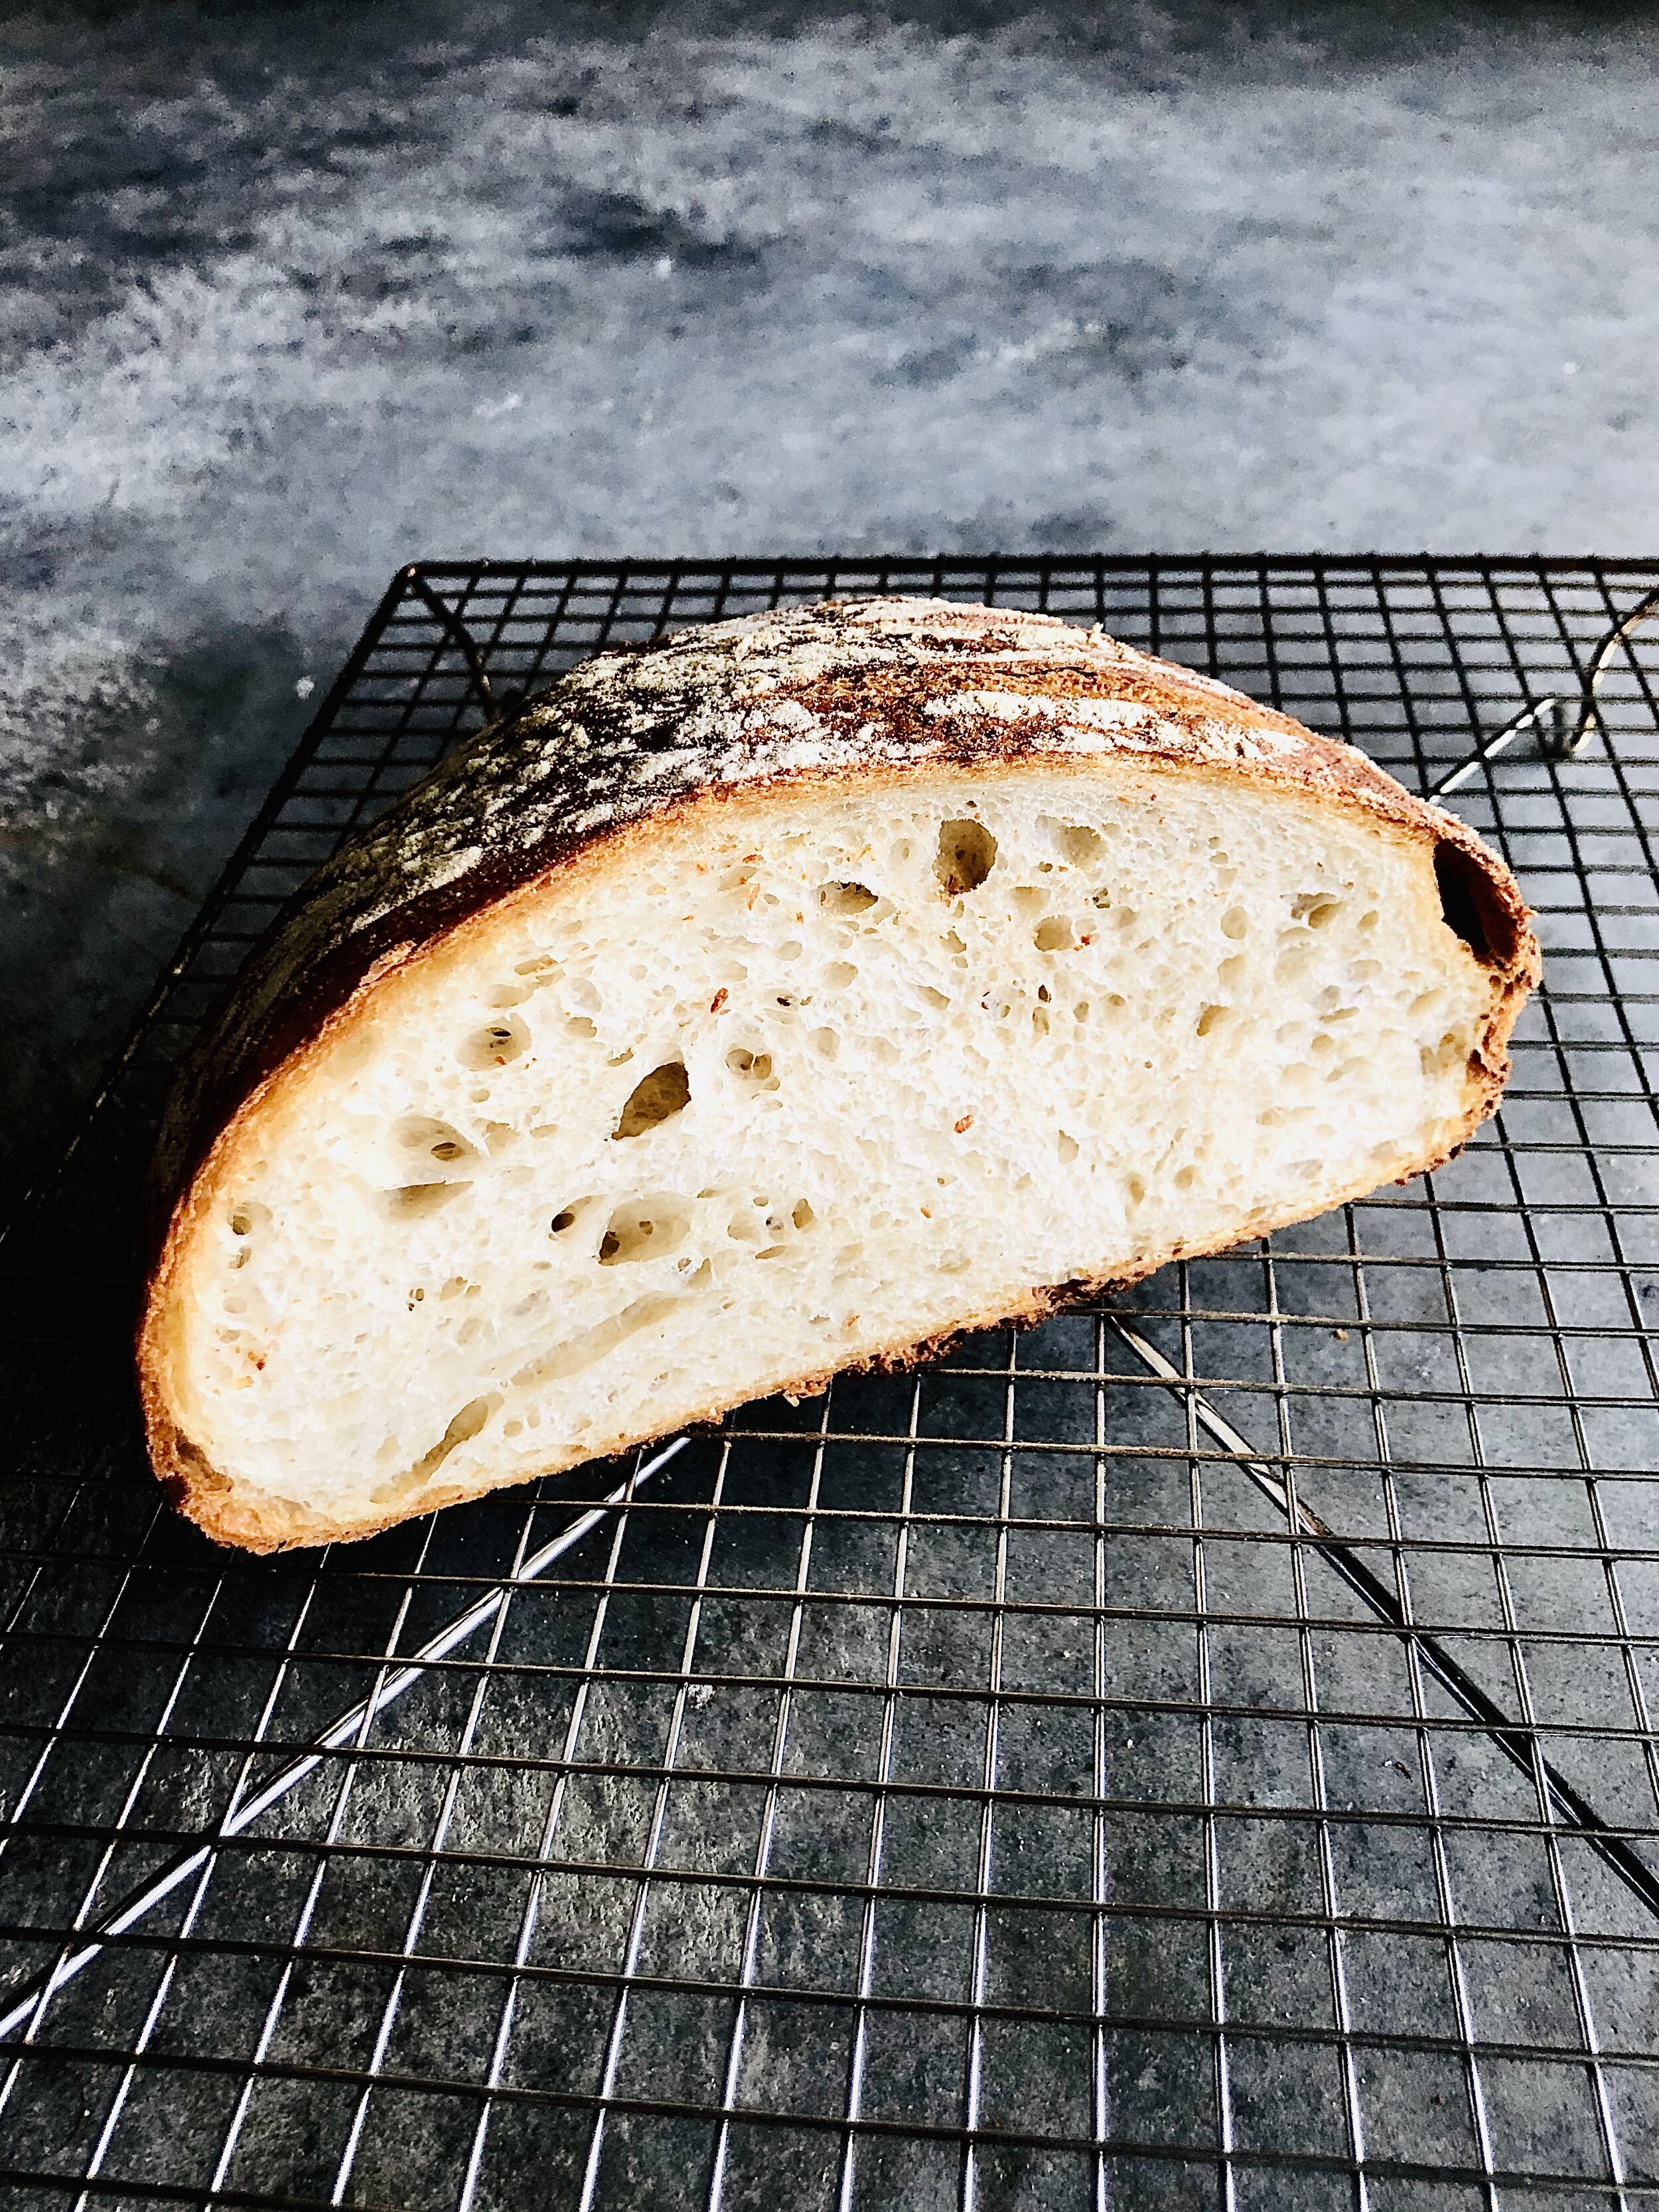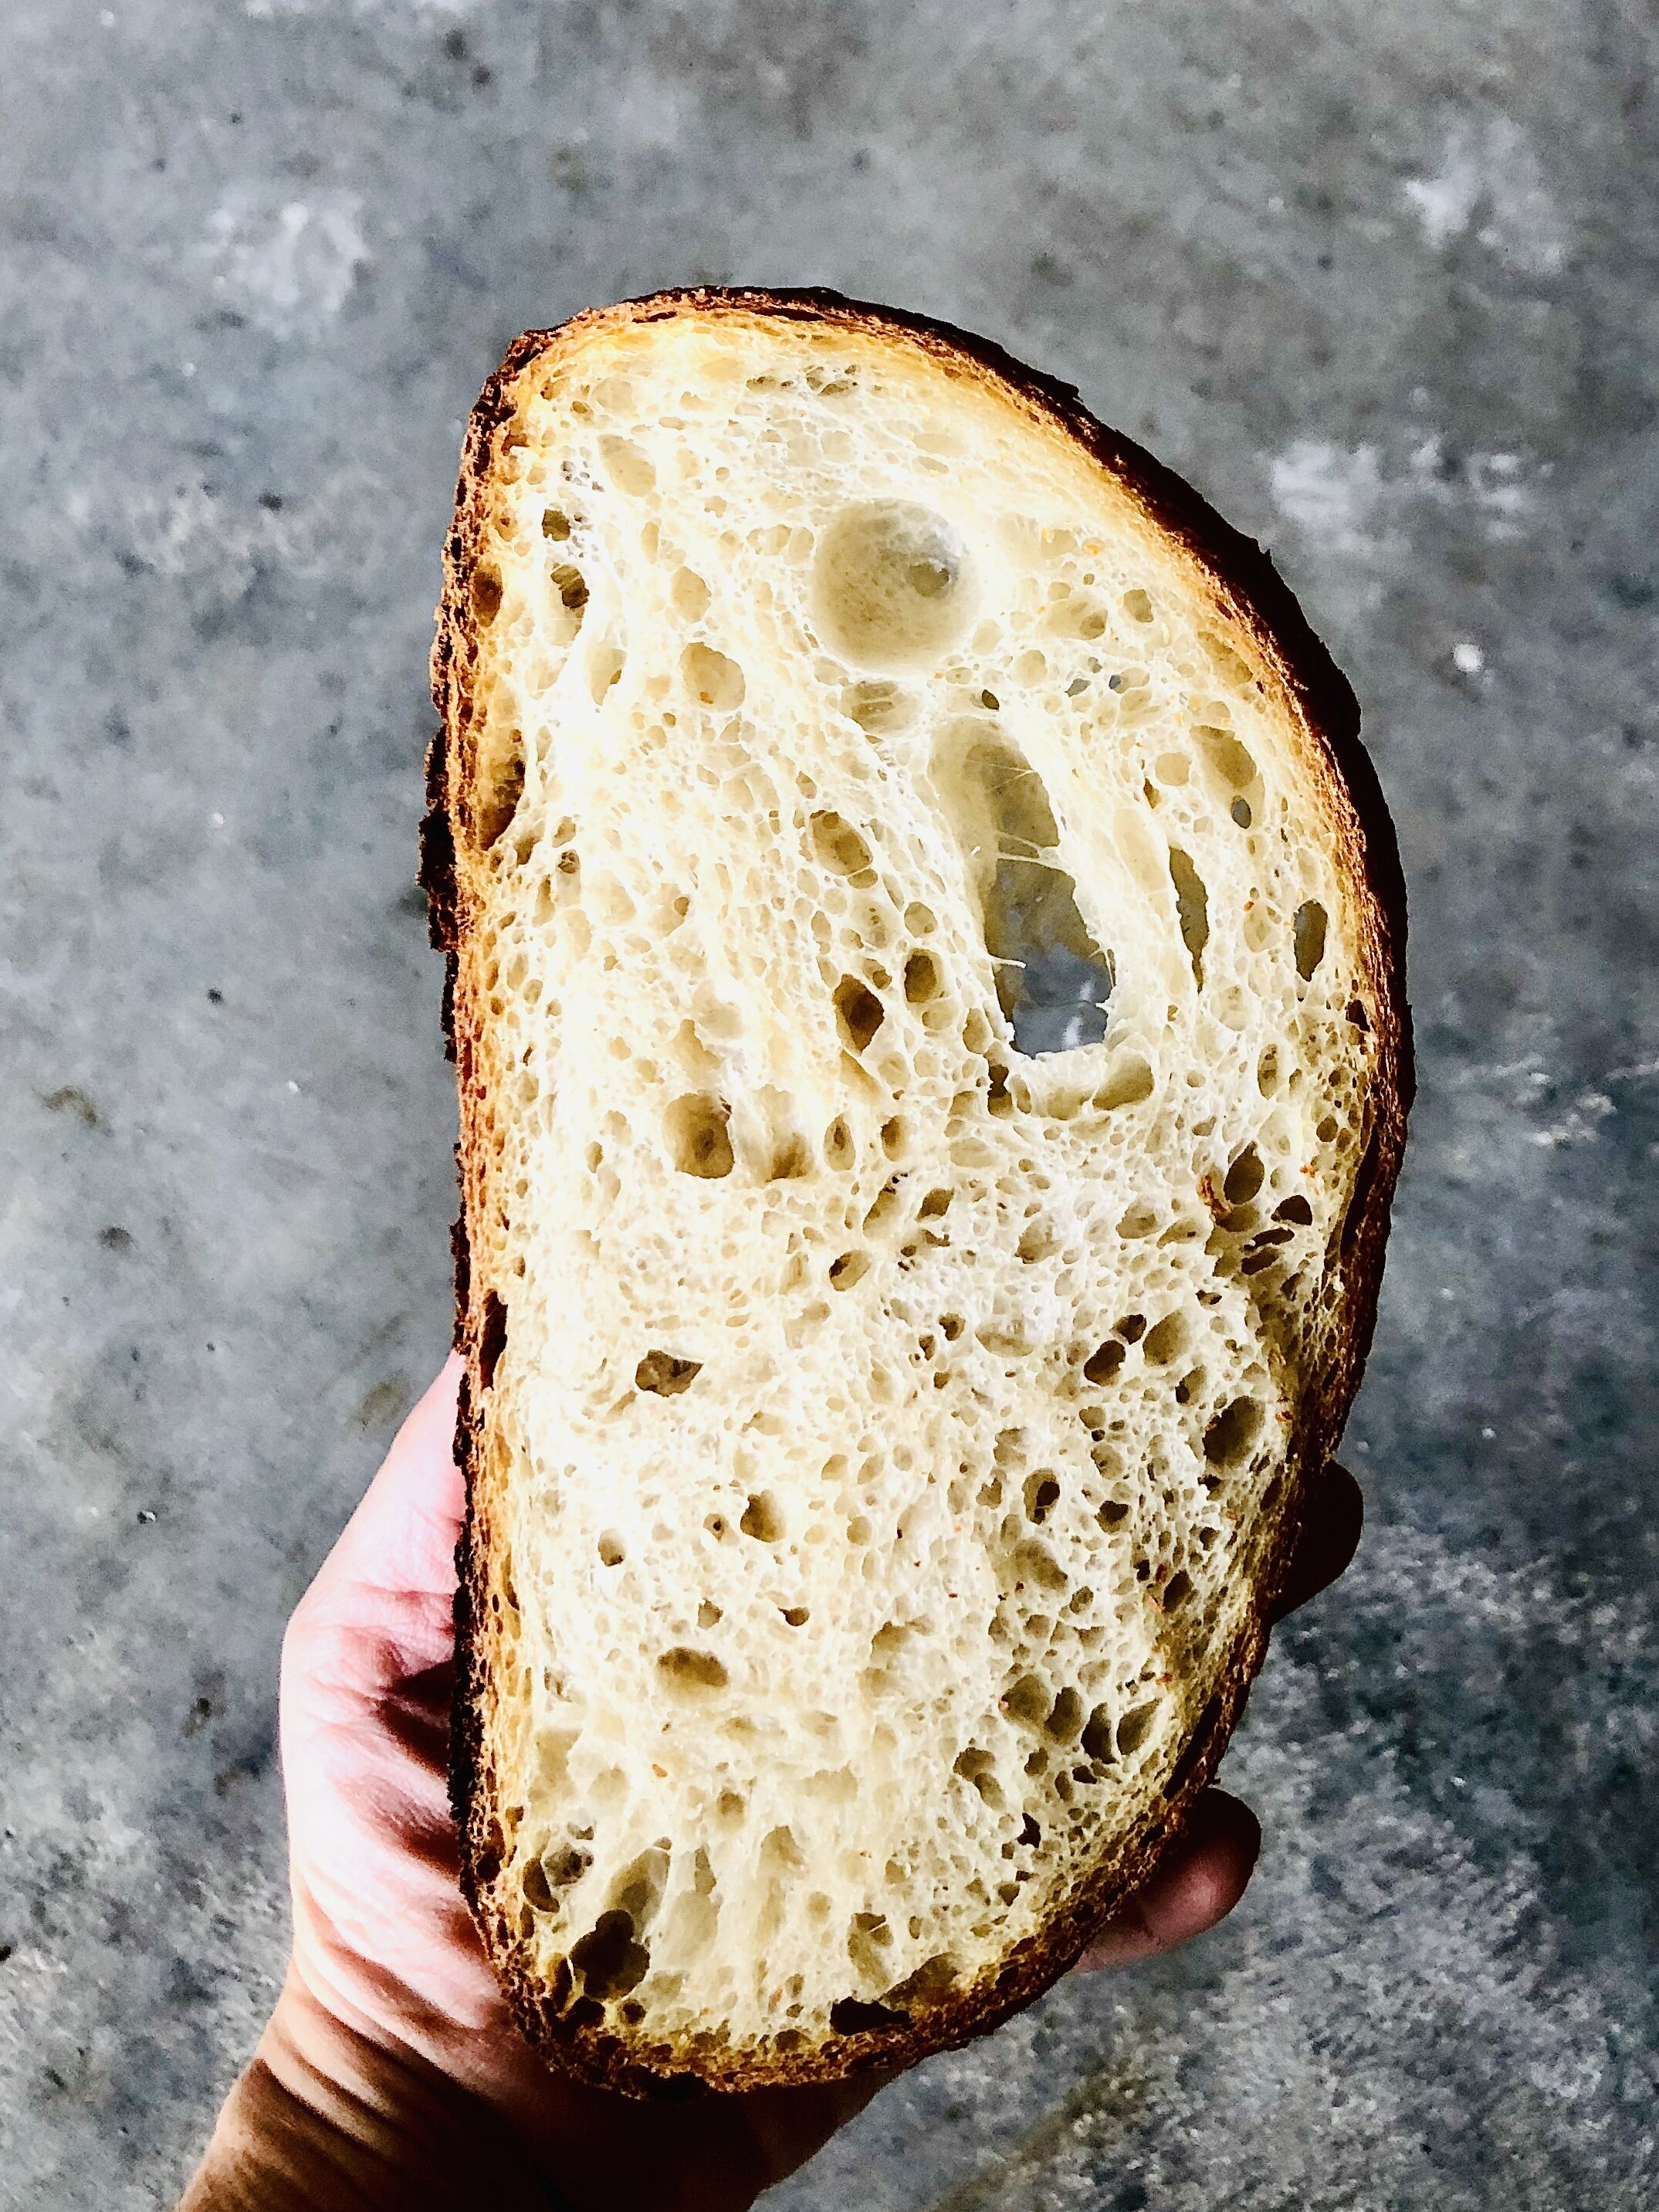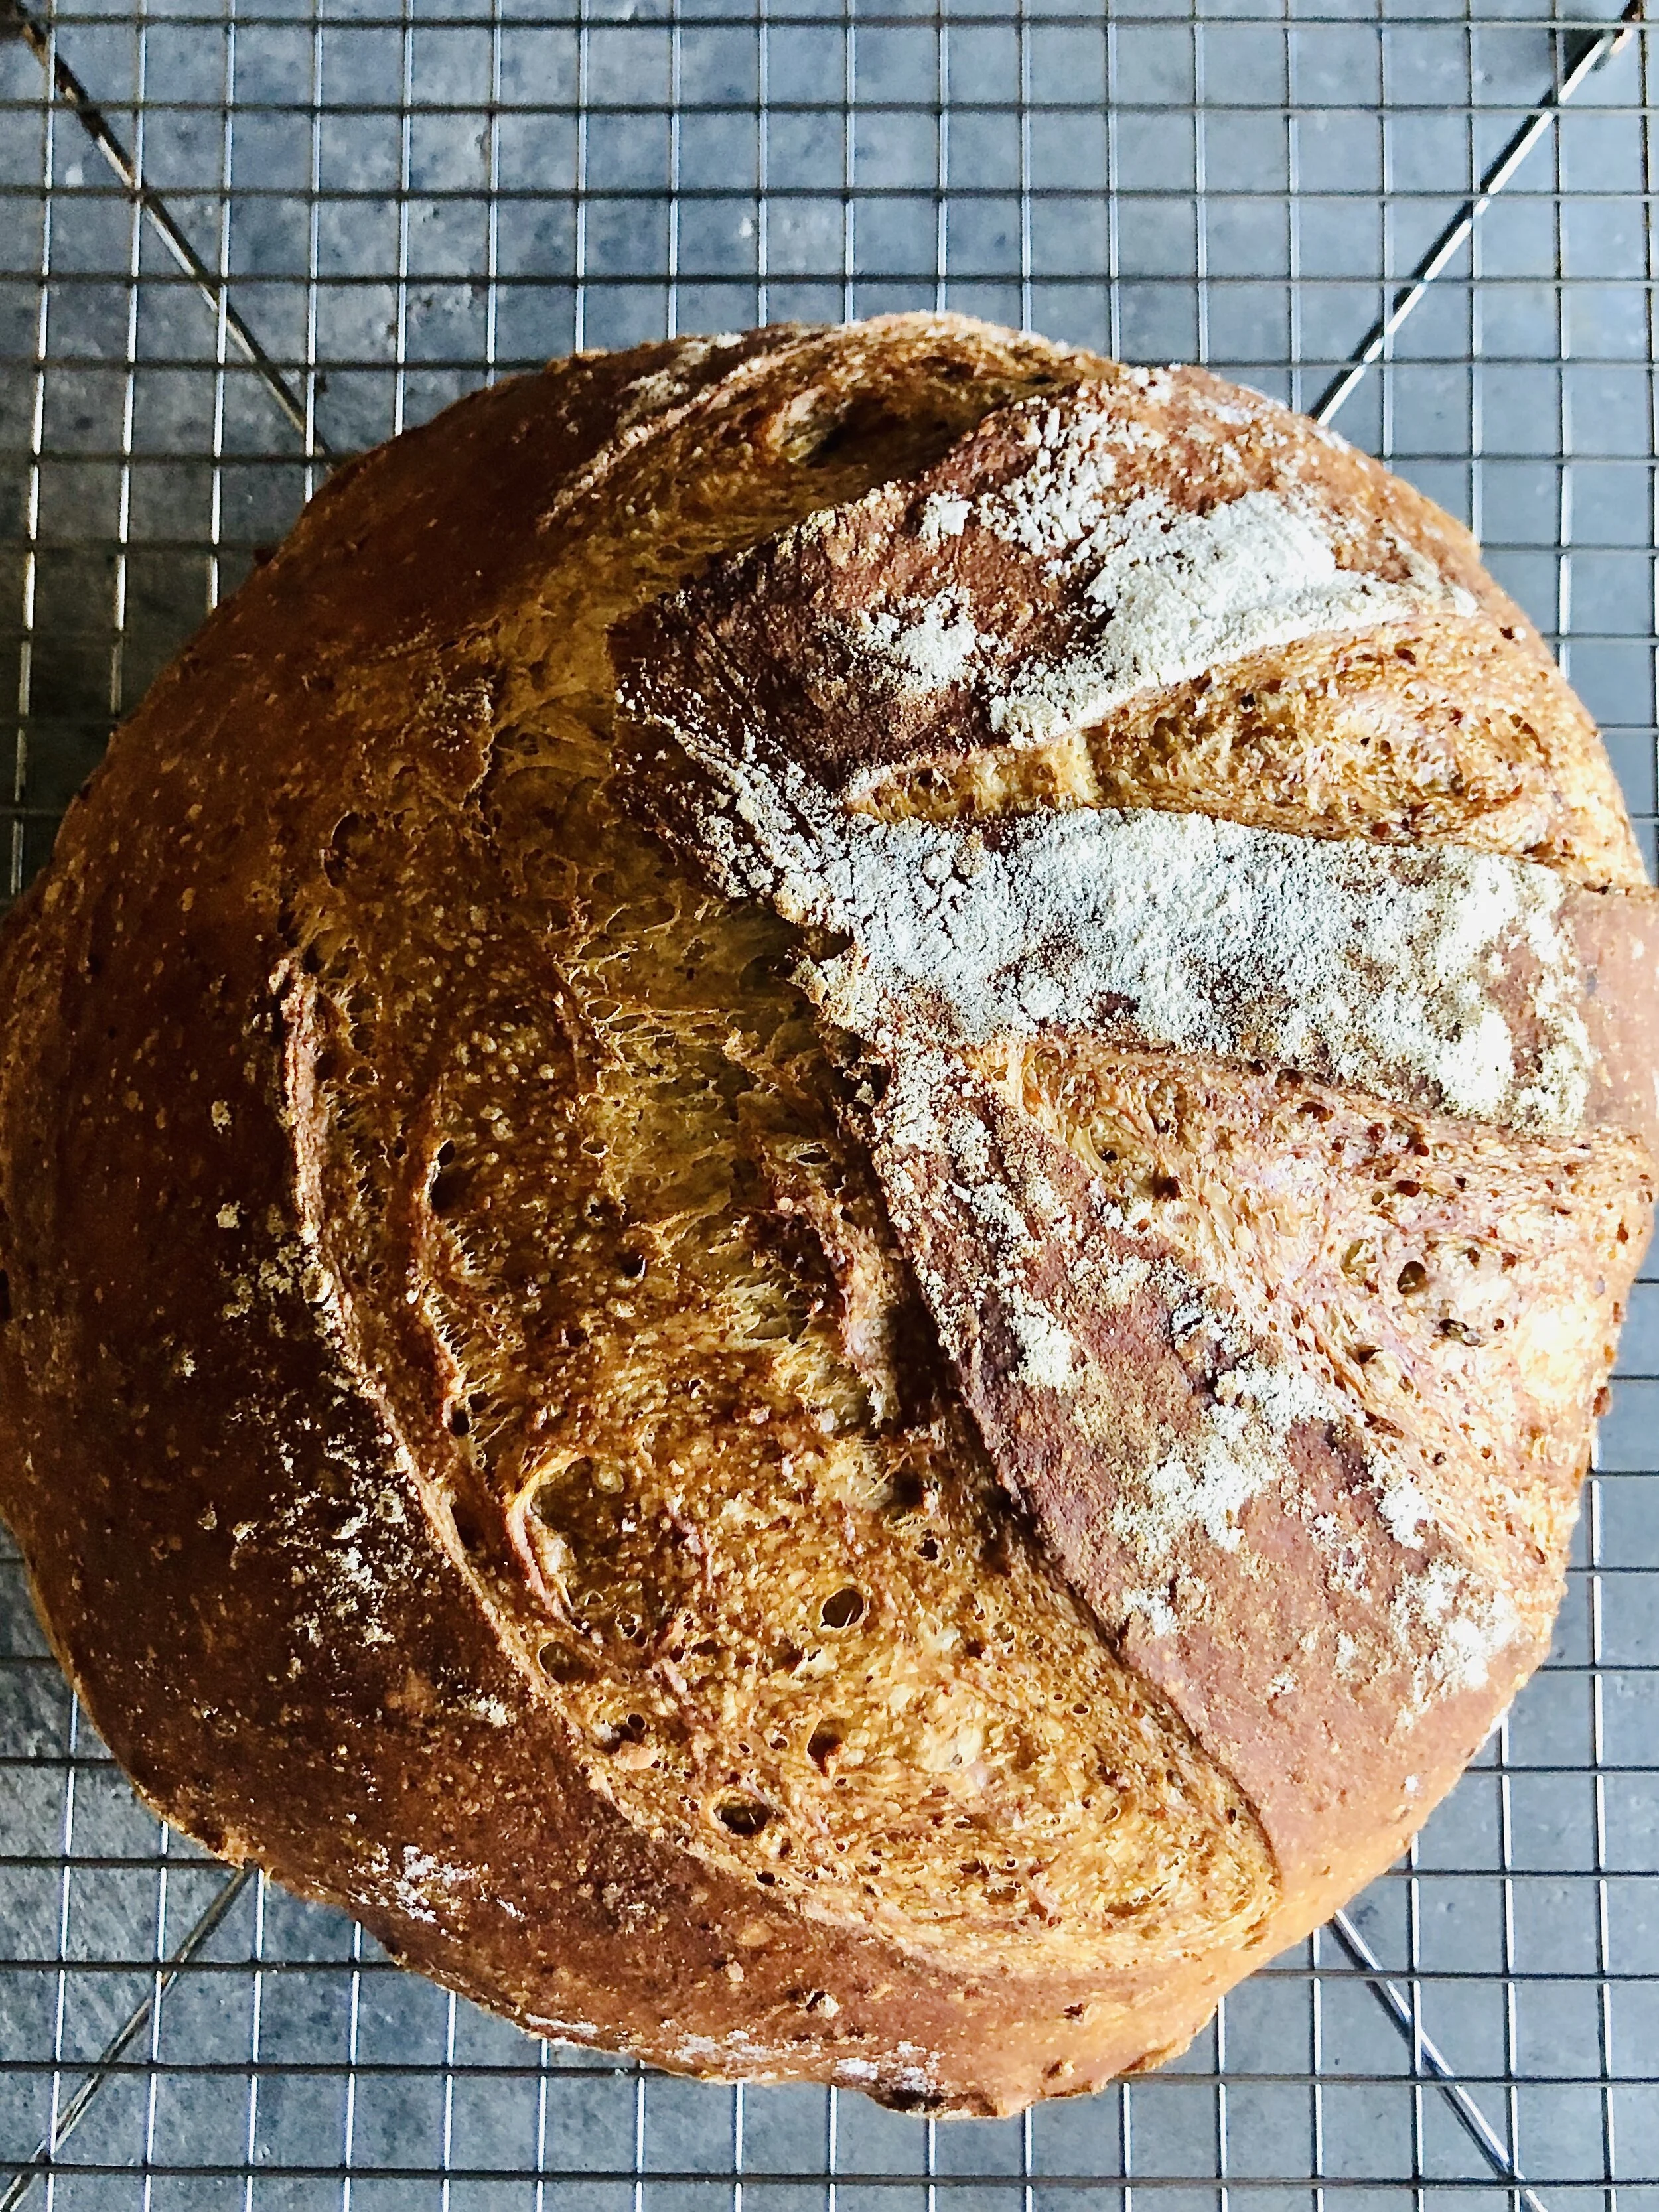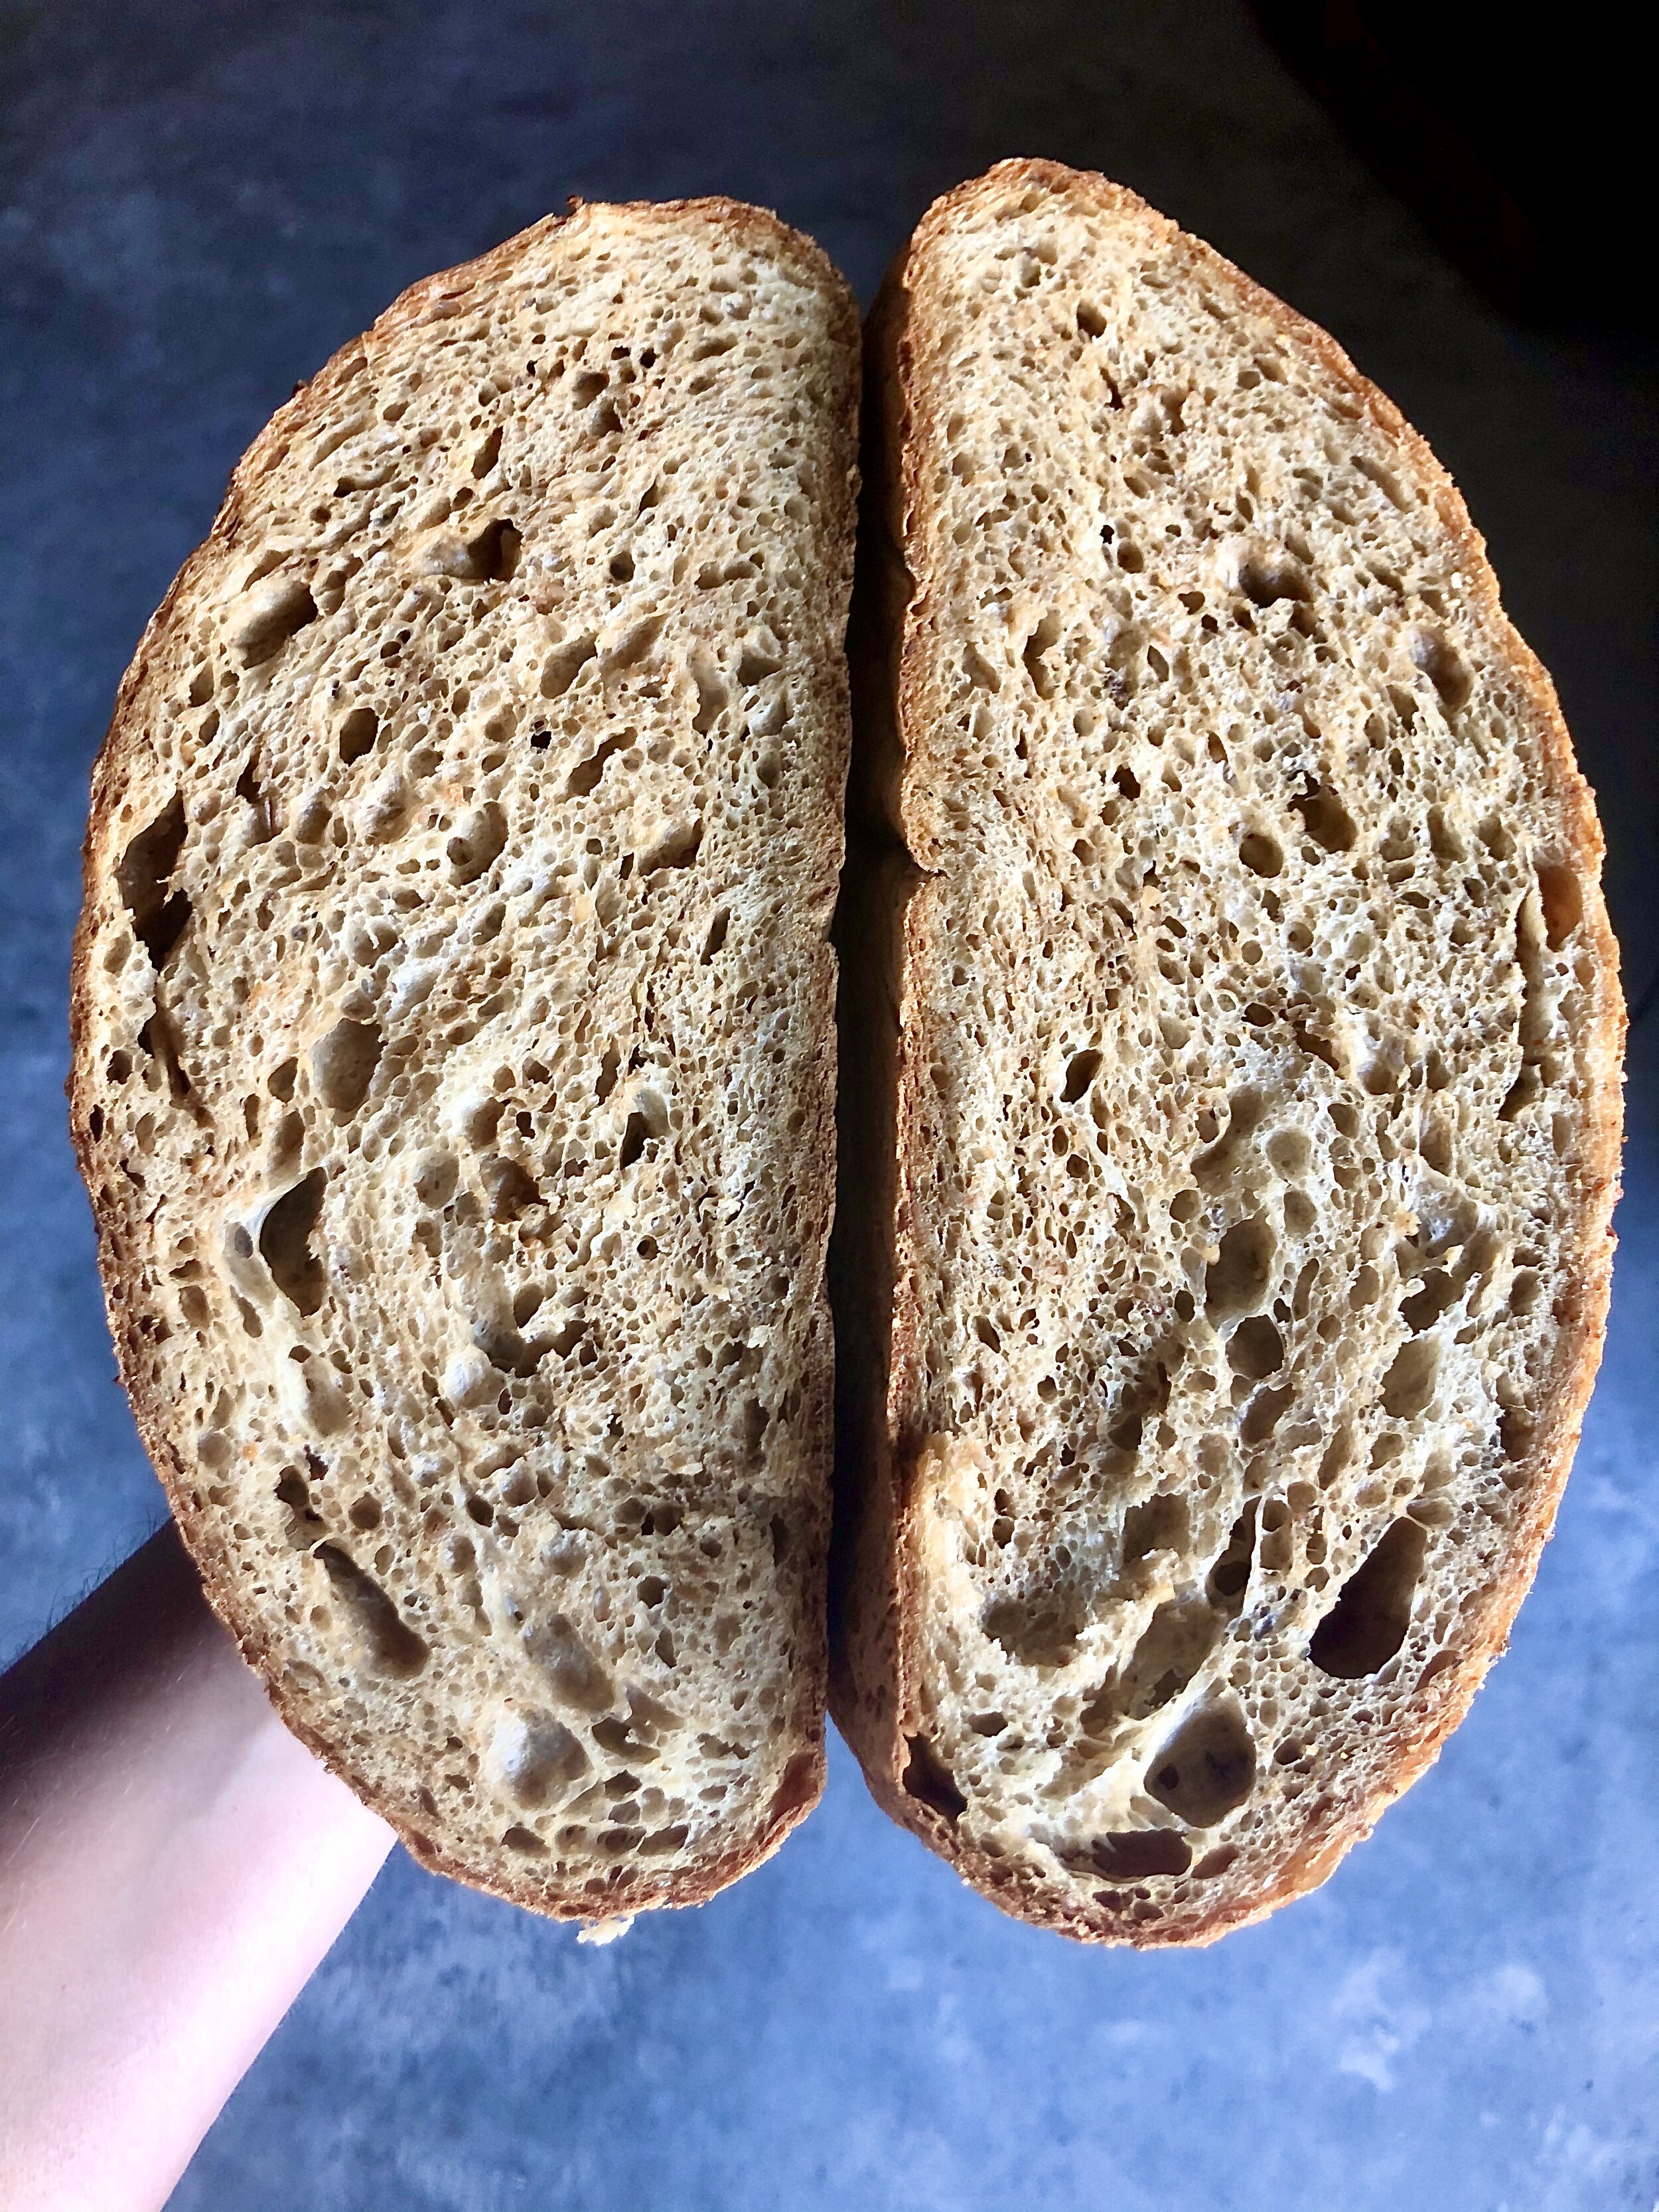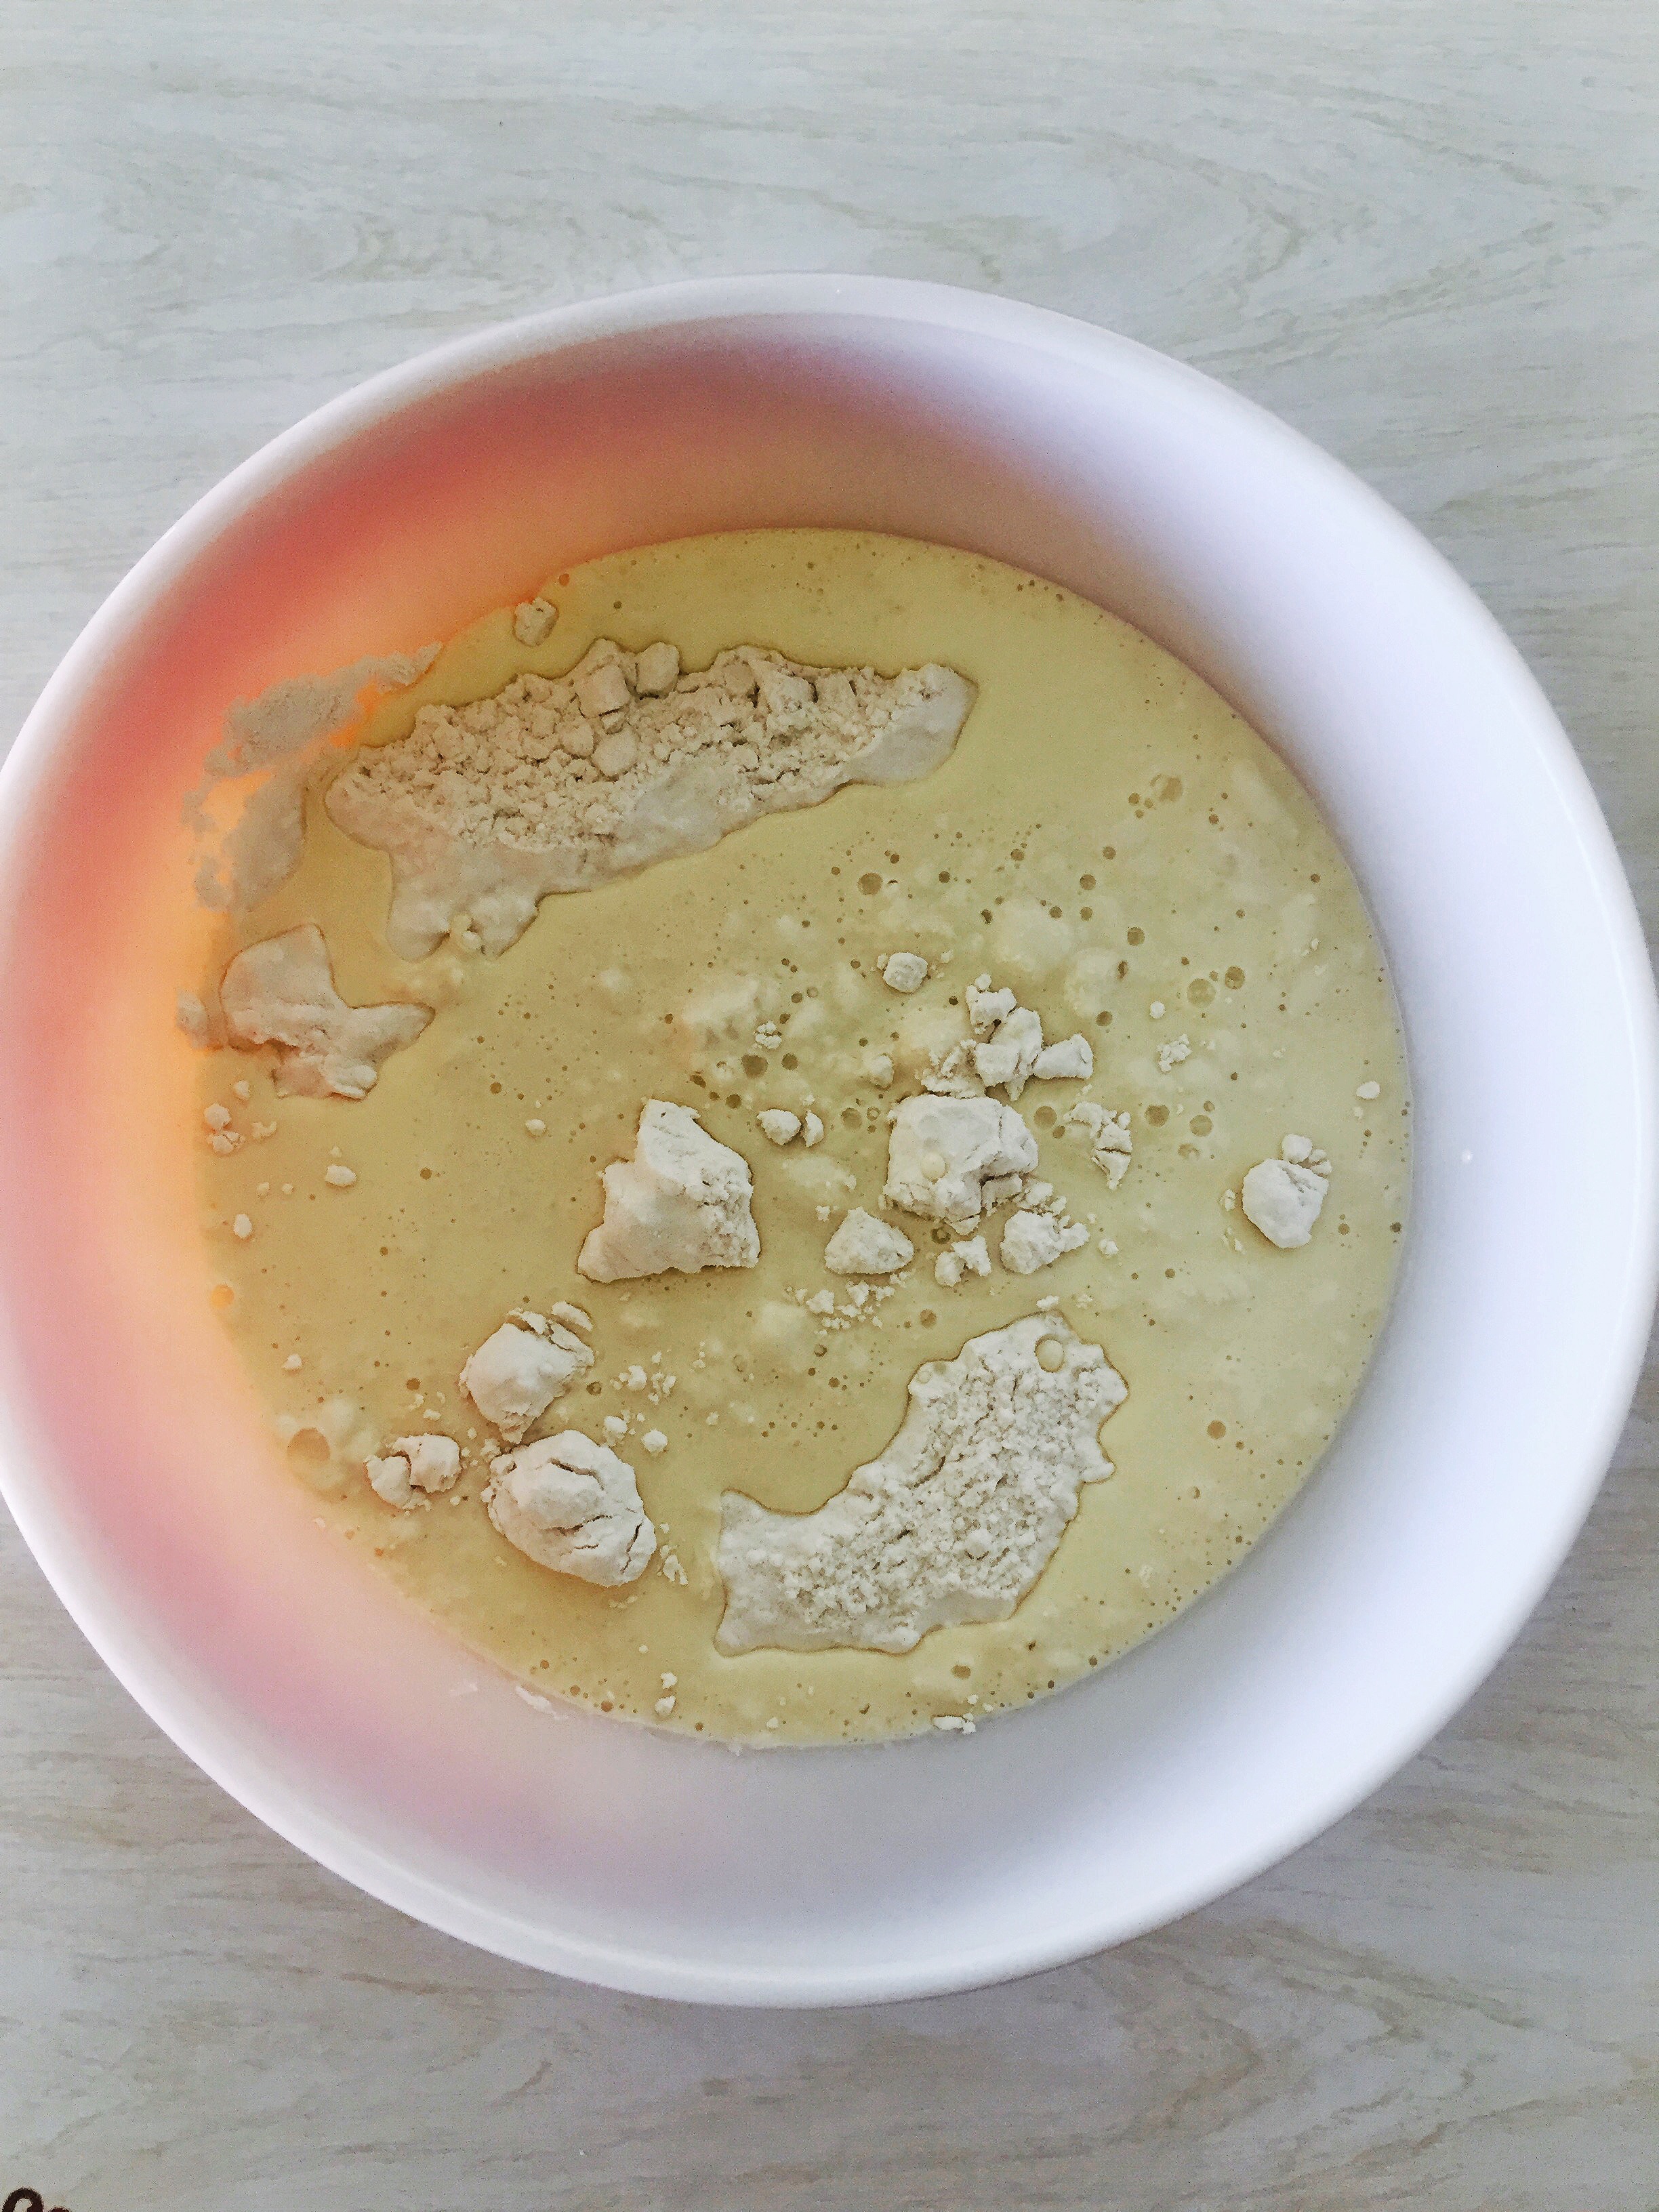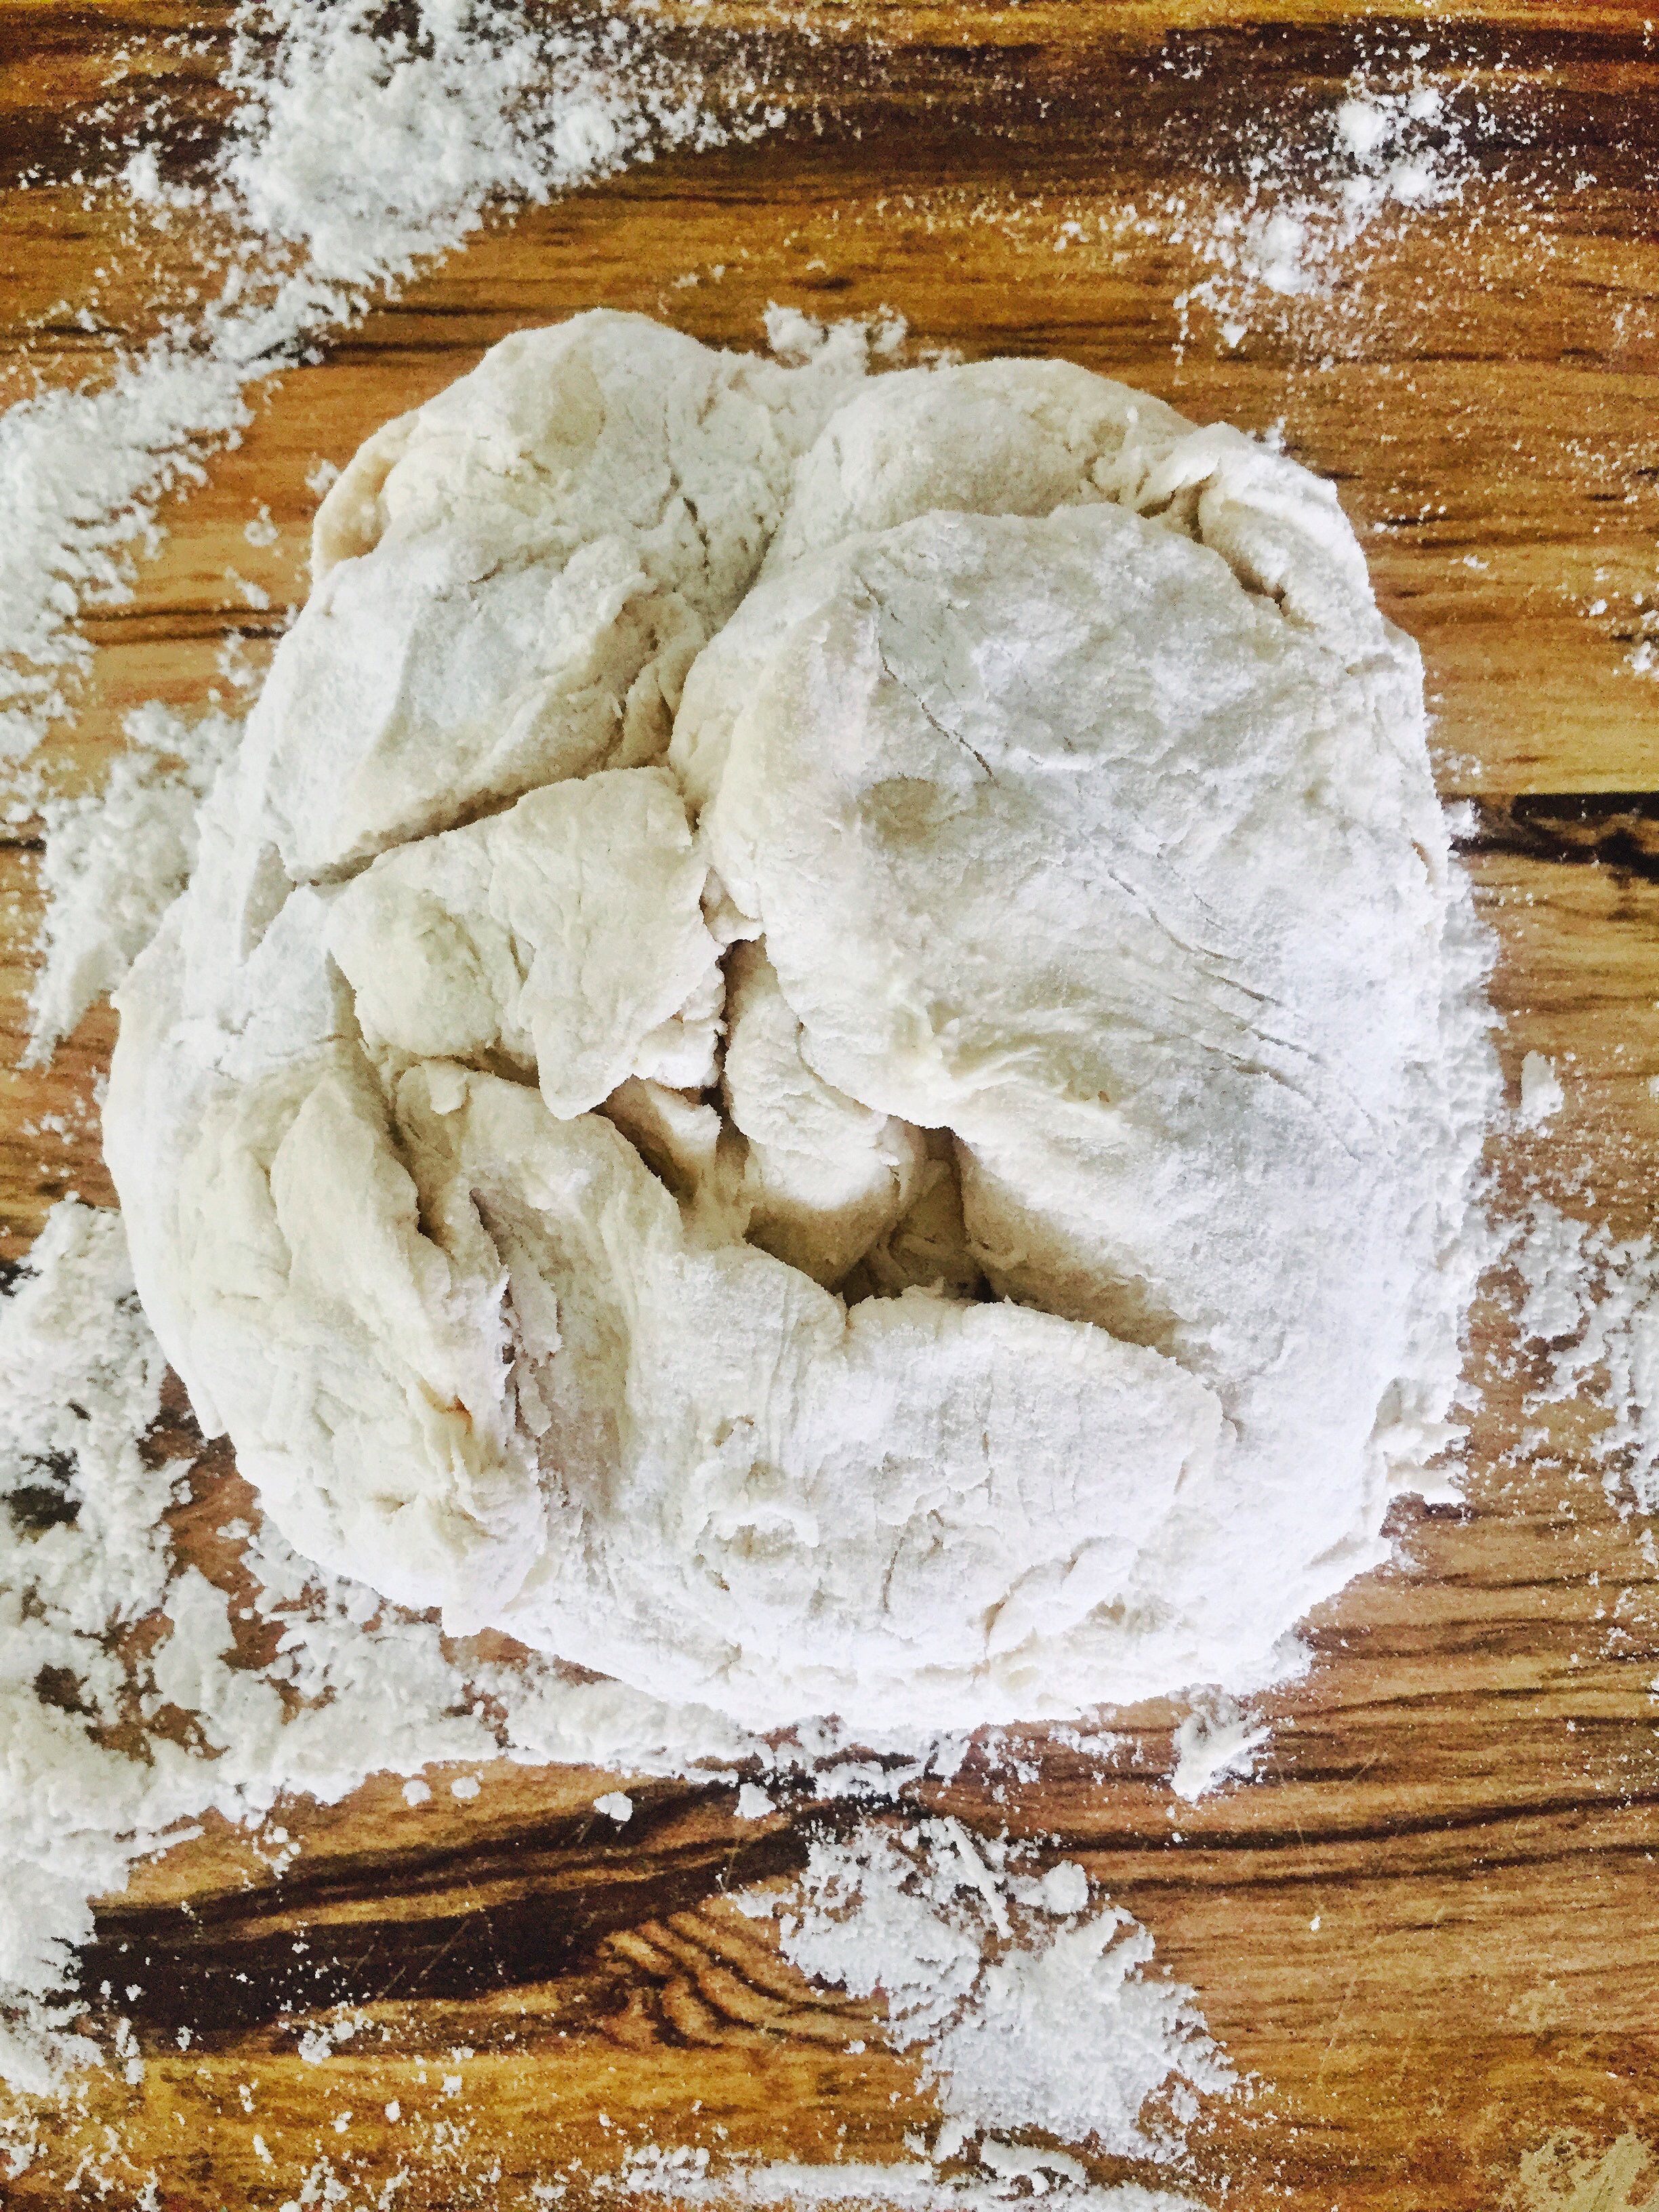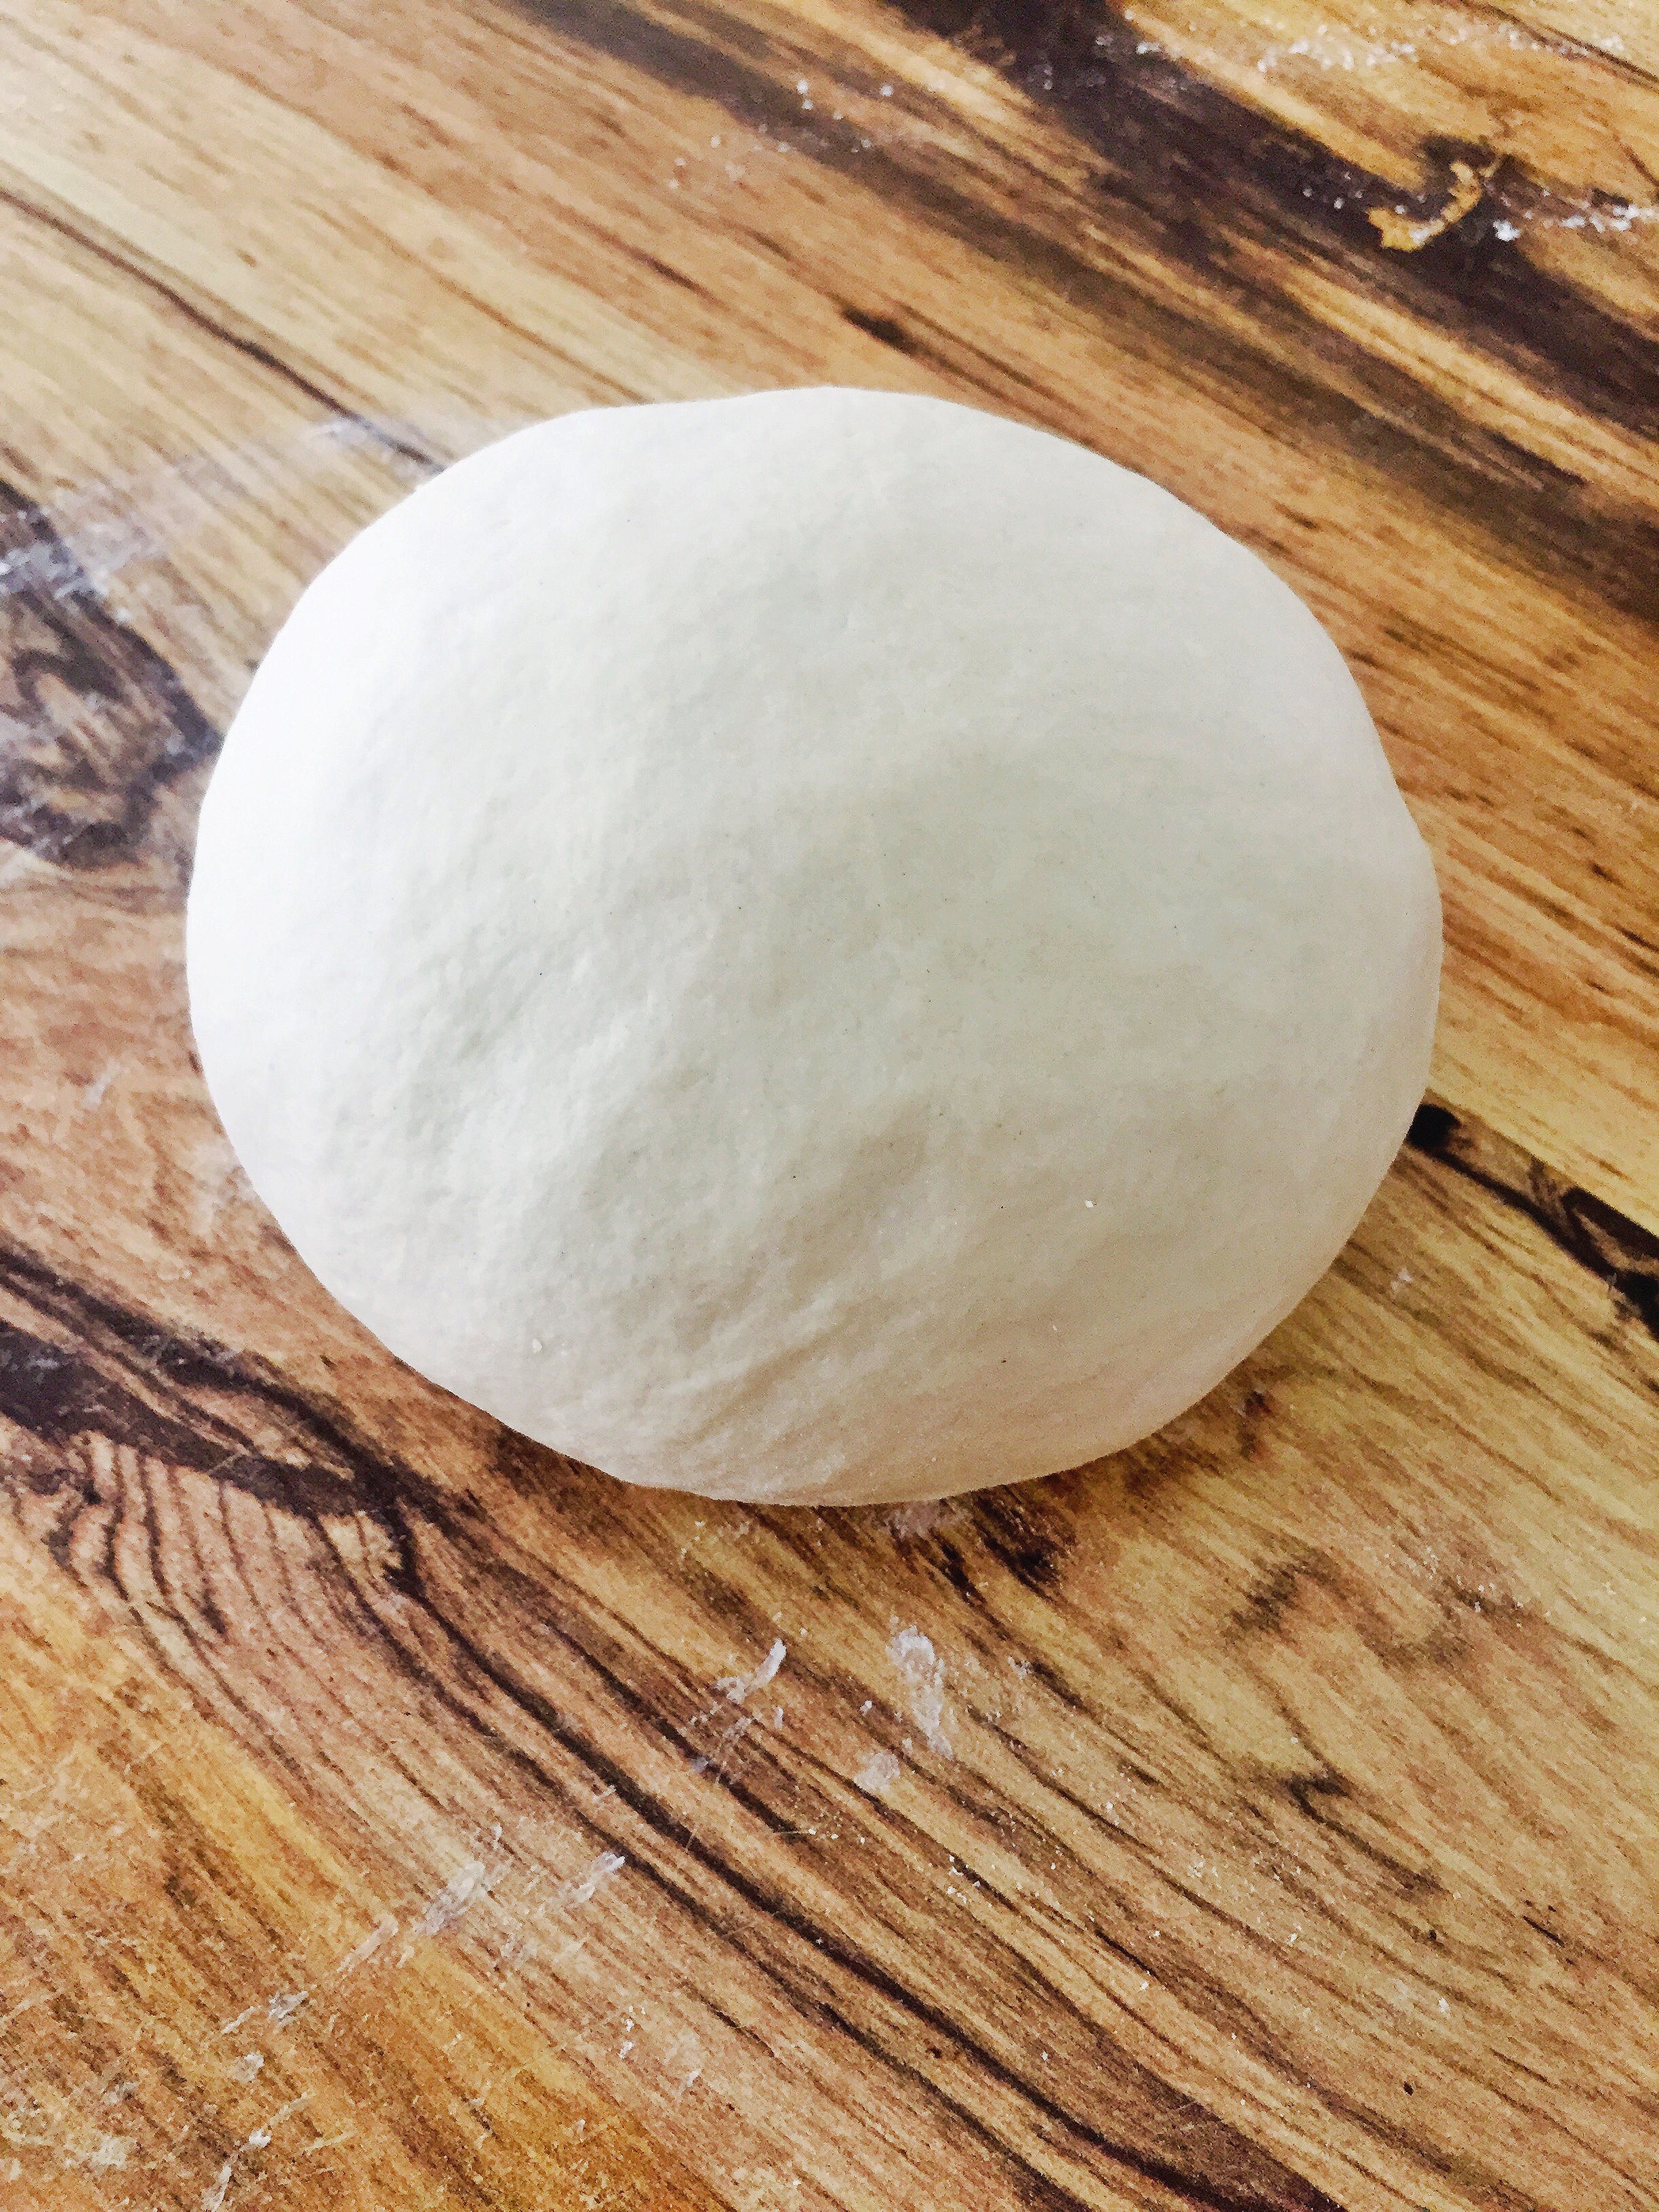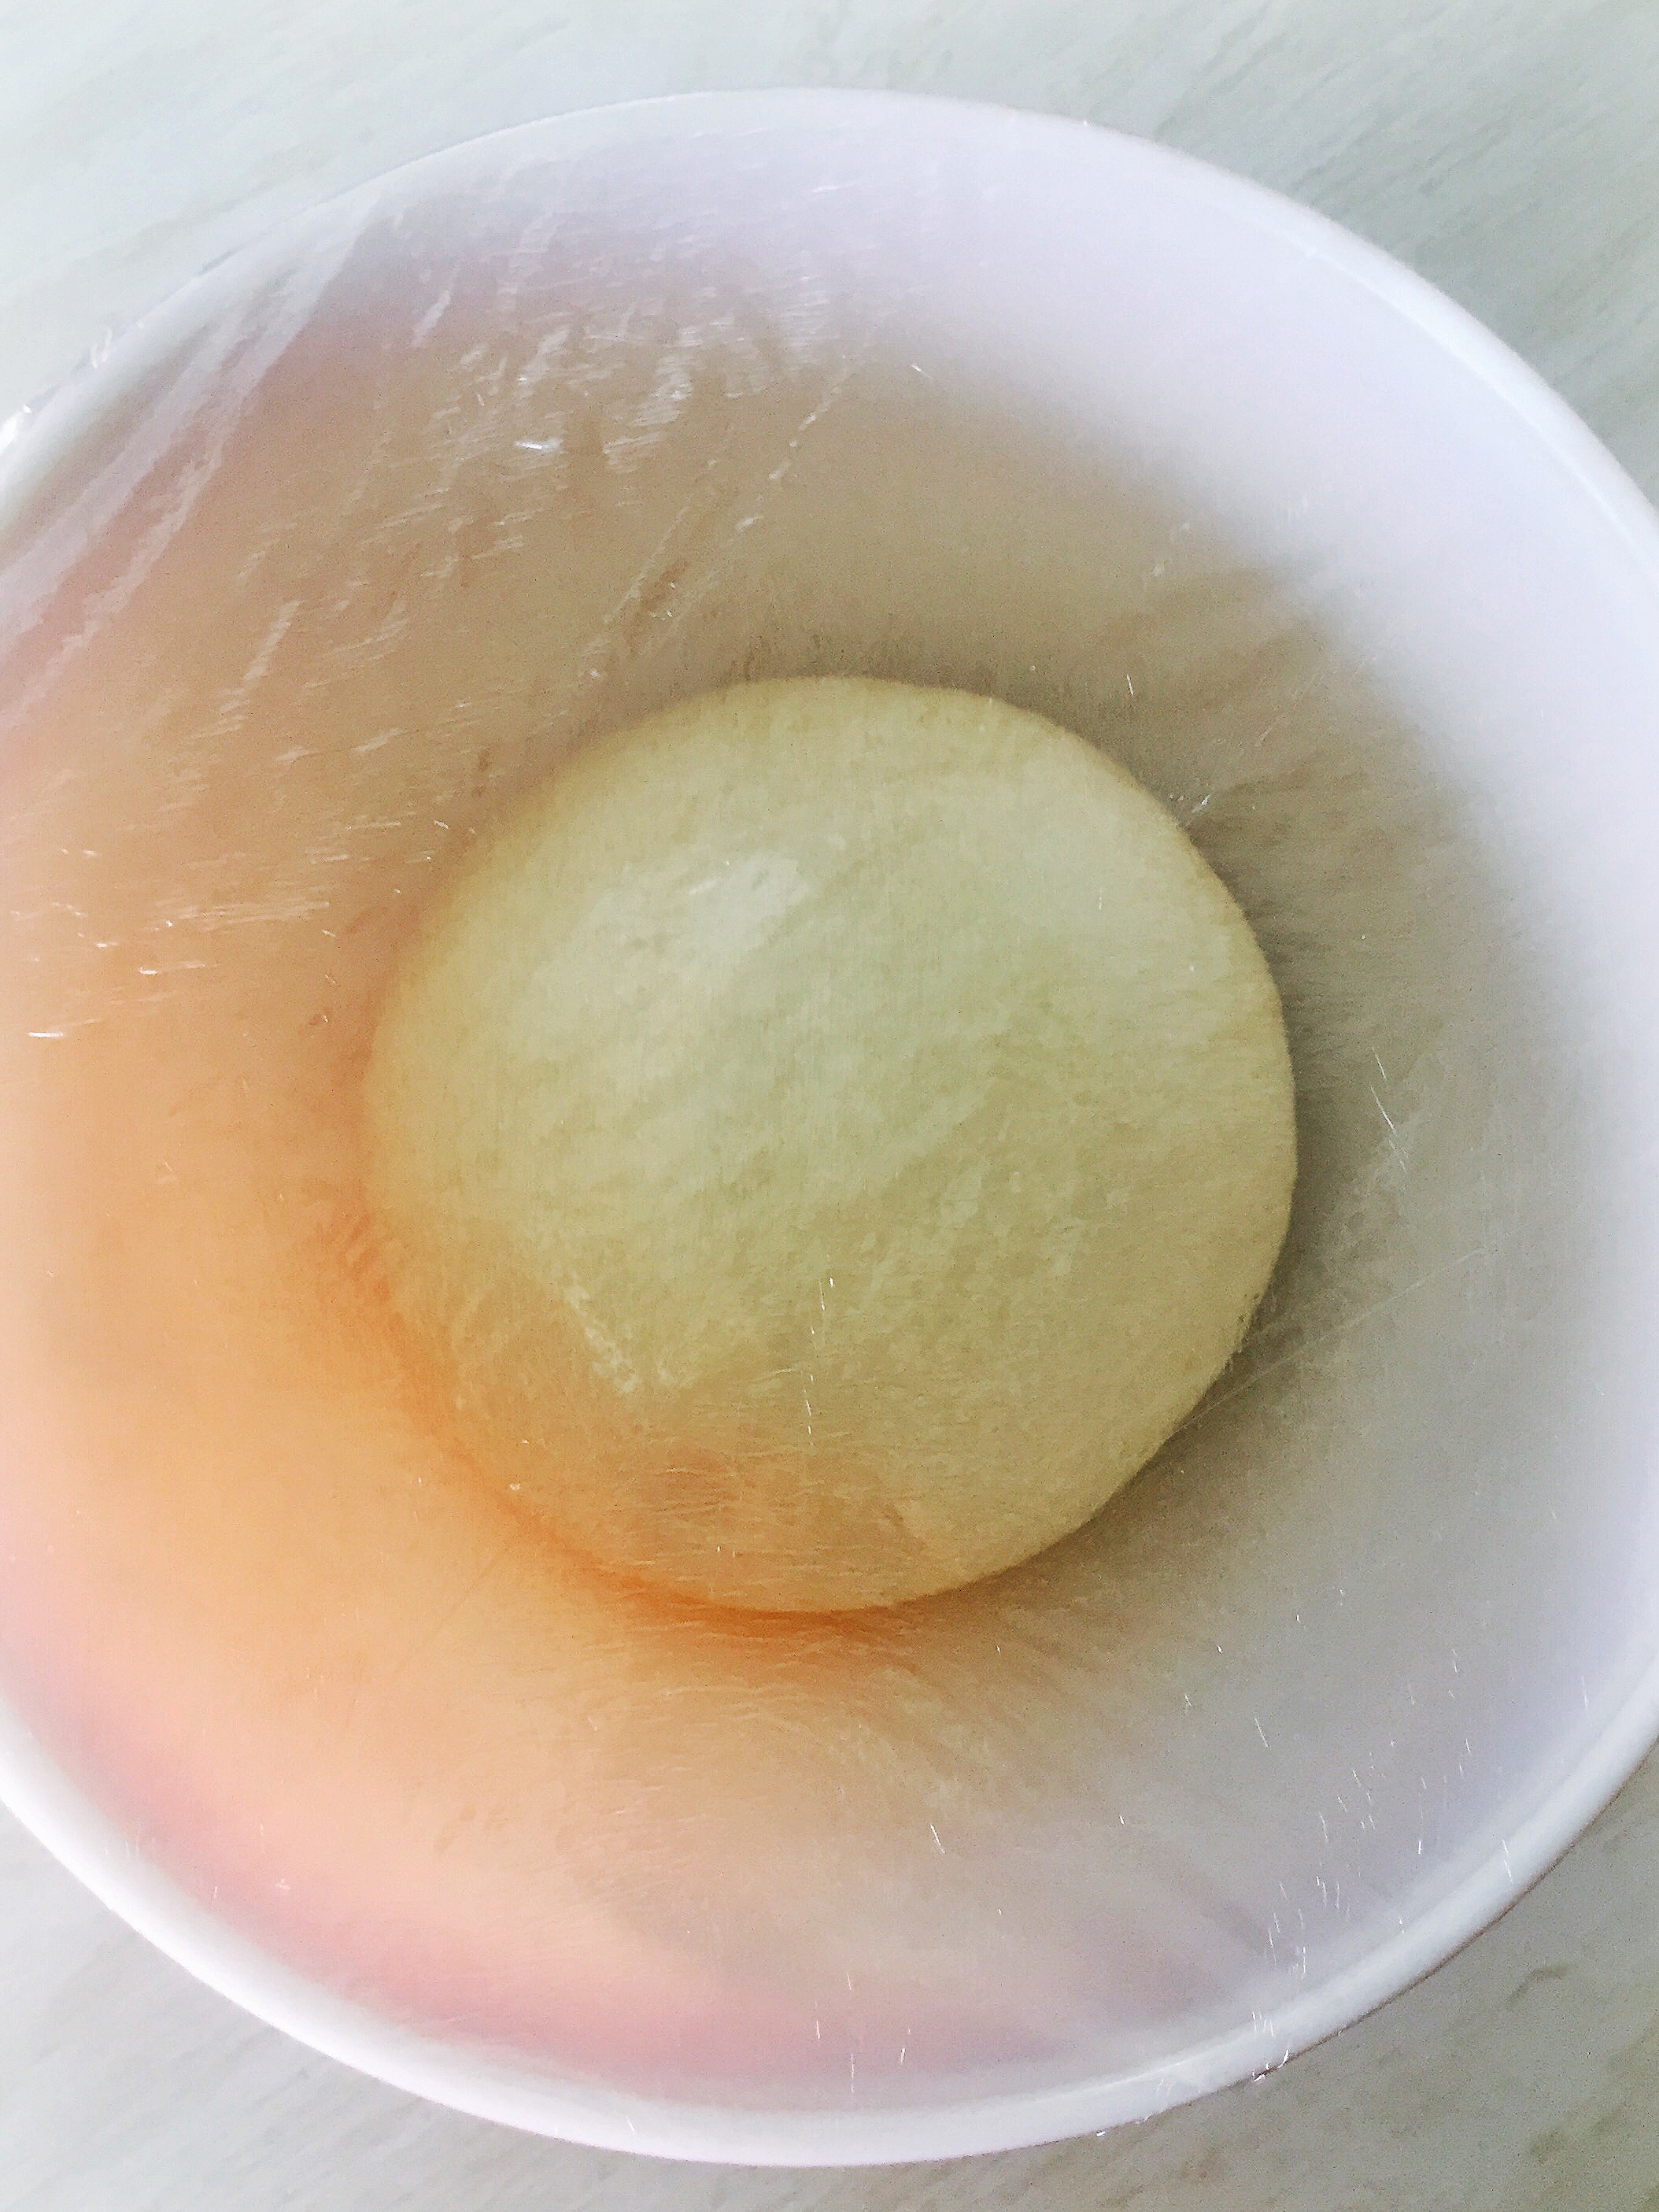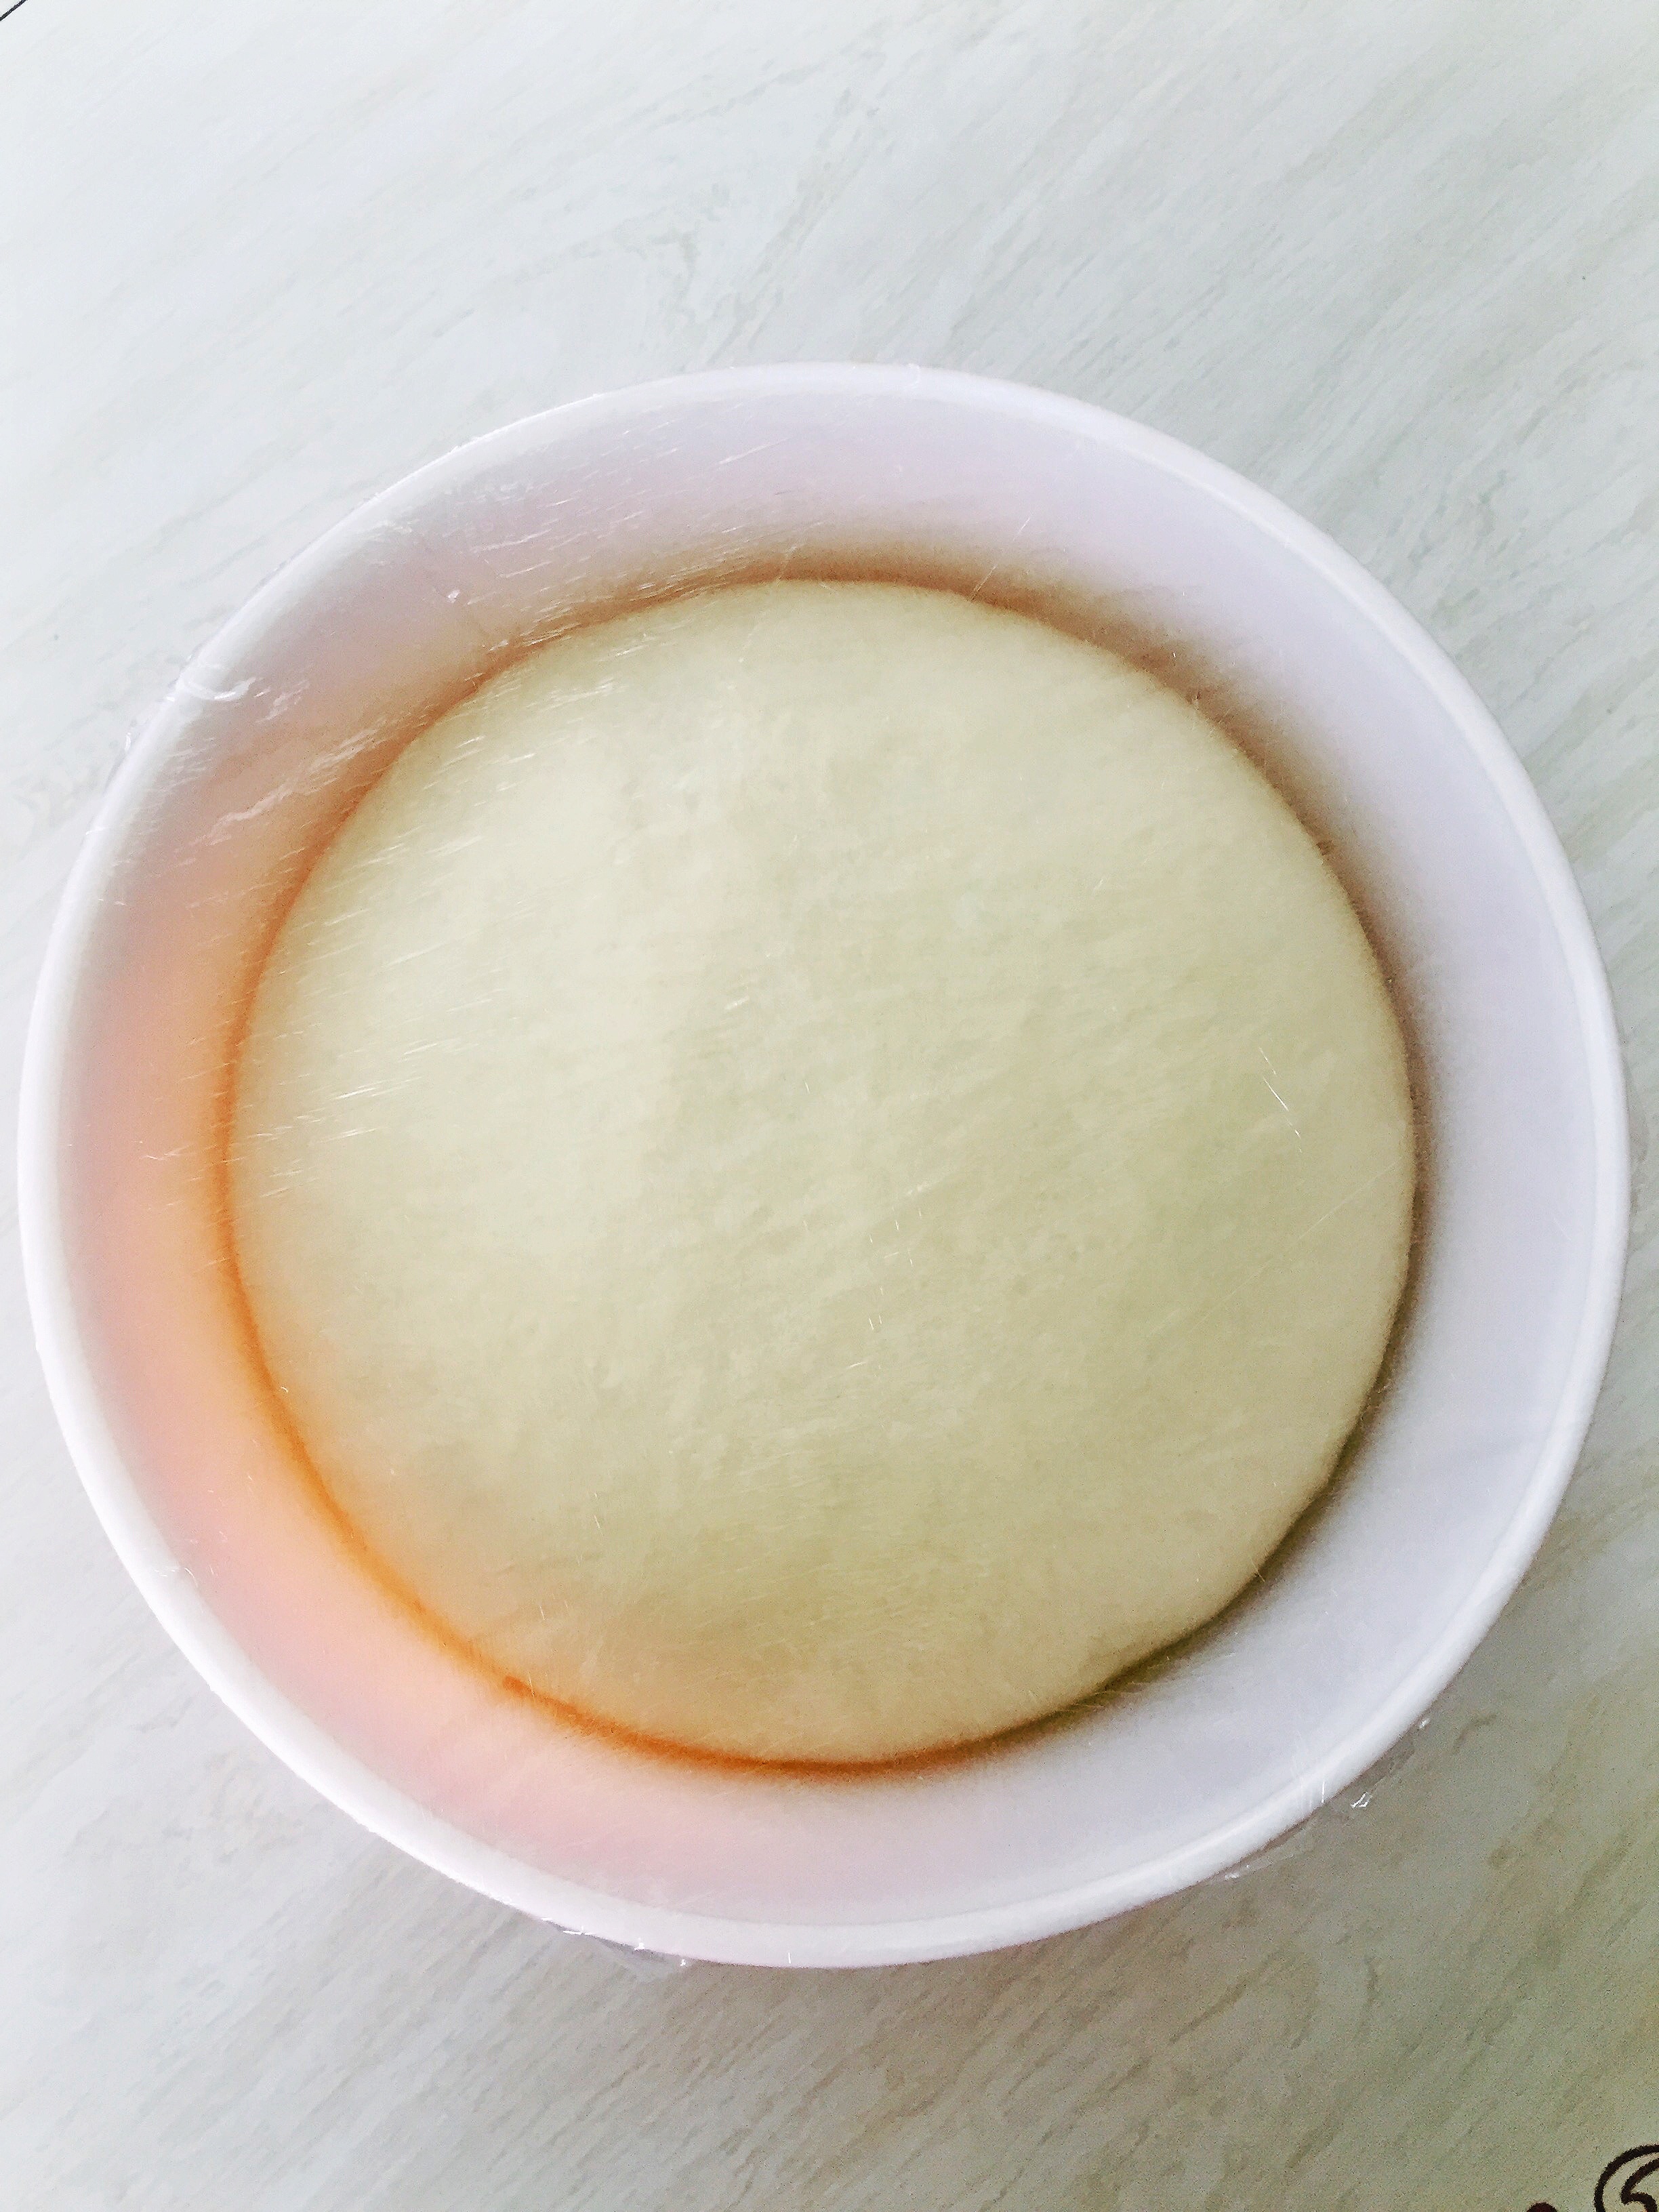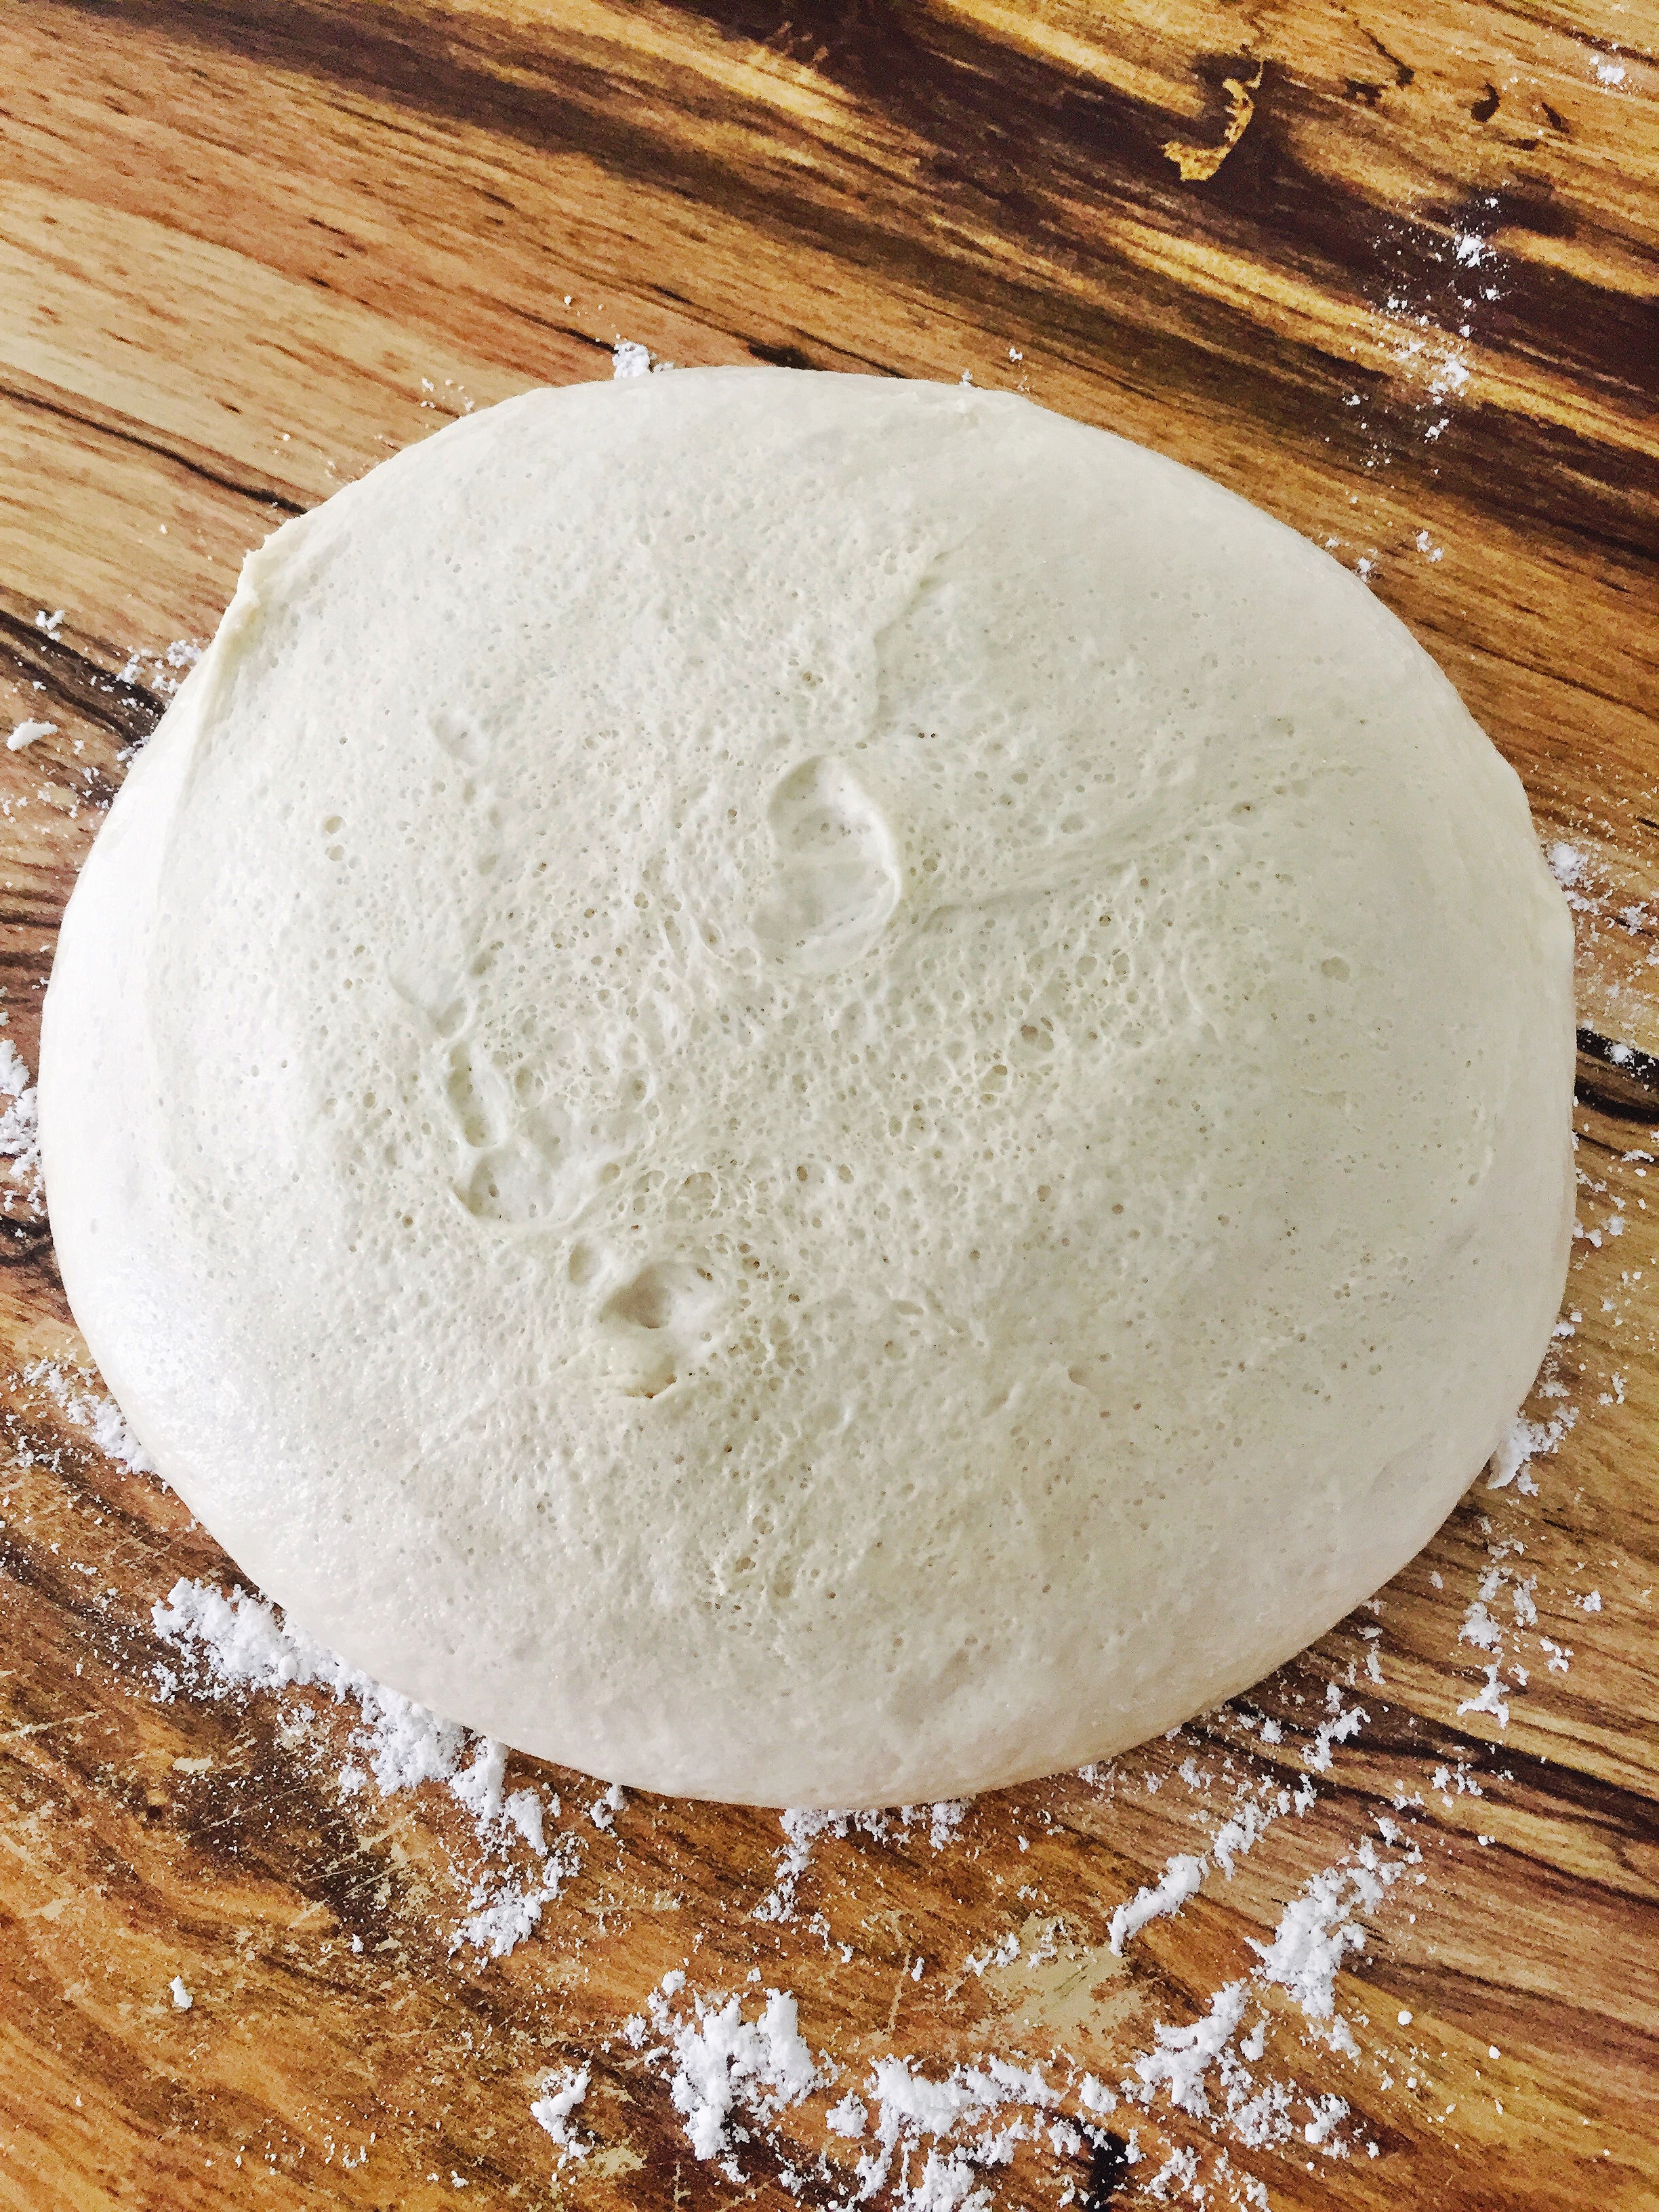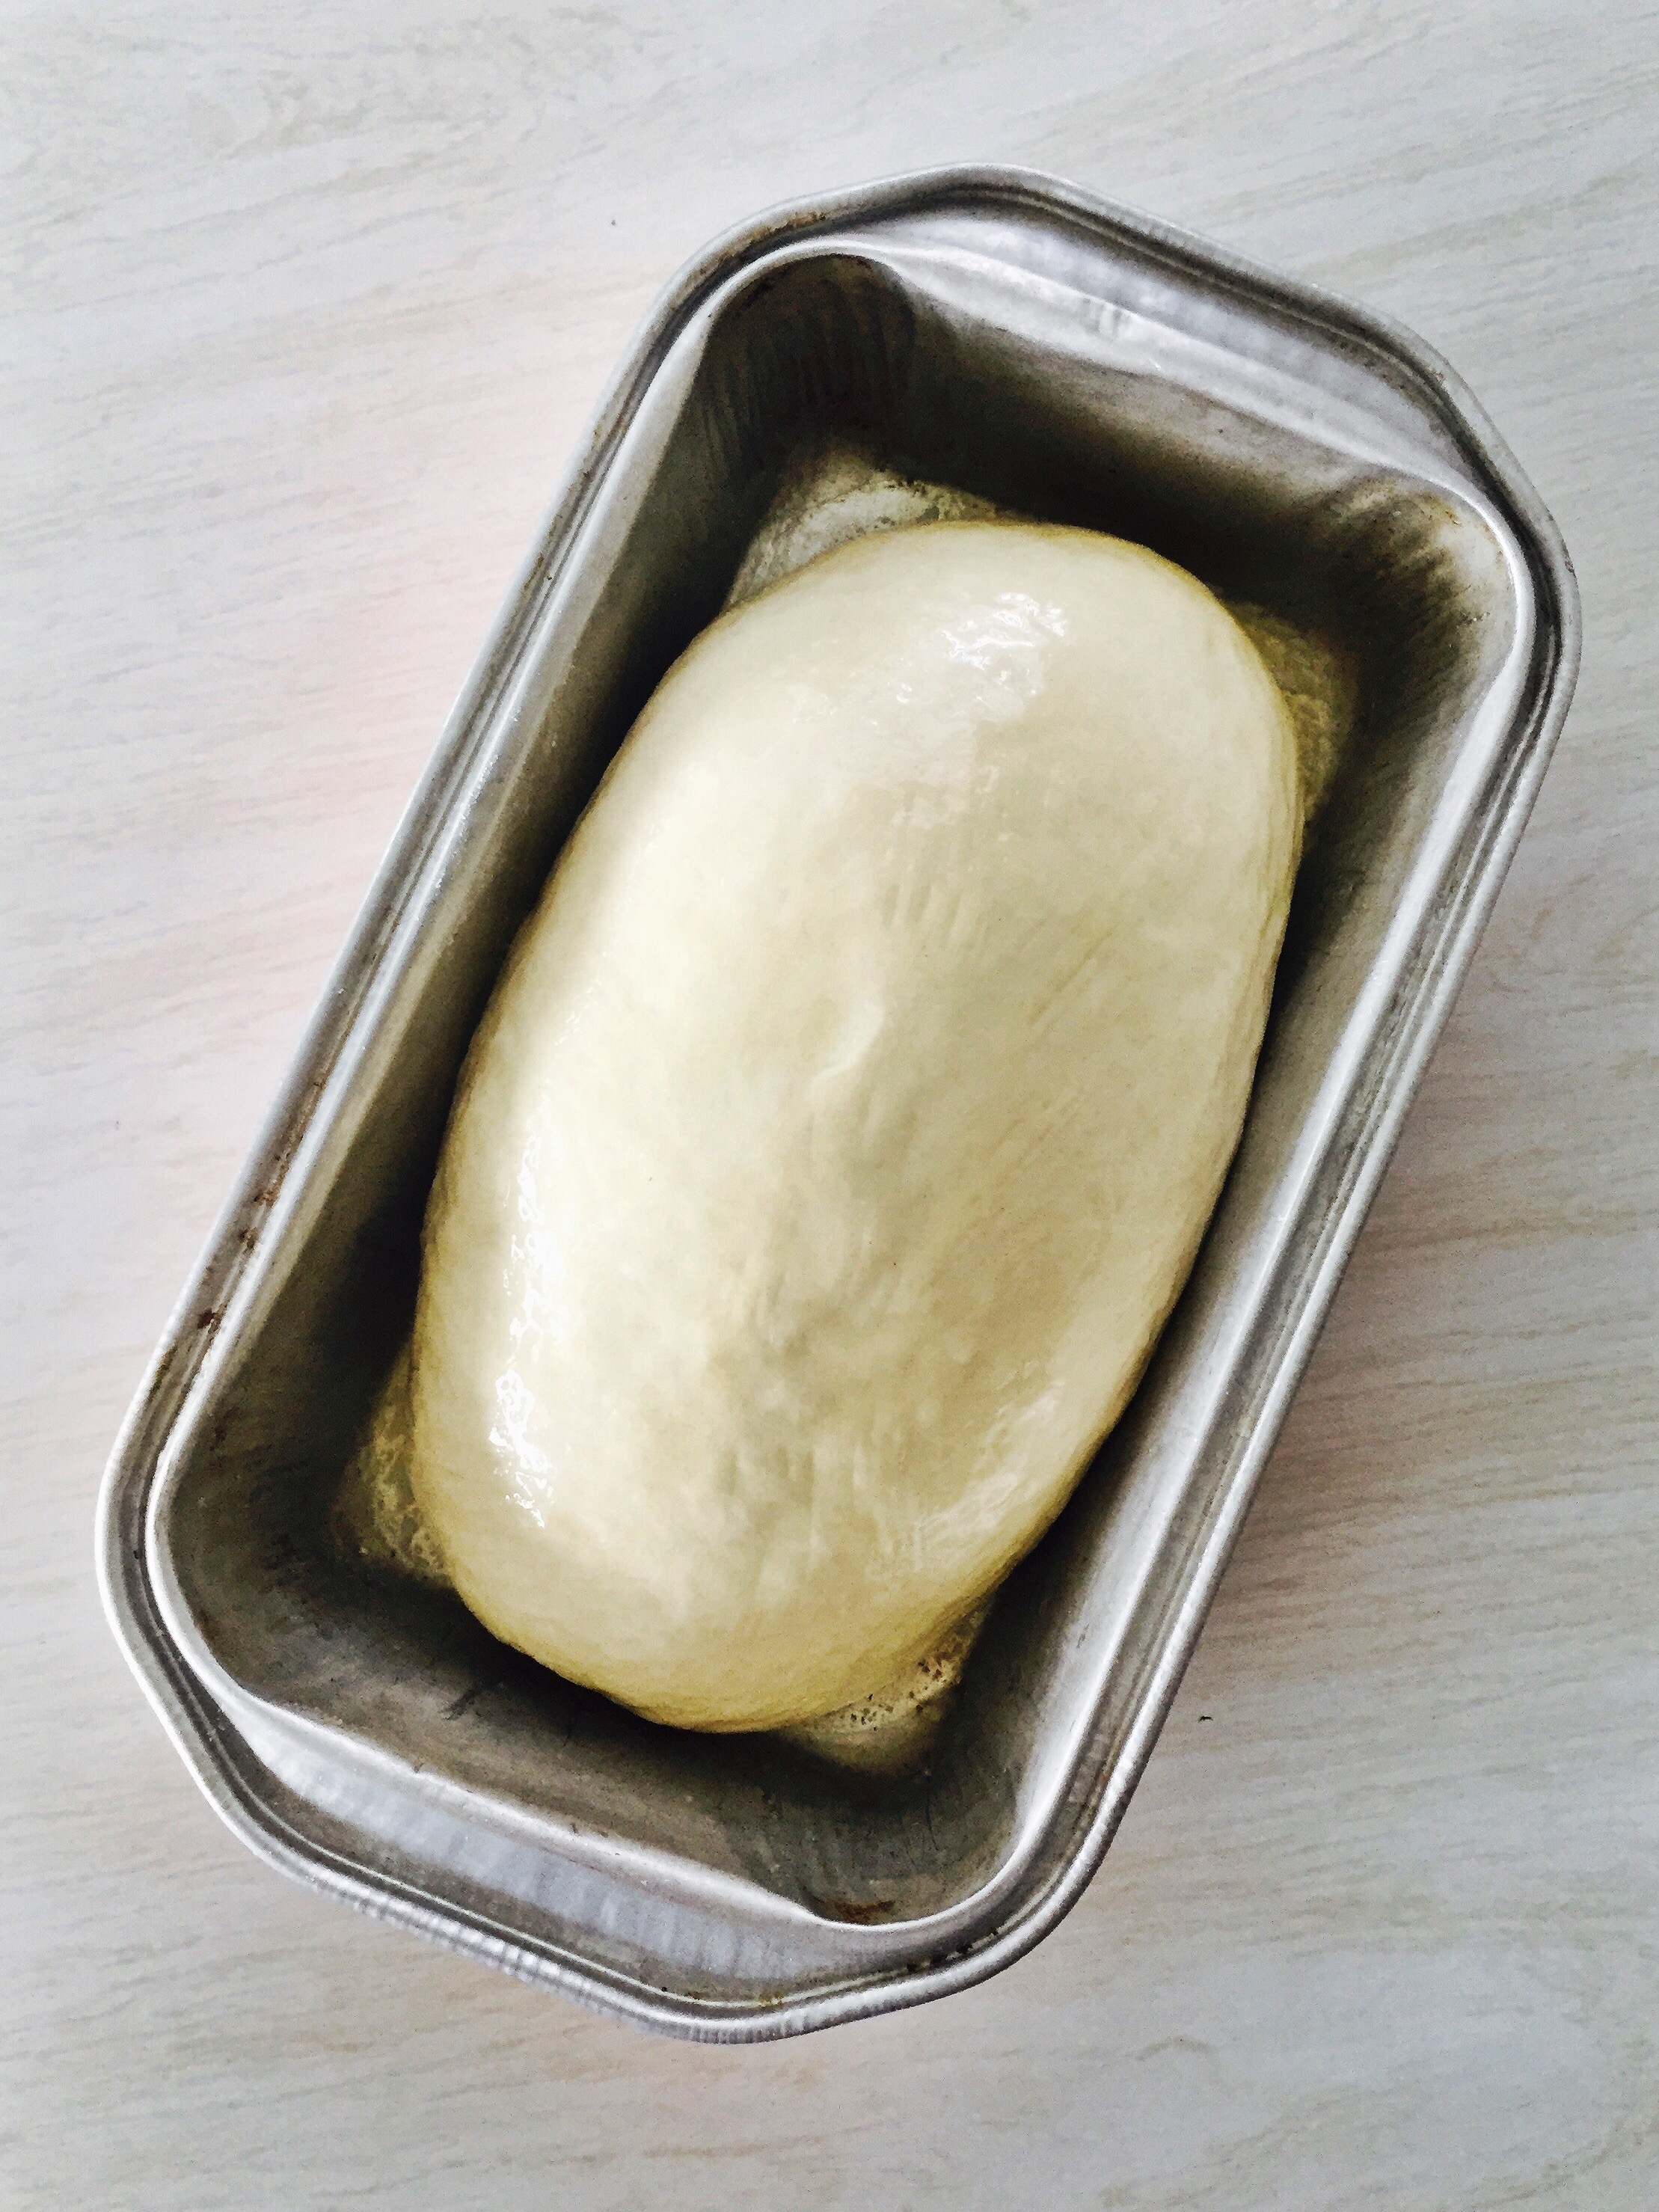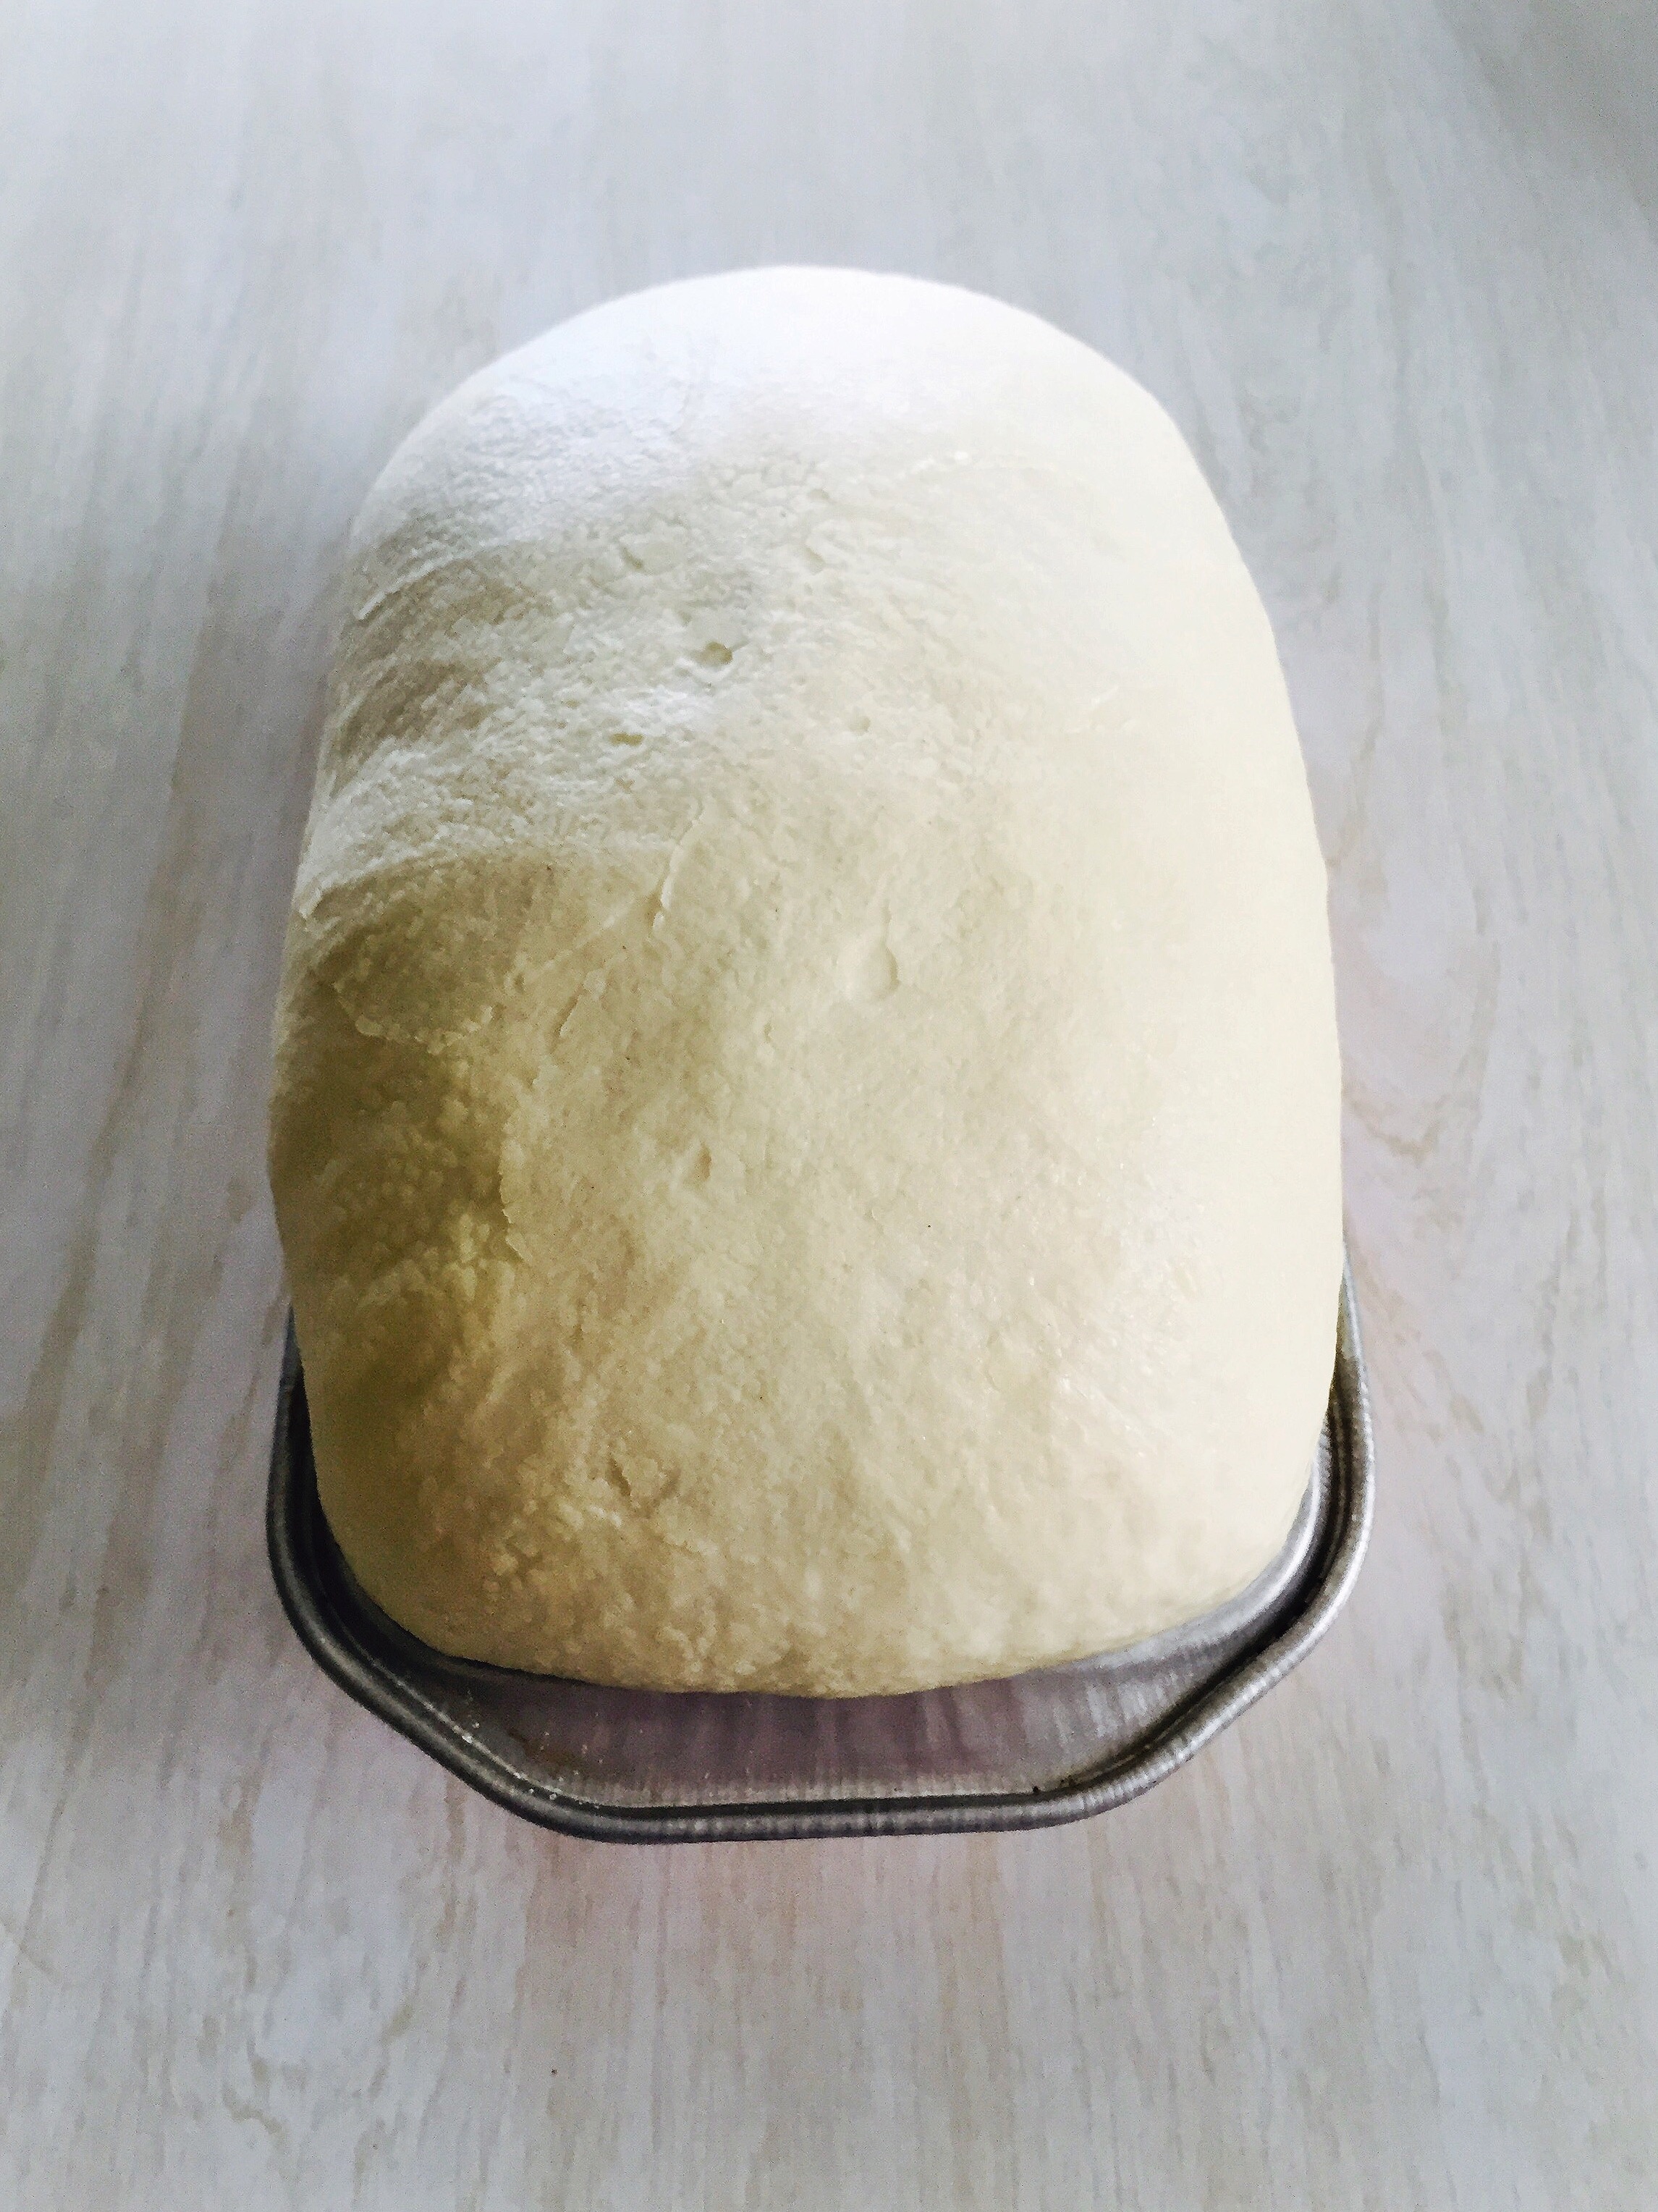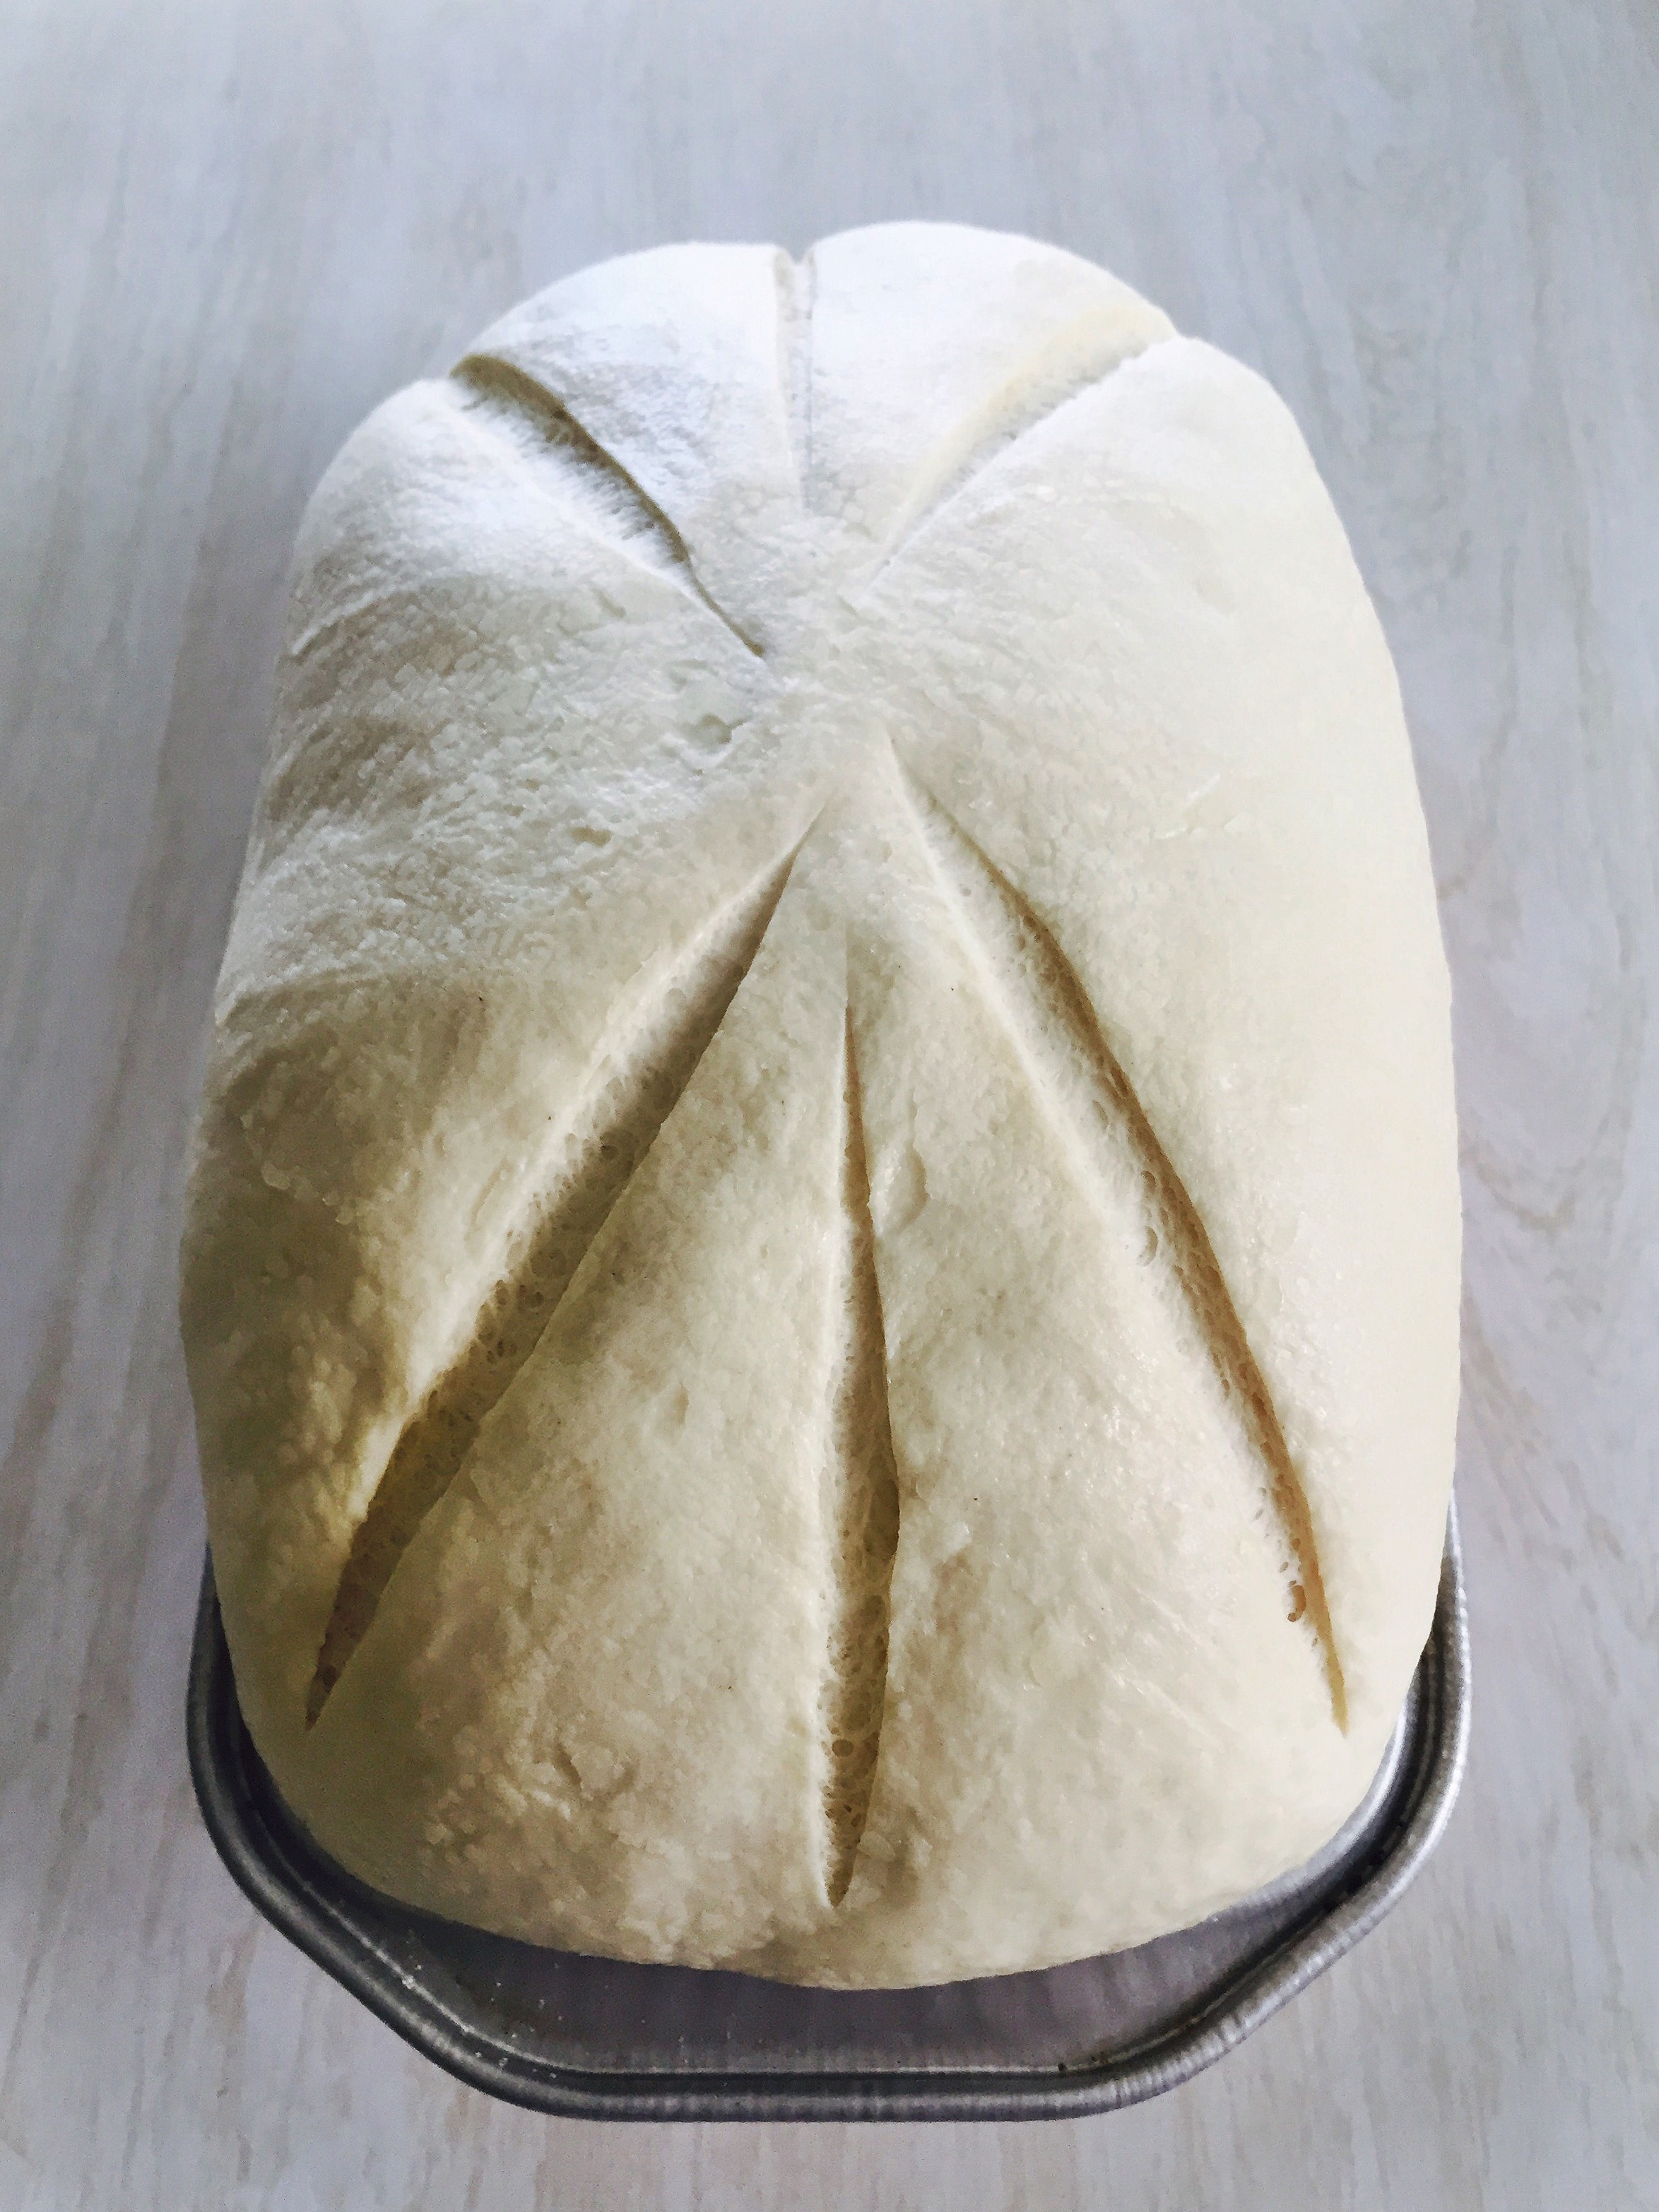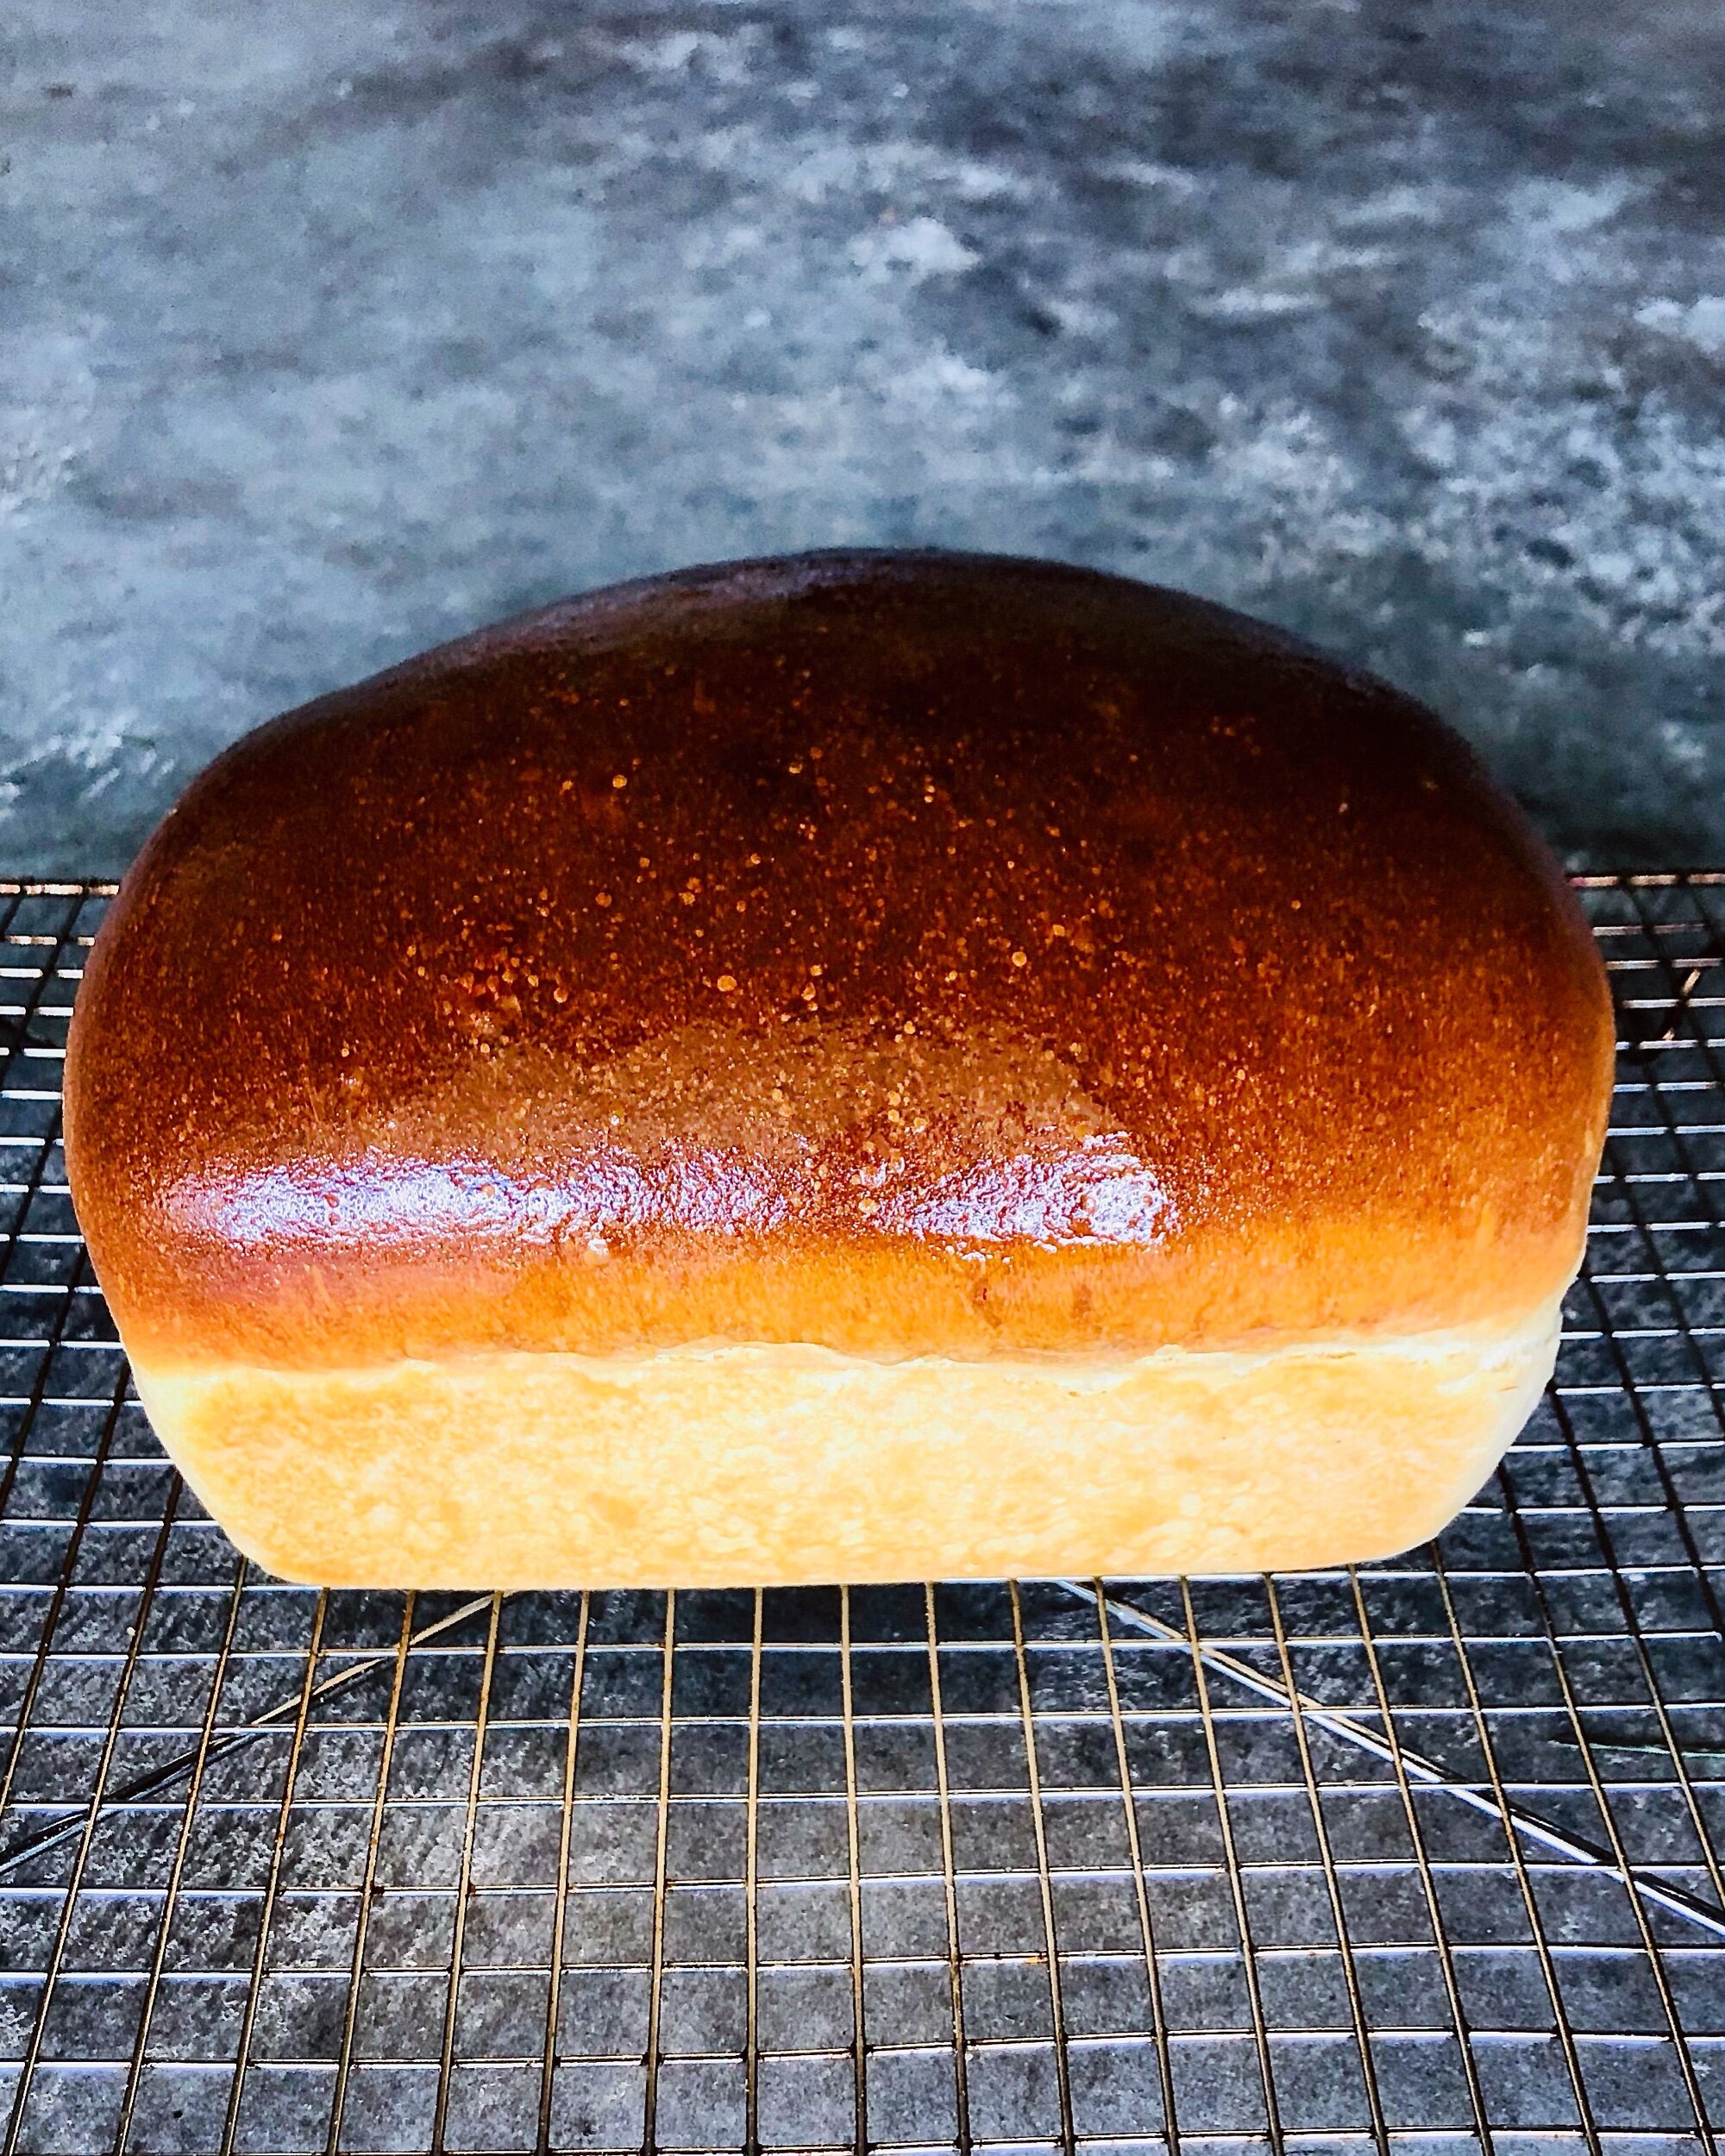
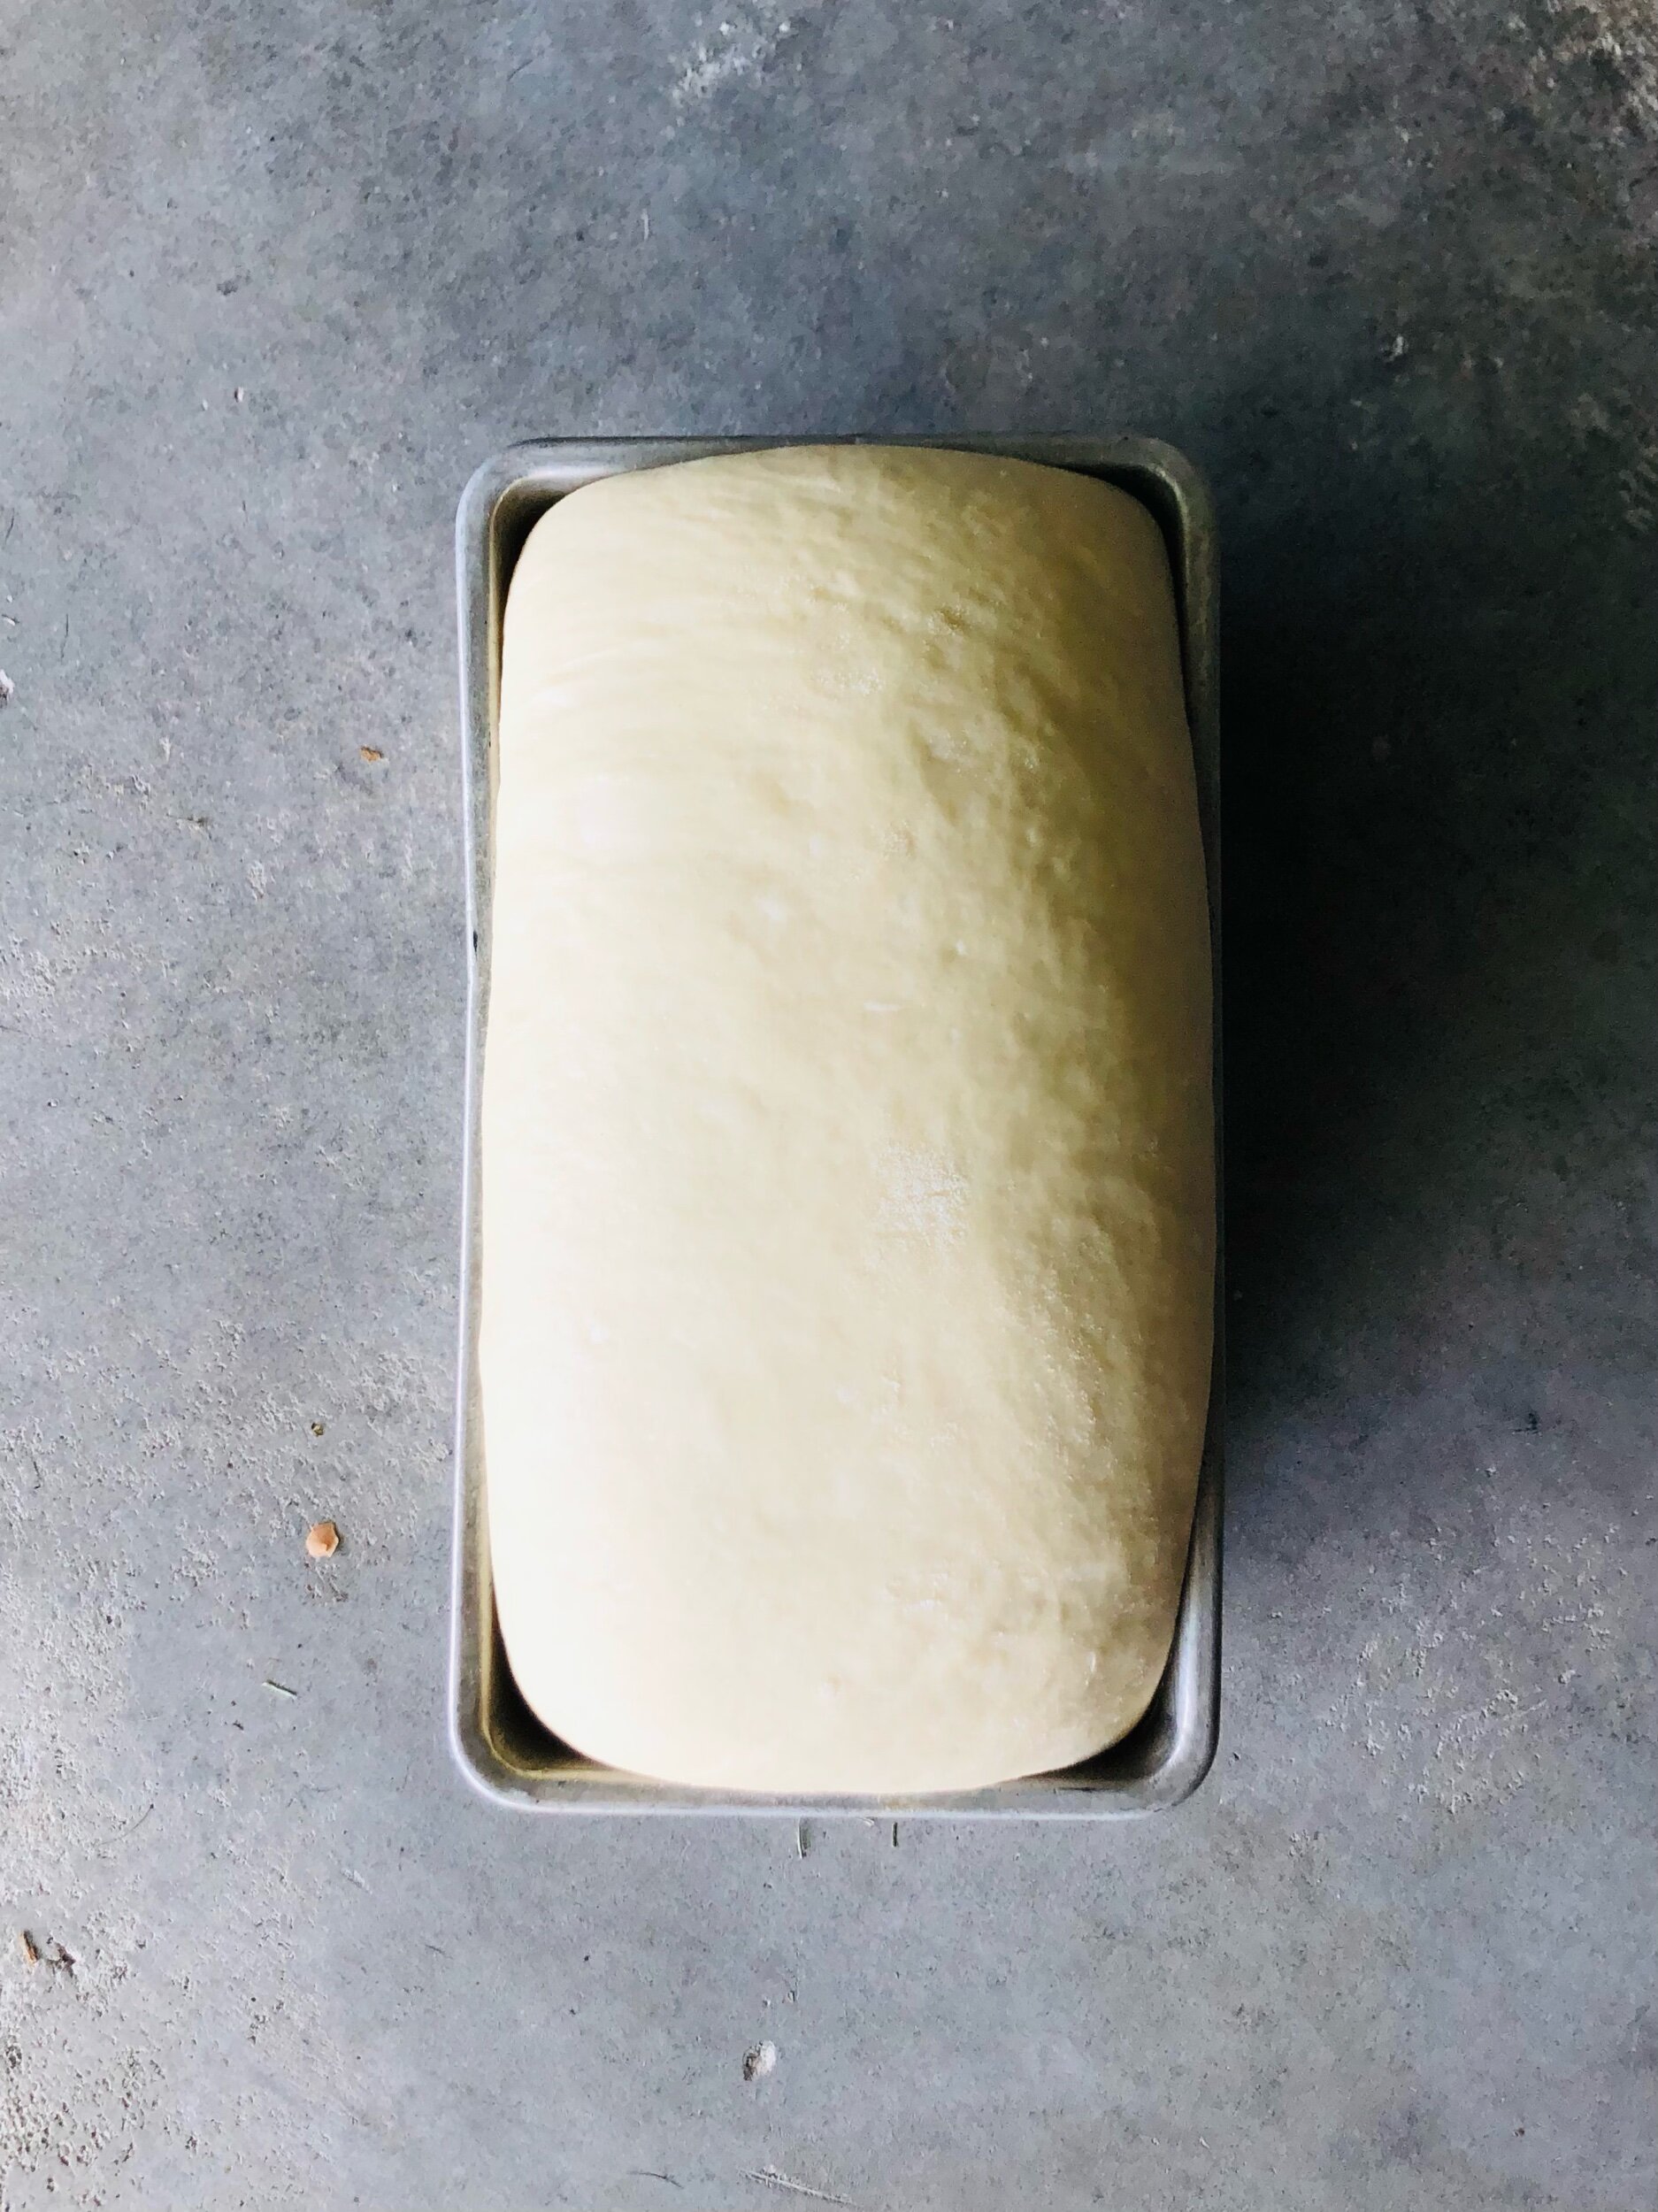
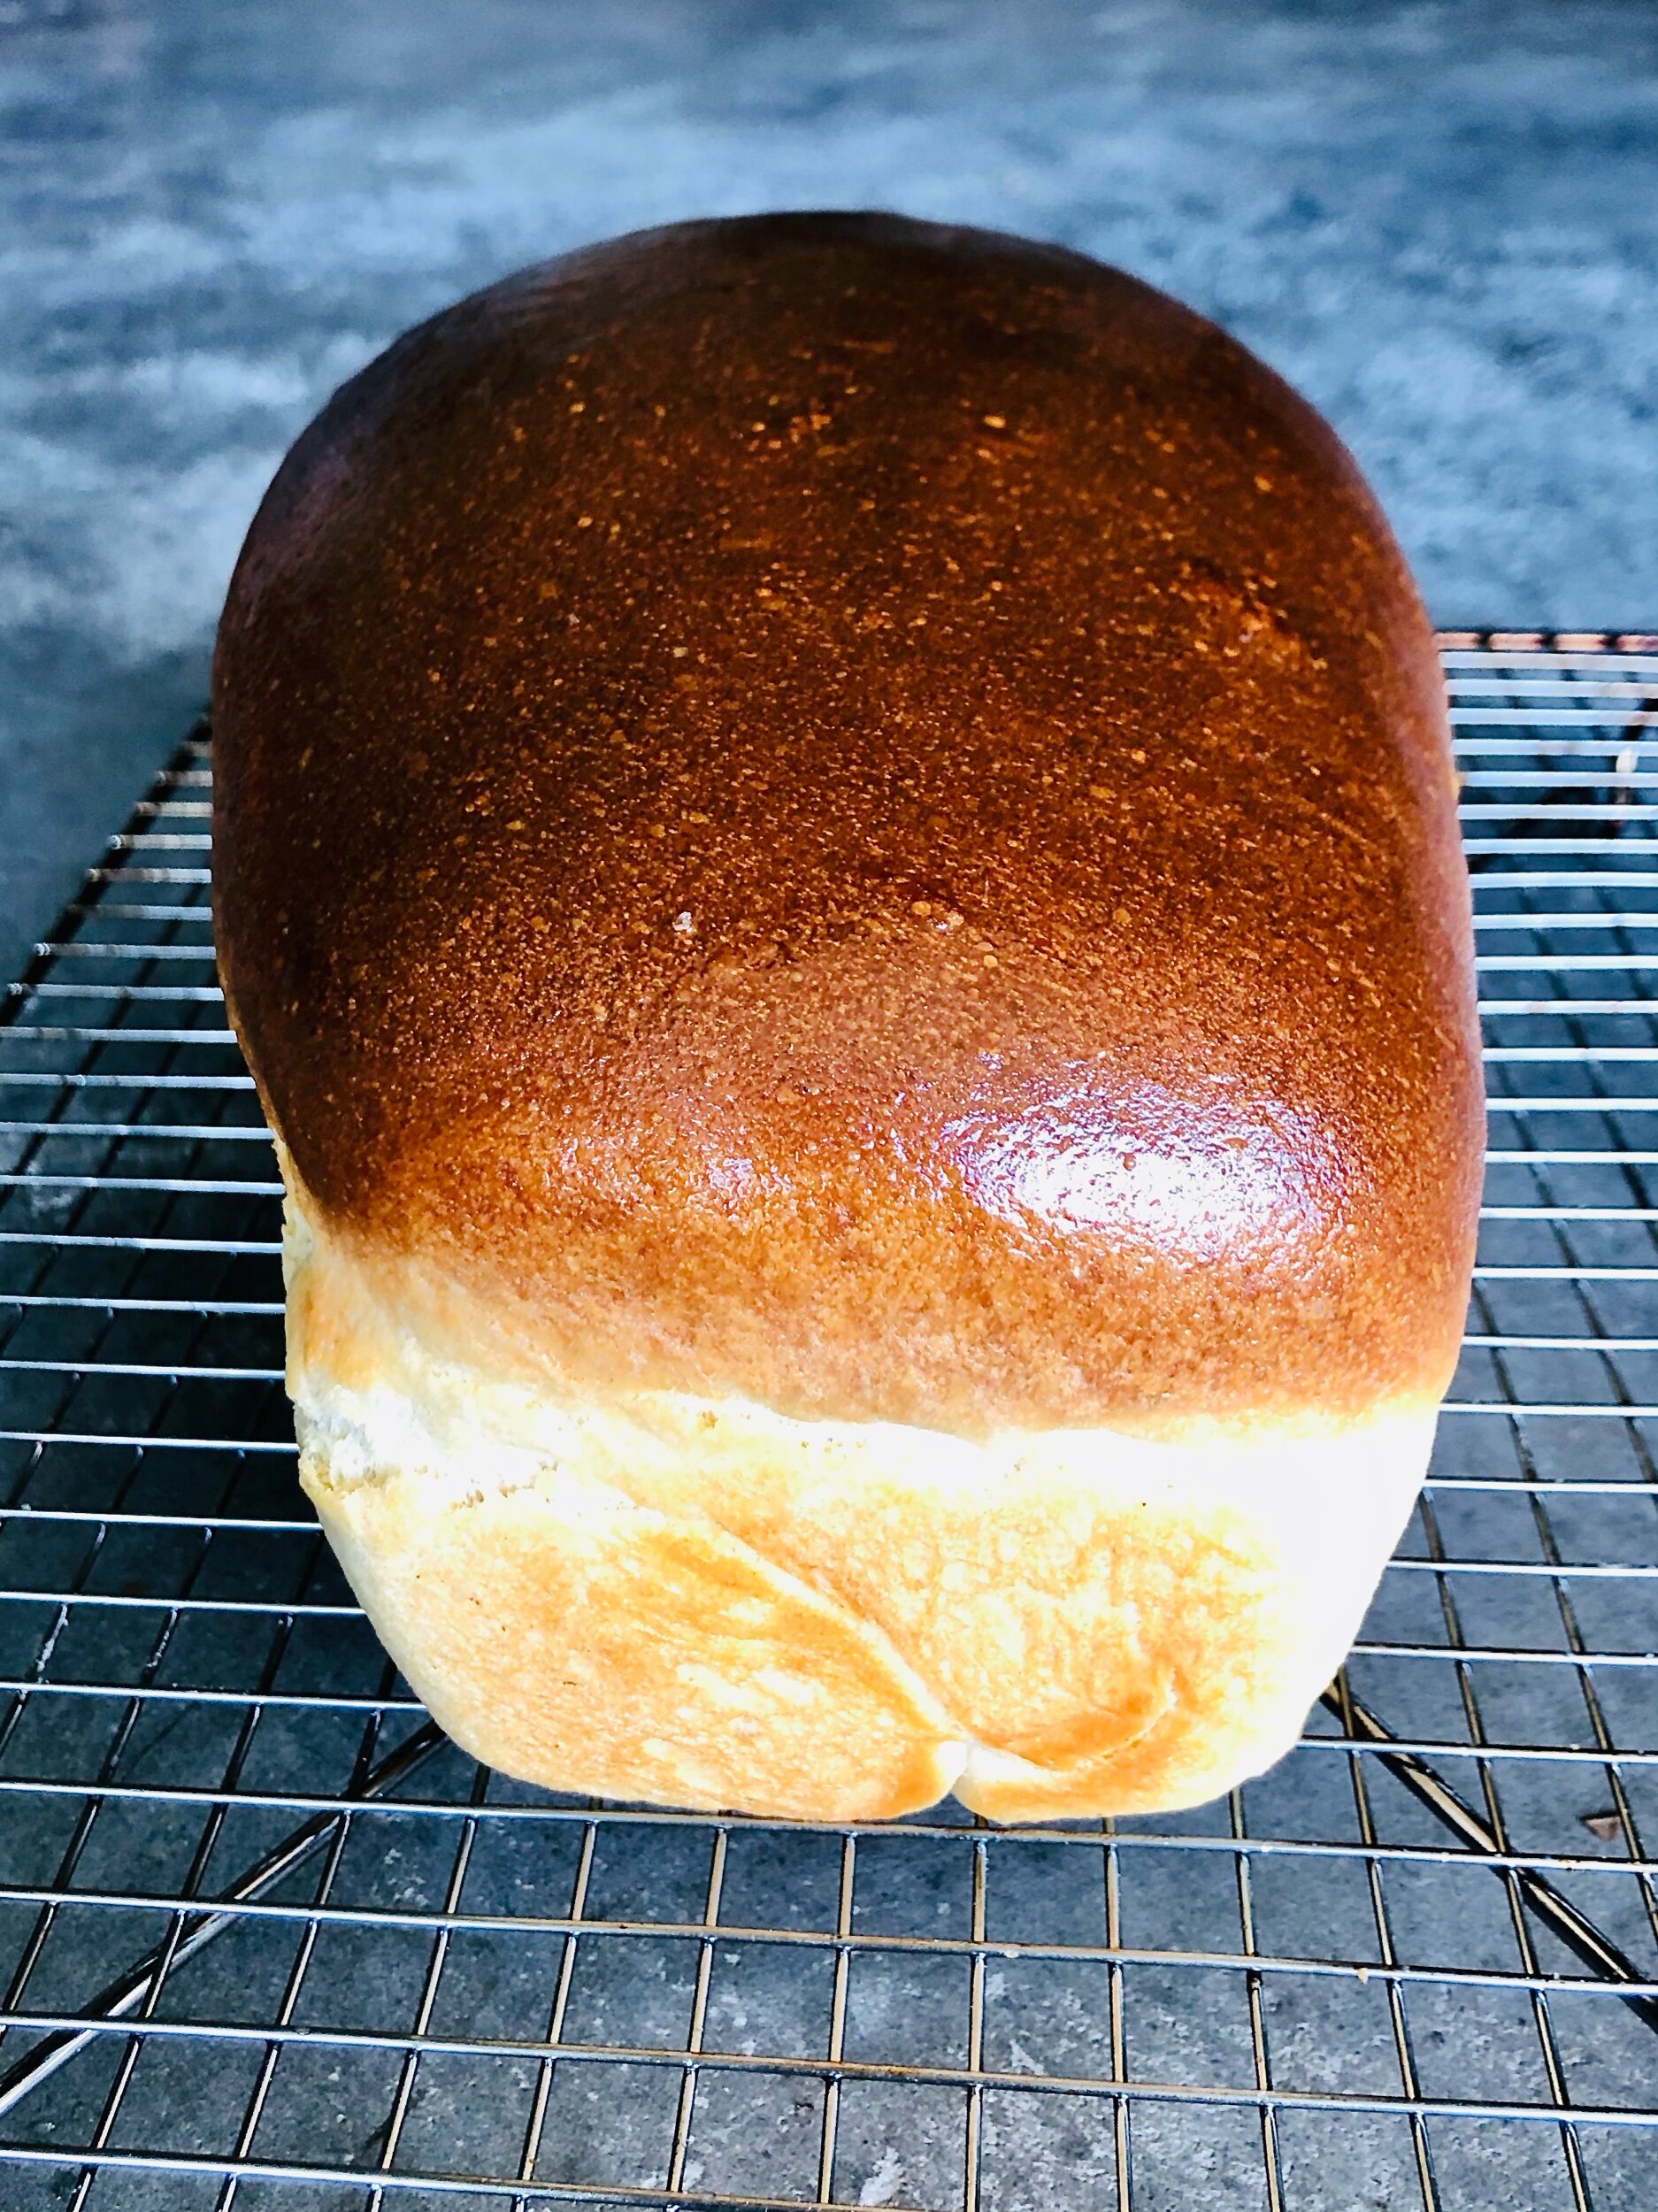
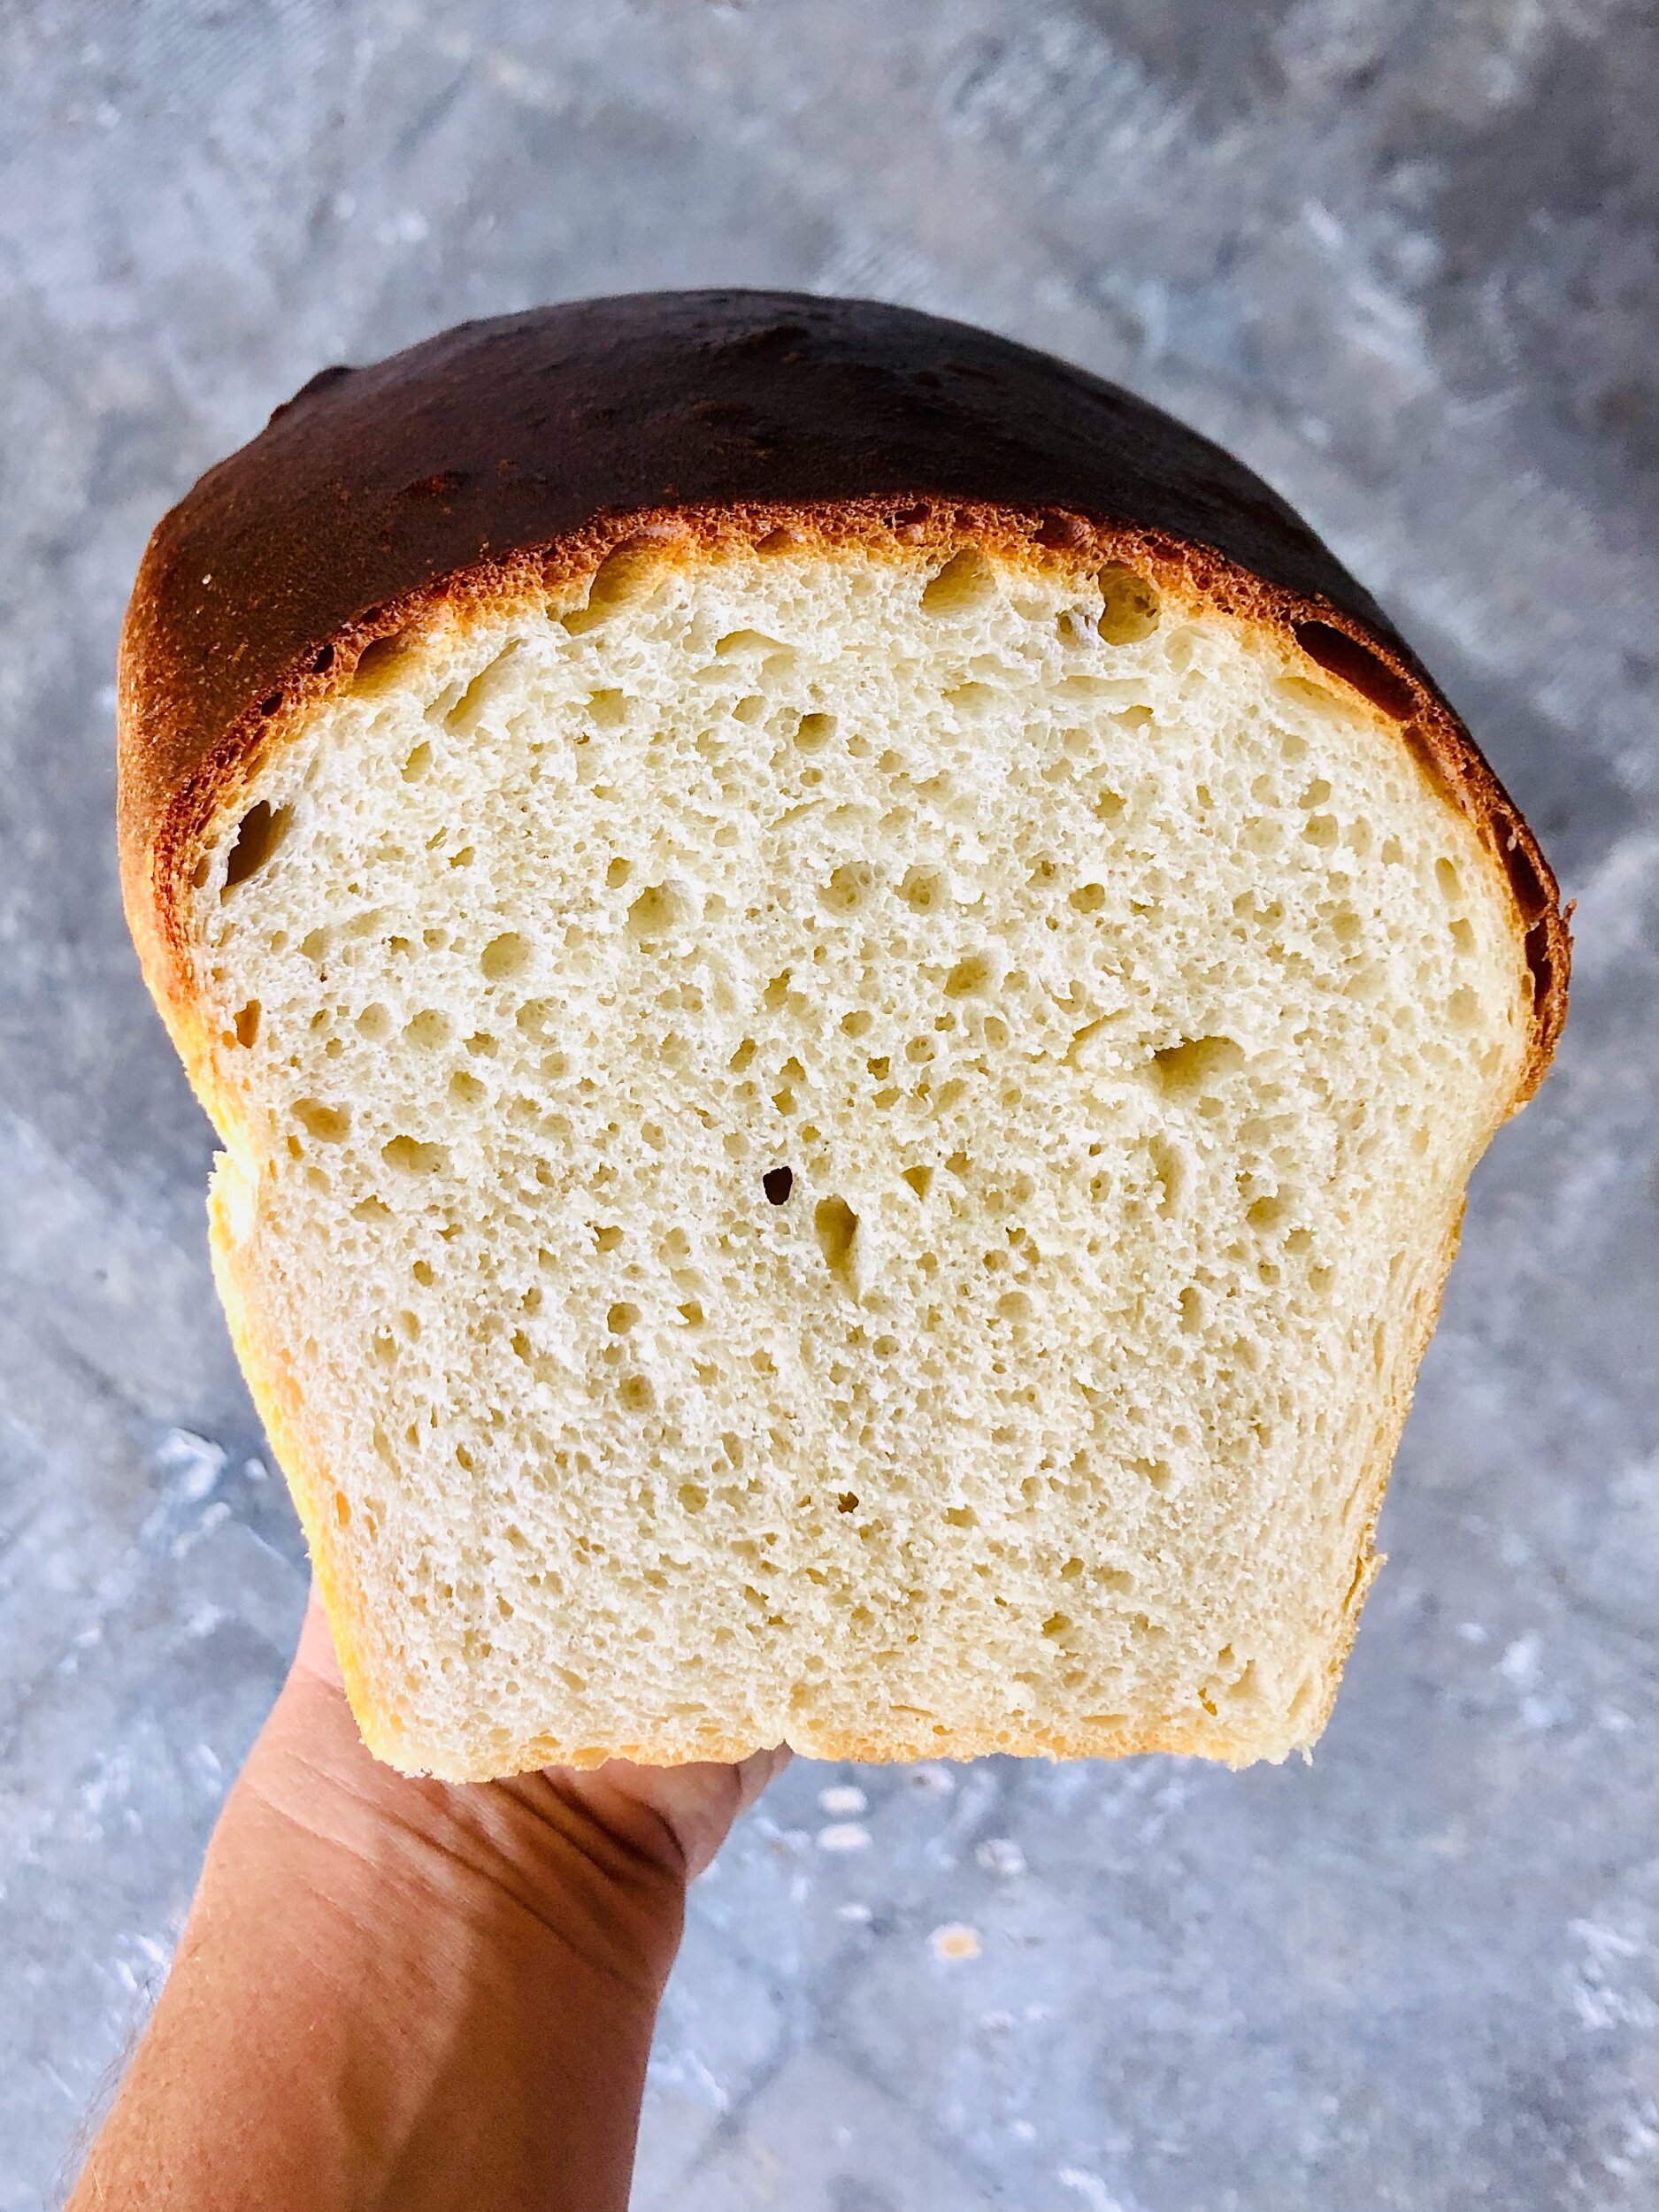
Simply Soft Sandwich Bread
Hey bakers!
I have a little something different this month. The original idea for the Full Moon Baking Club was to bake and share the delights monthly with those in your community. Covid put the kabash on that dream but not before turning folks into banana bread bakers, sourdough caregivers, virtual class junkies, and all things Zoom. So, it was really only a matter of time until I got in on the action. I’ve been hesitant to embrace digital living but a friend from across the web held my hand for my first ever Zoom baking class!
Rebecca from A Sweeter Course, whom also happens to run The Night Bakery was kind enough to give me a taste of all the things I’ve been missing. We recently “got together” to test this month’s Full Moon Baking Club recipe while participating in a bit of an interview exchange. I gave her all the details on my becoming a full-time family caregiver and how all things Food and Craft became my coping mechanisms. You can read all about it here as well as find the recipe for this month’s Simply Soft Sandwich Bread.
It’s also worth noting that anyone that runs something called The Night Bakery was destined to be a friend. Those of you lucky enough to live around New York City you should check of all the sweet treats Rebecca has available! There are cakes and cookies and subscription boxes to fill your fancy so be sure to browse her offerings and get in on what’s baking!
Happy full moon friends! See you next month!