Of Grain and Grain  |  Tactile Explorations of Flour and Wood

By Ashley Look

  • Blog
  • Flour
  • Wood
  • Shop
  • Services
  • Events
  • About
  • Contact
  • Search

Red Onion Tart with Beets and Feta

How To Feed A Senior
February 08, 2021 by Ashley Look in Recipes

Make his Red Onion Tart with Beets and Feta Cheese to show your loved ones you care. It has a soft and flaky crust that is sure to delight but it can also be omitted if you are preparing a meal for seniors with aging or sensitive teeth.

Read More
February 08, 2021 /Ashley Look
How To Feed A Senior, Red Onion, tart, beets, feta cheese, crust, soft and flaky crust, cream cheese, butter, balsamic vinegar, brown sugar, thyme, heavy cream, eggs, senior nutrition tips, meals for seniors, elderly loved one, caregiving, recipes for seniors, pie, pie crust, aging teeth, sensitive teeth, Valentine's Day recipe
Recipes
Comment
Homemade zeppoles, or Italian doughnuts, were made with leftover pizza dough, got tossed in powdered sugar and drizzled with chocolate sauce for an unexpected but easy dessert.

Homemade zeppoles, or Italian doughnuts, were made with leftover pizza dough, got tossed in powdered sugar and drizzled with chocolate sauce for an unexpected but easy dessert.

September 2020: Zeppoles- Fried Dough Recipe

September 02, 2020 by Ashley Look in Full Moon Baking Club

Fried dough, also known as zeppoles, are easy to make with leftover pizza dough. If you participated in last month’s Full Moon Baking Club challenge, you’ll have no trouble making these Italian doughnuts because I used the same recipe. Instead of making pizza, cut the dough into little rectangle shapes and then fry them in a pot of oil. After, toss them in a bag with some powdered sugar for a slightly sweet coating. Mine got drizzled with some Hershey’s Chocolate Syrup circa 2017, cause I found a random bottle of it the back of the fridge and thought, heck, it’s 2020! It’s a year for taking risks. Or not… but does chocolate syrup even go bad?

Zeppole Dough Recipe

Ingredients for making the dough:

  • 3 cups flour
  • 2 tsp yeast (rapid rise and dry active are both fine)
  • 1 1/2 tsp sugar
  • 1 1/2 tsp salt
  • 1 1/2 cups warm water
  • 1 tbsp oil (for the dough mix)

Ingredients for frying the zeppoles:

  • 1 quart of vegetable oil or another high heat oil for frying the dough
  • 1 tbsp powdered sugar (or to taste) for tossing the zeppoles

Directions:

  1. In a large mixing bowl, make the dough by combining the dry ingredients.
  2. Add the warm water and tablespoon of oil and start mixing.
  3. Mix until the dough starts to come together and pull away from the bowl, and then dump out onto a lightly floured surface.
  4. Knead the dough until it comes together and forms a ball.
  5. Continue to knead for about 10 minutes until the ingredients are well combined.
  6. Divide the dough into into 4 pieces and reshape into balls. Lay the balls on a greased sheet tray and then cover with a damp towel till they double in size (about an hour).
  7. After they rise, you can then make two or three personal pizzas (by continuing here at step 7) but keep at least one dough ball for the zeppoles.
  8. For the zeppoles, take a large heavy pot (I used a dutch oven) and pour in the frying oil so that it's at least two inches deep, and heat it to between 350F and 370F. Anything below 350 will take too long to fry causing the zeppoles to absorb the oil.
  9. With your zepploe dough, flatten it out as if you were going to begin making the crust of a pizza. Stretch it out gently rather than rolling it because you want to keep the dough light and fluff. It's ok if the dough is not circular. You just want to lay the dough out so the thickness remains even throughout.
  10. Next, take a pizza slicer and slice the dough into strips about 1 inch wide.
  11. Then, slicing from the other direction, cut the dough at 1.5 inch so you end up with a series of 1 x 1.5 inch rectangular dough pieces. (It's ok if they aren't perfect.)
  12. Once the oil is hot, gently using a spoon, drop the dough pieces into the oil. You can fry several at a time. Just be sure not to overcrowd them keeping plenty of space for them to move around in the pot.
  13. Fry for roughly 5 minutes or until they float on top of the oil. Be sure to flip them over as necessary so that they fry on all sides.
  14. After frying, remove the zeppoles and lay them on a plate with a paper towel to help soak up any extra oil.
  15. When you are finished frying them, you can gently toss them in a paper bag with powdered sugar for a light coating.

I tossed my zeppoles in powdered sugar and drizzled with chocolate syrup but I think you could have fun exploring other option. Cinnamon and sugar I’m sure would taste just as delicious, so feel free to get experimental. I’d love to hear what you come up with.

Happy full moon! I challenge you to make these before October 1, 2020 which is the next full moon. You have almost a month from today to give these a shot. Good luck!

September 02, 2020 /Ashley Look
How To Feed A Senior, Full Moon Baking Club, pizza, crust, dough, zeppoles, doughnuts, donuts, dough balls, flour, fried dough recipe, powdered sugar, dutch oven, chocolate syrup, cinnamon
Full Moon Baking Club
1 Comment
Three layers of autumn perfection baked together in a single dessert bar.

Three layers of autumn perfection baked together in a single dessert bar.

Apple Crumble Bars

How To Feed A Senior
August 26, 2020 by Ashley Look in Recipes

Got apples? I have three words for you: Apple. Crumble. Bars.

Fall is just around the corner which means apples season is approaching, and if you find yourself at an orchard with a bushel in tow, head straight to the kitchen and make this recipe! Imagine something like an apple crisp but with a shortbread crust so you can hold all that autumn deliciousness in your hand.

An apple crumble bar close-up so you can see that shortbread crust and crumbly topping.

An apple crumble bar close-up so you can see that shortbread crust and crumbly topping.

Making apple crumble bars is very similar to making an apple crisp. The only real difference is making the shortbread crust which gets pre-baked and honestly, it’s worth every ounce of effort. Don’t feel intimated by the extra step. Processing the apples is the most laborious part, so if you’re gonna go for it, just go all the way. The one major difference is you’ll want to let these cool before you cut into them. Unlike apple crisp which you might eat while still warm from the oven, these need to set up a bit or the crumble topping will crumble all over the place. I also suggest using parchment paper so you can easily lift them out of the pan. I baked the bars in a cast iron skillet (although you can use an 8 inch square baking dish) and then transferred the entire dessert to a cooling rack. After they cooled, I then transferred them to a cutting board to slice, and having that parchment made it easy to move them around.

Shortbread apple crumble bars.jpg apples in the crumble bars.jpg crumble topping for apple crumble bars.jpg Appple Crumble Bars made in cast iron skillet.jpg

I used two Granny Smith apples and a Honeycrisp in this recipe because that’s what I had on hand. You can use any kind of apples you want so have fun on your orchard adventures and don’t let the type of apples stand in your way from baking these. I would also advise you to store leftovers in an air tight container in the fridge. They keep just fine in there and in some ways, even improve the texture.

Ingredients

Shortbread Crust

  • 1 stick of butter, softened
  • 1/8 cup brown sugar
  • 1/2 tsp vanilla extract
  • 1 1/4 cups flour

Apple Filling

  • 3 large apples, peeled, cored, and thinly sliced (about 4 cups)
  • 2 tbsp flour
  • 1/8 cup white sugar

Crumble Topping

  • 1/4 cup brown sugar
  • 1/8 cup white sugar
  • 3/4 cup flour
  • 1 tsp cinnamon
  • 1/2 tsp salt
  • 6 tbsp chilled butter, cut into pea sized bits

Directions

  1. Preheat the oven to 350 degrees F.
  2. In a large bowl, begin making the shortbread crust by mixing the butter and sugar and vanilla.
  3. Slowly add in the flour, mixing until the texture of wet sand.
  4. Pat the crust mixture into an 8 inch square pan or oven safe equivalent and bake for 12ish minutes or until just barely beginning to golden.
  5. While the crust is baking, toss the sliced apples with the flour and sugar.
  6. In another bowl, add the dry ingredients for the crumble topping and toss to blend.
  7. Next cut in the butter using a pastry cutter or two knives, blending the ingredients till clumpy, like wet sand.
  8. When the shortbread crust is finished baking, layer the apple slices on top, stacking them as necessary to assure a solid layer.
  9. Next, squeeze small handfuls of the crumble mixture and scatter over the apple slices.
  10. Continue with the crumble topping so apples are fully covered and then bake for 40 to 45 minutes in the oven at 350 degrees until apples are bubbly and the topping is golden brown.
  11. Let cool a bit, then carefully remove the bars from the pan using the parchment paper to assist you, and place on a wire rack to cool and stiffen up.
  12. When completely cool, cut into bars.
The skillet version of my apple crumble bars because I couldn’t find an appropriate sized baking pan.

The skillet version of my apple crumble bars because I couldn’t find an appropriate sized baking pan.

Let me know if you make these bars. I’d love to hear what you think. I found them delicious and I think you will too.

Enjoy!

August 26, 2020 /Ashley Look
How To Feed A Senior, Apple Crumble Bars, apples, apple crisp, crumble topping, shortbread, crust, dessert, apple recipe, bars, baking, orchard, fall, autumn, parchment paper, skillet bars, flour, sugar, butter, sliced apples, desserts, sweets, pastry
Recipes
Comment
Full Moon Baking Club’s November 2018 bread: Cranberry Sauce Bread

Full Moon Baking Club’s November 2018 bread: Cranberry Sauce Bread

November 2018: Cranberry Sauce Bread

December 07, 2018 by Ashley Look in Full Moon Baking Club, Recipes

With the November 2018 full moon falling the day after Thanksgiving, cranberry sauce was begging to be a signature ingredient for the Full Moon Baking Club. Every year I make a cranberry sauce and every year I have leftovers. So this year, I made sauce with a plan. One of my favorite bakeries, Pain D’Avignon in Hyannis, MA makes these delicious cranberry-pecan rolls so I wanted a cranberry sauce that could steer me in that direction. I made this cranberry sauce using some during my Thanksgiving meal and the rest in this bread. It used walnuts instead of pecans but… close enough. My goal was texture.

Speaking of texture, I baked this bread in a dutch oven because it makes a world of difference when it comes to the crust. If you want that crispy/chewy/artisan bread effect at home, bake your breads in a dutch oven. The lid helps trap moisture and produces steam while baking. That humid baking environment, matched with high heat equals crusty loaves that mimic professional bakery results. It’s one of the simplest answers to creating rustic breads in an everyday home kitchen.

If you find yourself needing a dutch oven, I recommend the one linked below made by Lodge Cast Iron. There are a lot on the market, some quite a bit more expansive than others but I prefer this one because it’s affordable, comes pre-seasoned and is made entirely of cast iron. Some have nobs on the lids with a lower heat tolerance than the pot which can throw off one’s cooking plan. Whatever style you prefer, just make sure it’s safe for high temperatures. You’ll need it to handle temperatures of at least 450 degrees for breads.

Lodge L8DOL3 Cast Iron Dutch Oven with Dual Handles, Pre-Seasoned, 5-Quart
Lodge

I forgot to take pictures of the bread in progress so hopefully you checked-out the video when it was all going down on Instagram The high was making pink dough. The low was a mild panic where it suddenly occurred to me I was making a fruit cake. Otherwise, you didn’t miss much. I did however snag a few shots of the cranberry sauce in the works. Also, if you need a holiday gift, this mixing spoon and several others are still available.

Canberry sauce.jpg Cranberries.jpg dough.jpg

Ok bakers, it’s time to get on with this recipe because there are only two weeks till the next full moon. Do you even still have cranberry sauce? Probably not and that’s my fault for being so slow on posting the recipe but all the more reason to archive this recipe for next year! Or, if you’re really game to make bread (which you should be), I encourage you go for it! Just omit the cranberry sauce and see what happens. You might be pleasantly surprised. That’s the beauty of bread. With a little practice, you’ll find it’s a very forgiving art.;)

Ingredients

  • 1 cup warm water
  • 1 cup cranberry sauce
  • 2 tsp. active dry yeast
  • 3 cups flour
  • 1 tsp. salt

Directions

  1. In a bowl mix together the water and cranberry sauce.
  2. Add the yeast and let it disolve.
  3. In a separate, large bowl, stir together the four and salt.
  4. Pour the cranberry mixture into the bowl with the flour and mix to combine.
  5. Mix the ingredients together helping to form the dough.
  6. Gently form the dough in the bowl, then turn it out onto a floured surface.
  7. Knead the dough on the counter for at least 10 minutes, adding more flour as necessary to keep it from sticking.
  8. The dough should become smooth and springy with all ingredients throughoughly combined. Keep kneading if feeling unsure about the consistancy. It's practically impossible to over-knead dough by hand and if anything, more kneading will only improve the texture.
  9. Once well formed, shape it into a ball and place in an oiled bowl, cover it, and let it rest/rise for an hour or until doubled in size.
  10. Once doubled, knead it again for another 10ish minutes, dusting with flour to keep it from sticking if necessary.
  11. After kneading, shape into a round form and place smooth side up on a piece of parchment paper and cover with plastic wrap or a damp cloth. (I like to place my dough and parchment on a pie plate to help keep the round shape during the second rise.)
  12. Let it rise for another hour or until doubled in size.
  13. Preheat the oven and your dutch oven to 450 degrees F.
  14. When the dough is ready, carefully transfer the parchment paper with the dough into the dutch oven. Cover with the lid and bake for 25 minutes.
  15. Next, remove the lid and reduce the temperature to 410 degrees F. Bake for 15 more minutes or until the inside temperature reaches 190 degrees F.
  16. Cool on a rack for 20ish minutes before slicing.
Sliced.jpg

Ok folks, we got two weeks! The holiday and the Full Moon Baking Club countdowns are on so lets role with the festive and make Eggnog Bread! Do people even like eggnog? Probably not, yet somehow it winds up in the fridge every year. Well, this year we are gonna use it up! Eggs, milk and sugar can make for a tasty loaf so let’s just do it and embrace the holiday spirit. And since the full moon is on the 22nd of December, we can count on some leftovers to make holiday french toast.

See you in a couple of weeks! And if you made it this far and have no idea what the Full Moon Baking Club is click here, catch-up, and join us on the 22nd!


How to Feed a Senior is a participant in the Amazon Services LLC Associates Program, which is an affiliate advertising program. If you choose to purchase items after clicking on these links, I will earn a small commission at no extra cost to you.

December 07, 2018 /Ashley Look
how to feed a senior, Full Moon Baking Club, Full Moon, Cranberry sauce, cranberry bread, Thanksgiving, holidays, Pain D'Avignon, Hyannis, Cranberry pecan, Dutch Oven, Lodge Cast Iron, walnuts, crust, texture, artisan bread, home kitchen, mixing spoon, holiday gift, Cranberry Sauce Bread, Eggnog, french toash
Full Moon Baking Club, Recipes
Comment
Using cultured butter in your pie crust makes for the best pie crust!

Using cultured butter in your pie crust makes for the best pie crust!

Cultured Butter Pie Crust Recipe

October 02, 2015 by Ashley Look in Recipes

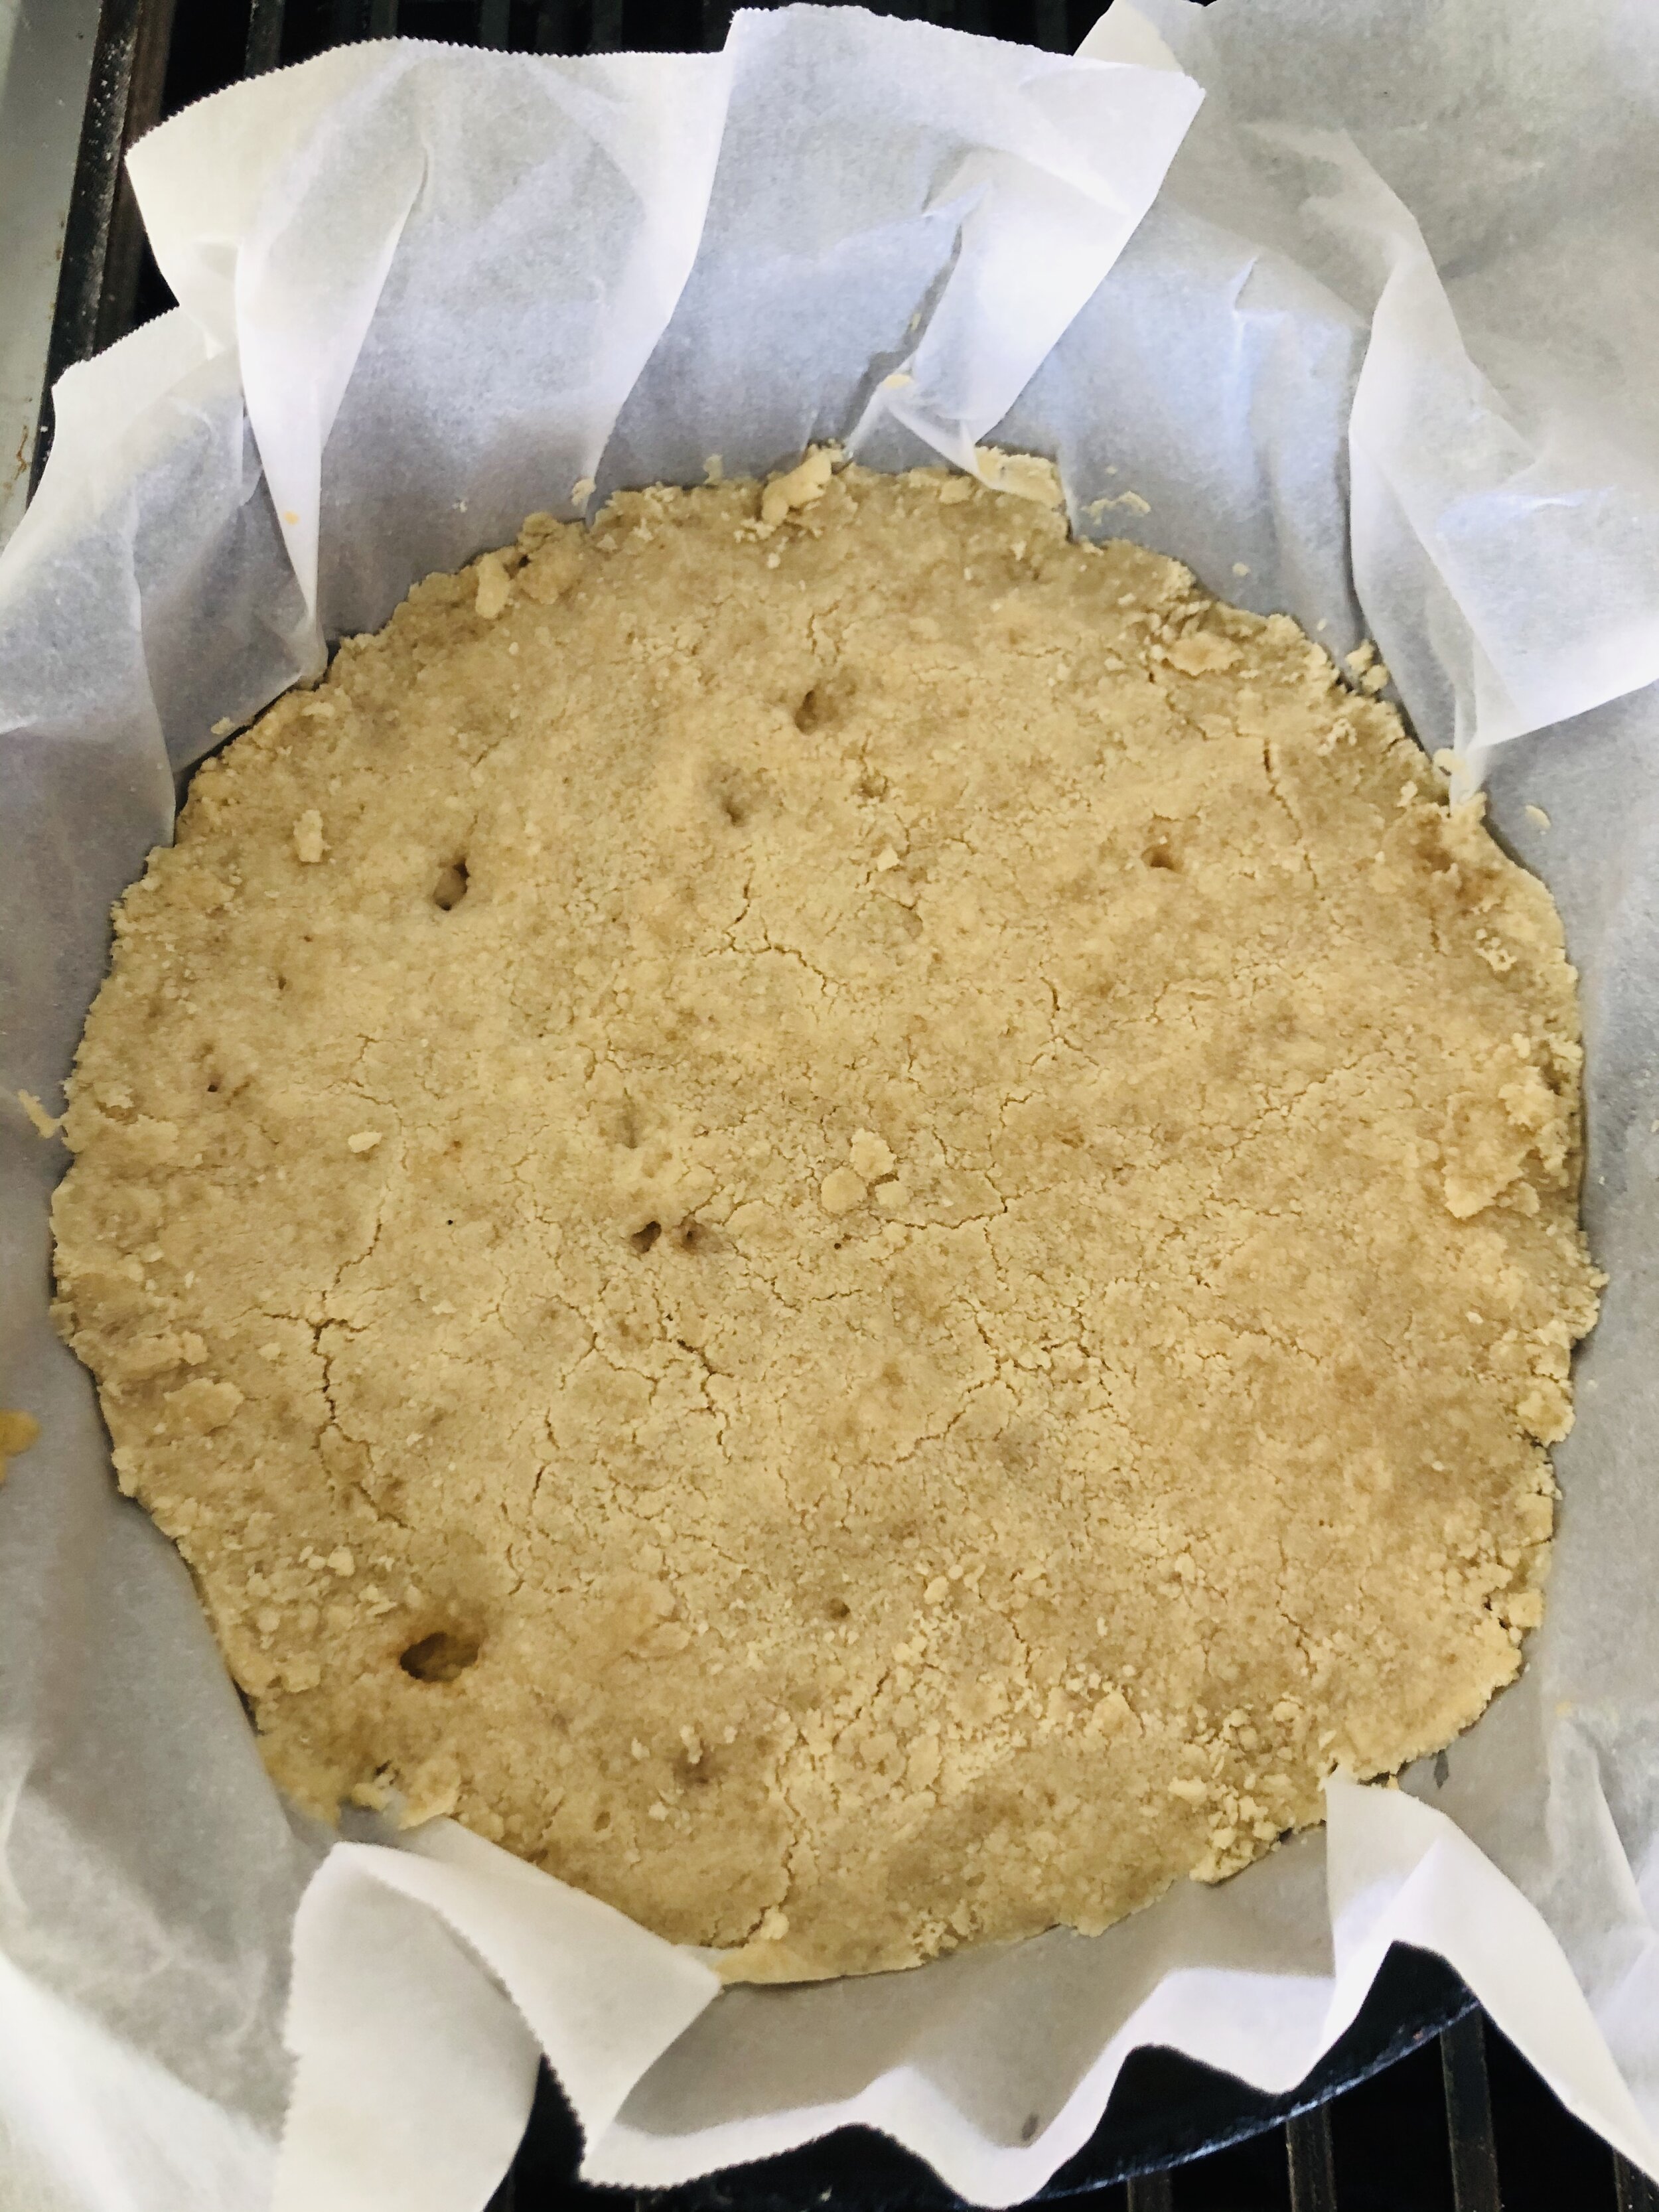
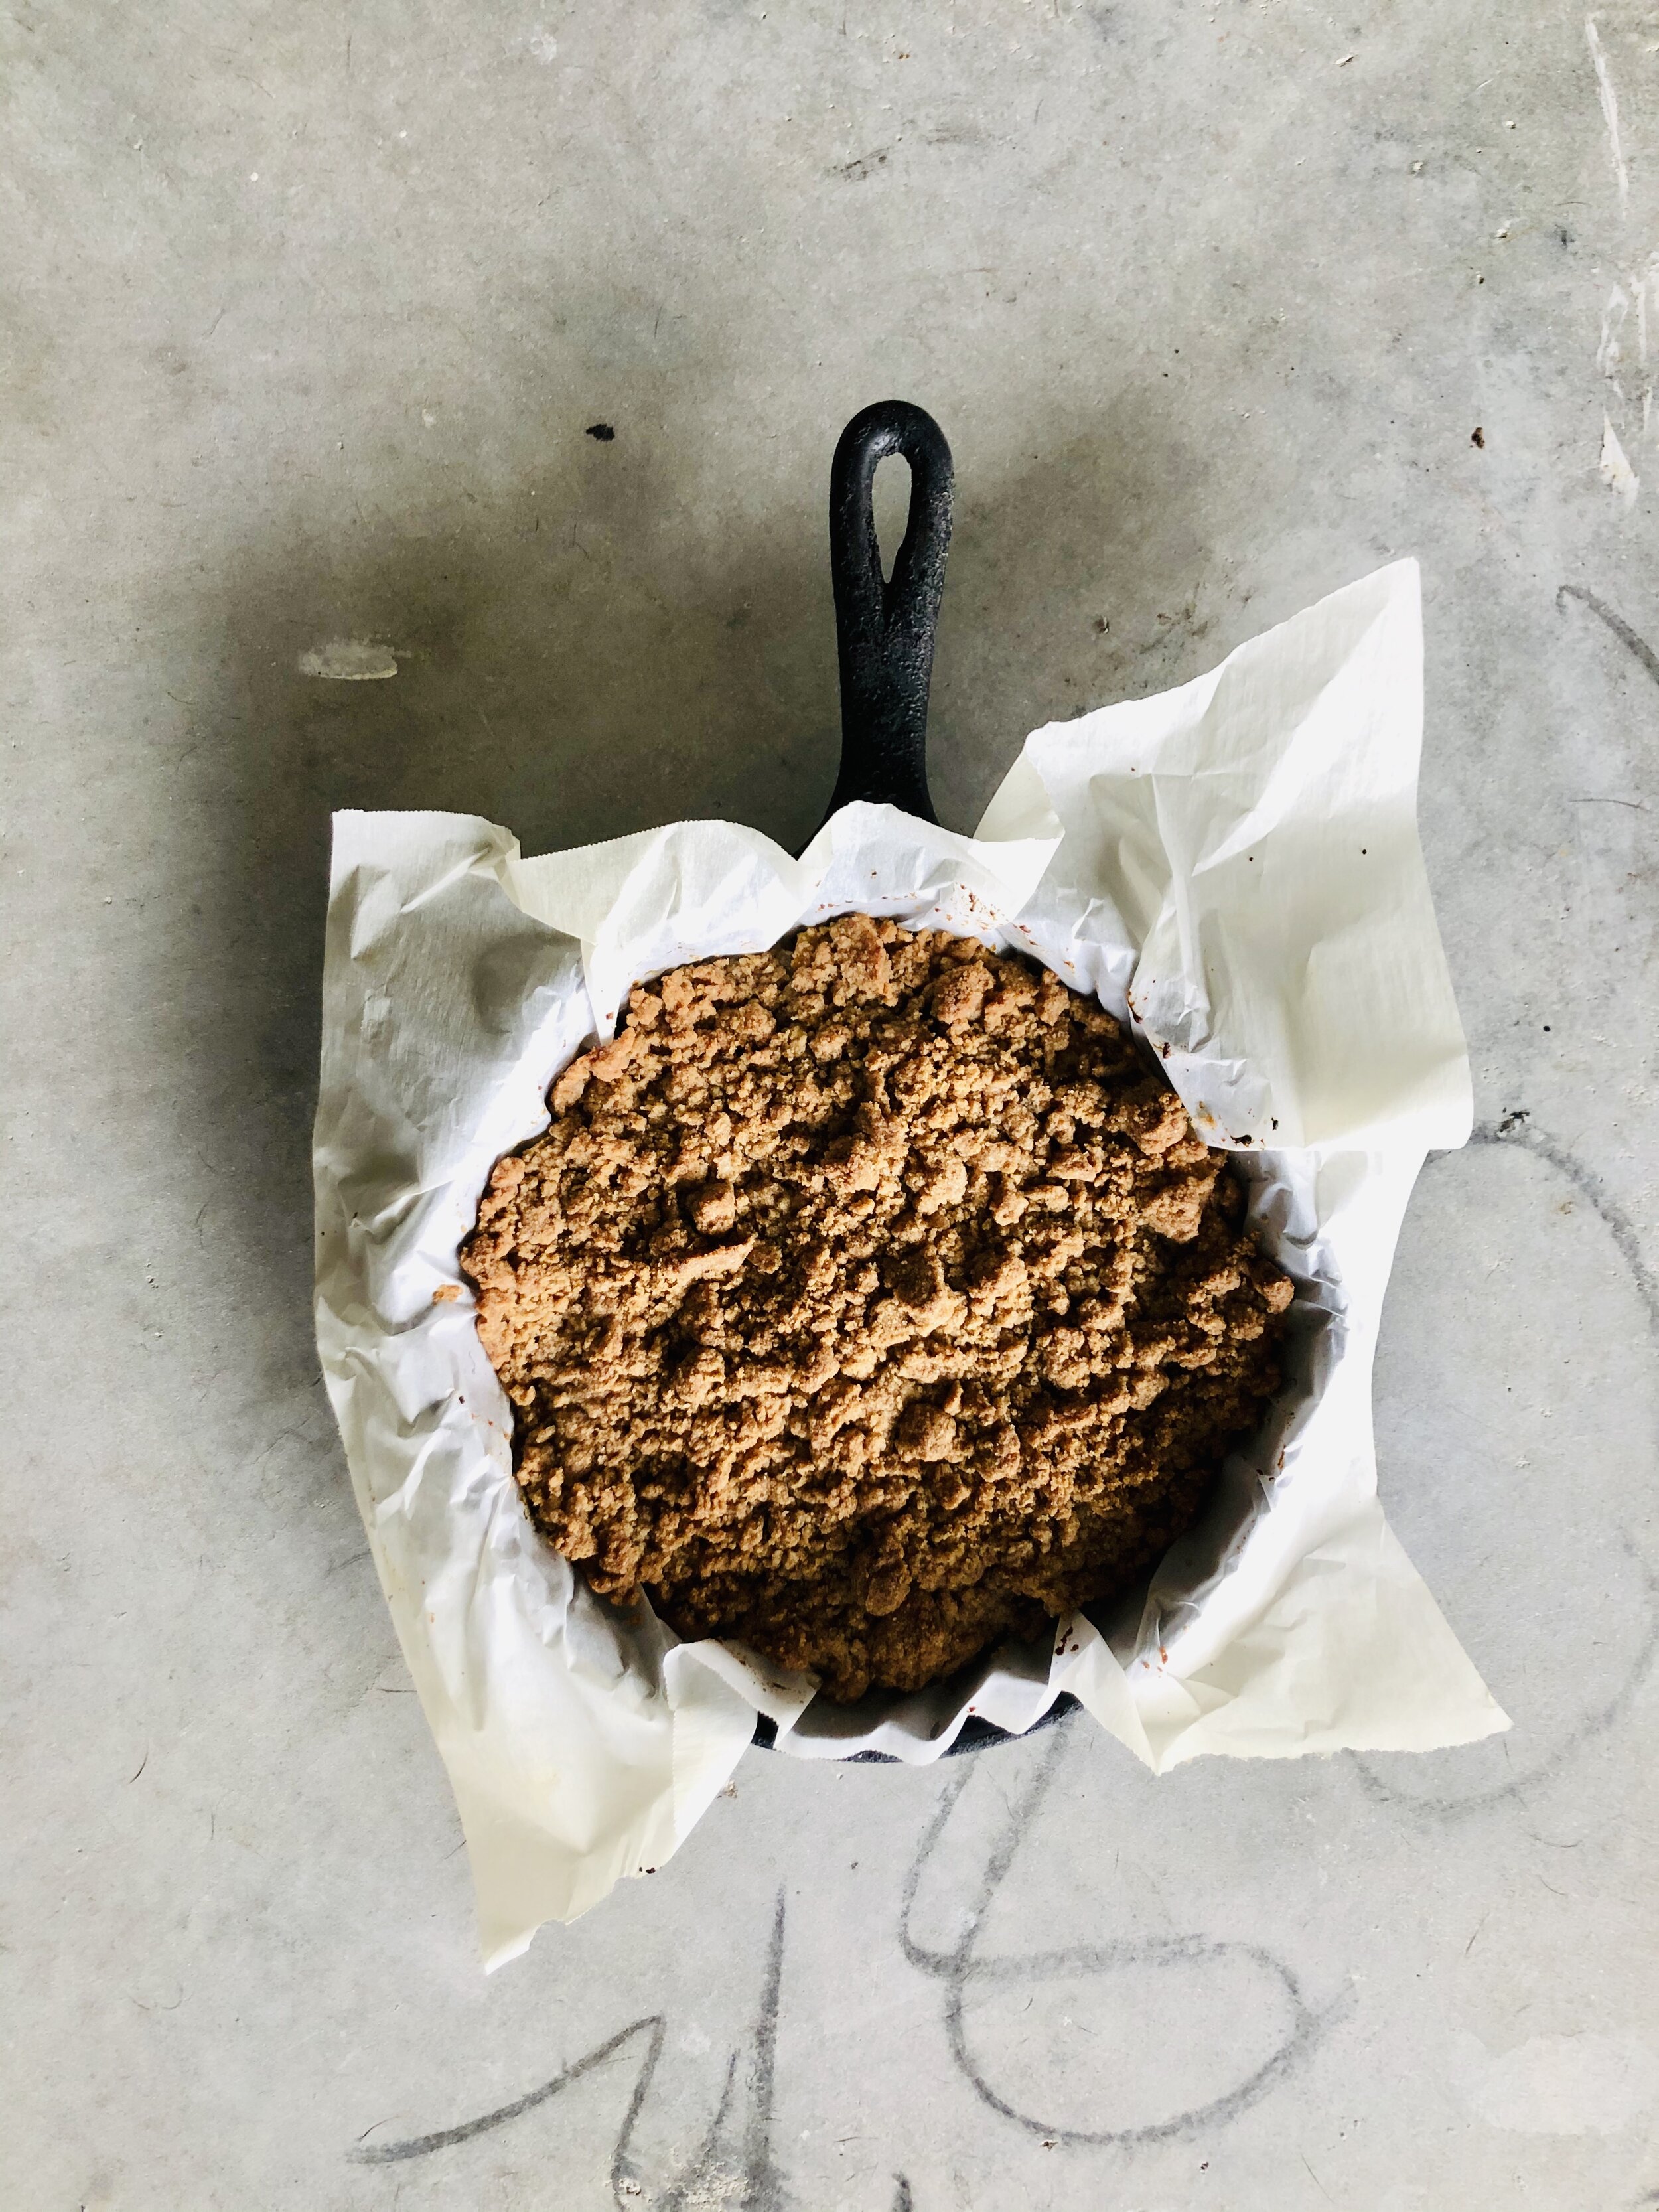
Using cultured butter in your pie crust is a great way to enhance your pie dough cause, lets be for real… Quality crust comes from using quality ingredients and banging butter don’t disappoint! Throw in the addition of cream cheese and you got recipe for culinary success. It’s a crust where texture meets flavor. Where Mmmmmm is matched with yum… And who are we kidding? Pie is always about the crust! So why not park the pie recipe for a moment and let crust have its moment in the spotlight! Seriously, I made hand pies instead of traditional pie because, crust, Crust, CRUST! It’s really all about the crust! That’s a pie’s foundations so it needs to measure up.

As I mentioned, there are two critical ingredients that make this crust a gem:

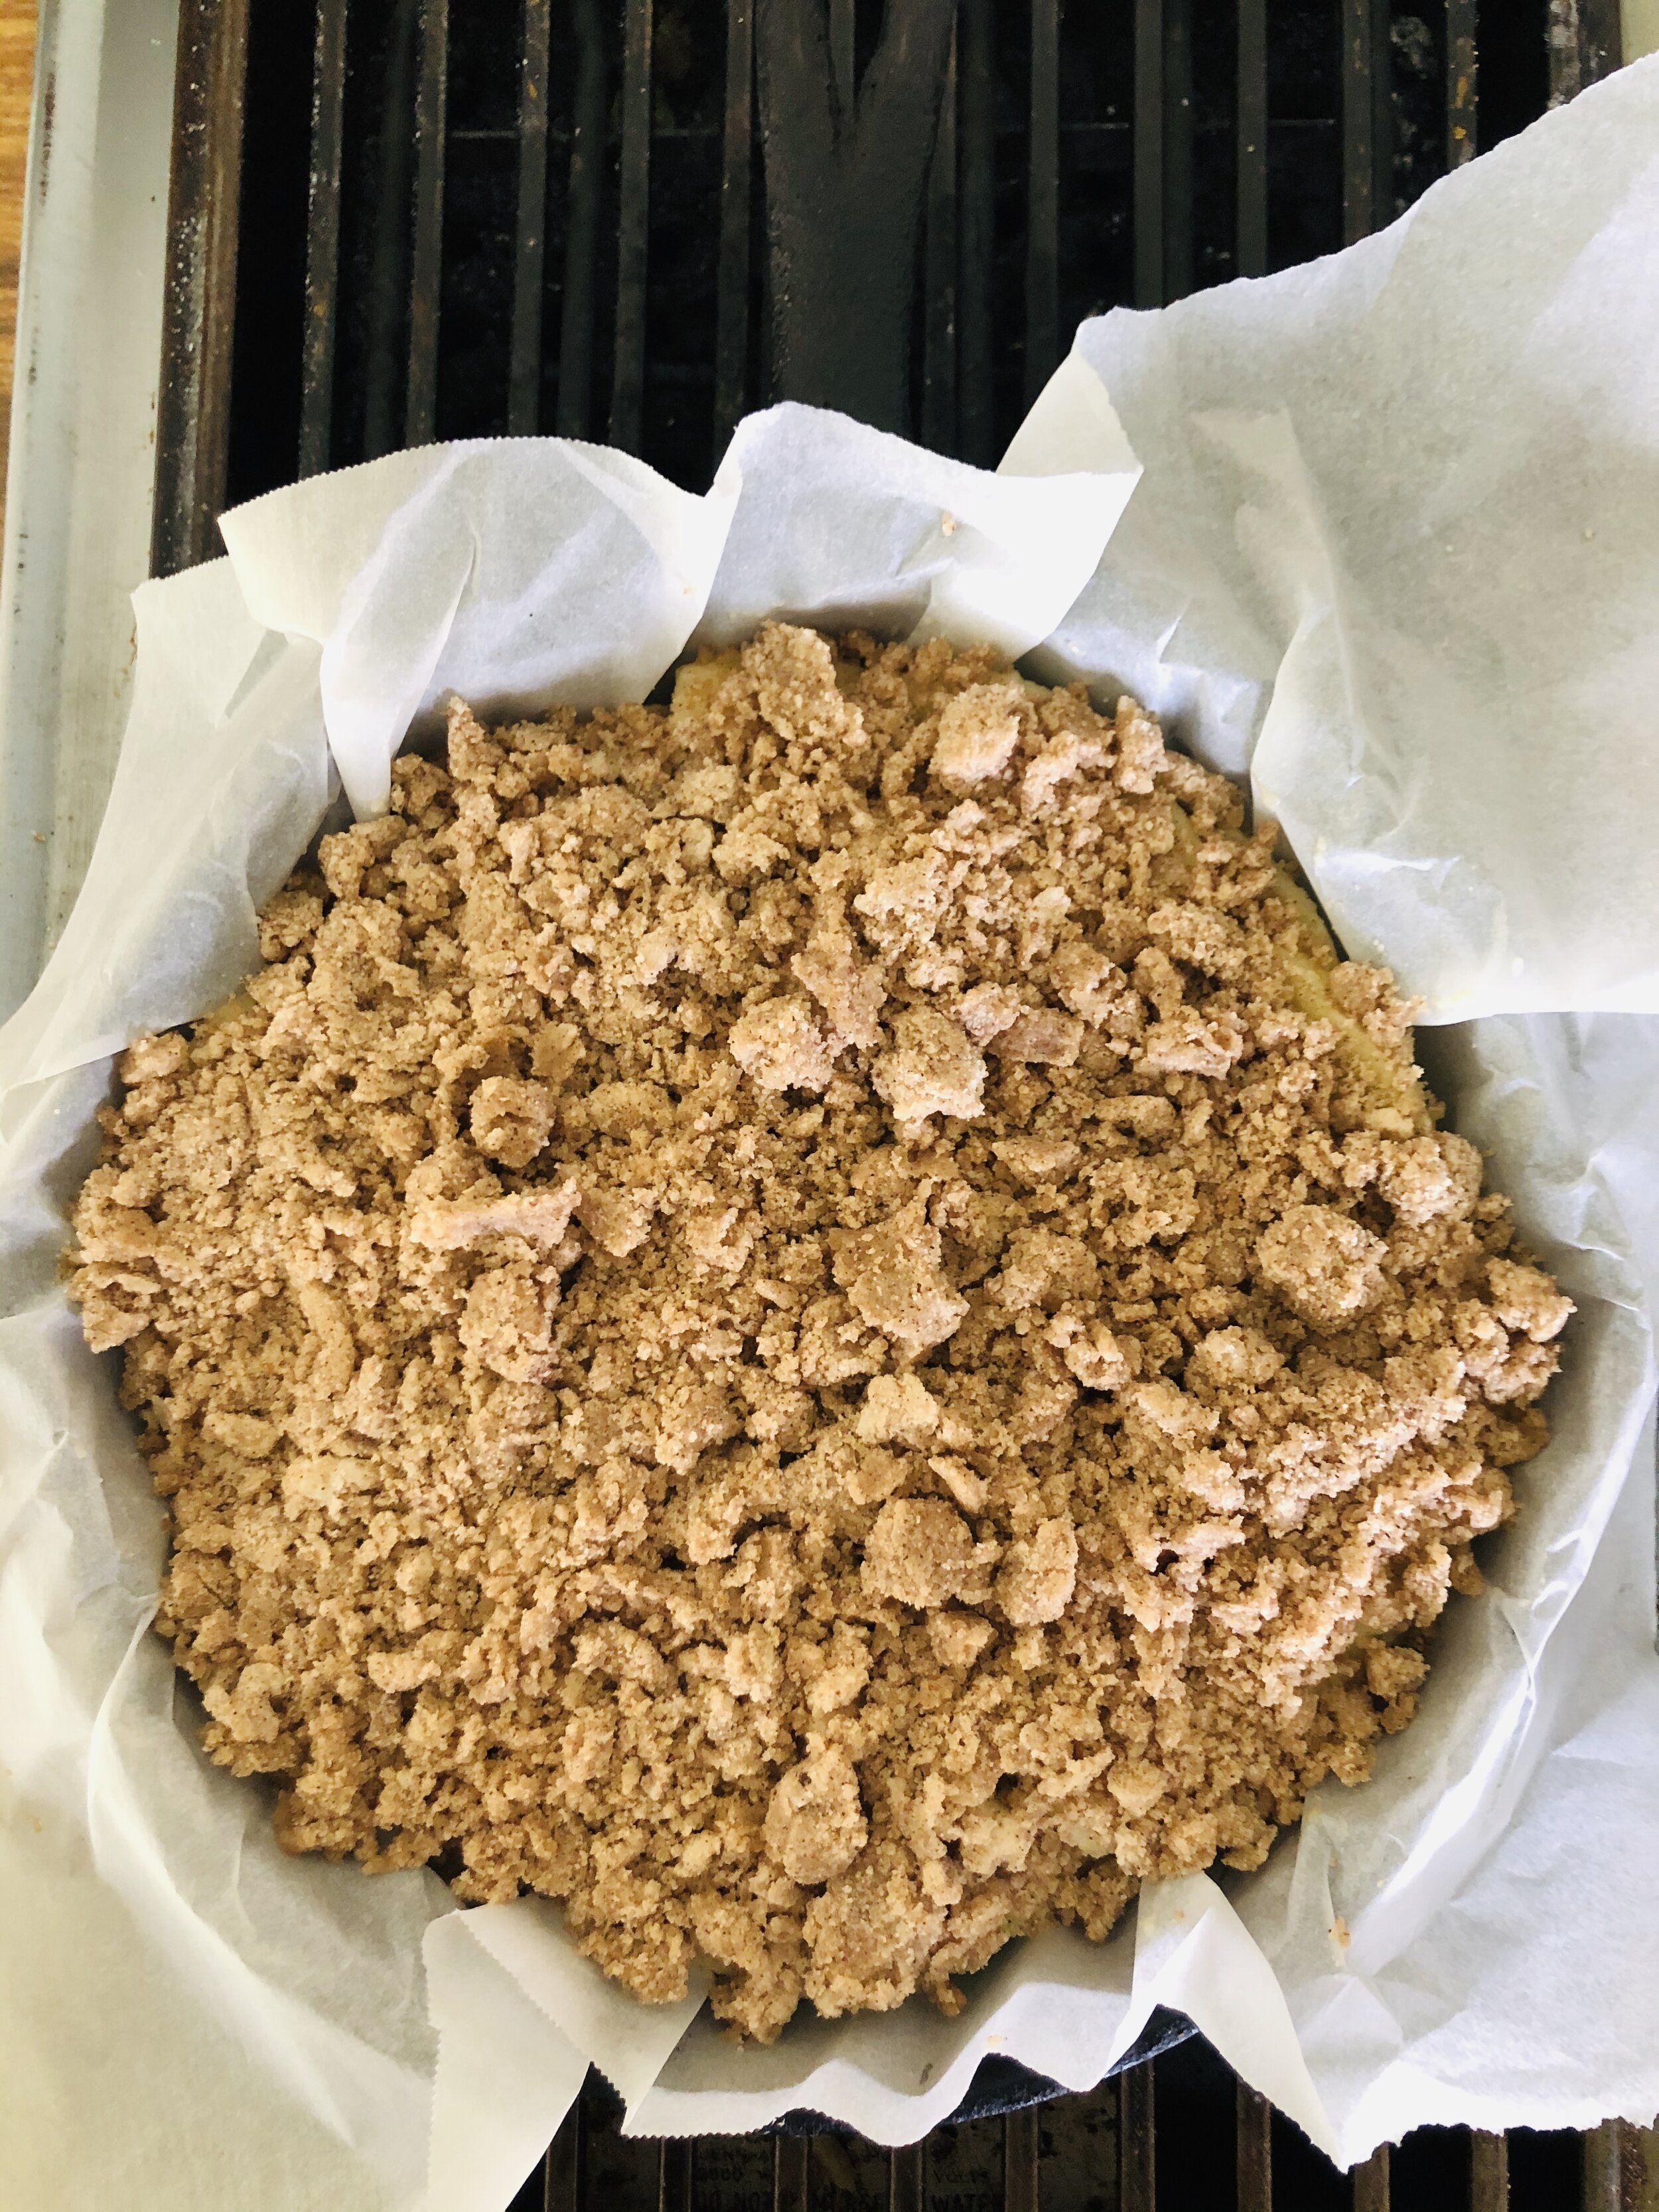
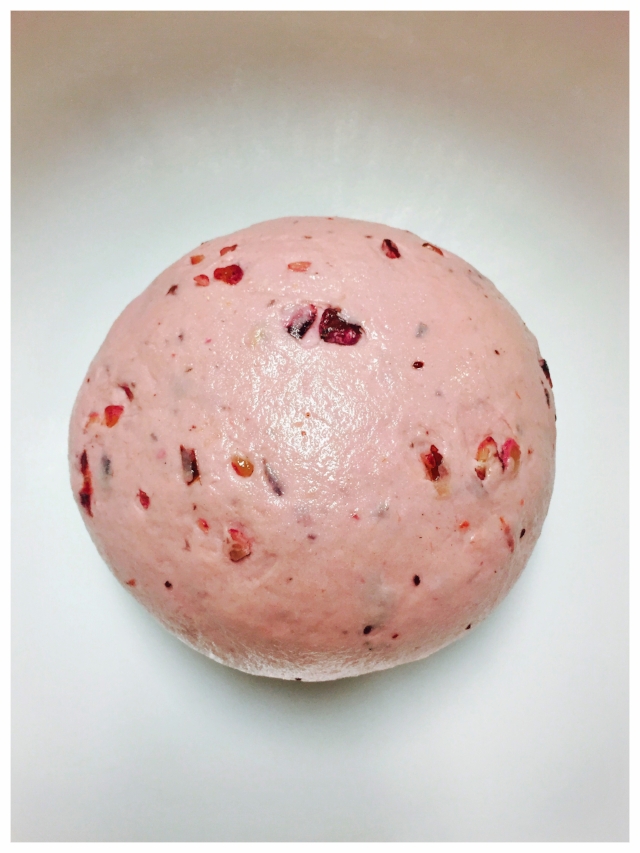
1.       Cream Cheese- For those of you already familiar with the thrills of cheddar cheese as a crust addition, then you will be excited to learn that cream cheese can similarly add depth to your flavor profile.  It also works to enhance the texture of the crust by adding lightness to the dough.  It responds like butter and is easily kneaded, so this is an obvious win!

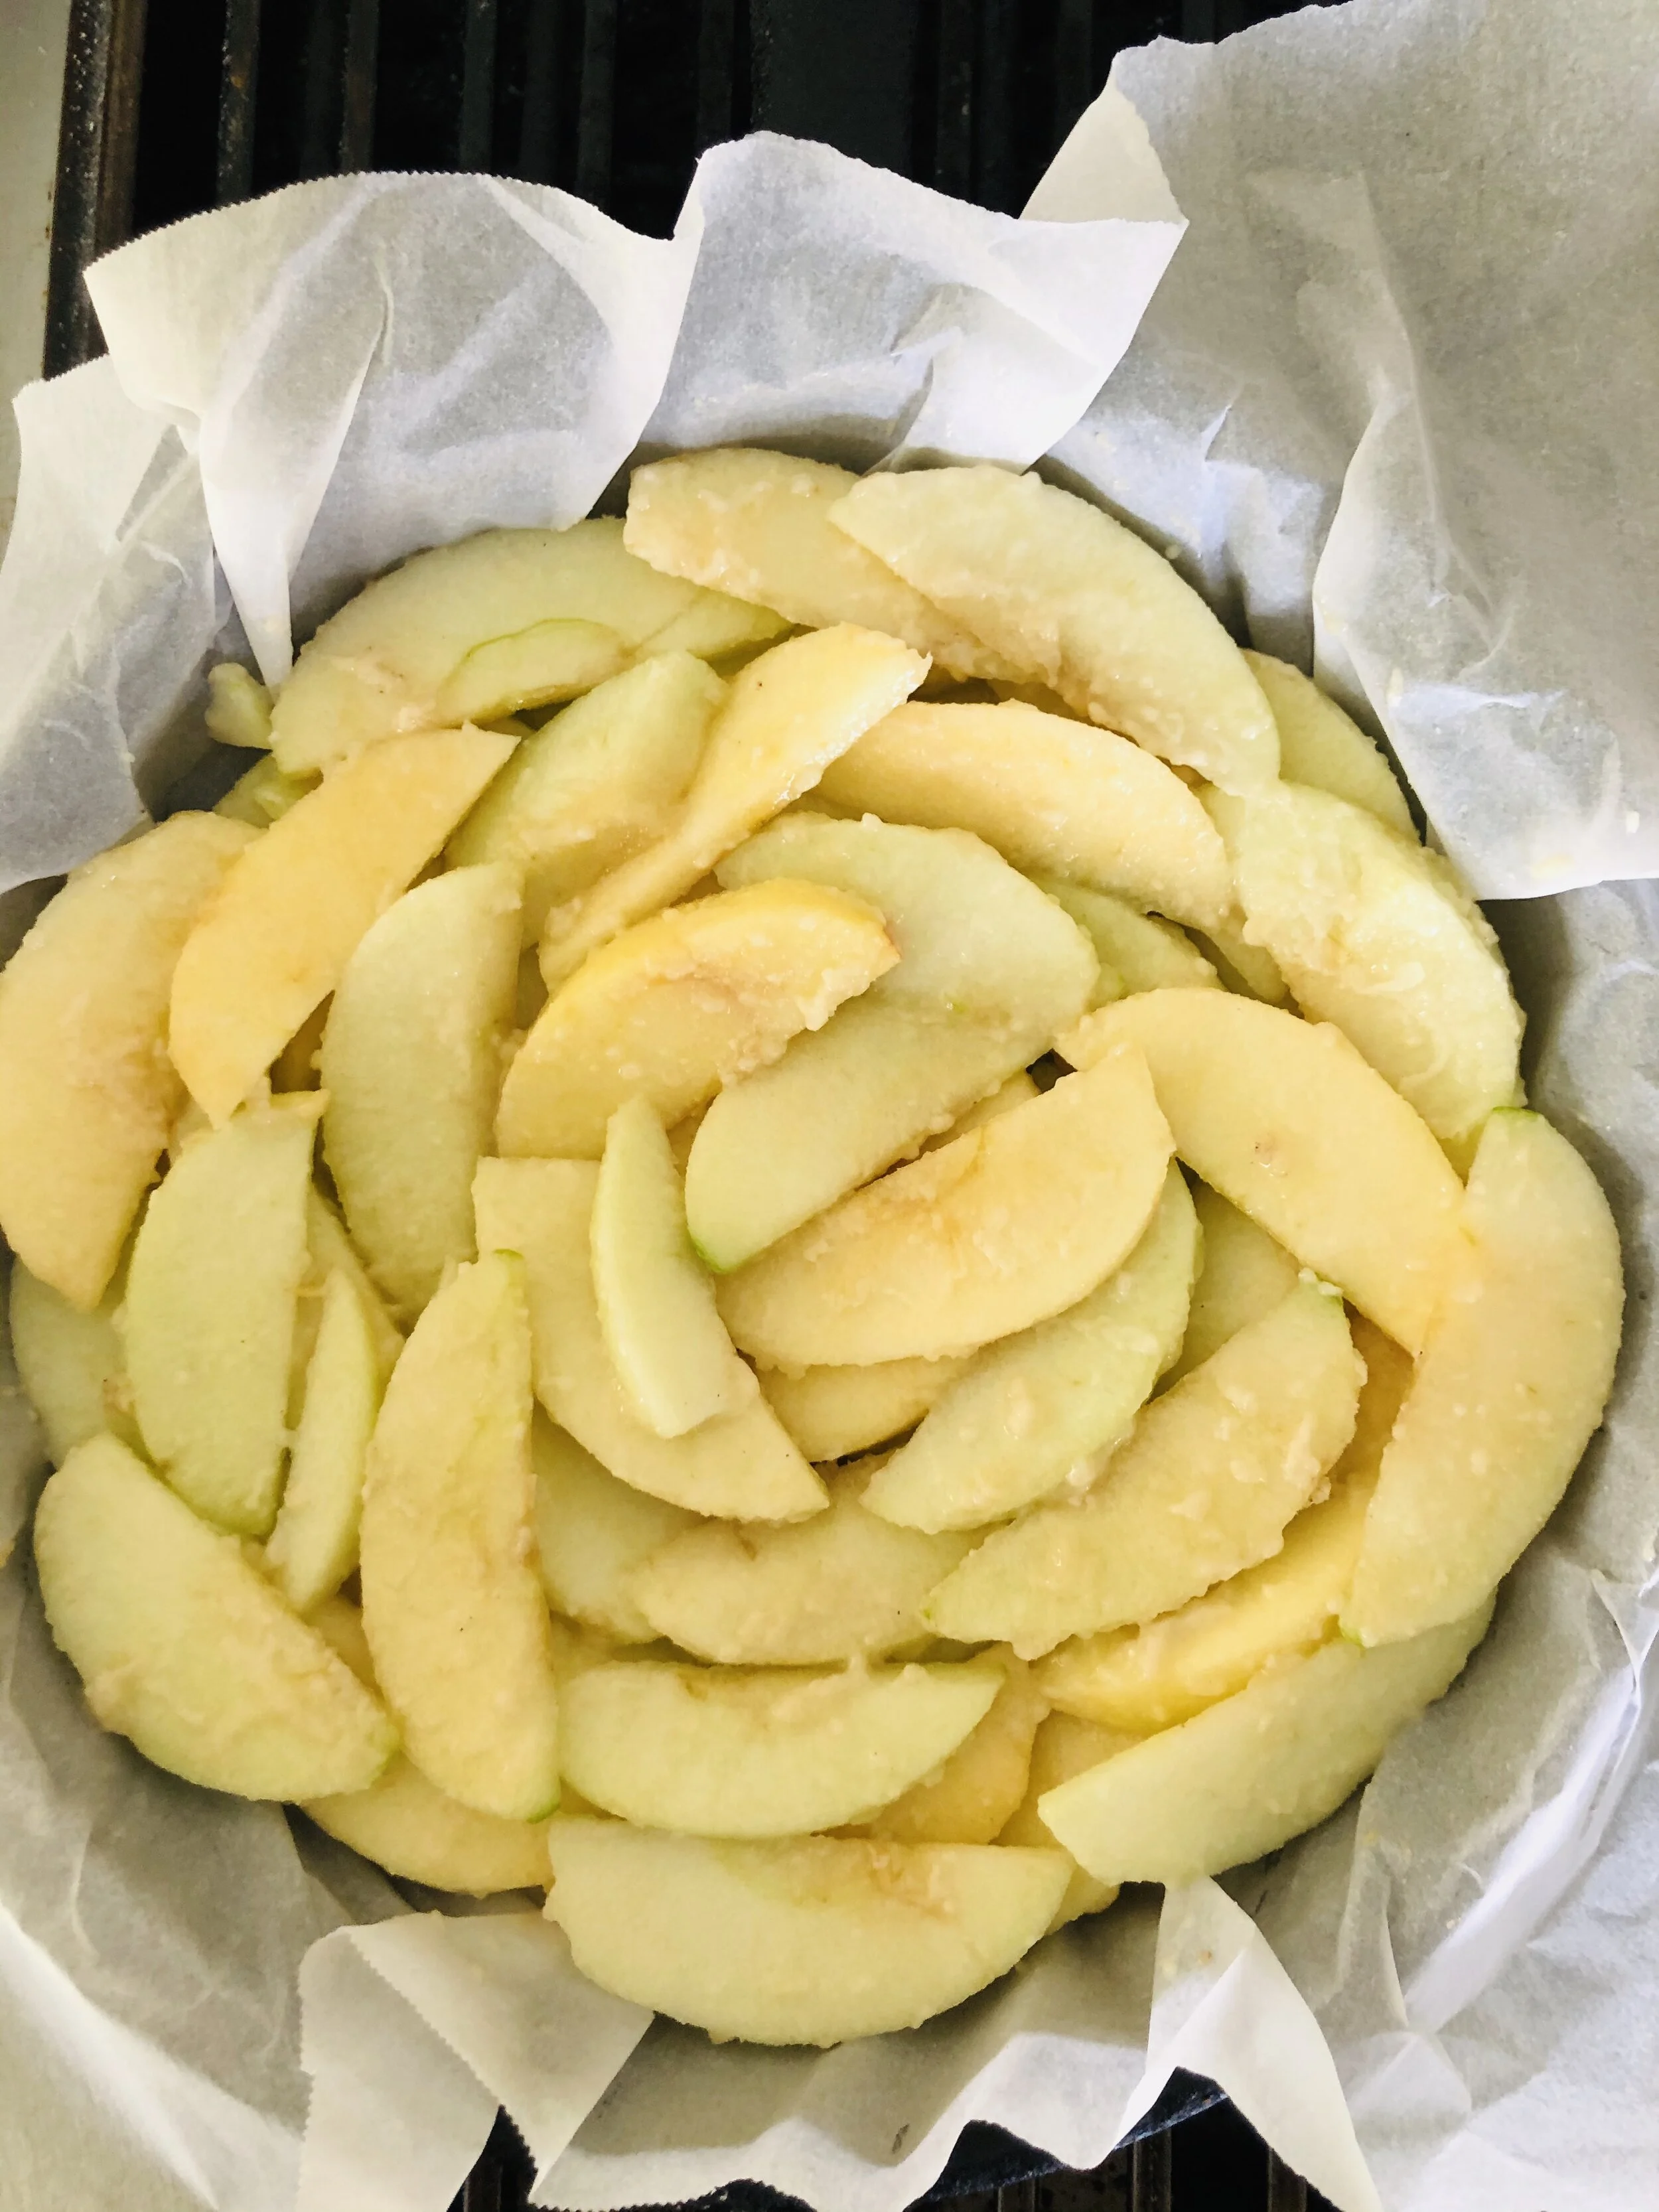
2.       Cultured Butter- Does “cultured” really make a difference? Is it worth the higher price tag?  I would say “yes and no.”  You can certainly use regular butter in this recipe but if you want to stand out from the crowd, then cultures (aka: probiotics) are key, as they are truly magic makers, when combined with prebiotics which are commonly found in fruit and grains.  Cultured butter also has a higher fat content and is therefore lower in moisture which helps the crust in attaining that light and flaky texture.  (Ugh... and don’t get me started on “fat is bad” blah, blah…  If you still subscribe to that line of thinking, you can brush-up on your nutrition knowledge here.)

Ingredients:

  • 2 cups flour
  • Pinch of salt
  • Pinch of sugar
  • 1 cup cultured butter (unsalted)-softened
  • 8 oz package of cream cheese- softened

Directions:

  1. In a bowl combine the flour, salt and sugar and set aside.
  2. In another bowl add the butter and cream cheese and mix thoroughly till combined.
  3. Once mixed, slowly add your dry ingredients to the butter/cream cheese mixture, working it together to form the dough.
  4. After the dough is formed and all the ingredients are fully incorporated, divide the dough in half and form two round disks.
  5. Cover in plastic wrap and refrigerate for an hour or until you are ready to use.

    *I used one disk to make a bunch of the hand pies in the image above, and the other to make a top and bottom crust for a more traditional version of apple pie. Both were good, and really just a decision based on time. If you have the time, attempts some hand pies! They are fun and different.

Final Thoughts

Cultured foods like yogurt, kimchi, miso and kombucha have gained popularity after science has determined that live bacteria help support the development and maintenance of healthy gut flora.  Yes, it is possible that those bacteria are no longer living after baking but their contribution still plays an important role when it comes to flavor.  Baked or not, cultured butter deserves a spot in any kitchen!  You can always attempt your own version with this recipe. And if you really want hand pies, well I have a recipe for that too!

October 02, 2015 /Ashley Look
hand pies, cultured butter, probiotics, prebiotics, cream cheese, apples, pie crust, apple pie, cultures, crust, bacteria, how to feed a senior, Cultured Butter Pie Crust Recipe, flaky pie crust, gut flora, traditional apple pie
Recipes
Comment
 
Search