Yeasted Donuts (Small Batch, Big Joy)
Yeasted Donuts (1 Dozen)
Sweet, soft, and fried to golden perfection
I’m heading back to the ship this week—where I made donuts for the first time! Honestly, it felt like a bit of a peak culinary moment. I’d always wanted to try making yeasted donuts, and when I saw they had a deep fryer onboard, I had to go for it. Being out at sea (I know—not ideal for frying, but still), cooking for a crowd, and having the right gear made it all come together.
That was months ago, and now after nearly five on land teaching spoon carving and focusing more on wood than flour, I’m shifting gears again. My carving workshops are on pause for a bit, and my kitchen life at sea is back in full swing. It’s a rhythm I’ve grown to appreciate—moving between land and water, carving and cooking.
This recipe makes just one dozen donuts. Perfect for a crew treat or a weekend splurge at home. Light, fluffy, and just sweet enough. Glaze them if you want, or roll them in cinnamon sugar while still warm. No deep fryer? A heavy pot and a candy thermometer will do just fine.
Ingredients (Makes 12 Donuts)
3/4 cup (180 ml) warm milk (about 110°F)
2 1/4 tsp active dry yeast (1 packet)
1/4 cup (50g) granulated sugar
2 large eggs, room temp
1/4 cup (56g) unsalted butter, melted
1 tsp vanilla extract
3 1/2 cups (420g) all-purpose flour
1/2 tsp salt
Oil for frying (vegetable or canola)
Optional glaze:
2 cups (240g) powdered sugar
1/4 cup (60 ml) milk
1/2 tsp vanilla extract
Directions
Bloom the yeast: Stir the yeast into the warm milk with a pinch of sugar. Let it sit until foamy (5–10 minutes).
Mix it up: Beat together sugar, eggs, melted butter, and vanilla. Add in the yeast mixture.
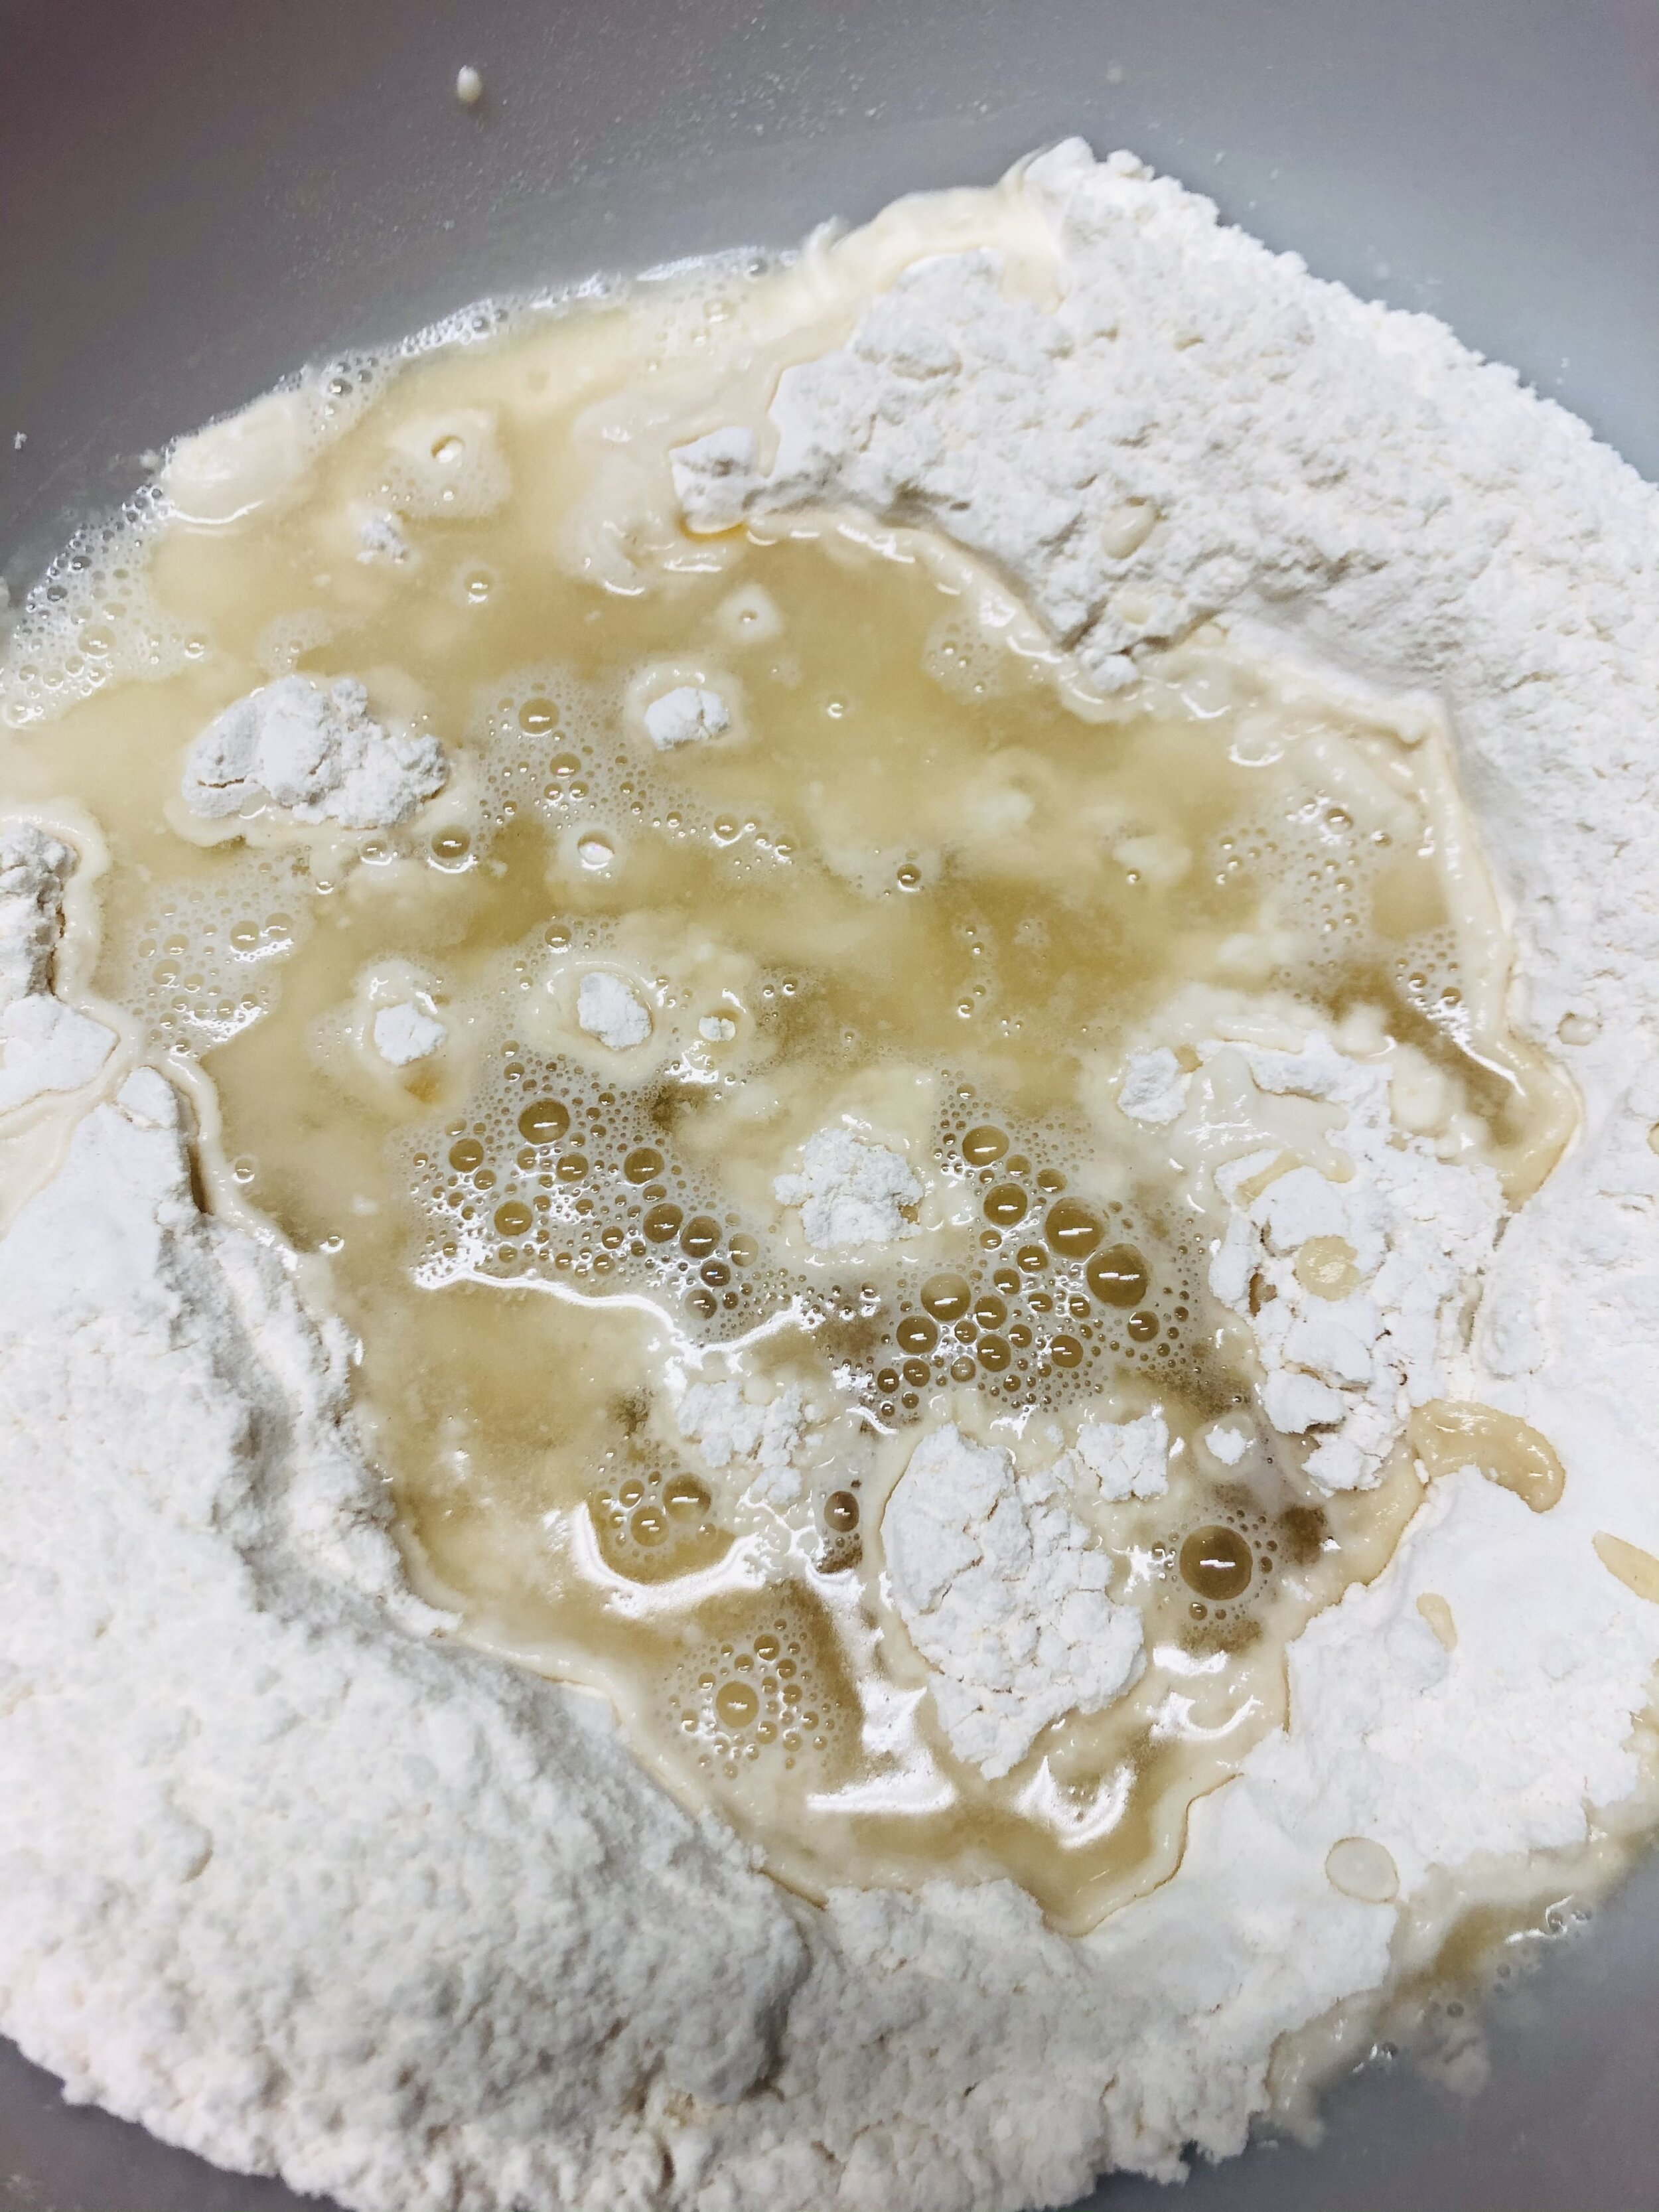
Flour & salt: Mix in flour and salt until a soft dough forms.
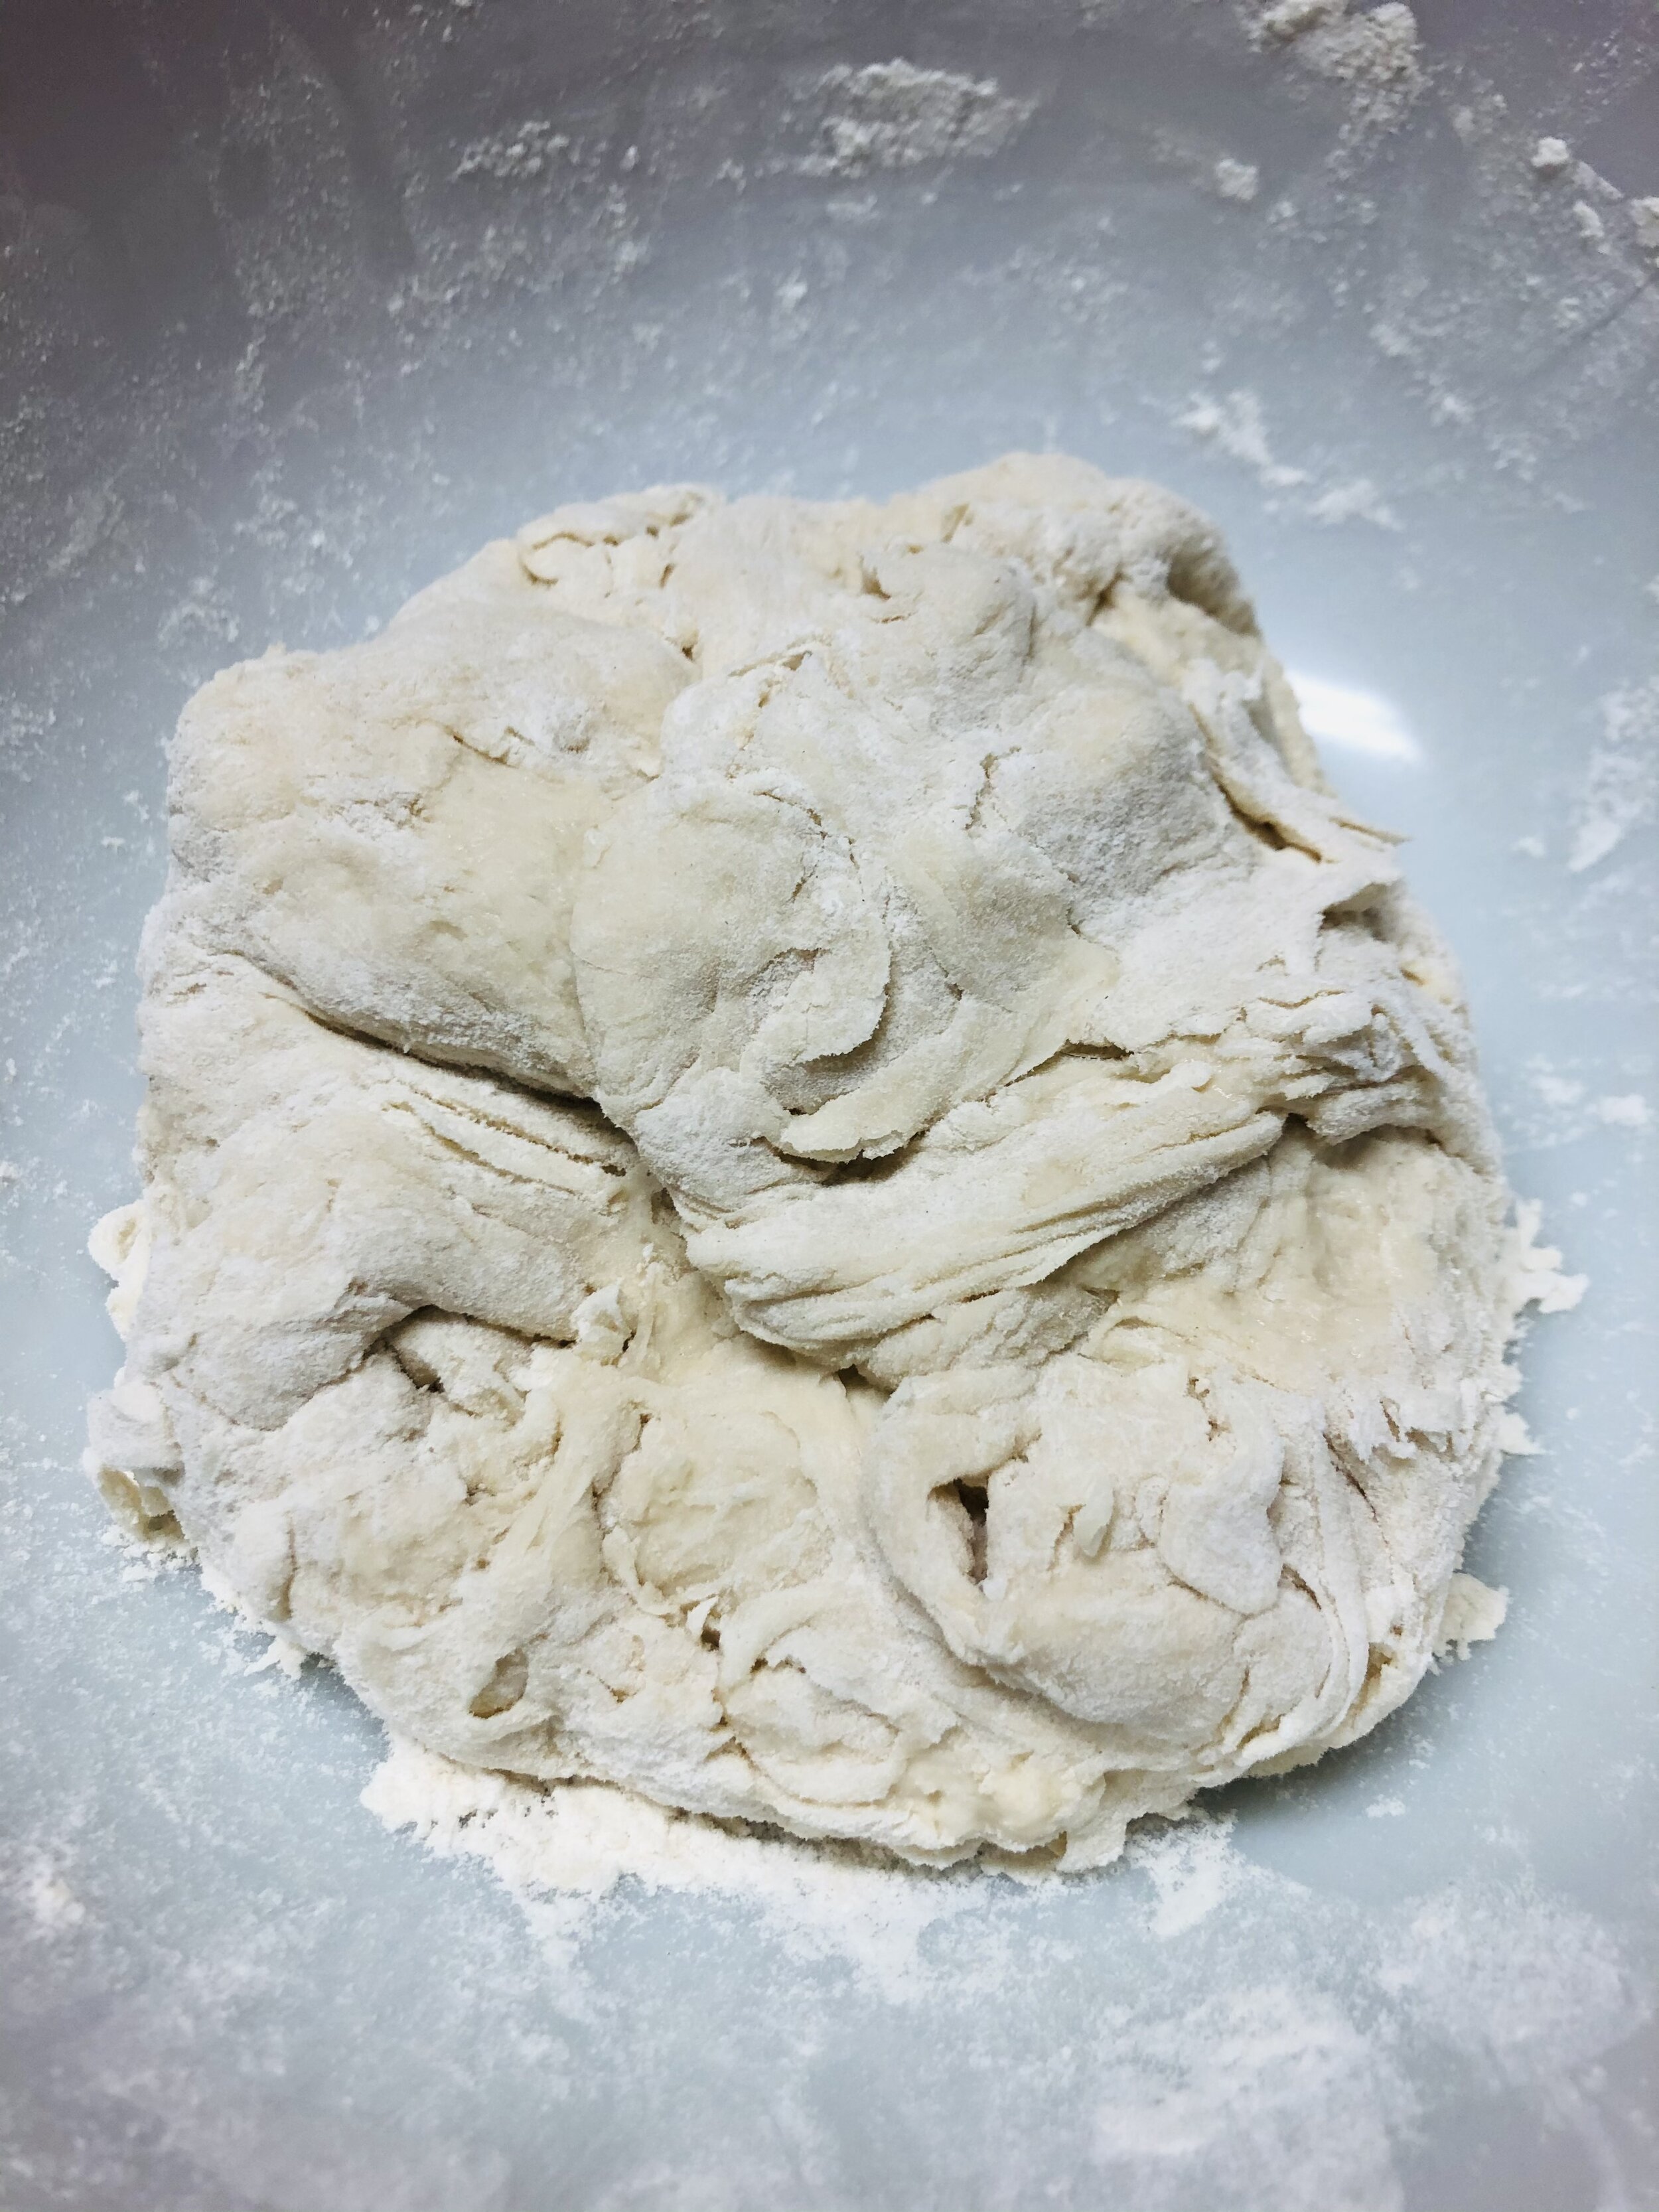
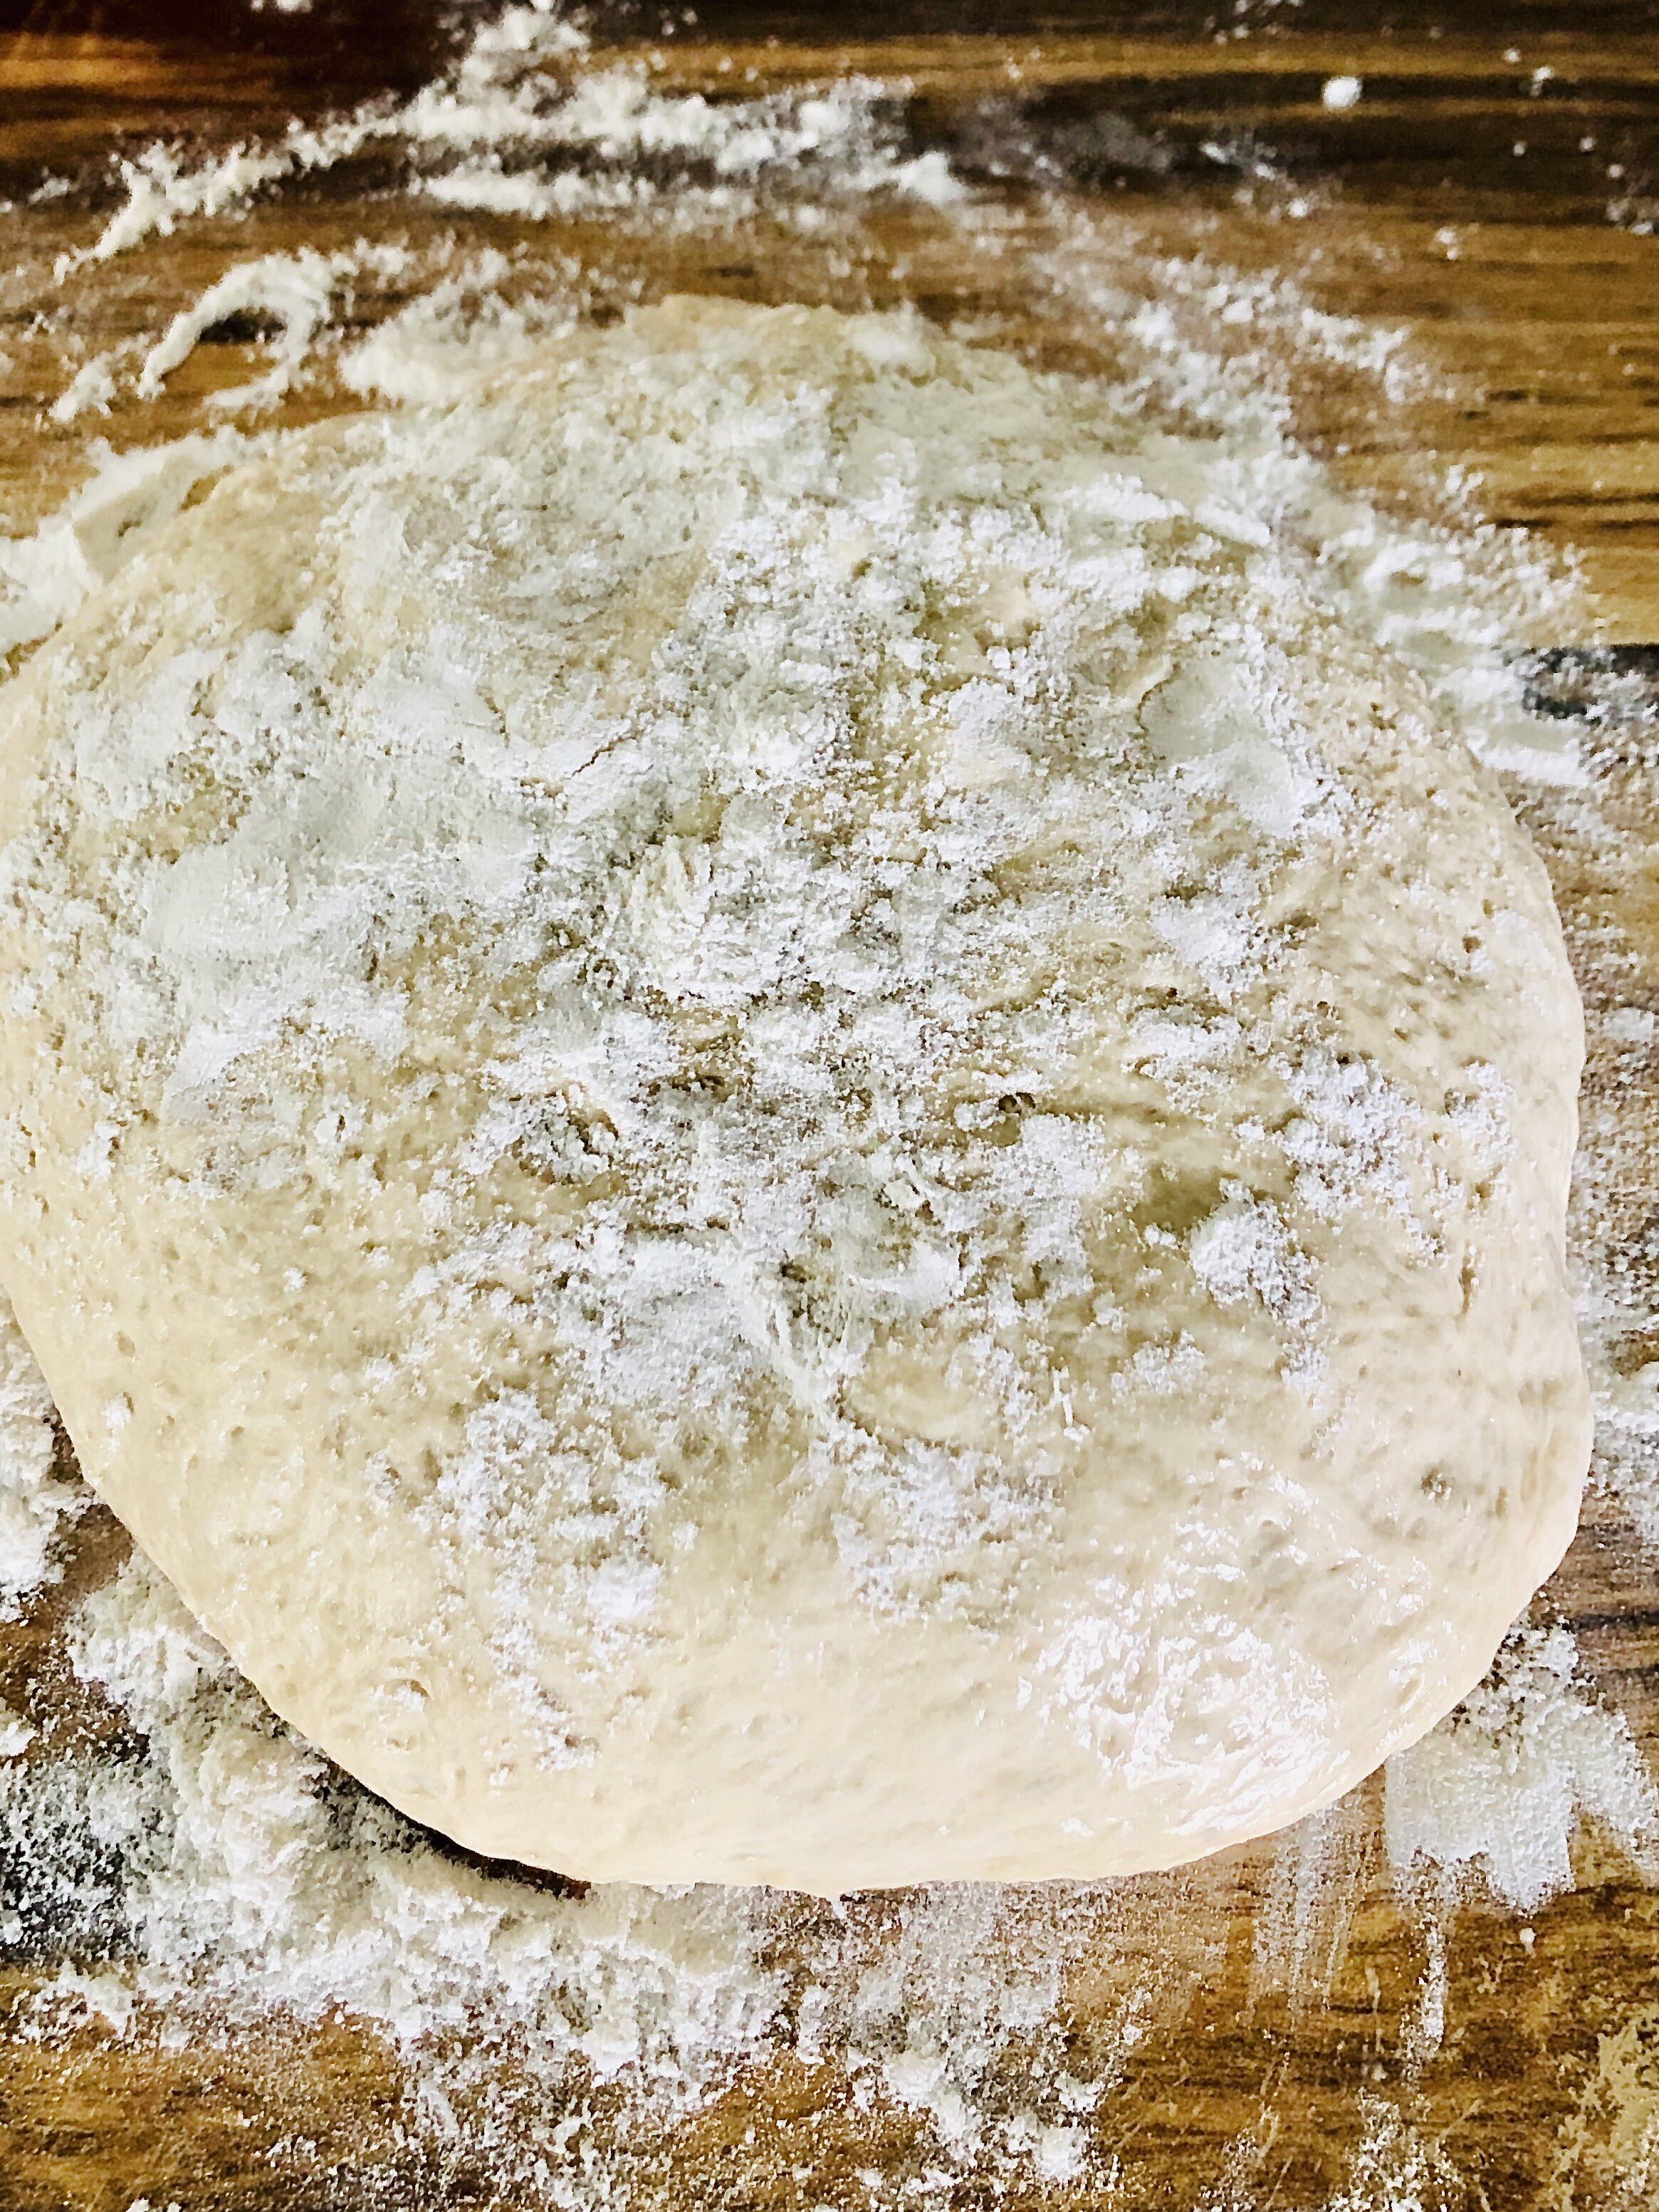
Knead: Knead on a floured surface for 5–7 minutes until smooth.
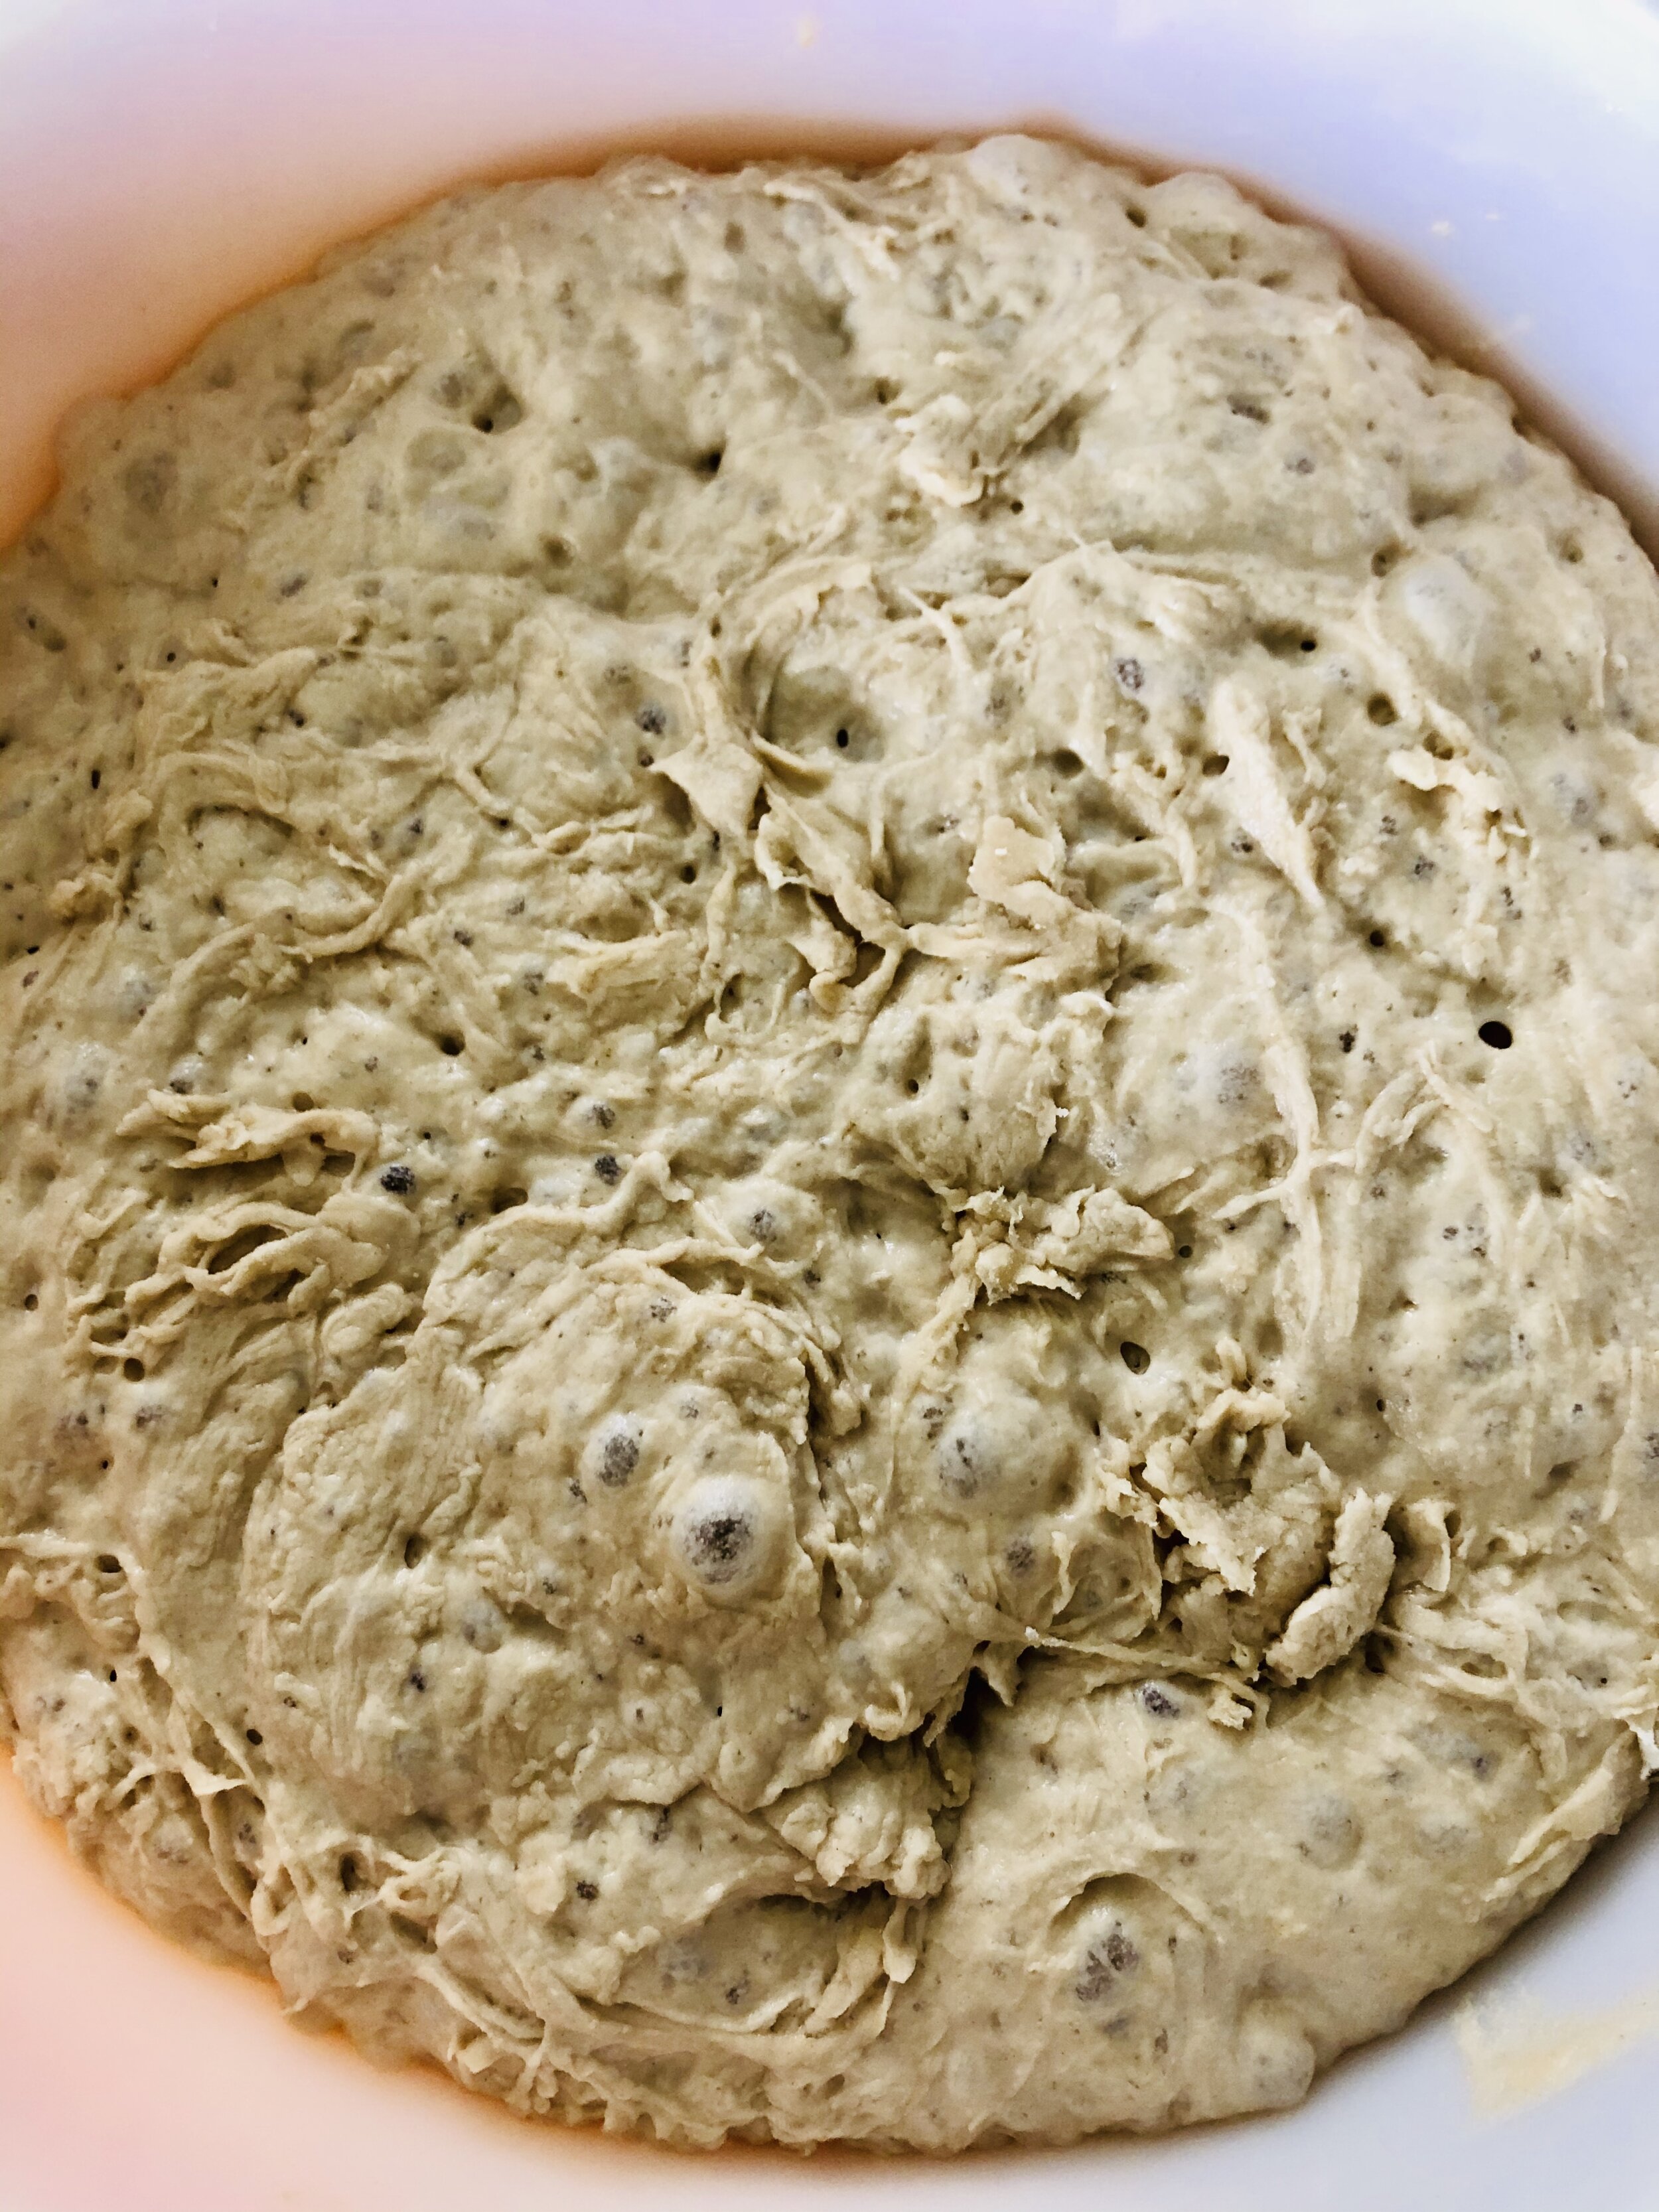
First rise: Let the dough rise in a greased bowl, covered, until doubled—about 1 to 1.5 hours.
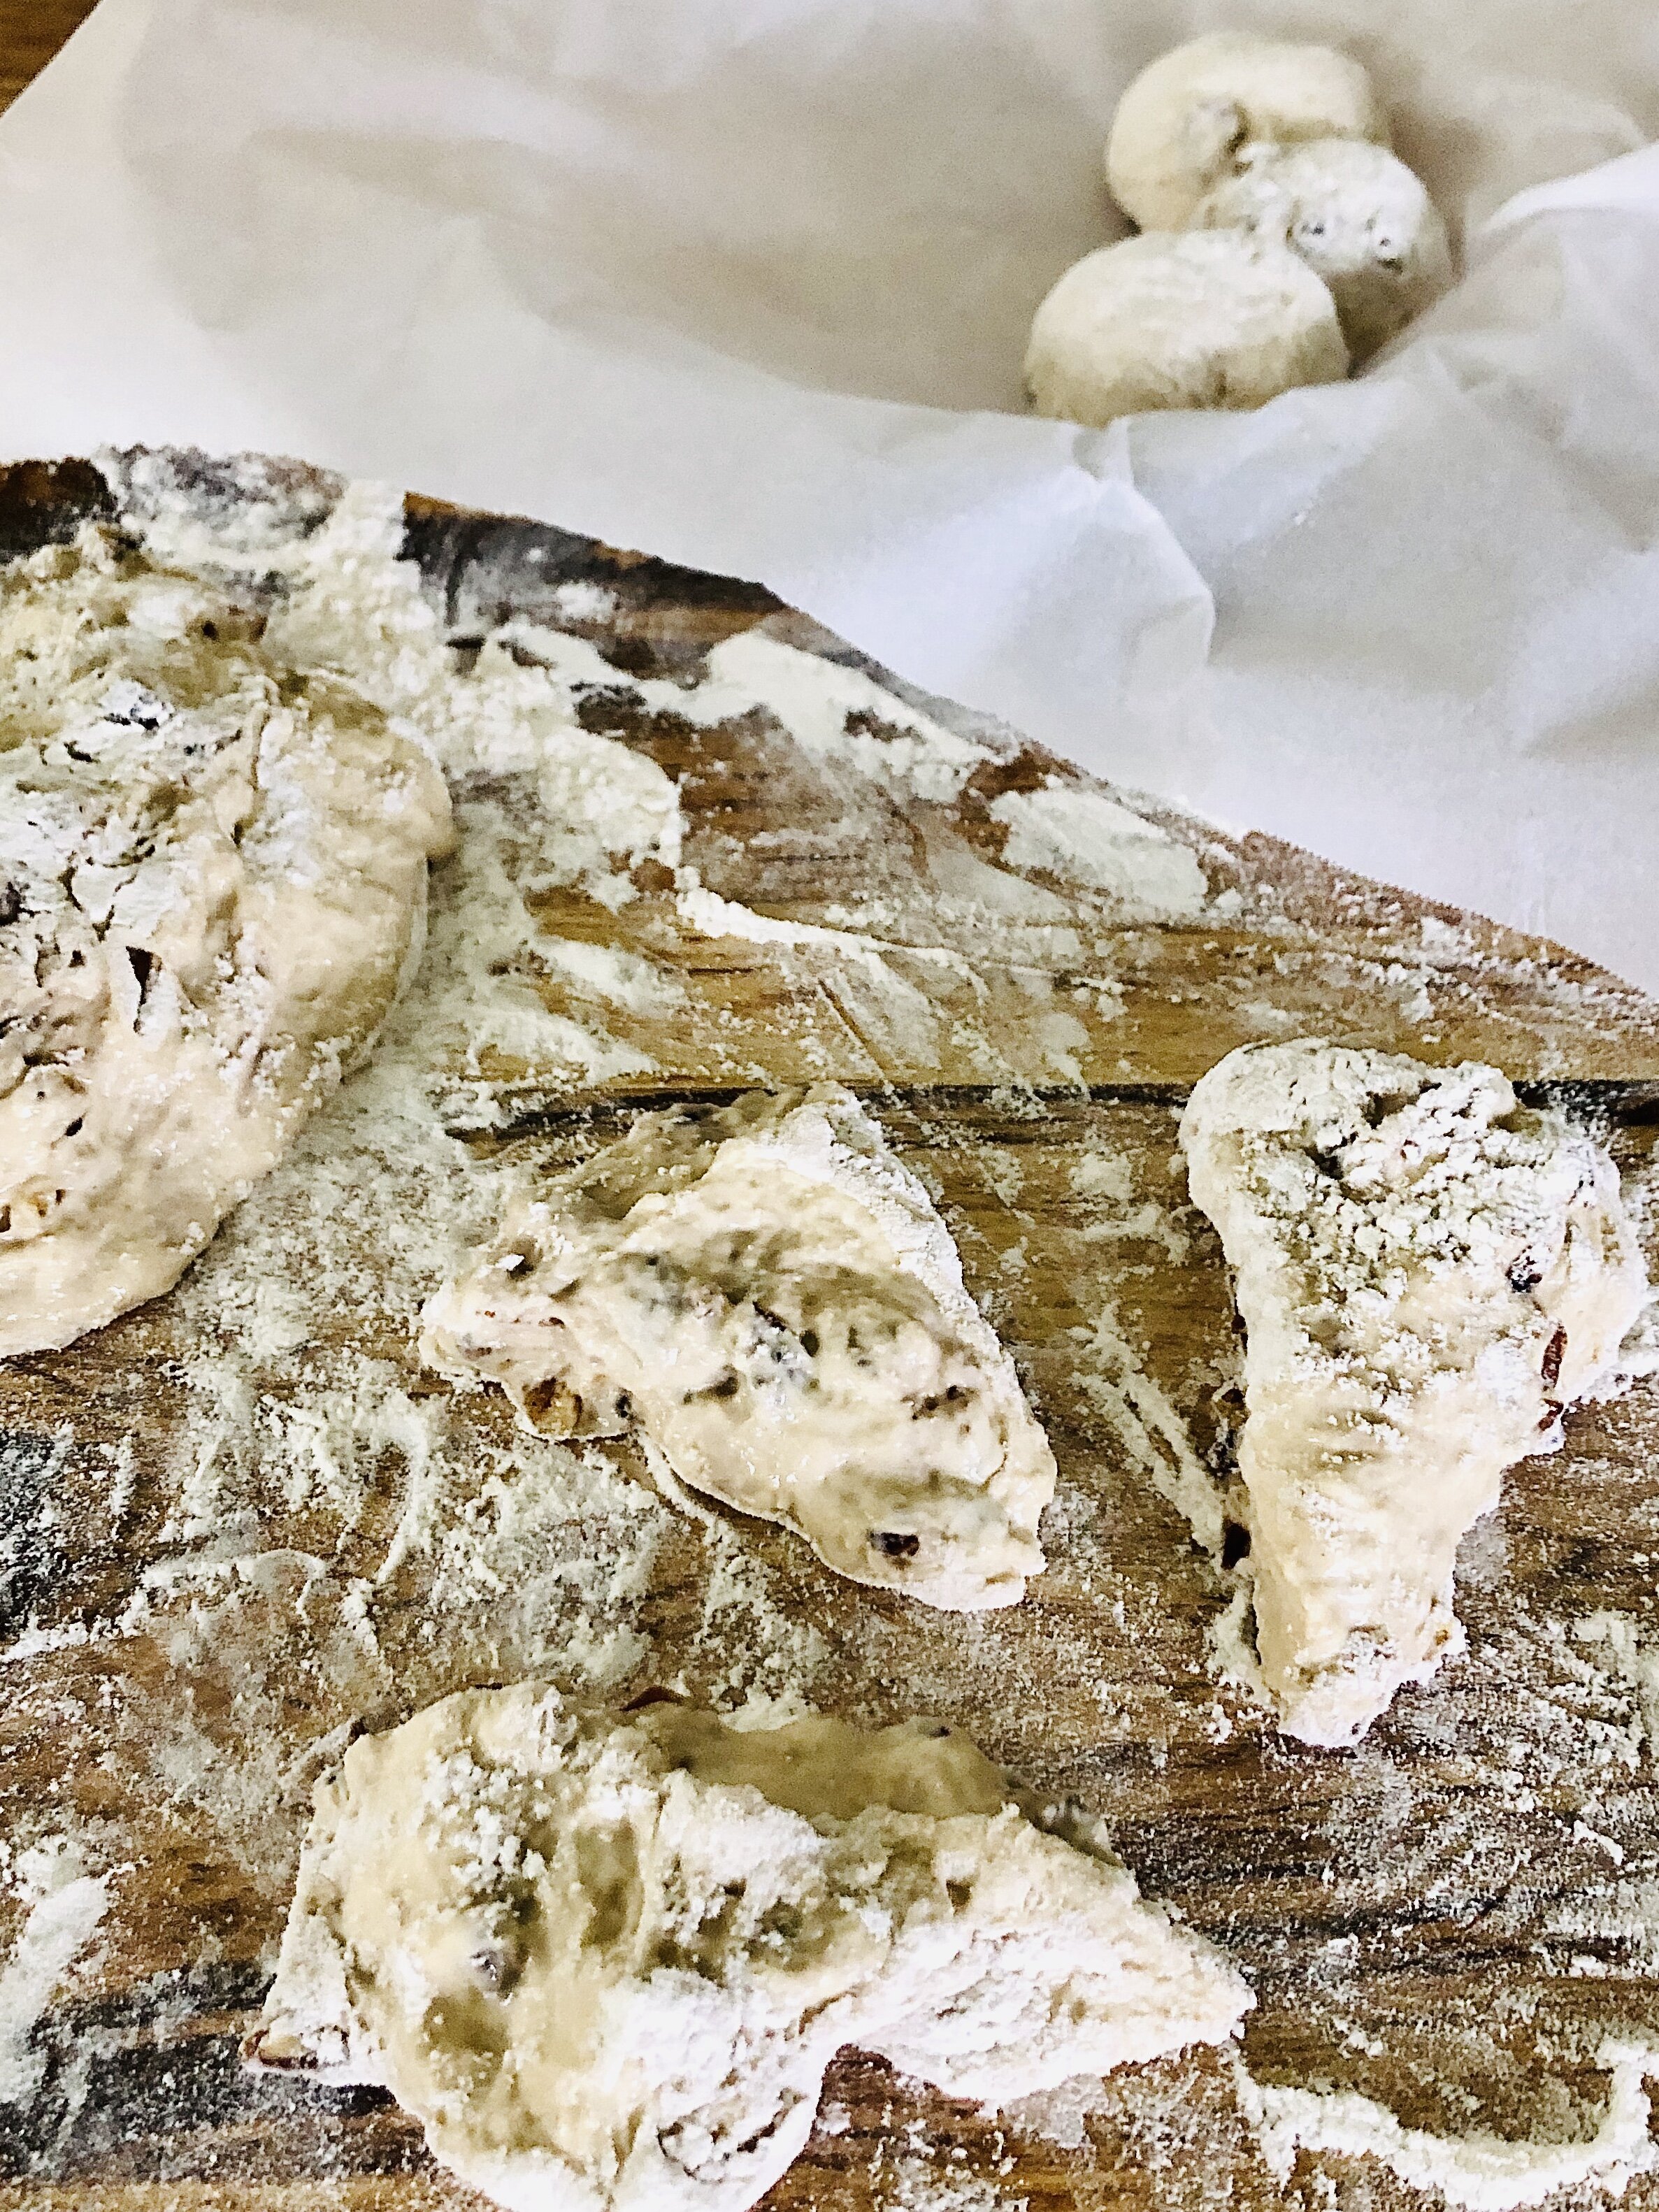
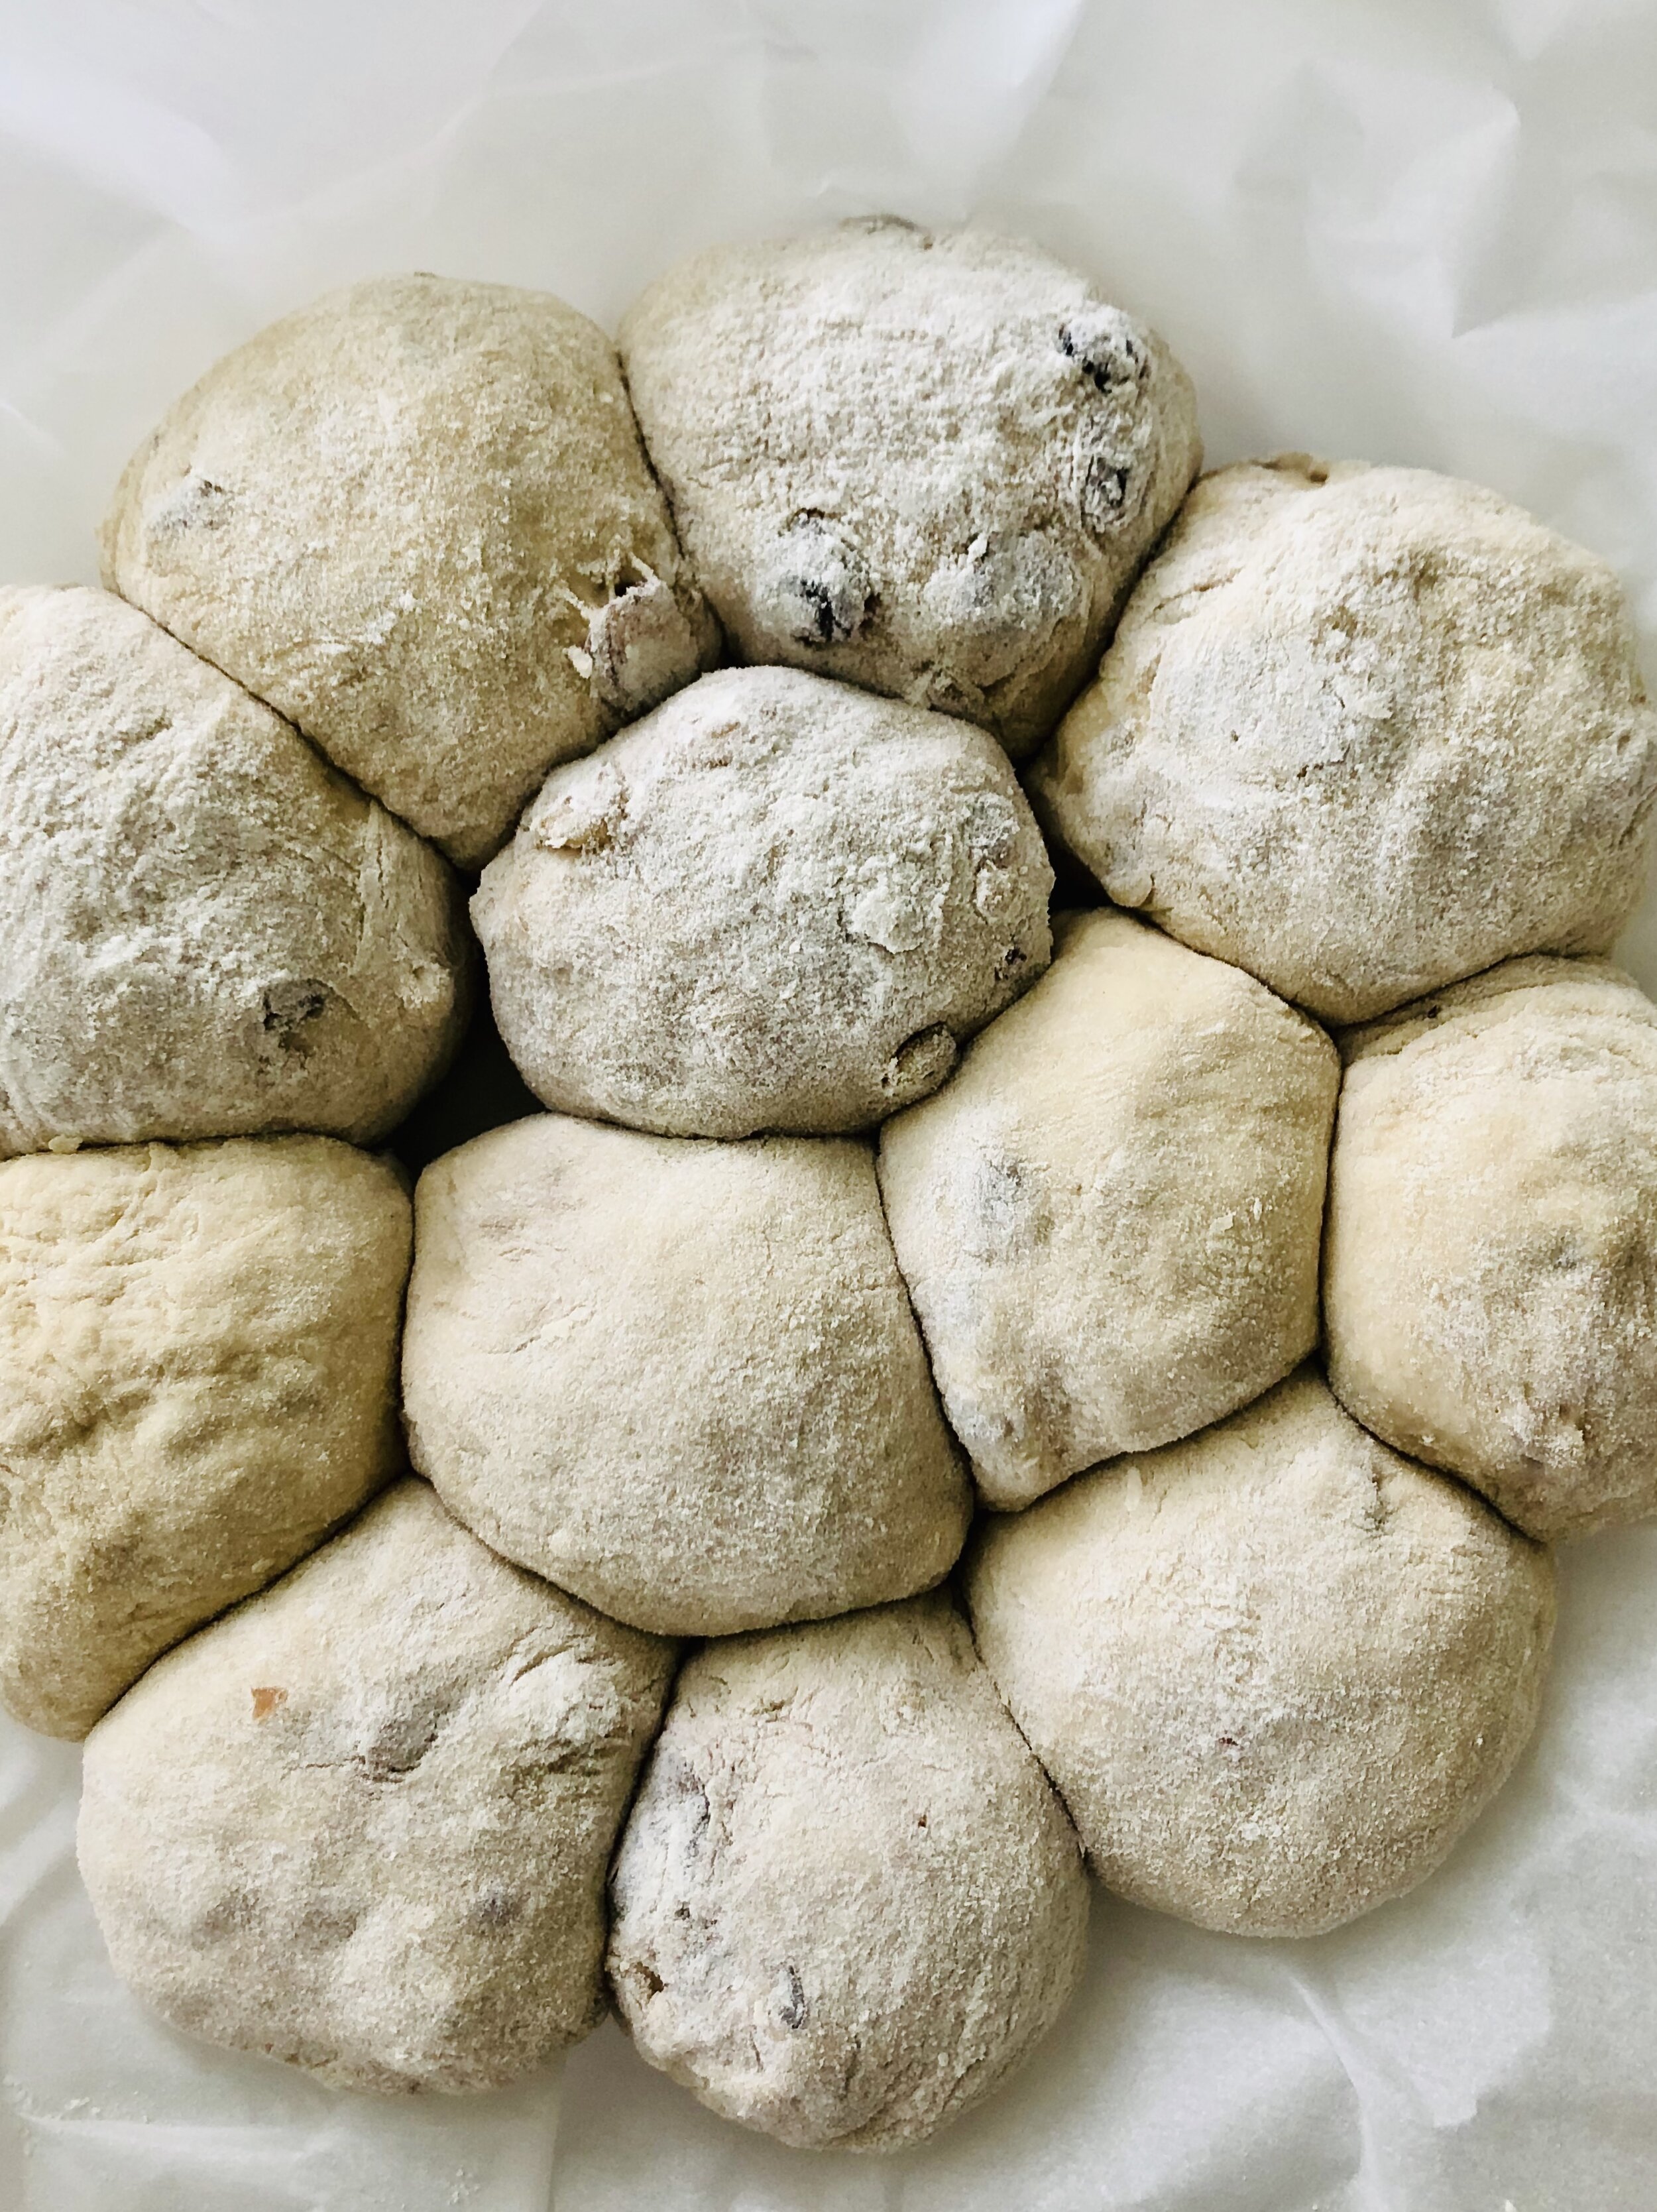
Shape: Roll out to 1/2" thick, cut your donuts, and lay them on parchment.
Second rise: Cover and let rise again for 30 minutes.
Fry: Heat oil to 350°F (175°C). Fry donuts 1–2 minutes per side until golden brown.
Glaze: Dip warm donuts in glaze or toss in cinnamon sugar.
If you make them, let me know how they go. I’ll be somewhere off the coast again, likely flour-dusted and happy.
More wood and flour adventures to come soon.