Of Grain and Grain  |  Tactile Explorations of Flour and Wood

By Ashley Look

  • Blog
  • Flour
  • Wood
  • Shop
  • Services
  • Events
  • About
  • Contact
  • Search
A loaf of Simply Soft Sandwich Bread with a buttery crust.

A loaf of Simply Soft Sandwich Bread with a buttery crust.

Simply Soft Sandwich Bread

March 28, 2021 by Ashley Look in Breads, Full Moon Baking Club

Hey bakers!

I have a little something different this month. The original idea for the Full Moon Baking Club was to bake and share the delights monthly with those in your community. Covid put the kabash on that dream but not before turning folks into banana bread bakers, sourdough caregivers, virtual class junkies, and all things Zoom. So, it was really only a matter of time until I got in on the action. I’ve been hesitant to embrace digital living but a friend from across the web held my hand for my first ever Zoom baking class!

Rebecca from A Sweeter Course, whom also happens to run The Night Bakery was kind enough to give me a taste of all the things I’ve been missing. We recently “got together” to test this month’s Full Moon Baking Club recipe while participating in a bit of an interview exchange. I gave her all the details on my becoming a full-time family caregiver and how all things Food and Craft became my coping mechanisms. You can read all about it here as well as find the recipe for this month’s Simply Soft Sandwich Bread.

IMG_4909.jpeg IMG_4910.jpeg IMG_4912.jpeg IMG_4917.jpeg IMG_4918.jpeg

It’s also worth noting that anyone that runs something called The Night Bakery was destined to be a friend. Those of you lucky enough to live around New York City you should check of all the sweet treats Rebecca has available! There are cakes and cookies and subscription boxes to fill your fancy so be sure to browse her offerings and get in on what’s baking!

Happy full moon friends! See you next month!

March 28, 2021 /Ashley Look
How To Feed A Senior, Full Moon Baking Club, simply soft sandwich bread, recipe, fresh bread, breaking bread, A Sweeter Course, The Night Bakery, New York City, sweet treats, community, bread bakers, family caregiver, food, craft, baking, banana bread, bakers
Breads, Full Moon Baking Club
Comment

A Simple Sandwich Bread Recipe for Beginner Bakers

February 27, 2021 by Ashley Look in Full Moon Baking Club, Recipes, Breads

This Simple Sandwich Bread Recipe breaks down the bread baking process for beginner bakers embarking on a new bread making journey. It’s more than a recipe. It’s a tactile relationship between wet and dry ingredients so anyone can become an intuitive baker.

Read More
February 27, 2021 /Ashley Look
How To Feed A Senior, Full Moon Baking Club, simple sandwich bread, beginner baker, flour, yeast, bread baking journey, intuitive baking, basic bread recipe, wet verse dry ingredients, sticky dough, dry dough, tactile, bread baking process, milk, measuring dry ingredients, liquid volume, kneading dough, stiff dough, oven spring
Full Moon Baking Club, Recipes, Breads
Comment

Getting Started Baking Bread

How to Feed A Senior
January 28, 2021 by Ashley Look in Full Moon Baking Club, Recipes

There is no greater joy than realizing you still have the ability to surprise yourself. That’s what happened... One New Year’s Eve, several years ago, I made a resolution to learn how to bake my own bread and never looked back. Now I want to help you on your own bread baking journey of self-discovery.

Read More
January 28, 2021 /Ashley Look
how to feed a senior, Full Moon Baking Club, Basic Bread Recipe, breaking bread, wholesome, homemade bread, scratch, loaf, Flour, salt, yeast, active dry yeast, beginner bread baker, bread baking journey, New Year's Resolution, beginner baker, fresh bread, January, kneading dough, baking bread, bread fail
Full Moon Baking Club, Recipes
Comment
This Honey Bread Recipe is slightly sweet which is soft on the inside with a crunch crust on the outside.

This Honey Bread Recipe is slightly sweet which is soft on the inside with a crunch crust on the outside.

December 2020: Honey Bread Recipe

How To Feed A Senior
December 29, 2020 by Ashley Look in Recipes, Full Moon Baking Club

Hey Full Moon Bakers!

The year is just about over and we are closing out 2020 on a full moon! Something about that seems about right given all that’s happened this year. It’s been a rough one but as it comes to a close I think we are overdue for a touch of sweetness. Lets keep it simple with this Honey Bread Recipe. It’s a two-day process that includes an overnight rise that bakes-up into a loaf that is soft and on the inside with a crunchy outer crust. I know you are exhausted which is why you shouldn’t be afraid of this two-day baking process. As strange as it may sound, the “two-day” is the lazy way! I’m a lazy baker and can’t be bothered to supervise dough. This recipe allows we to through it together with minimal effort and come back to it when I’m in the mood.

bread ingredients.jpg Honey Bread Dough.jpg Fisrt rise of honey bread dough.jpg Honey Bread.jpg

Ingredients

  • 3 cups flour
  • 1 tsp salt
  • 1/4 tsp active dry yeast
  • 1 1/4 cup warm water
  • 1/4 honey

Directions

Day 1:

  1. In a large bowl mix the flour, salt, and yeast.
  2. In a large measuring glass (or bowl), combine the warm water and the honey and stir to combine so that the honey is well blended.
  3. Pour the liquid into the flour bowl.
  4. Combine, incorporating the wet and dry ingredients until a sticky dough ball forms. It doesn't need to be perfect but you want most the dry ingredients integrated so there's no flour left sitting in the bowl.
  5. Cover and let rest for 6-10 hours, untl the dough has become pillowy and doubled in size.

Day 2

  1. Uncover the dough and with a wet hand, gently scoop around the edges, lifting from the sides and folding the dough onto itself. (watch video here). This will release the dough from the edges.
  2. On a lightly floured surface, plop your dough out and gently stretch it out on the counter.
  3. Using the criss cross technique (watch my video here), gently shape your dough being careful not to degas the air bubbles.
  4. Place the shaped dough on a piece of parchment paper and place into a bowl or pie pan to rest for an hour, covered.
  5. Put a dutch oven with the lid in the oven and preheat to 450 degrees F.
  6. When the oven is ready and the dough has rested, remove the cover and score the top of the dough.
  7. Carefully remove the dutch oven and transfer the parchment paper with the dough into the dutch oven, cover with the lid and return it to the oven and bake for 30 minutes.
  8. After 30 minutes, remove the lid and bake for another 15 minutes at 415 degrees F.
  9. Then remove the dutch oven and carefully transfer the bread to a wire rack and let cool.
Freshly baked Honey Bread.

Freshly baked Honey Bread.

So long 2020! You won’t be missed!

December 29, 2020 /Ashley Look
How To Feed A Senior, soft sandwich bread, bread recipe, flour, Full Moon Baking Club, artisan bread, Dutch Oven, honey bread, overnight rise, two-day bread baking pprocess, lazy baker, crunchy crust, bread dough
Recipes, Full Moon Baking Club
Comment
These Honey Nut Date Rolls baked in a Dutch Over are crunchy on the outside and soft and chewy on the inside. (PS-Ignore my dirty nails. I was carving a lot when I made these. Eek!)

These Honey Nut Date Rolls baked in a Dutch Over are crunchy on the outside and soft and chewy on the inside. (PS-Ignore my dirty nails. I was carving a lot when I made these. Eek!)

November 2020: Honey Nut Date Rolls

How To Feed A Senior
November 30, 2020 by Ashley Look in Full Moon Baking Club, Recipes, Breads

My life after caregiving tales will continue as it’s only the end of November and I’ll be at sea until mid January. But fear not Full Moon Bakers! I have a club recipe for you to make this month that will compliment the upcoming holiday vibe. These Honey Nut Date Rolls provide that special hint of festive, bringing good spirits to everyone that gets a taste. They also offer you, the baker, a bit of a challenge by folding in ingredients into dough that’s already prepped. The significance of this step can’t be understated because the technique can elevate your baking for years to come. You can take the exact same recipe and substitute the dates and walnuts for other dried fruit, nuts, cheese, seeds, etc. It’s more of a formula than a recipe so feel free to experiment!

dough.jpg nuts and dates.jpg folding dough.jpg kneeded dough.jpg cutting rolls.jpg shaped hone nut date rolls.jpg Rolls in Dutch Oven.jpg Buttered Honey Nut Date Rolls.jpg

Ingredients

  • 3 cups flour
  • 1 1/2 tsp salt
  • 1/4 tsp active dry yeast
  • 1 1/2 cups warm water
  • 2 TBSP honey
  • 1/2 cup pitted, chopped dates
  • 1/2 cup chopped walnuts

Directions

Day 1 Prep:

  1. Place the flour in a large bowl with the salt and the yeast
  2. Next, combine the water and the honey together and then pour it into the bowl with the flour mixture.
  3. Mix the ingredients together until a stick dough ball forms.
  4. Cover and let rest for 8 hours or overnight.

Day 2 Prep:

  1. After the dough has risen, place the chopped dates and walnuts on top.
  2. With a wet hand, gently reach along the sides of the bowl and lift and fold the dough over the top, beginning to cover the dates and nuts with the dough.
  3. Turn the bowl a quarter turn and reach in again loosening the dough from the bowl edges and bringing up over the the nuts and dates.
  4. Do this two or three more times until the dough has been loosened from the bowl on all side and the dates and nuts are enclosed.
  5. Then, dump the dough out onto a floured surface.
  6. Gently begin to knead the dough adding more flour as necessary to keep it from sticking to your hands and counter.
  7. Continue to knead the dough helping distribute the dates and nuts thoughout, being careful not to over work them out of the dough.
  8. After kneading, cut the dough into 10 to 12 pieces and carefully shape them into little round balls.
  9. Place each dough ball in a pie pan that's covered with parchment paper and cover the top with plastic wrap.

Bake:

  1. Preheat a dutch oven in the oven to 450F degrees.
  2. When the oven reaches temperature, carefully remove the dutch oven and place the parchment paper with the rolls inside.
  3. Cover with the lid and return the dutch oven to the oven and bake for 20 minutes.
  4. After 20 minutes, remove the lid, lower the temperature to 415F degrees and continue baking for another 10 minutes.
  5. After baking, carefully remove the rolls from the dutch oven and let cool on a wire rack.
  6. While the rolls are still hot, brush the tops with butter or honey butter* (see tip below)and let it melt into the crust.
Fresh baked and buttered Honey Nut Date Rolls.

Fresh baked and buttered Honey Nut Date Rolls.

*Tip: These rolls are exceptionally good with the addition of honey butter. You can easily make some by mixing 2 TBSP of butter with 1 TSP of honey. Warm slightly it in the microwave or on the stove top, mix it together, and then brush the tops of you warm rolls and enjoy. Yum, yum, yum

November 30, 2020 /Ashley Look
How To Feed A Senior, Full Moon Baking Club, Honey Nut Date Rolls, Flour, bread, baking
Full Moon Baking Club, Recipes, Breads
Comment
This Soft Sandwich Bread Recipe is perfect for those times when you are feeling nostalgic and crave an old school peanut butter and jelly.

This Soft Sandwich Bread Recipe is perfect for those times when you are feeling nostalgic and crave an old school peanut butter and jelly.

Oct/Nov 2020: Soft Sandwich Bread Recipe

How To Feed A Senior
October 31, 2020 by Ashley Look in Recipes, Full Moon Baking Club

You know that expression, “too little, too late"? That’s how I’m feeling about this Soft Sandwich Bread Recipe…

Over the five years I was the caregiver to my father, all he wanted to eat was peanut butter and jelly. As a chef, you can imagine that was frustrating for me. I would make him these beautiful and nutritious meals and he would scoff at them, preferring his childhood favorite. The baker in me set out to add wholesomeness with homemade artisan bread, but even that fell short to his liking. The crust was too tough, or the crumb too dry… Each and every attempt to share love through a home cooked meal felt like failure and I eventually gave-up. I should have known that preparing senior meals was going to be harder than expected. I was out for creativity. He wanted soft, store bought bread slathered in traditional grape jelly with your standard hydrogenated peanut butter. It was his favorite. Who am I to argue with a man in his 80’s suffering from dementia? PS- You don’t argue with a person afflicted with dementia or Alzheimer’s. As a caregiver, you quickly learn to pick your battles, and fighting over food was not going to be one of mine.

There is another expression though. “It’s better late than never” and I guess you could say, Soft Sandwich Bread has arrived! It comes a year and a half to late for my dad but hopefully it’s right on time for you and your loved ones. As much as I love a crunchy-chewy crust, seniors with sensitive teeth might not share the love. So, in honor of my dad’s favorite meal, I’ve figured out this Soft Sandwich Bread Recipe.

This bread recipe produces a soft crumb and crust which makes it perfect for sandwiches.

This bread recipe produces a soft crumb and crust which makes it perfect for sandwiches.

Ingredients

  • 2 1/2 cups flour
  • 1 tsp salt
  • 1 1/4 cup warm water (seperated)
  • 1 tbsp melted butter
  • 1 tbsp molasses
  • 1 tbsp honey
  • 1 tsp brown sugar
  • 1/4 tsp active dry yeast

Directions

Day 1:

  1. In a large bowl mix the flour and the salt.
  2. In a large measuring glass (or bowl), combine 1 cup of the warm water, melted butter, molasses, honey, and brown sugar and stir to combine. Add the rest of the water until you have 1 and 1/4 cup of the liquid mixture.
  3. Add the yeast and let "bloom" for 10ish minutes.
  4. Give the liquid mixture a stir and then pour into into the flour bowl.
  5. Combine, incorporating the wet and dry ingredients until a sticky dough ball forms. It doesn't need to be perfect but you want most the dry ingredients integrated so there's no flour left sitting in the bowl.
  6. Cover and let rest for 6-10 hours, and the dough has become pillowy and doubled in size.

Day 2

  1. Uncover the dough and with a wet hand, gently scoop around the edges, lifting from the sides and folding the dough onto itself. This will release the dough from the edges.
  2. On a lightly floured surface, plop your dough out and gently stretch it out on the counter.
  3. Using the criss cross technique (watch my video here), gently shape your dough being careful not to degas the air bubbles.
  4. Place the shaped dough on a piece of parchment paper and place into a bowl or pie pan to rest for an hour, covered.
  5. Put a dutch oven with the lid in the oven and preheat to 450 degrees F.
  6. When the oven is ready and the dough has rested, remove the cover and score the top of the dough.
  7. Carefully remove the dutch oven and transfer the parchment paper with the dough into the dutch oven, cover with the lid and return it to the oven and bake for 30 minutes.
  8. After 30 minutes, remove the lid and bake for another 15 minutes at 415 degrees F.
  9. Then remove the dutch oven and carefully transfer the bread to a wire rack and let cool.
The best Soft Sandwich Bread Recipe ever!

The best Soft Sandwich Bread Recipe ever!

I hope you love this sandwich bread recipe as much as I do. Report back you thoughts. I know kids and seniors alike both love soft bread so give it a try and let me know what you think. Sending love and lots of good sandwiches!

October 31, 2020 /Ashley Look
How To Feed A Senior, soft sandwich bread, soft bread, bread recipe, soft food for seniors, flour, Full Moon Baking Club, meals for seniors, senior meals, elderly teeth, peanut butter, jelly, artisan bread, caregivers, Dutch Oven
Recipes, Full Moon Baking Club
Comment
Swirls of peanut butter and warm chocolate chips turn this simple banana bread recipe into a dream.

Swirls of peanut butter and warm chocolate chips turn this simple banana bread recipe into a dream.

October 2020: Peanut Butter and Chocolate Chip Banana Bread

How To Feed A Senior
October 01, 2020 by Ashley Look in Full Moon Baking Club, Recipes

Swirls of creamy peanut butter and a smattering of chocolate chips turns this simple banana bread recipe into a decadent affair. I know the word “decadent” seems like a stretch of a description for the humble banana bread but you gotta trust me here. Warm chocolate and gooey peanut butter? Yeah… there’s not much more to say… You’re gonna want to make this recipe!

A close-up of all the gooey goody in this banana bread.

A close-up of all the gooey goody in this banana bread.

INGREDIENTS

  • 3 overripe bananas
  • 1/2 cup melted coconut oil or melted butter
  • 1/2 cup honey
  • 2 eggs
  • 2 tsp vanilla extract
  • 2 cups flour
  • 1 1/2 tsp baking soda
  • 1 tsp ground cinnamon
  • 1/2 tsp salt
  • 1 cup chocolate chips
  • 1/2 cup creamy peanut butter

INSTRUCTIONS

  1. Preheat the oven to 350F degrees and grease your bread pan and lay a piece of parchment paper inside.
  2. In a large bowl, mash your bananas.
  3. Then, add in the coconut oil, honey, eggs, and vanilla and combined.
  4. Next add the flour, baking soda, cinnamon, and salt, and mix until the batter forms.
  5. Gently fold in the chocolate distributing the chocolate chips throughout.
  6. Using teaspoon size amounts, dollop 3/4th of the peanut butter into the batter and gently swirl it throughout.(Don't over mix. You want them swirls!)
  7. Pour the batter into the prepped pan with parchment paper.
  8. Dollop your remaining peanut butter on top and gently swirl it through the batter.
  9. Bake for 50-60 minutes, or until center is set being careful not to over cook. (Cover with foil if necessary.)
  10. Remove the bread from the oven and let cool for 5 minutes in the pan.
  11. Gently lift the bread with the parchment out of the pan and let cool for another 15 minutes on a wire rack before cutting into it.
October 01, 2020 /Ashley Look
How To Feed A Senior, Peanut butter, chocolate chips, banana bread, flour, decadent, creamy, chocolate, humble, recipe, simple, bananas, eggs, honey
Full Moon Baking Club, Recipes
Comment
Homemade zeppoles, or Italian doughnuts, were made with leftover pizza dough, got tossed in powdered sugar and drizzled with chocolate sauce for an unexpected but easy dessert.

Homemade zeppoles, or Italian doughnuts, were made with leftover pizza dough, got tossed in powdered sugar and drizzled with chocolate sauce for an unexpected but easy dessert.

September 2020: Zeppoles- Fried Dough Recipe

September 02, 2020 by Ashley Look in Full Moon Baking Club

Fried dough, also known as zeppoles, are easy to make with leftover pizza dough. If you participated in last month’s Full Moon Baking Club challenge, you’ll have no trouble making these Italian doughnuts because I used the same recipe. Instead of making pizza, cut the dough into little rectangle shapes and then fry them in a pot of oil. After, toss them in a bag with some powdered sugar for a slightly sweet coating. Mine got drizzled with some Hershey’s Chocolate Syrup circa 2017, cause I found a random bottle of it the back of the fridge and thought, heck, it’s 2020! It’s a year for taking risks. Or not… but does chocolate syrup even go bad?

Zeppole Dough Recipe

Ingredients for making the dough:

  • 3 cups flour
  • 2 tsp yeast (rapid rise and dry active are both fine)
  • 1 1/2 tsp sugar
  • 1 1/2 tsp salt
  • 1 1/2 cups warm water
  • 1 tbsp oil (for the dough mix)

Ingredients for frying the zeppoles:

  • 1 quart of vegetable oil or another high heat oil for frying the dough
  • 1 tbsp powdered sugar (or to taste) for tossing the zeppoles

Directions:

  1. In a large mixing bowl, make the dough by combining the dry ingredients.
  2. Add the warm water and tablespoon of oil and start mixing.
  3. Mix until the dough starts to come together and pull away from the bowl, and then dump out onto a lightly floured surface.
  4. Knead the dough until it comes together and forms a ball.
  5. Continue to knead for about 10 minutes until the ingredients are well combined.
  6. Divide the dough into into 4 pieces and reshape into balls. Lay the balls on a greased sheet tray and then cover with a damp towel till they double in size (about an hour).
  7. After they rise, you can then make two or three personal pizzas (by continuing here at step 7) but keep at least one dough ball for the zeppoles.
  8. For the zeppoles, take a large heavy pot (I used a dutch oven) and pour in the frying oil so that it's at least two inches deep, and heat it to between 350F and 370F. Anything below 350 will take too long to fry causing the zeppoles to absorb the oil.
  9. With your zepploe dough, flatten it out as if you were going to begin making the crust of a pizza. Stretch it out gently rather than rolling it because you want to keep the dough light and fluff. It's ok if the dough is not circular. You just want to lay the dough out so the thickness remains even throughout.
  10. Next, take a pizza slicer and slice the dough into strips about 1 inch wide.
  11. Then, slicing from the other direction, cut the dough at 1.5 inch so you end up with a series of 1 x 1.5 inch rectangular dough pieces. (It's ok if they aren't perfect.)
  12. Once the oil is hot, gently using a spoon, drop the dough pieces into the oil. You can fry several at a time. Just be sure not to overcrowd them keeping plenty of space for them to move around in the pot.
  13. Fry for roughly 5 minutes or until they float on top of the oil. Be sure to flip them over as necessary so that they fry on all sides.
  14. After frying, remove the zeppoles and lay them on a plate with a paper towel to help soak up any extra oil.
  15. When you are finished frying them, you can gently toss them in a paper bag with powdered sugar for a light coating.

I tossed my zeppoles in powdered sugar and drizzled with chocolate syrup but I think you could have fun exploring other option. Cinnamon and sugar I’m sure would taste just as delicious, so feel free to get experimental. I’d love to hear what you come up with.

Happy full moon! I challenge you to make these before October 1, 2020 which is the next full moon. You have almost a month from today to give these a shot. Good luck!

September 02, 2020 /Ashley Look
How To Feed A Senior, Full Moon Baking Club, pizza, crust, dough, zeppoles, doughnuts, donuts, dough balls, flour, fried dough recipe, powdered sugar, dutch oven, chocolate syrup, cinnamon
Full Moon Baking Club
1 Comment
Homemade pizza crust topped with tomatoe sauce, mozzarella cheese, arugula, and prosciutto.

Homemade pizza crust topped with tomatoe sauce, mozzarella cheese, arugula, and prosciutto.

August 2020: Quick and Easy Homemade Pizza Dough

August 03, 2020 by Ashley Look in Full Moon Baking Club, Recipes

You need an easy Homemade Pizza Dough recipe in your life! Something that is quick and low maintenance so you can crank out pies on a whim. For real! If you’ve been ordering pizza out our purchasing store bought dough you are missing the simplicity of pizza being a house staple. I like to think of pizza as a catch-all. It’s one of those last minute concoctions that can be quickly thrown together. Yeah, yeah yeah… dough has to rise but the truth is, the dough is typically good to go by the time you are finished prepping all your other ingredients. Just start the dough first. I’ll also remind you that pizza is a “flat bread” meaning, if you screw it up and the dough doesn’t rise, it’s not a problem. Thin crust is still good crust! and this is not up for debate!

Anyway, the need for this dough recipe is not for banging out pies. It’s for managing food going bad in your fridge! I think just abut any ingredient can be turned into a pizza topping and honestly that’s were your culinary creativity will truly shine. If you don’t believe me, throw a random ingredient in the comments and I will get back to you with how I’d work it into a pie. Pizzas can go beyond that of tomato sauce and mozzarella. Gawd, half the time, I’m out of those things entirely. But never out of pizza. Ever! Below is a spinach, artichoke, Alfredo pizza with Parmesan and the other is a breakfast version with bacon, eggs and cheese. There are so many options. Just get down with making your own crust!

homemade pizza crust.jpg Homemade pizza dough.jpg

Pizza Crust Recipe

Ingredients:

  • 3 cups flour
  • 2 tsp yeast (rapid rise and dry active are both fine)
  • 1 1/2 tsp sugar
  • 1 1/2 tsp salt
  • 1 1/2 cups warm water
  • 1 tbsp oil

Directions:

  1. In a large mixing bowl add all the dry ingredients and combine.
  2. Add the warm water and oil and start mixing.
  3. Mix until the dough starts to come together and pull away from the bowl and then dump out onto a lightly floured surface.
  4. Knead the dough until it comes together and forms a ball.
  5. Continue to knead for about 10 minutes until the ingredients are well combined.
  6. At this point you can either divide the dough into two balls for 14 inch pies or split into 4 dough ball and make personal pies.
  7. Grease a sheet tray and place your dough balls on it. Lightly oil them with a thin coat then cover and let rest for 30 minutes to an hour or until doubled in size.
  8. Once doubled it's pizza time! If baking on a sheet tray, oil it and then plop your dough ball onto it and gently stretch towards the edges. If using a pizza pan/screen you can either lightly toss the dough if you have them skills or flour the counter and roll it with a rolling pin. Then transfer the dough onto the pan.(Do not roll the dough out on a pizza screen. This will cause it to stick to the screen when baking. (If either technique has the dough springing back on you, refusing to hold the stretch, pause, let it rest for 10 minutes, and then come back and continue the process.)
  9. Once your dough is in place, go about adding your sauce, cheese and toppings.
  10. Bake at 550F degrees (or the highest temperature your oven will allow)on the top rack for 10 to 15 minutes keeping an eye on the cheese for browning.
  11. Remove after baking and let cool slightly before slicing.
Homemade Cheese Pizza.jpg Homemade Pepperoni Pizza.jpg

For real! If you don’t know how to use an ingredient, drop it in the comments and I’ll give you a pizza “flavor profile”. Building unique pizzas is my jam! I love the basics, but I also all love the non-traditionals…

Happy pizza making!

August 03, 2020 /Ashley Look
How To Feed A Senior, Pizza, Crust, dough, flour, quick, easy, simple, Homemade Pizza Dough, flat bread, this crust, pizza toppings, tomato sauce, mozzarella, sheet tray, pizza pan, pizza screen, kneading dough, pies, pizza pies, yeast, cheese, pizza recipe, flavor profile, pepperoni
Full Moon Baking Club, Recipes
Comment
You only need a few ingredients and your sourdough starter discards and you’re good to go for making tasty crackers

You only need a few ingredients and your sourdough starter discards and you’re good to go for making tasty crackers

July 2020: Fire Crackers

July 02, 2020 by Ashley Look in Full Moon Baking Club, Recipes

So, I’m not sure where the sourdough movement stands these days. Stores seem to be doing well at restocking the shelves and yeast is perhaps no longer in limited supply. But for the few holdout still nursing a starter, I thought I’d share this cracker recipe which unlike my attempts at making sourdough breads, has been a predictably simple process. This recipe is a riff off King Arthur’s recipe. They coached me through the first several batches but now I’m off and running. The house favorite seems to be these “fire” crackers, made with crushed red pepper flakes, Parmesan cheese, and a little coarse salt. They are pretty easy to make and just the thing to scoop up all those 4th of July dips.

Sourdough discard crackers with coarse salt, crushed red pepper and Parmesan cheese.

Sourdough discard crackers with coarse salt, crushed red pepper and Parmesan cheese.

Ingredients

  • 1/2 cup starter
  • 1/2 cup flour
  • 2 tbsp butter , softened
  • 1/4 tsp table salt
  • 1 1/2 tsp crushed red pepper flakes
  • 1 tsp grated Parmesan cheese
  • oil for brushing the tops
  • Coarse salt for sprinking on tops

Directions

  1. In a bowl, combine all the ingredients except the oil and coarse salt.
  2. Mix throughly so the dough forms and knead it slightly until all the ingredients are well combined.
  3. Seperate into two piece, flatten them into patties, and then wrap in plastic and place in the fridge for 30 minutes or over night to stiffen up.
  4. After the dough has chilled, preheat oven to 350 degrees F.
  5. Remove the dough from plastic and place between two layers of parchment paper.
  6. Roll the dough out between the paper to about 1/16 inch thick.
  7. Transfer the rolled slab onto a baking sheet and brush with oil.
  8. Sprinkle the coarse salt on top and lightly pat the granuals into the dough using the spare paper.
  9. Using a knife or pizza cutter slice the dough into 1 1/4 inch squares.
  10. Then place in the oven and bake for 20-25 minutes until golden brown.
  11. Taste test the crackers in the middle of the pan to ensure they are crisp. If not continue baking for a few minutes till you achive your desired crunch.
  12. You can remove the crisped ones to a rack to cool while the other continue baking if worried about them becoming over done.

Stay safe everyone!

July 02, 2020 /Ashley Look
How to feed a senior, Fire Crackers, 4th of July, King Arthur Flour, sourdough starter, homemade crackers, crushed red pepper, flour, Parmesan Cheese, coarse salt, crackers
Full Moon Baking Club, Recipes
Comment
Adjustments.jpeg

June 2020: A Baking Eclipse

June 06, 2020 by Ashley Look in Full Moon Baking Club

In support of the Black Lives Matter movement and honoring the loss of Breonna Taylor, who was fatally shot by police in her home in Louisville, KY on March 13th, there will not be a full moon recipe posted this month. The full moon fell on what would have been Brianna’s 27th birthday. She was an essential worker, providing health care services during the pandemic, and was one of many victims that have passed away at the hands of police brutality.

I encourage everyone that has been a fan of this page and looks forward to the monthly baking challenge to take this time to learn about Breonna’s story and the many like her’s that entrench our nation in civil unrest. As a privileged white women, I can not speak to the challenges and pain, people of color have experienced for generations. I can however speak out on their behalf and offer space for their voices to be heard. Here is a list of resources for ways to take action. It’s important to show up, speak out, and do it now! Instead of a recipe challenge this month I challenge us to stand up to injustice and get involved. Be safe, be smart, and be kind.

Rest in power Breonna. We’re holding heart!

June 06, 2020 /Ashley Look
How to feed a senior, Full Moon Baking Club, Breonna Taylor, injustice, police brutality, BLM
Full Moon Baking Club
Comment
A simple sourdough recipe to get you in on the sourdough game.

A simple sourdough recipe to get you in on the sourdough game.

May 2020: Simple Sourdough Recipe

May 07, 2020 by Ashley Look in Full Moon Baking Club, Recipes

This is a shout-out to all the new bakers that have embarked on the sourdough journey but feel defeated in effort. Hey there…I hear you. It’s a lot of flour feeding and discarding and questioning if the hobby is worth it or wasteful… Well, buck-up friend! If there’s one thing I can tell you about bread baking, it’s that the recipes themselves matter less than your relationship to the dough. Over time, you come to learn that a good bread is something you feel. You can tell long before it’s baked if it’s going to perform well and my advice to you is, just stay with it. Practice, make a mess, and enjoy the process regardless of result because you will get better with time. Breads take time… I’ve been baking for a while now and it’s the relationship I have created with time that makes bread such great company. And now, as we all sit idle in our quarantined quarters, where time escapes us and loneliness set in, it’s nice to have a friend, especially a nourishing one that provides a taste of companionship.

As for sourdough specifically, my fandom was born thanks to the pandemic and the sudden hunt for yeast. Albeit my yeast supply remains plentiful, I’m here for the herd. The thought of would-be-bakers being left behind due to yeast shortages was enough for me to join the sourdough bandwagon. I don’t care if it’s trendy because of the pandemic. The truth is, anything that enables you to provide for yourself reduces dependency at large. The fact that you can make your own bread means you don’t have to buy it from the grocery store, reducing demand on the supply chain which reduces the demand on factory workers which right now, are at the very heart of the virus outbreak. So, trendy or not, if you’re better able to shelter in place thanks to what might be a new hobby, by all means, go for it! Reducing your demand for market needs is one step closer to sustainability. Even thought it’s a small step, it’s still a step, and in times of crisis, little things matter.

So, don’t be discouraged by your bread flop, or shamed into thinking your’re just following a fad. Who cares? It’s fun. It’s therapeutic. And when you get the hang of it, it taste good! It’s a win for you, front-line workers, and the environment. Gawd… Just writing that feels like a sales pitch but honestly, this is not a hard sell. If bread baking is a coping mechanism for dark times then consider me an apocal-optimist cause I think its awesome!

As the sourdough starter ages, the holes get better and better!

As the sourdough starter ages, the holes get better and better!

Before I get into the recipe, I have to say one thing. Screw recipes! It’s so easy to get bogged down in how-to’s that quickly turn to overwhelm. That is how I have felt about all the sourdough recipes I’ve found so I’m giving up and going with what I know and chalking the failures up to learning along the way. I’m not getting into levain, or biga, or poolish and all the fancy names that boiled down, amount to “sponge” in my book. The semantics in bread making can leave a new baker confused, so let’s ignore that for now We’re keeping things simple. Ready?

Simple Sourdough Recipe

Step 1: Create the “sponge”

  • 1/4 cup starter
  • 1 cup warm water
  • 1 cup flour
  1. Mix sponge ingredients in a large bowl.
  2. Cover and let rest for 4 to 6 hours or when a small amout can float when placed in a bowl of water. This is known as a float test.

Step 2: Create the dough

  • 2 cups flour
  • 1/2 cup water
  • 1 1/2 tsp salt
  1. Add the dough ingredients into the sponge bowl and combine.
  2. Mix until a shaggy dough forms and all ingredients are incorporated.
  3. Cover and let rest 6-8 hours or overnight.

Step 3: Knead the dough

  1. With a wet hand, reach along the inside edge of the bowl, lifting the dough up, so you can fold it onto itself.
  2. Do this this three or four times and then cover and let the dough rest in the bowl for 30ish minutes.
  3. Repeat Step 3, three more times.

Step 4: Shape the dough

  1. On a lightly floured surface, dump out your dough and gently shape into a round form being mindful of the gas bubbles.(You want to keep those intact as much as possible. That's what helps give the crumb those big sourdough holes.)
  2. Once it's shaped, place on a piece of parchment paper and place it in a clean bowl.
  3. Cover and let rise in the fridge overnight.

Step 5: Bake

  1. Remove bowl from fridge and let come to room temperature.
  2. Preheat a dutch oven in your oven to 500 degrees F.
  3. When the oven reaches tempurature, score the top of your bread dough with a few slits and carefuly place the dough with the parchment into the dutch oven.
  4. Cover it with the lid and place it back into the oven. Lower the tempurature to 450 degrees F and bake for 30 minutes.
  5. After 30 minutes, remove the lid, lower the tempurature to 400 degrees F and continue baking for 15 more minutes.
  6. Remove and let cool on a wire rack.
Sourdough starter.jpg Sourdough Sponge.jpg Sourdough ingredients.jpg overnight rise.jpg first knead.jpg third knead.JPG sourdough dough.jpg scoring.jpg Simple Sourdough Loaf.jpg Simple Sourdough Holes.jpg Simple Sourdough Slice.jpg Sourdough Still Life.jpg

Hot damn! This is me trying to simplify things but my head is already hurting so not sure it worked.. Good luck and remember that the Sourdough Support Group is here for you! I’m posting my updates over on Instagram so if you want some behind the scenes shots check the sourdough stories. Don’t hesitate to message me with your successes, failure, questions or requests. I’m just as bored as you are so lets get gaming and have some fun. You have one month to complete this recipe mission. The next full moon is June 5, 2020 so you got four weeks to give this a shot. Good luck. You got this!

Piece out!

Simple Sourdough Slice.jpg
May 07, 2020 /Ashley Look
How to feed a senior, Simple Sourdough Recipe, sourdough starter, baking, bread making, pandemic, flour, sourdough support group, float test, levain, biga, poolish, sponge, dough, knead, gas bubbles, crumb, Full Moon, Full Moon Baking Club, Yeast, shaping dough, dutch oven
Full Moon Baking Club, Recipes
Comment
Early sourdough fermentation bubbles in my starter.

Early sourdough fermentation bubbles in my starter.

Sourdough Starter Support Group

April 08, 2020 by Ashley Look in Full Moon Baking Club, Recipes

It’s been incredible watching the internet boom with bread baking. The dough life is everywhere and the breads are looking amazing! I’ve been on the bread train for a while now, so when this new wave of bakers emerged, I was caught somewhat off guard. Dare I say, “jealous” you’ve been baking without me? Luckily, FOMO is a pre-coronavirus complex since we’re all stuck at home these days. But dang! You guys with your bread flex right now brings me so much joy. I’ve been seeing so many sourdough starters in my Facebook feed that I figured we needed a support group for all the questions. Seriously though, you guys are champions! I’m loving all the close-ups of fermentation bubbles, and those sexy hooch lines. It’s like the baker’s version of the first day of school and your starter’s already on the honor roll!

I know some of you created a starter because you were running low on yeast. Smart move! Others, feel left behind cause they are completely without. Fortunately, you’re not out of the bread game just yet. You can easily collect wild yeast to make a sourdough starter. Once your starter is active you’re good to go. When it comes to working it into recipes, I typically use about a 1/4 cup per loaf. There’s a ton of information out there about how and when to feed your starter, weighing the flour, blah, blah blah… Personally, I can’t be bothered with the details and save that for the professionals like Sarah Owens and Tara Jensen. They are the darlings of sourdough in my book, so if you wanna dive deep, check them out. Otherwise, if you see a hooch layer forming, it’s time for another feeding.

As for getting back into baking with the Full Moon Baking Club I figure now is as good as any for a reboot! Rather than post a recipe this month, I figured we should just get our starters up to snuff so in a month we can get our bake on. If you have yeast, you can explore the recipes on the Full Moon Baking Club page, or if your starter is ready, you can get experimental and try out the Fermented Loaf recipe.

On a personal note, I’ll tell you my starter you see above is a newbie. It’s less than two weeks old and although I see signs of activation, it’s really all about feeding it at this point. I’ve been doing this twice a day now after five days of catching yeast using the wild method above. It only occurred to me to start a new one after soaking my flour mix to make this molasses loaf.

soaked flours.jpg preferment.jpg mixed ferements.jpg first rise.jpg Homemade molasses bread.jpg Sliced molasses bread.jpg

Starter or not, keep baking! I’ve found that making something with your own two hands, is rewarding. Even in failure, the reward is there. Right now it might be the antidote for boredom but as someone that has baked for years for both friends, family, and full crews at sea, warm treats from the oven always delight! I used to joke that I’ve never met a problem that a fresh cookie couldn’t solve and I would say the same goes for a hot loaf of bread! So bake and have fun! If the lockdown life leads to an economic depression, at least you’ll know how to use the flour rations. Ha!

Actually, that’s terrifying Don’t think about that.. Just go pour off the hooch and feed your new pet. We have some baking to do! And as you begin your journey into sourdough, know that you’re are backed by the ultimate bread nerd. Submit your questions in the comments so I can geek out on this one. I’ll do my best to coach you through any problem. Good luck and I look forward to baking with you next month!

April 08, 2020 /Ashley Look
How to feed a senior, Sourdough Starter, hooch, bread baking, Coronalife, coronavirus, lockdown, yeast, wild yeast, support group, recipes, dough, baking, Full Moon Baking Club, flour, molasses, starter, economic depression, rations
Full Moon Baking Club, Recipes
Comment
When forced to stay home, it can be hard to stay organized but a little bit of structure goes a long way.

When forced to stay home, it can be hard to stay organized but a little bit of structure goes a long way.

A Guide For Life During Lockdown

April 06, 2020 by Ashley Look in Caregiving, Carving, Full Moon Baking Club

What-up folks!

Isolation issues got you down? If the stay-at-home orders, quarantines, and and all things social distancing have created a blur of your life, fear not! I have cracked the code on tracking time and have some suggestions for how you can stay organized while staying at home. During my five years of housebound caregiving, I learned a bit about defining structure when time seems irrelevant. The Wednesdayness of days becomes a struggle when there’s no real beginning or end and that’s what this post will address. The structure below helped me conceptualize each week with an element of flow and thereby removing that sense of stagnation and monotony. It’s not rocket science but it still took me about two and a half years to find a formula that worked. What I realized was every day observed through the eye of time was inconsequential. What made a difference was having a rhythm to each week and applying that rhythm cyclically in the face of time. This is what restored my sense of purpose over the long term. I’m sure most of you don’t want to wait two plus years to figure-out a personal strategy so I’m gonna share my tips below so you can immediately attempt to protect your sanity. I’ve provided sections for how I like to think about both life and fitness within the days of the week, and then I cycle through the themes week after week. And please don’t mistake this as some productivity challenge or something. It’s not a tool meant to achieve everything on your list. It’s just a different perspective for organizing the day to day which for me, was the thing that kept my mental health intact for years when I couldn’t leave the house.

The Big Picture

Before we jump into the meat of this post, let’s get clear on one thing real quick. We all need to calm the F down. To think anyone can simply make a sweeping adjustment of lifestyle on a dime is absurd. We aren’t even a month into this Coronalife train wreck and I can sense the communal freak-out of everyone scrambling to keep life somewhat “normal”. Stop doing that! Just S T O P. Nothing about this is normal and you are wasting time living in denial. Although this might seem like a slow moving car crash as we watch it unfold day by day, in truth it’s a sudden and dramatic change that deserves a significant pause to check for life-altering wounds. Anyone that’s experienced whiplash knows, a pain in the neck can be a significant blow, even when the neck’s not broken. So, rather than dive into online work meetings and the home-schooling curriculum, take a good hard look at your situation and determine the safety and security of your family unit. Create a budget and assess your resources. And resources are not exclusively financial. Does someone in your household cook? Food security is important right now as we all try and limit our trips outside the home. Who’s the tech guru? Is there someone in the house that easily understands computers? (Might be your kid.) How about cleaning, or home repair, or just best at not touching their face? When you really start assessing your situation, different strengths and weakness will emerge that will help guide your momentum forward but it’s important to take in the big picture. You need that macro perspective of your new normal before thinking about thriving in it. Quarantine and social distancing measure might very well be here for months, if not longer, so I encourage you all to take the necessary time to asses your situation so you can, with a rational mind, make smart decisions.

The Day To Day

And now for your sanity…

I know many of you are falling victim to the nothingness of life in isolation and this was a huge problem for me until I figured out a schedule that helped me manage the time. I’m now acutely aware of how external accountability was the force behind everything I did prior to becoming a caregiver. We hold ourselves to deadlines, social norms, and even hygiene imposed by our relationships to others. But stripped of that external influence, it’s quickly apparent that we often take those things for granted as well as having little regard for personal standards. And now, even our self-discipline is being publicly questioned as phone surveillance highlights our (in)ability to follow social-distancing guidelines. Perhaps this is just proof that we are our own worst company… Escaping the house might be the craving for fresh air, or essential needs, or perhaps it’s the very real threat of abuse, in which case, you need to stop reading my suggestions and click here. But, another significant itch to break free from lockdown, is to relieve the frustrations around the nothingness. Seeking external stimulation is a way to stave off boredom because life has become either dissatisfying or uninteresting. But good news! Boredom is mental. With a little bit of structure and personal accountability you can beat the boredom and escape the nothingness! Seriously, addressing your mental health right now is the key to not only survive this pandemic but potentially thrive within the circumstances. You need to adapt and you need to do it quickly because we are all counting on you. The whole world is literally counting on YOU to uphold social order by social distancing and it’s time for us all to get our heads on straight and do our part.

Below are my suggestions for how to go about making your day to day more manageable. It’s one thing to say we “should” all become full-time homebodies but seeing as this is new for most folks it’s difficult without some sort of how-to outline So, here’s an outline. I can’t stress it enough when I say the structure needs to work for you so adapt it as necessary. It’s also worth noting that I prefer this structure, because it’s dynamic and changes every day unlike many of the suggested schedules I have seen floating around online. The feeling of flowing or having a rhythm to the week is important in regards to time and a schedule that offers the same structure repeatedly is going to lead right back to boredom. This structure is cyclical with its themes so it does repeat, however it requires unique brain work each day thereby supporting your mental health with a dose of self-care. You Ready?

Mondays-

Life: Business/ Administrative Tasks

Fitness: Cardio

Life:

This is the mail, the bills, paperwork, phone calls, etc... All the stuff that's keeping the household afloat. It's all the stuff of modern nightmares that feels overwhelming while it sits on a desk or counter-top somewhere keeping the clutter alive. I find dealing with this administrative type stuff frustrating and equally time consuming but it's important. It’s the last thing I typically choose to work on which is why I put it right up front, so I can get it out of the way and put the dread behind me for the rest of the week. Nonetheless, tackling this stuff is the flashlight for darkness. When you move through these tasks, you get a good picture of your state of affairs, allowing you to consciously move forward from there. And it really doesn’t matter right now if you are working from home or a stay-at-home mom. We are all stay-at-home people right now, trying our best to keep some level of normalcy. Attending to the tedious stuff and staying organized will help keep your situation healthy. Take the time to open and sort the mail. Take the time to create the zoom account, do your taxes, or download that delivery app. Make the day your personal administrative day and use it to manage the household as a business. There are a lot of moving parts right now but the most important thing you can do is get a grip with your housebound life. As the week unfolds and administrative affairs start to pile back up, make a note to address those things next Monday. Avoid the trap of dealing with this stuff throughout the week because it will consume you, you’ll get bored and then you’ll start ignoring it. That’s when things fall through the cracks. Just stay the course and I promise you that week over week, you’ll regain a sense of control and feel better about sheltering in place.

Fitness:

When it comes to physical health I like to make Mondays my cardio day. Why? Because similarly to turning on the light, cardio is the equivalents of turning on the engine. It’s the beginning of the week and I like the idea of firing-up the “machine”. Think of your body as your work computer. You start it up on Monday and typically leave it on till Friday. That initial surge of power is what boots your computer and I found it helpful to think of the body in the same way. If I can get the blood pumping early in the week, it sets me up for success. I call that a win! And when you “win” Monday you pretty much win the week. And I know how everyone hates Monday but as the days pass, and you find yourself living in the perpetual Wednesday, Mondays will start to taste a little bit sweet just knowing that they mark the definitive start to the next cycle. Oh, and speaking of machines… don’t forget to start your car!

Tuesdays-

Life: Research/ Learning Tasks

Fitness: Upper Body

Life:

I designate Tuesdays for research type stuff. By this I mean I take the time to “figure-out” the things. This might look like conducting an inventory, or Youtubing how to fix the dryer, scouring Pinterest for a new recipe, or ugh…researching unemployment benefits?! The investigative process also eats a way at our time and often keeps us from improving our lives in some way because we don’t prioritize the chance to learn. Researching things takes time and is an essential component in educating ourselves. If you want to learn the thing, you have to study the thing or at least give it some amount of research to develop comfortability.

So… Tuesday! If you had a successful Monday then you likely embraced some new information. For example, just because you downloaded the Robinhood app to start day trading or joined the Postmate Fleet to offer local deliveries doesn’t always mean your comfortable using them. So why not take the day to schedule in some learning. Or why not take the day to figure out how you are going to respond to all those emails? Or pay those bills? Unless you’re a healthcare worker or city manager of some kind, you can afford to slow down. Panicking won’t get you very far. It might even get you hurt so just slow down, take a deep breath and explore your options when it comes to doing X, Y, and Z.

Fitness:

Why should you do upper body on Tuesdays? Because it’s still early in the week. Obligations remain heavy at this time, meaning, you still have a lot to do before you get to the weekend. For me that feels like “weight” on my shoulders so I just go with it. Tuesdays in my mind are still an uphill battle and I just put that concept to work physically with attention to my upper body on that day. It might sound strange but this logic works for me. For the first time ever I felt a sense of… alignment? It sounds crazy but something about matching my body-work to the cultural work flow really meshed. And the best part is eliminating the “what am I gonna do today” headache. Previously, I would spend mental energy developing my “workout strategy”, somehow trying to devise my exercise plan, only to feel exhausted by what I was going to do, rather than the exercises themselves. This concept removed the issue of what. If its Tuesday, then I know I’m doing arms. I can drop and do some push-ups, or squeeze in some dips, and then move on to other things more deserving of my mental space.

Wednesday-

Life:Core Activities

Fitness: Abs & Back

Life:

Wednesday Shemednsday…

It feels like everyday is a Wednesday right now. But, this is why I think Wednesday deserves a little love. It’s the center of the week so why not make it the center of your life? Hear me out…

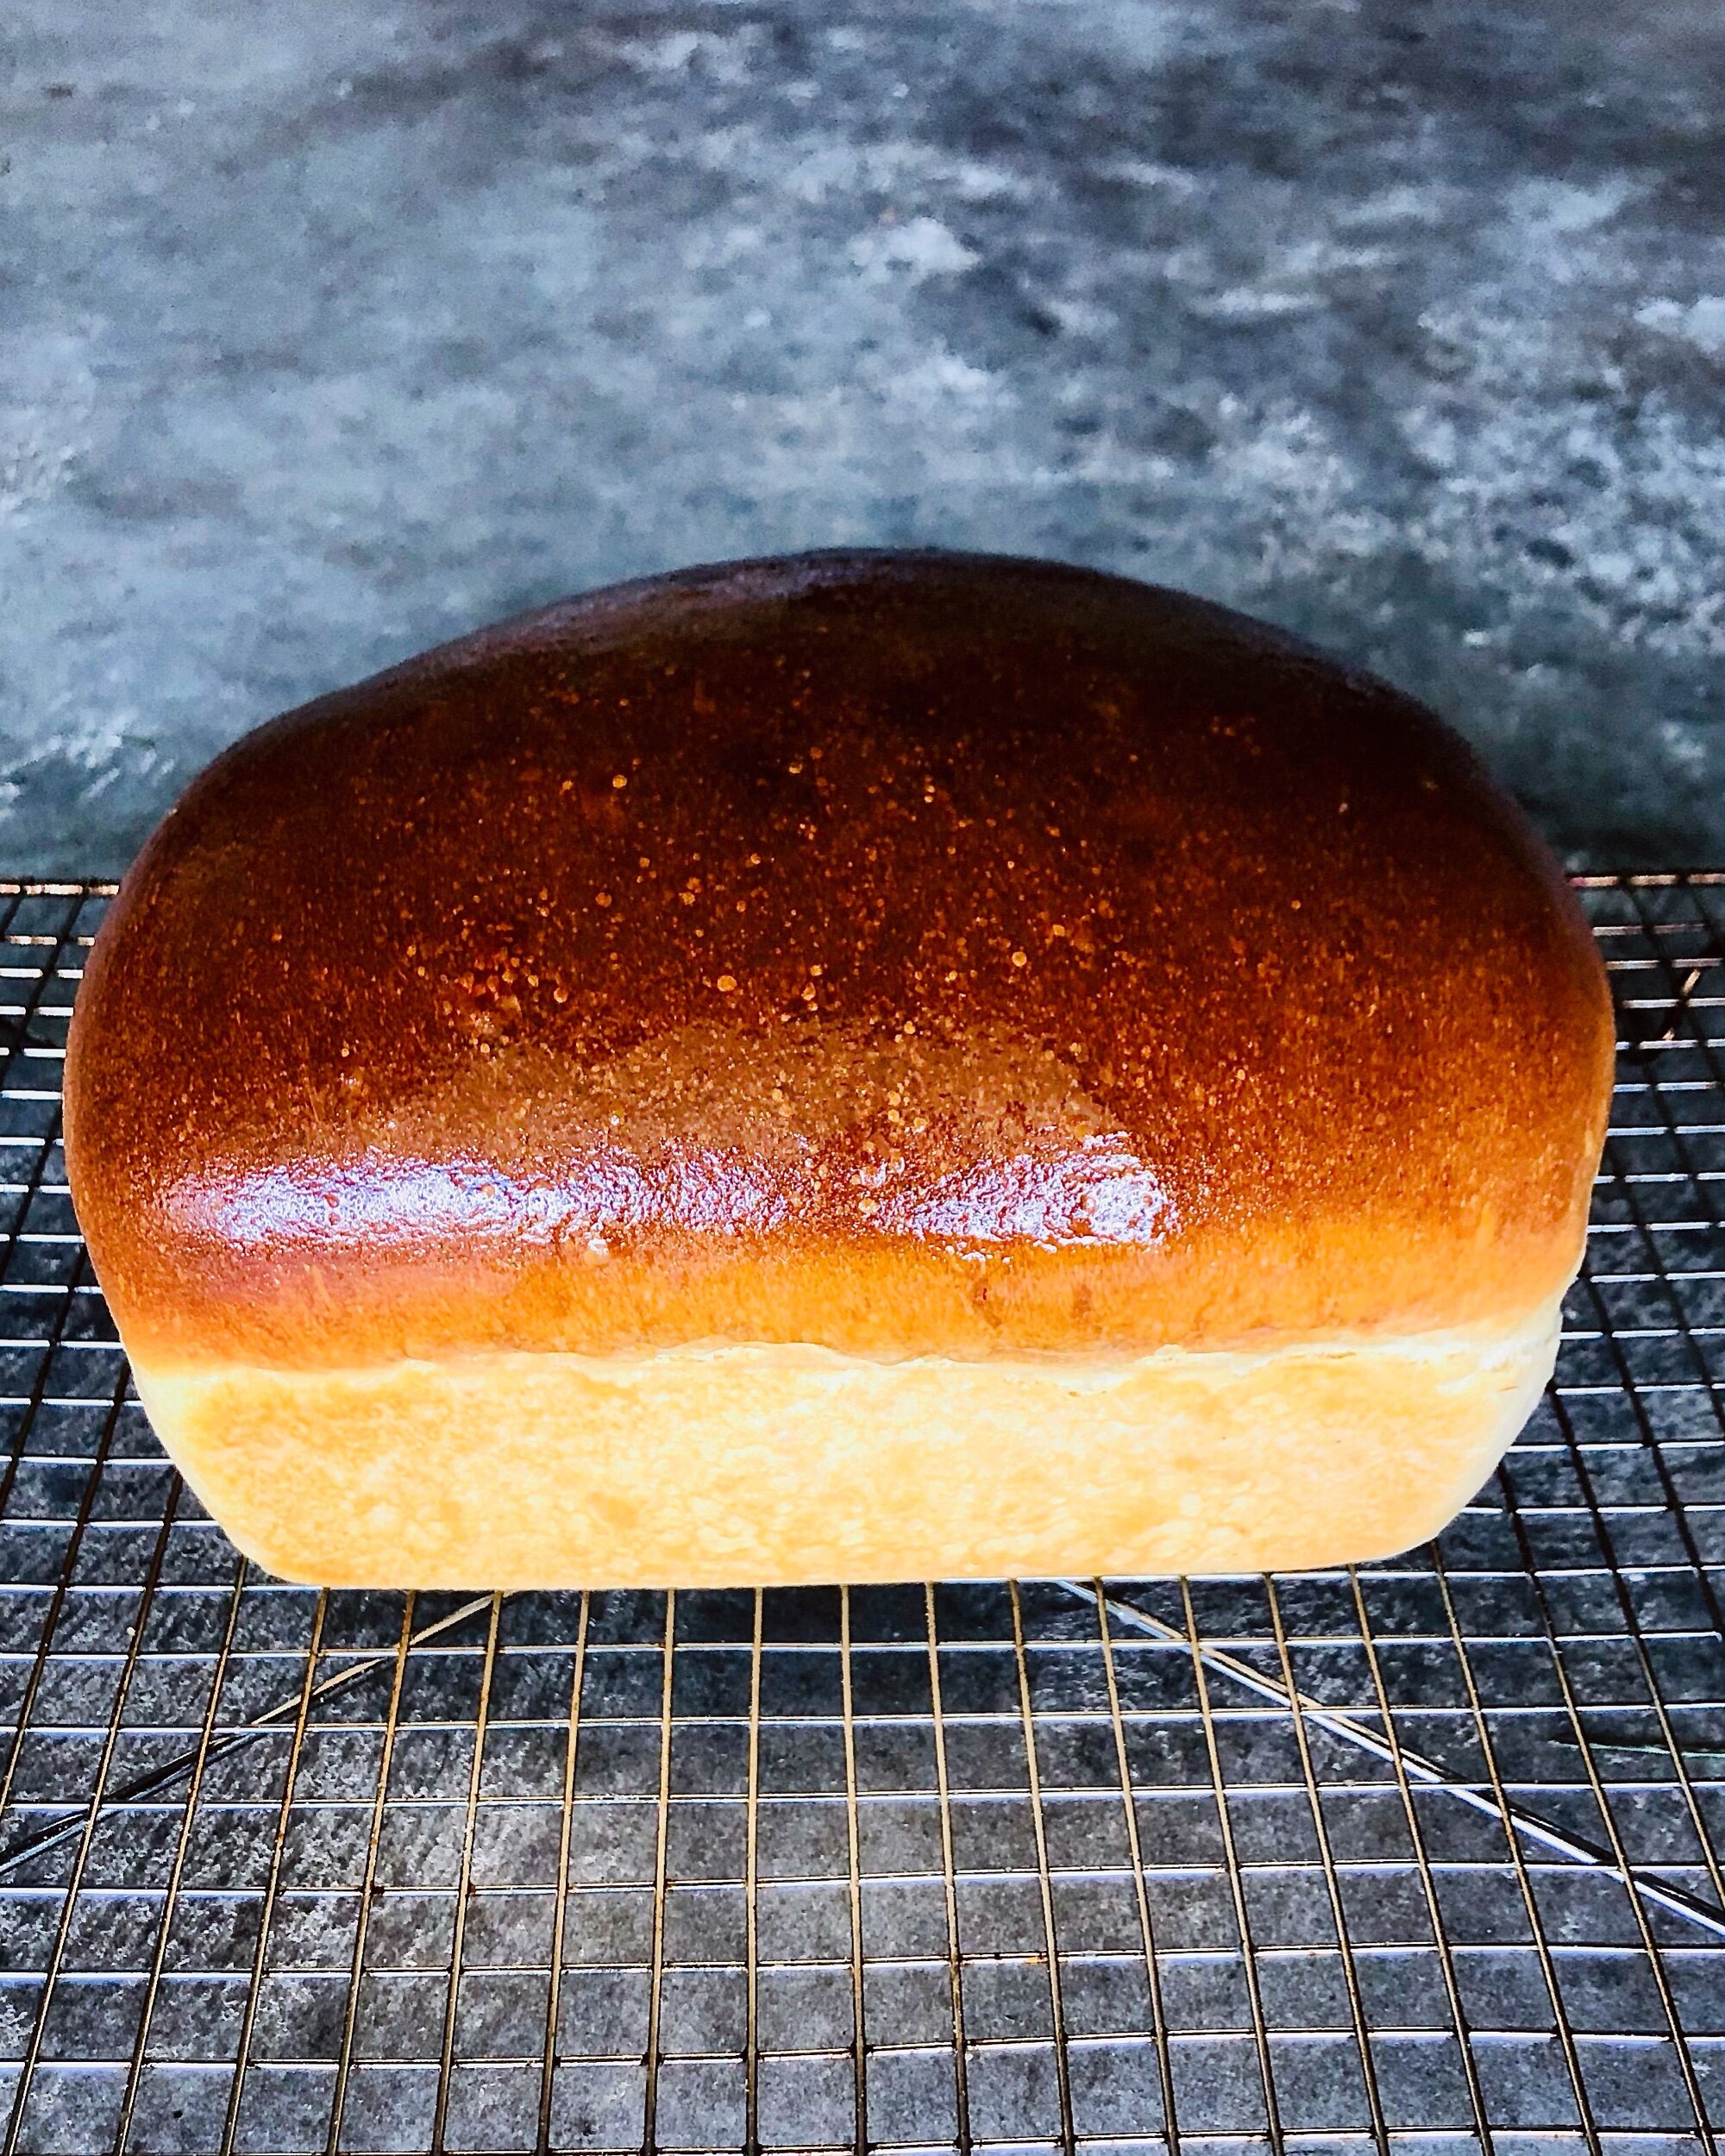
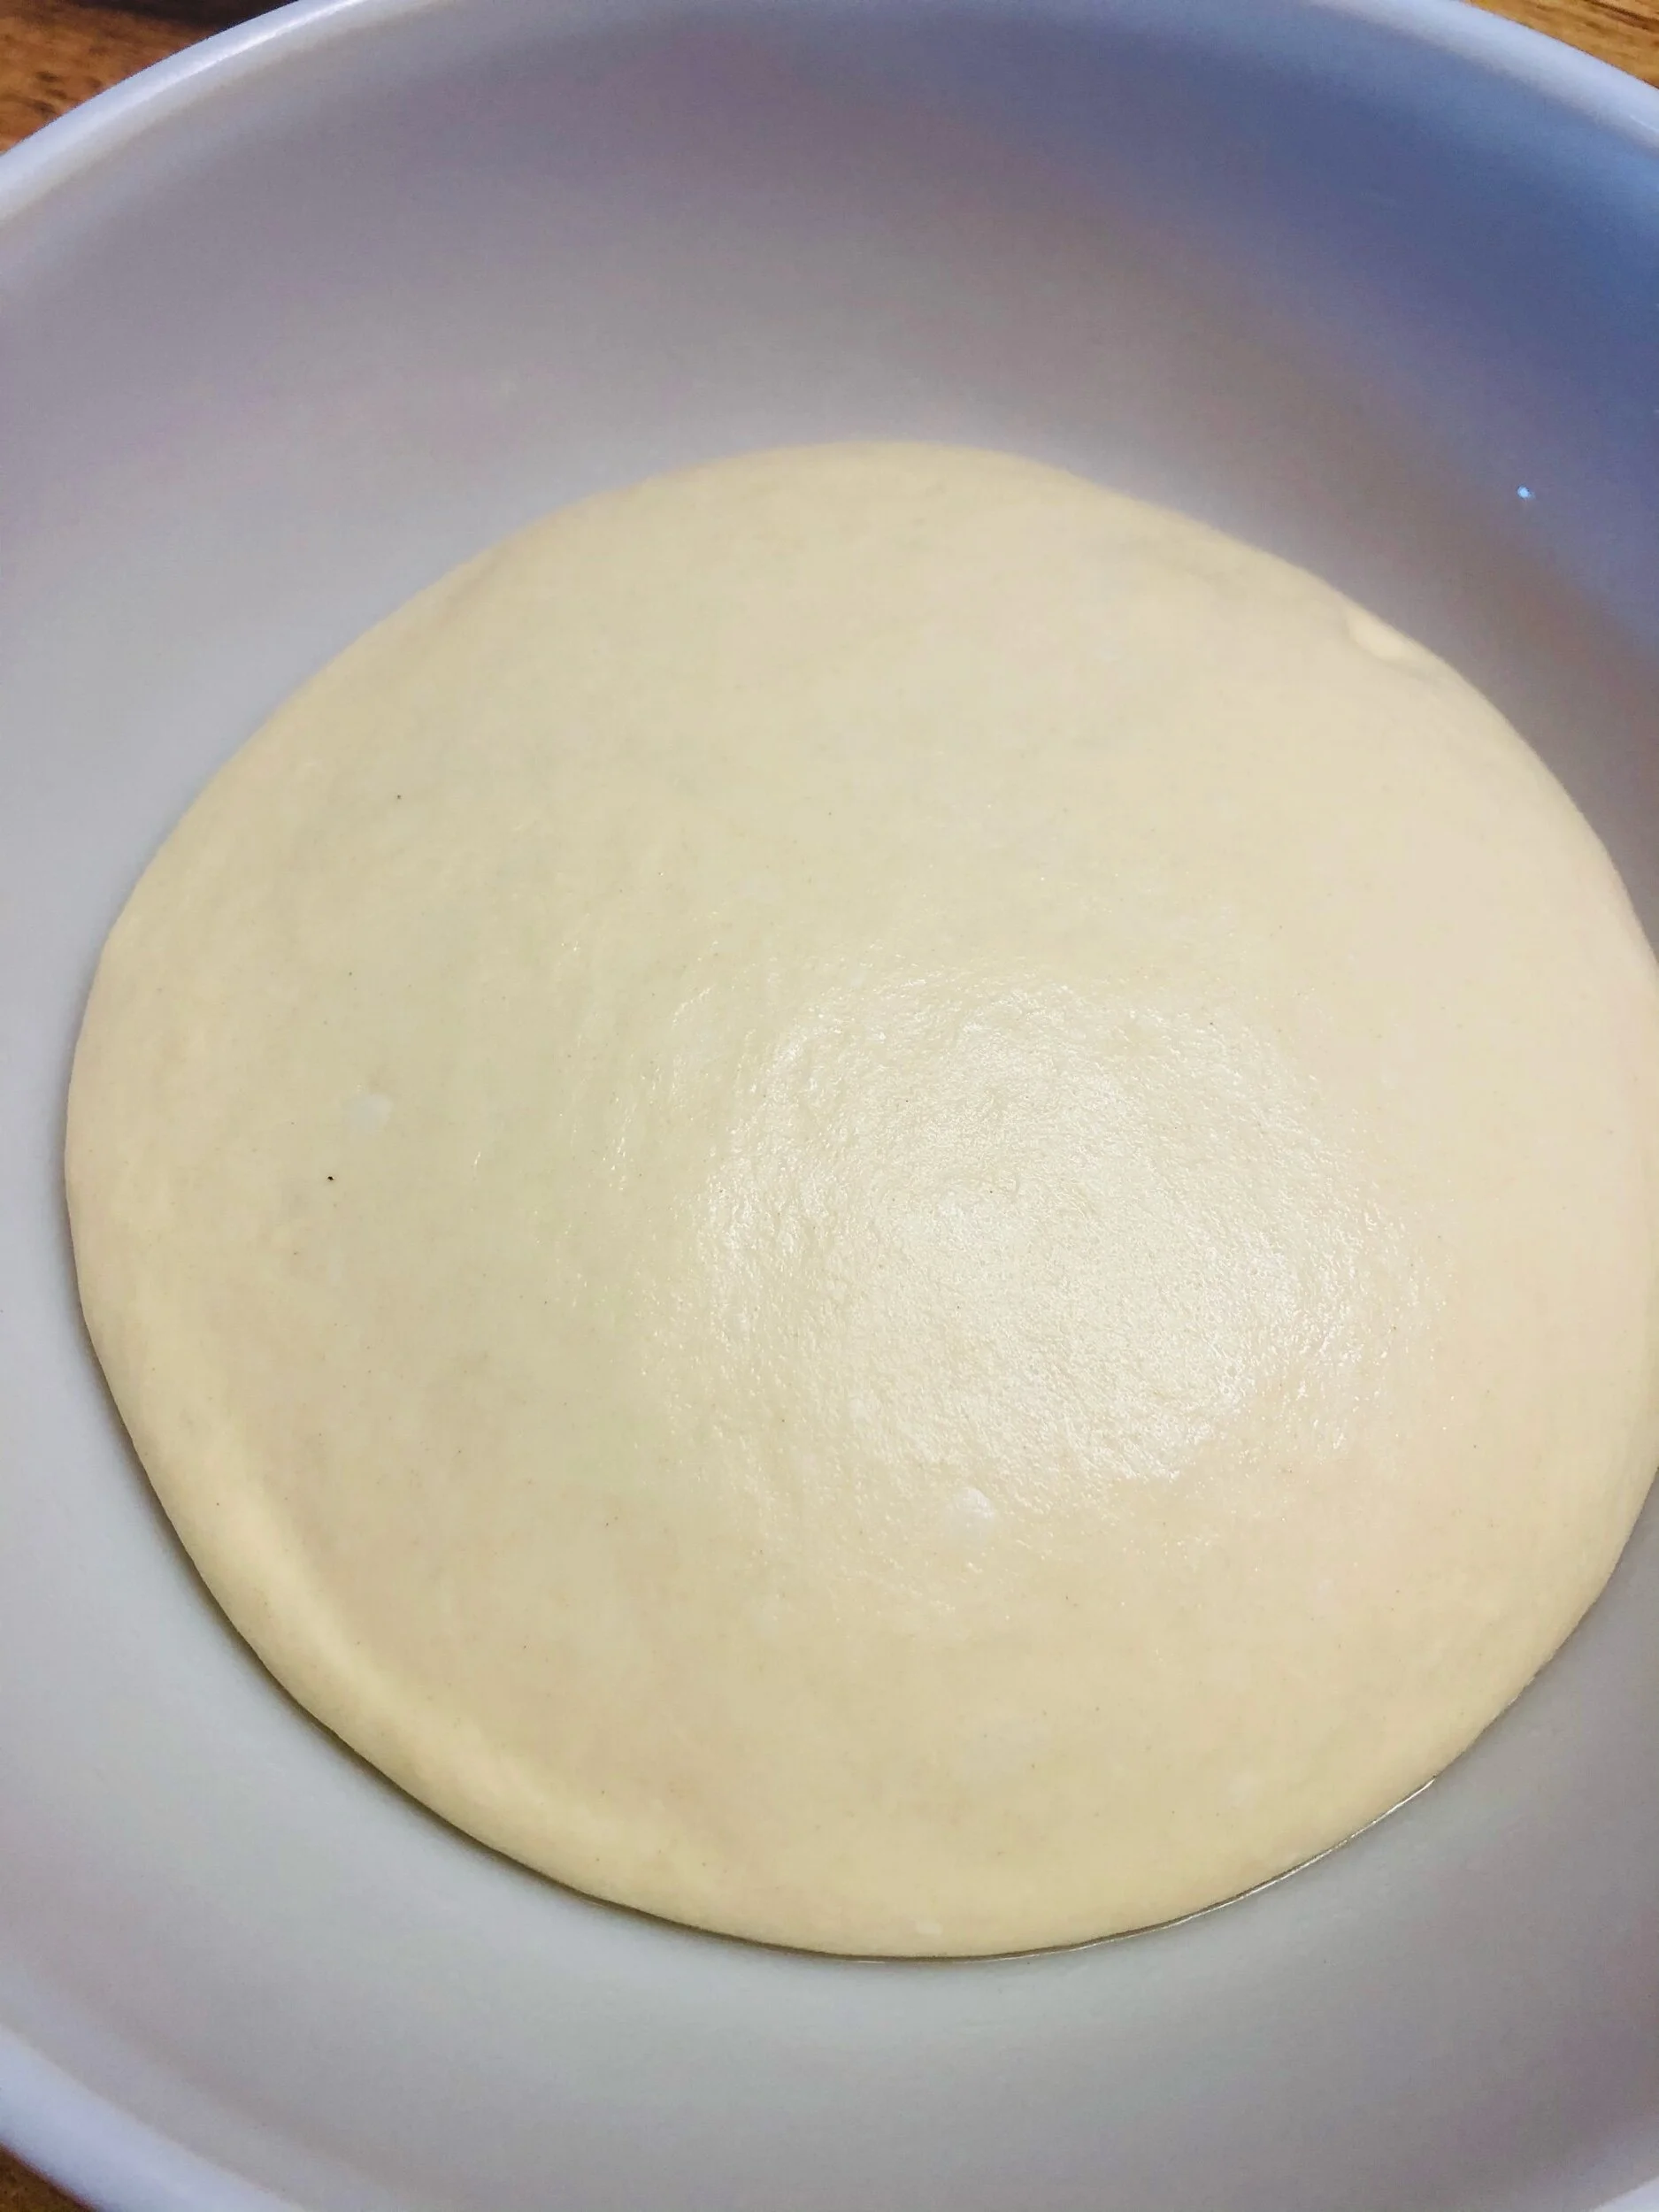
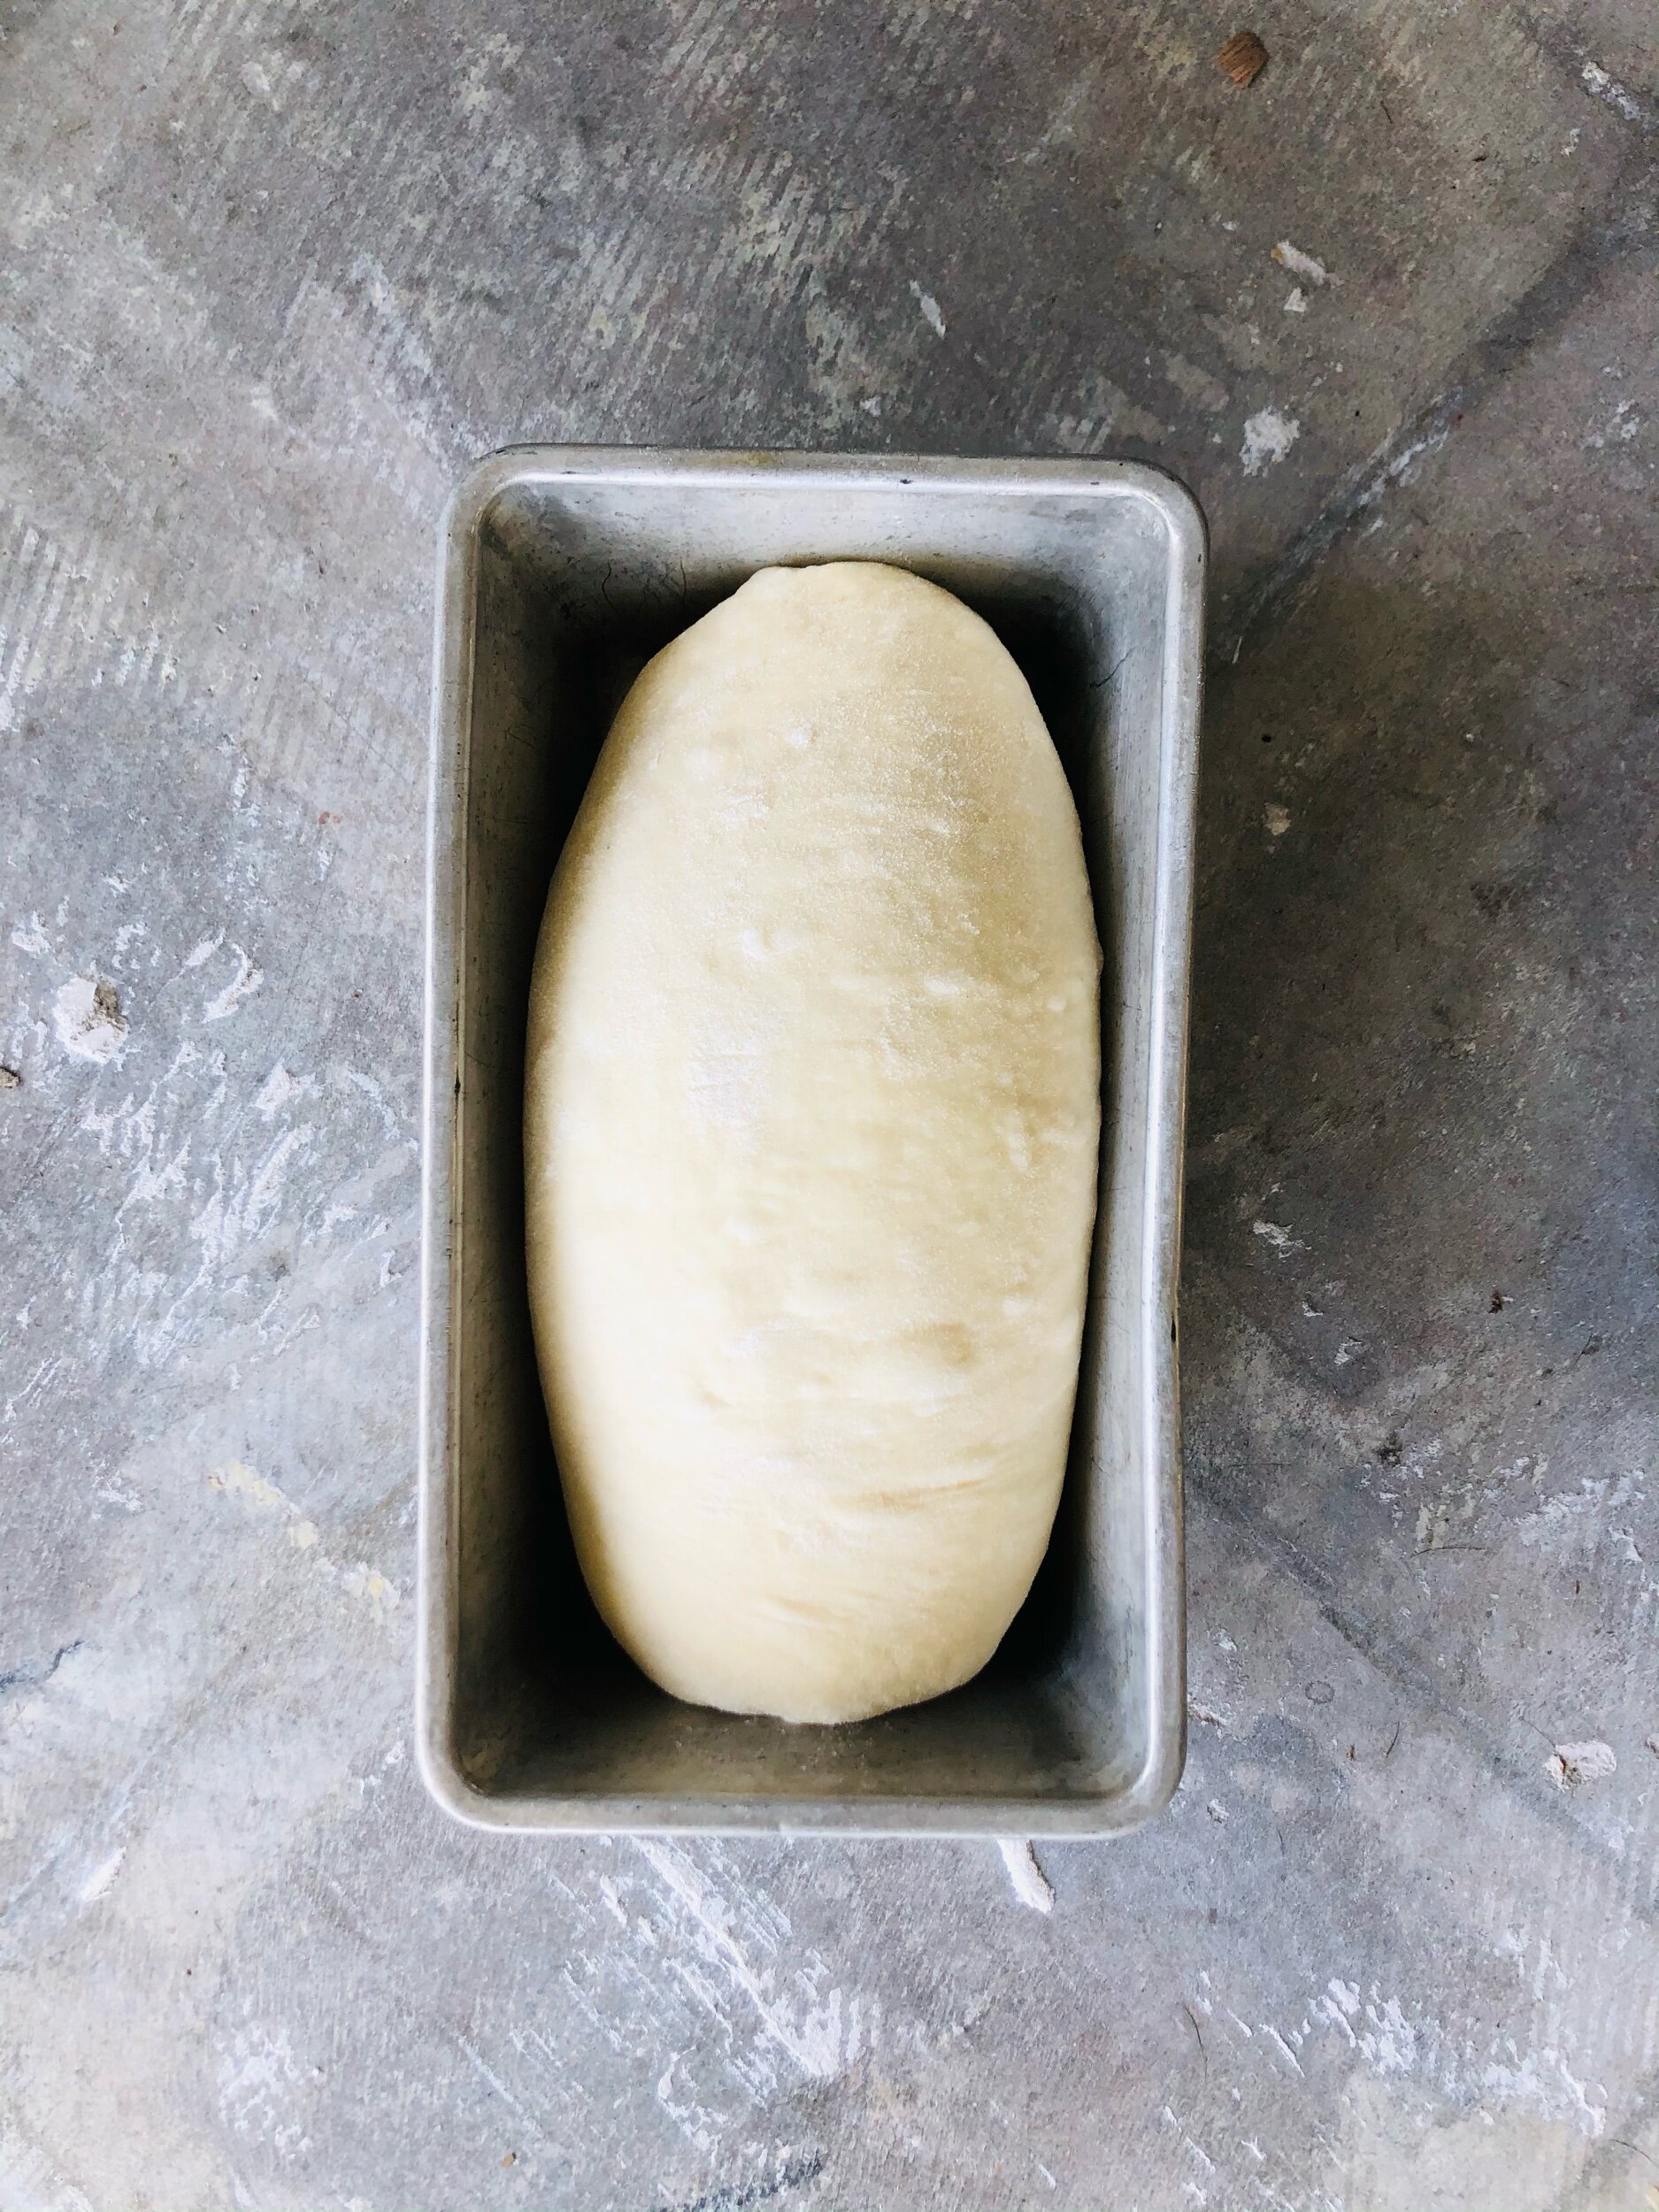
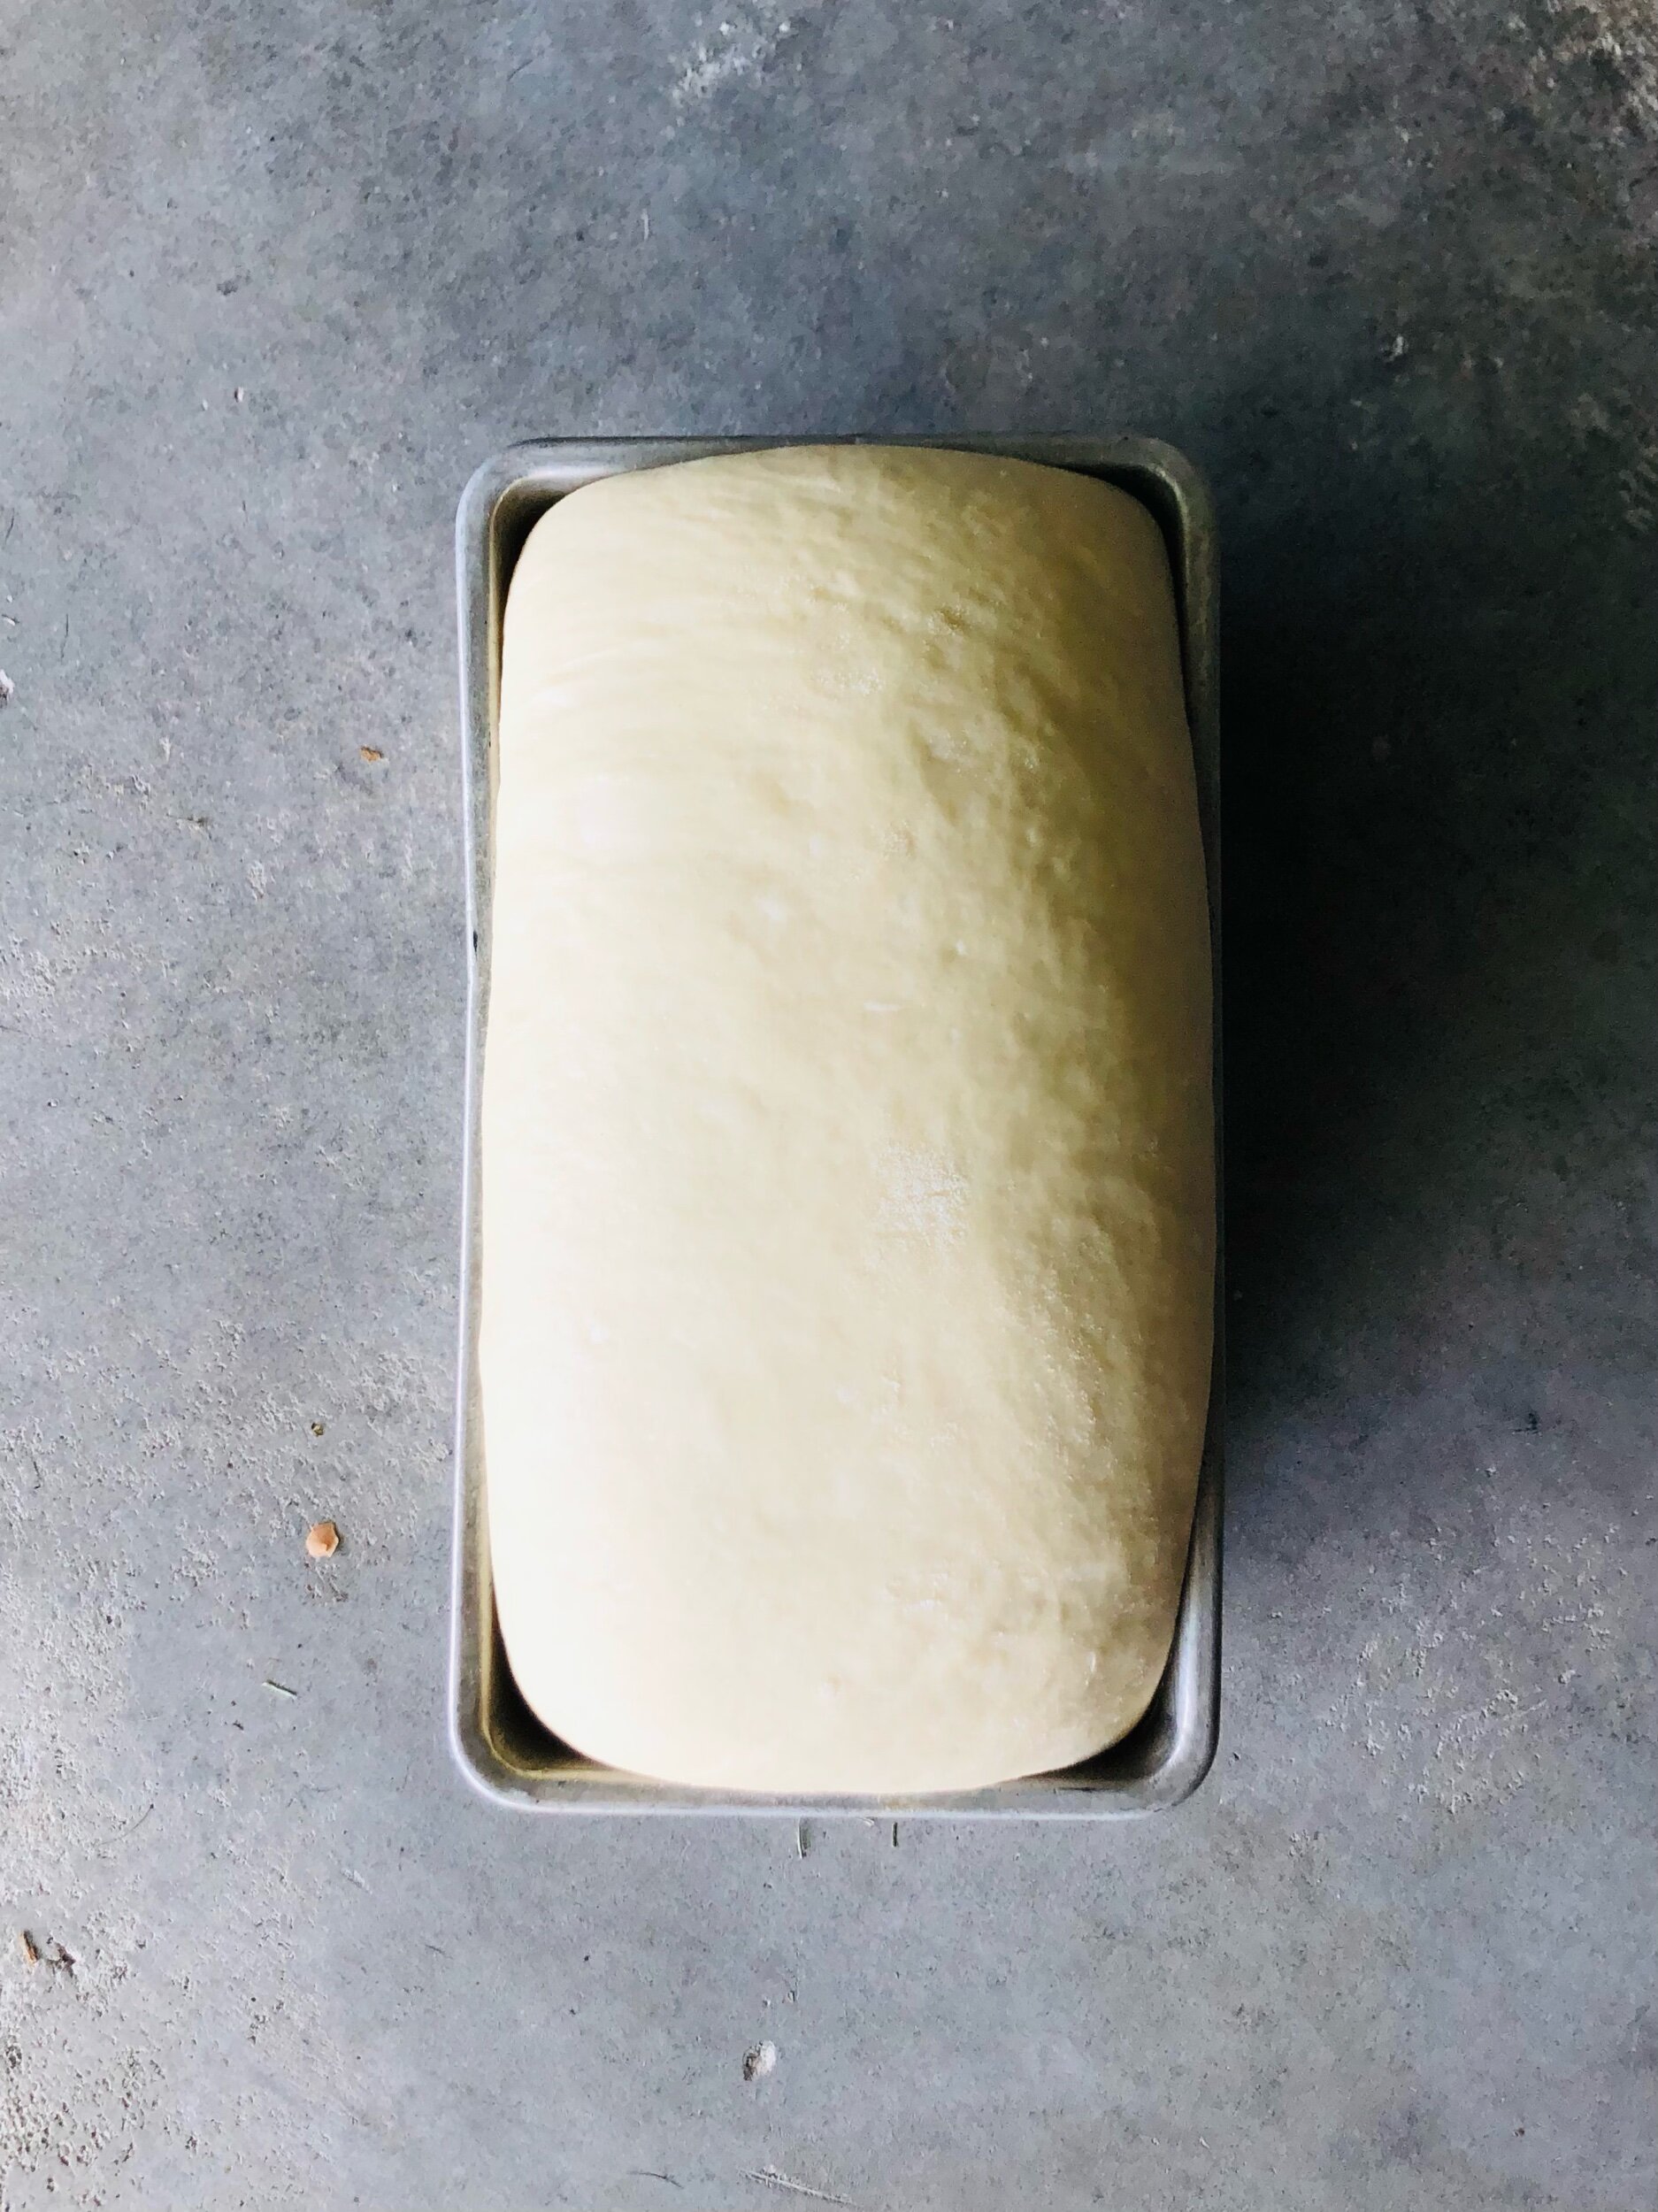
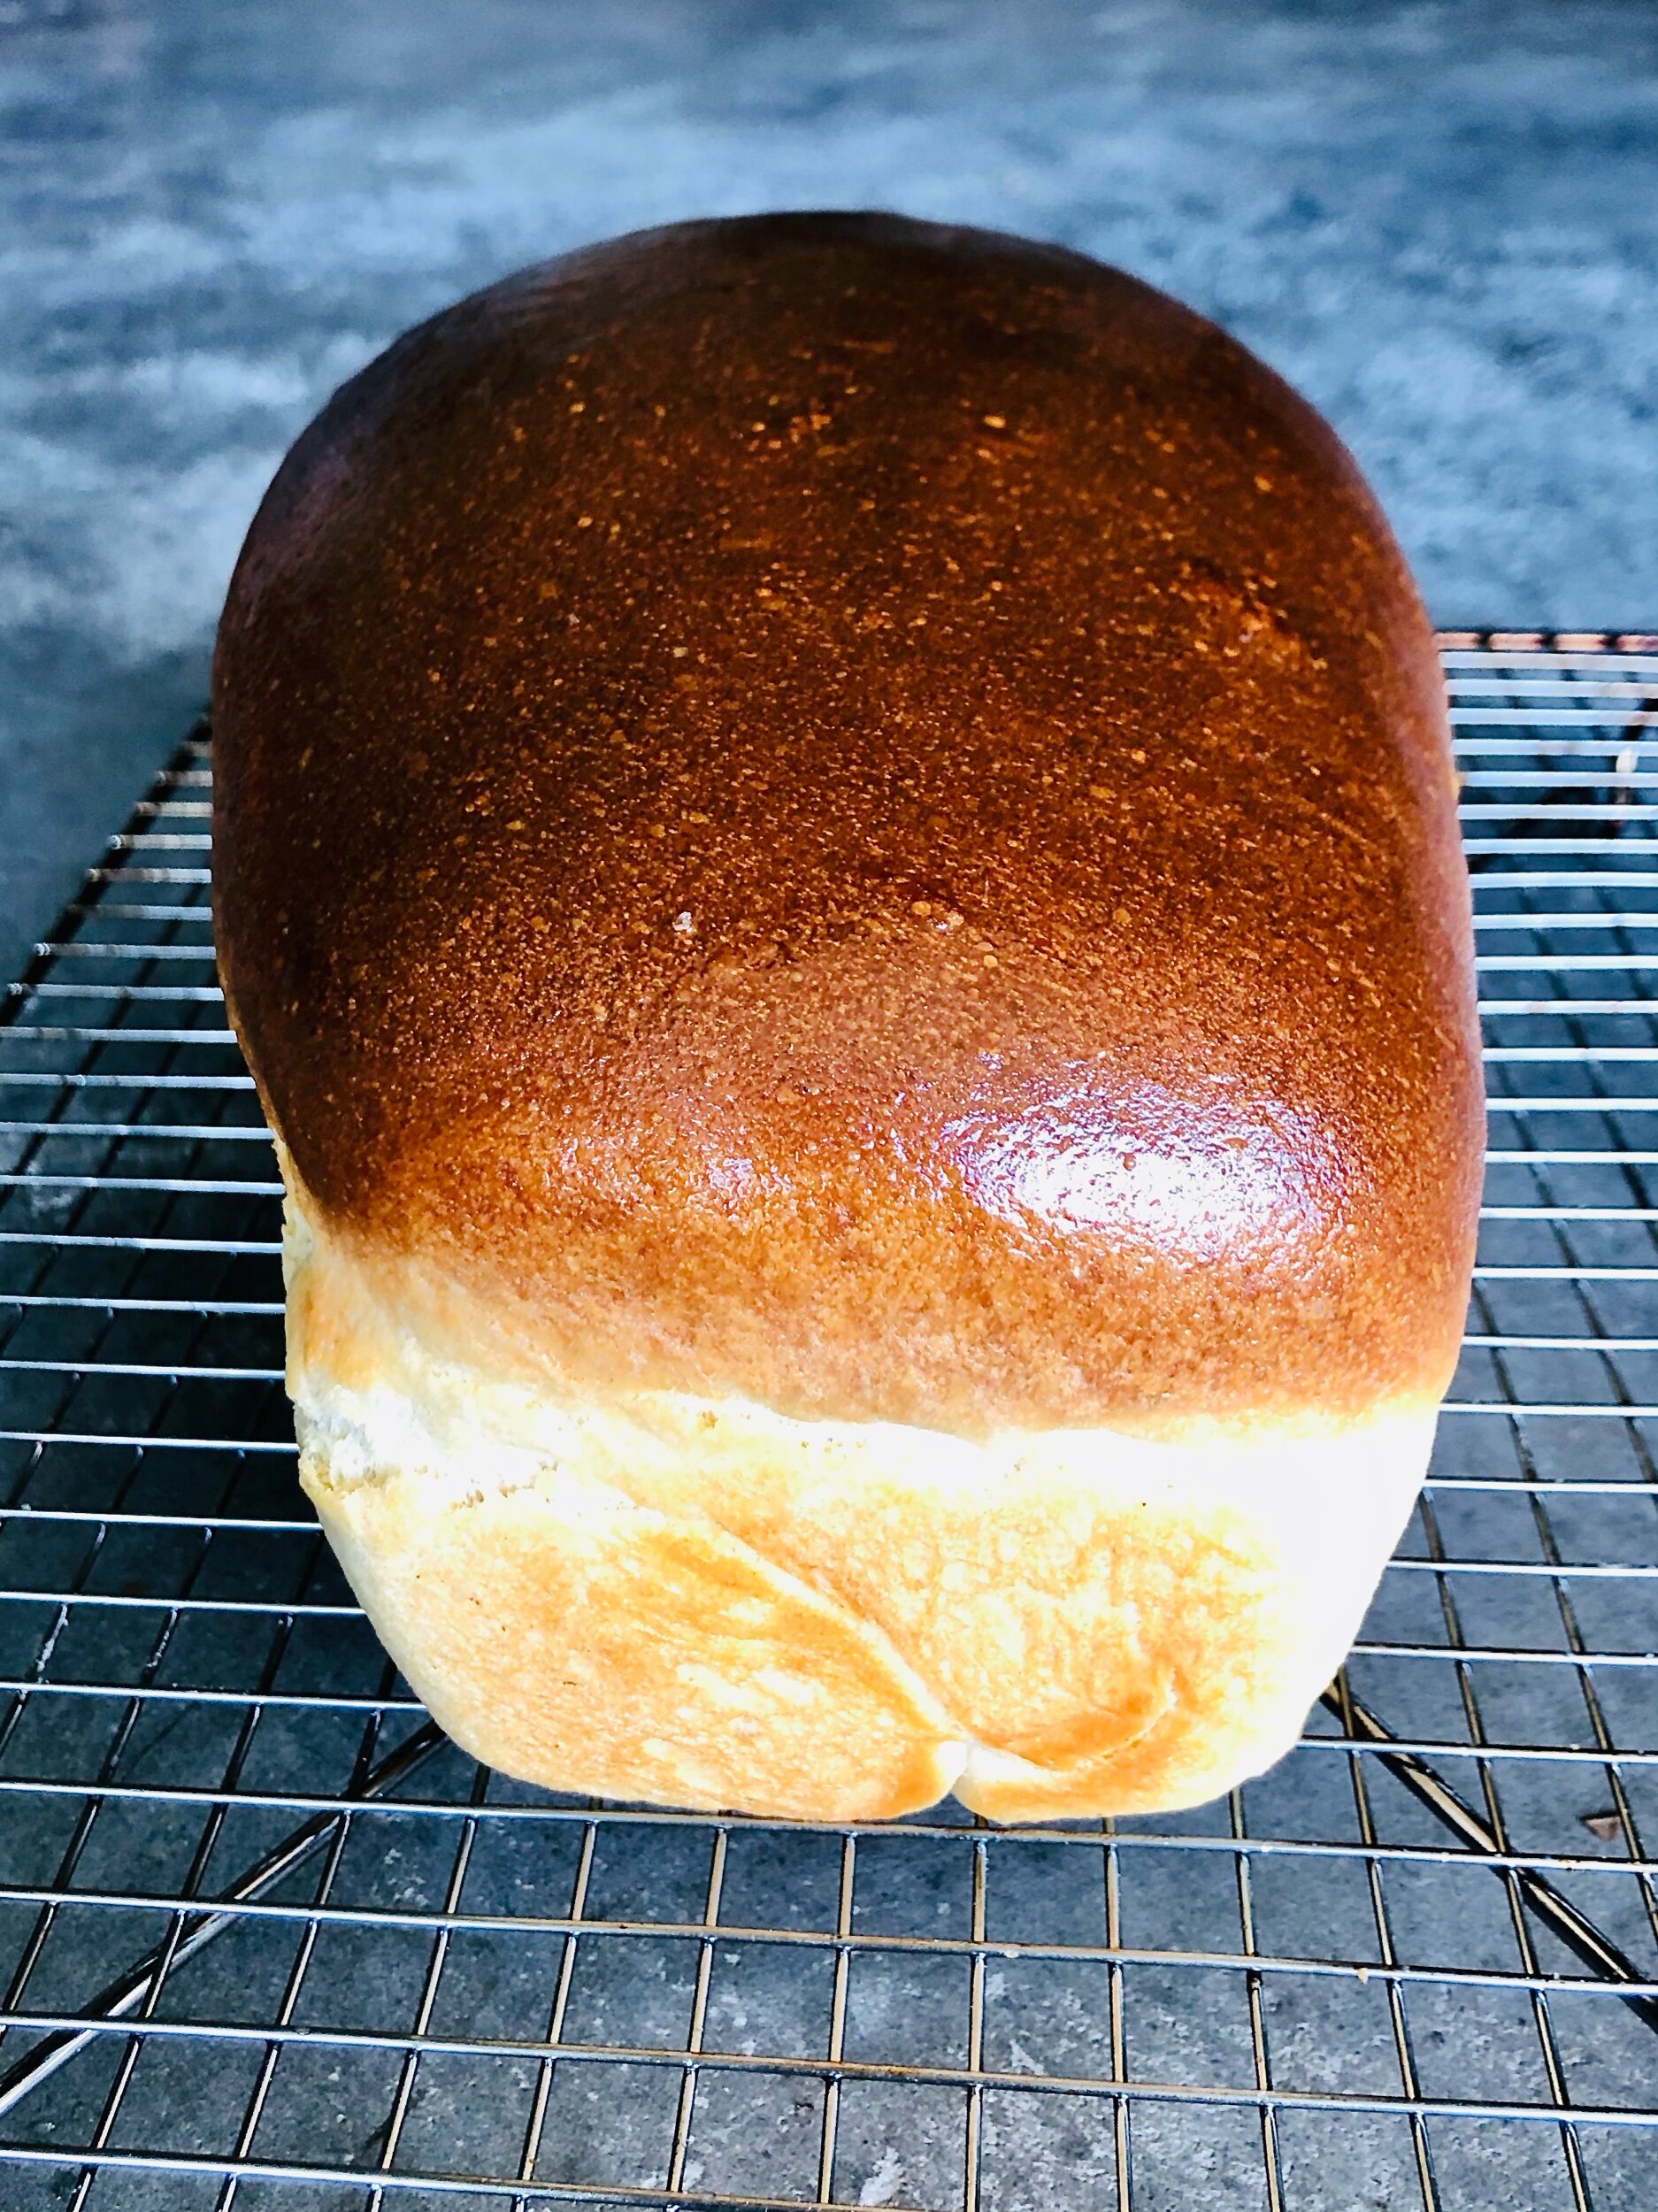
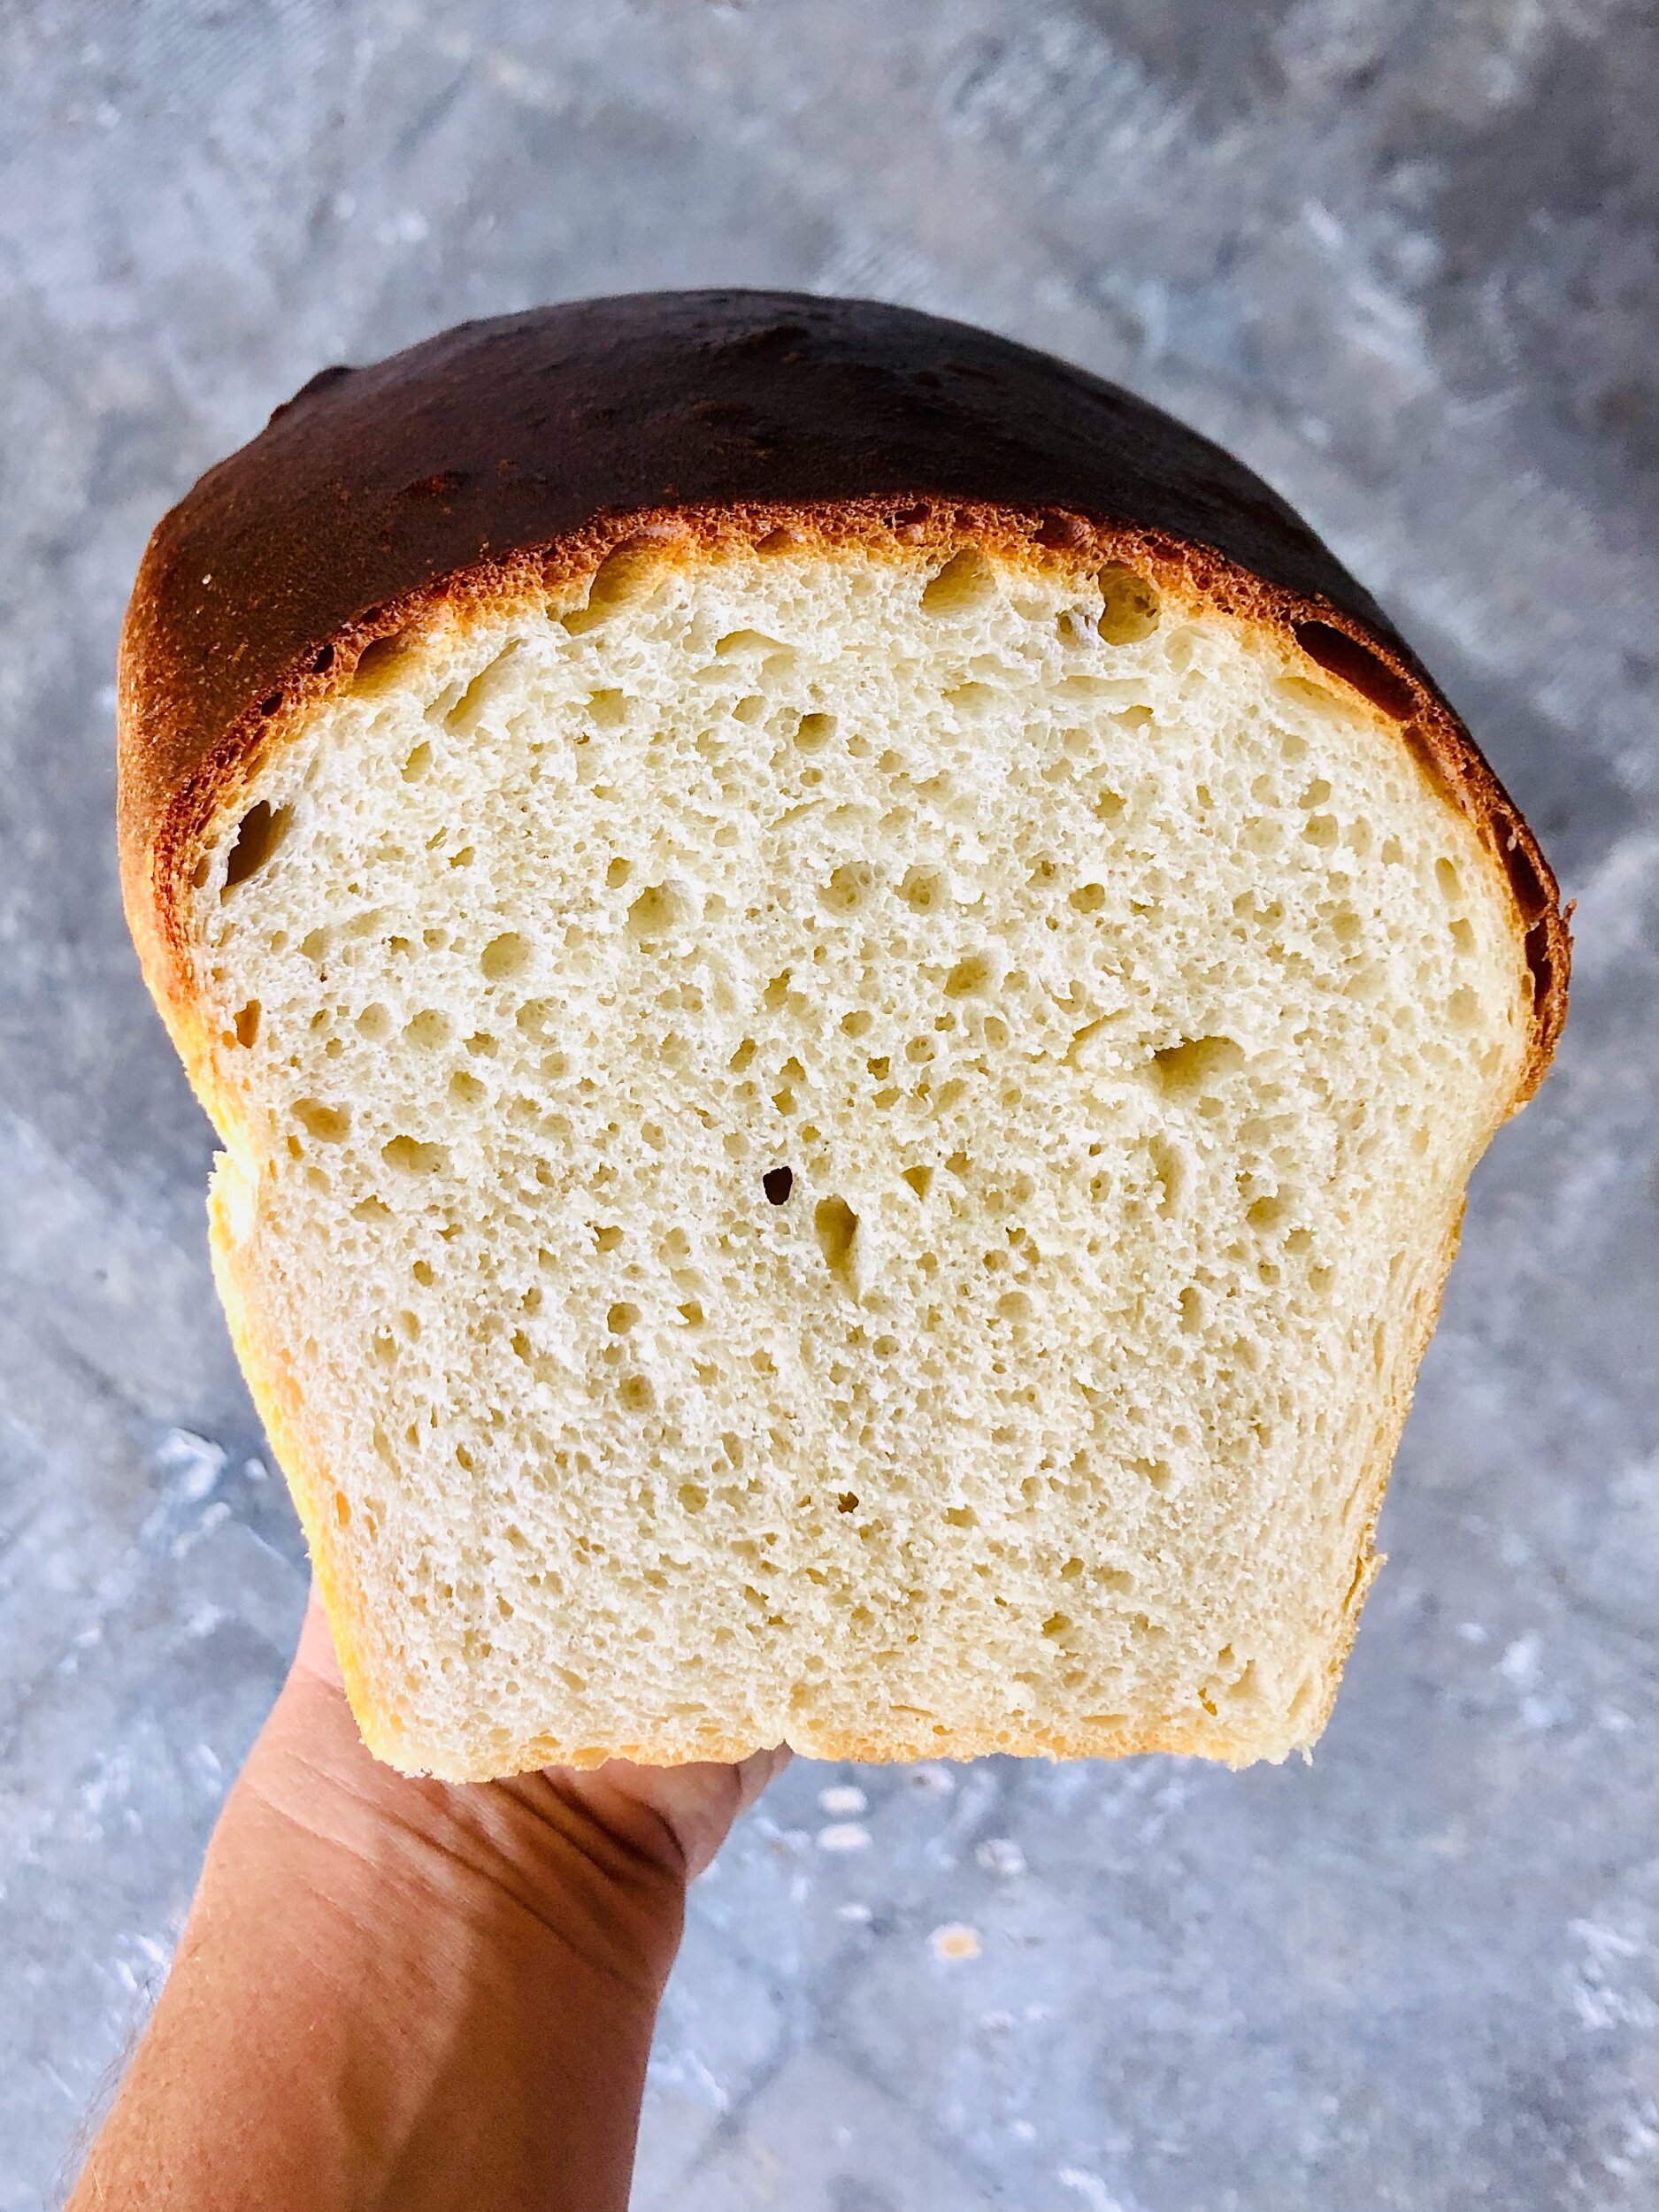
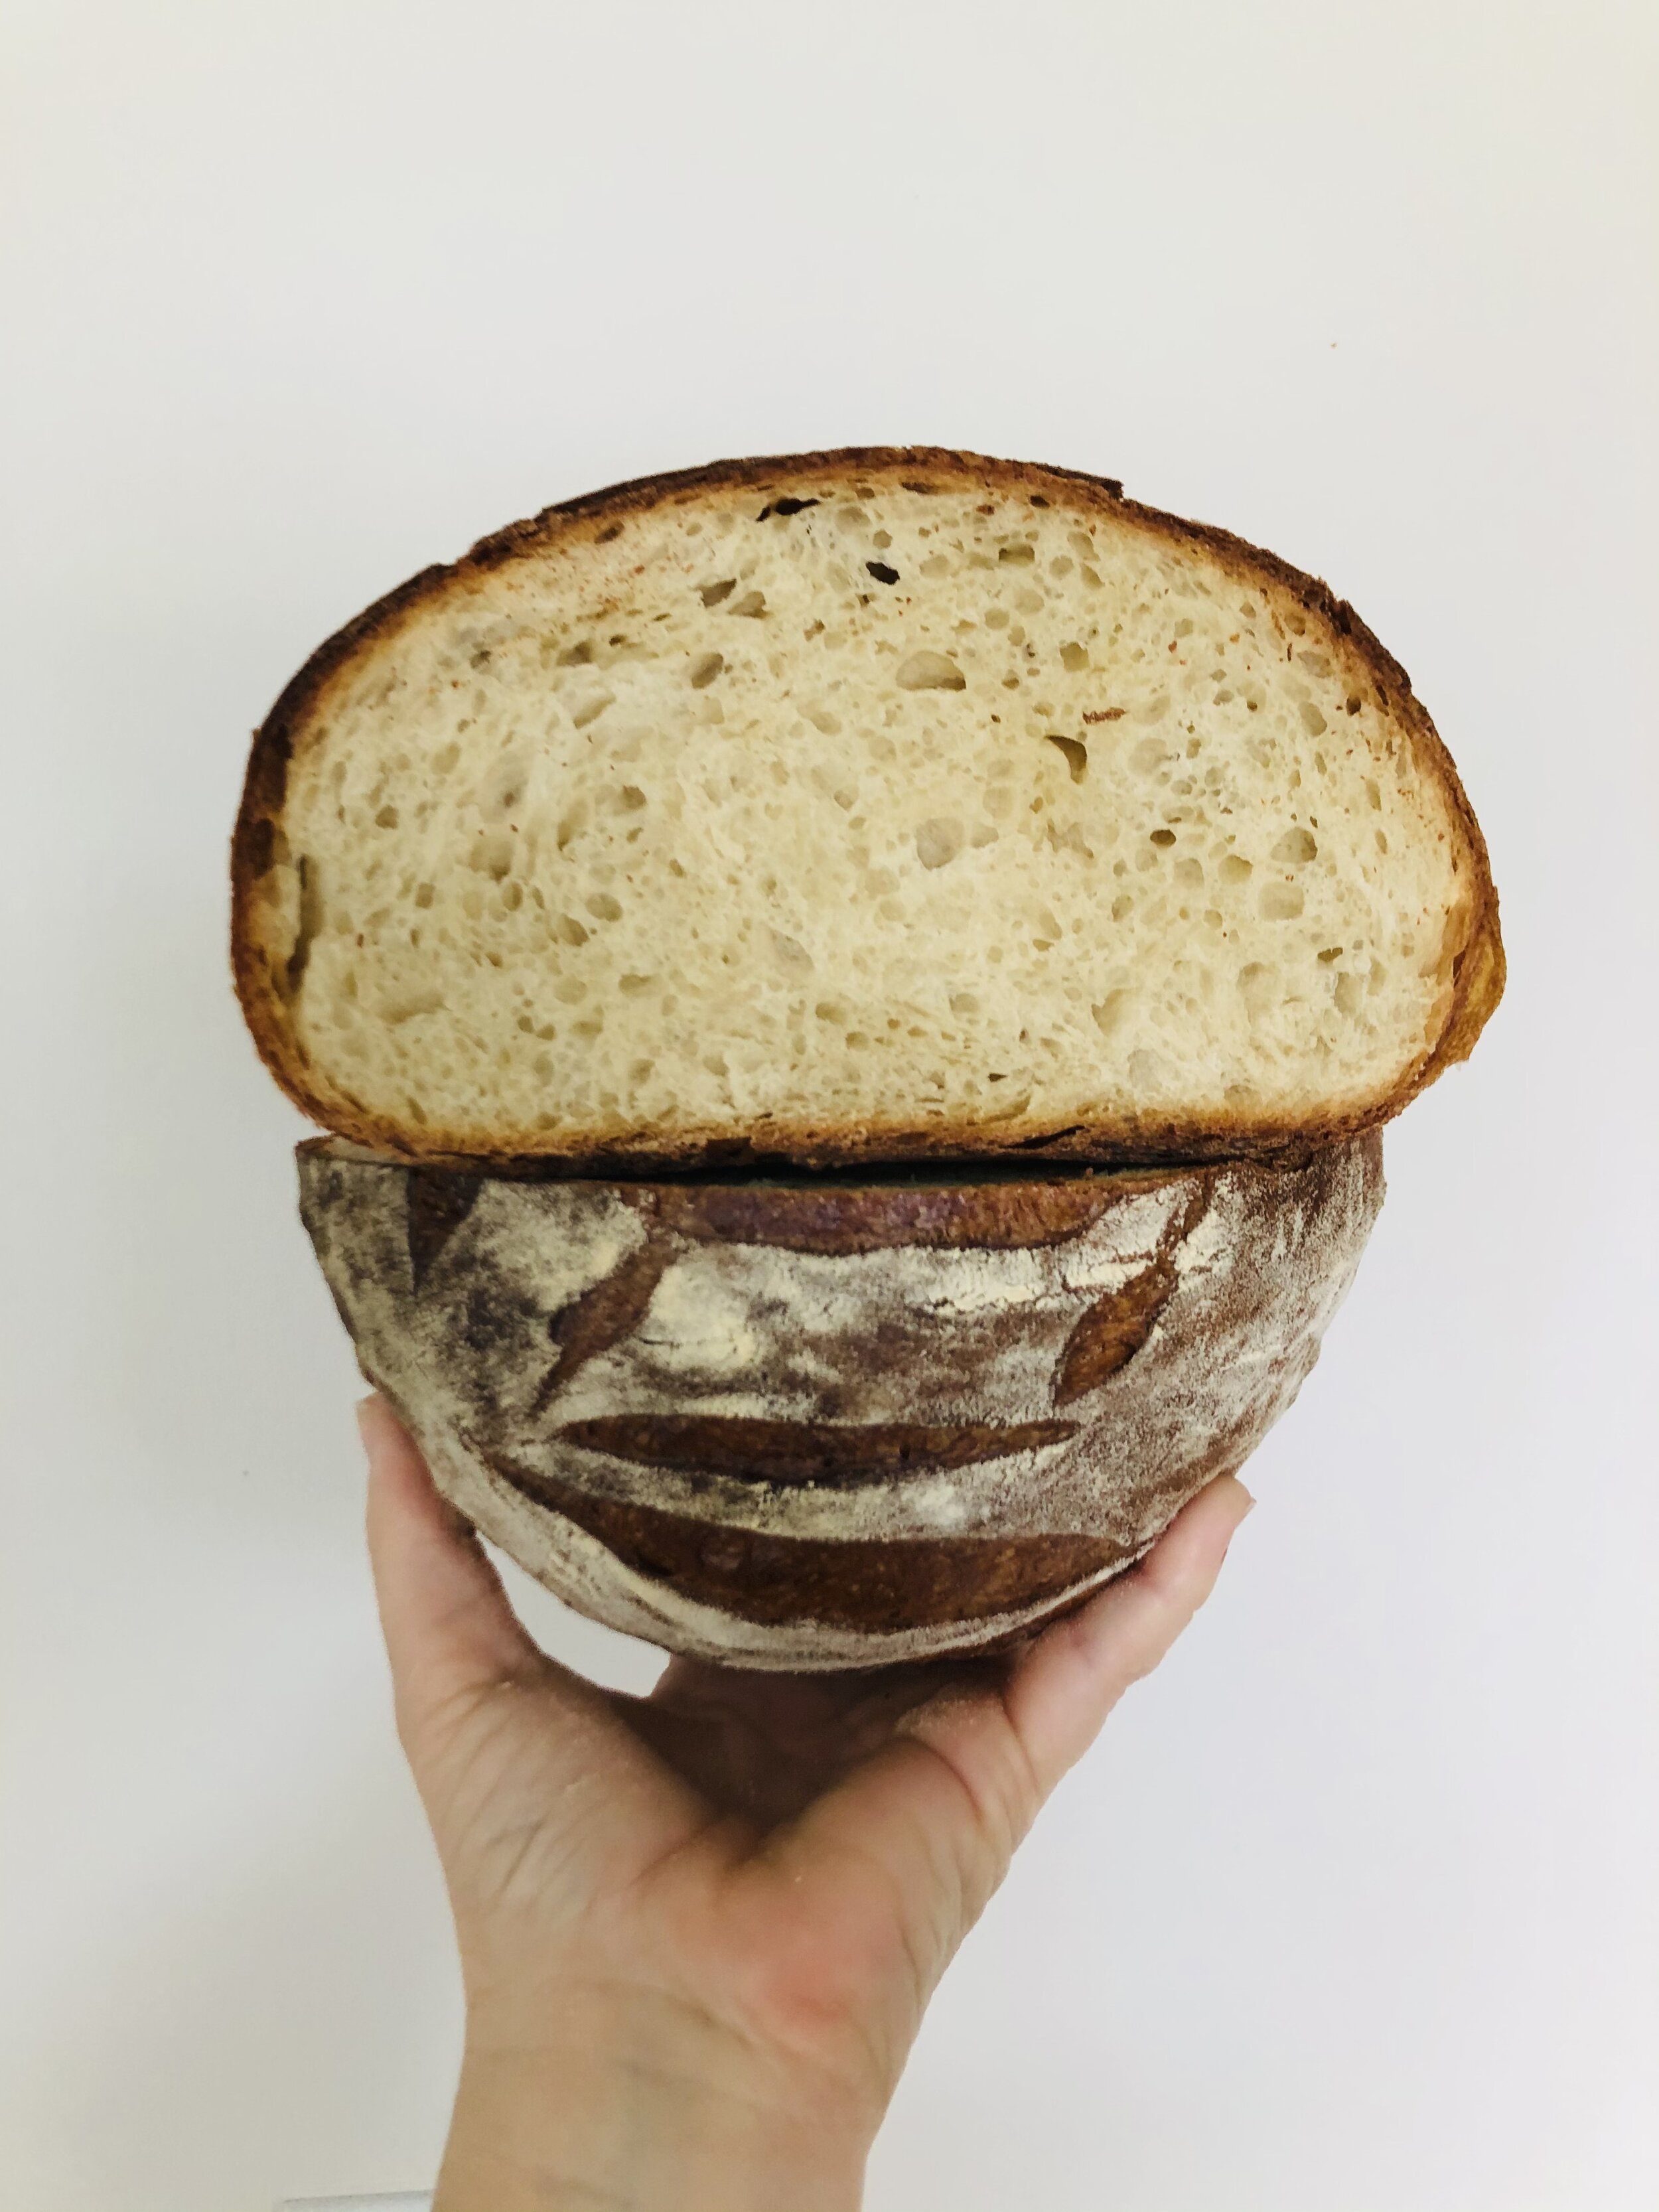
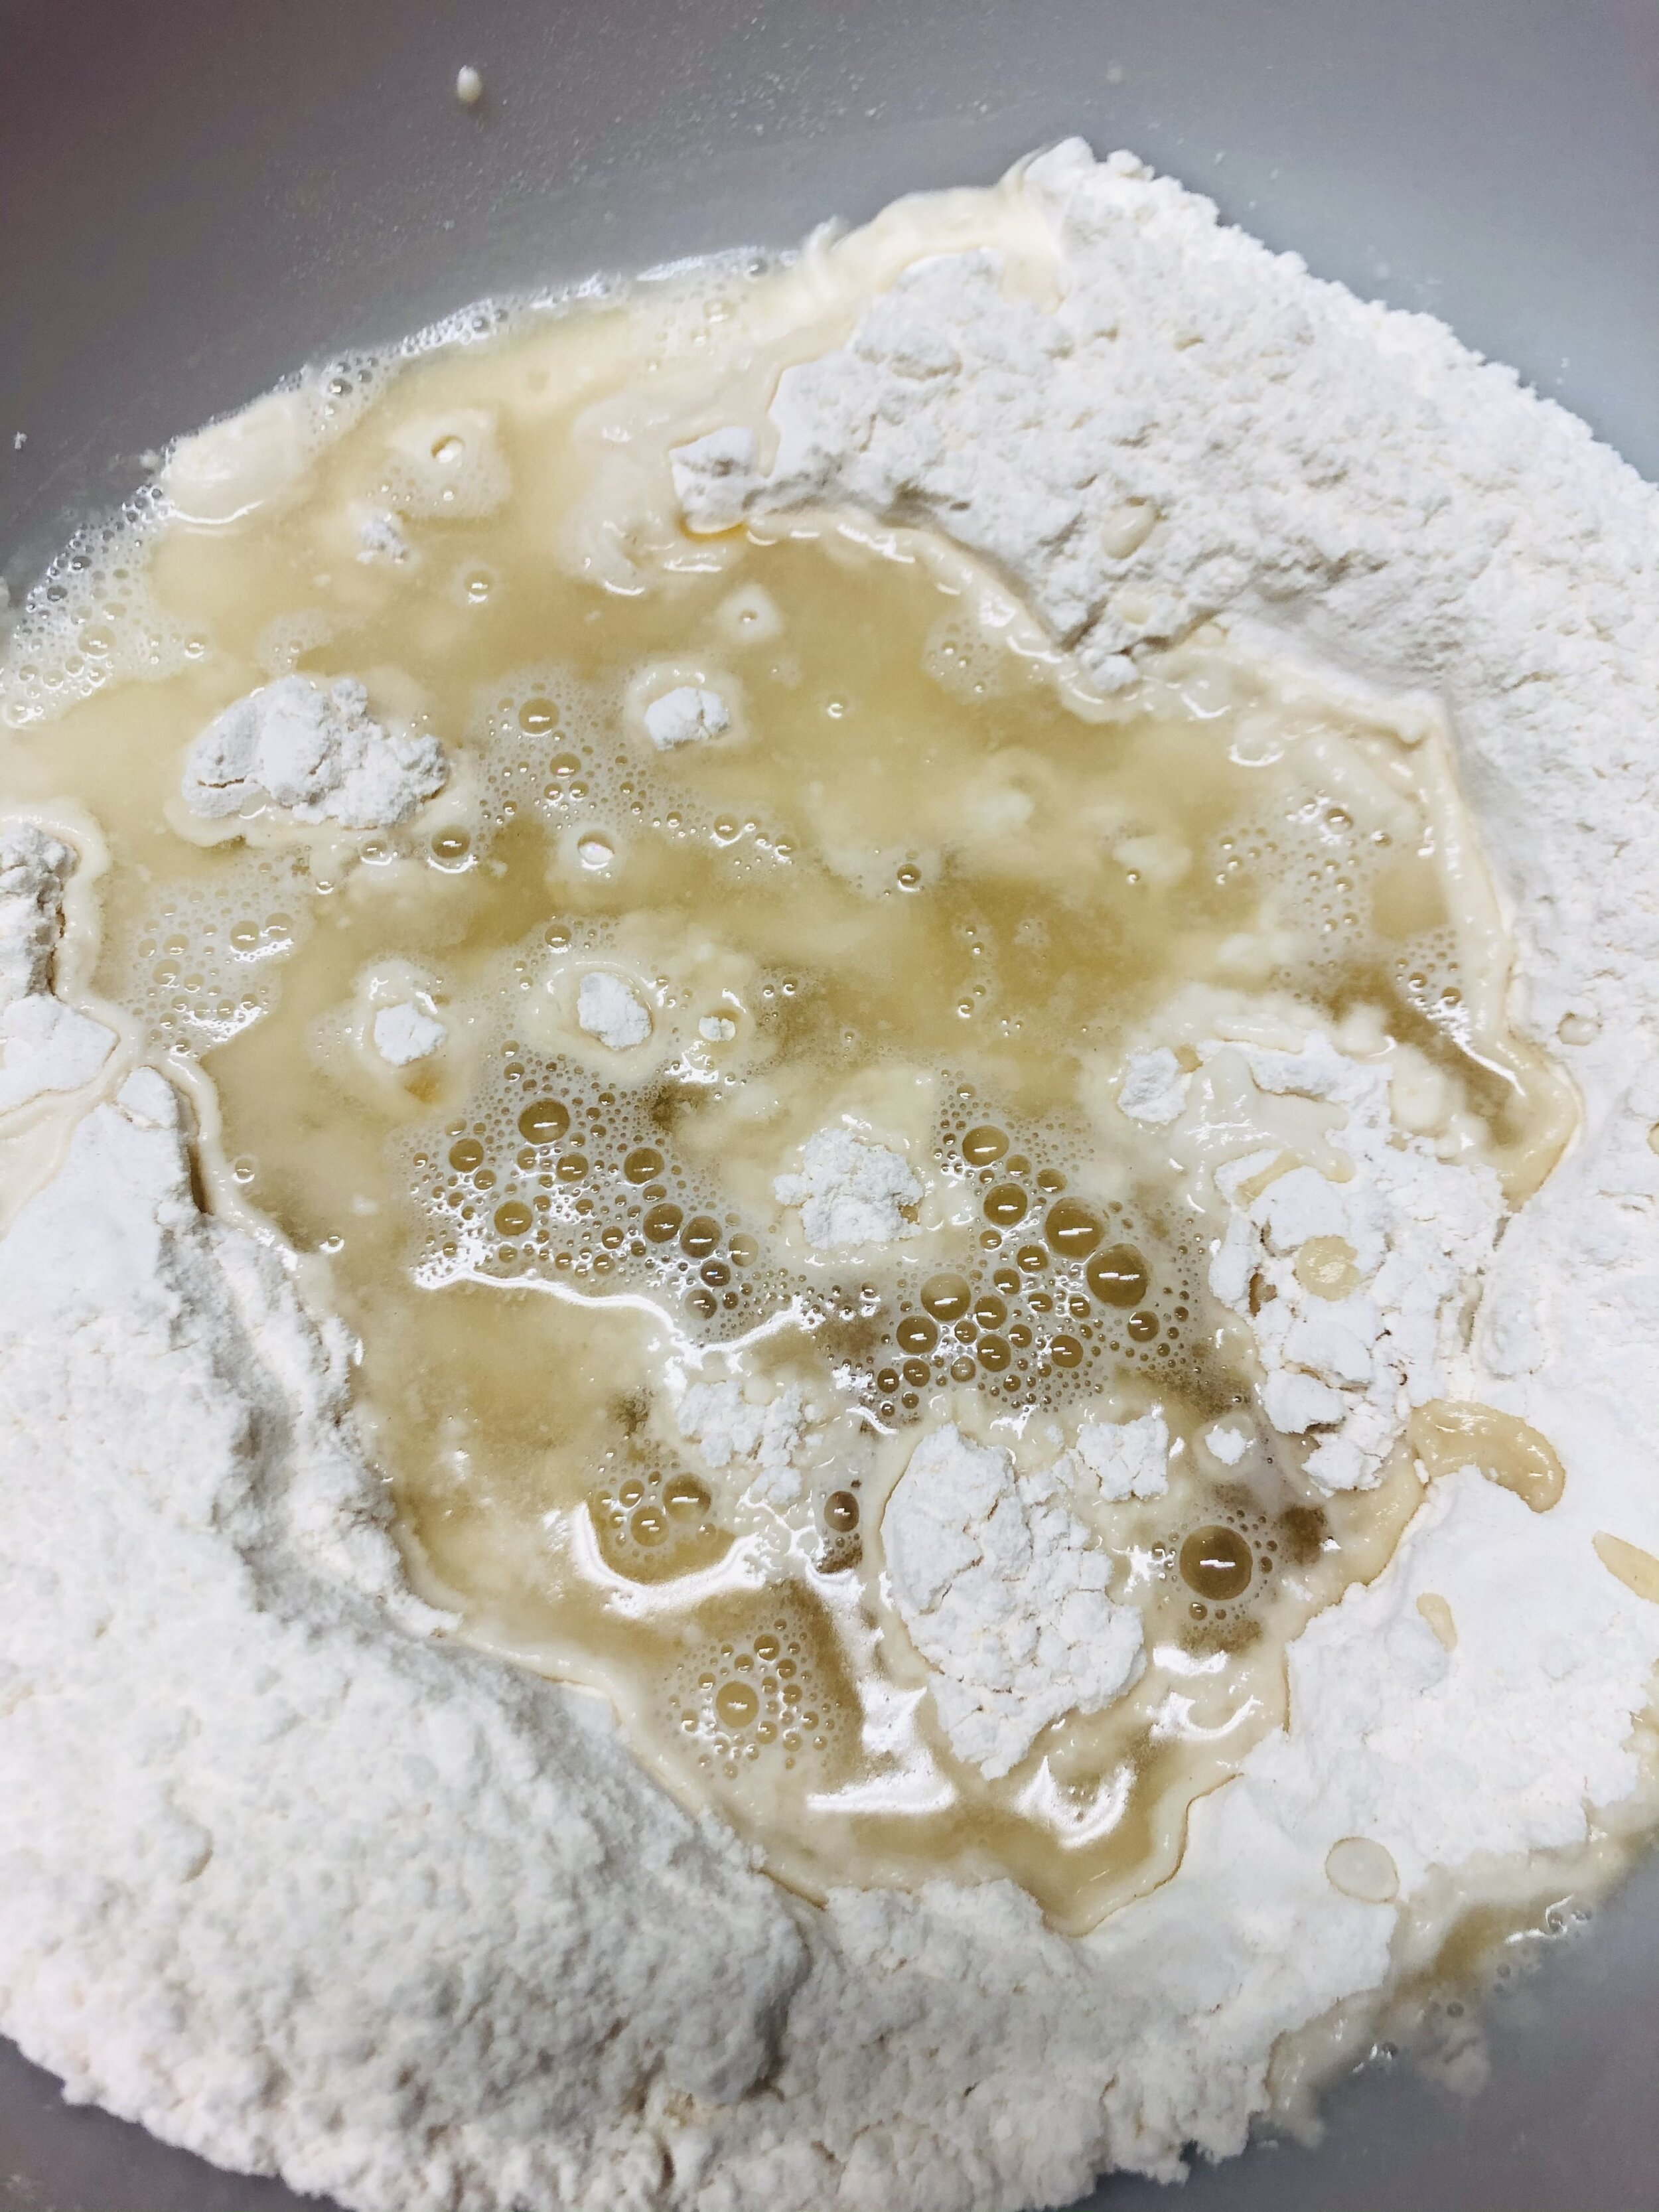
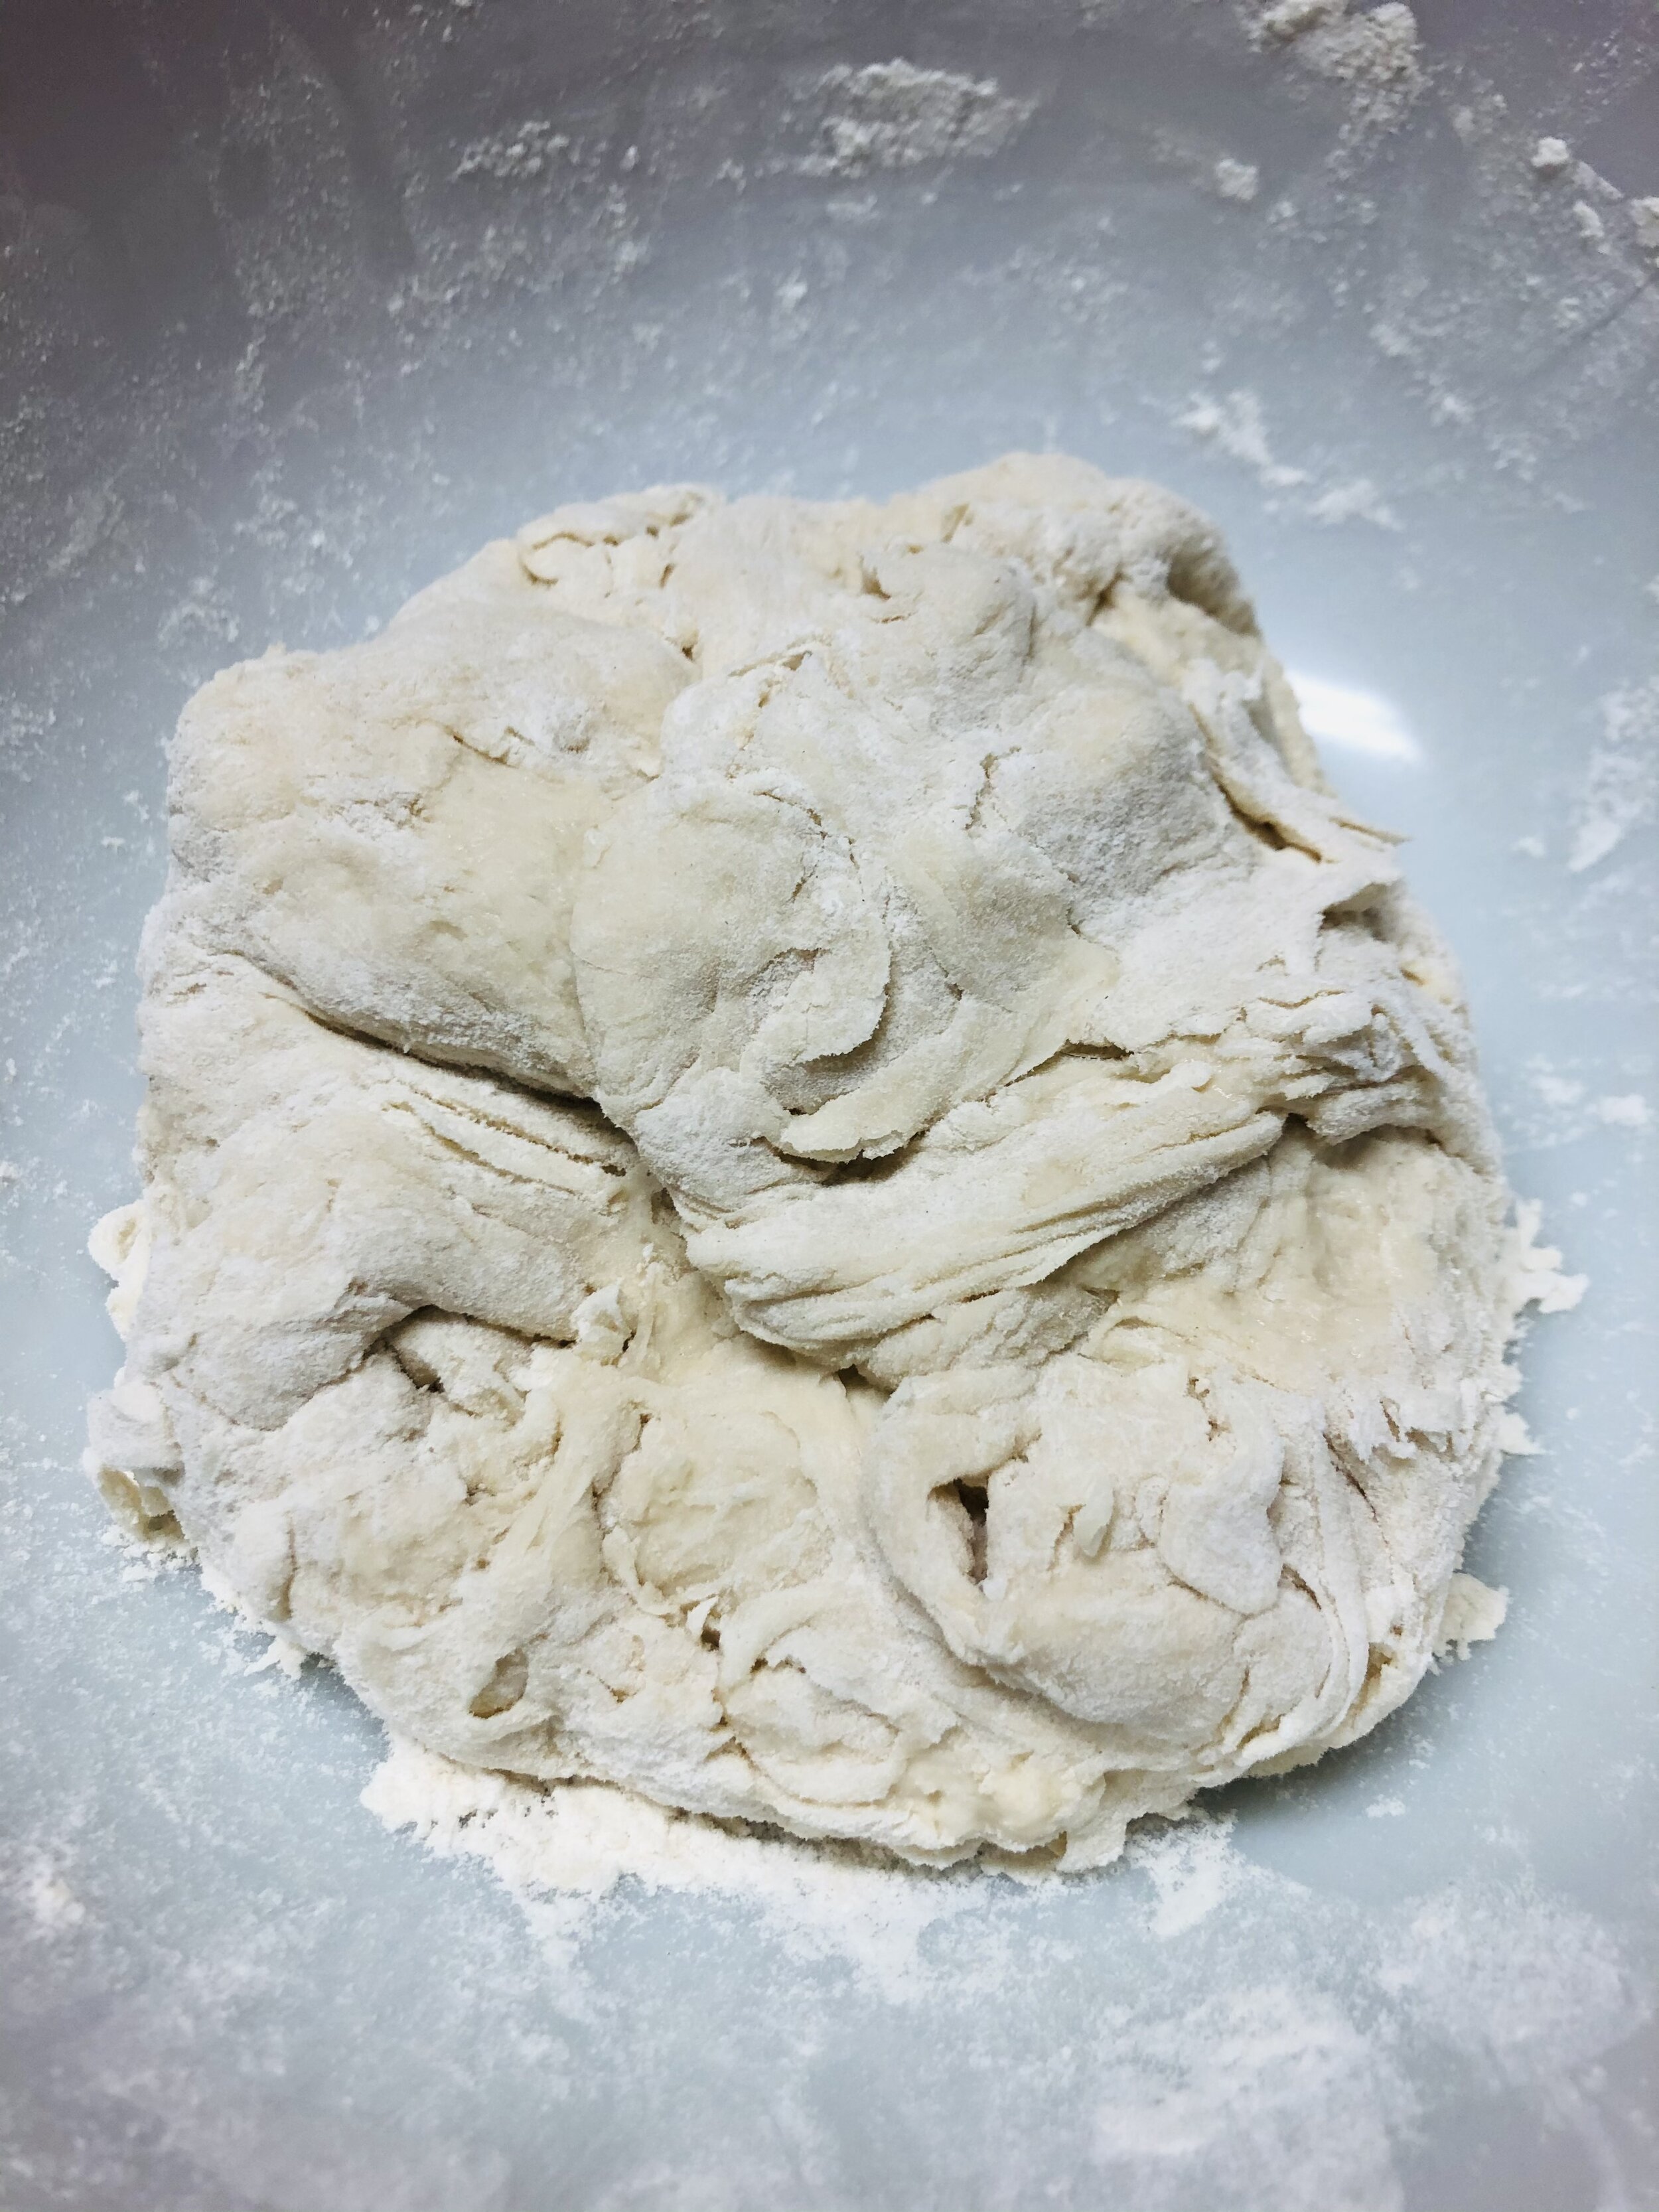
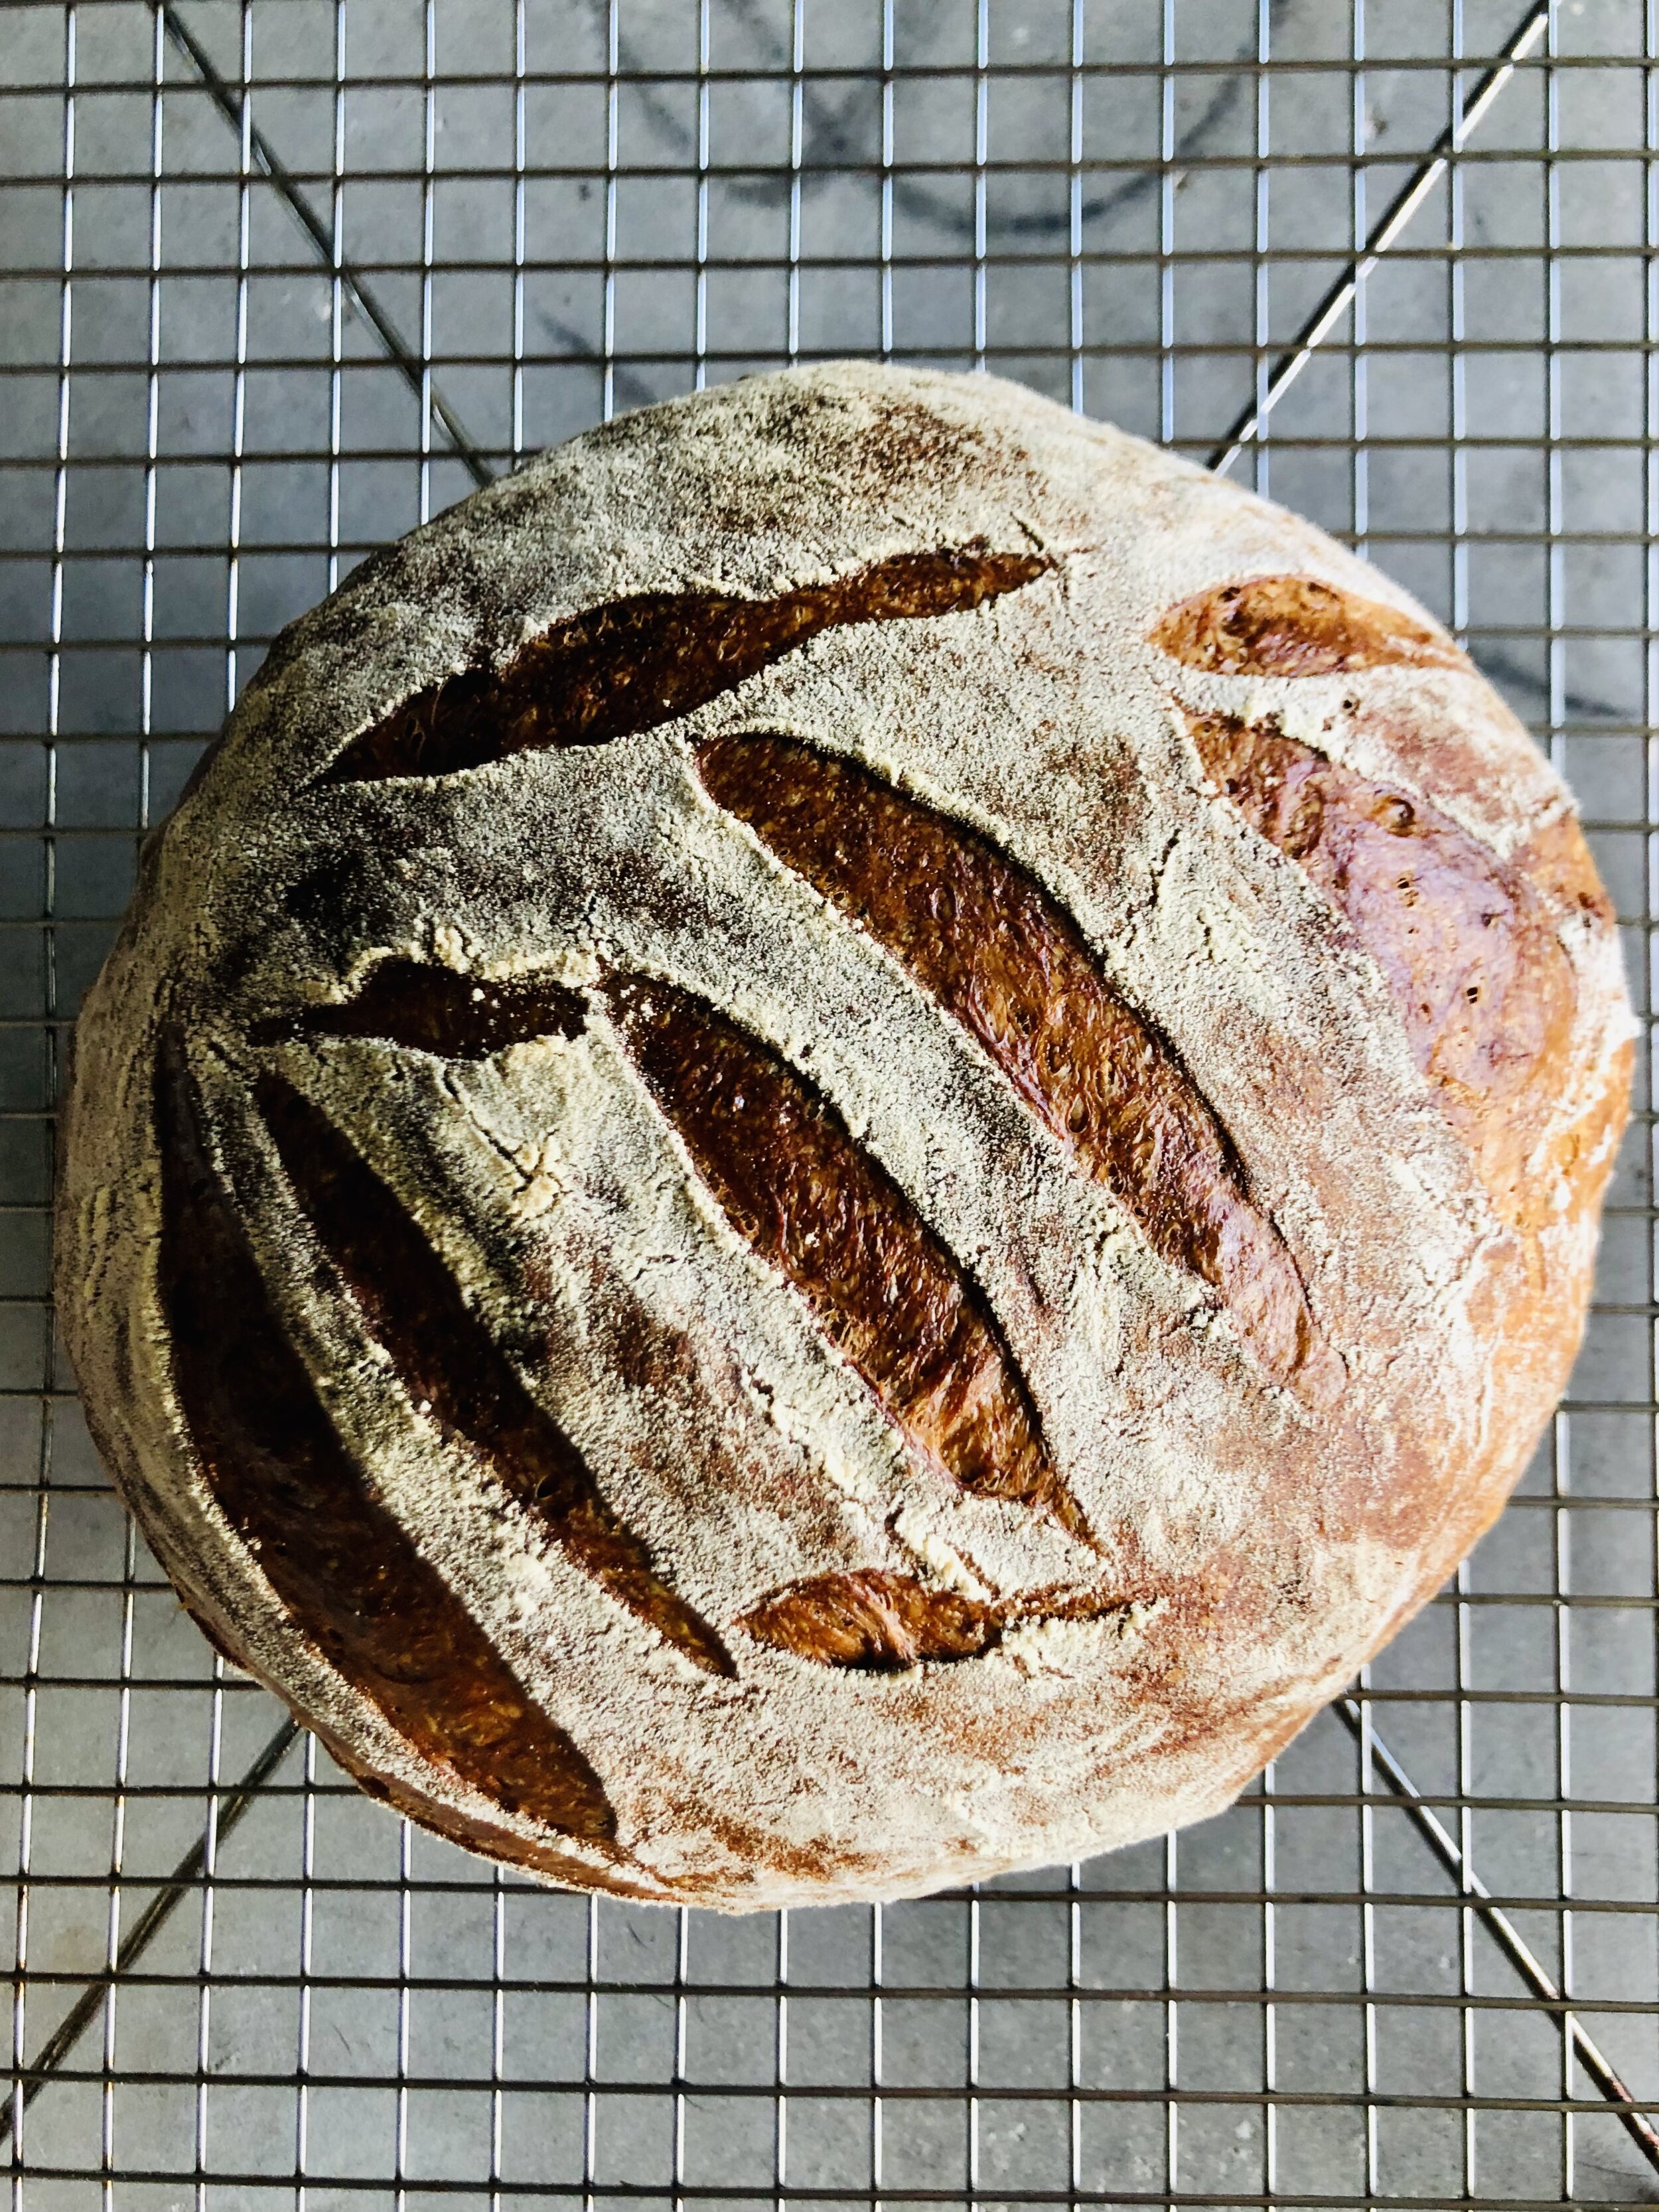
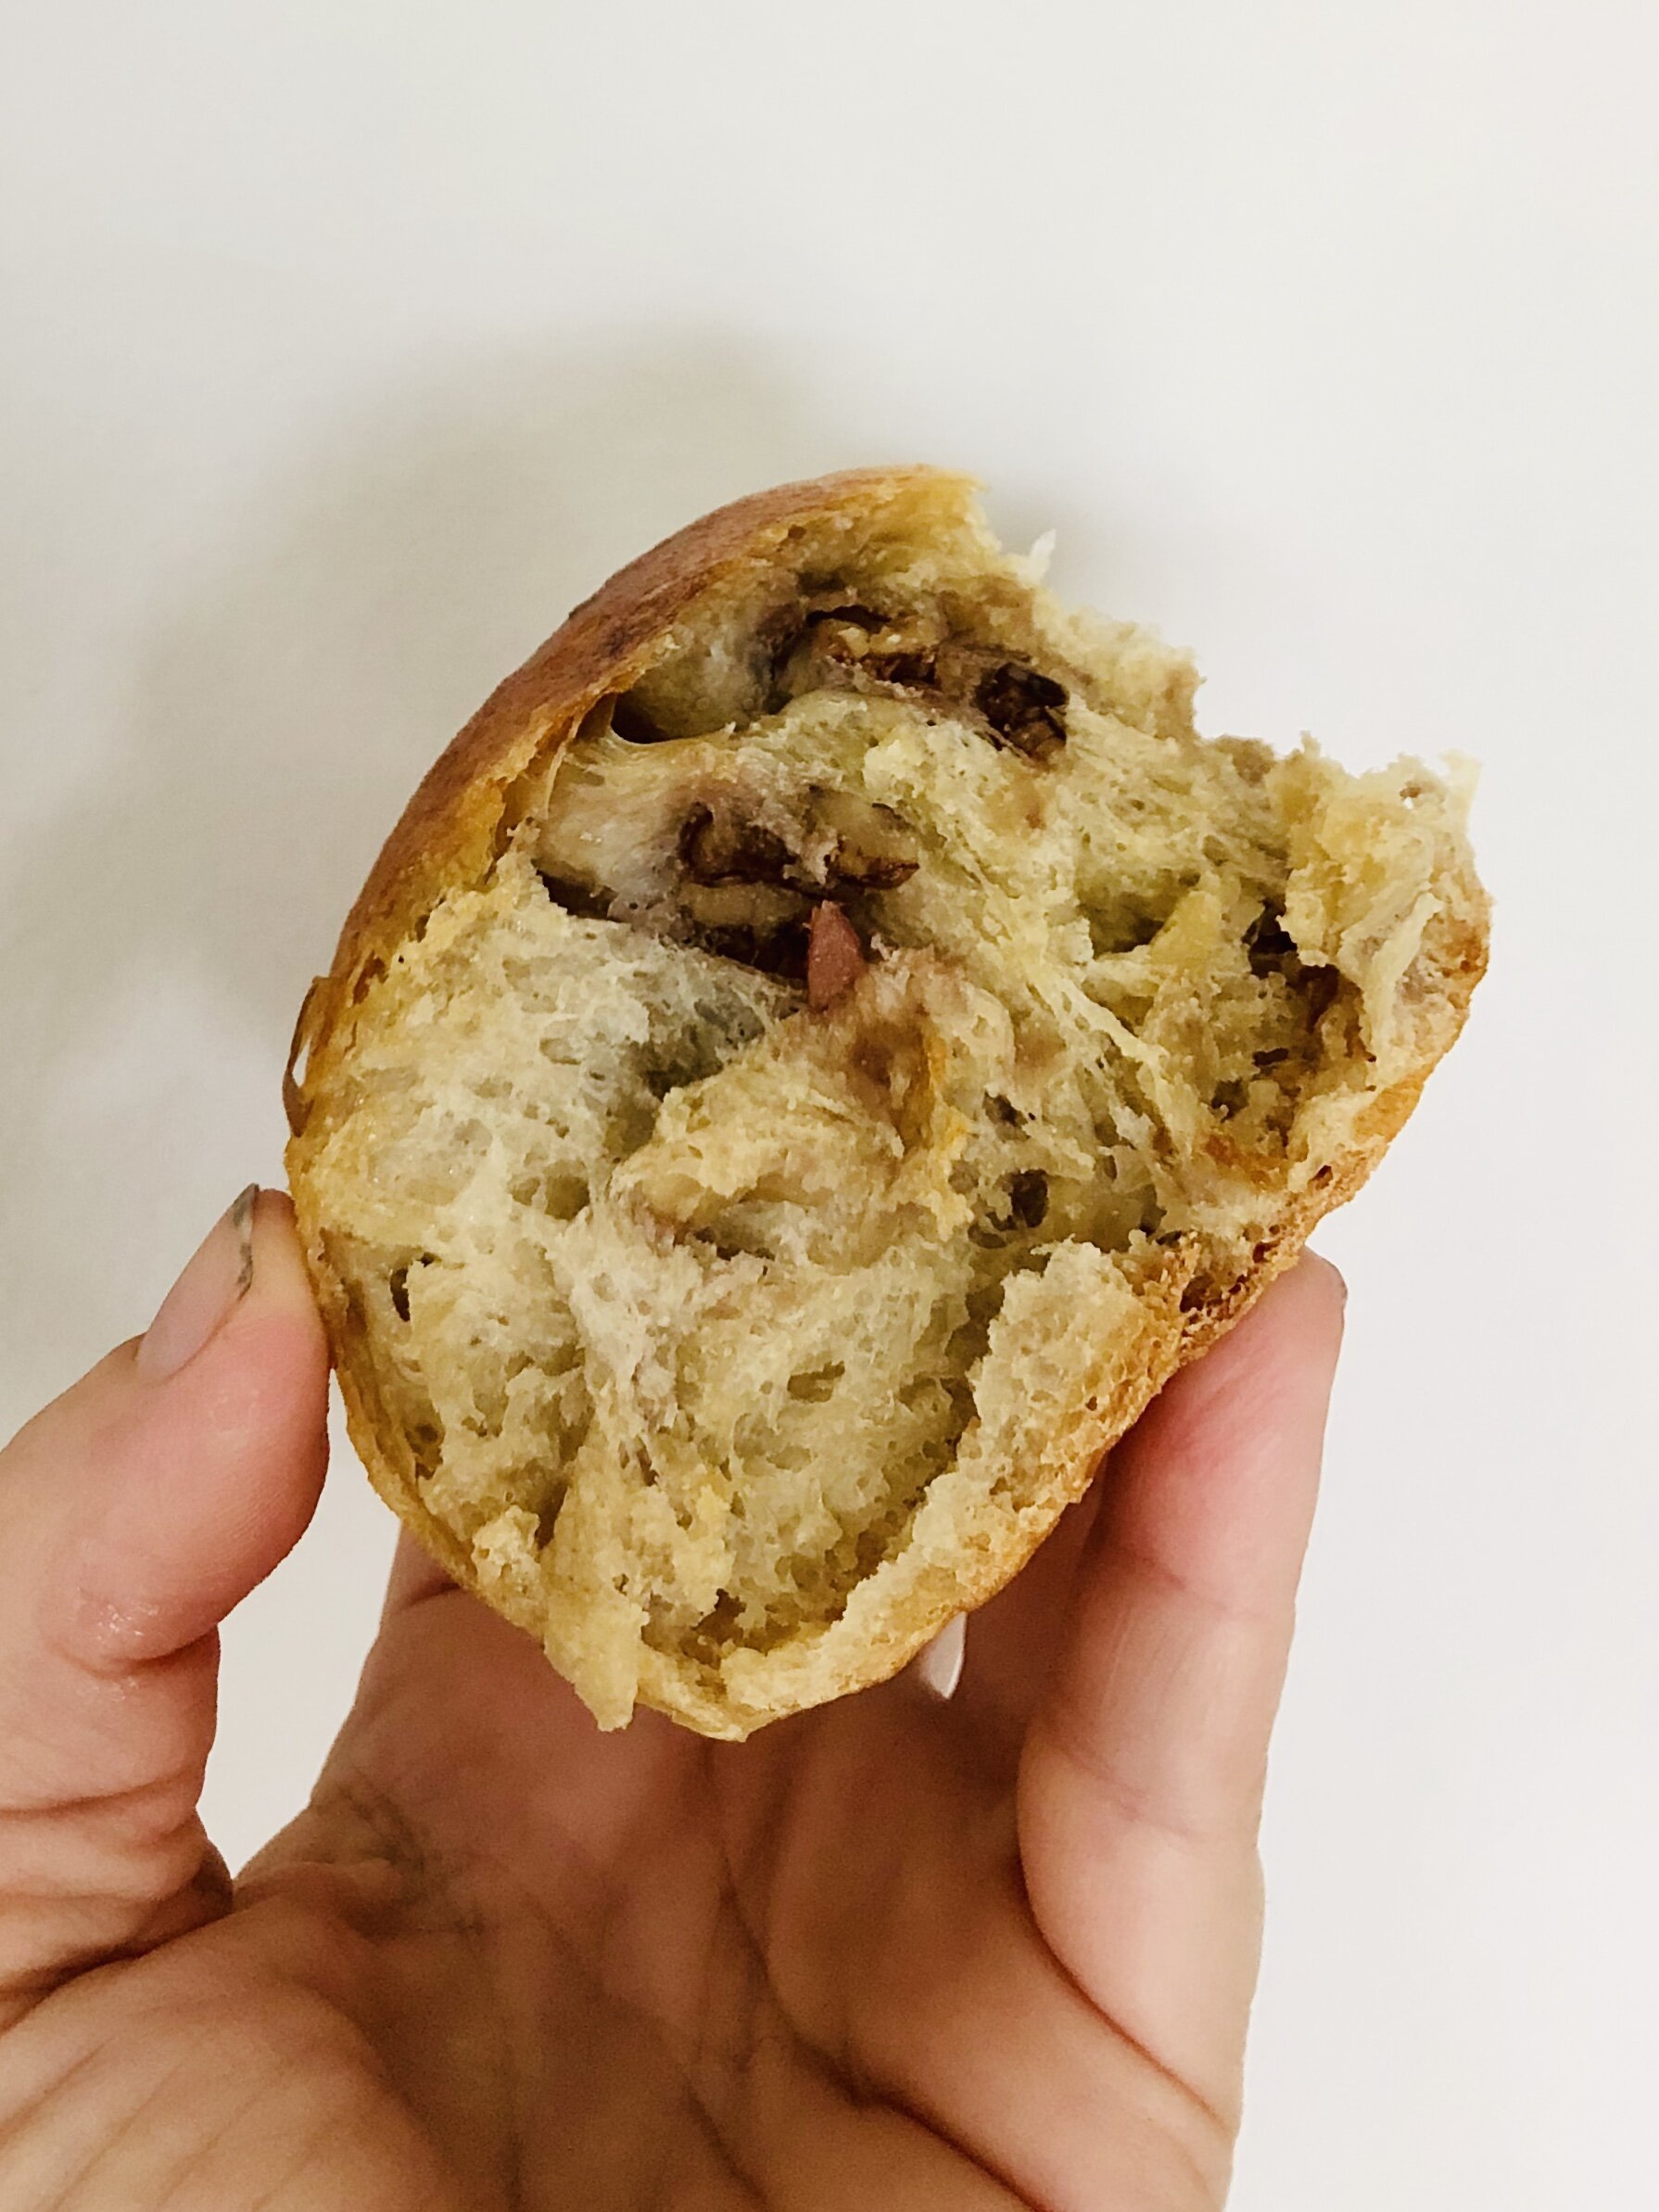
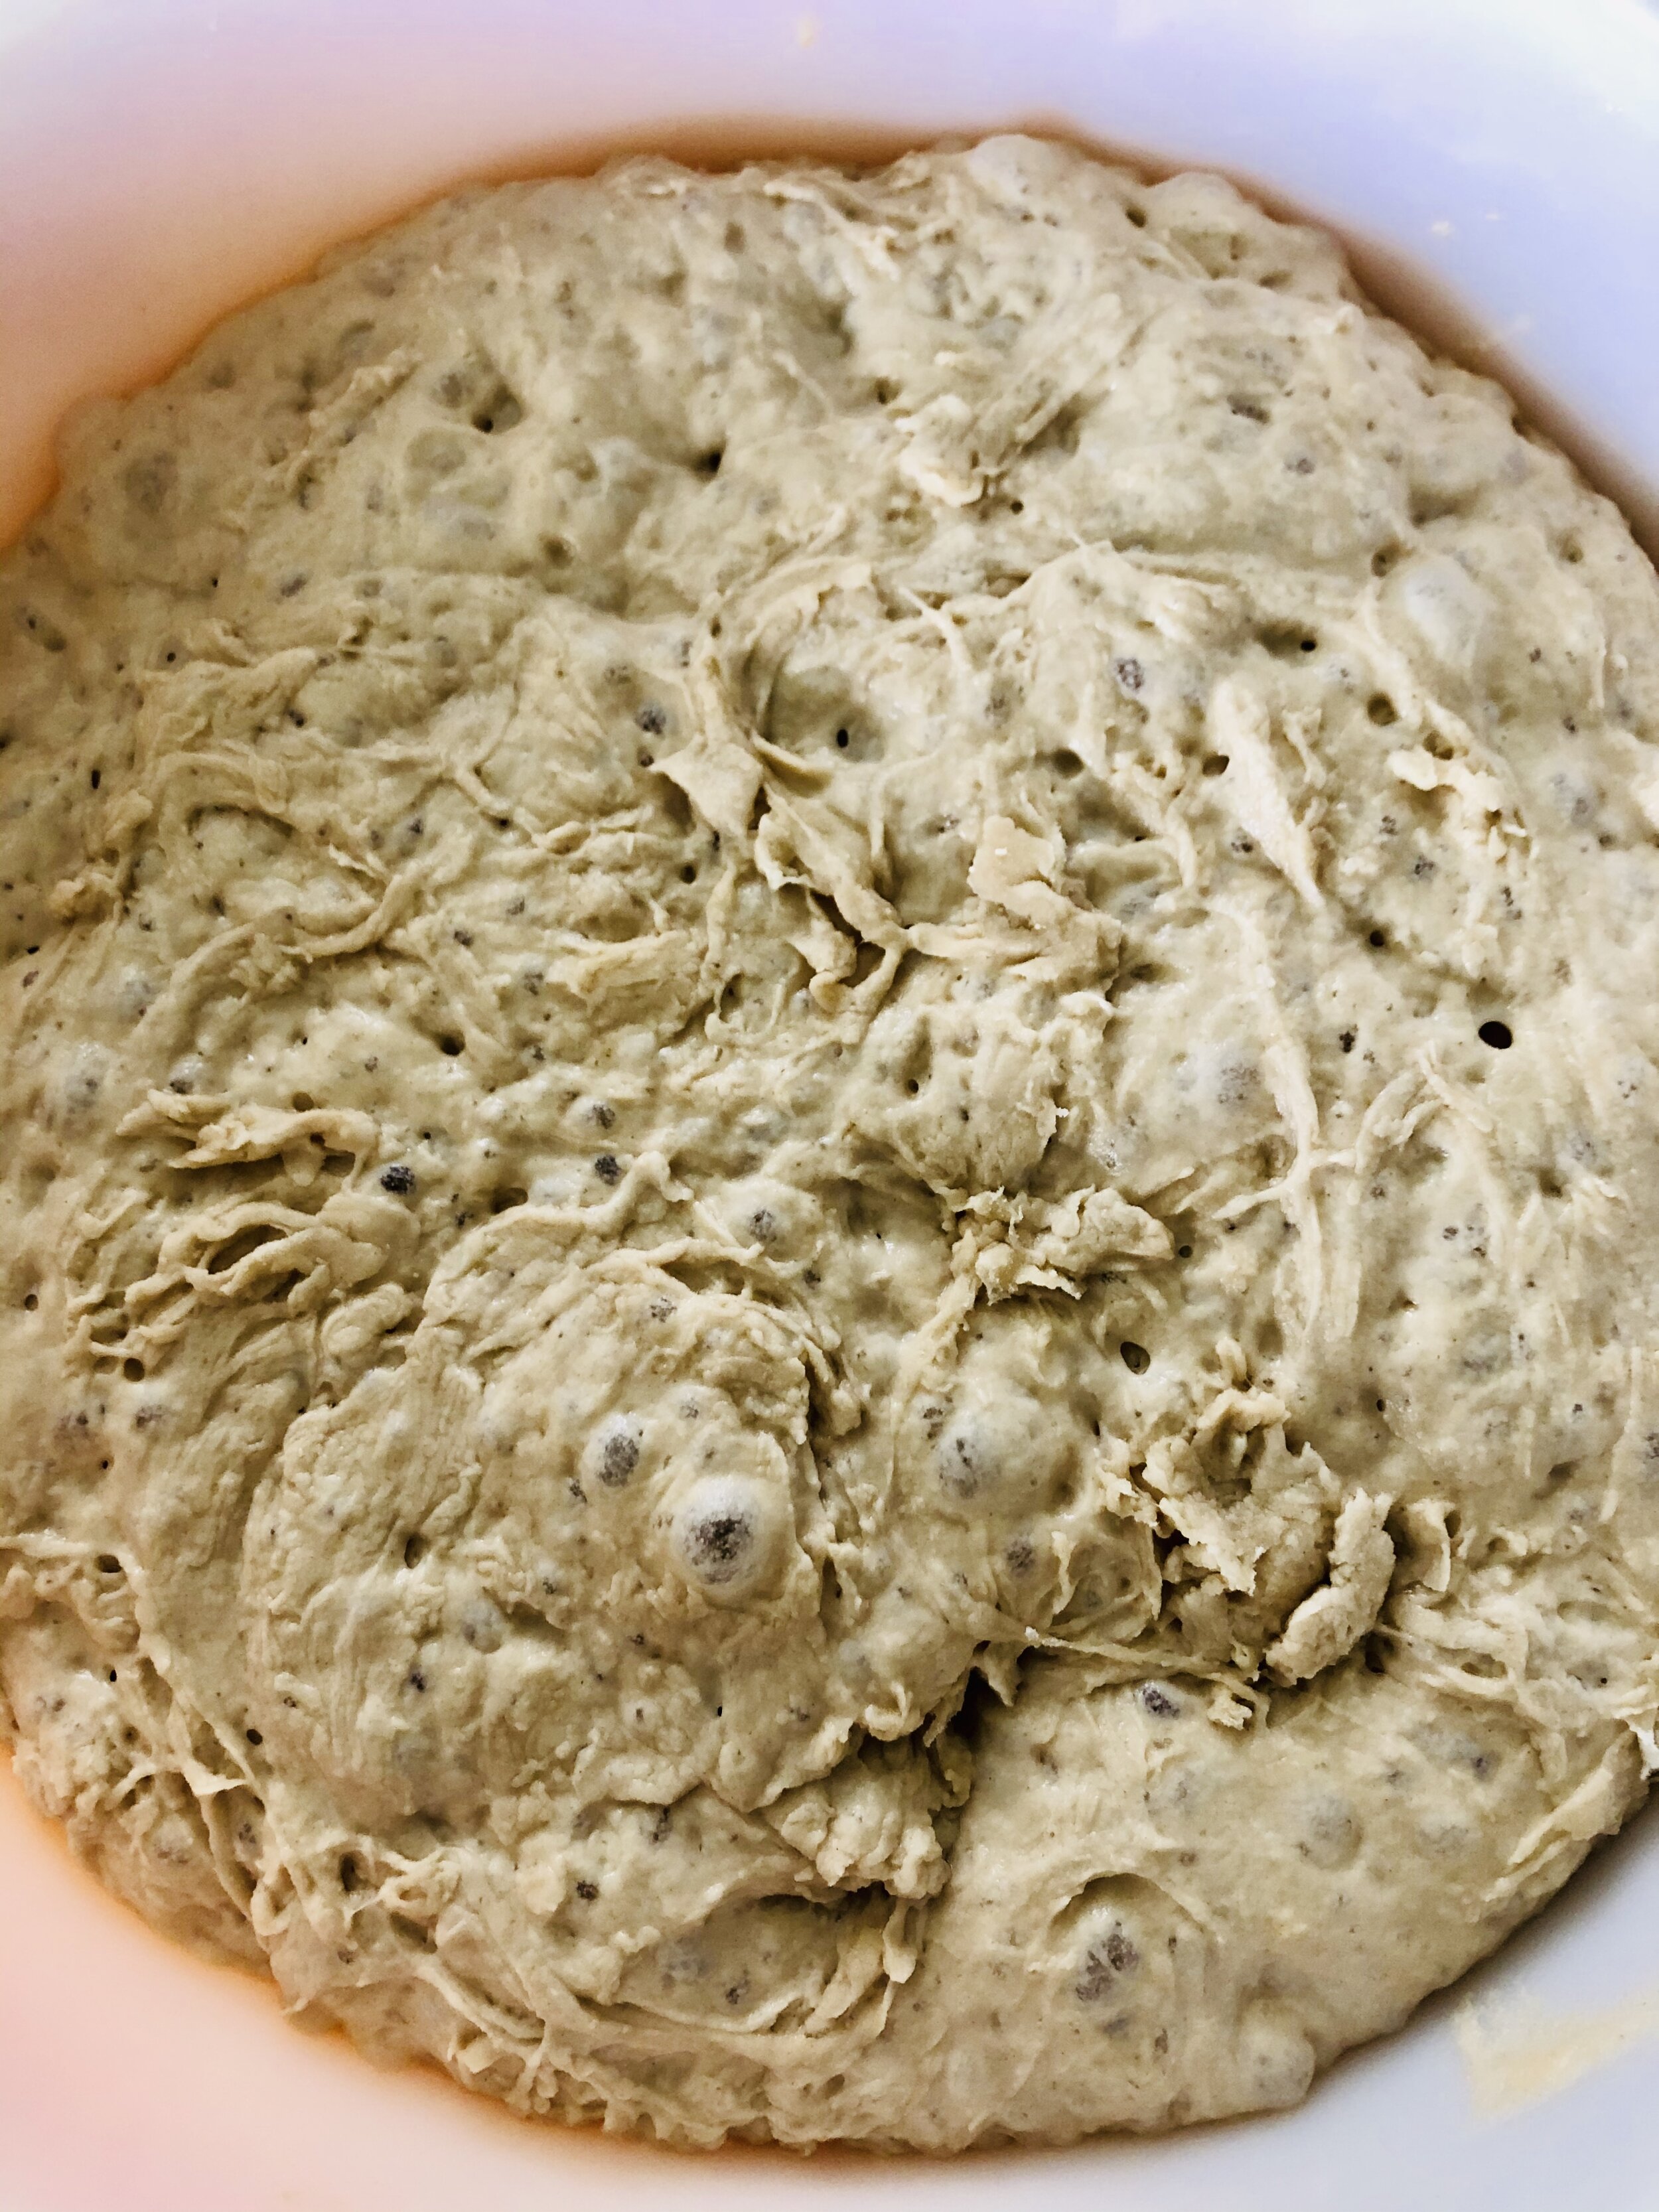
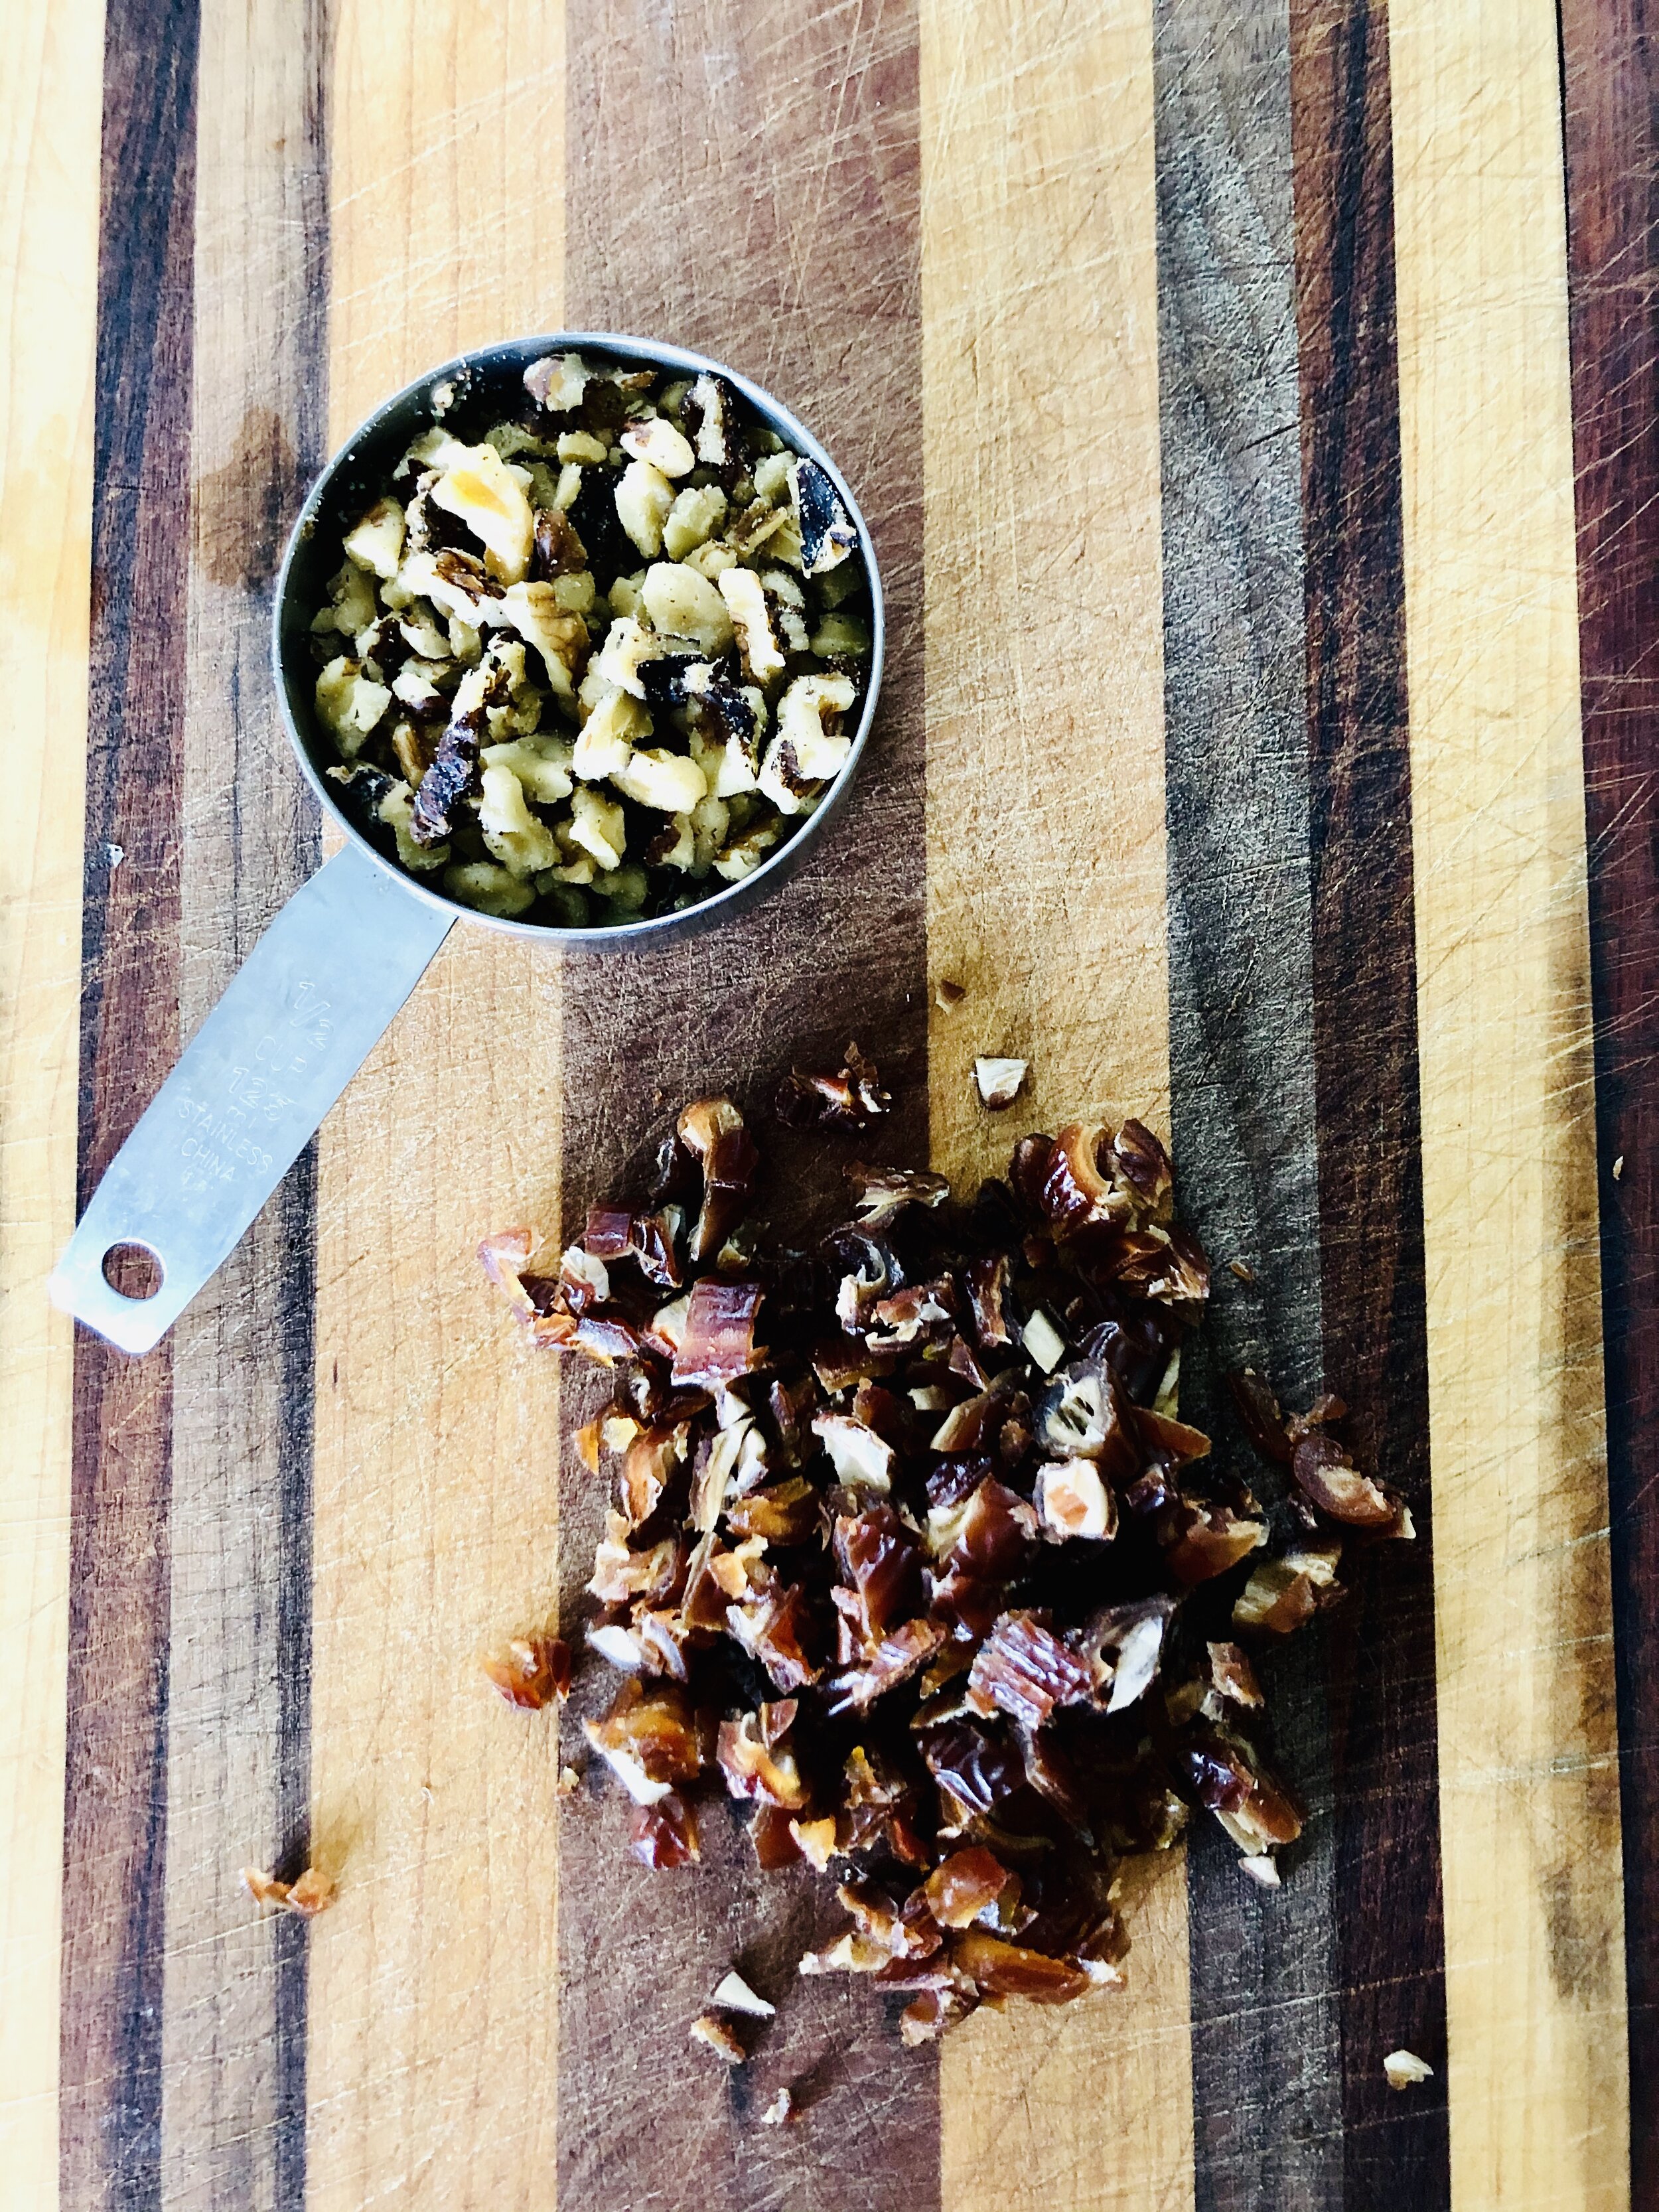
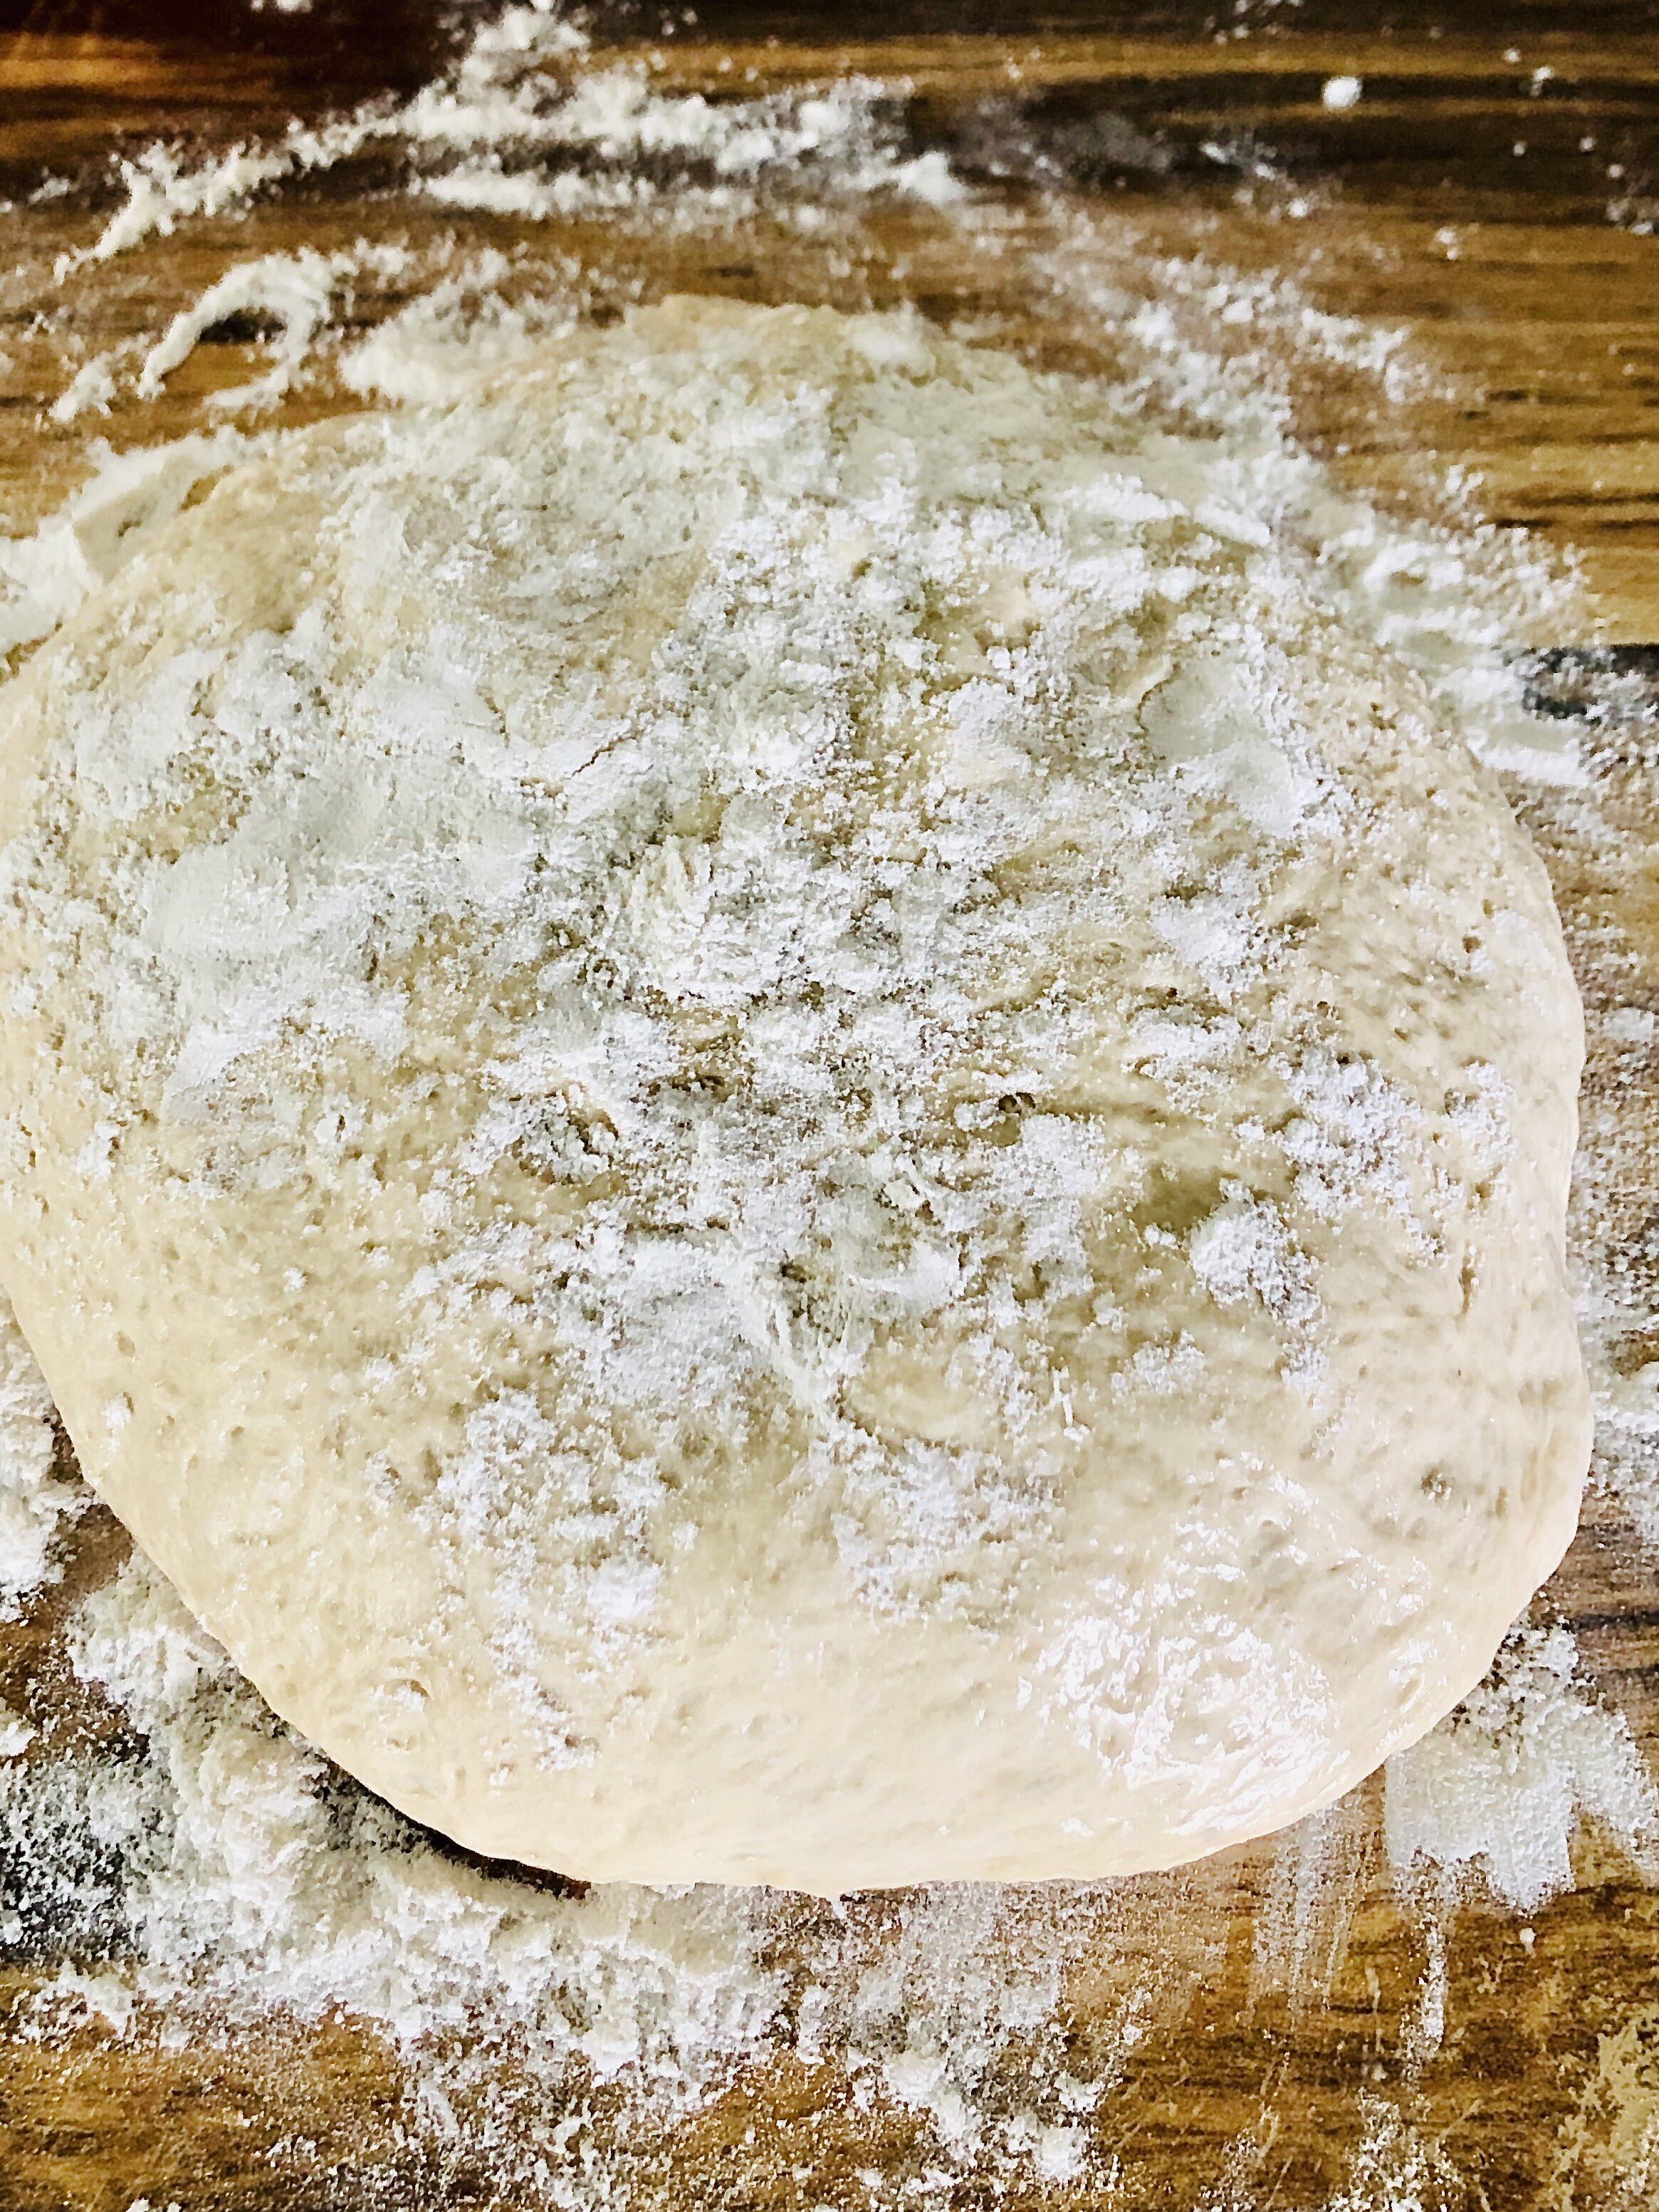
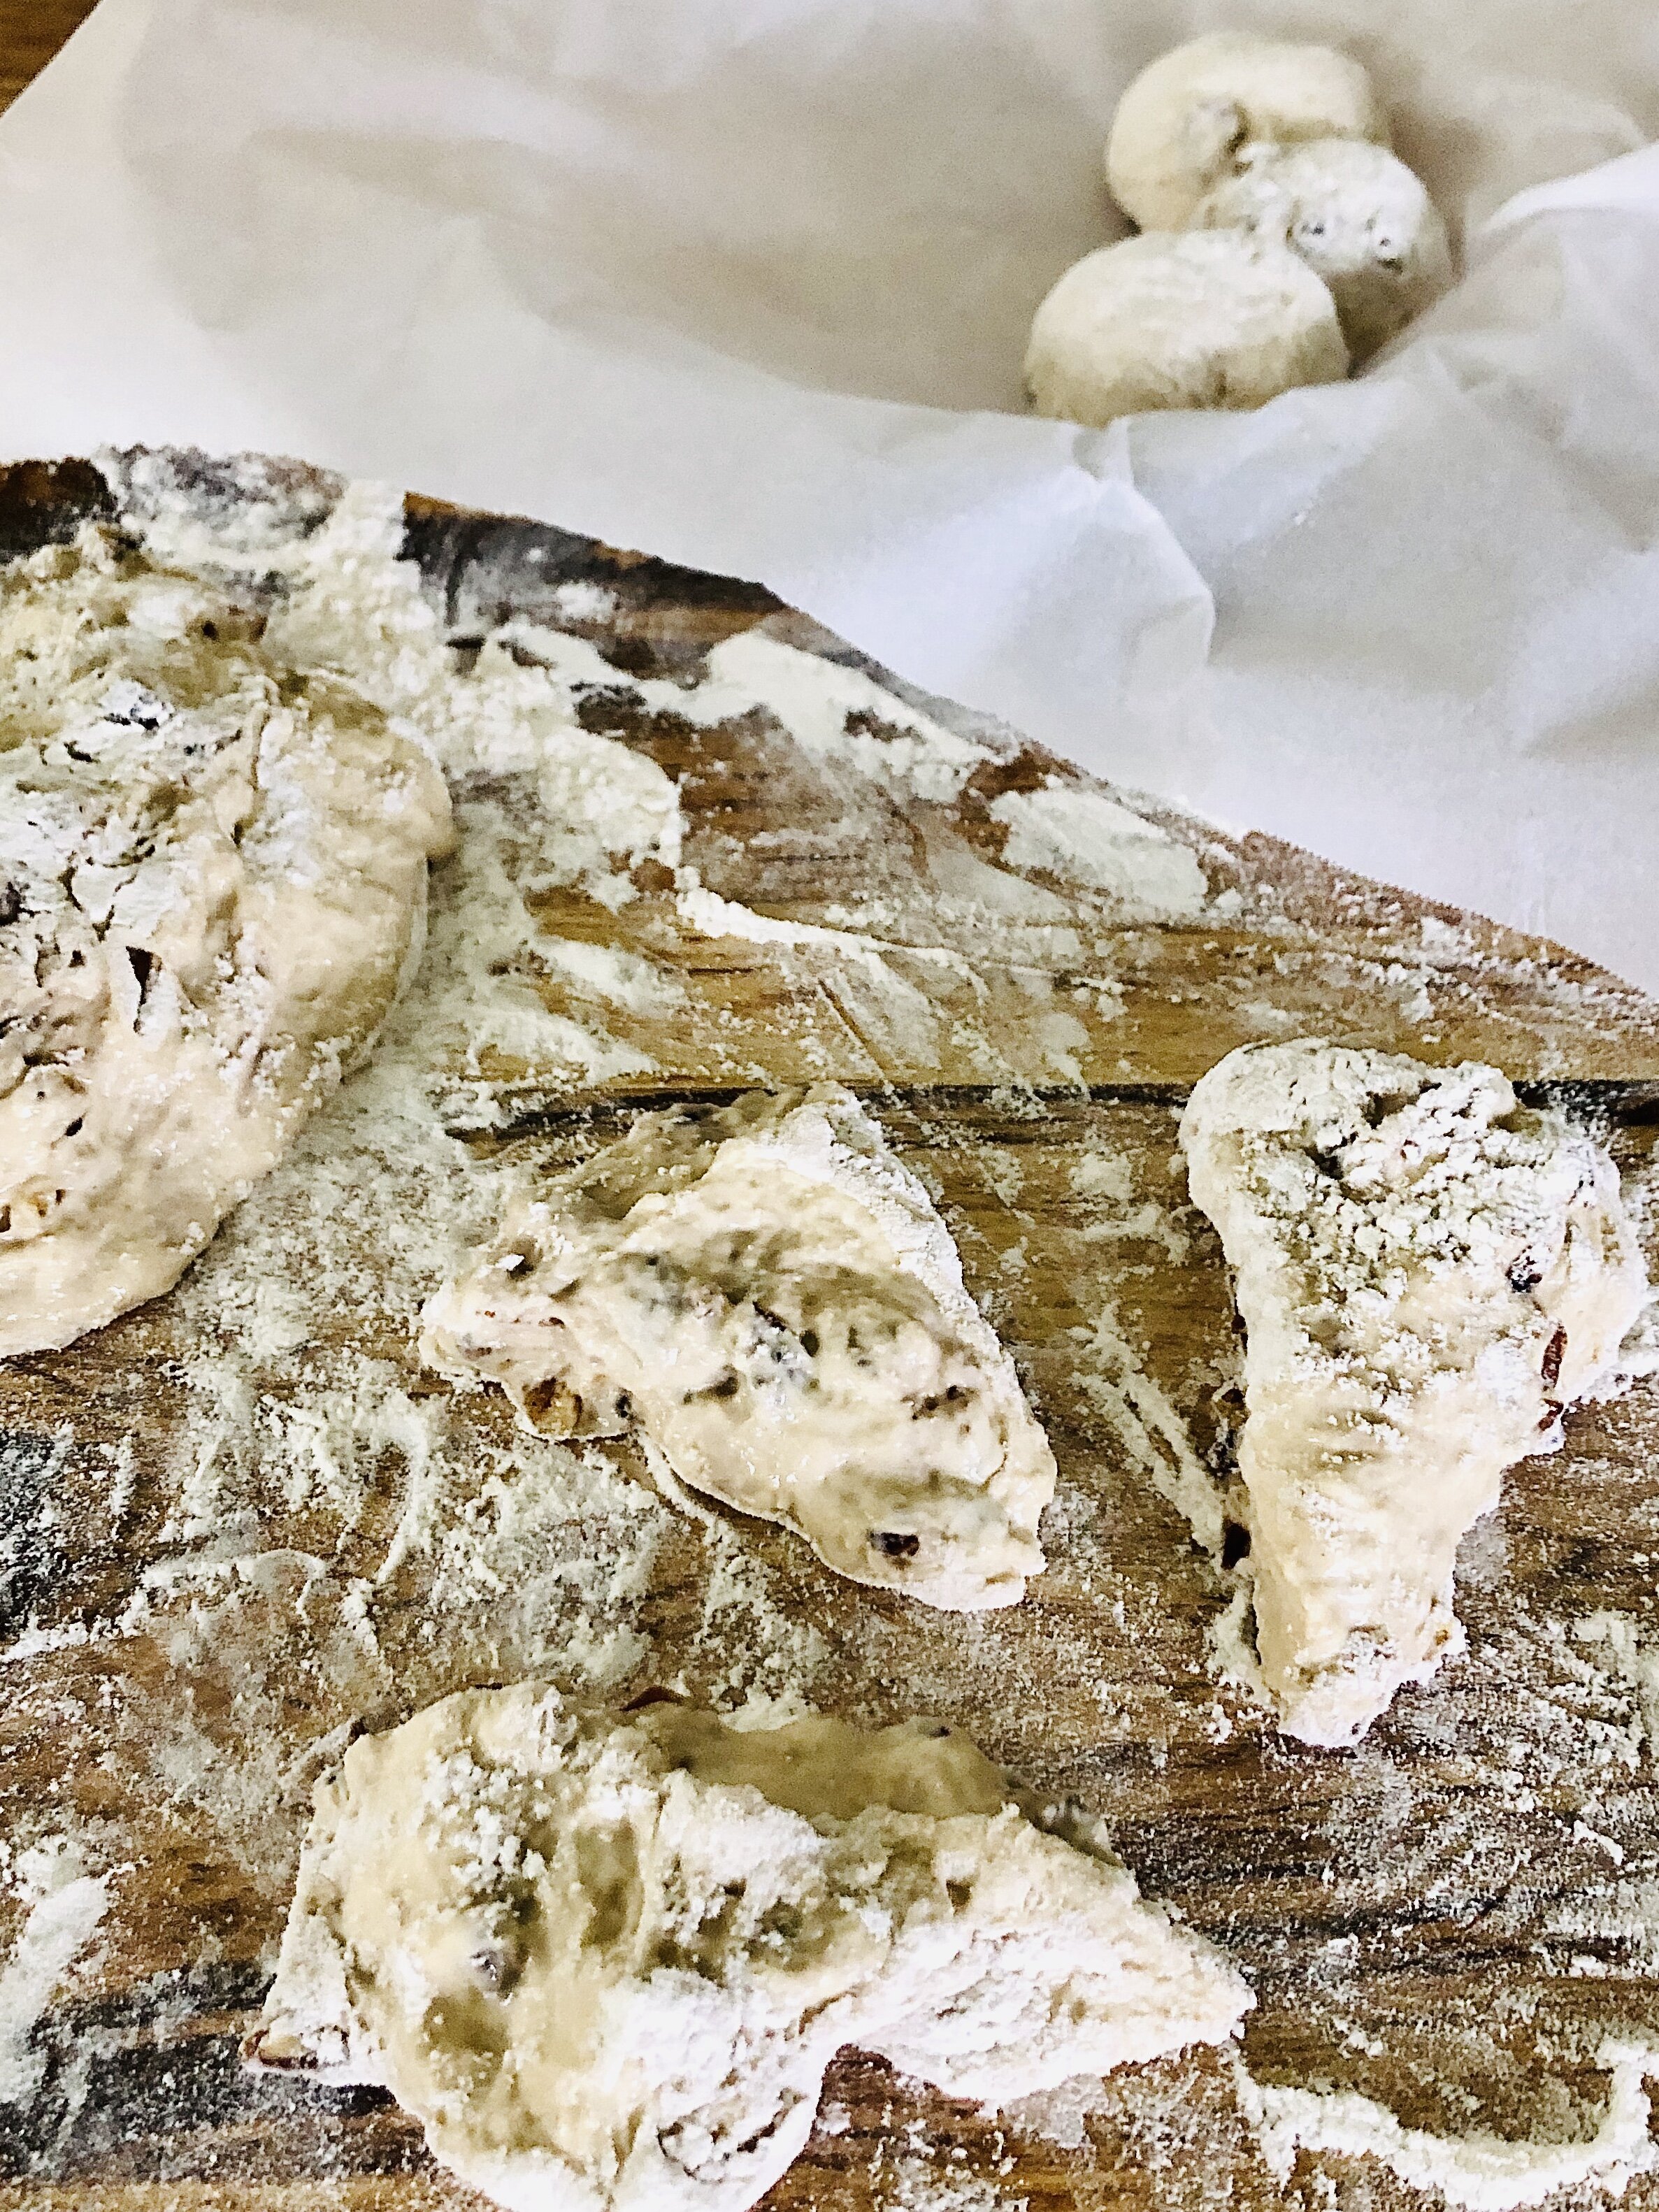
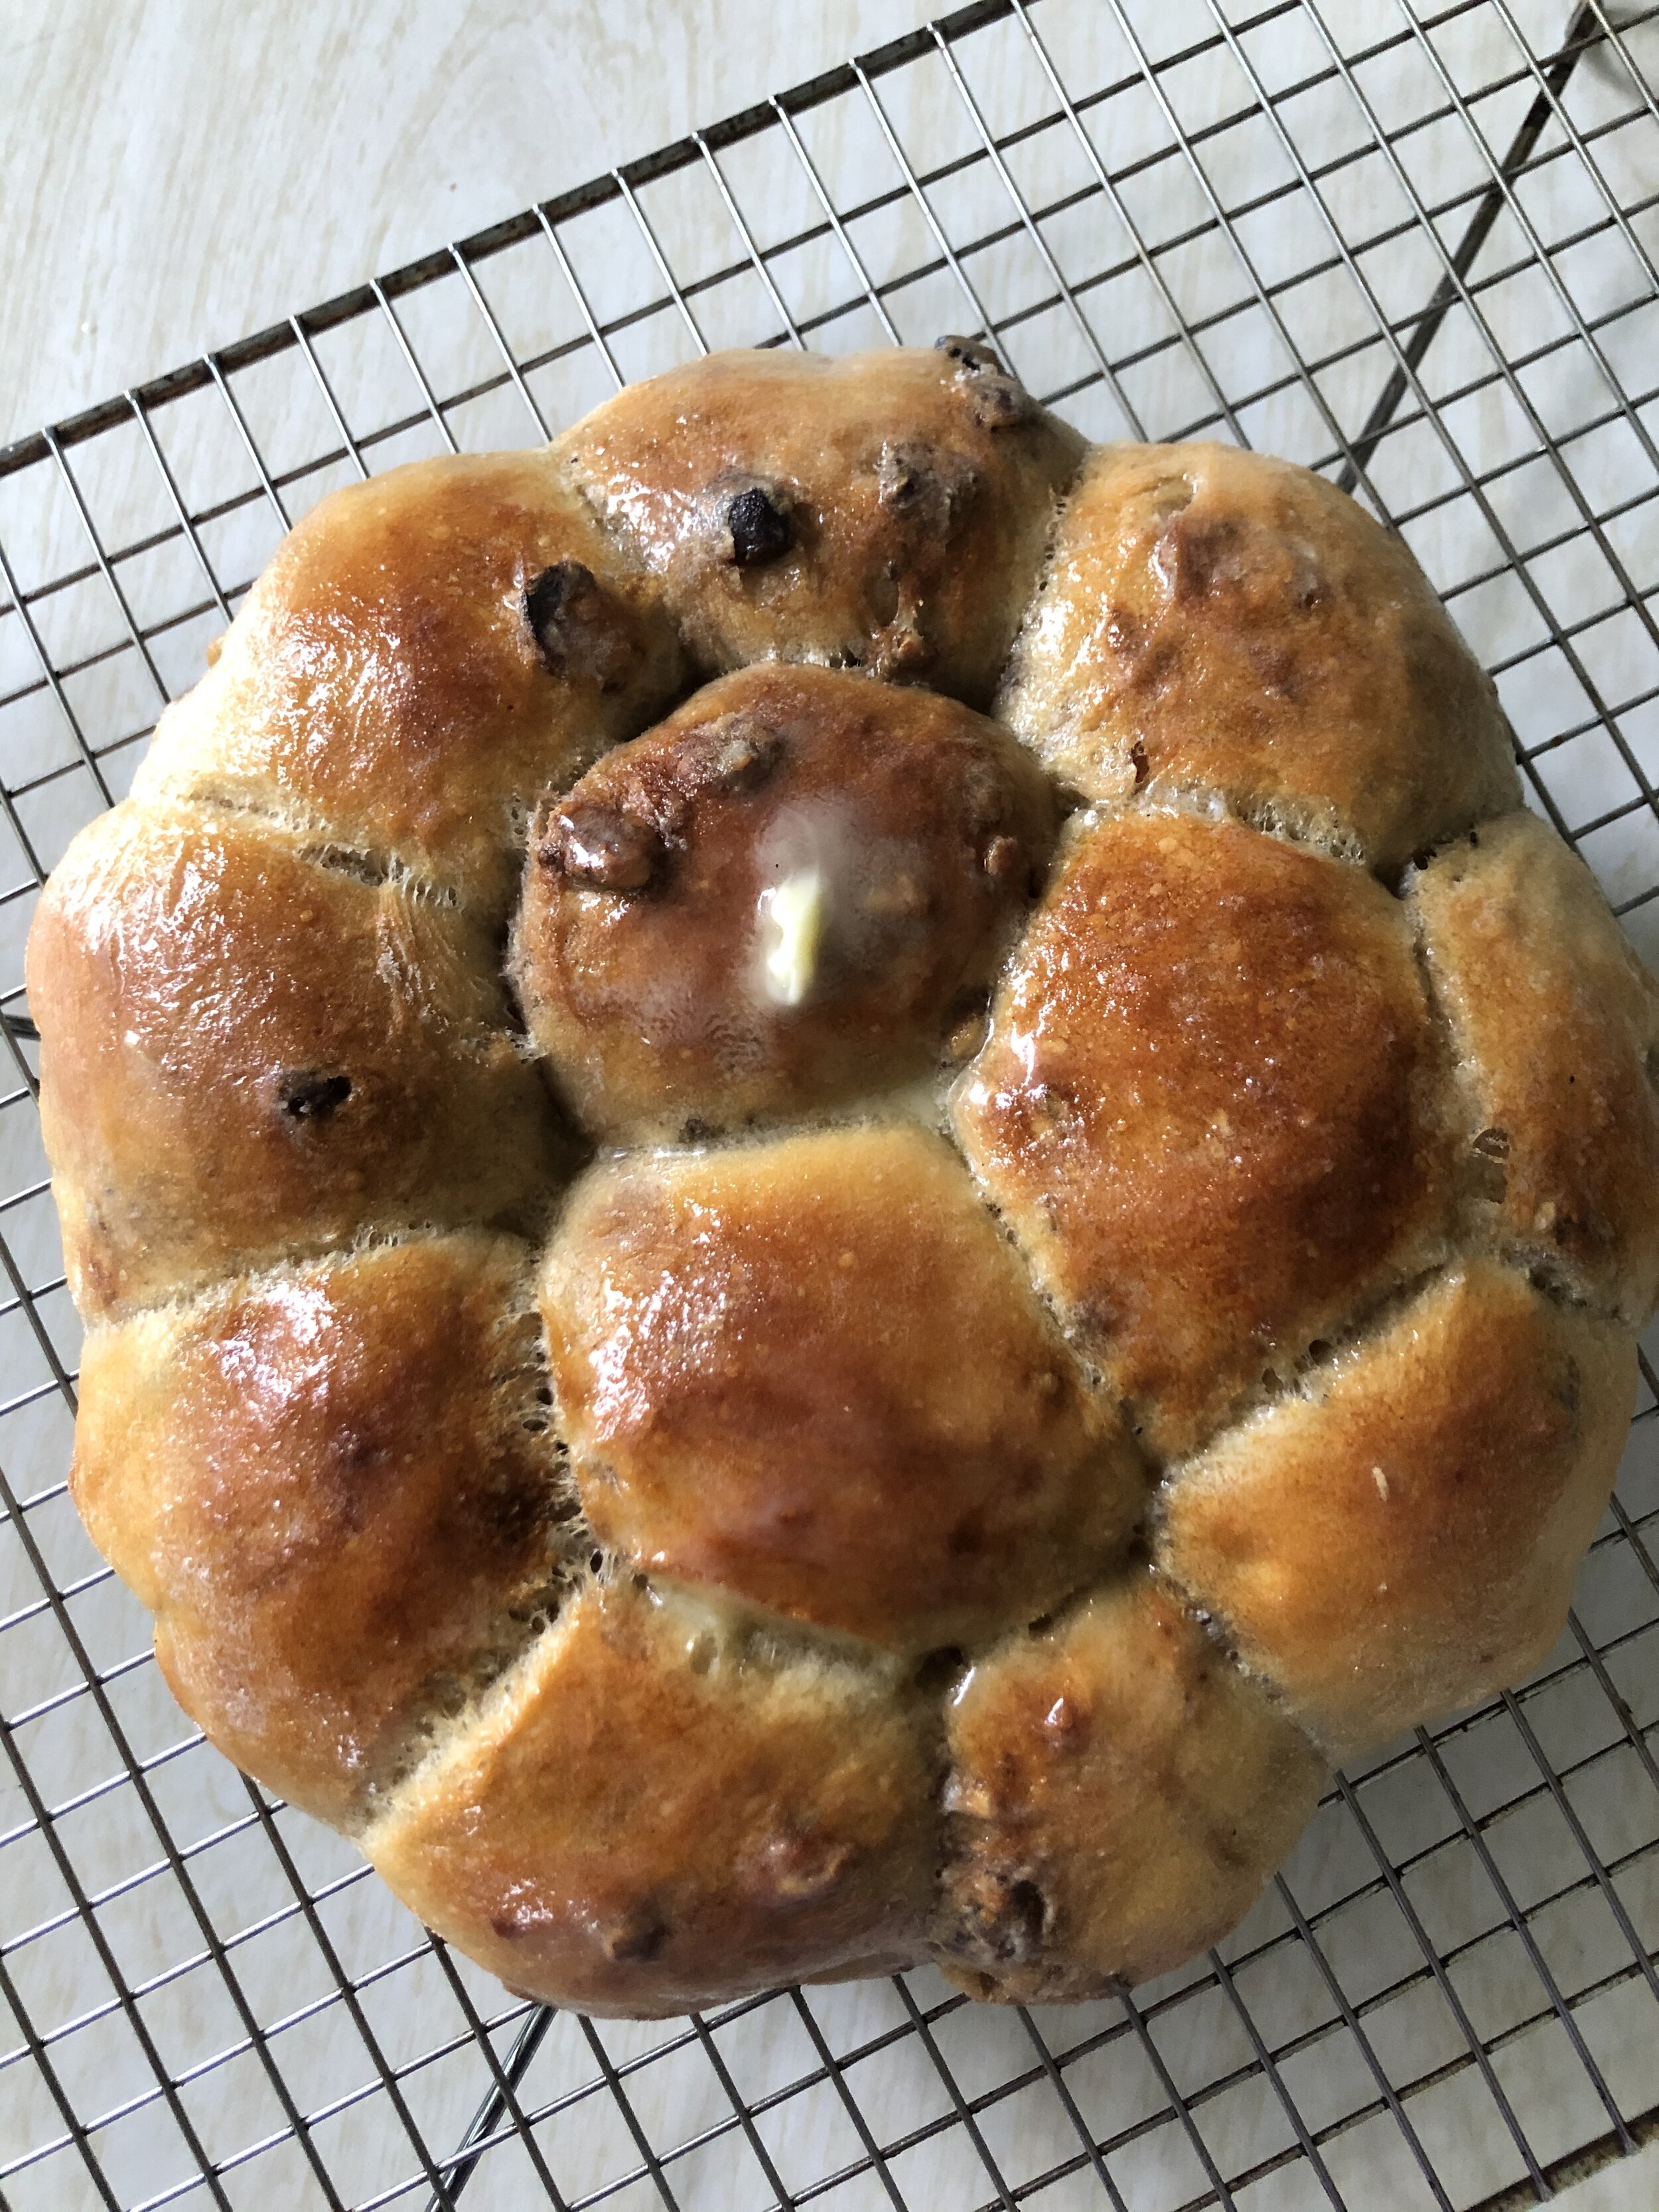
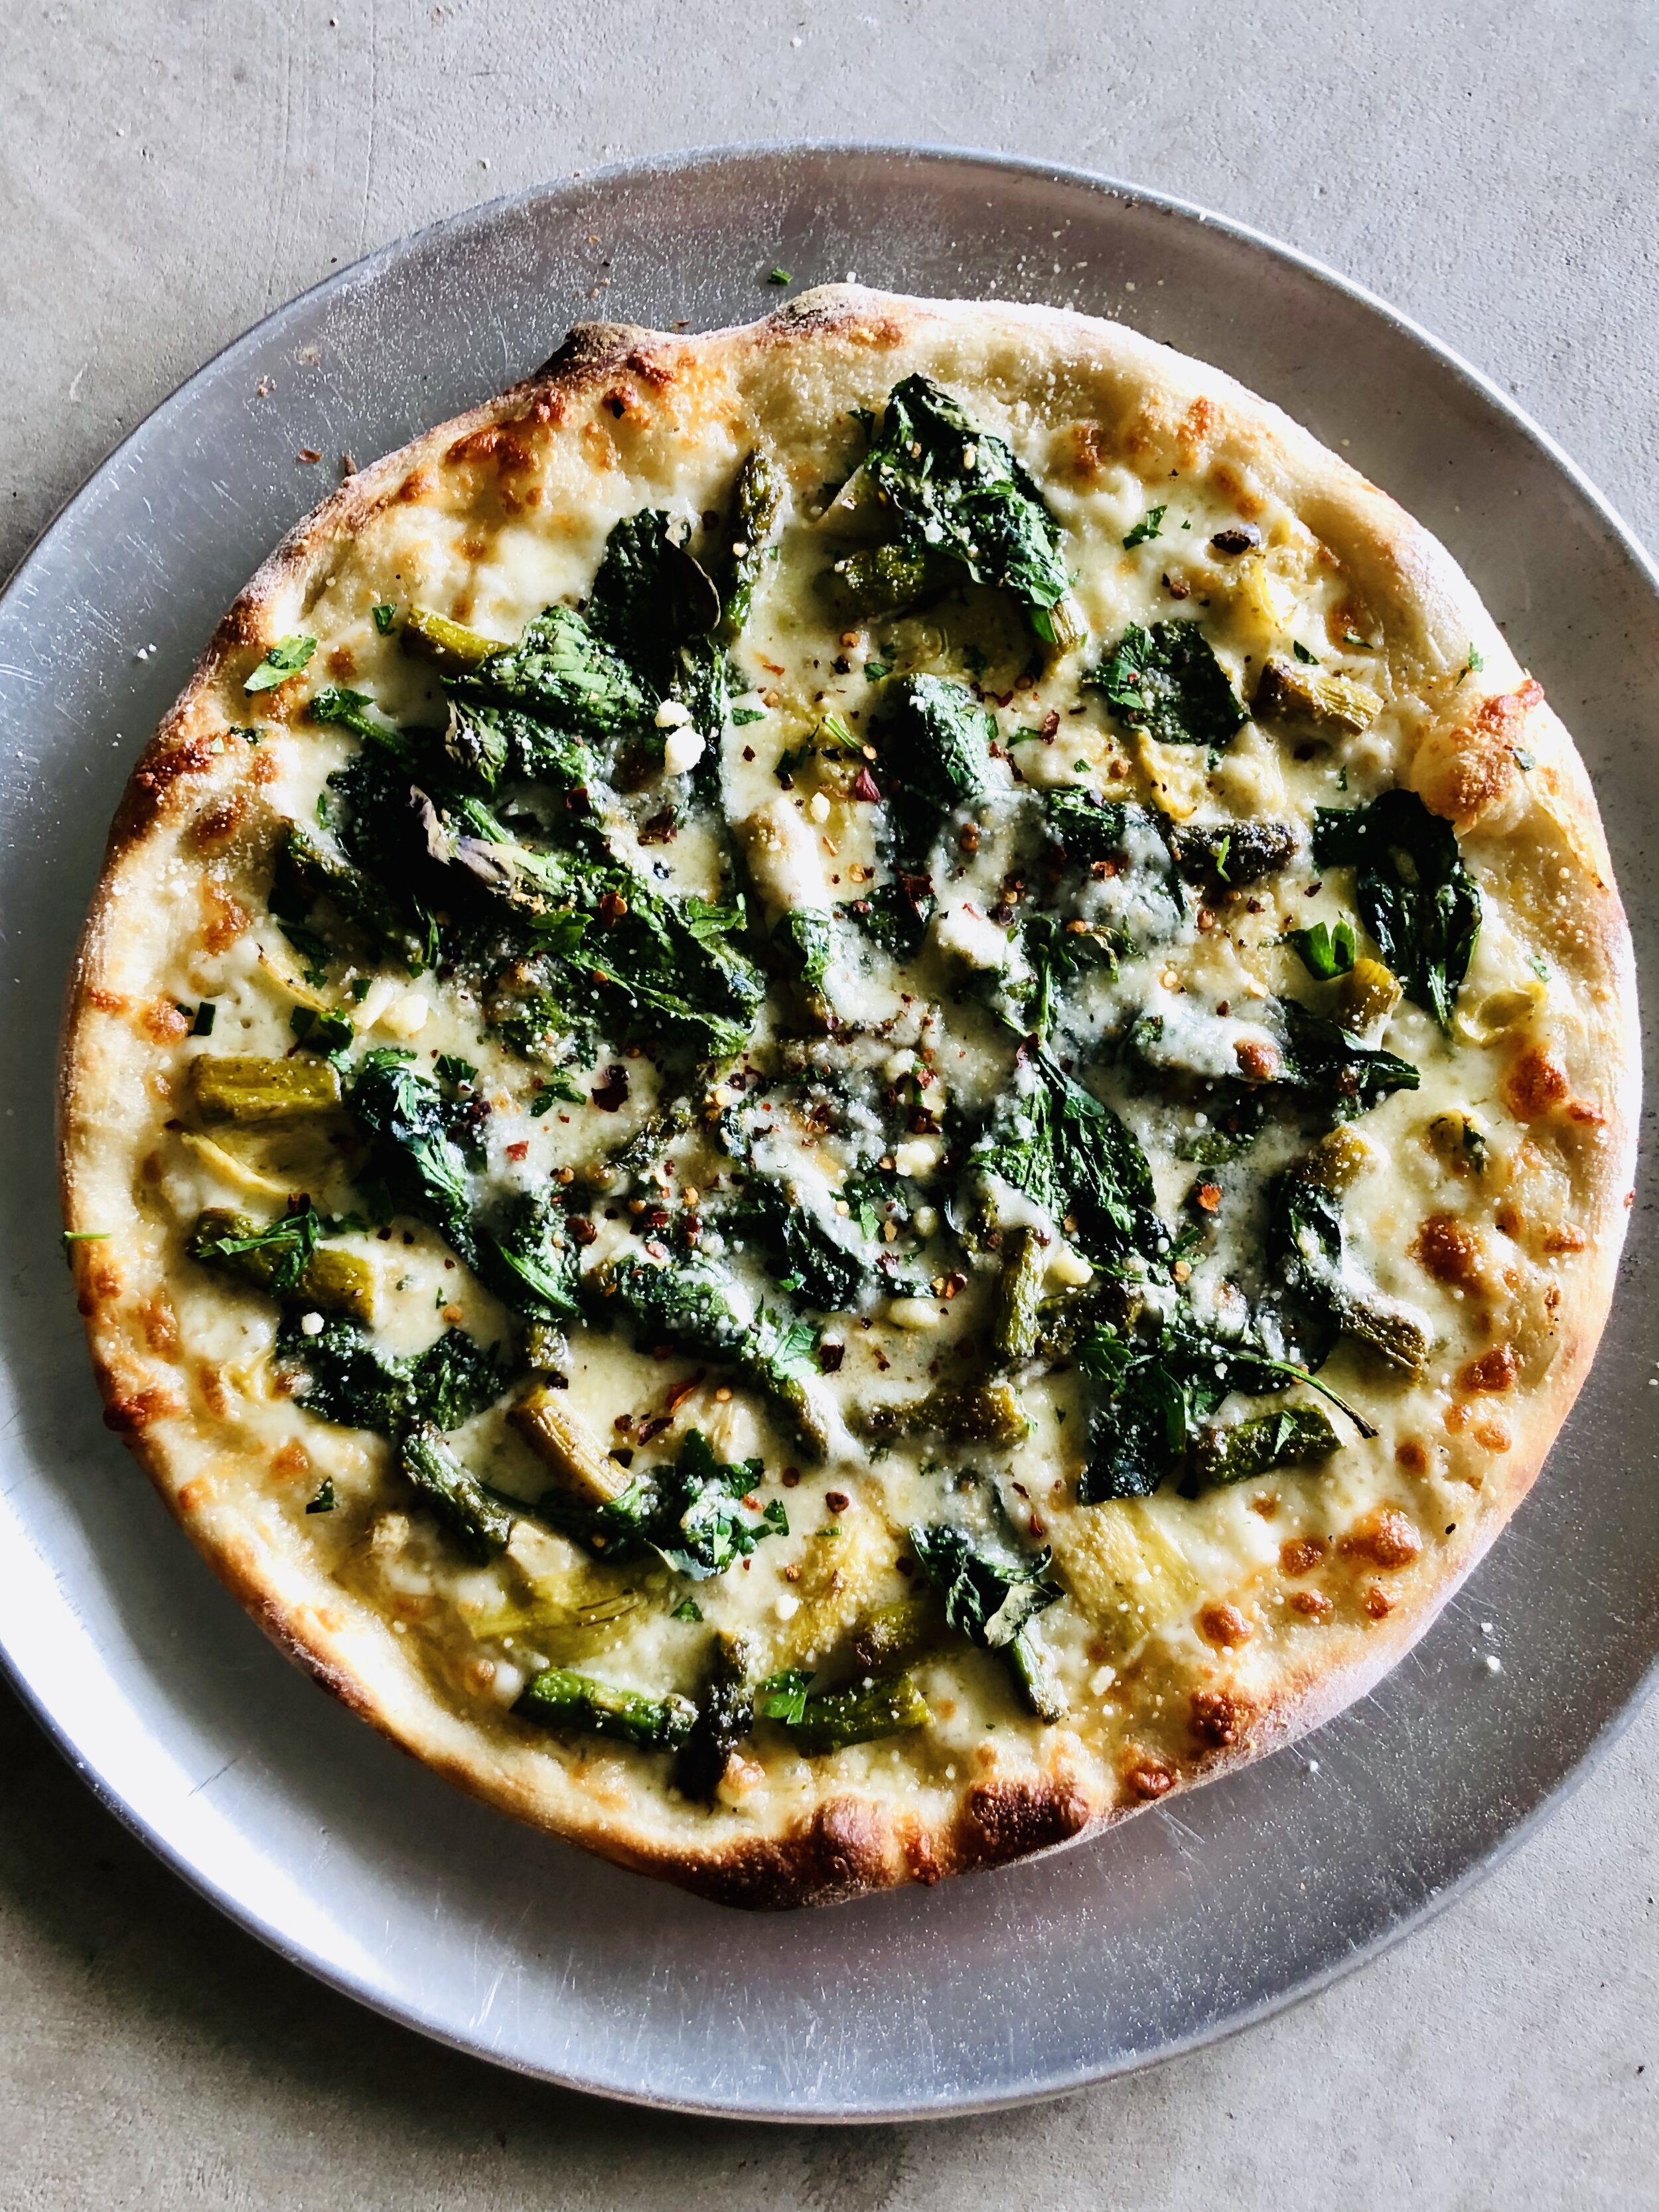
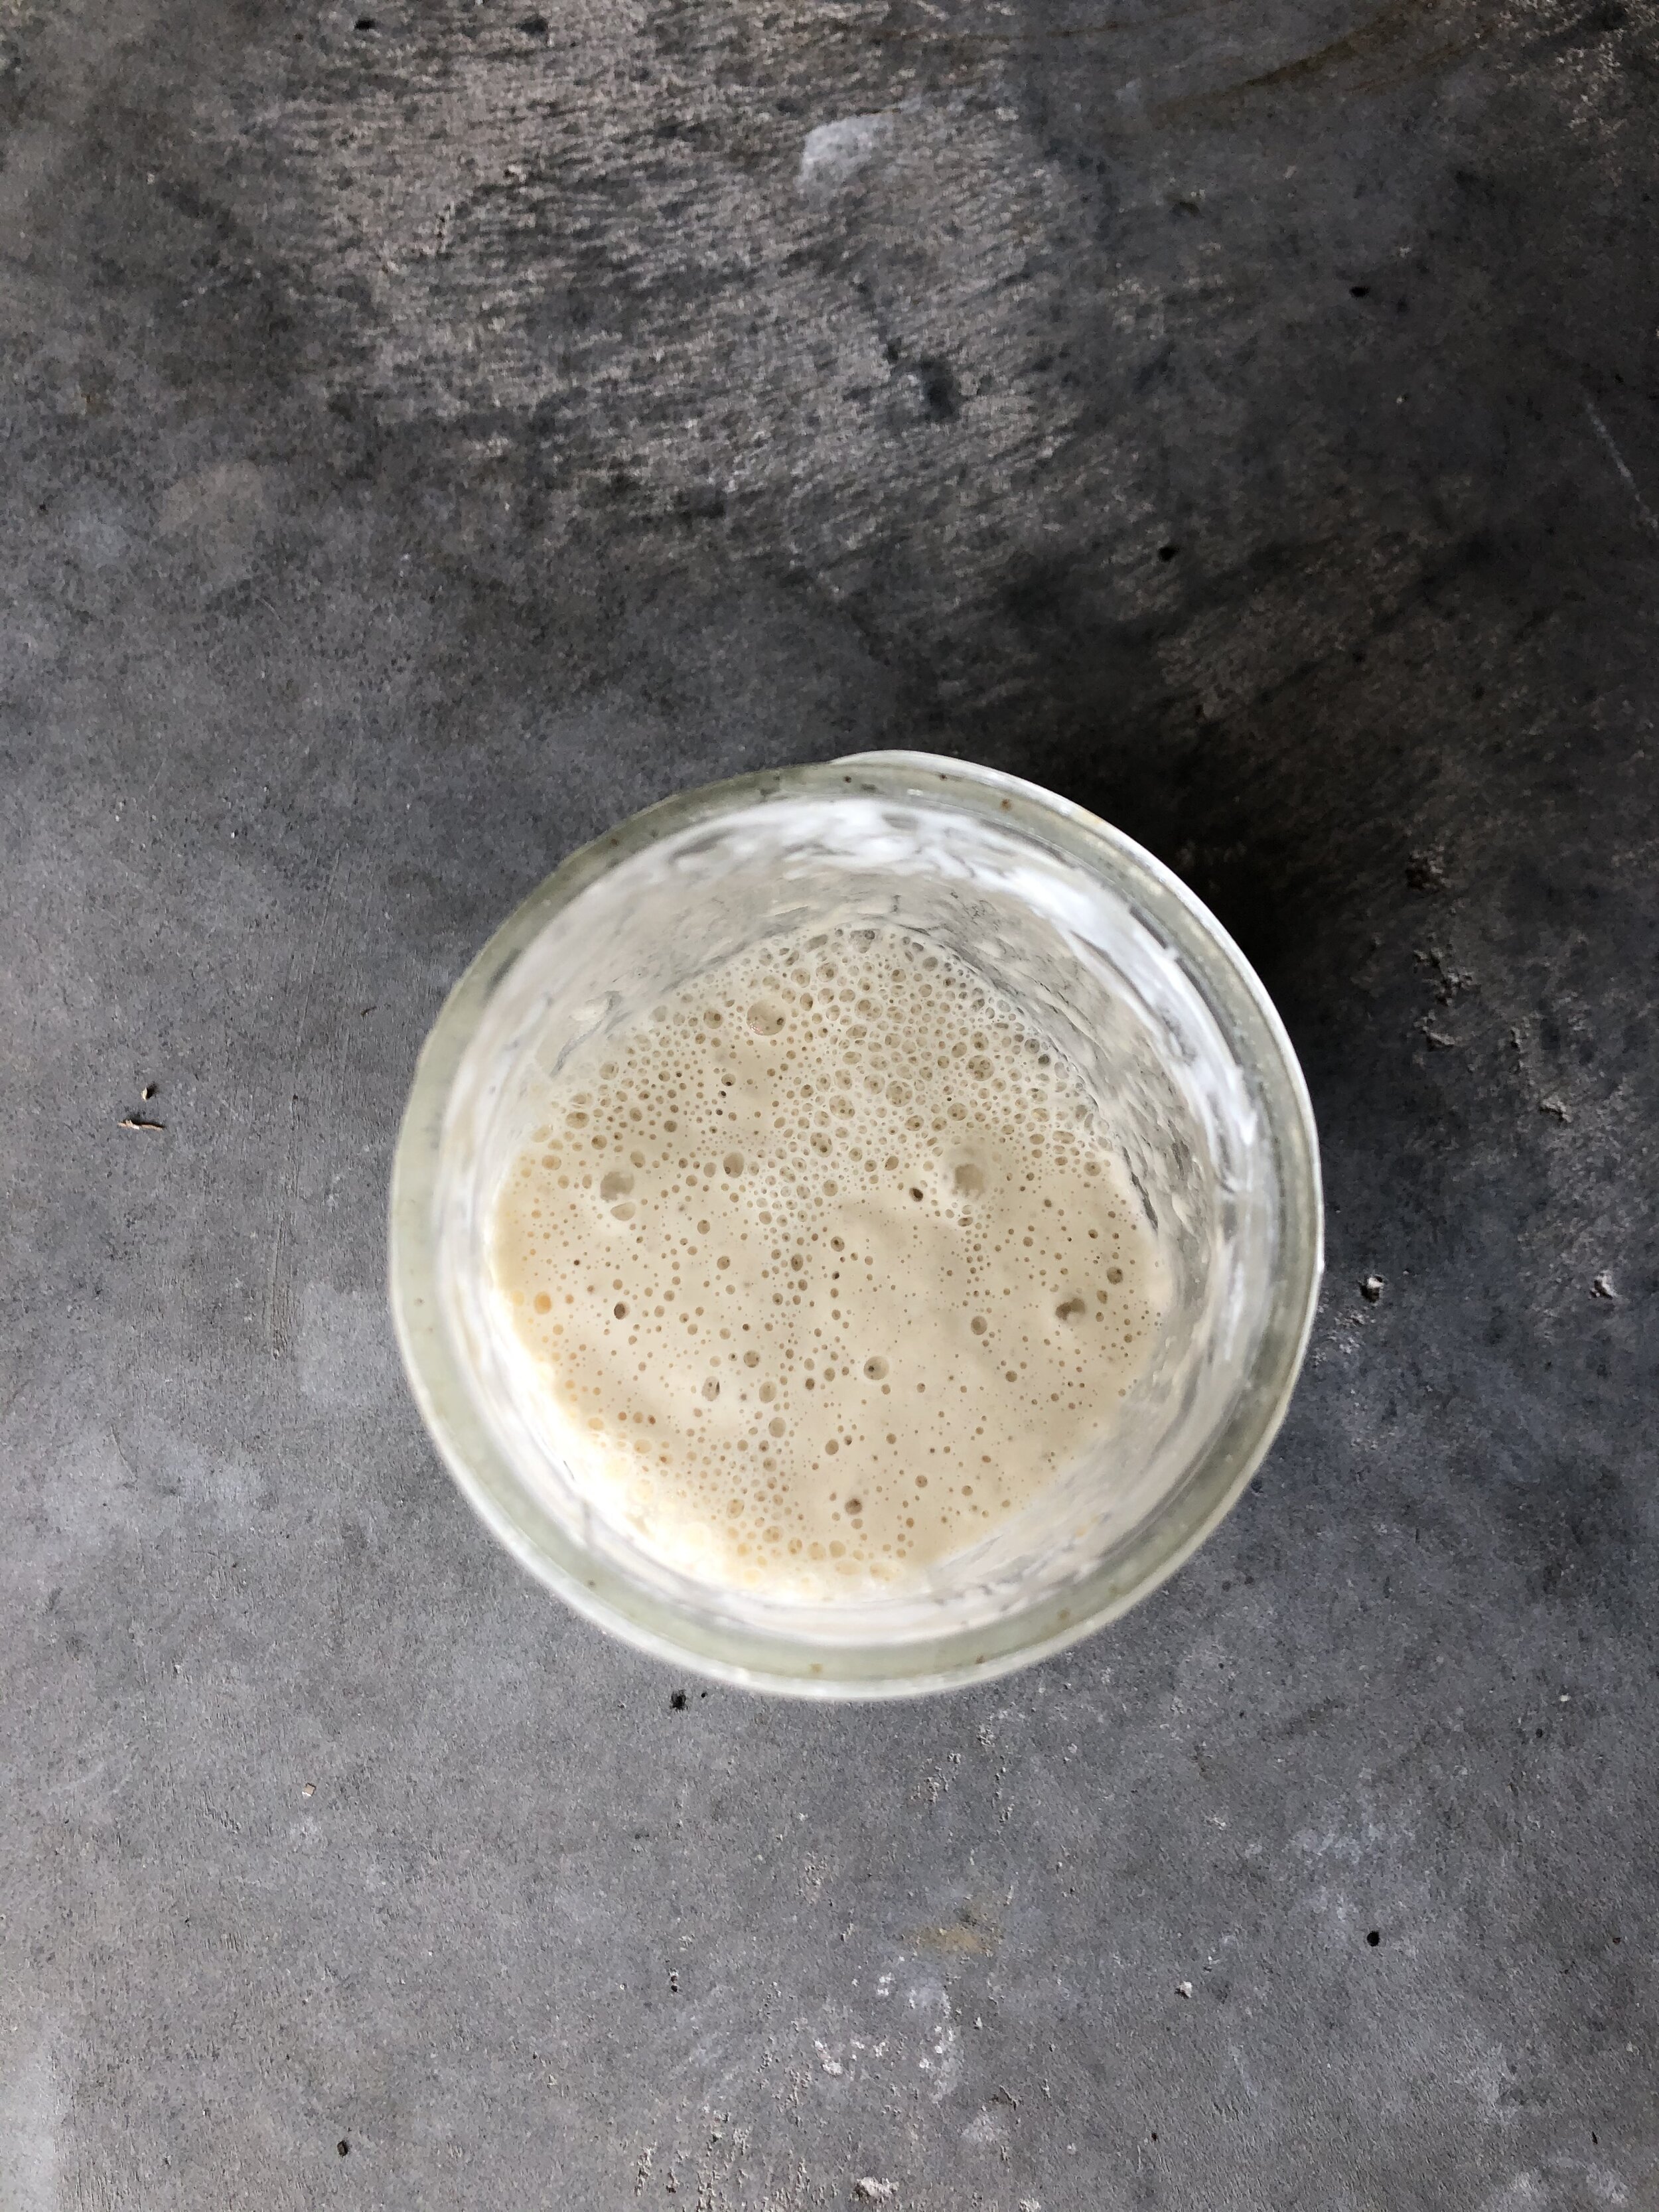
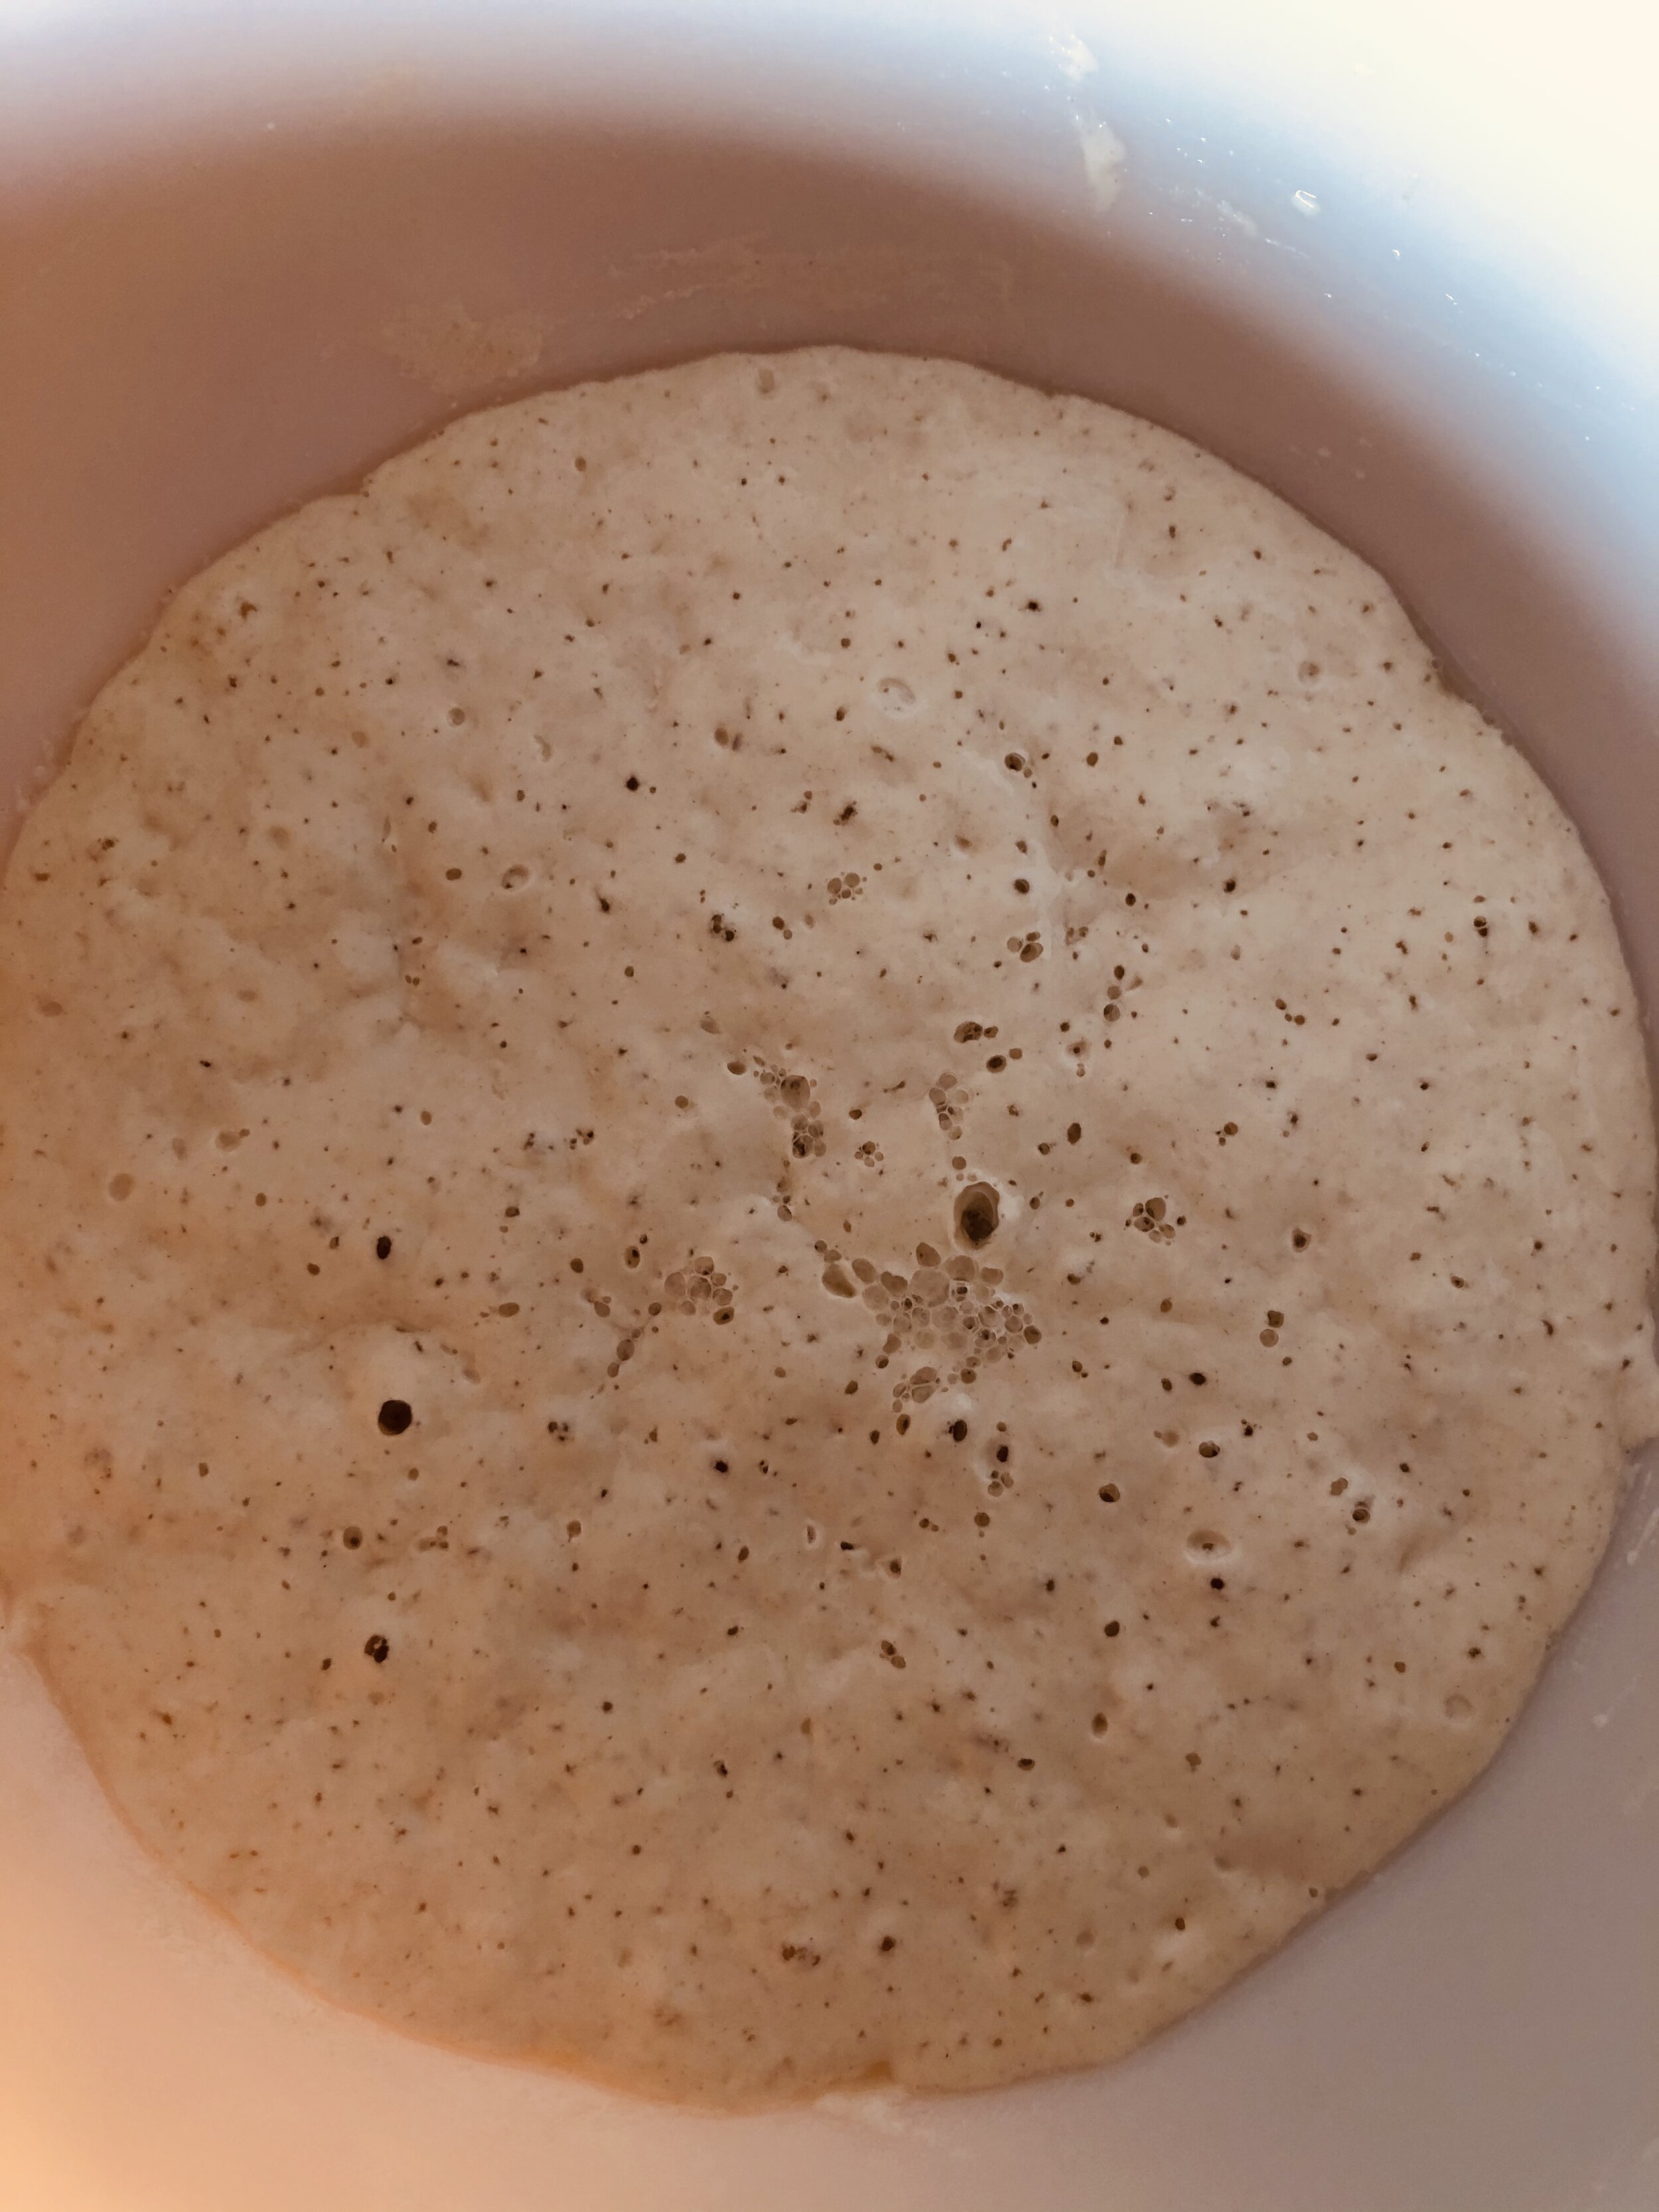
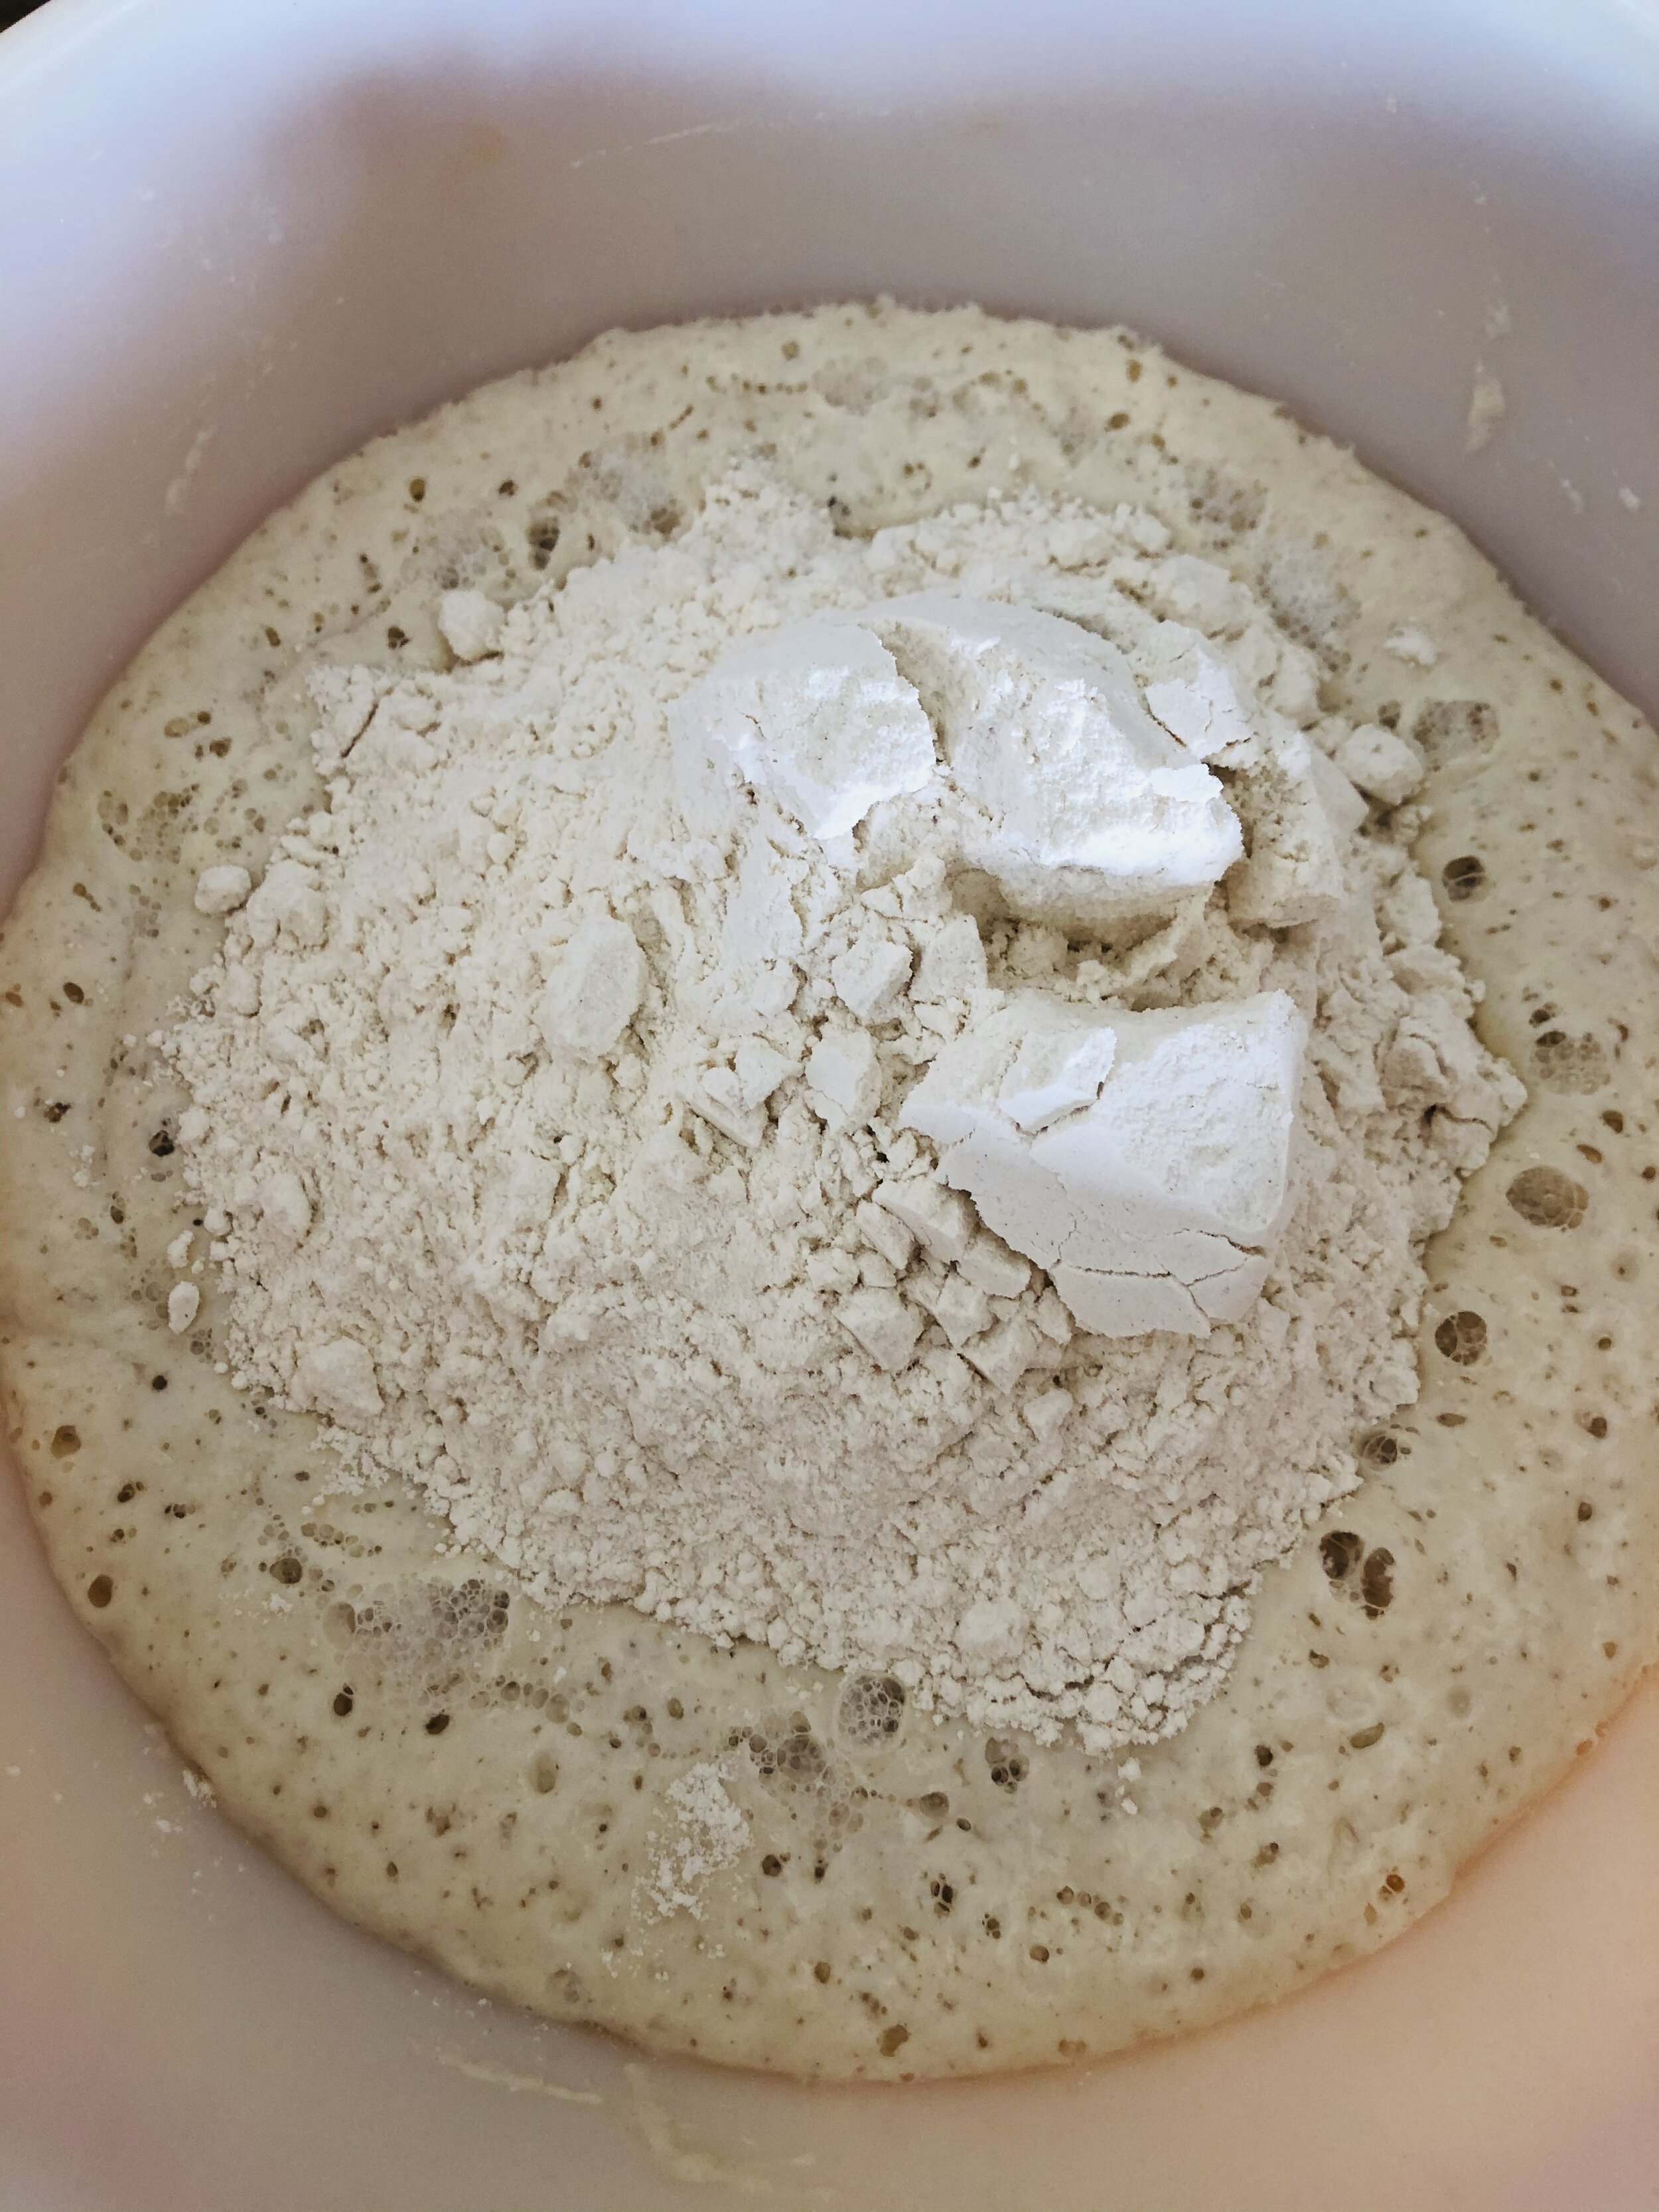
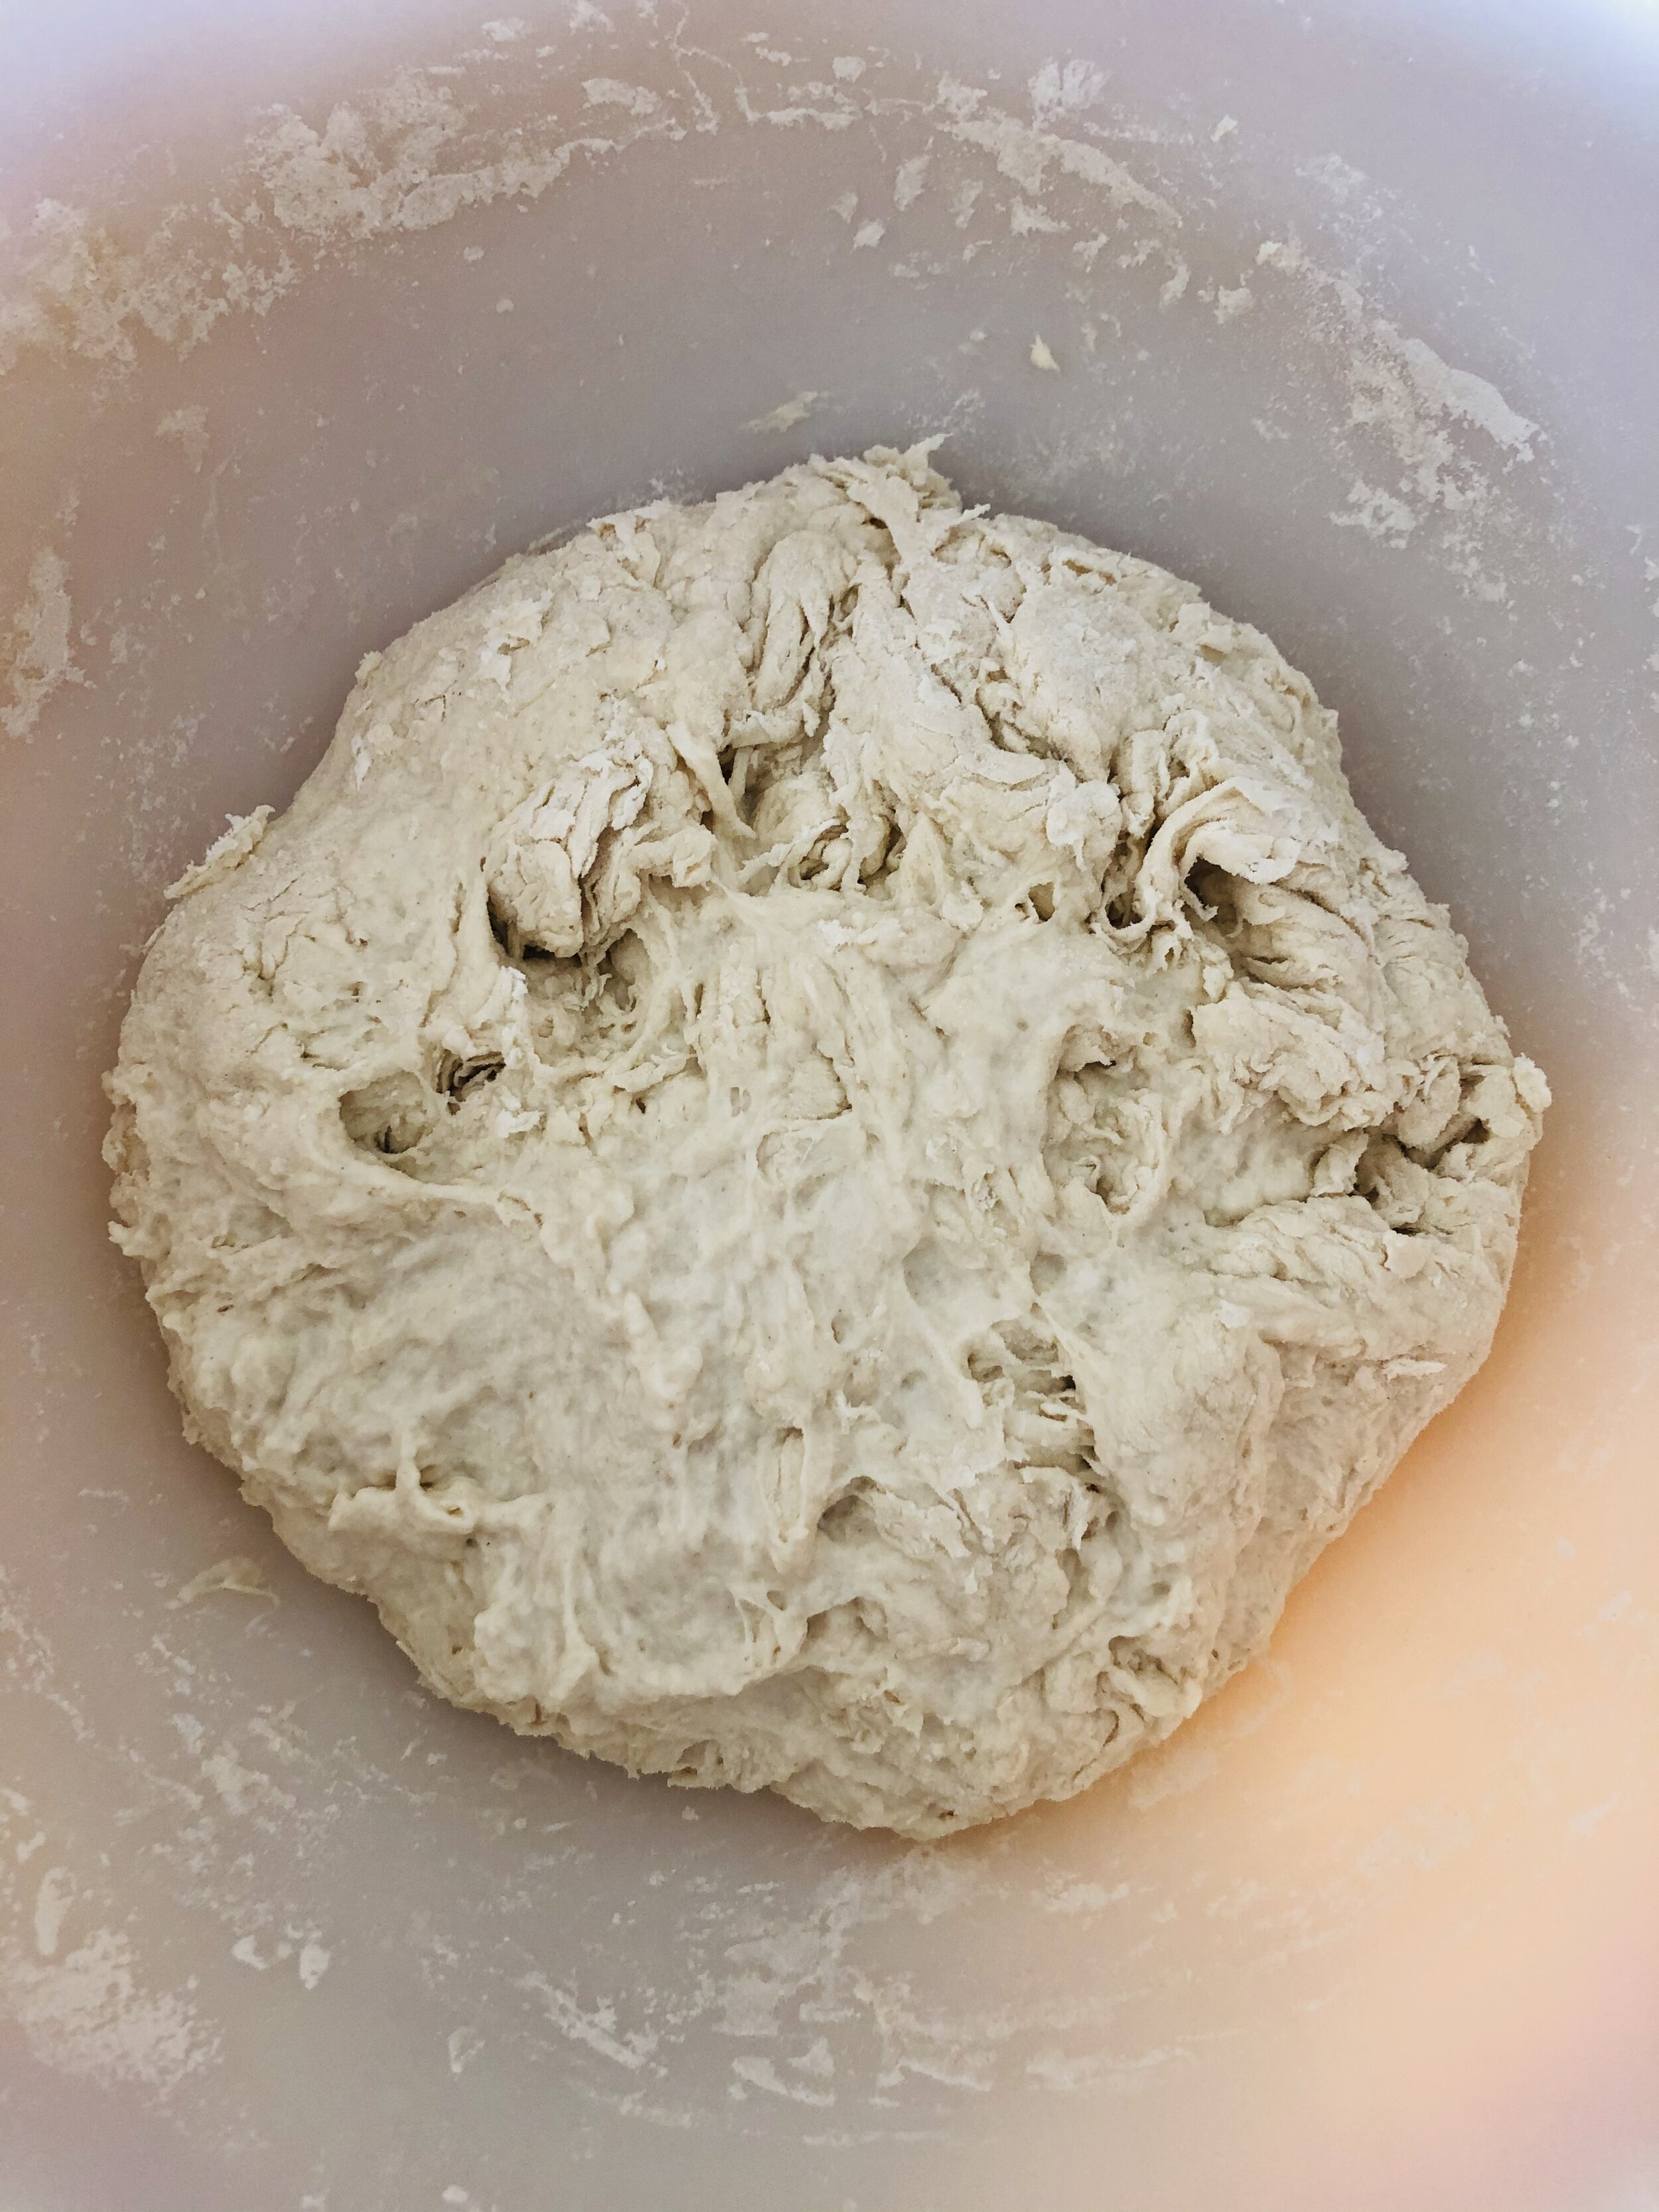
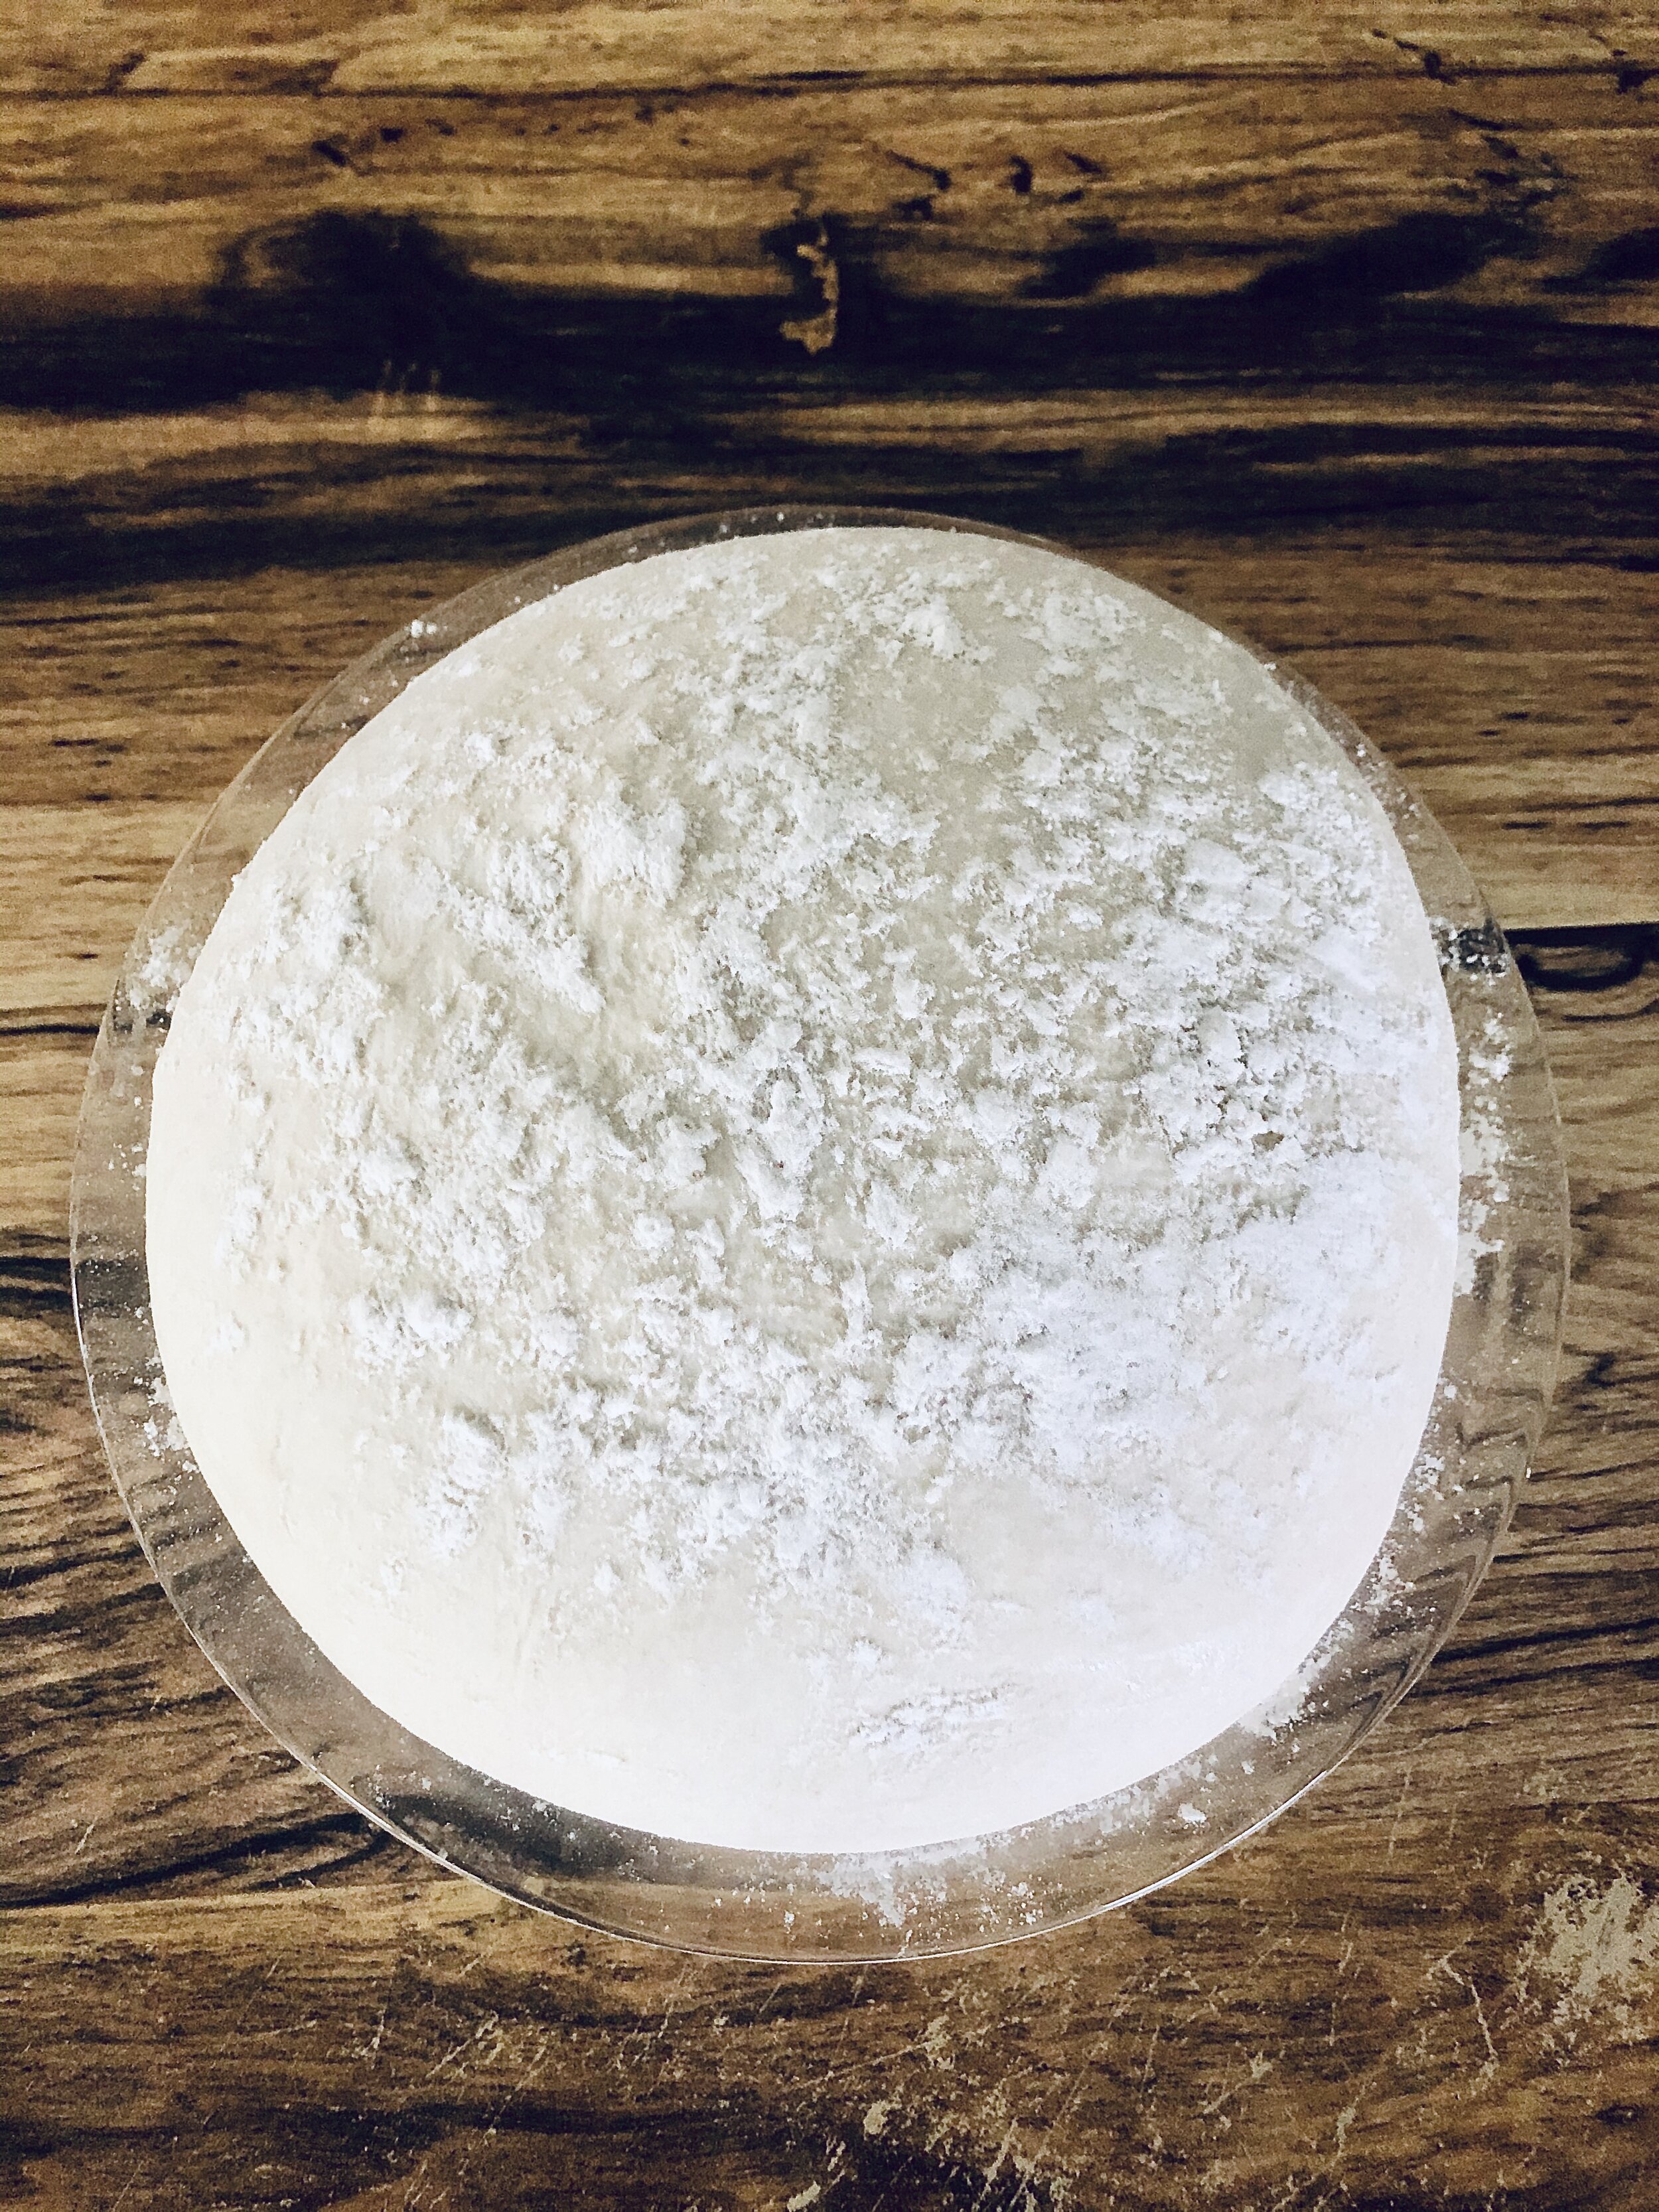
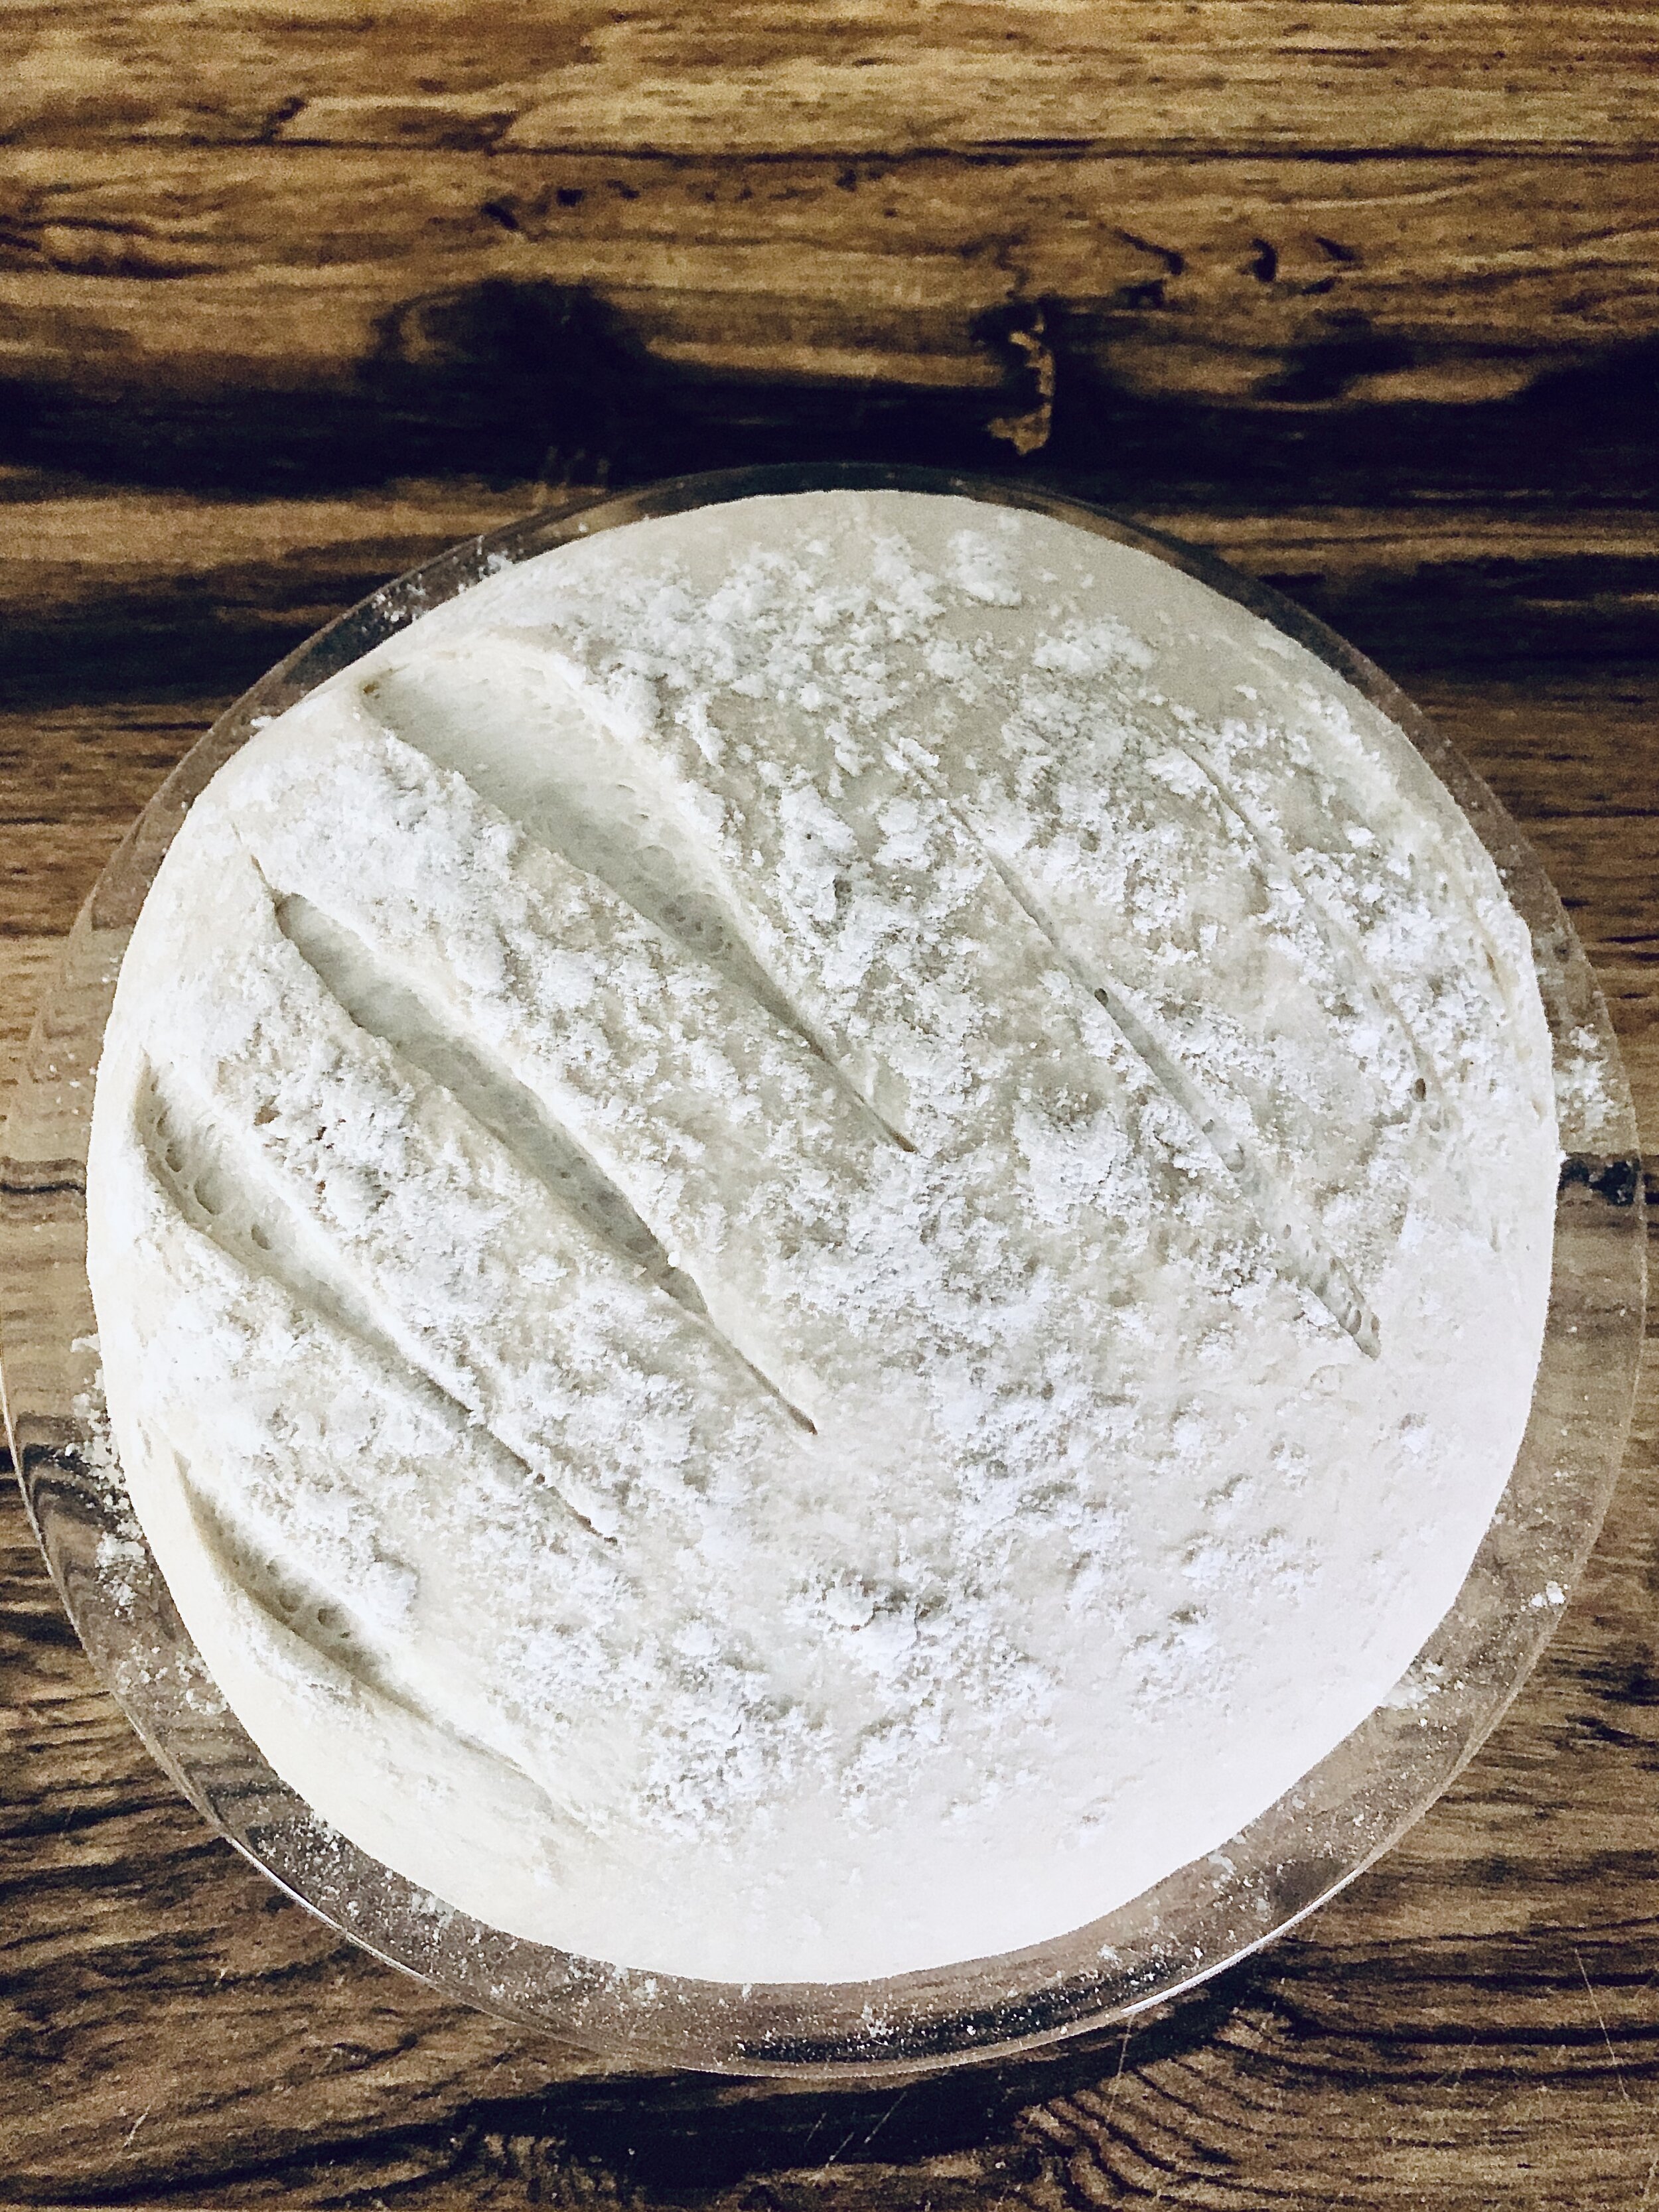
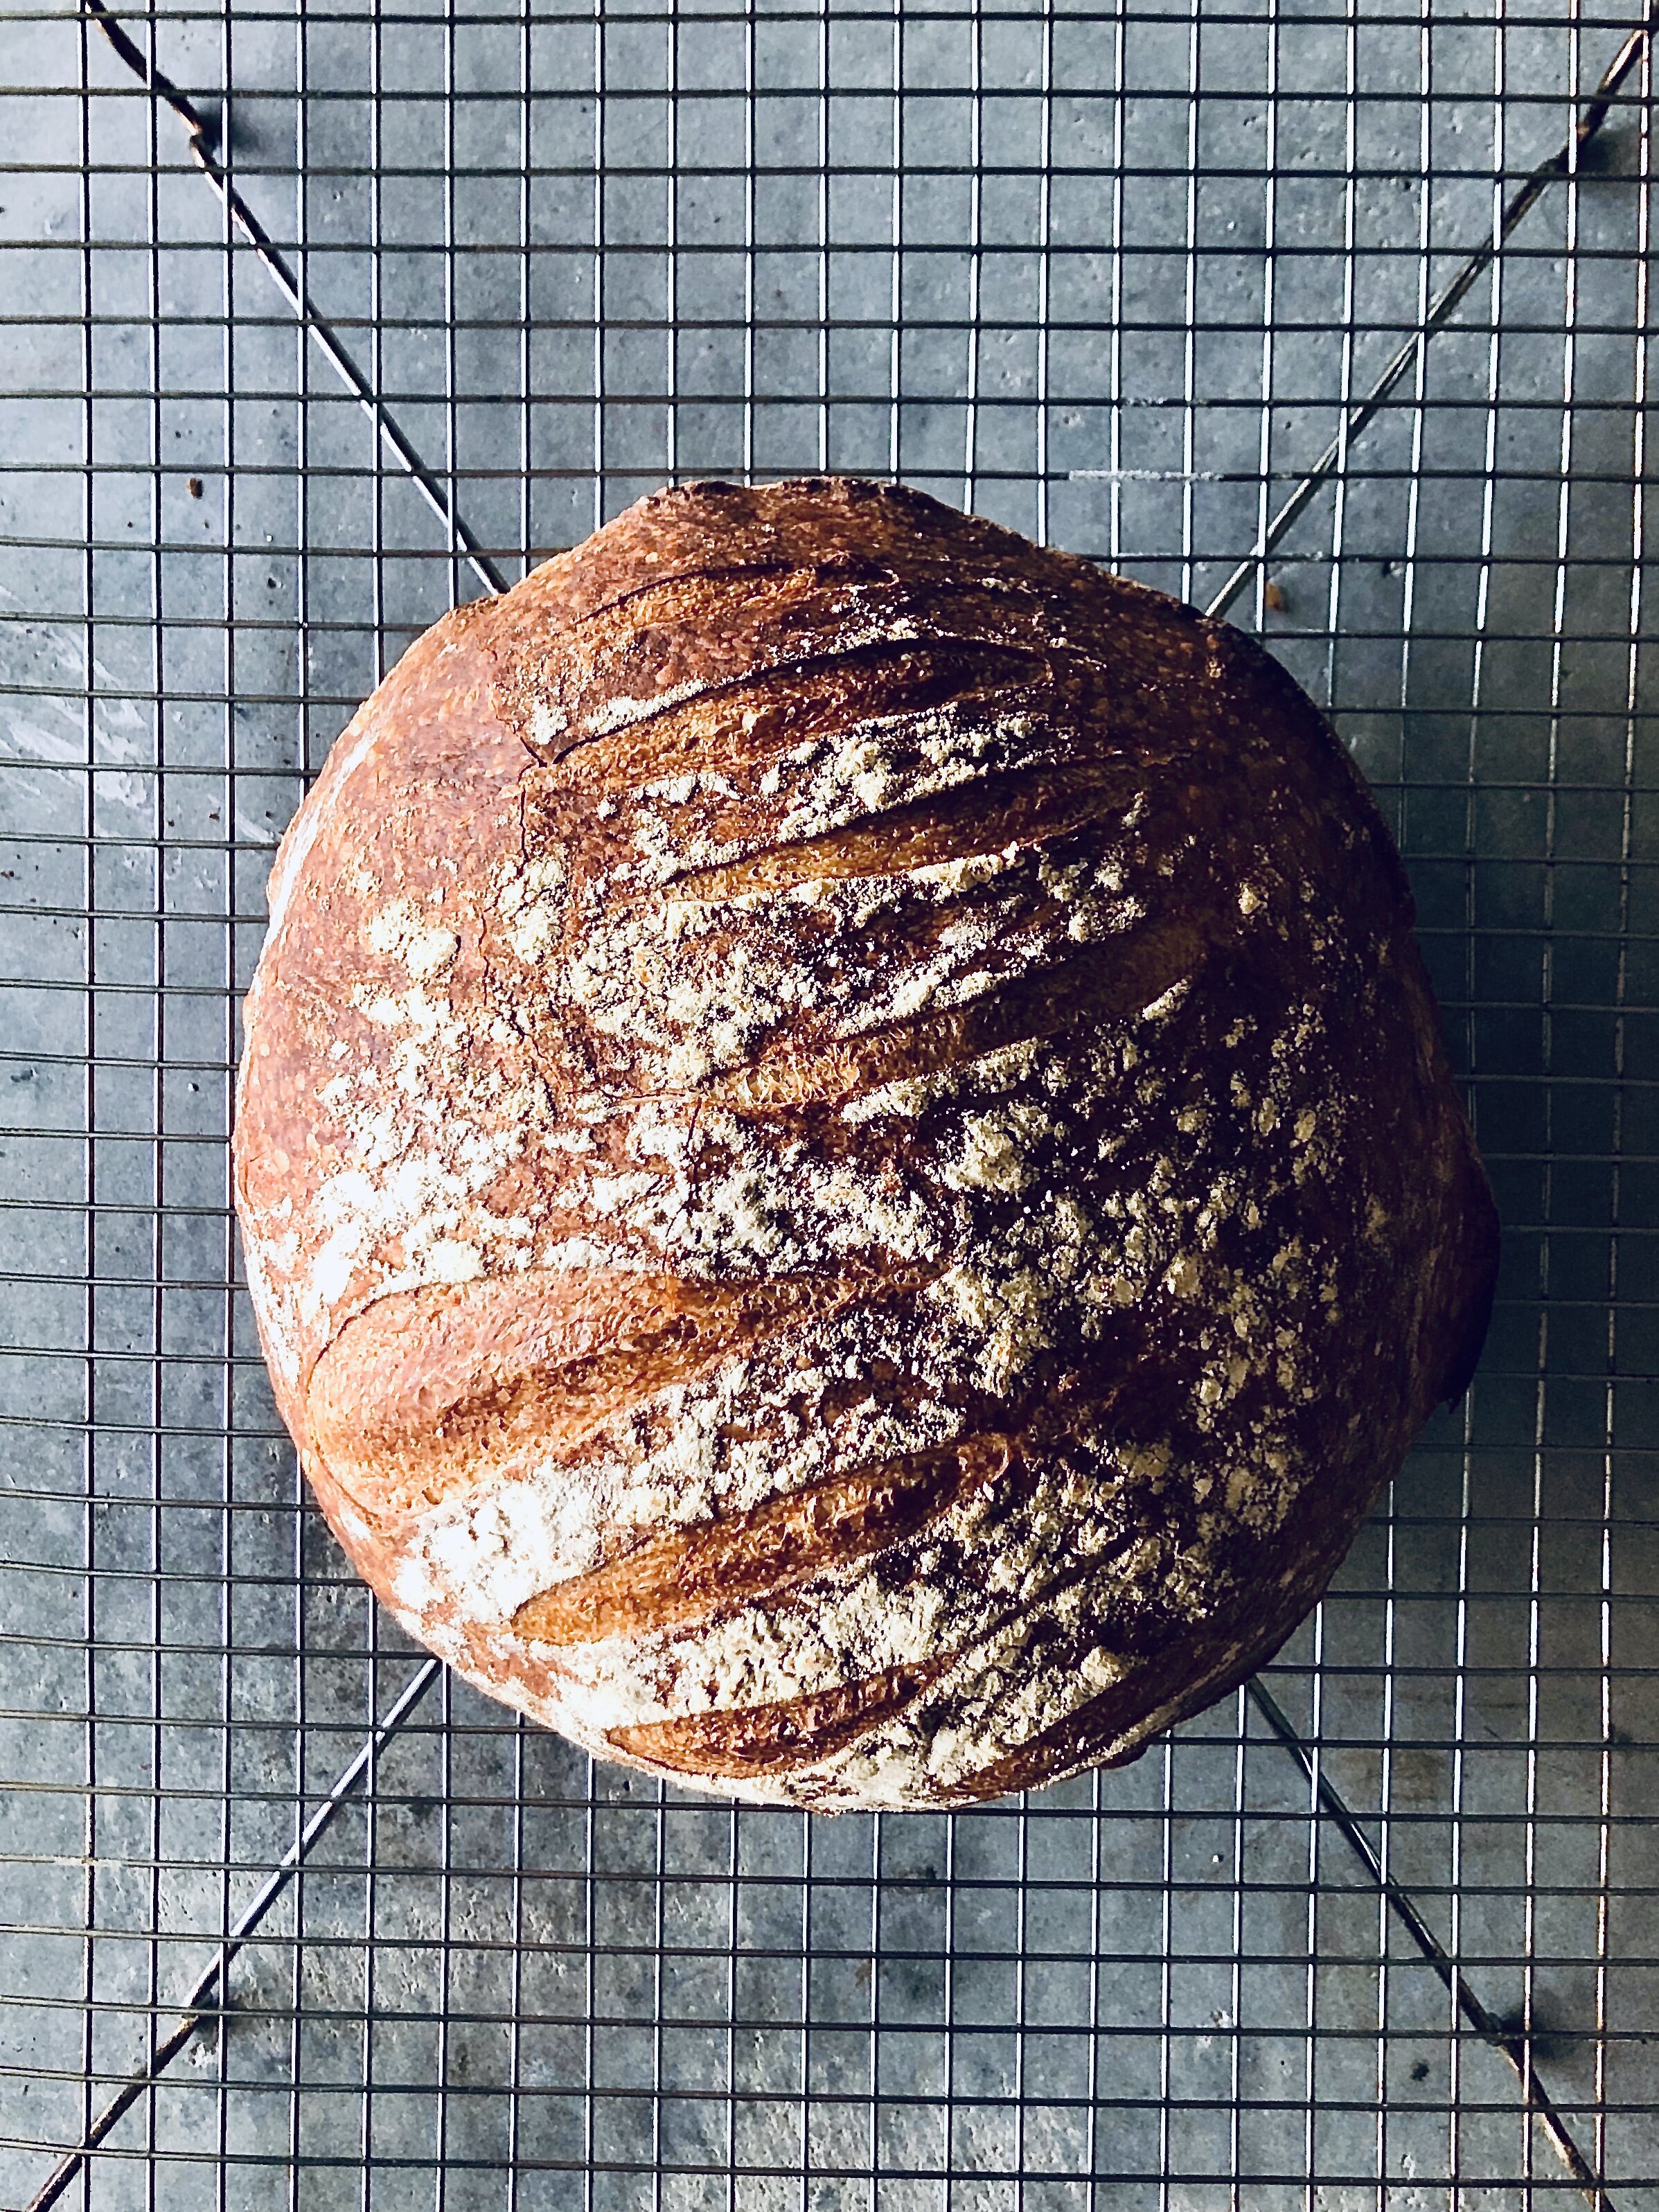
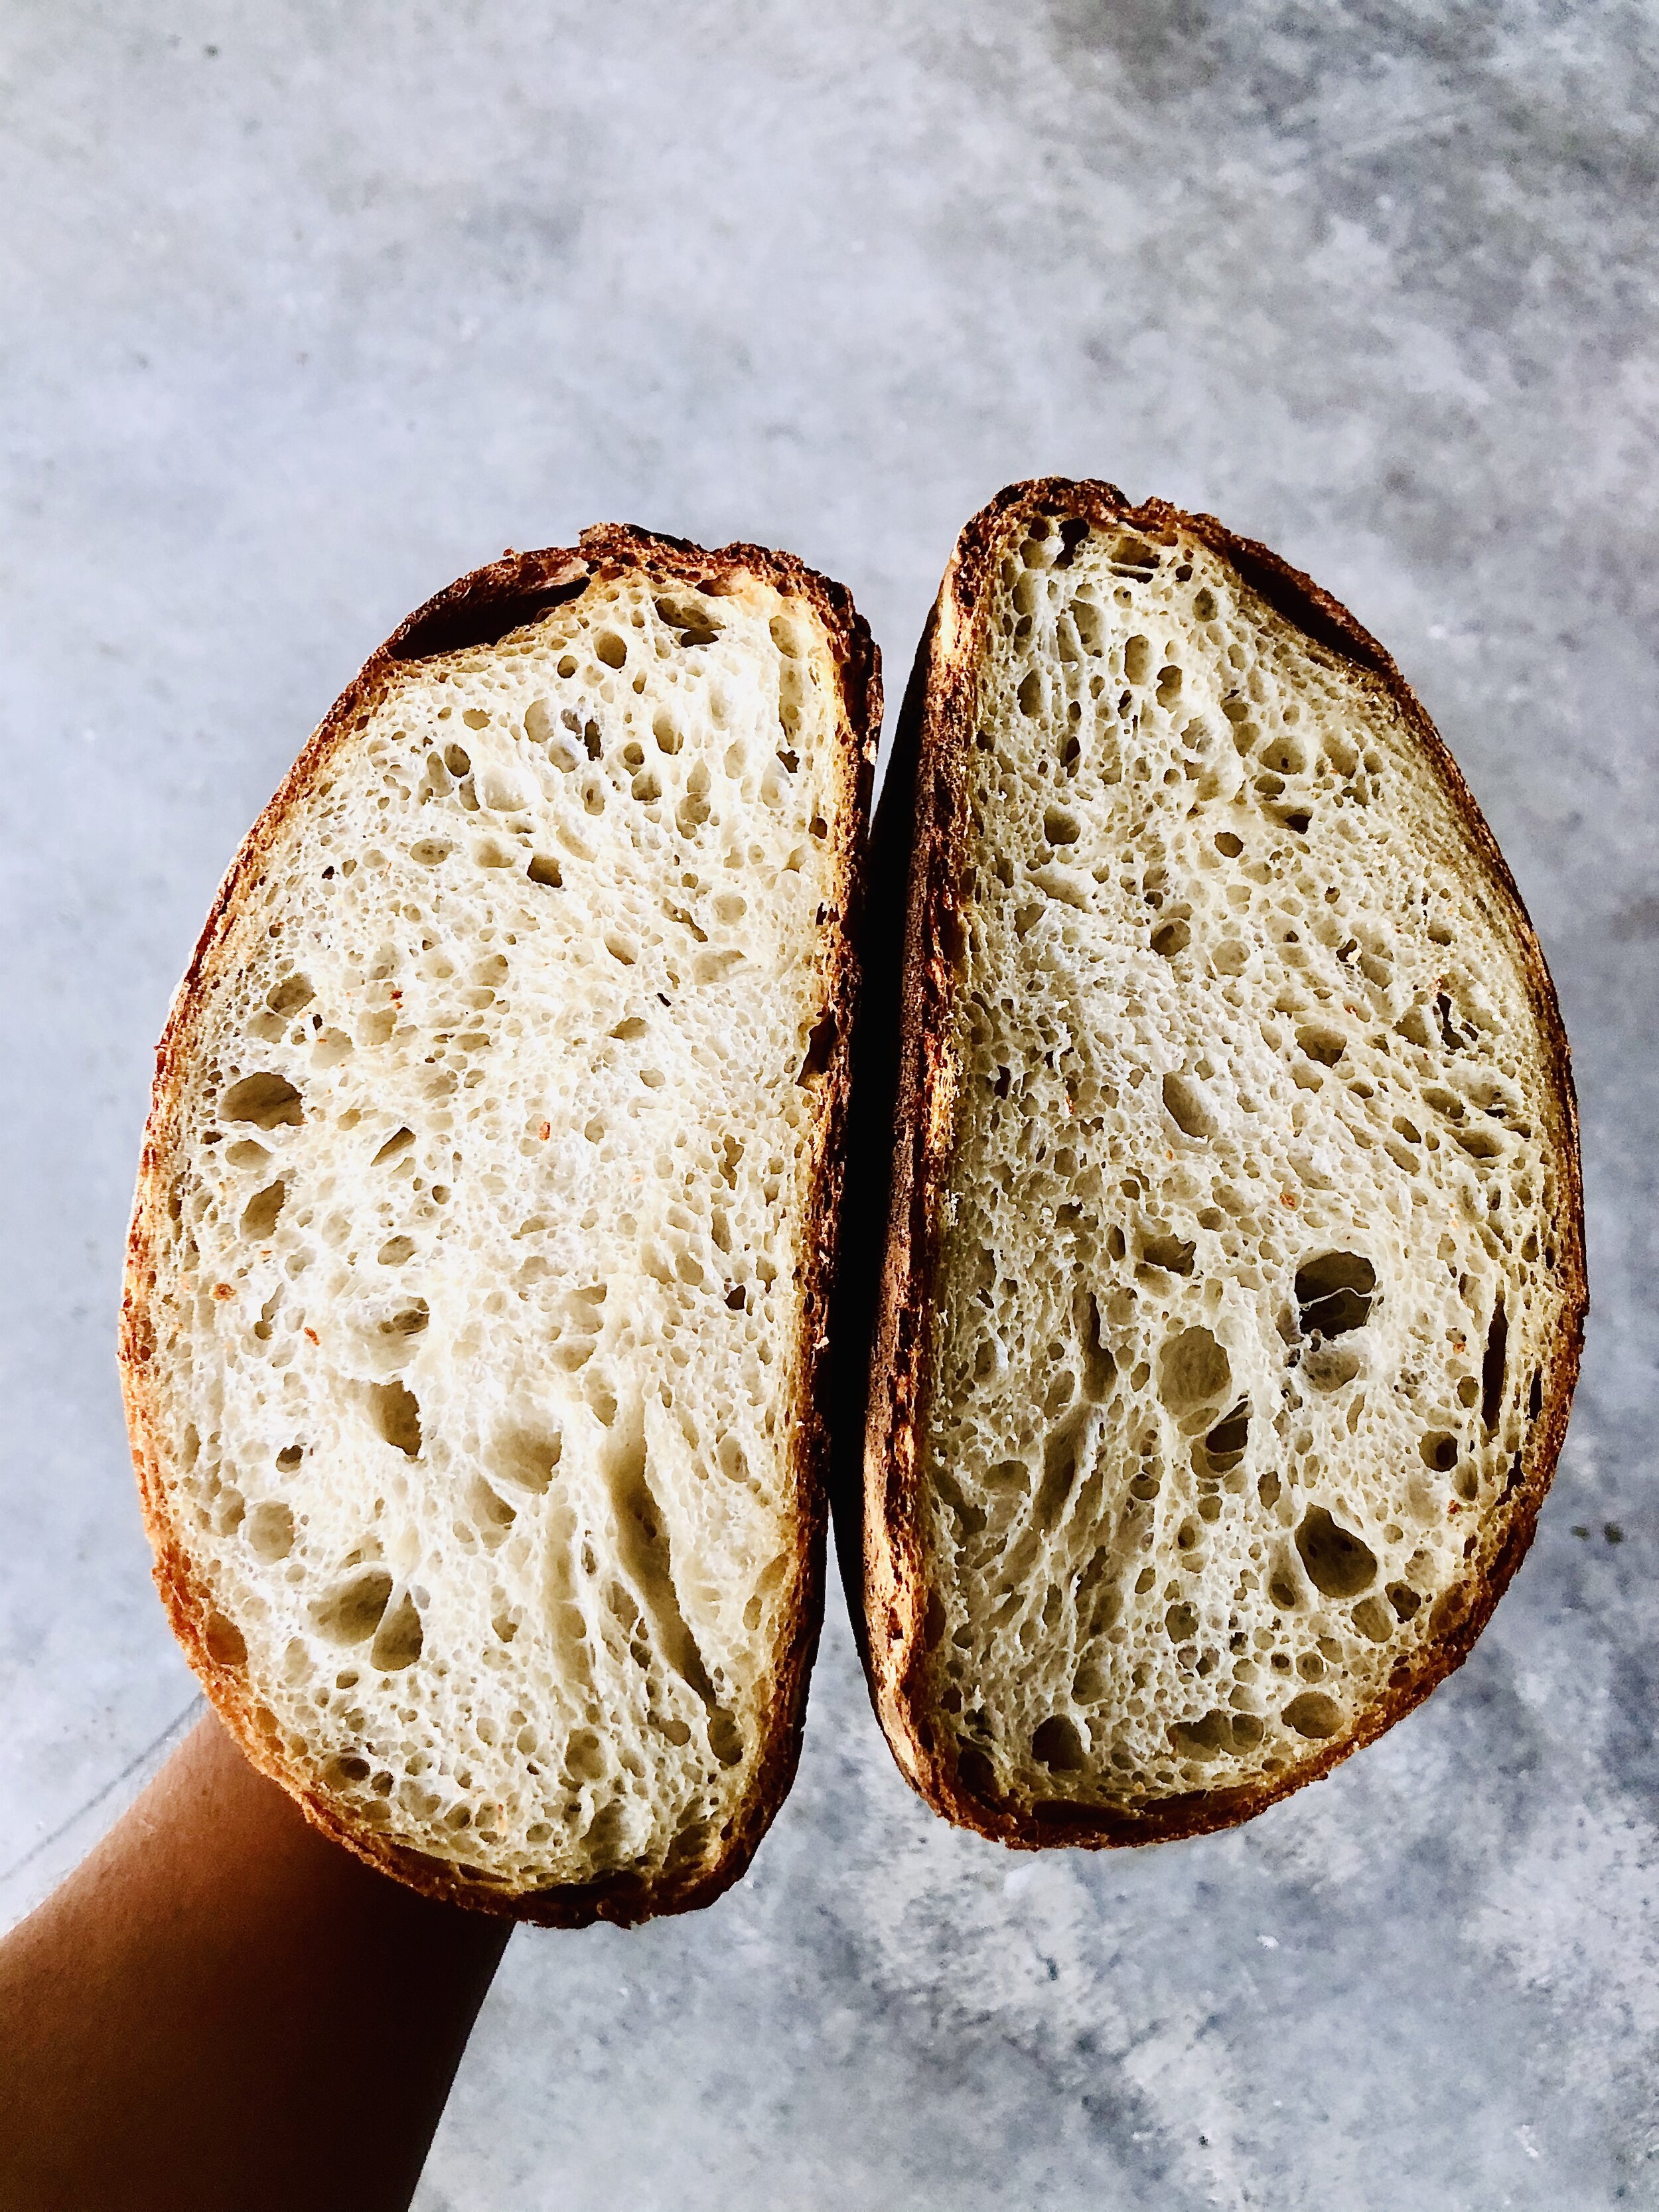
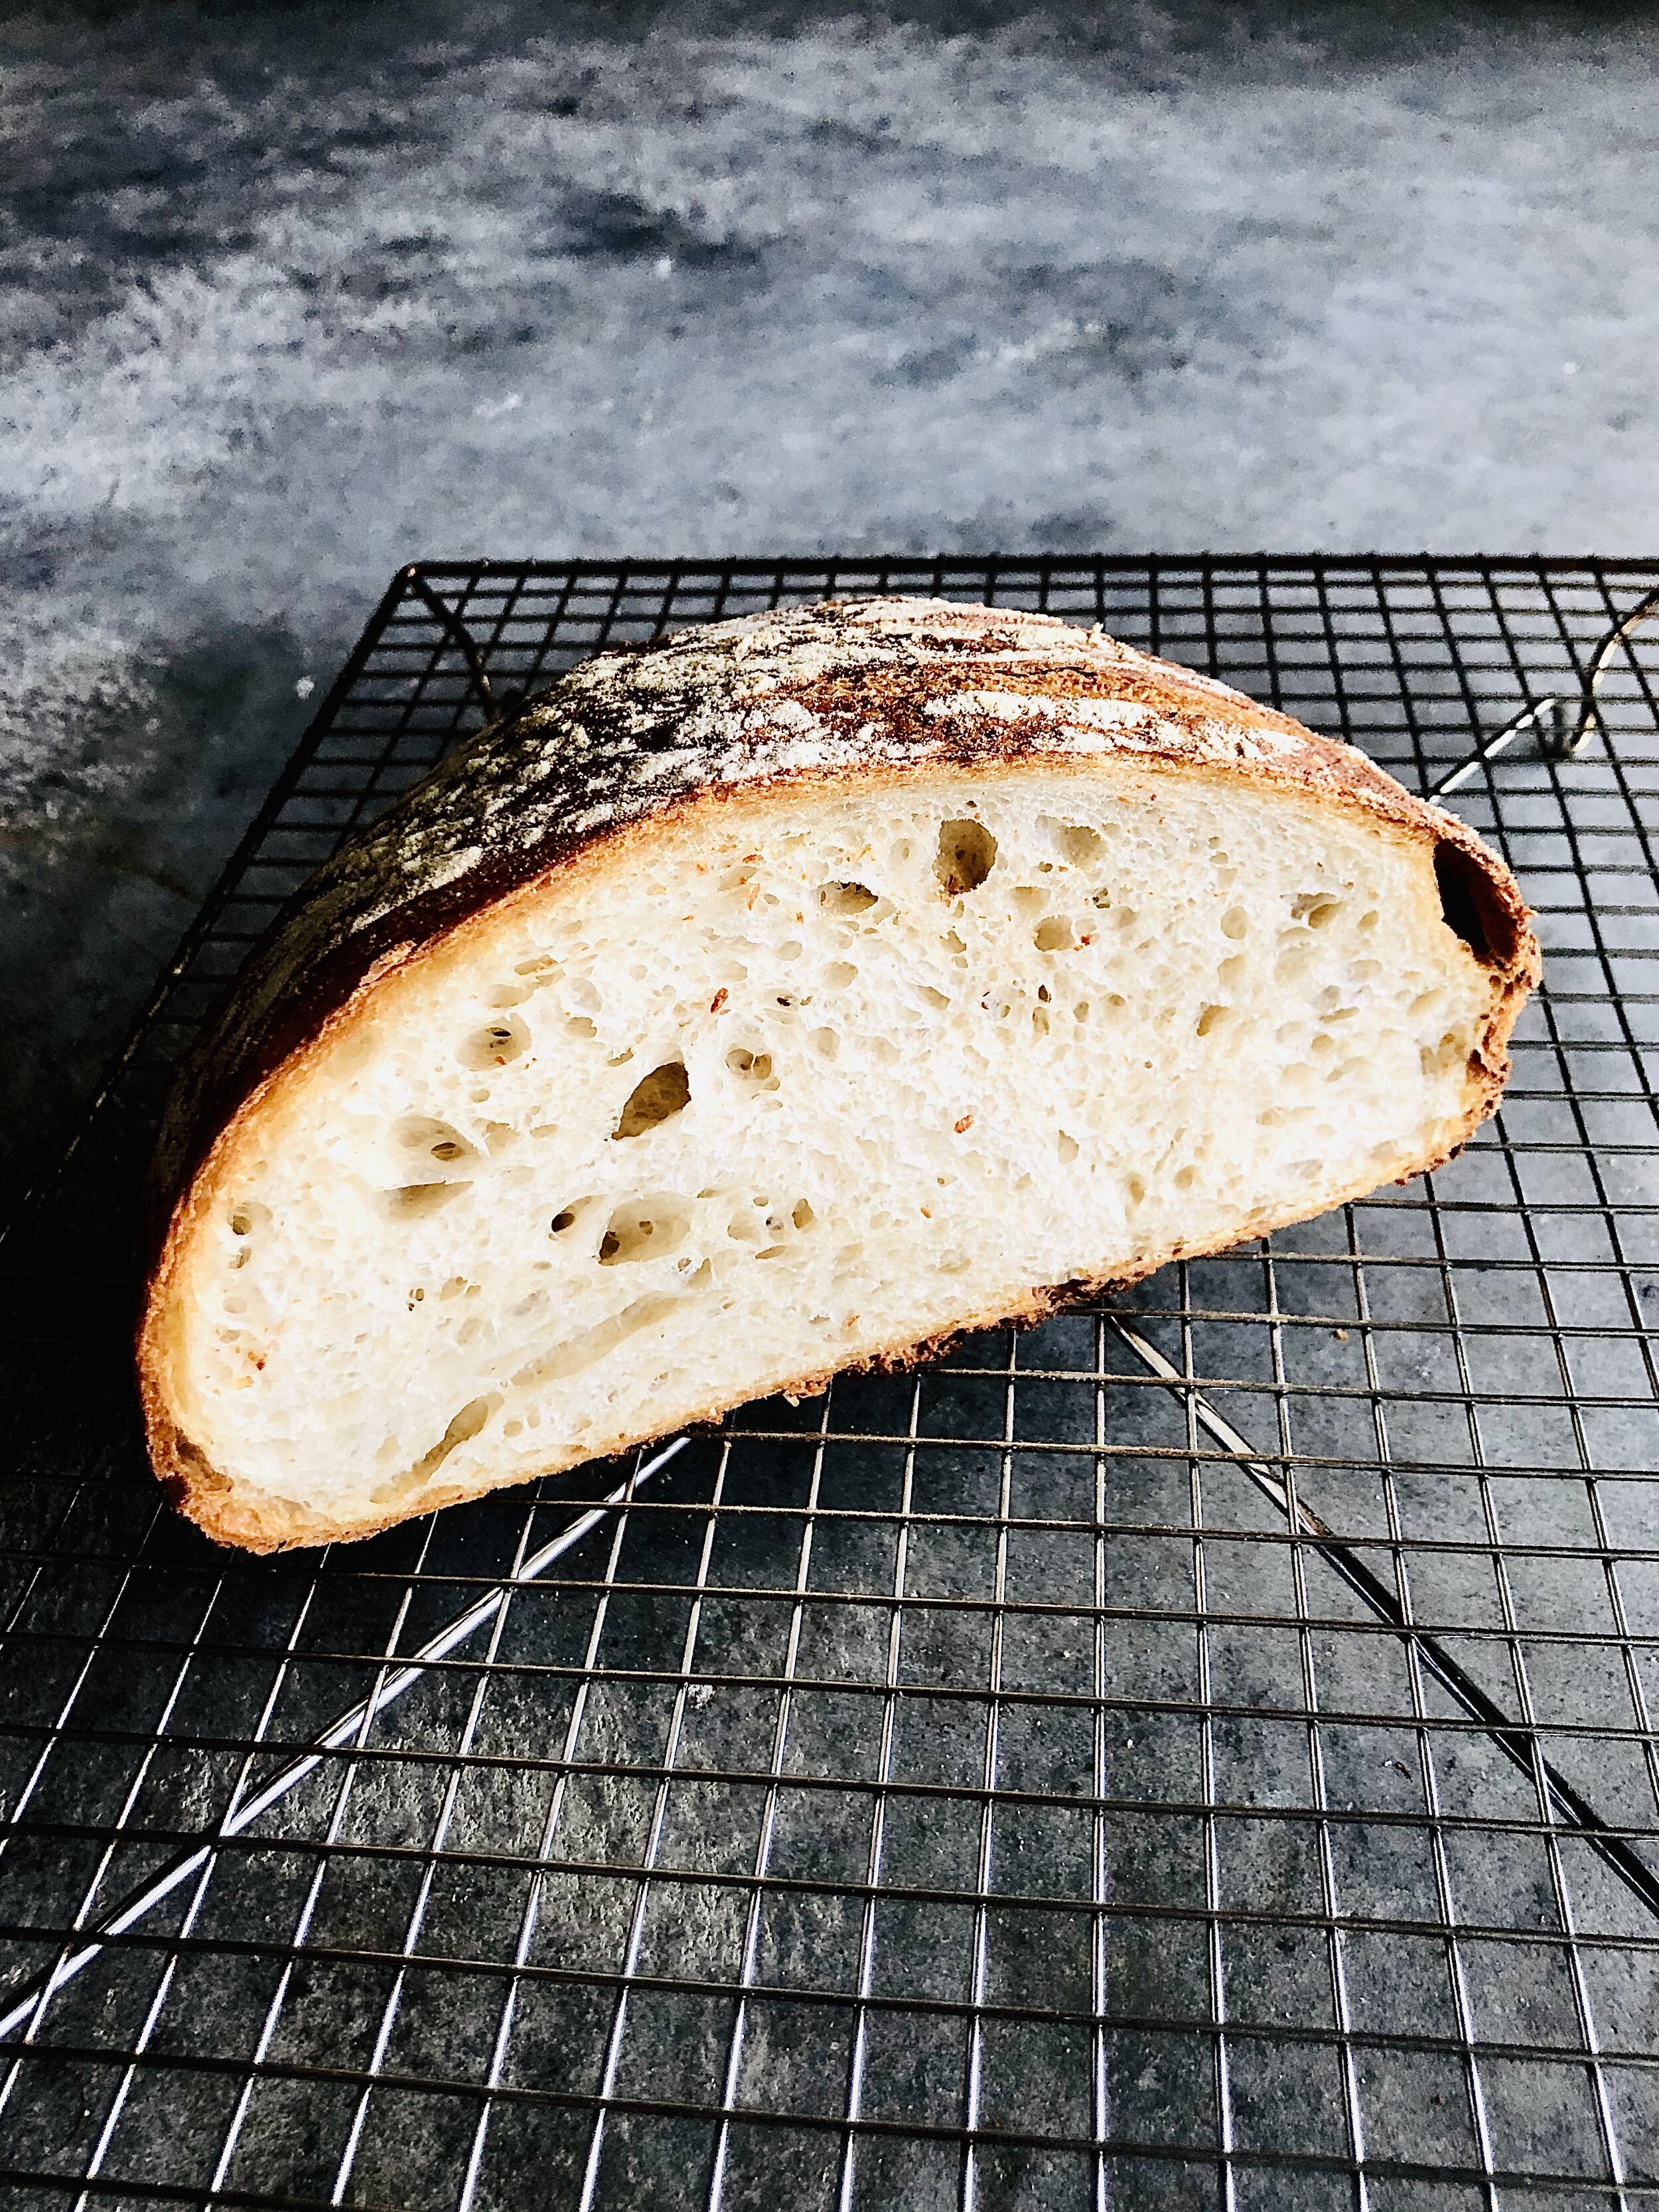
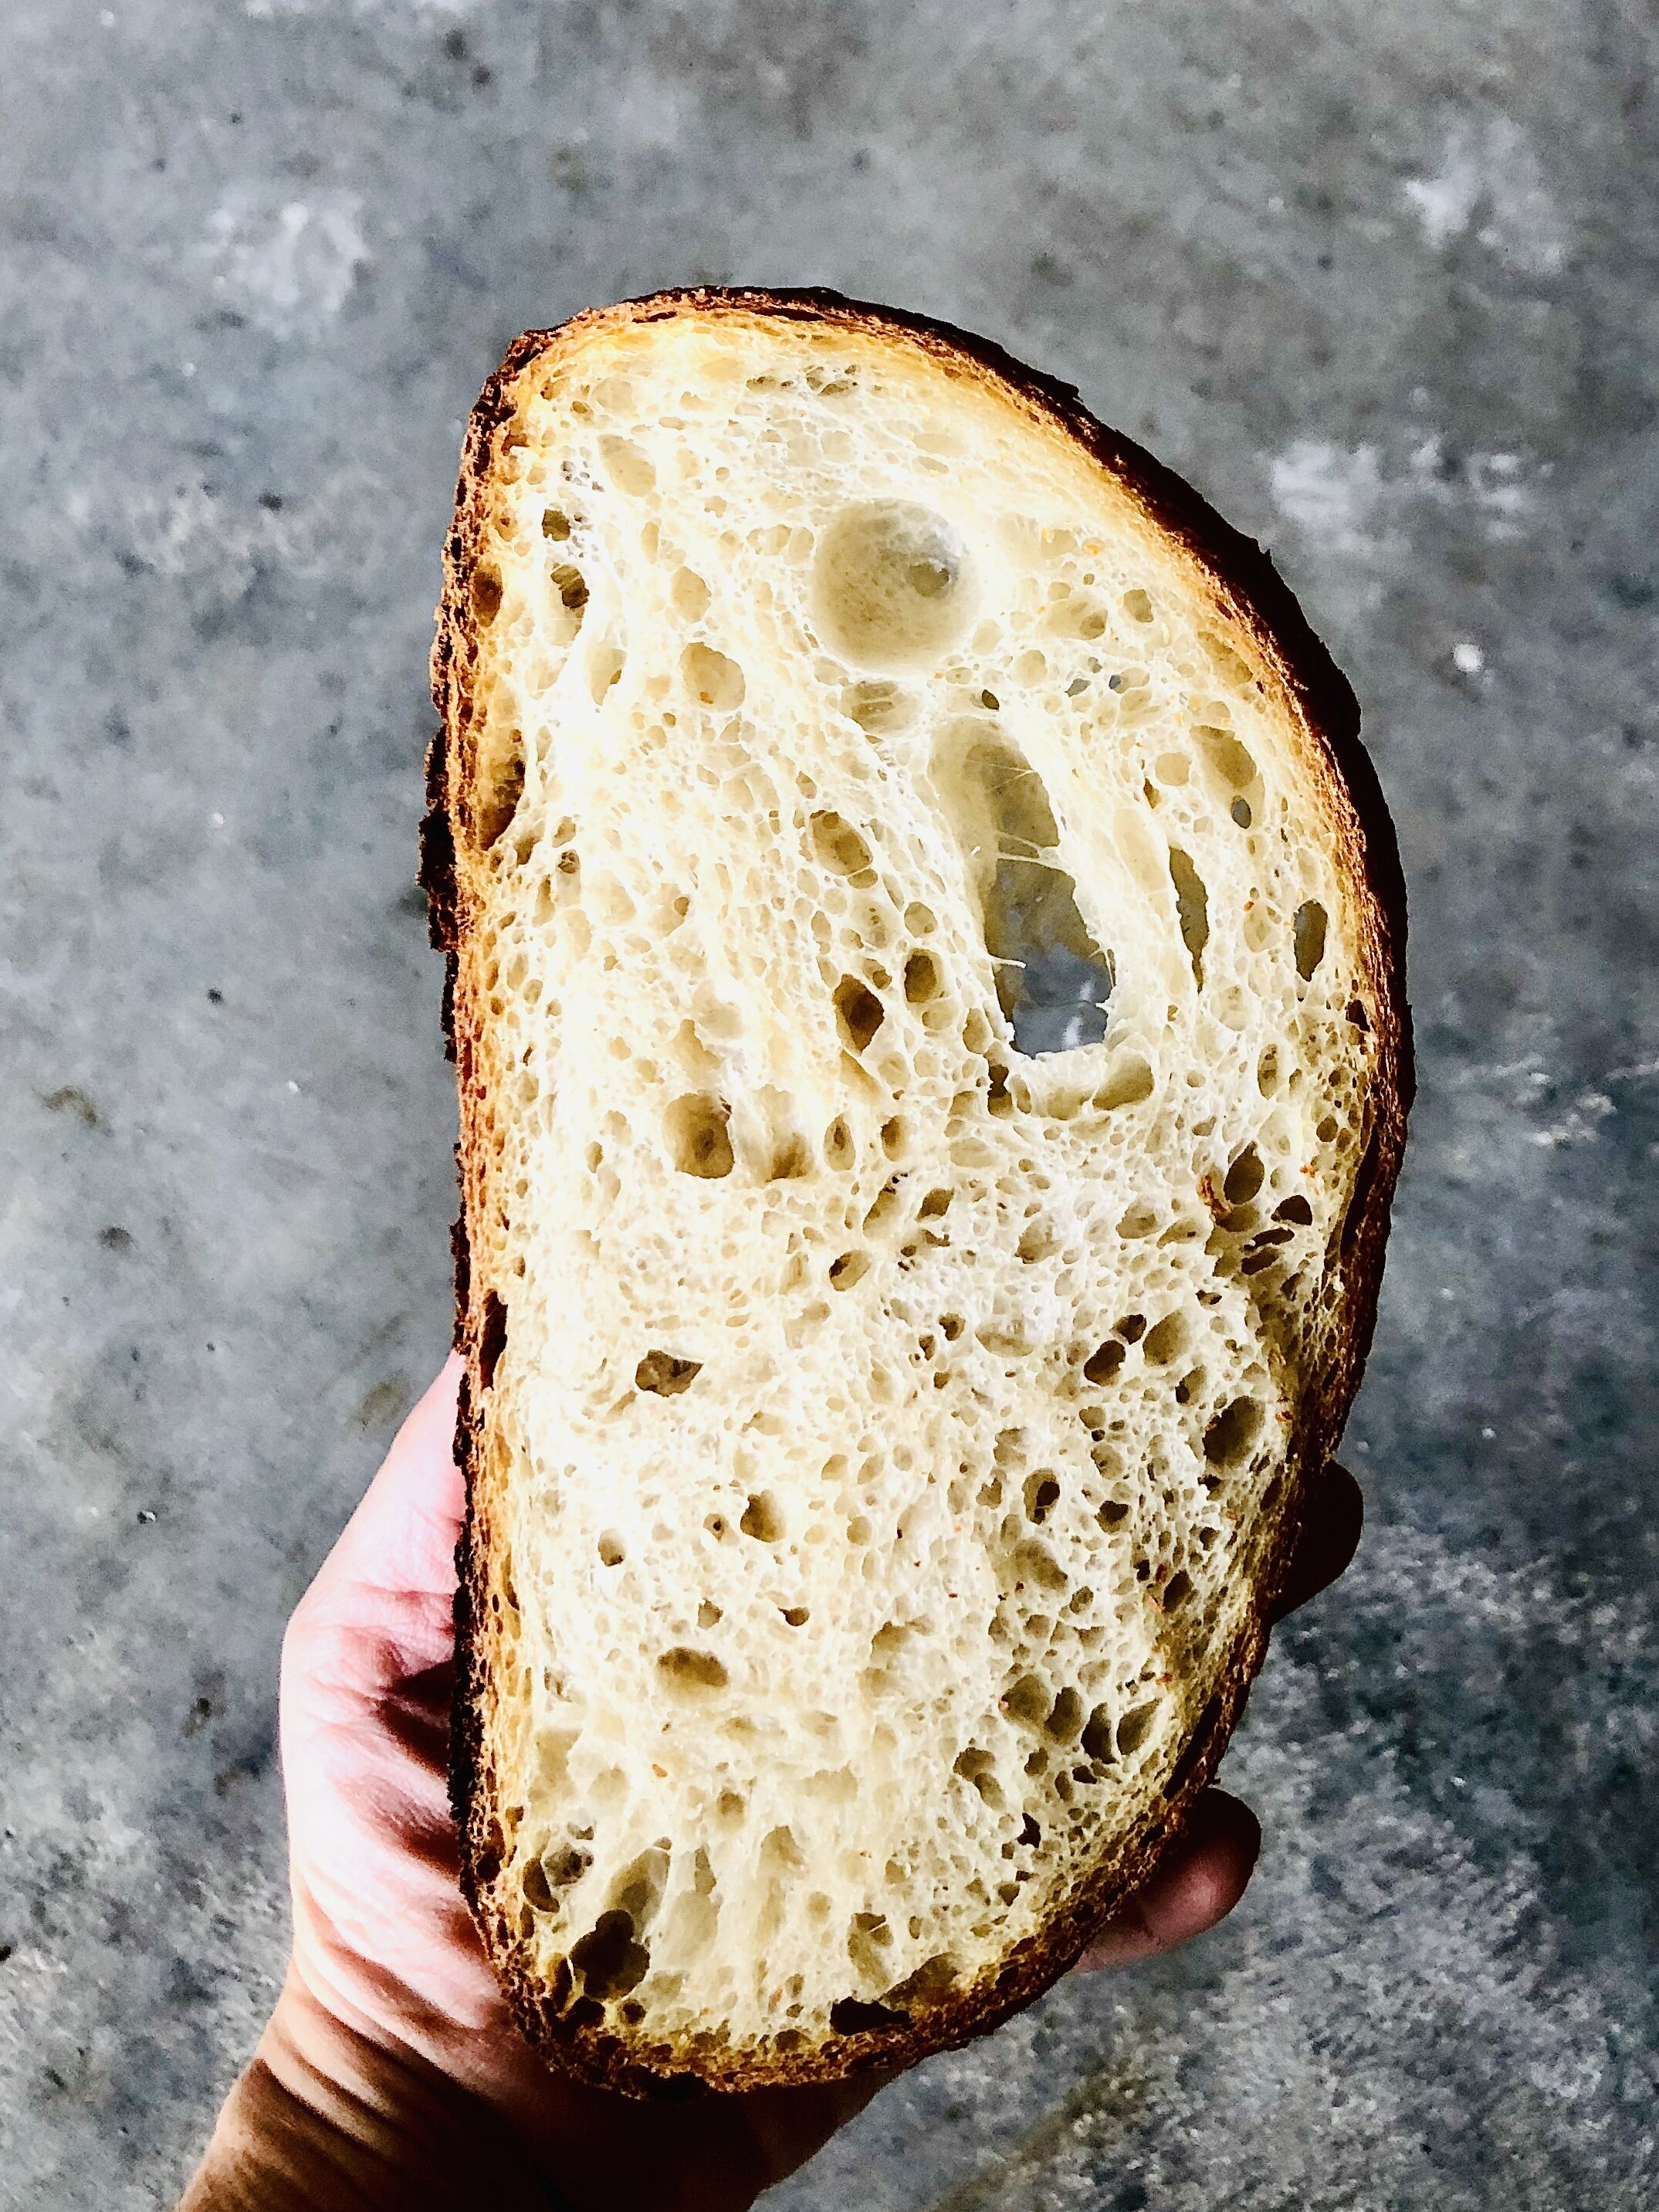
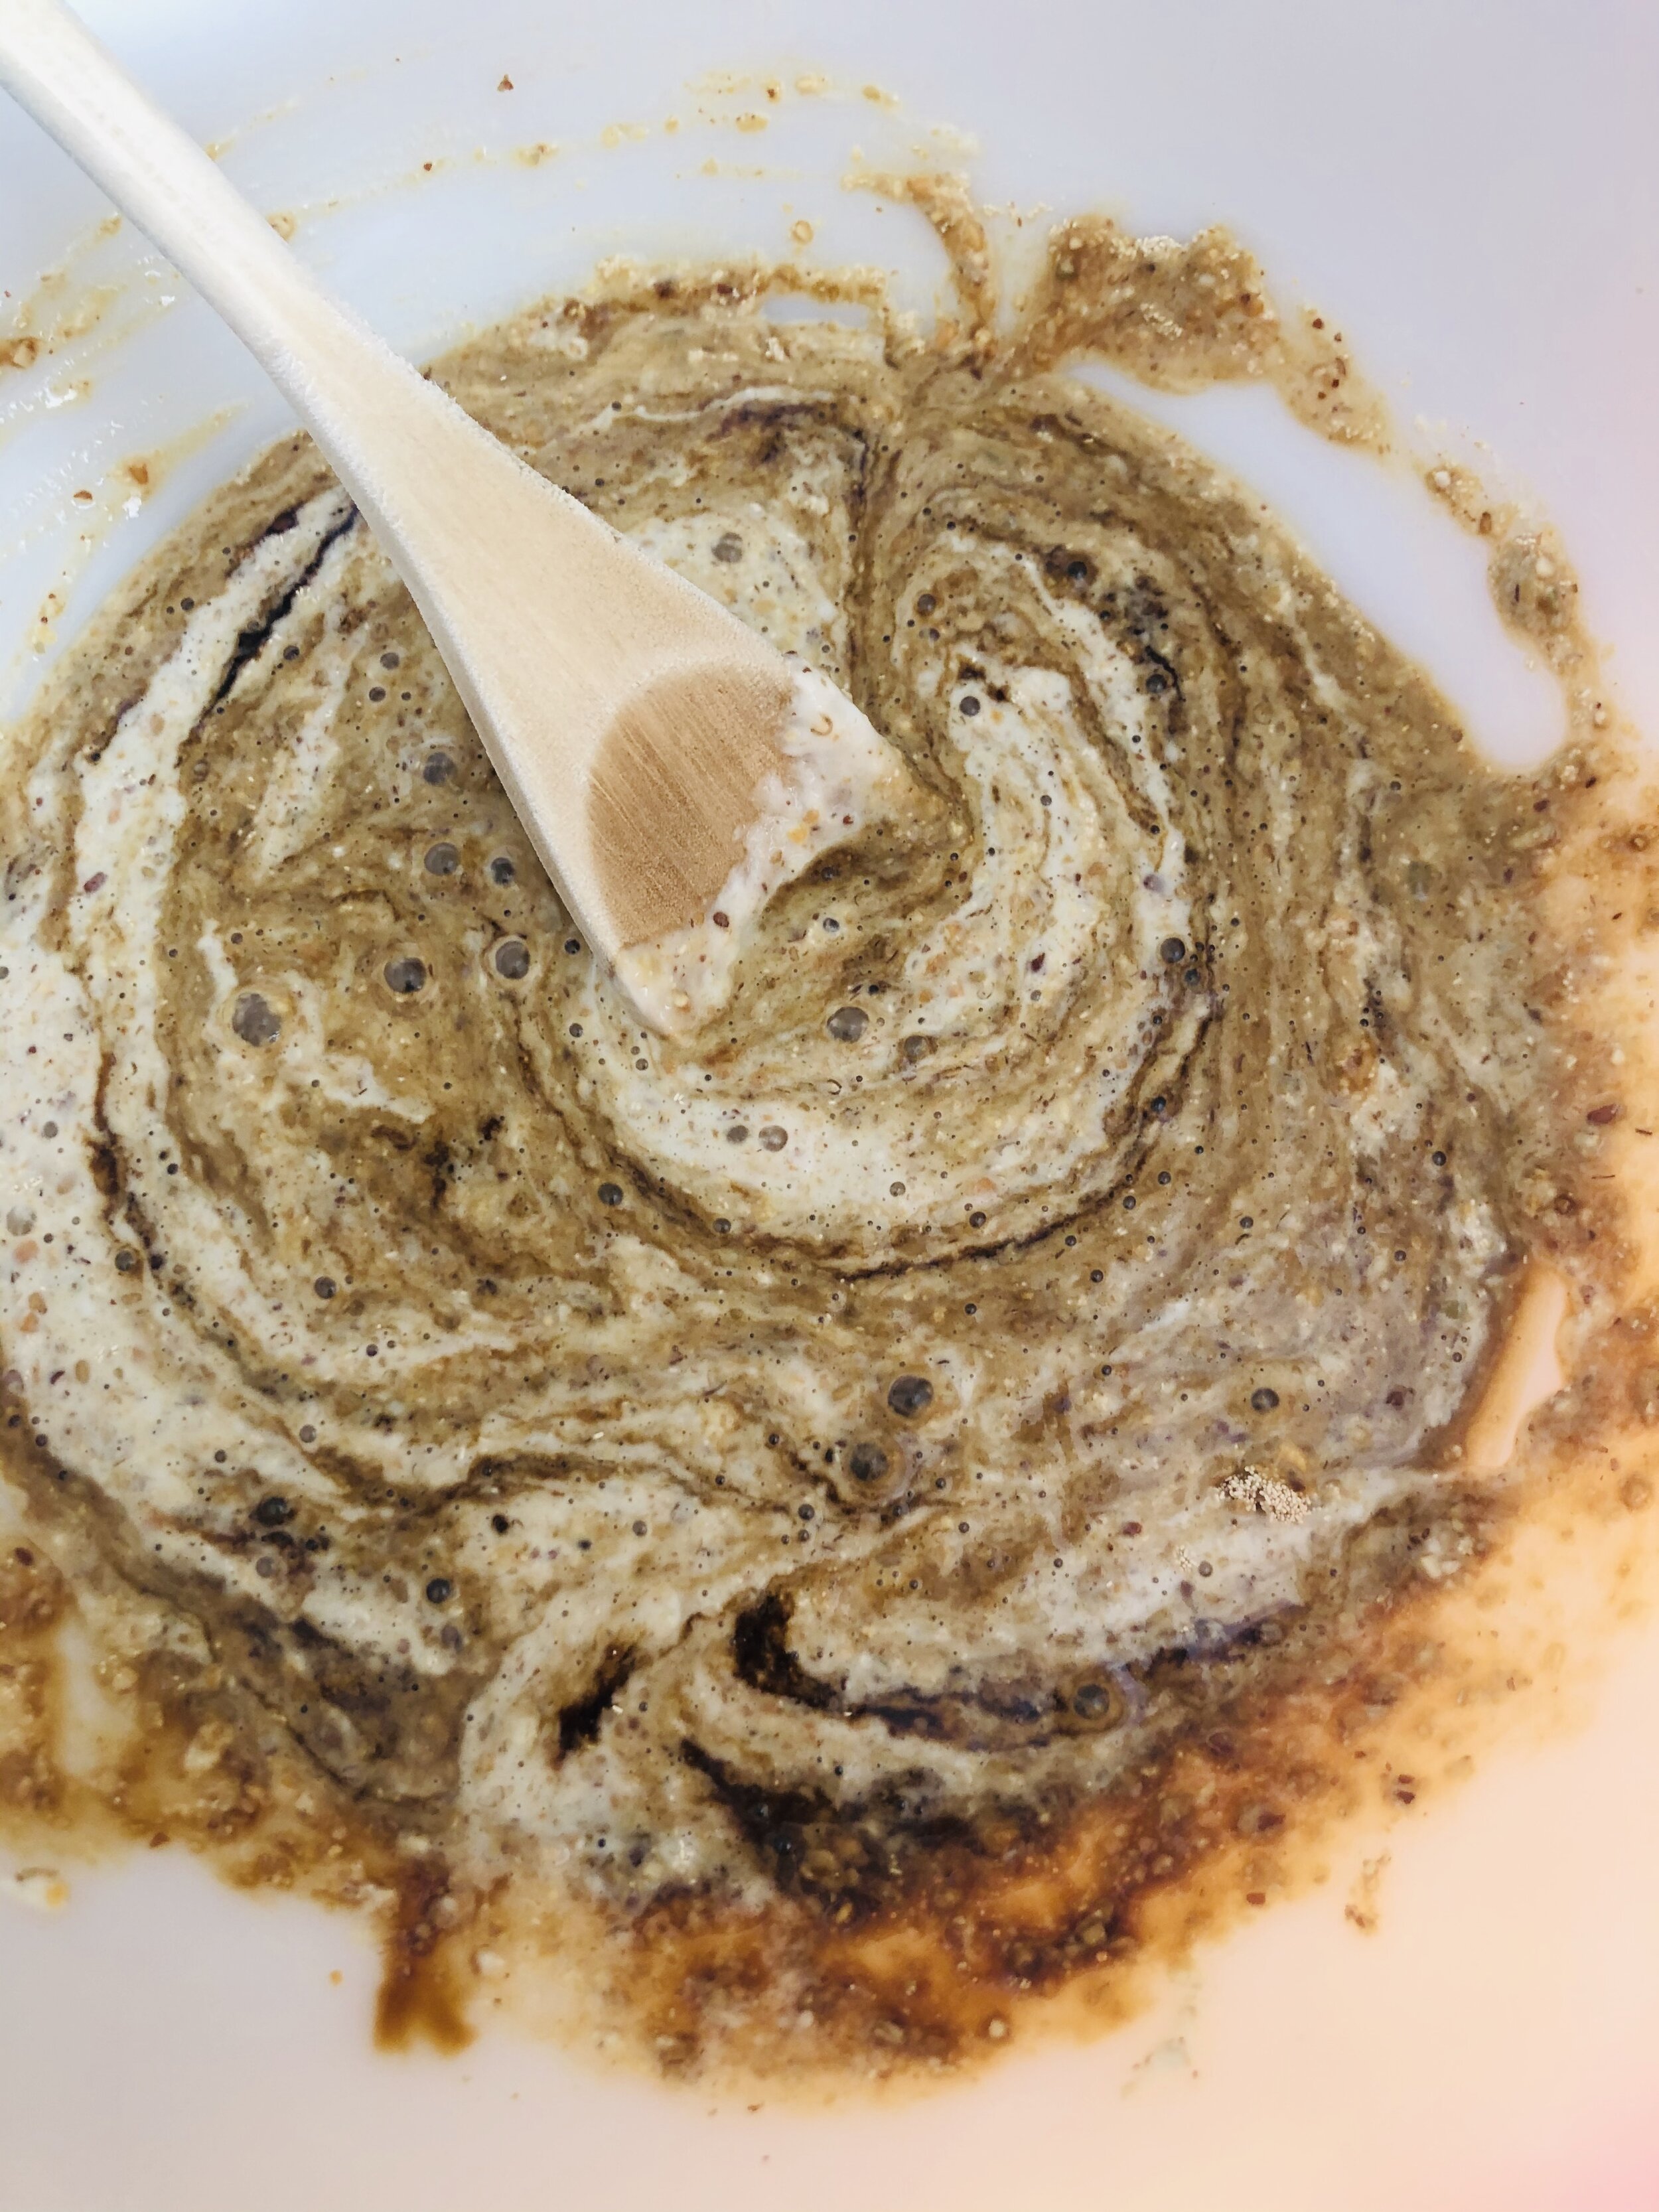
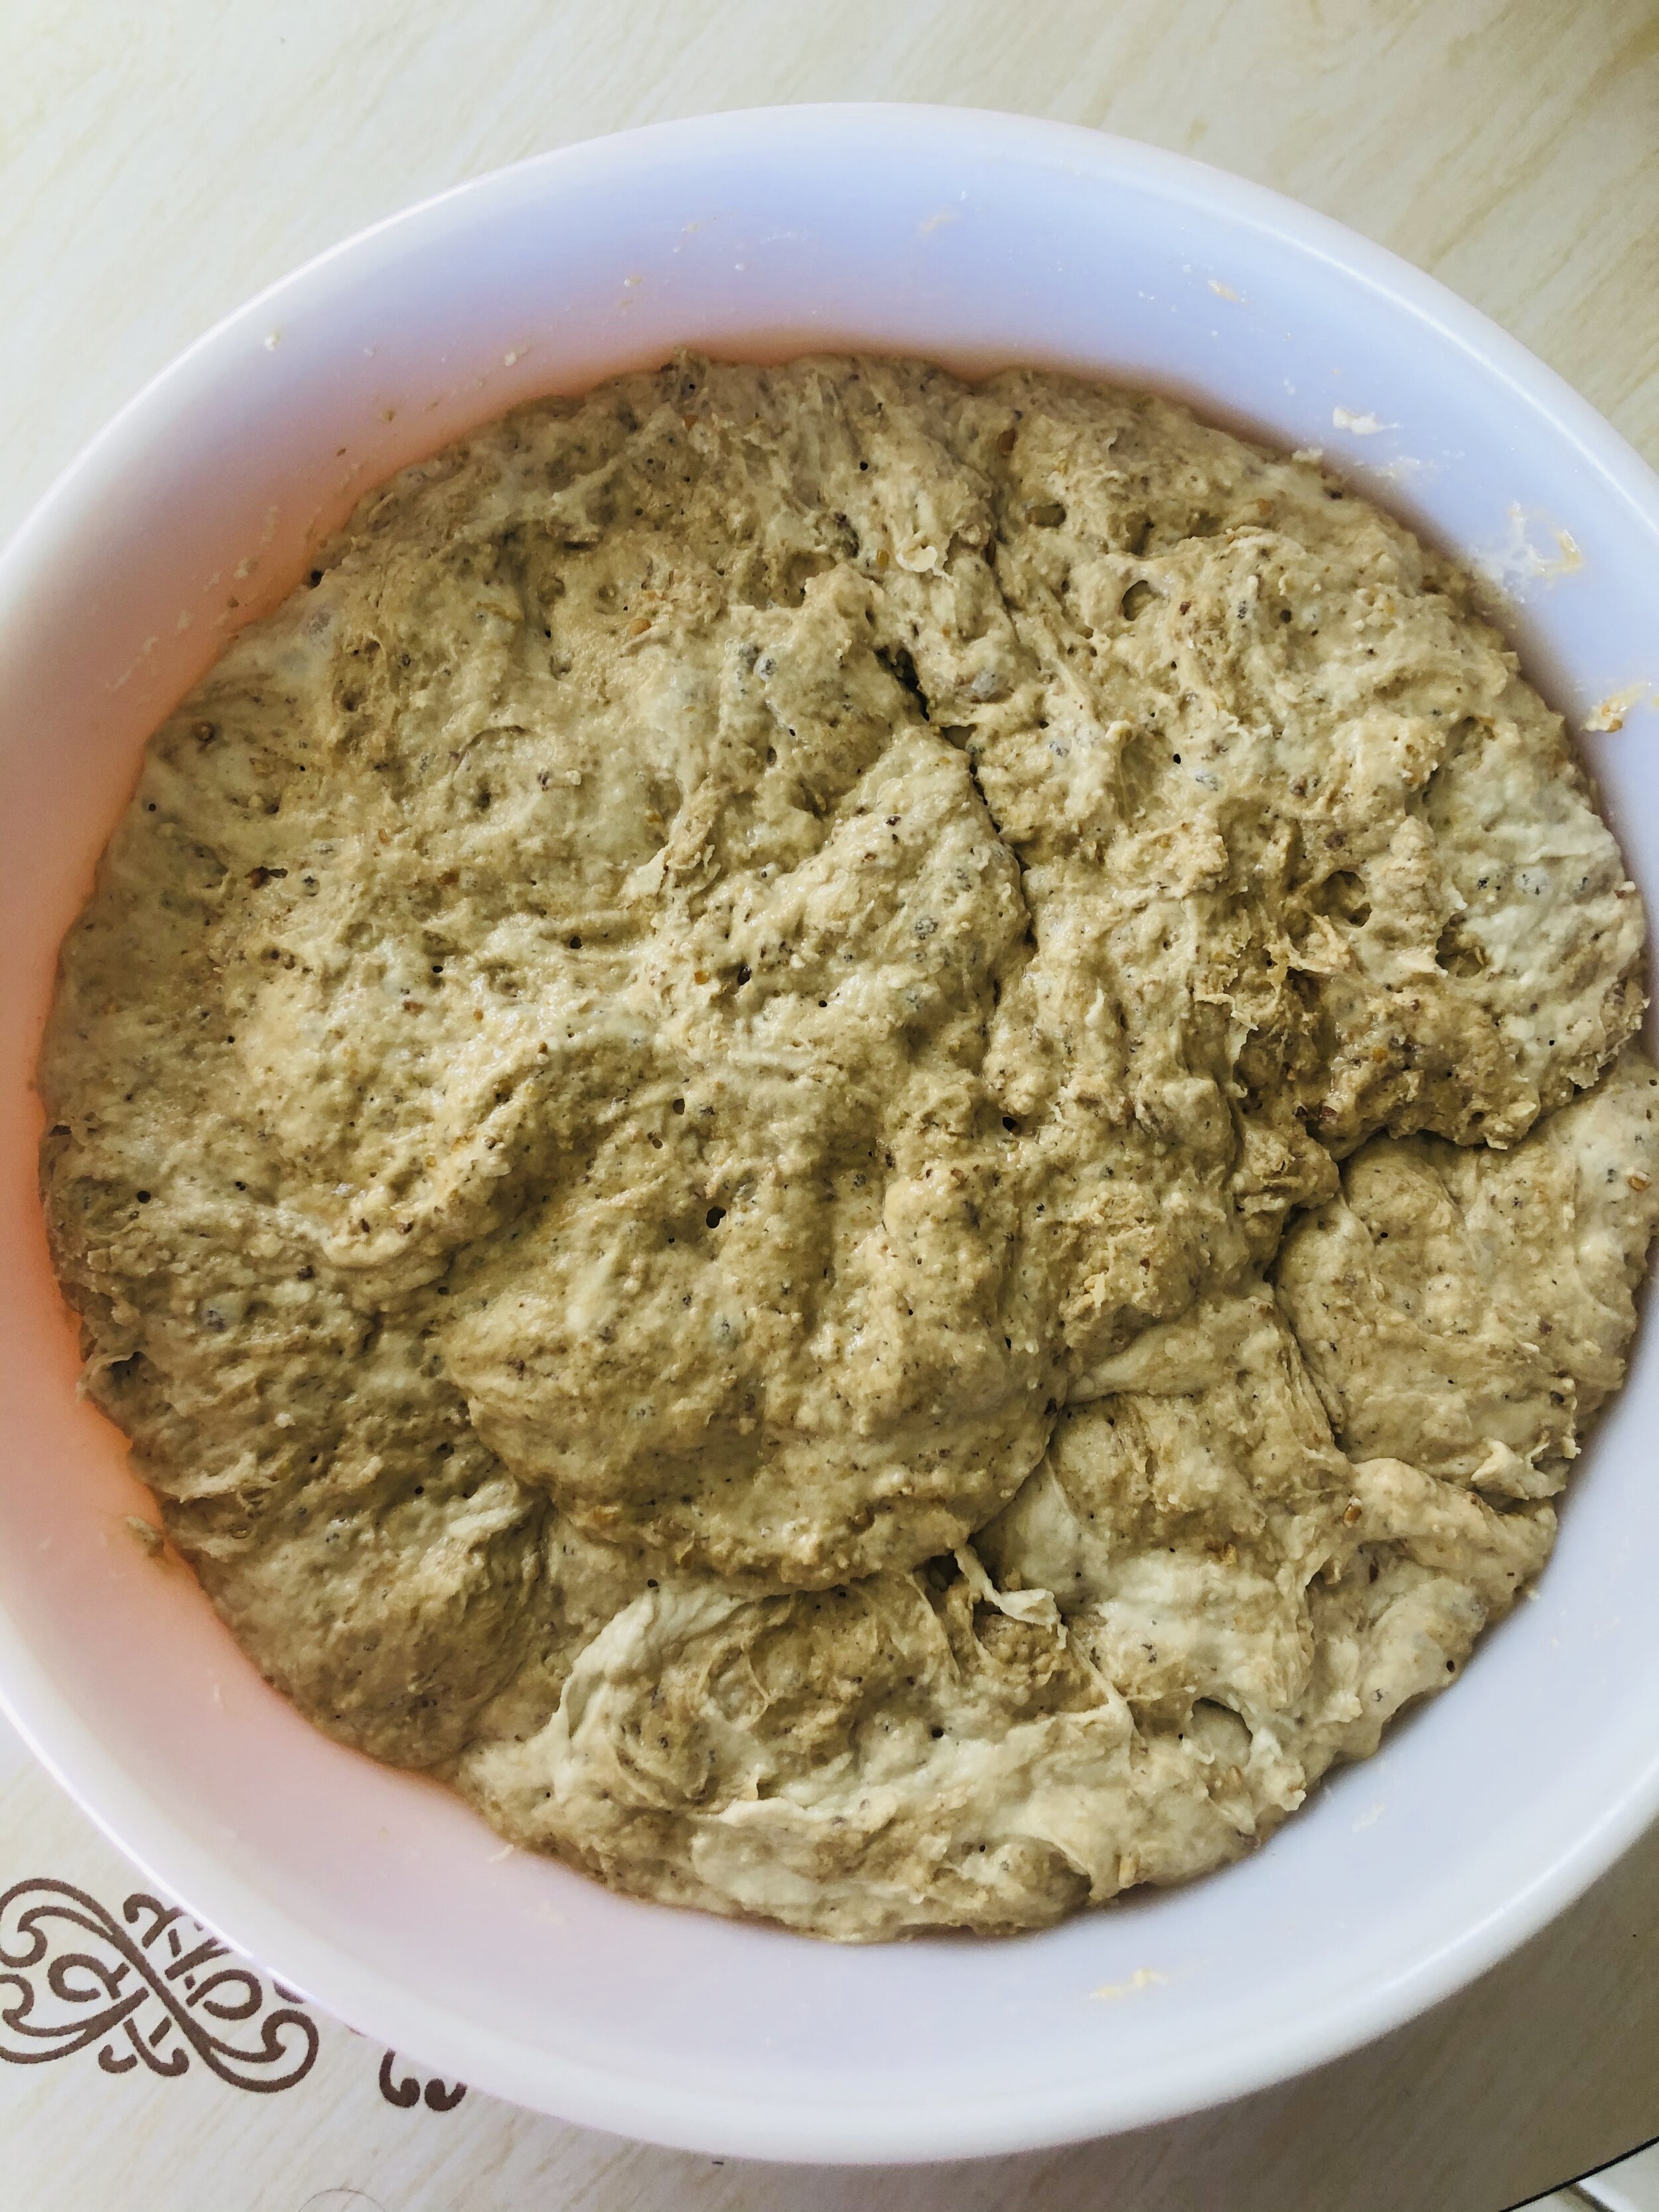
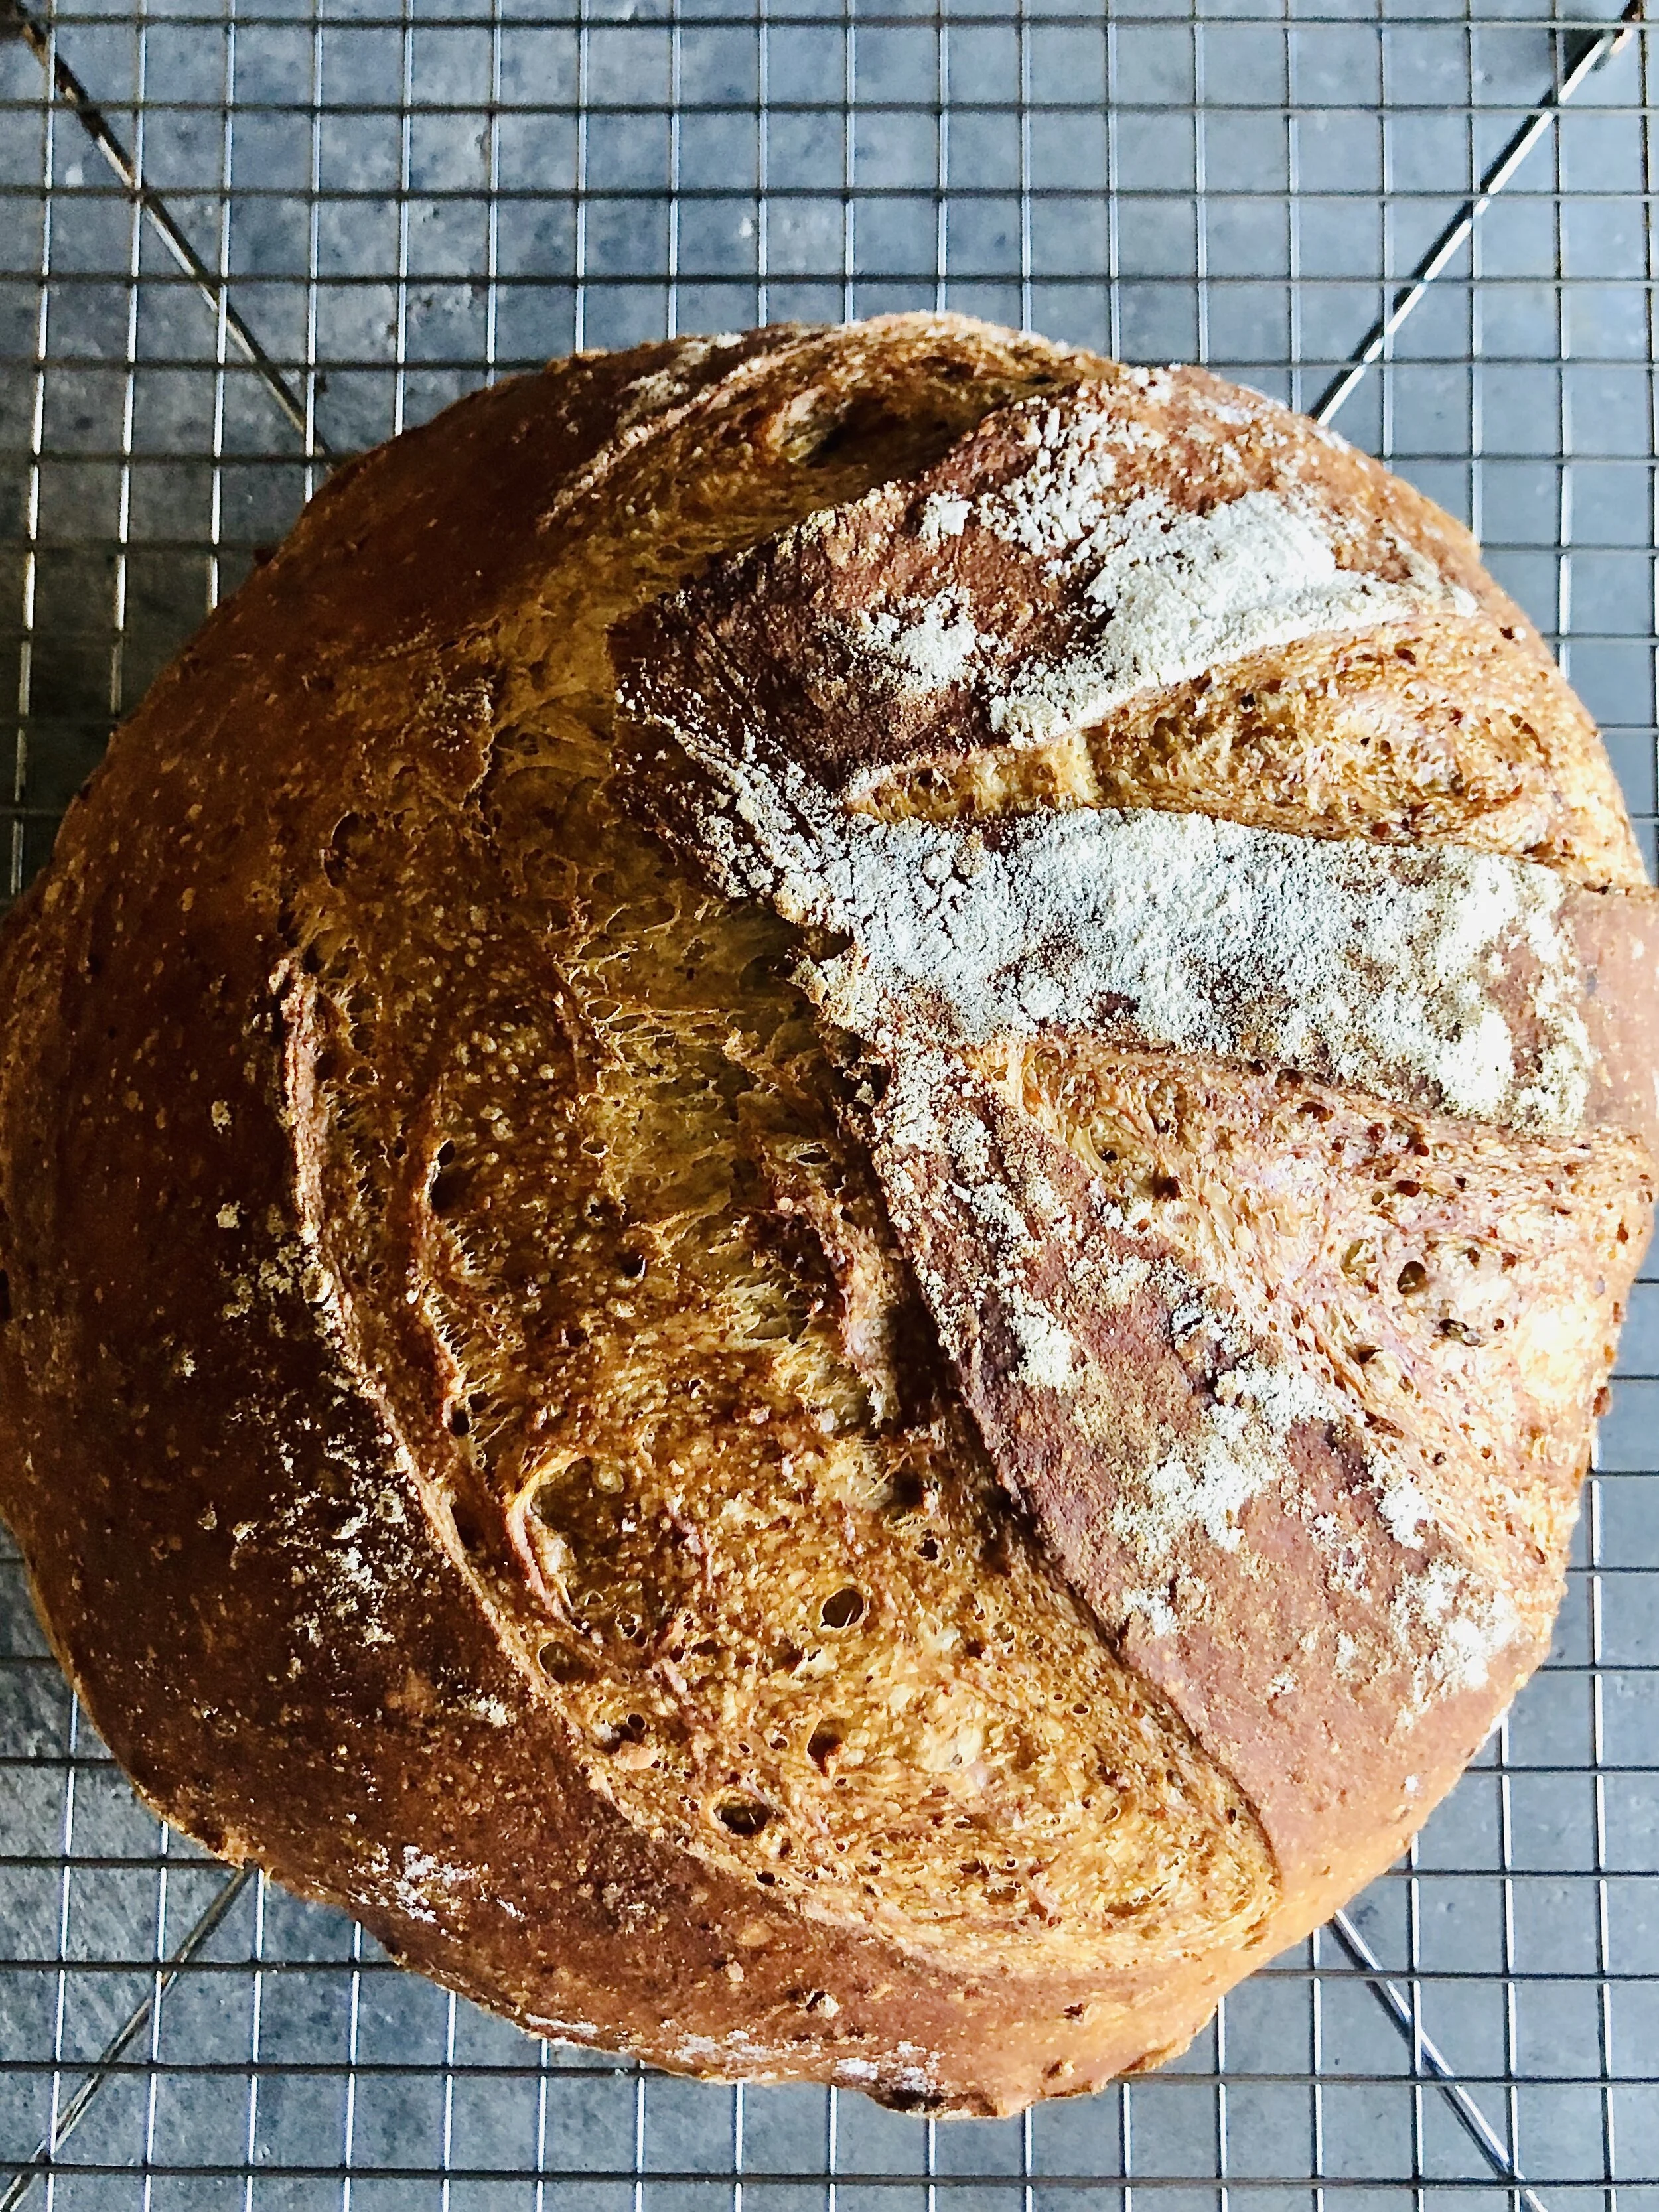
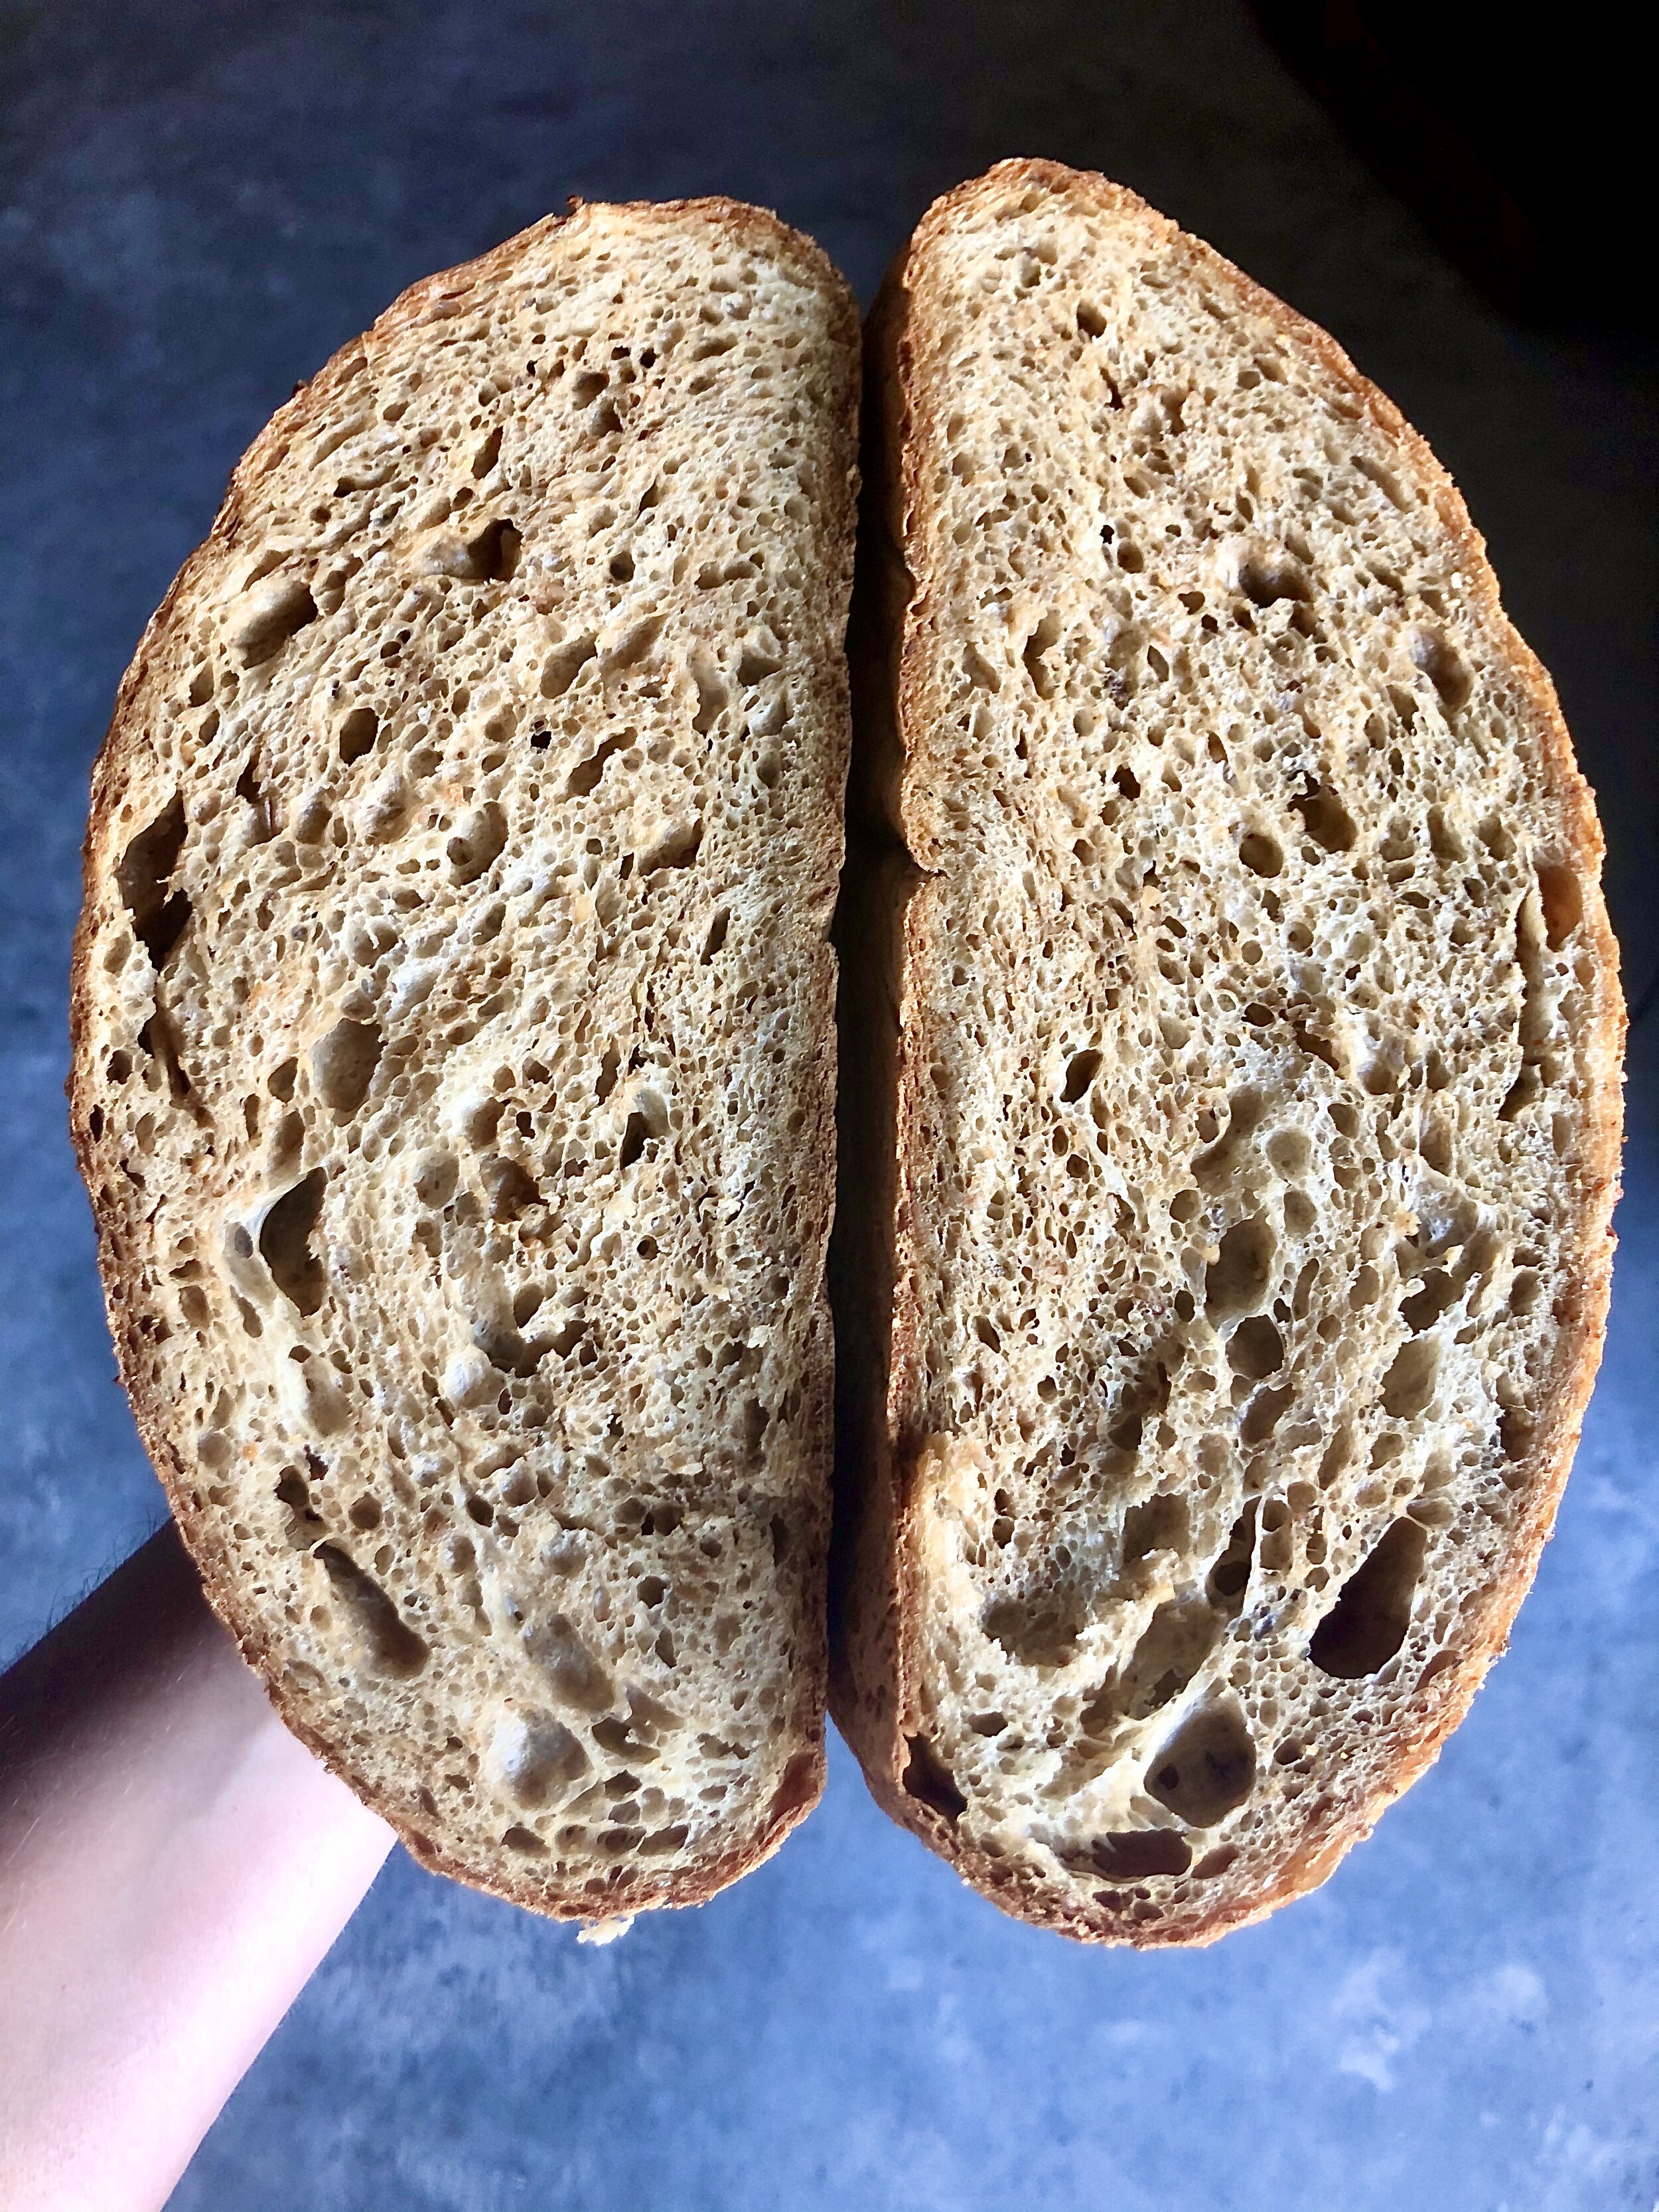
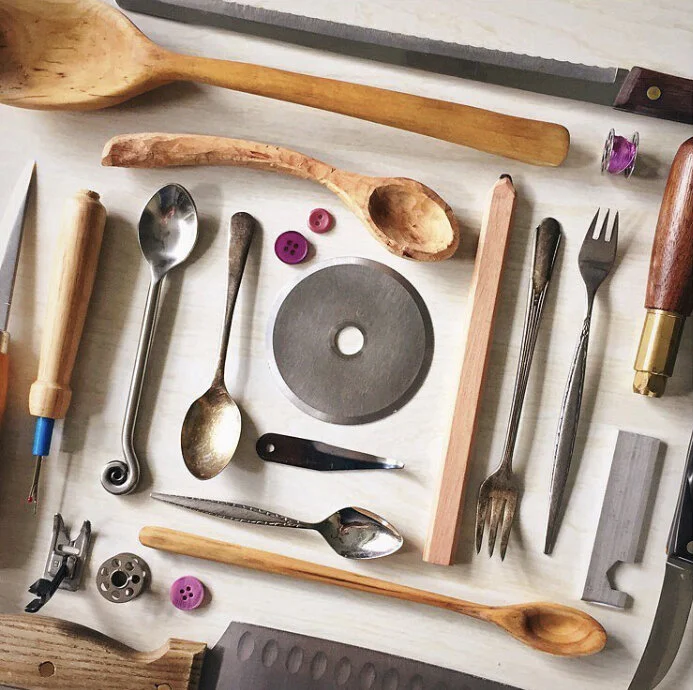
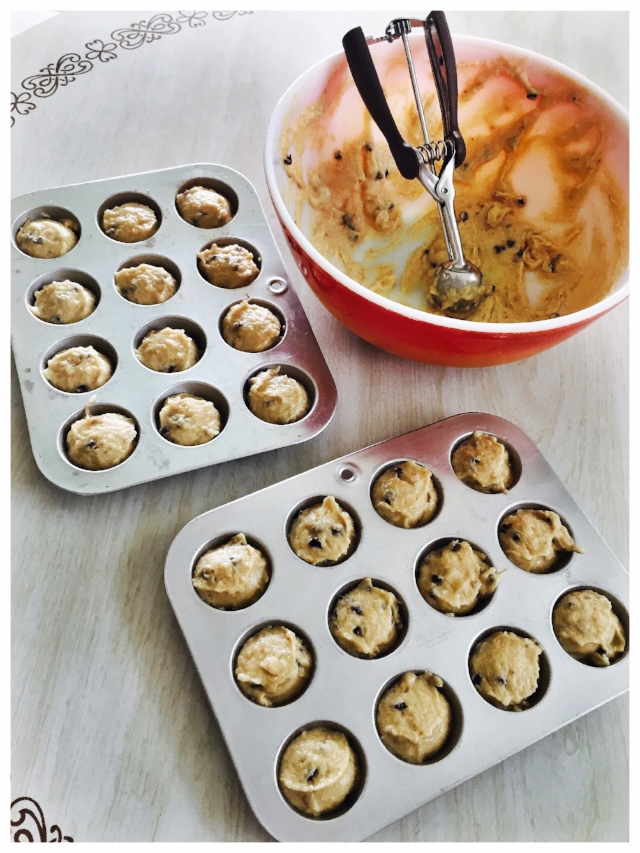
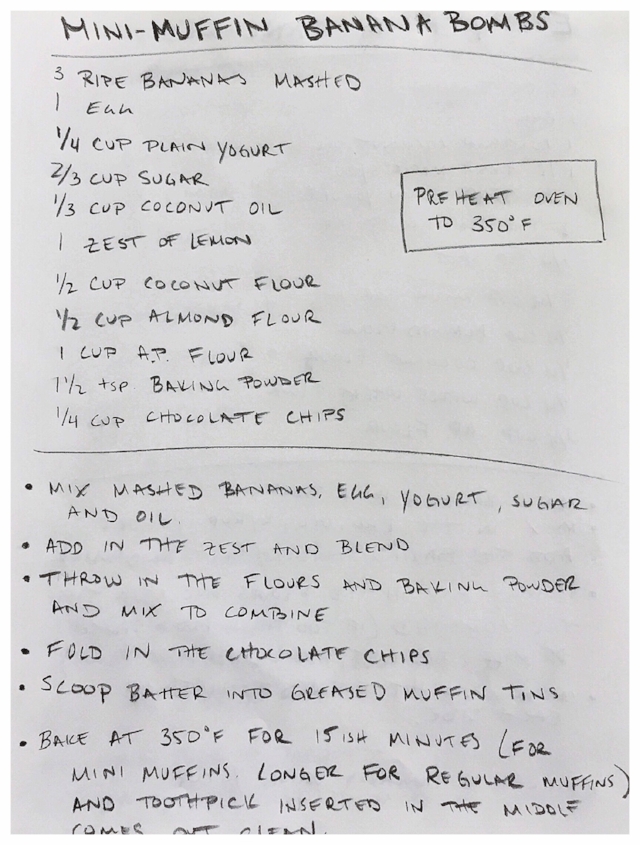
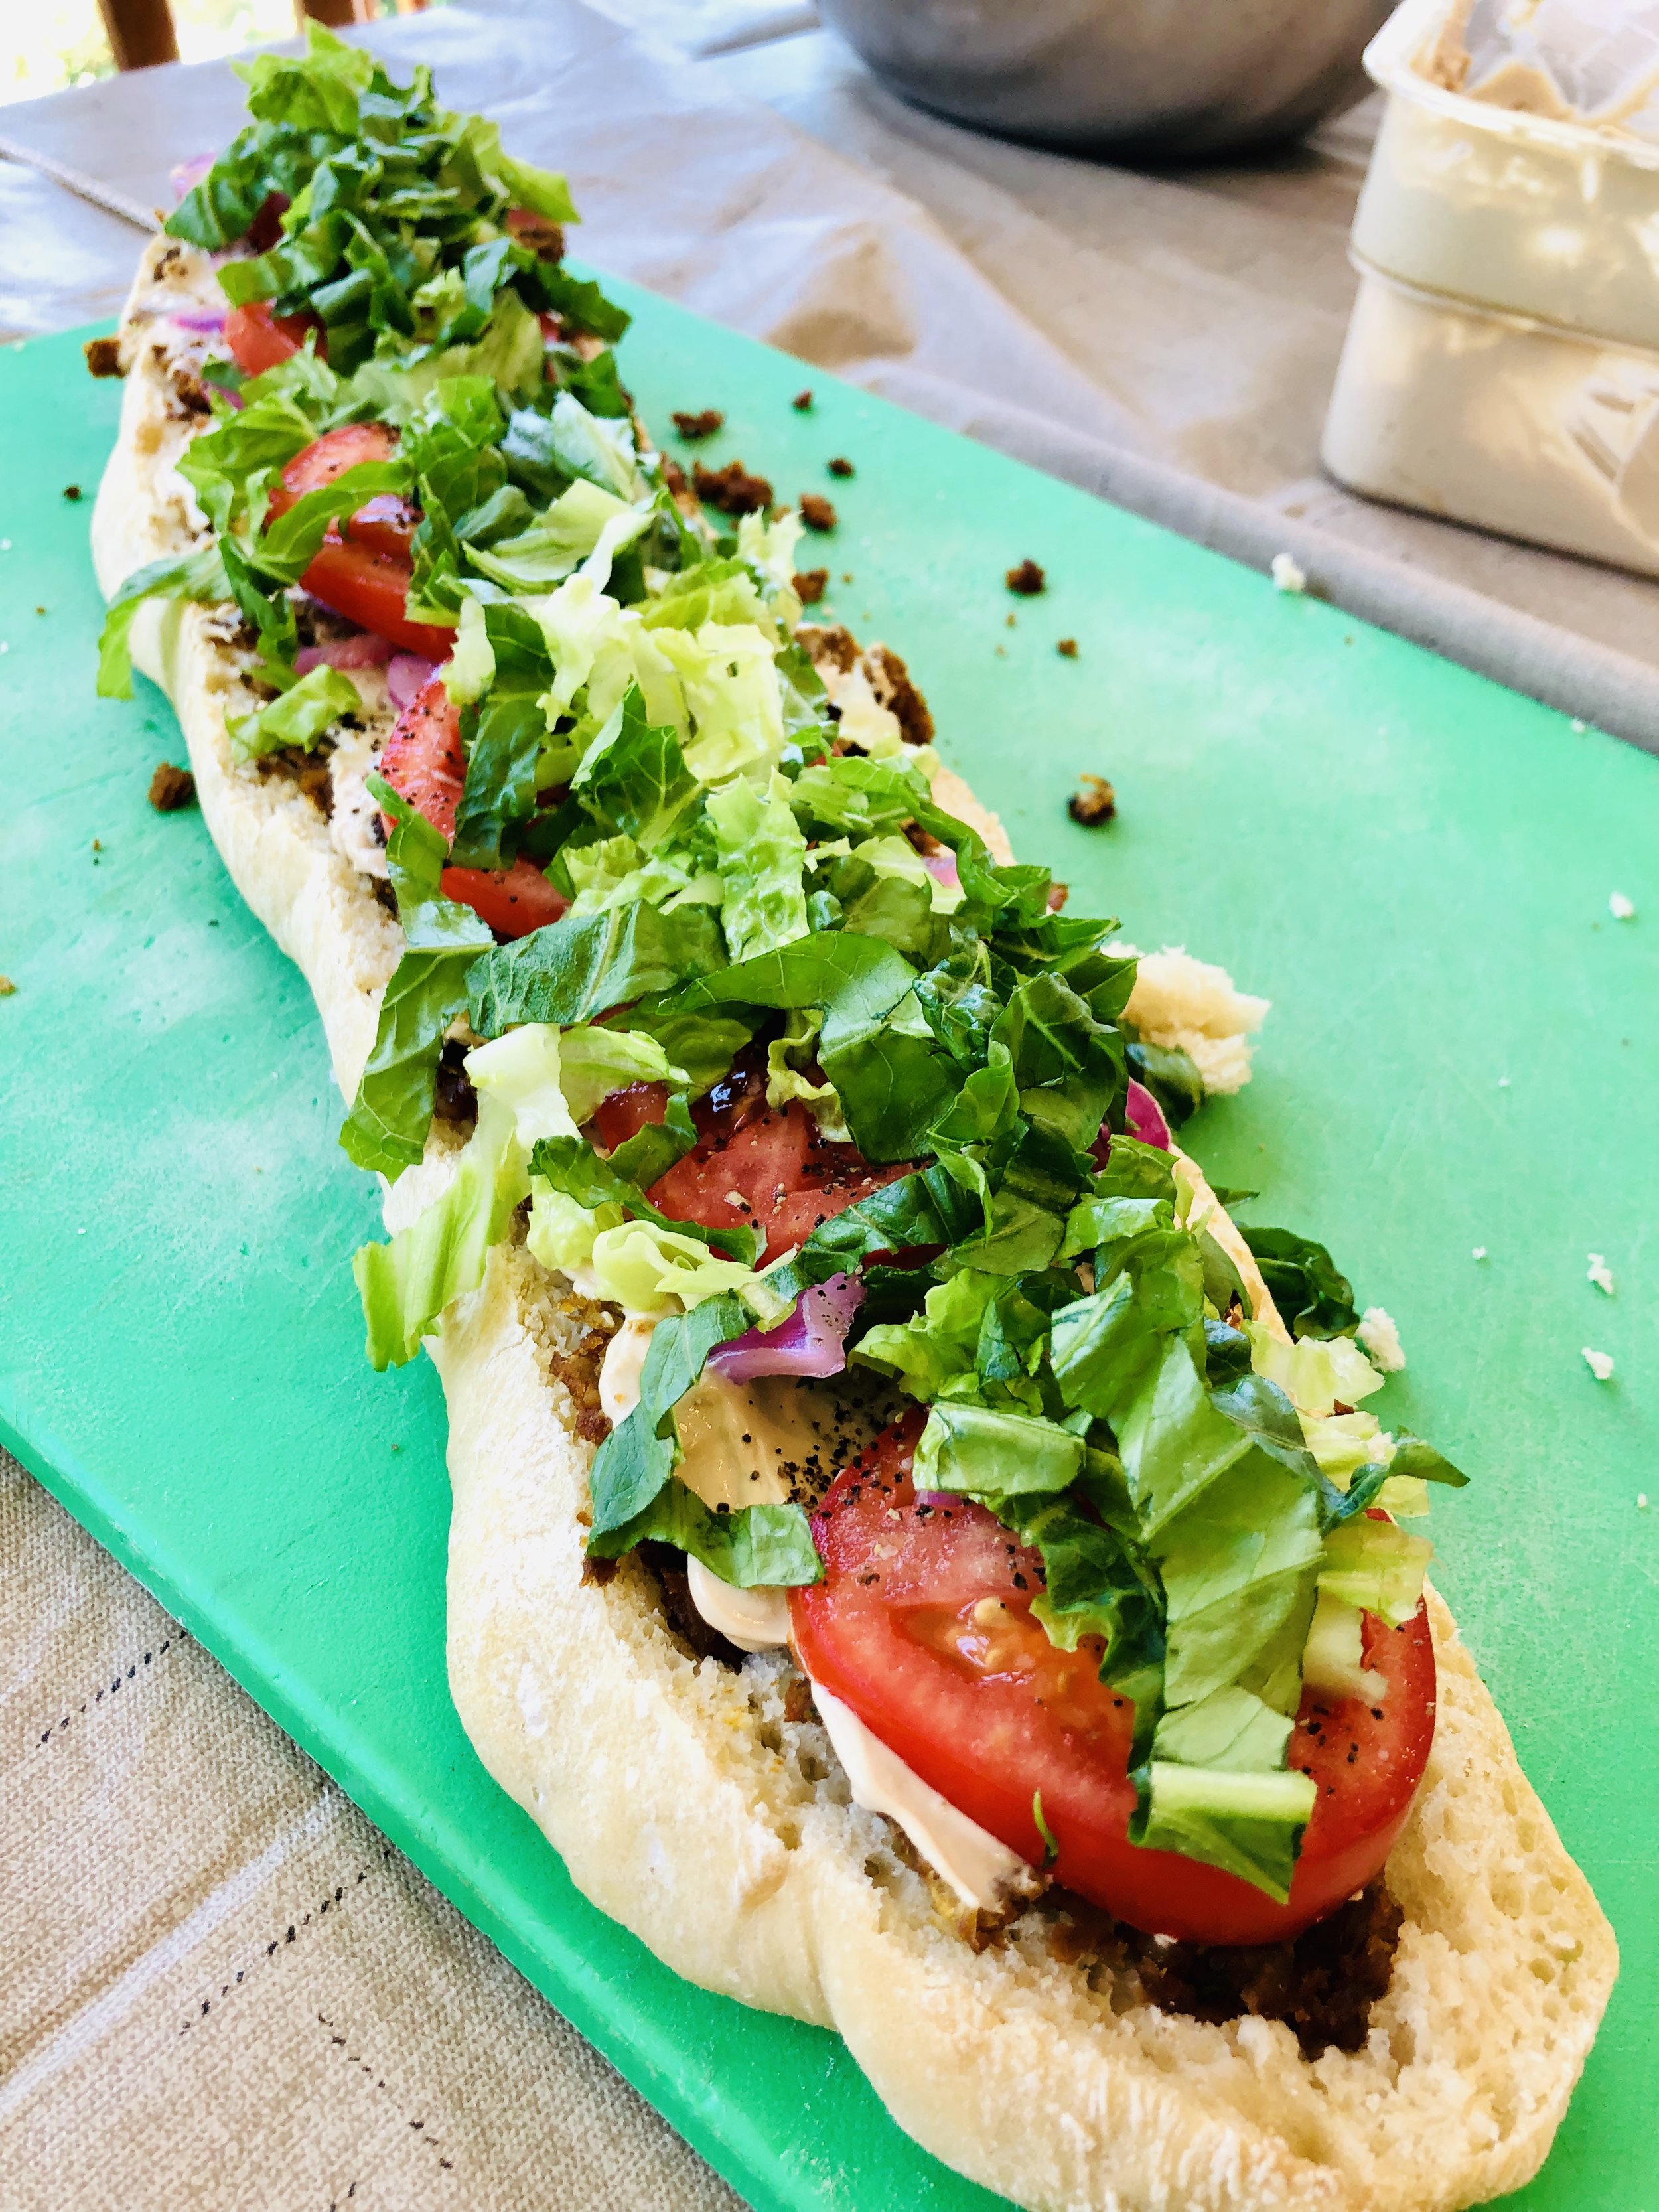
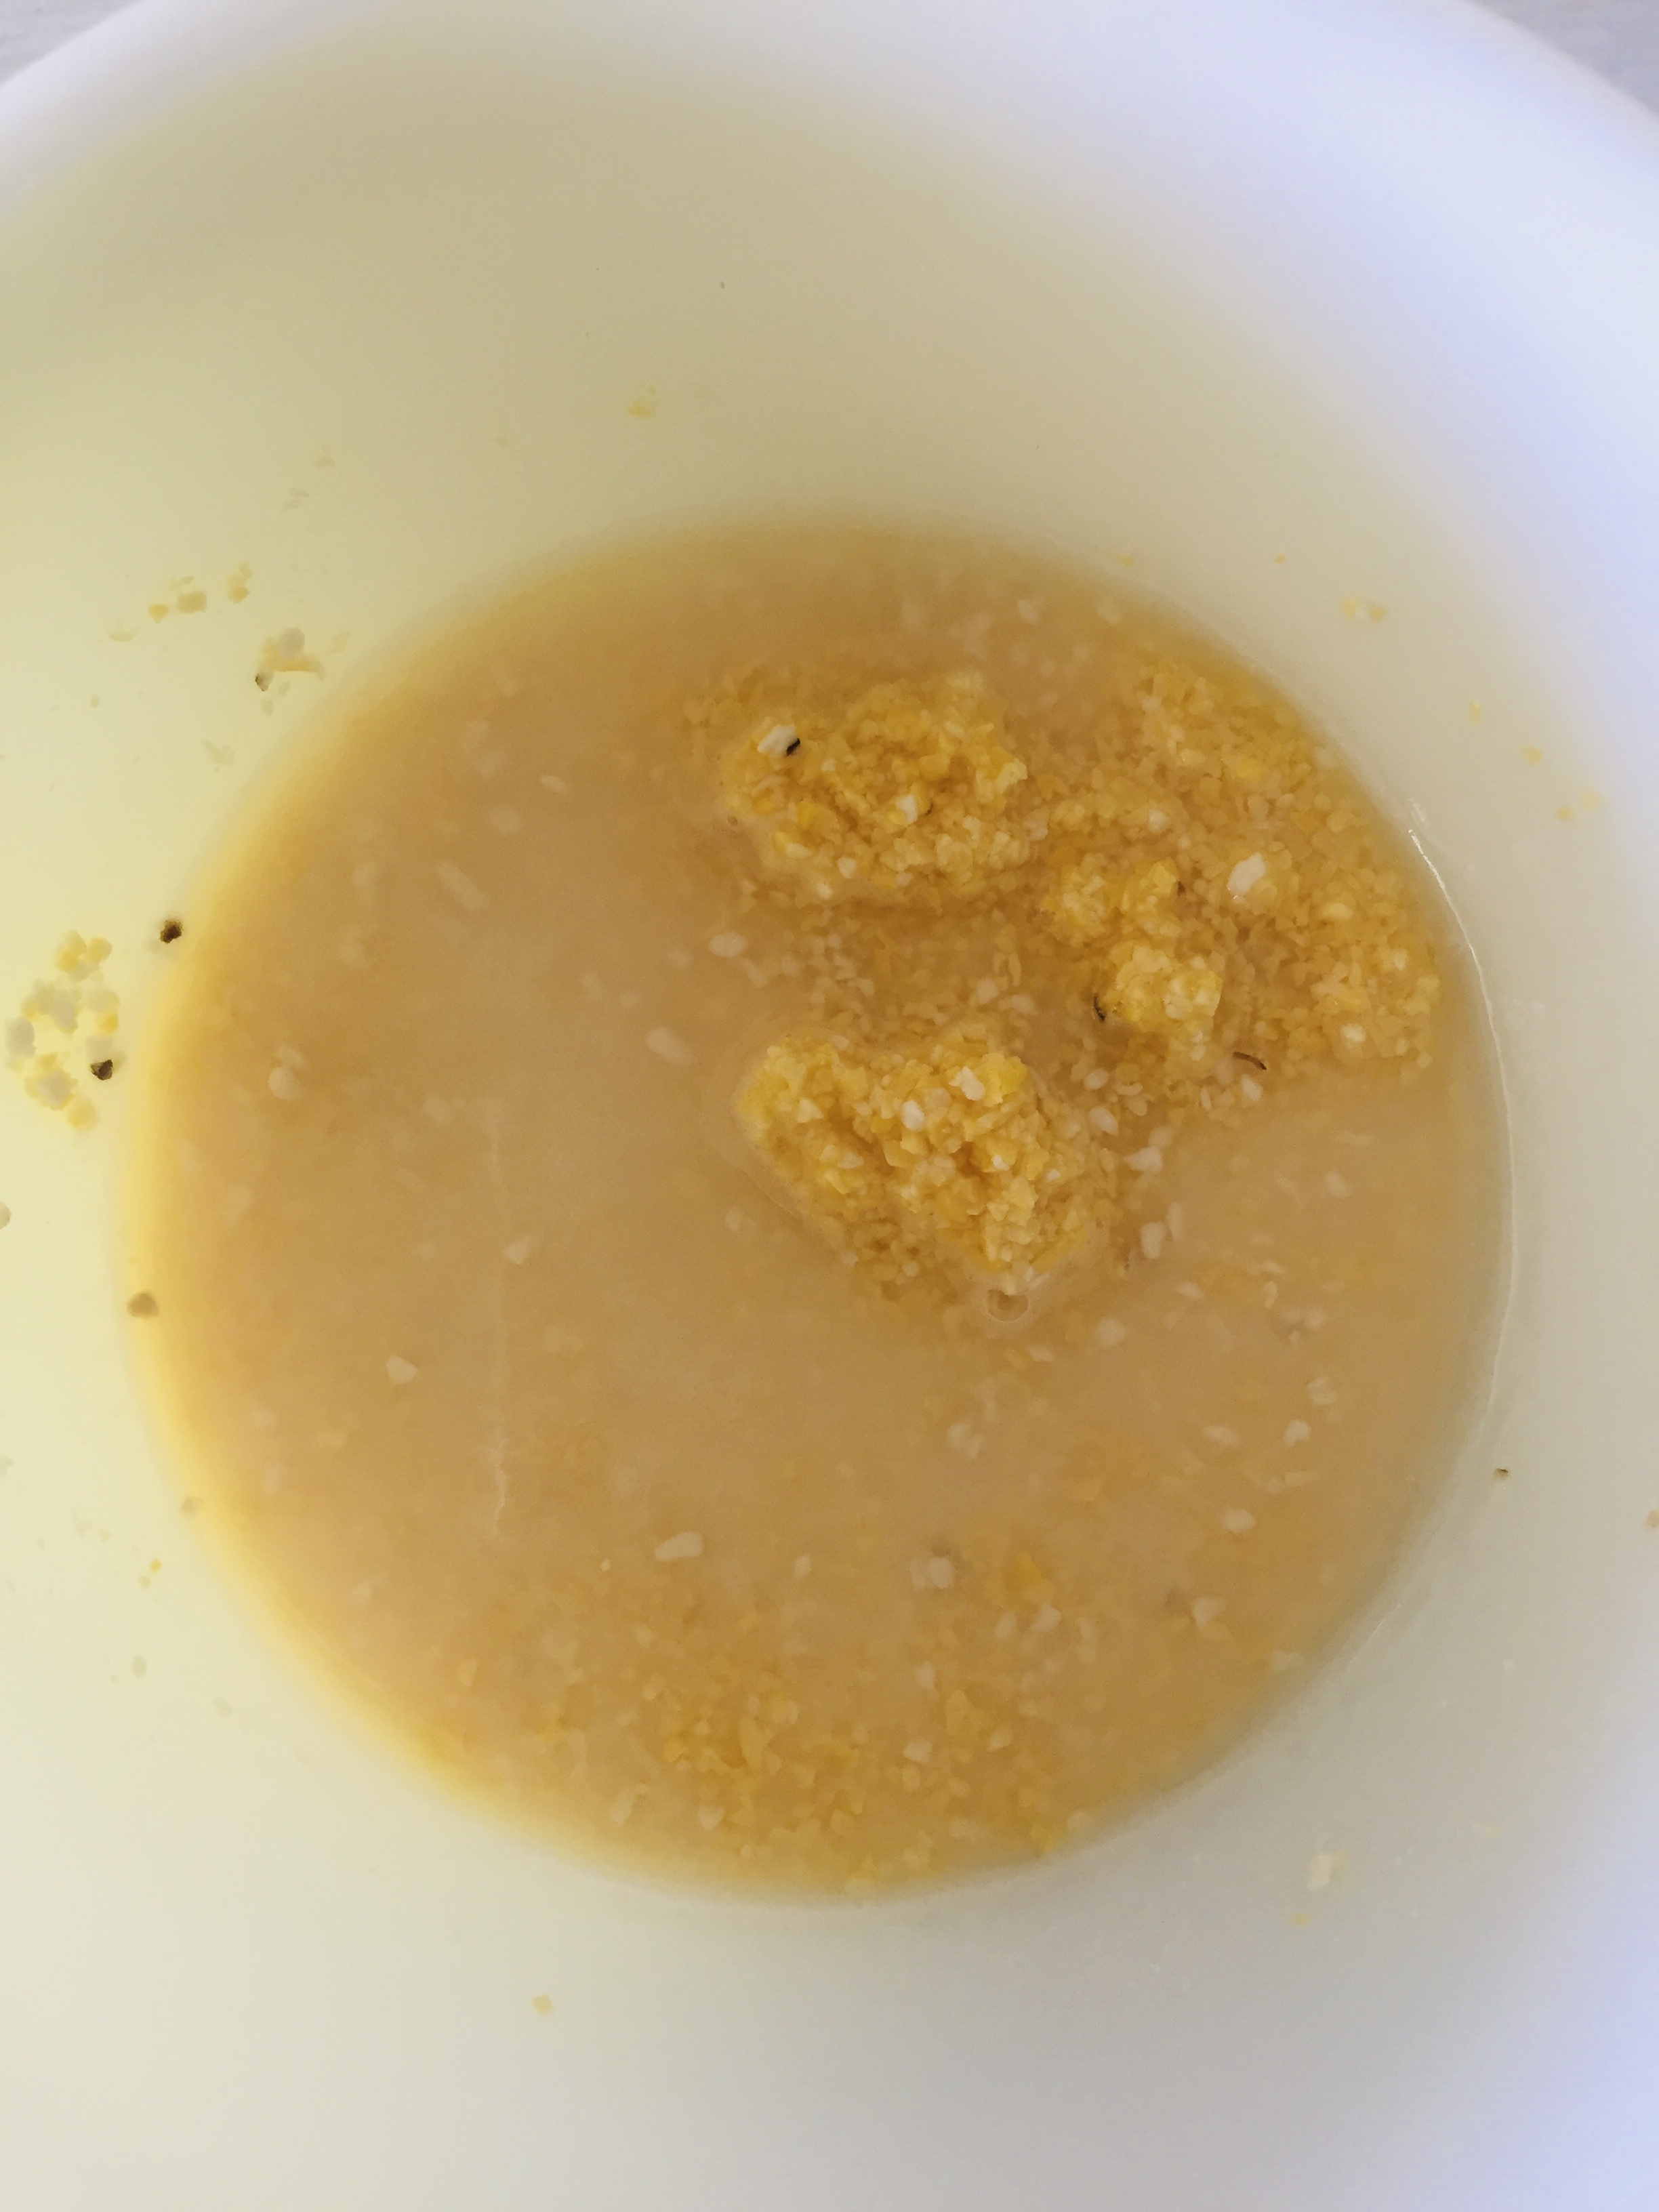
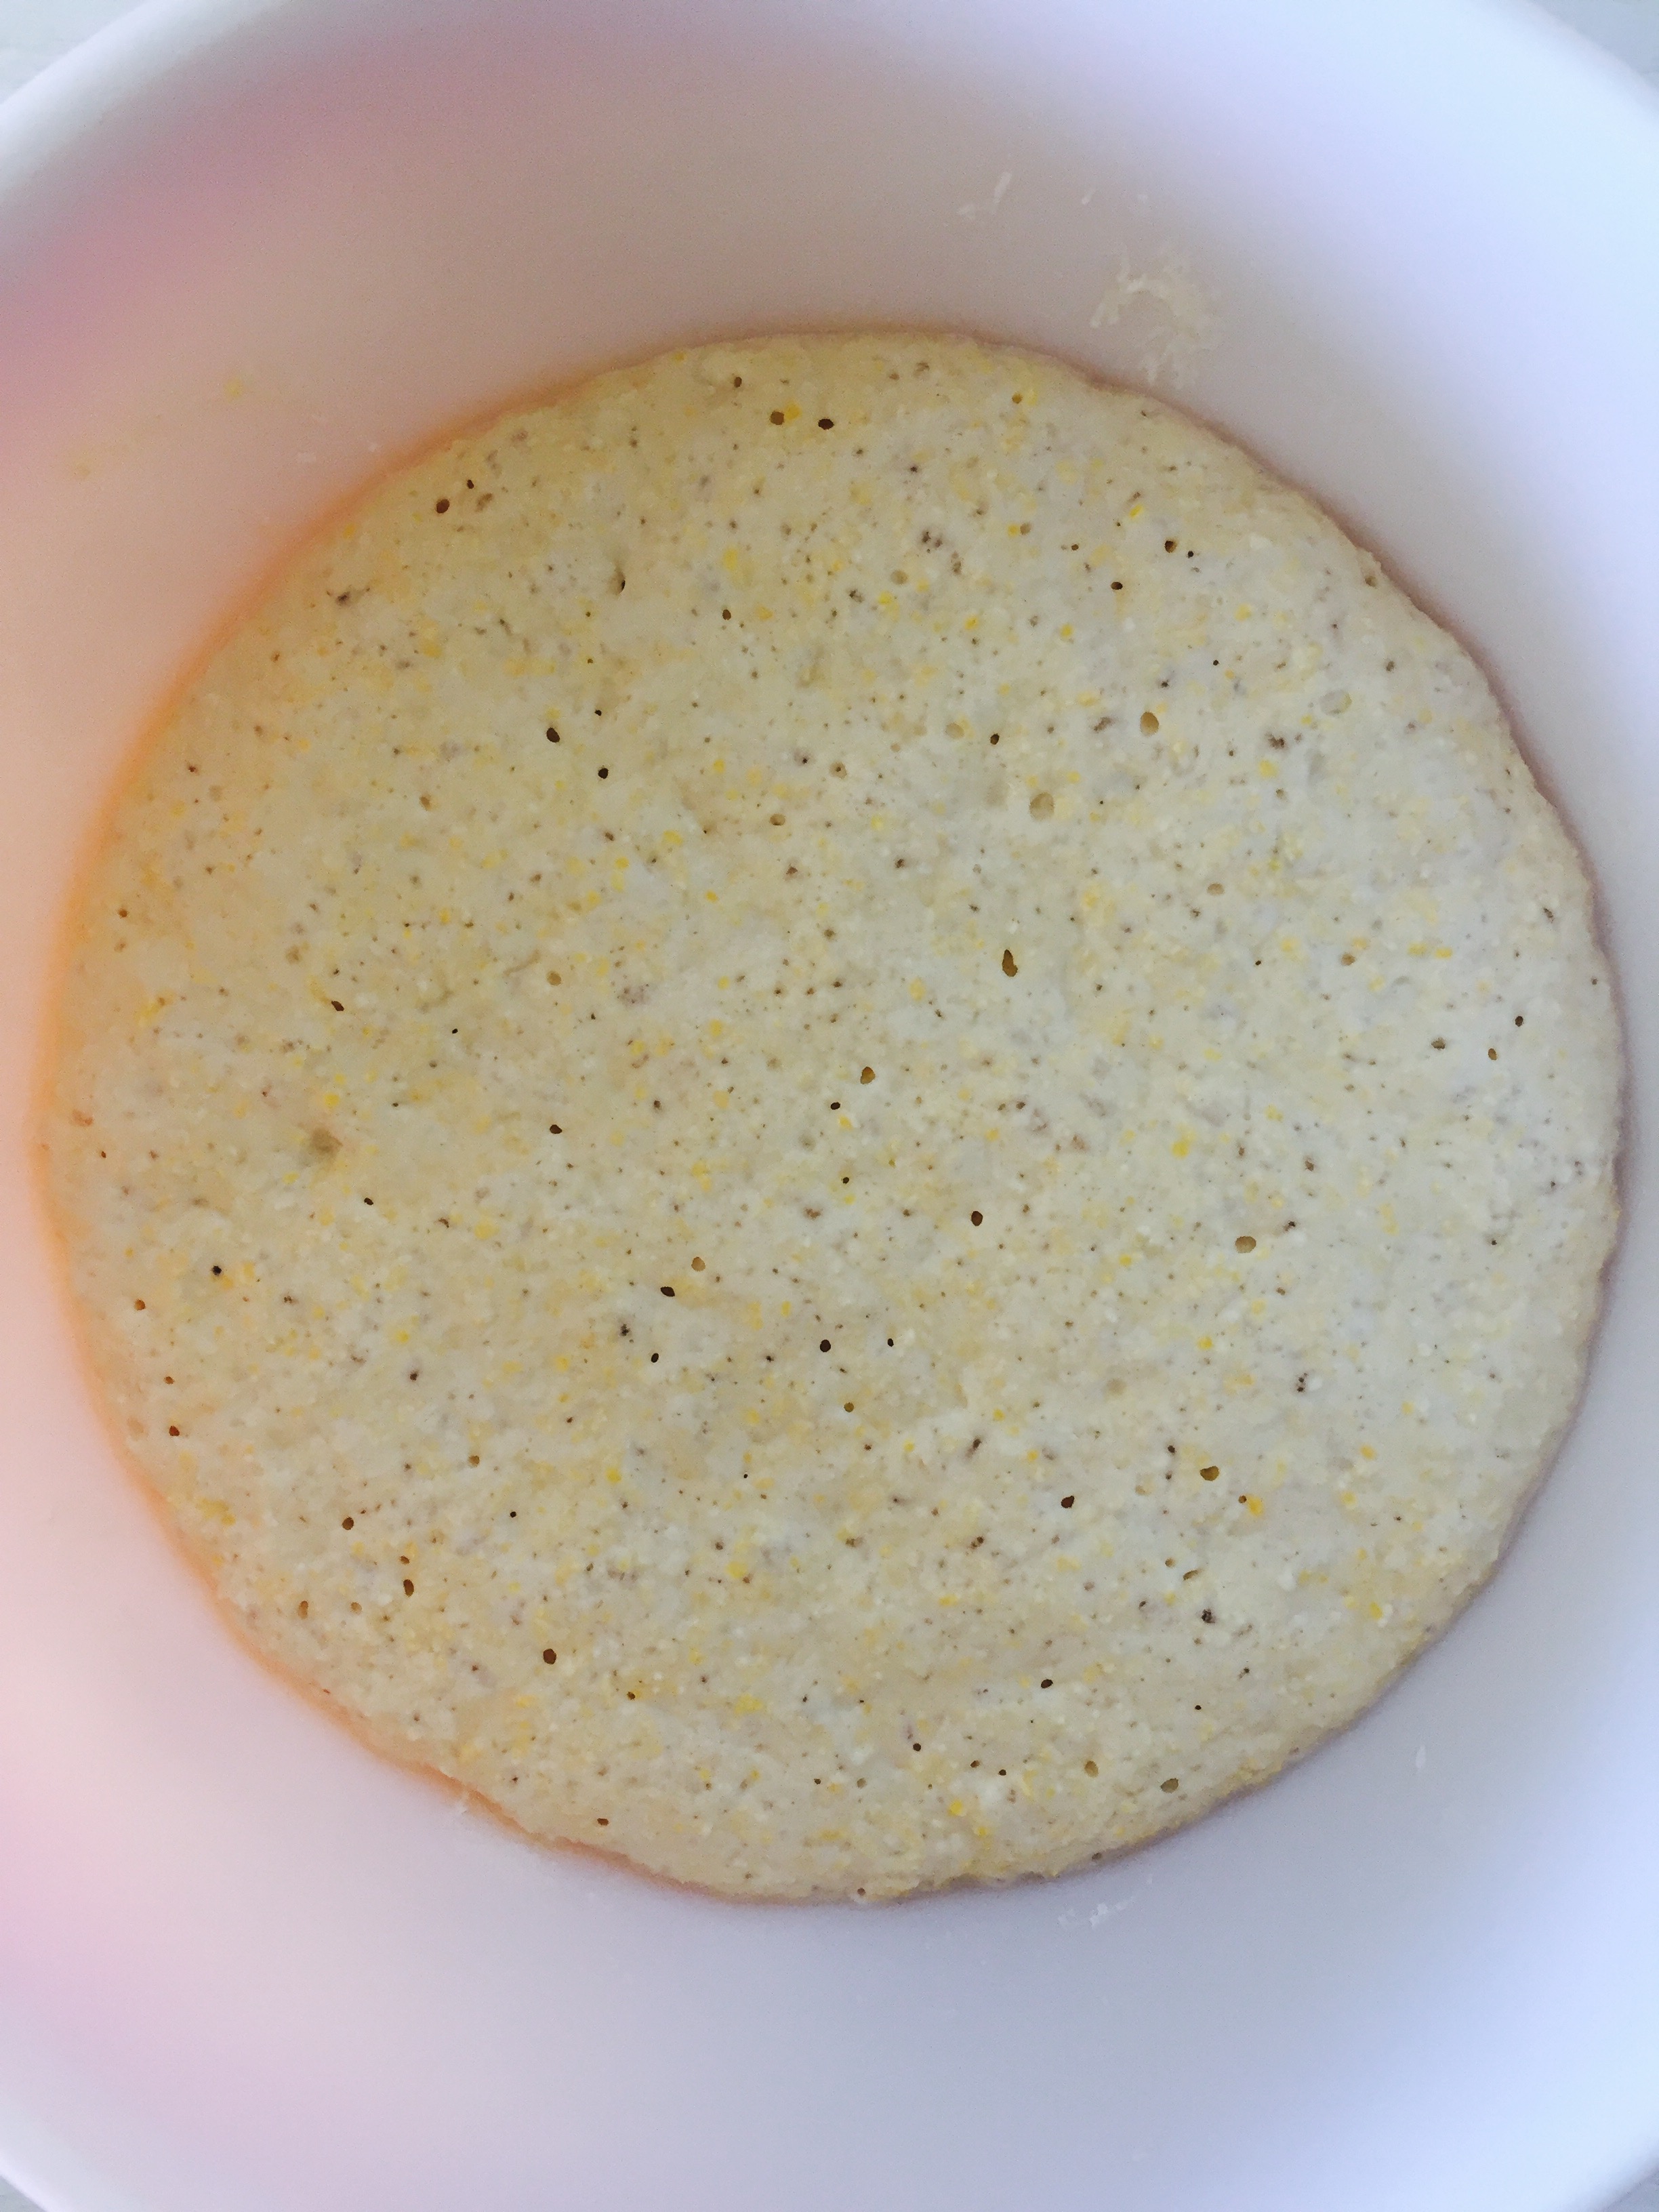
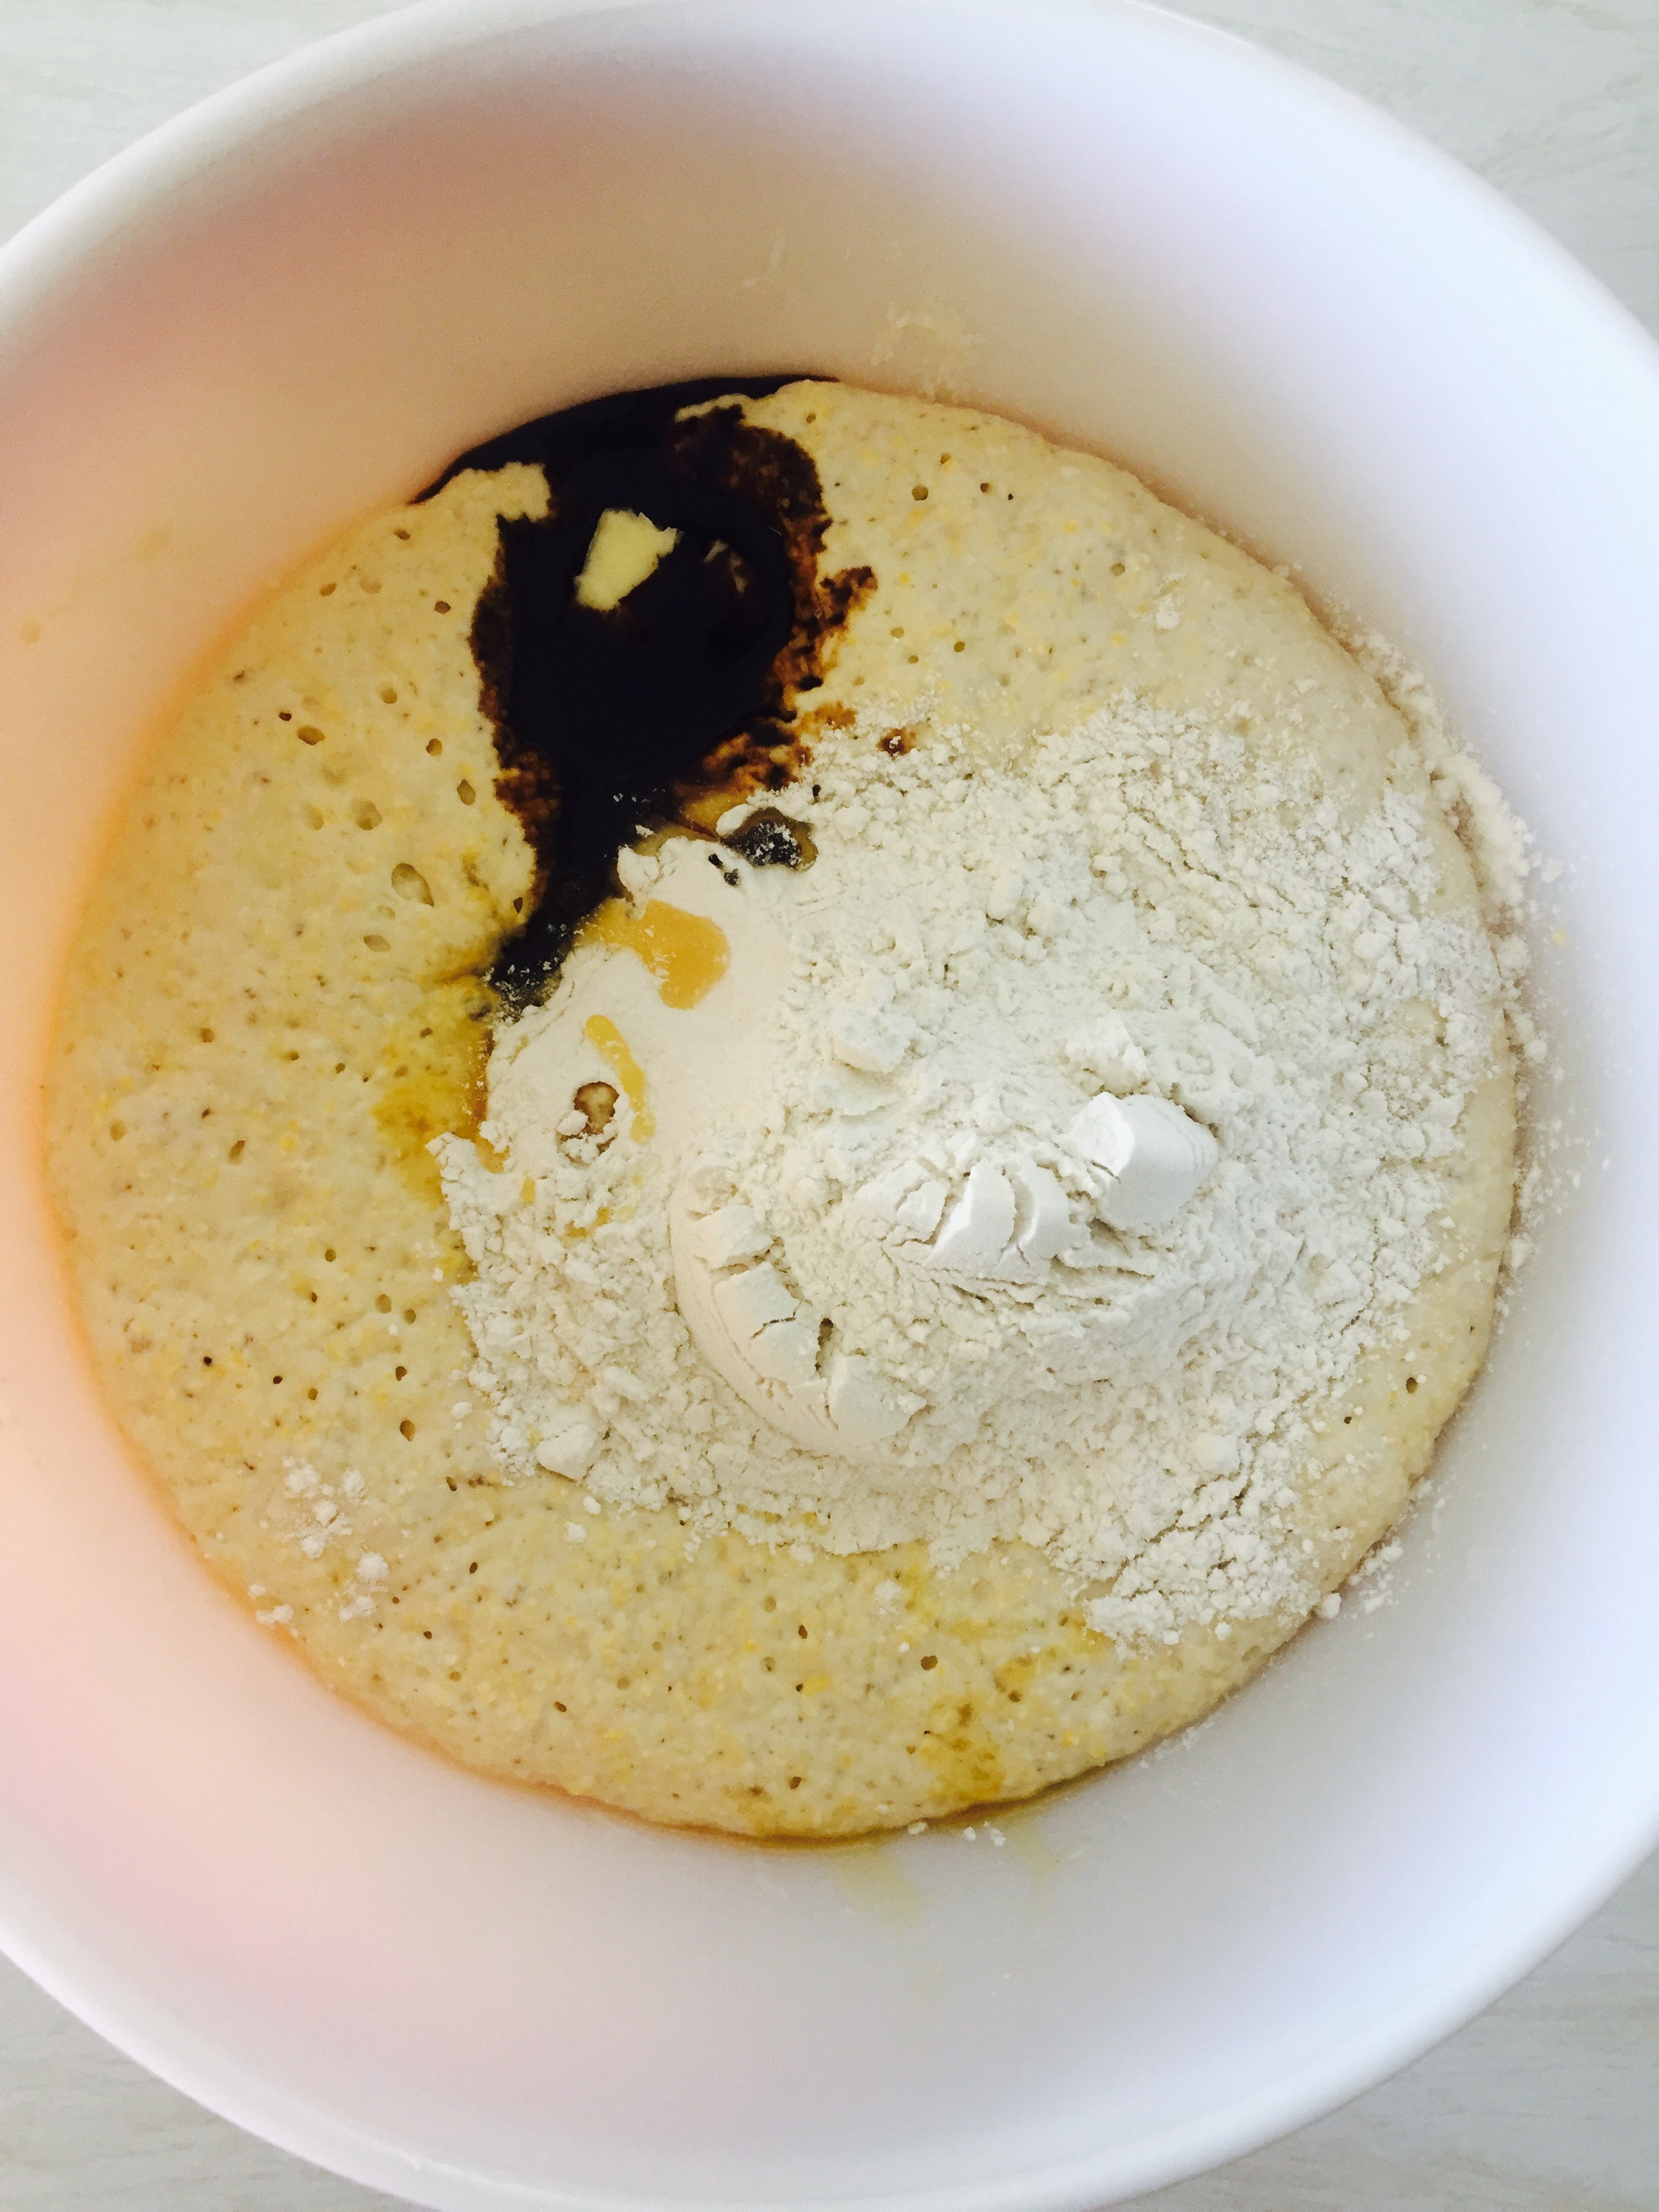
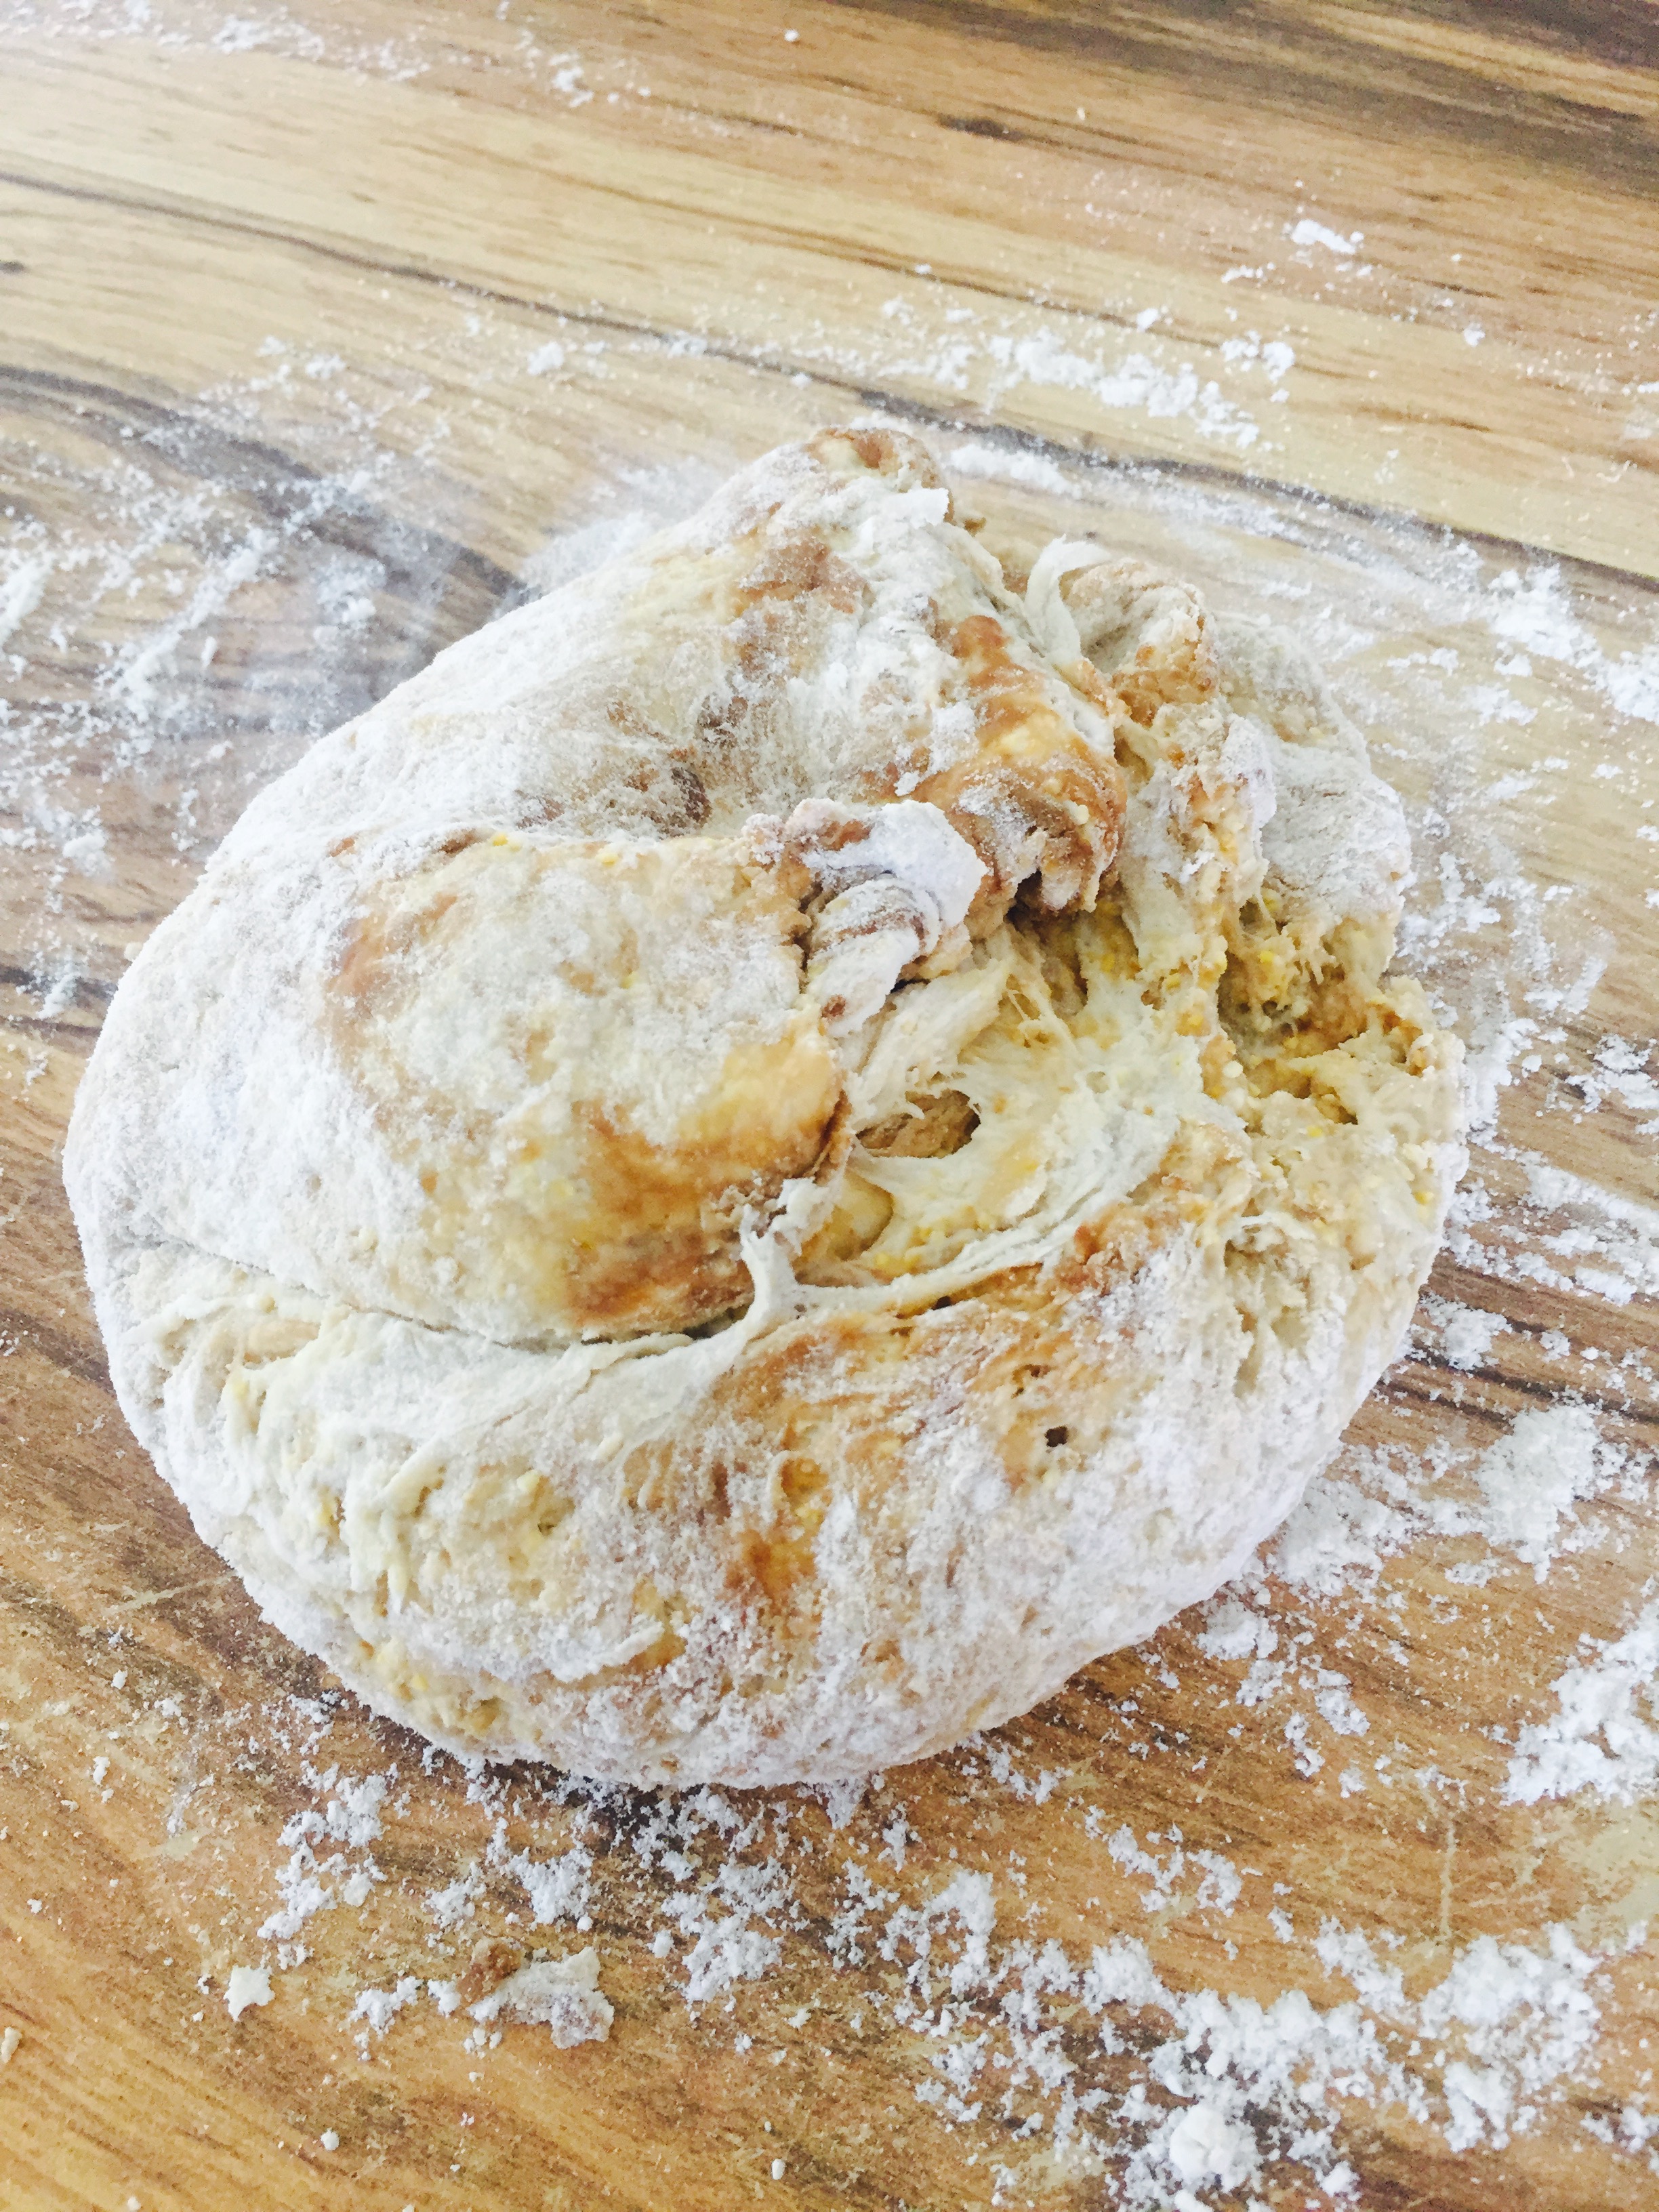
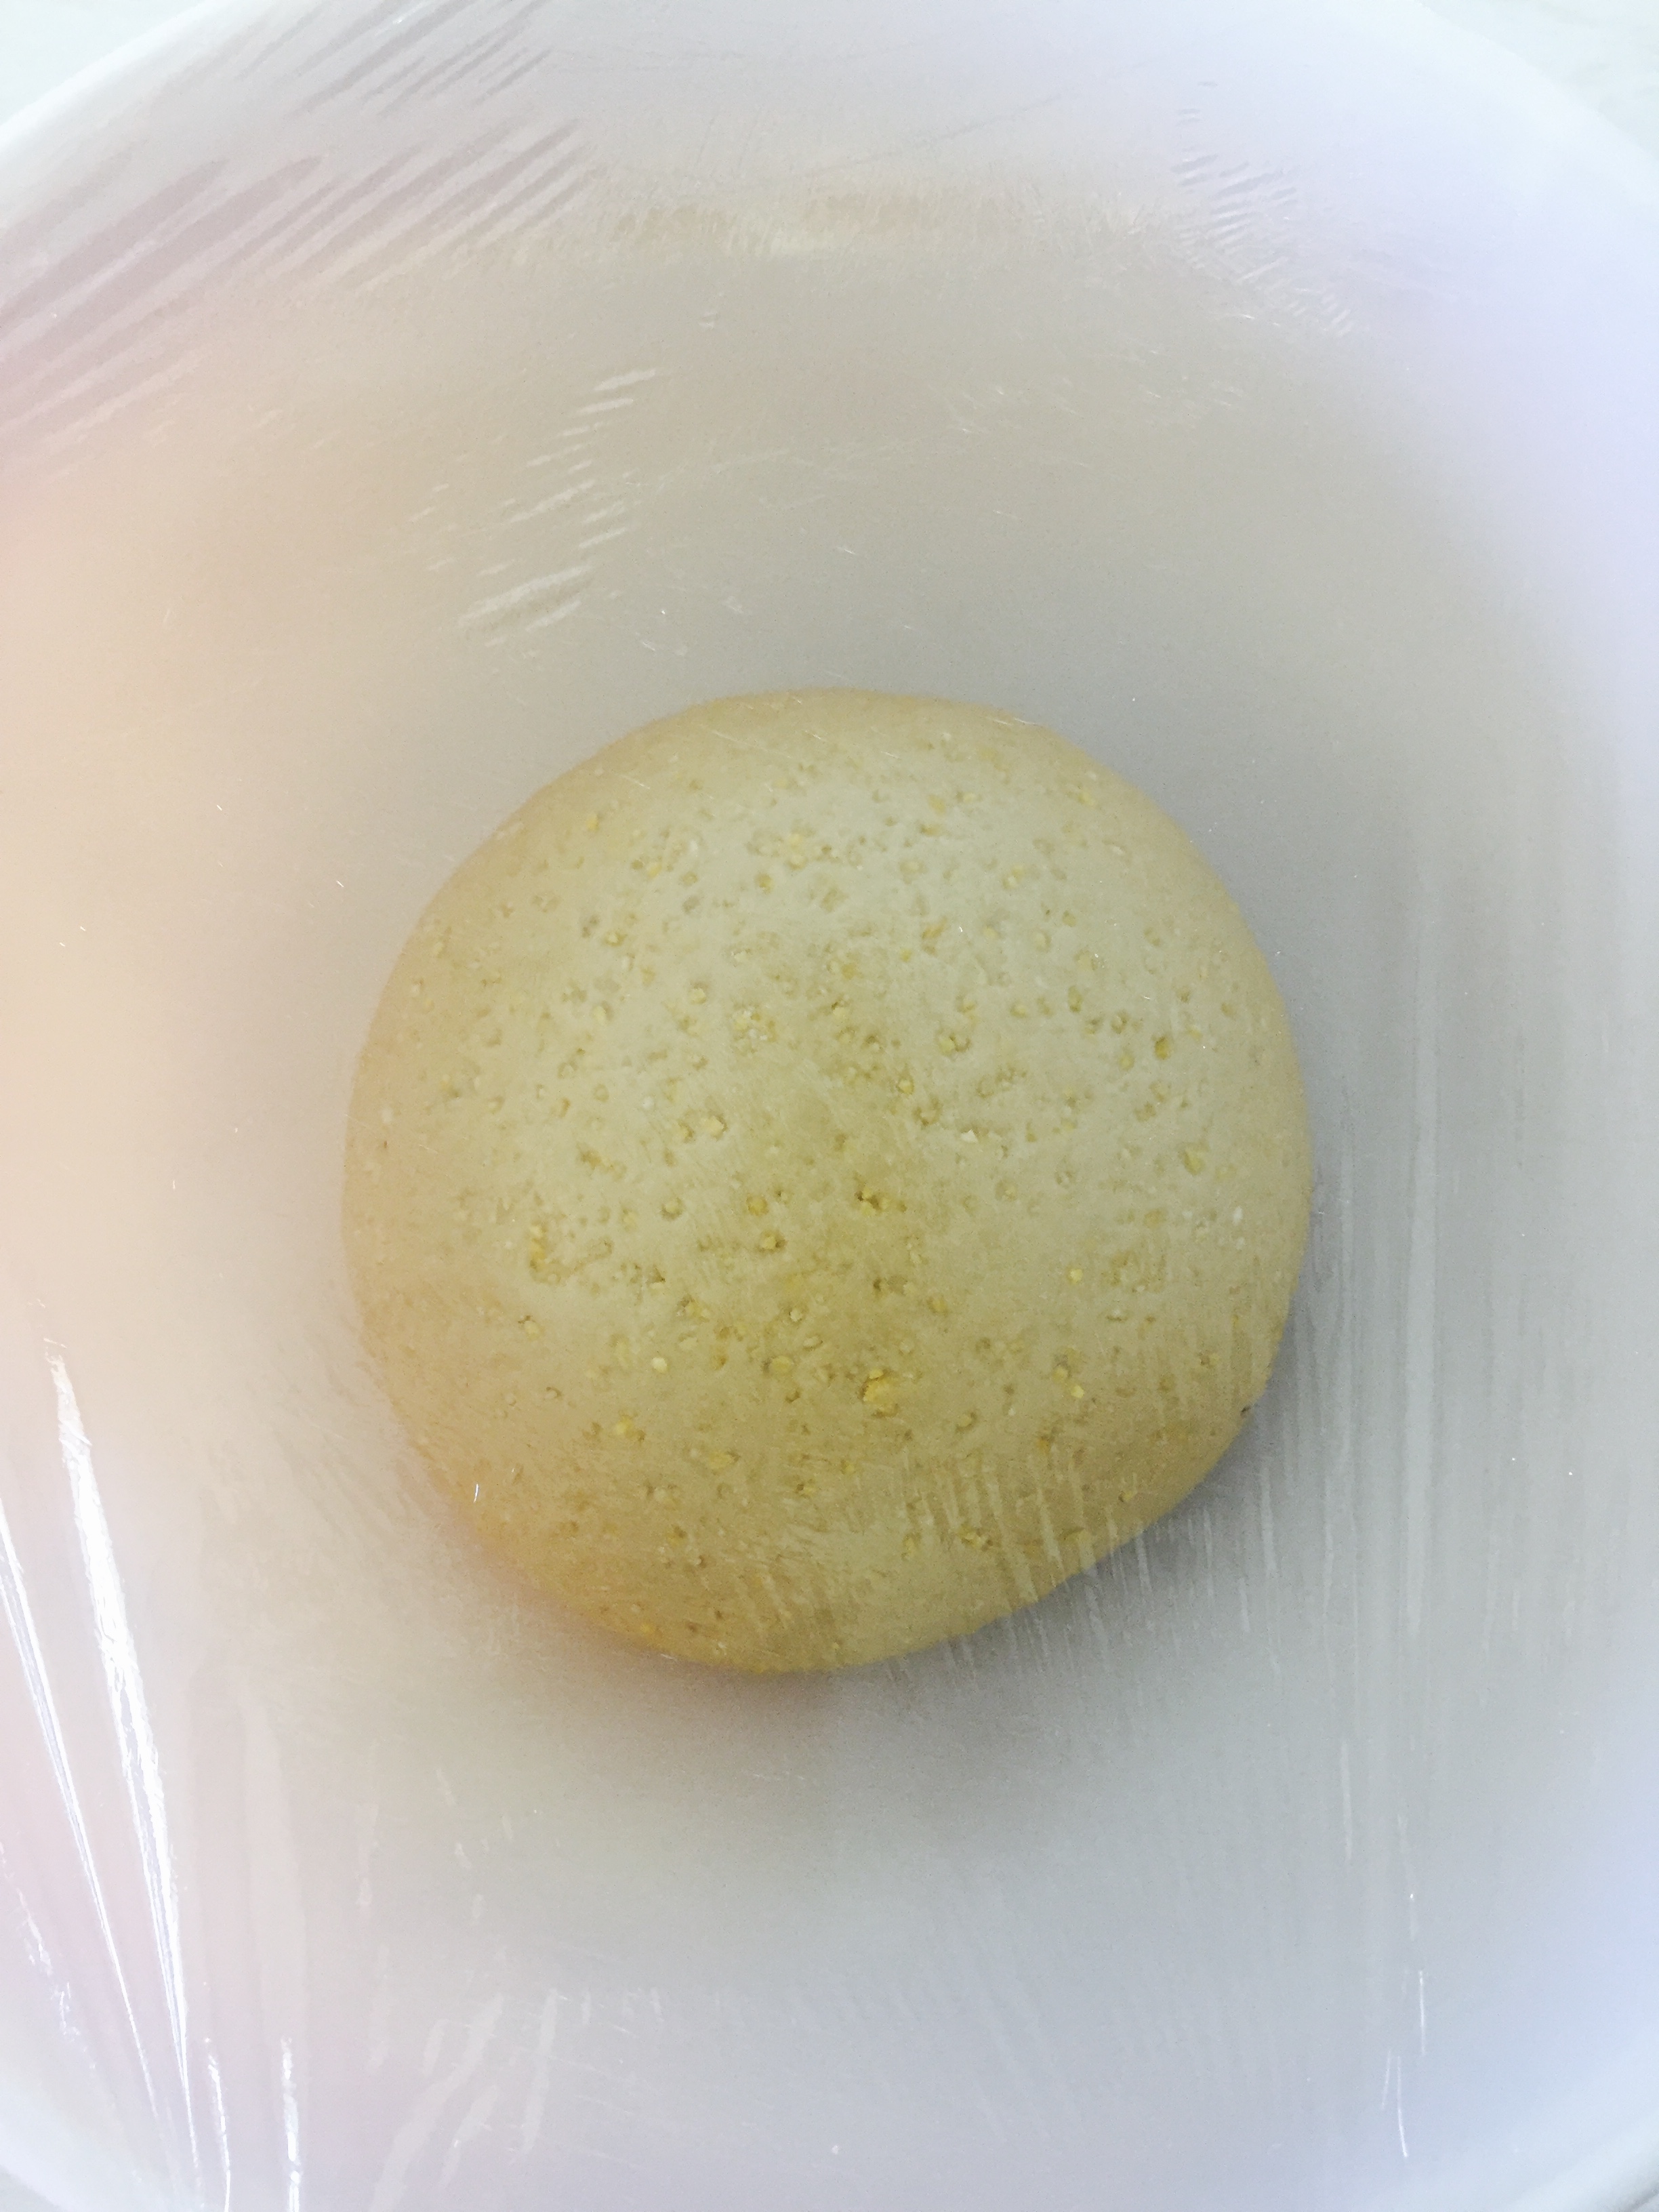
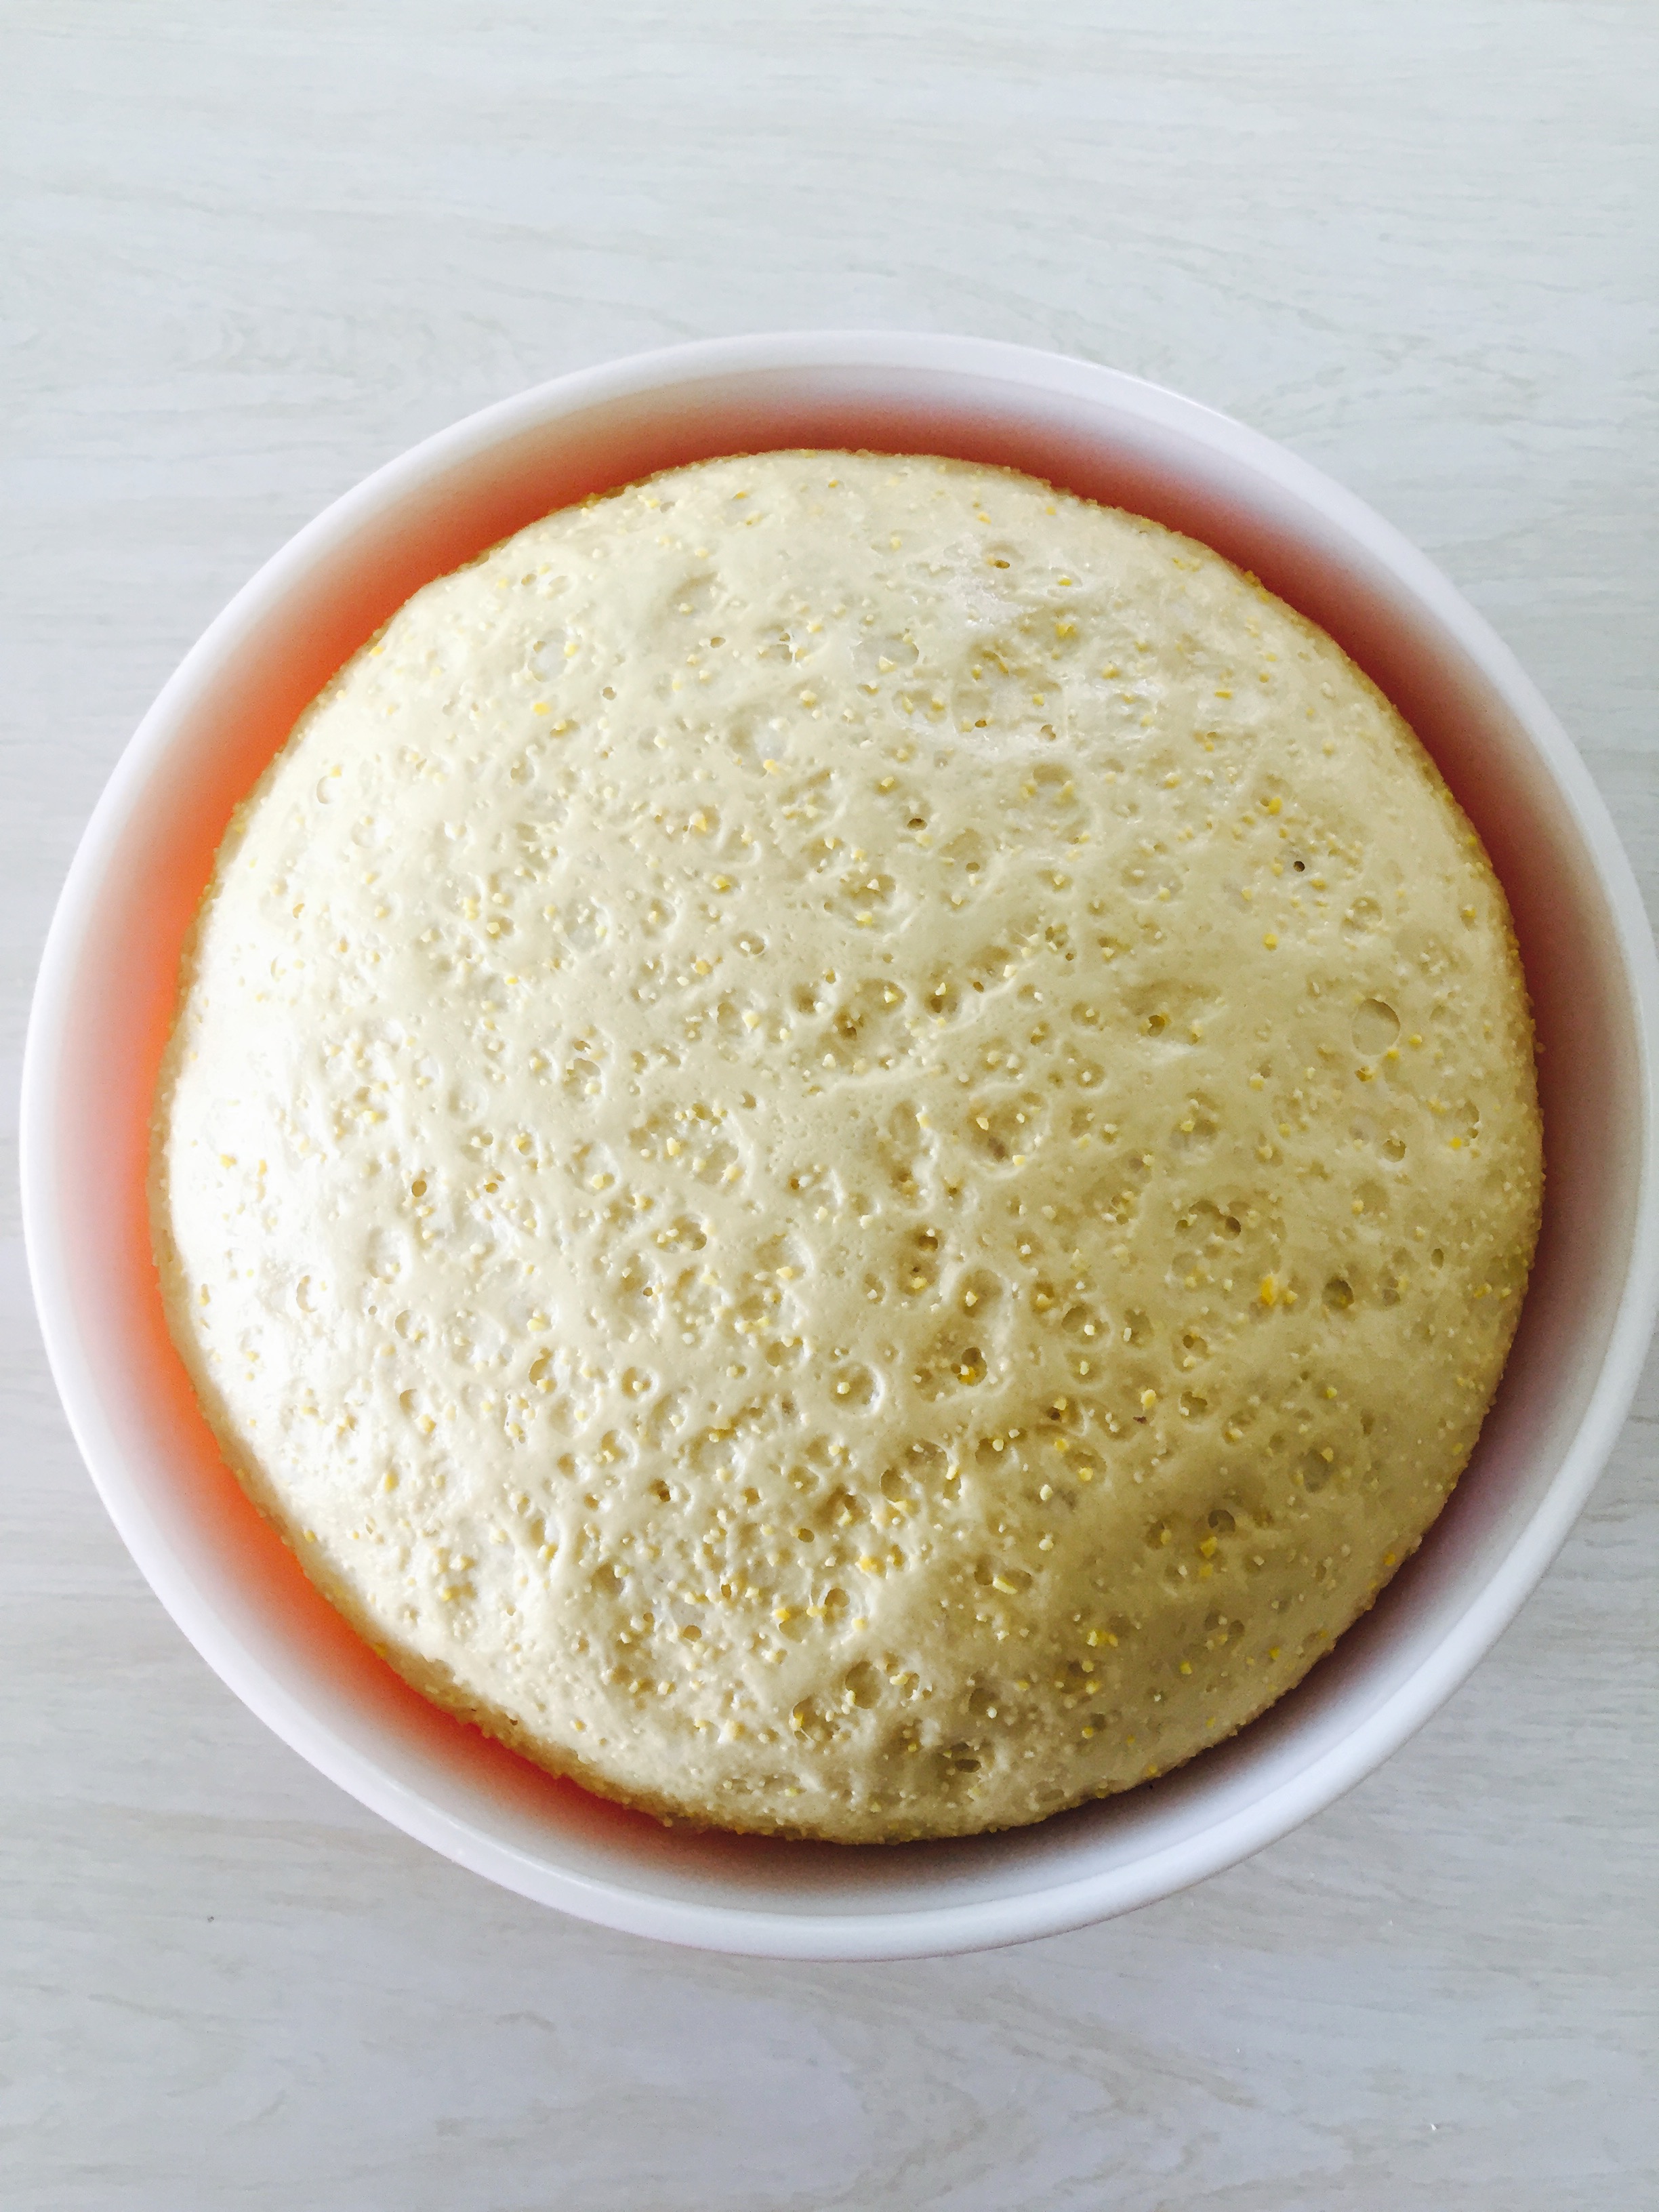
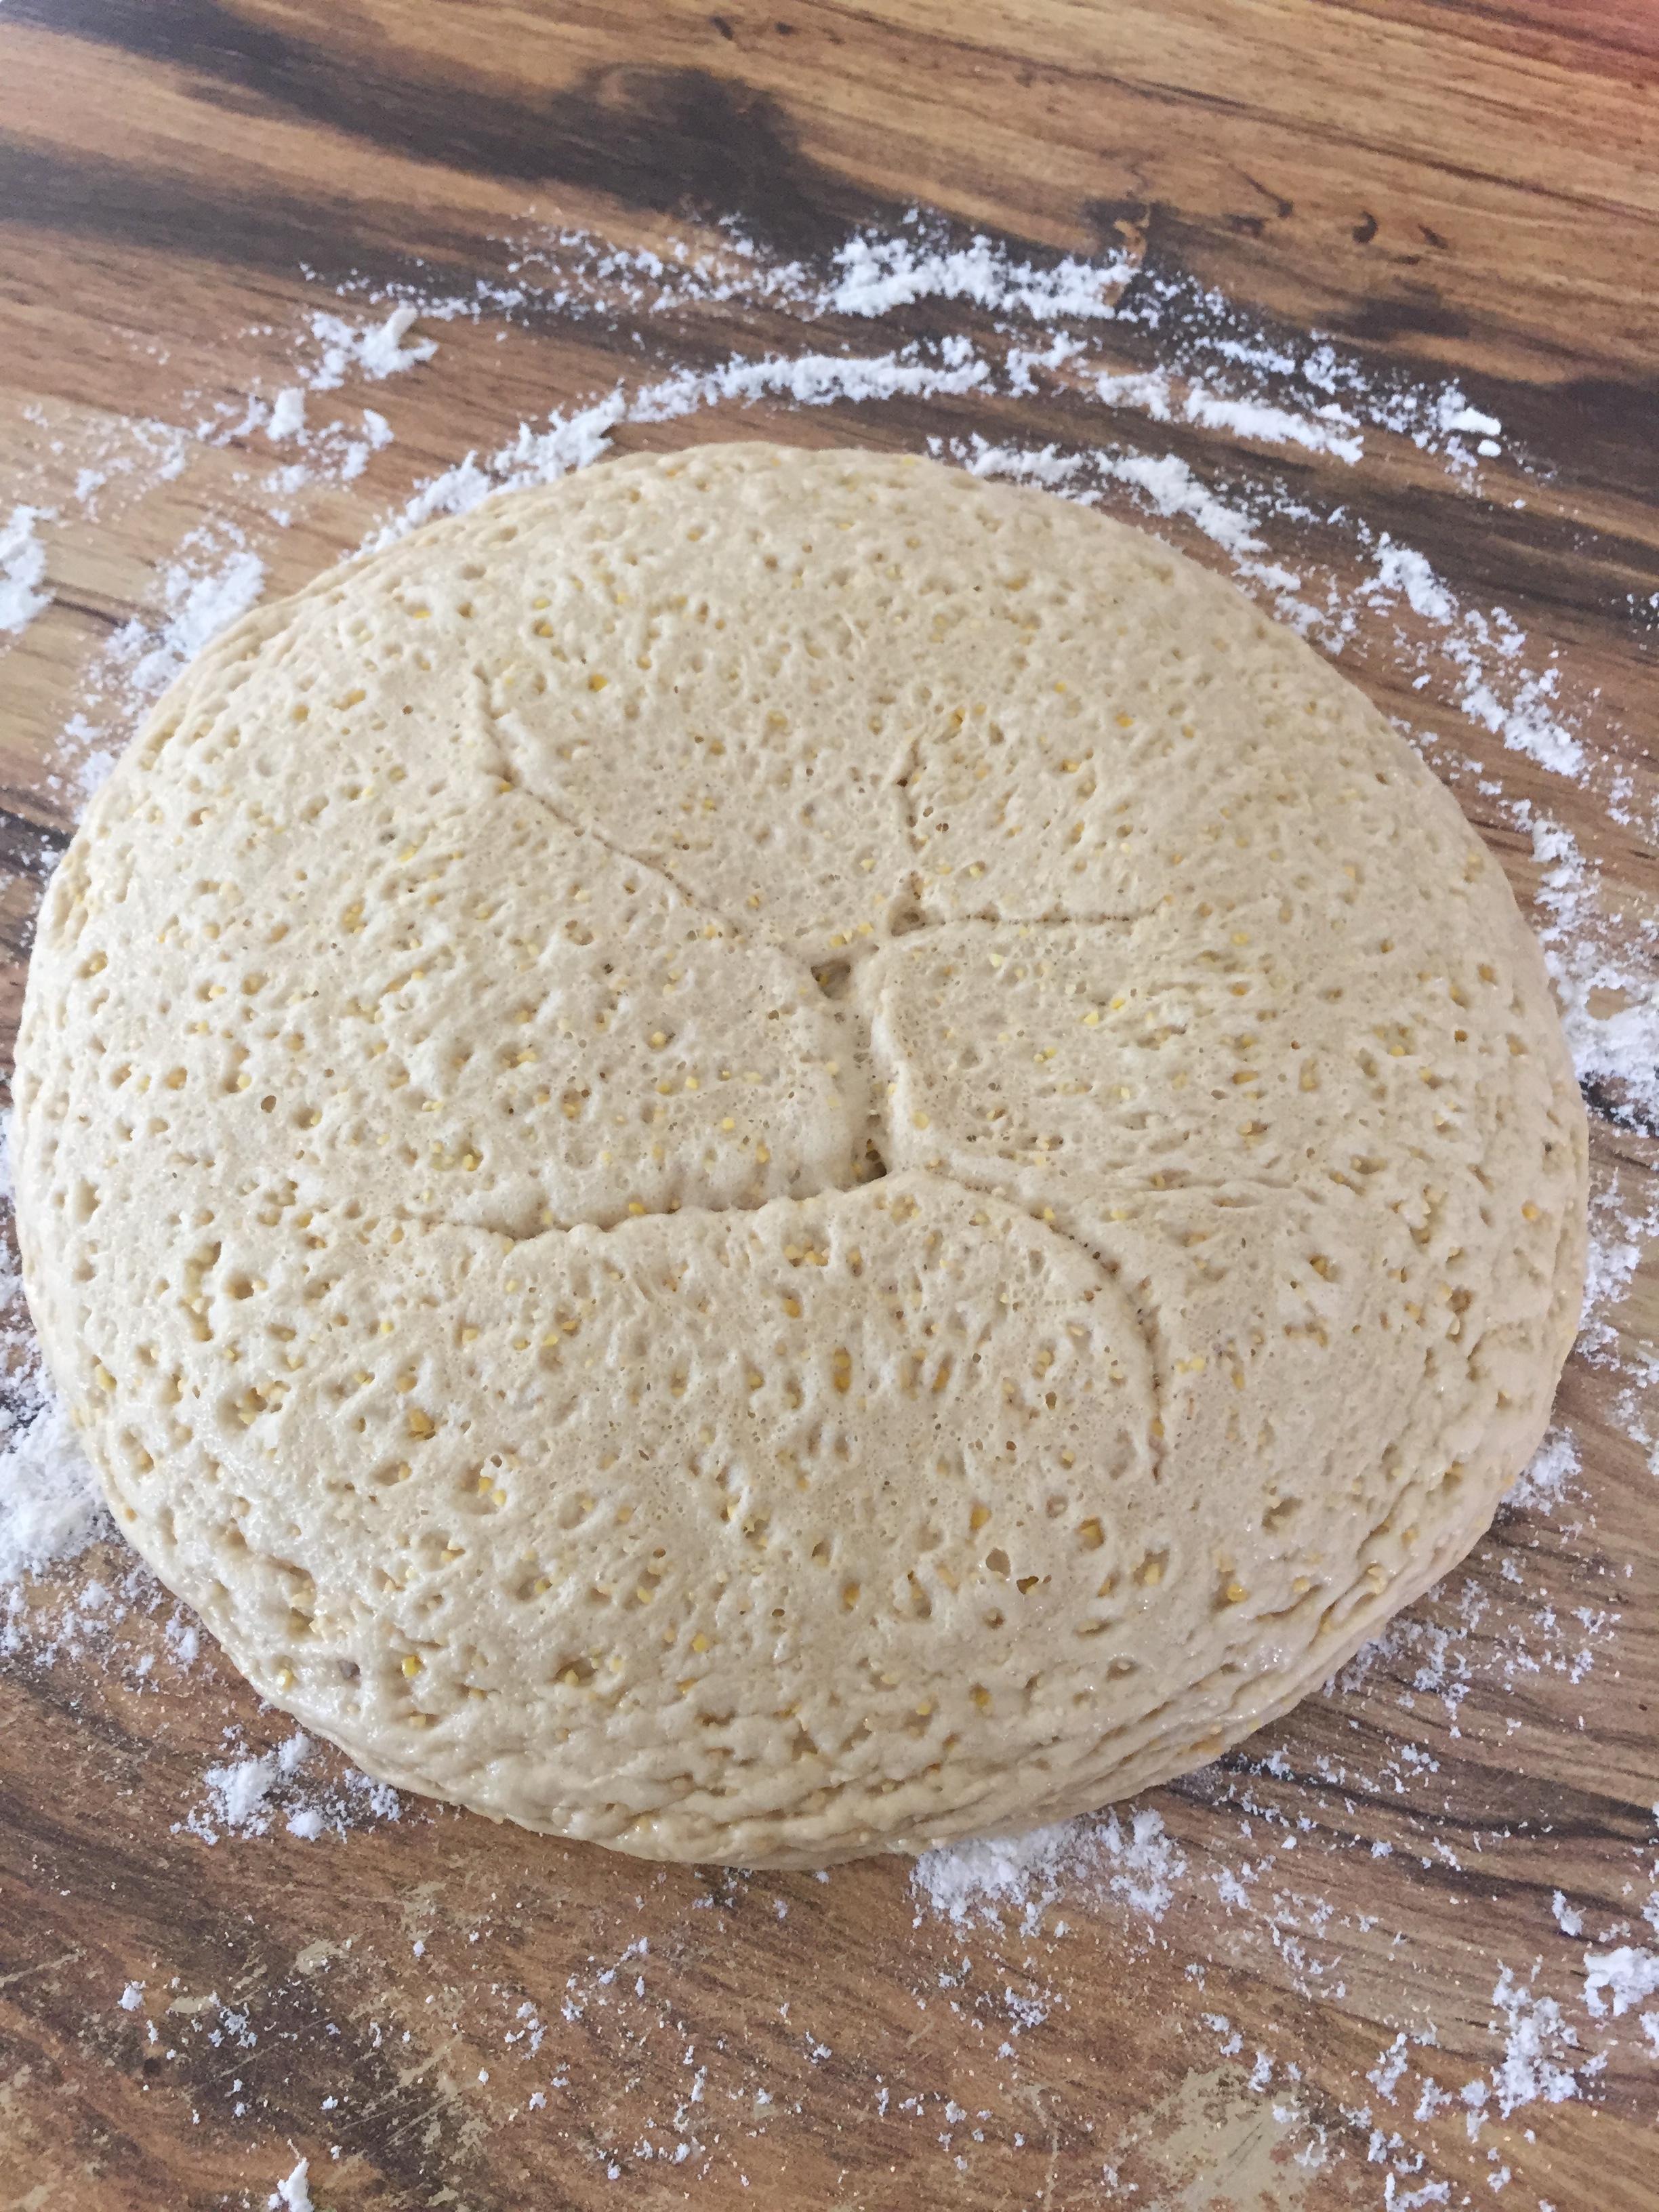
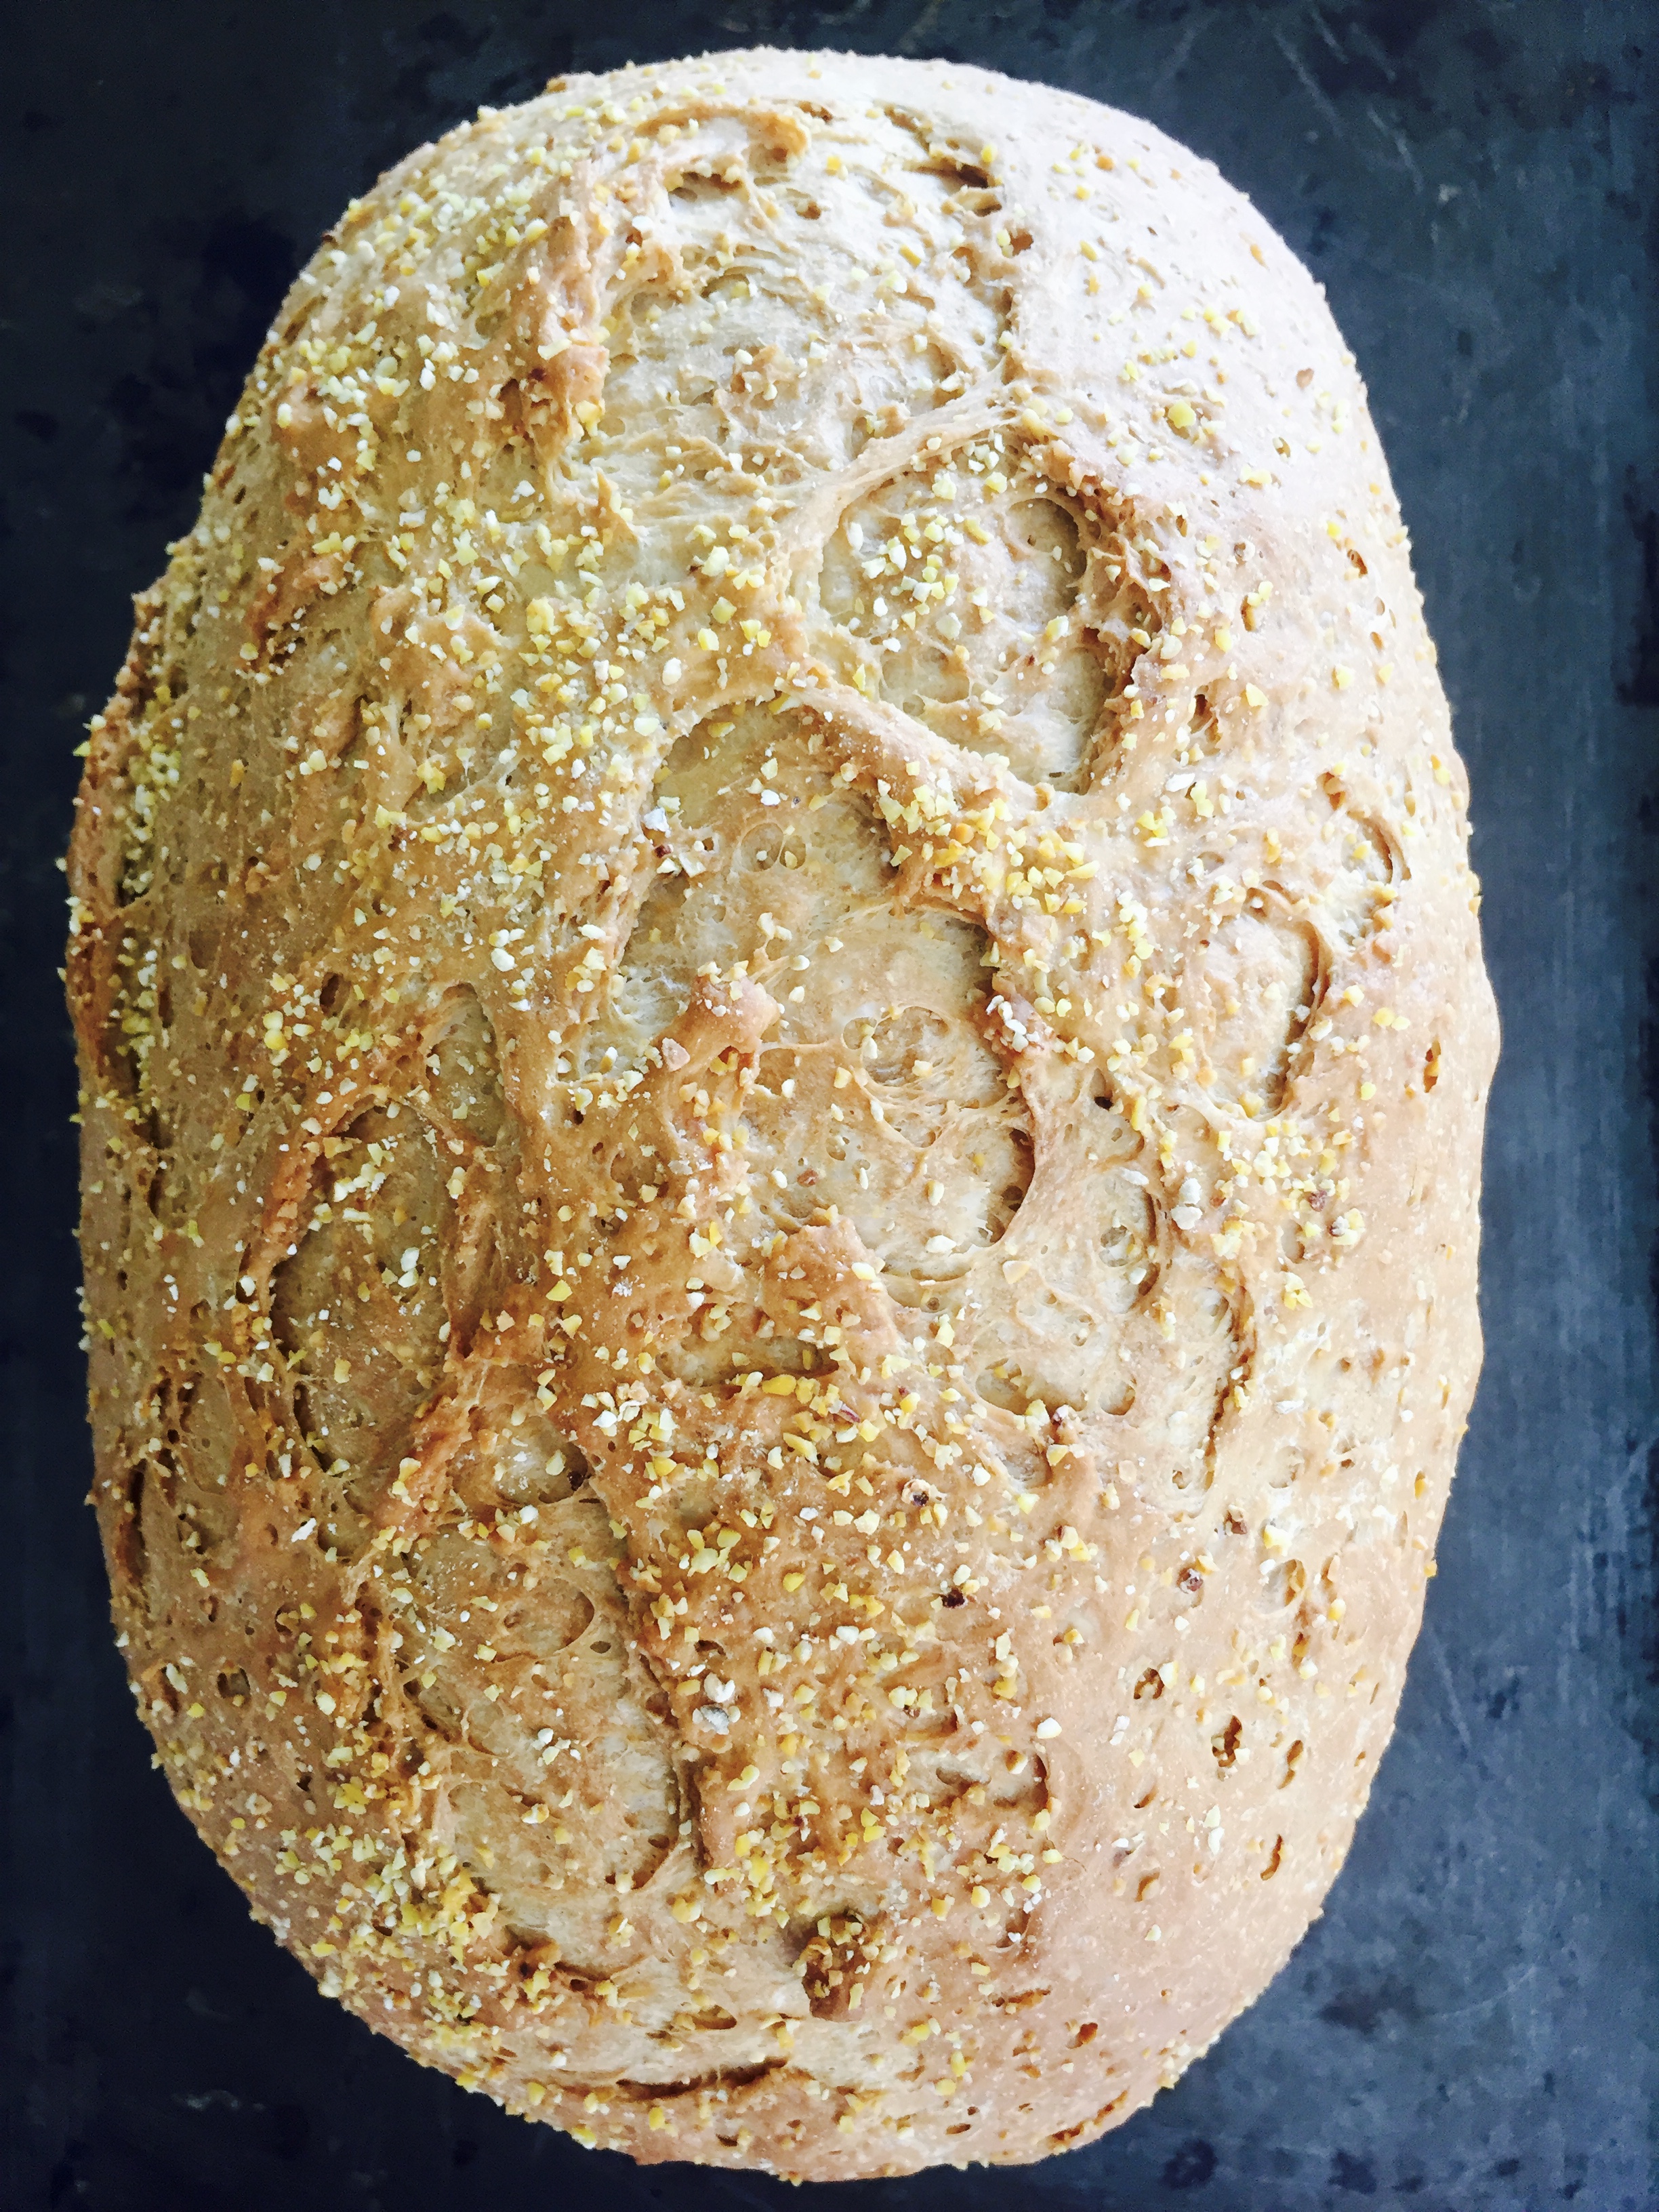
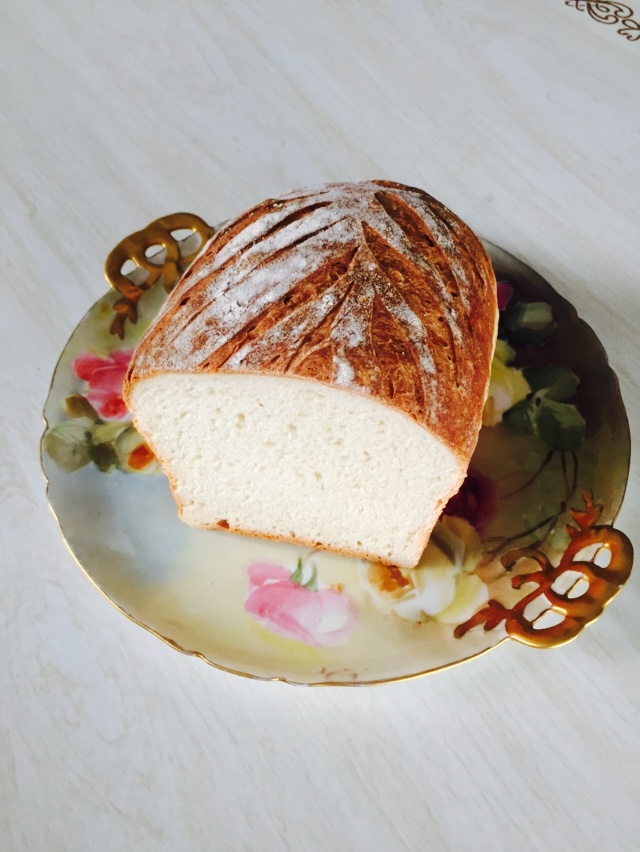
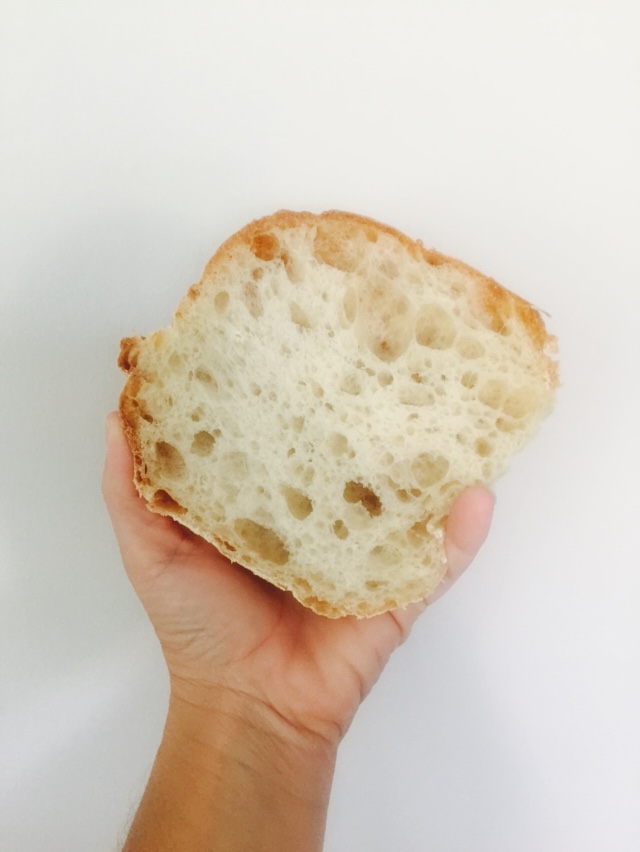
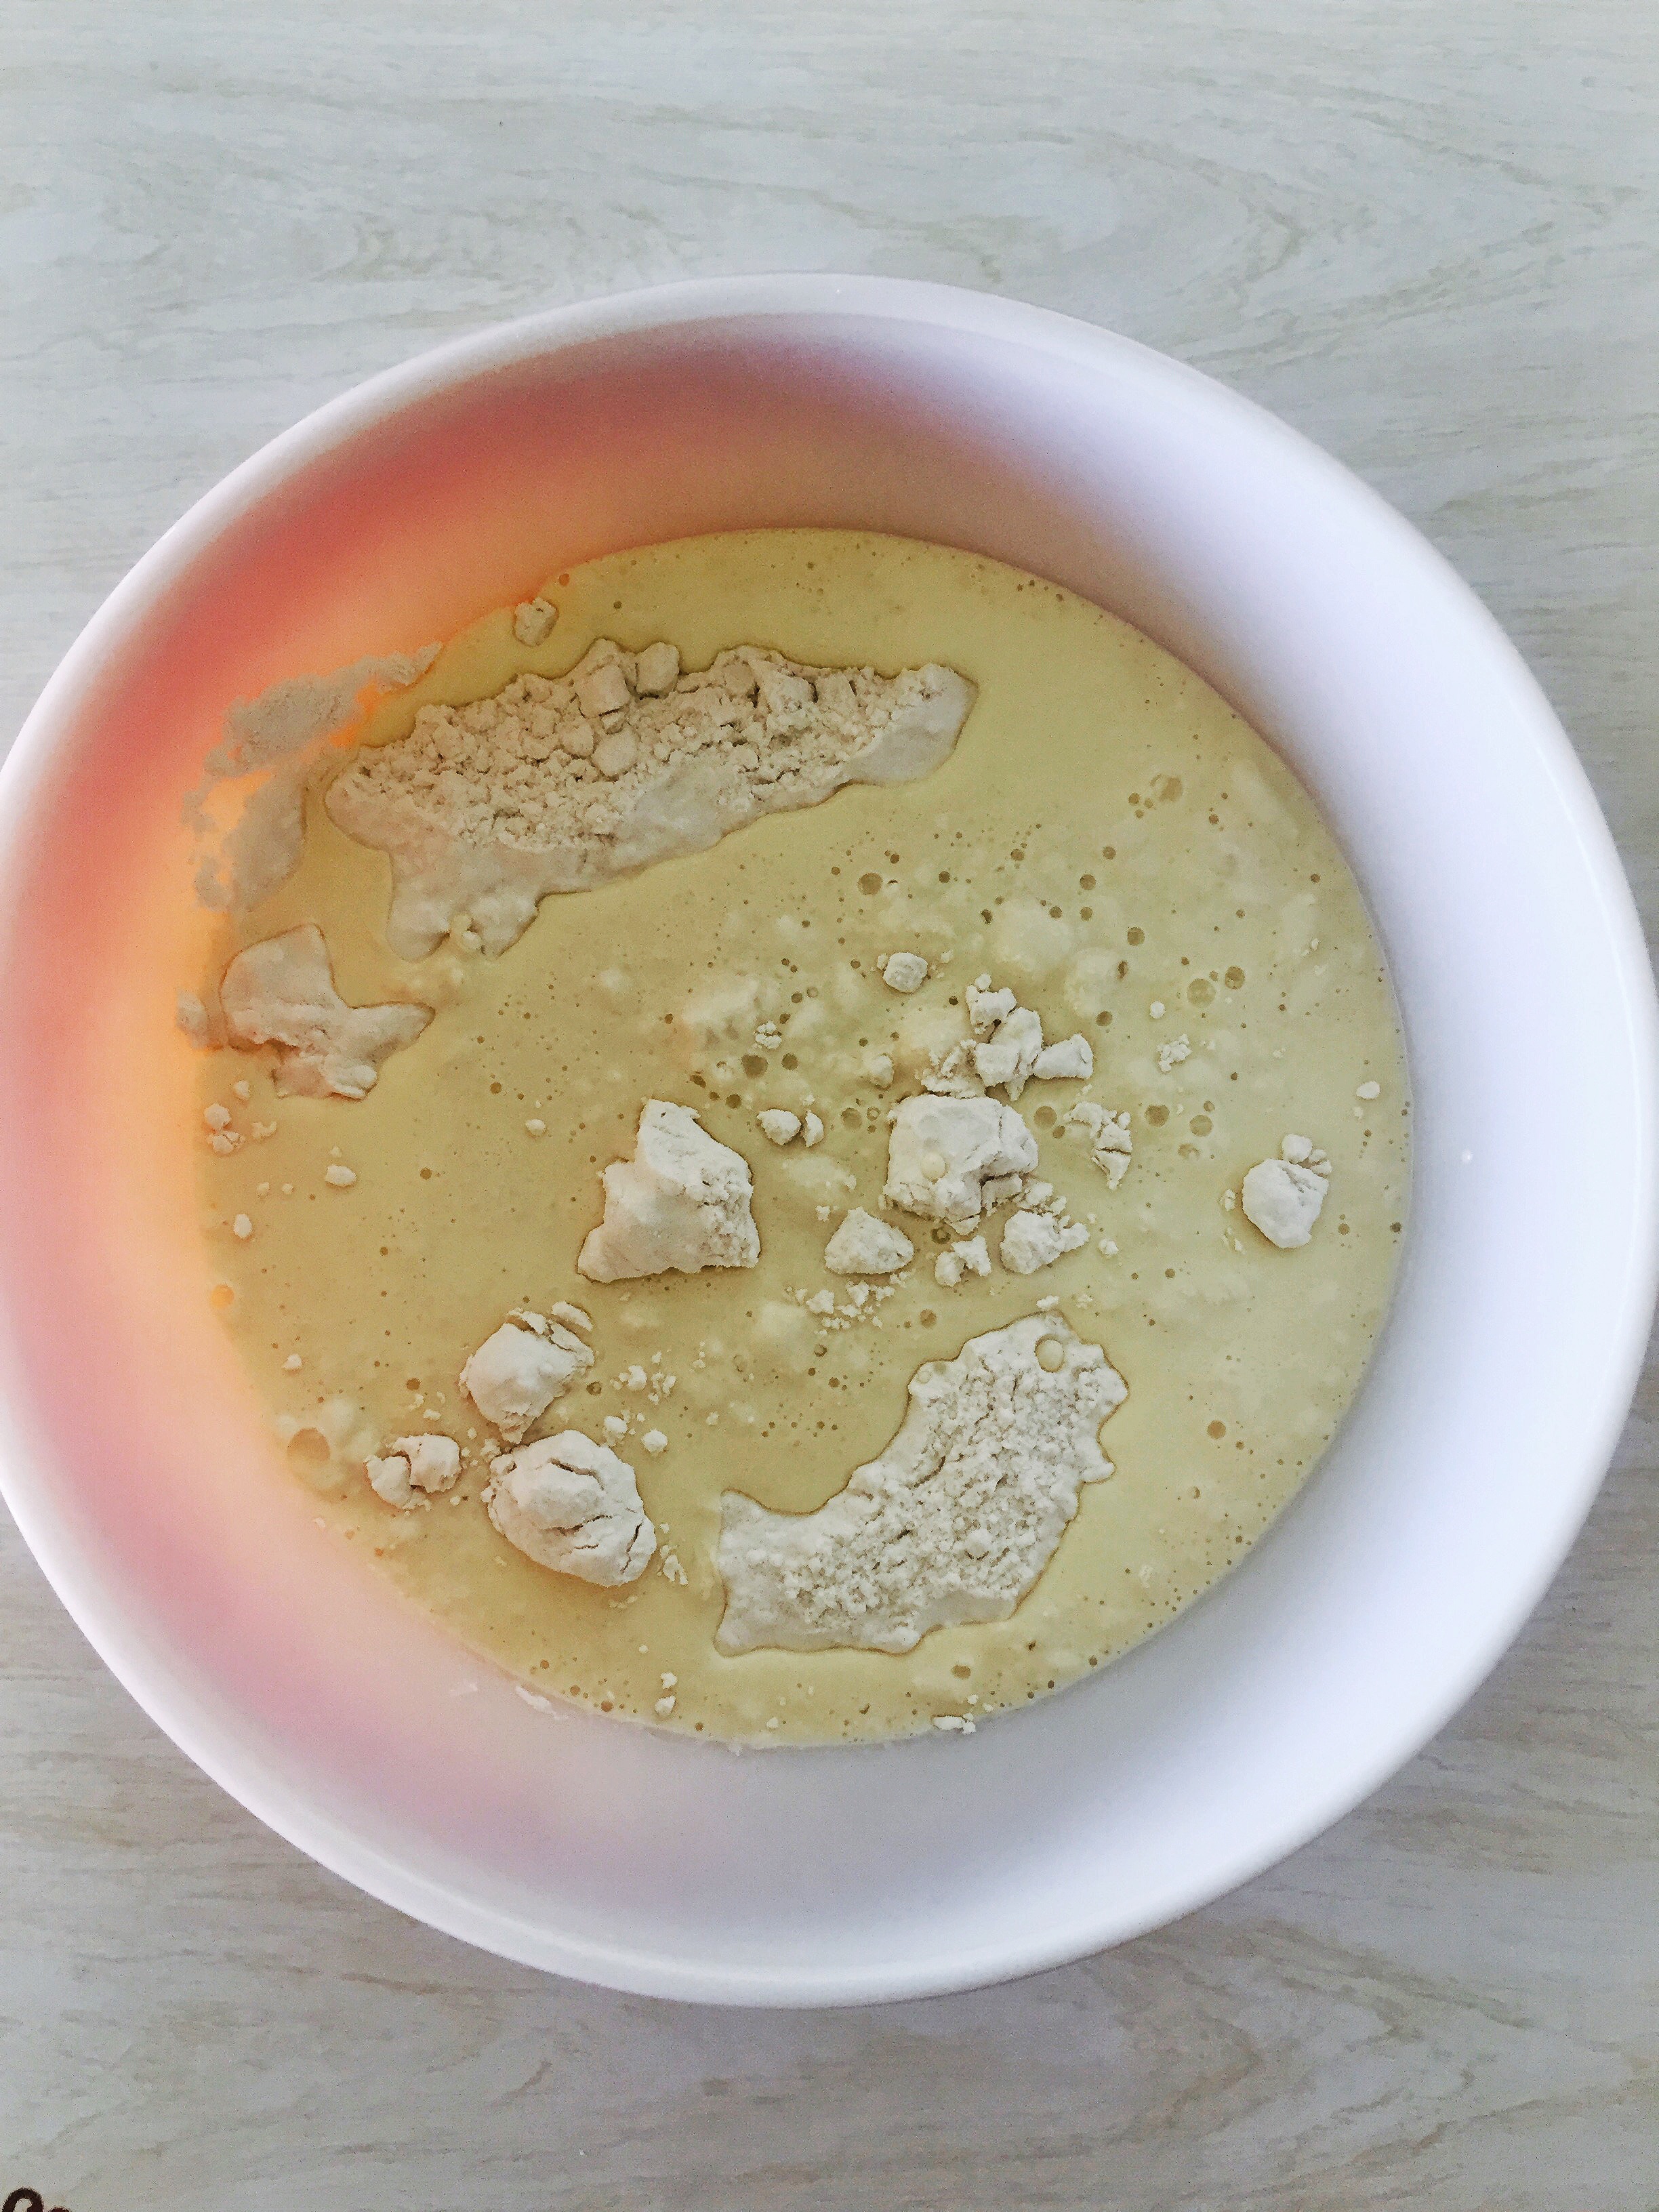
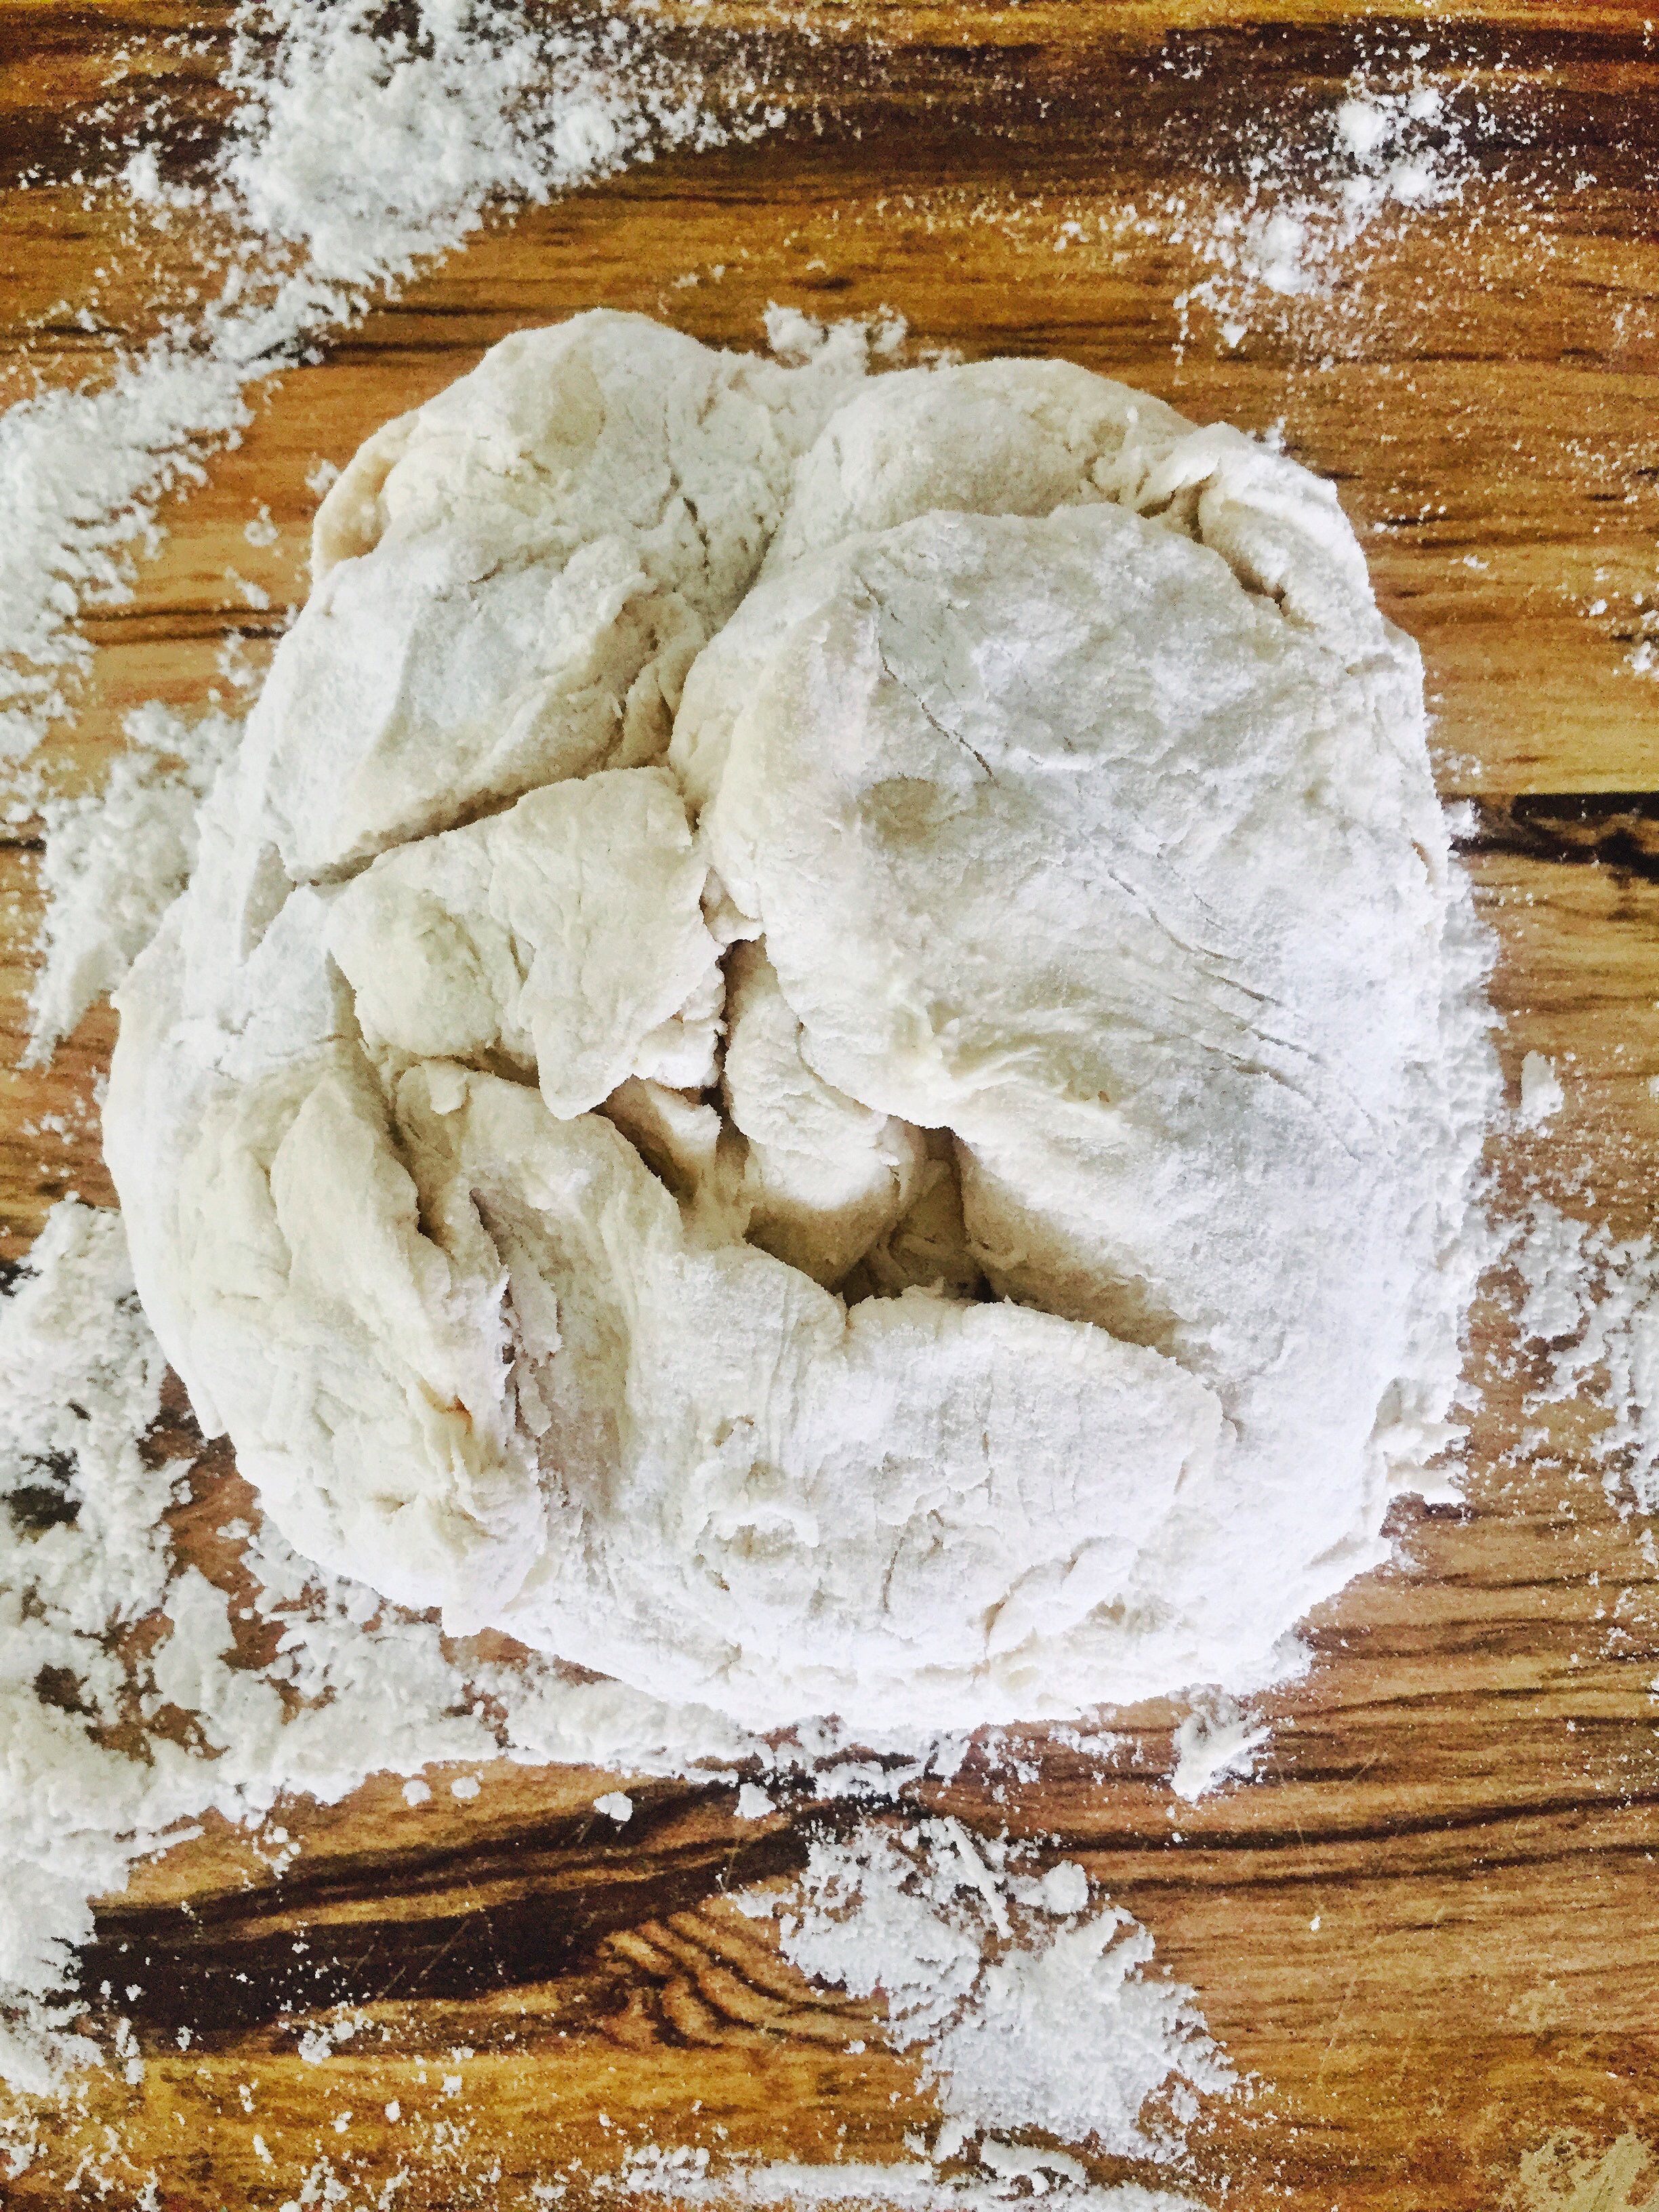
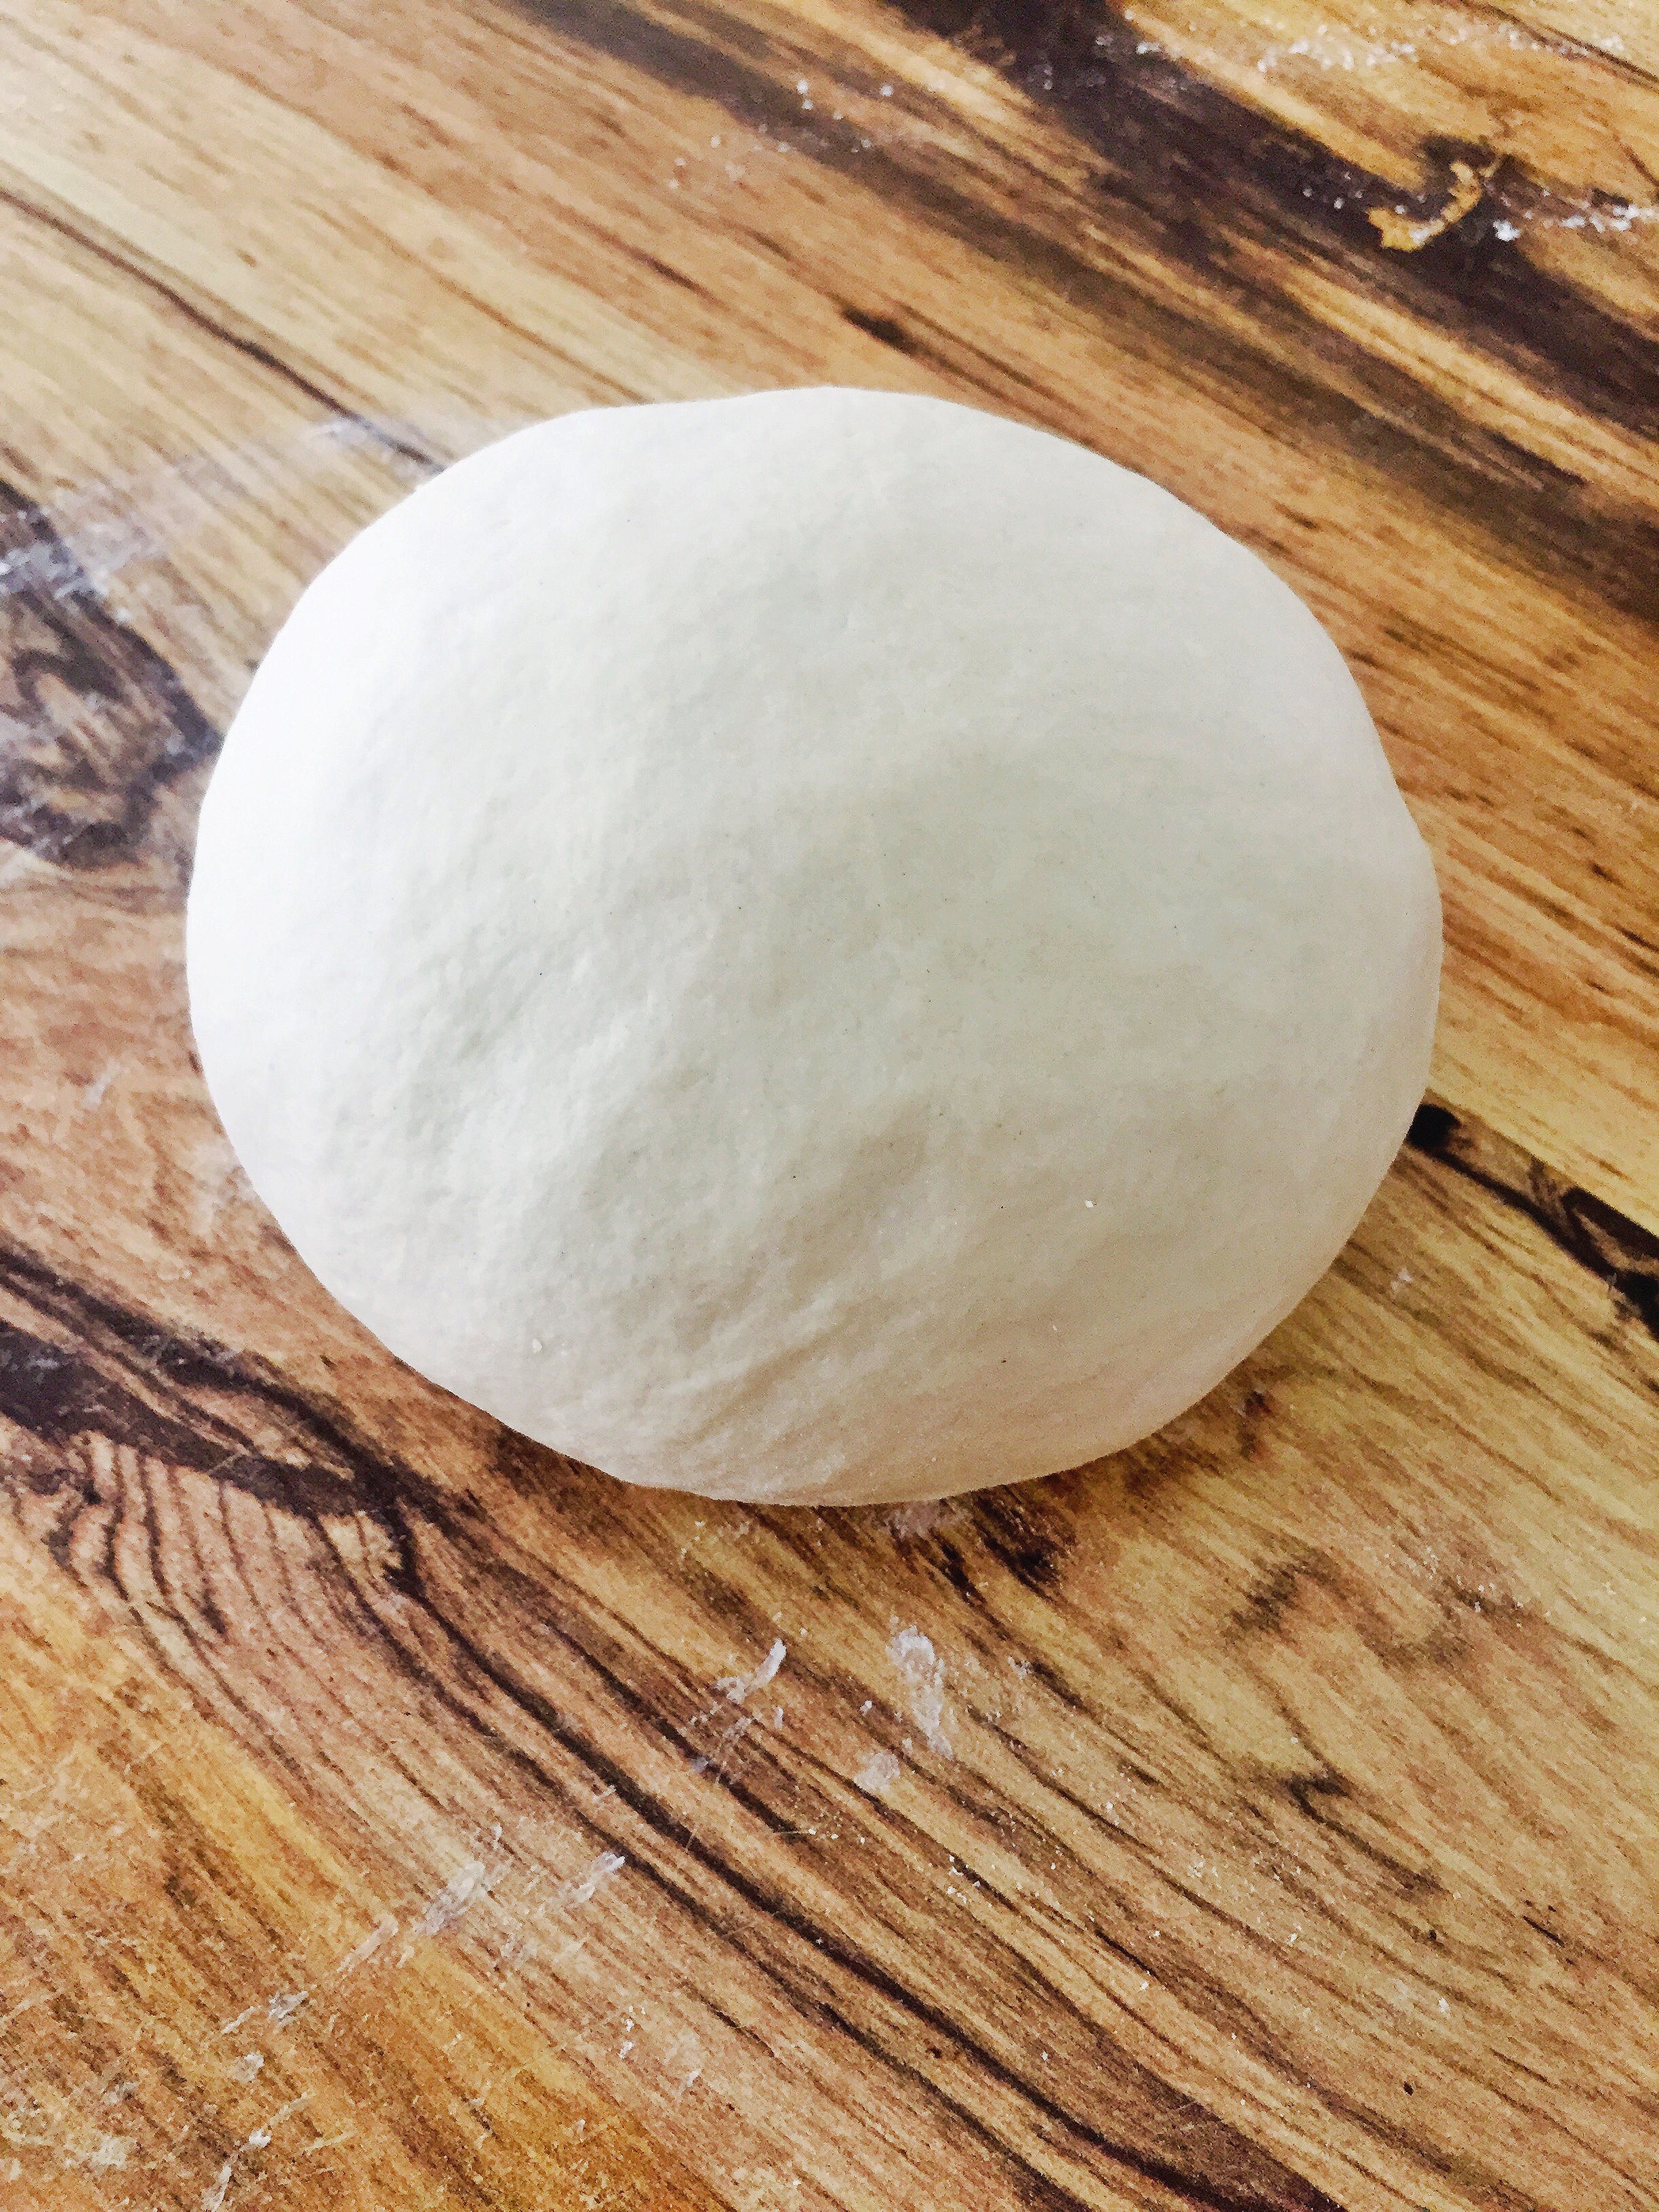
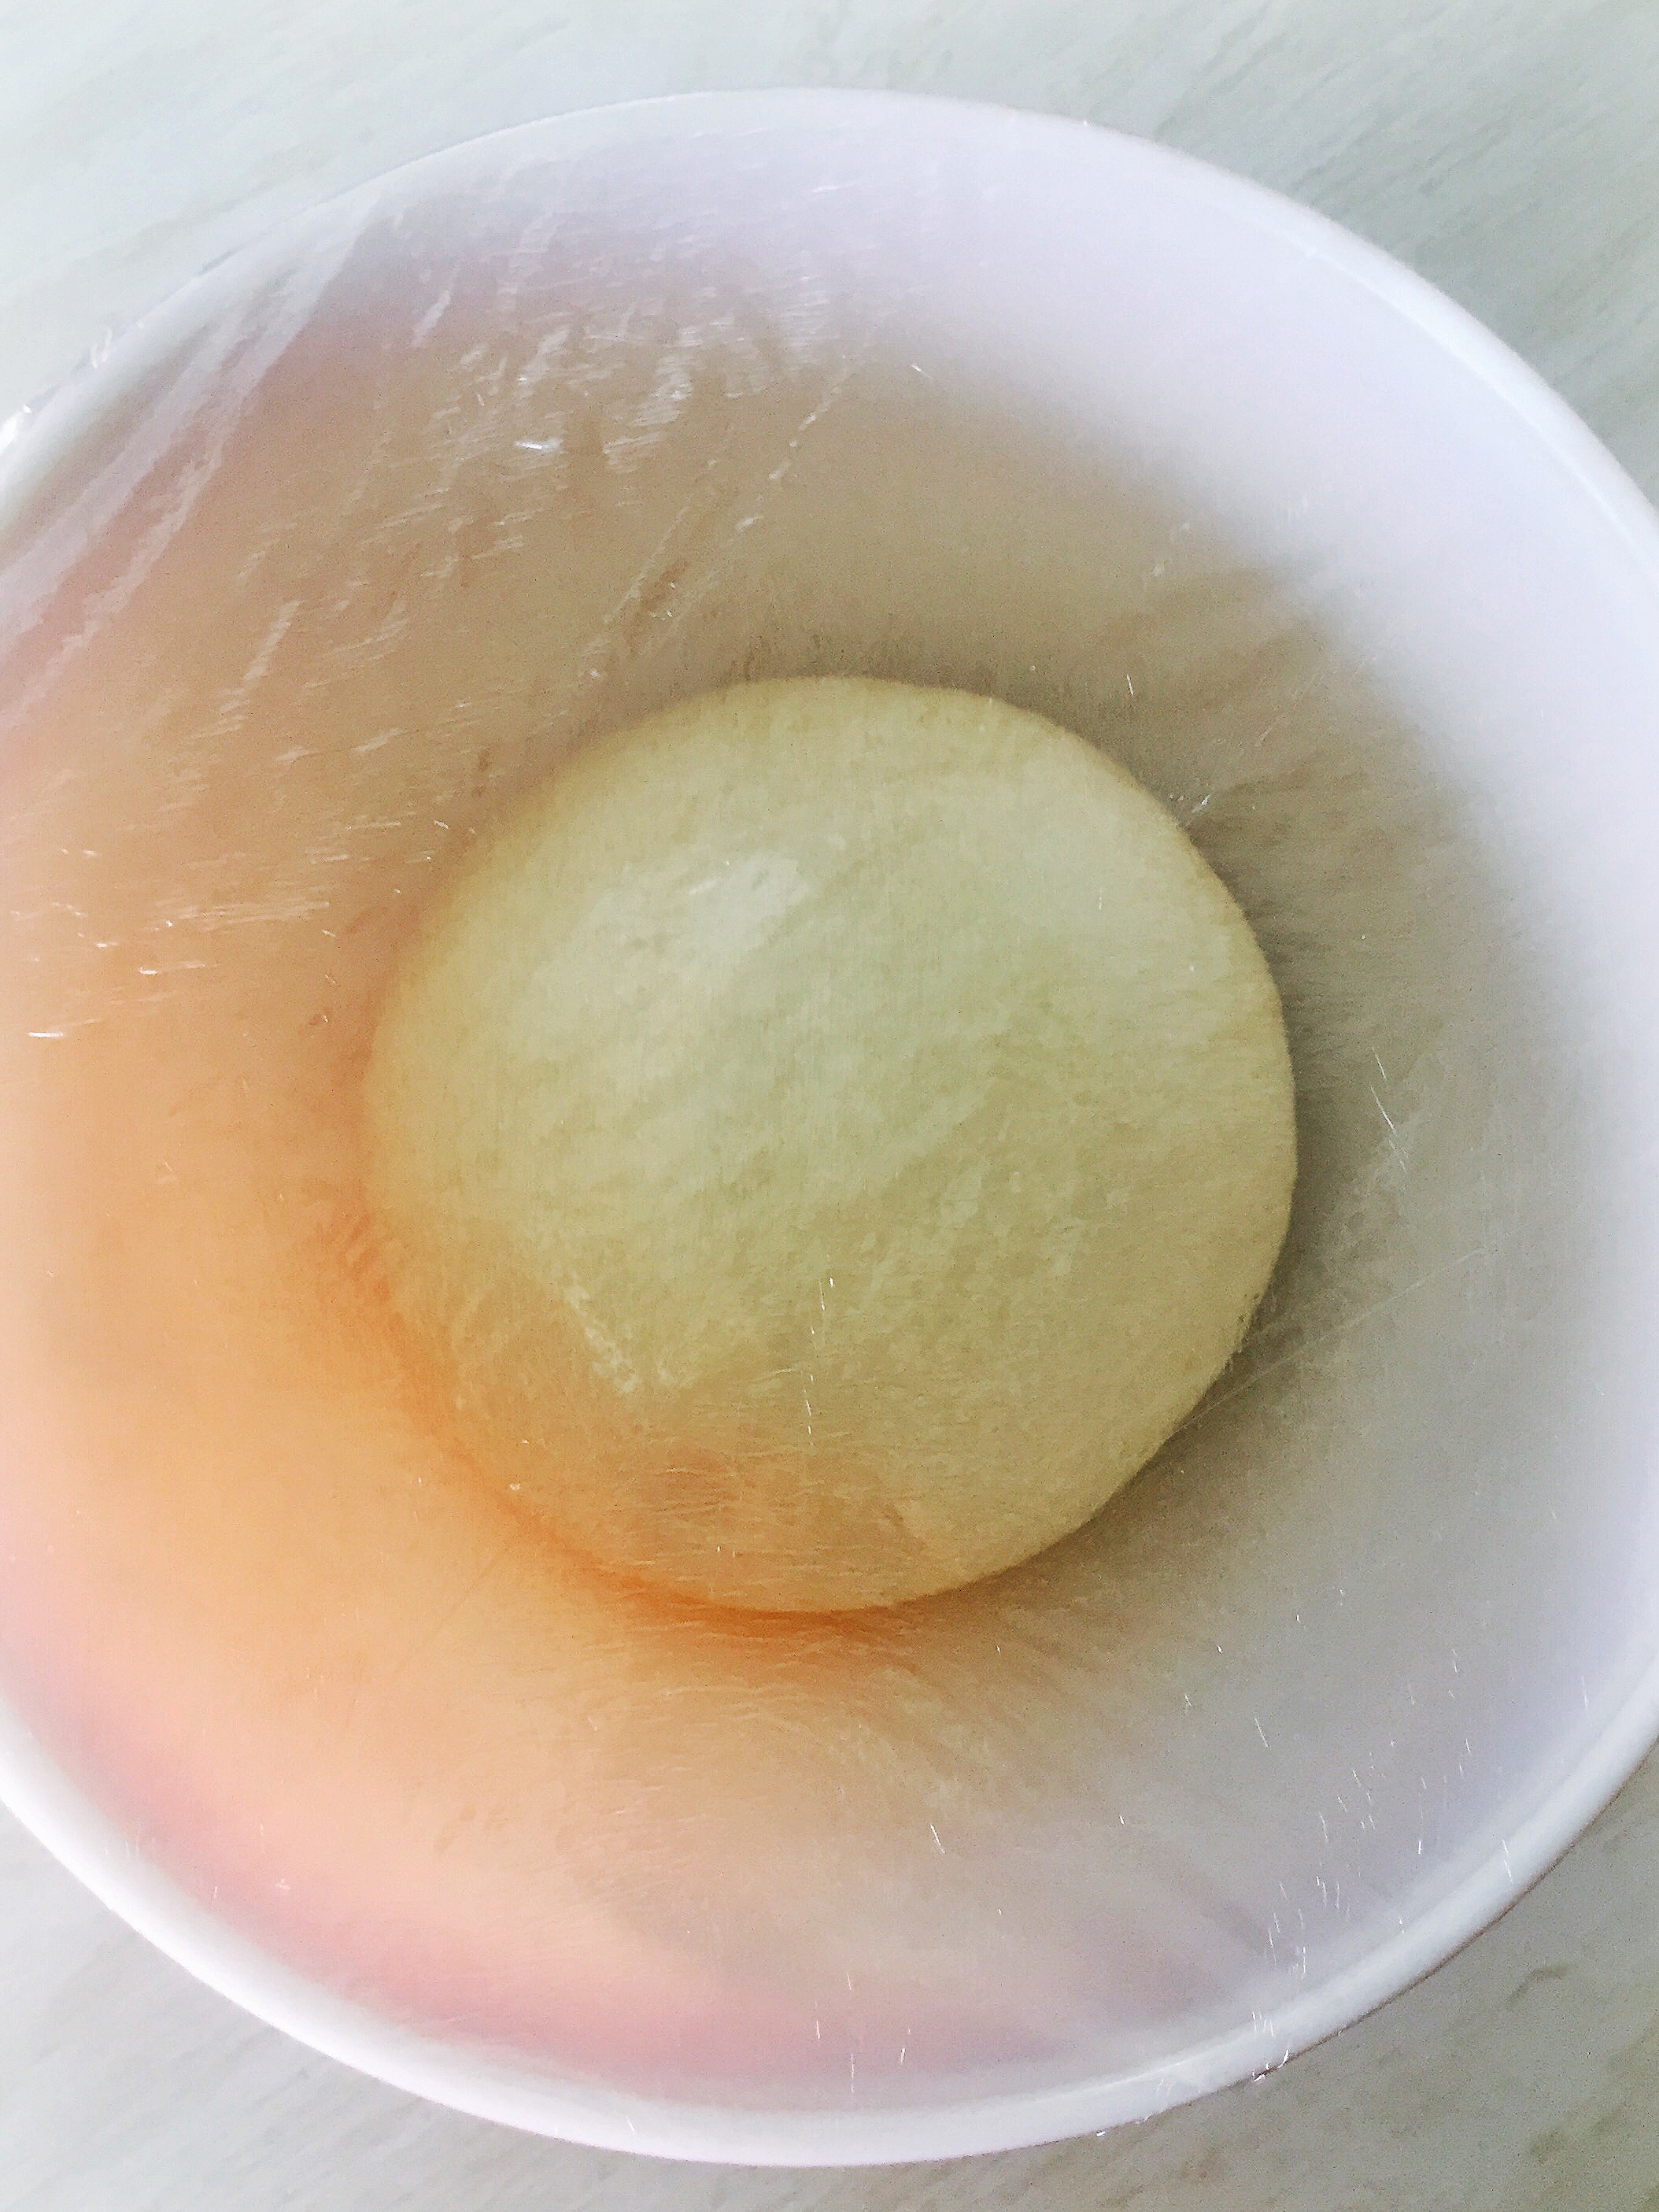
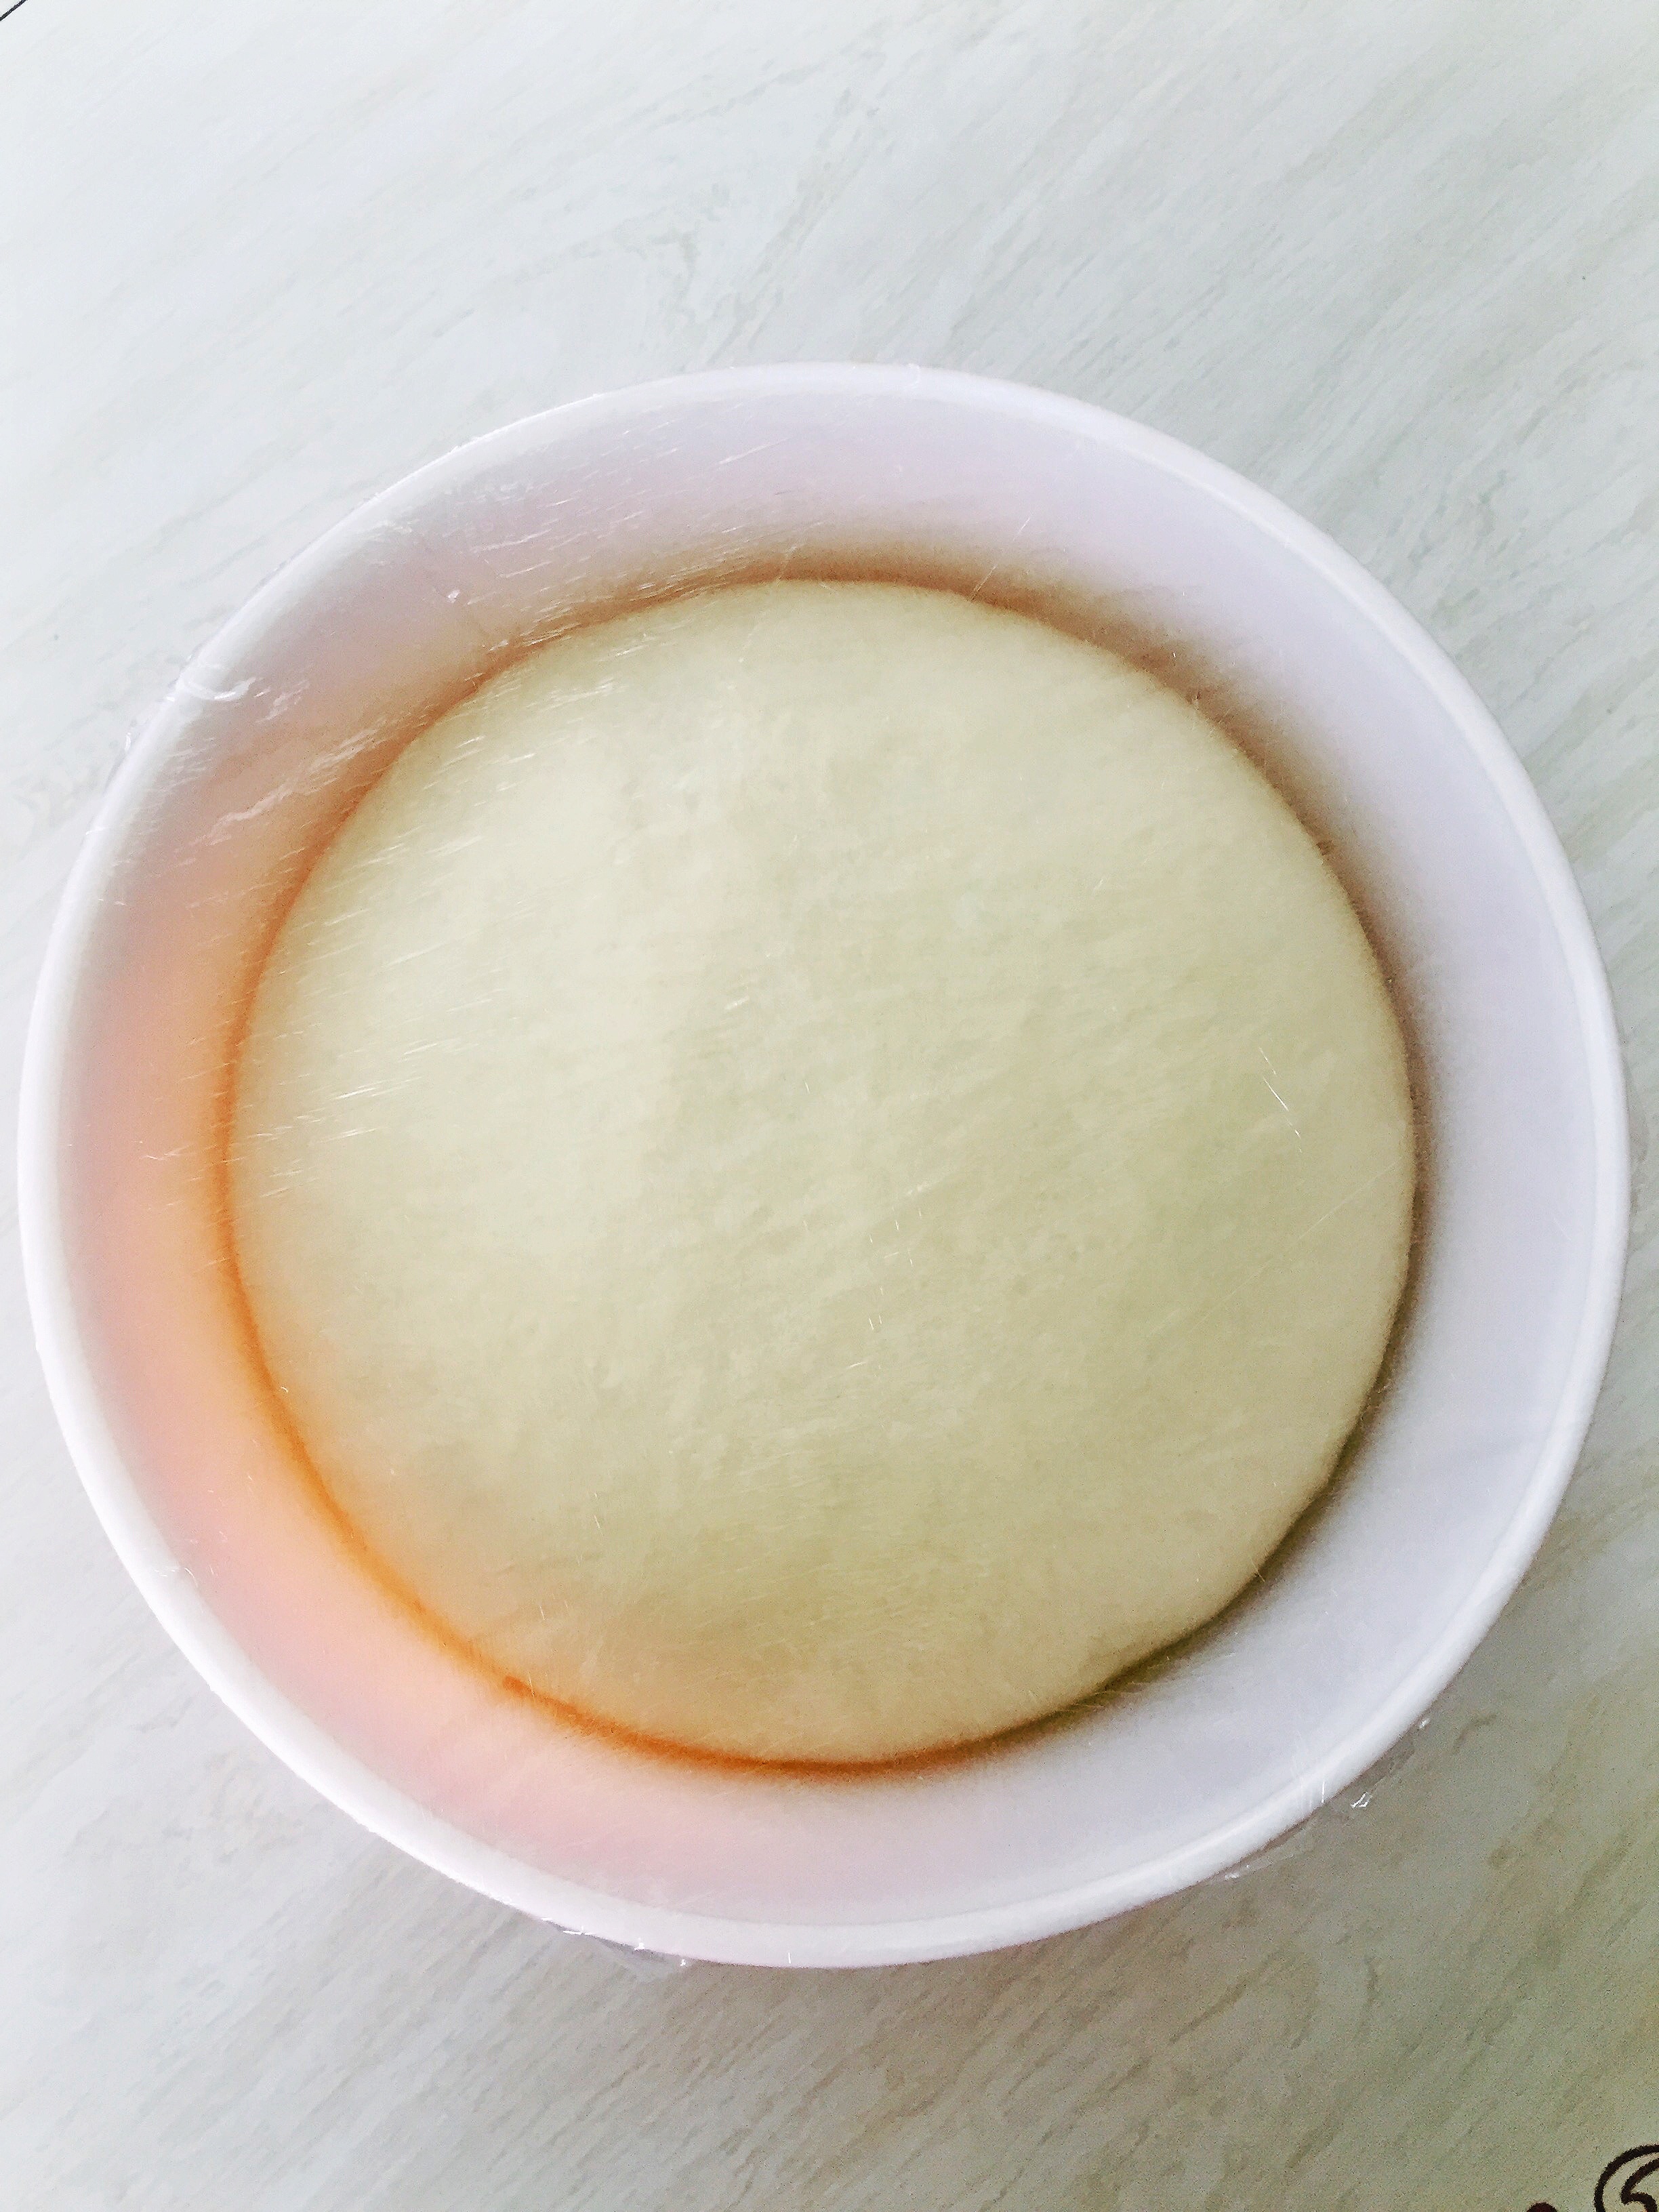
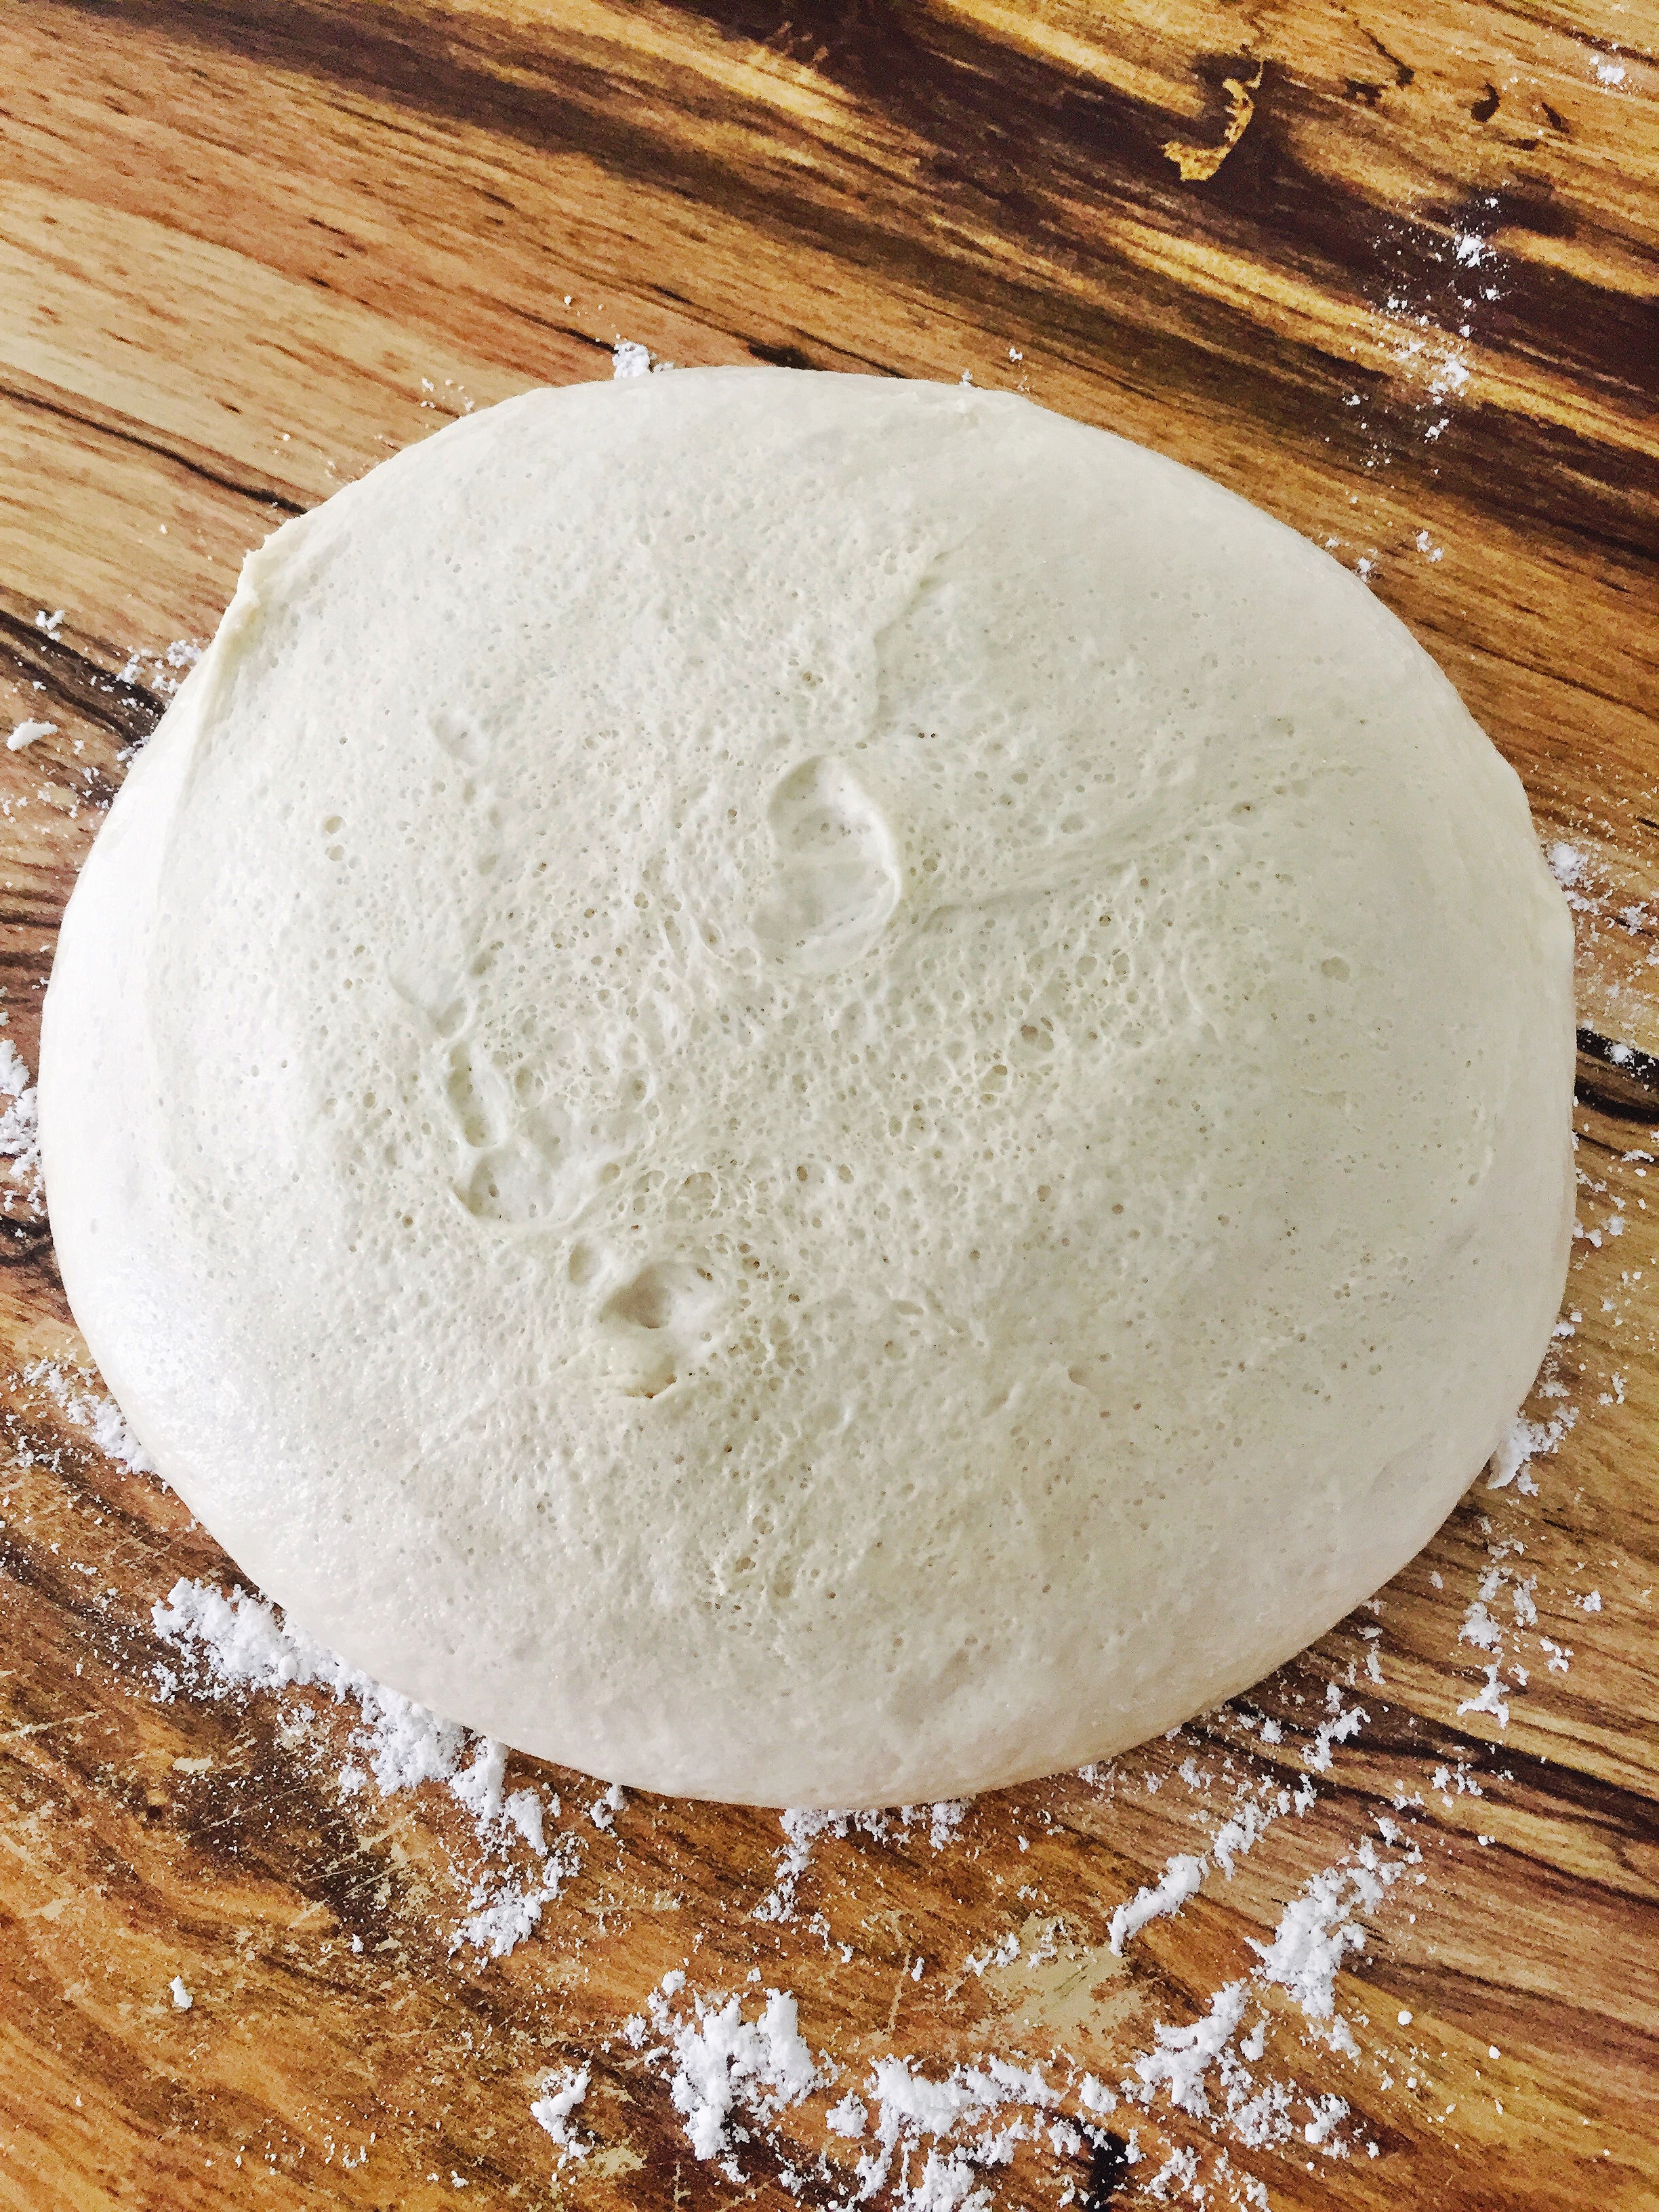
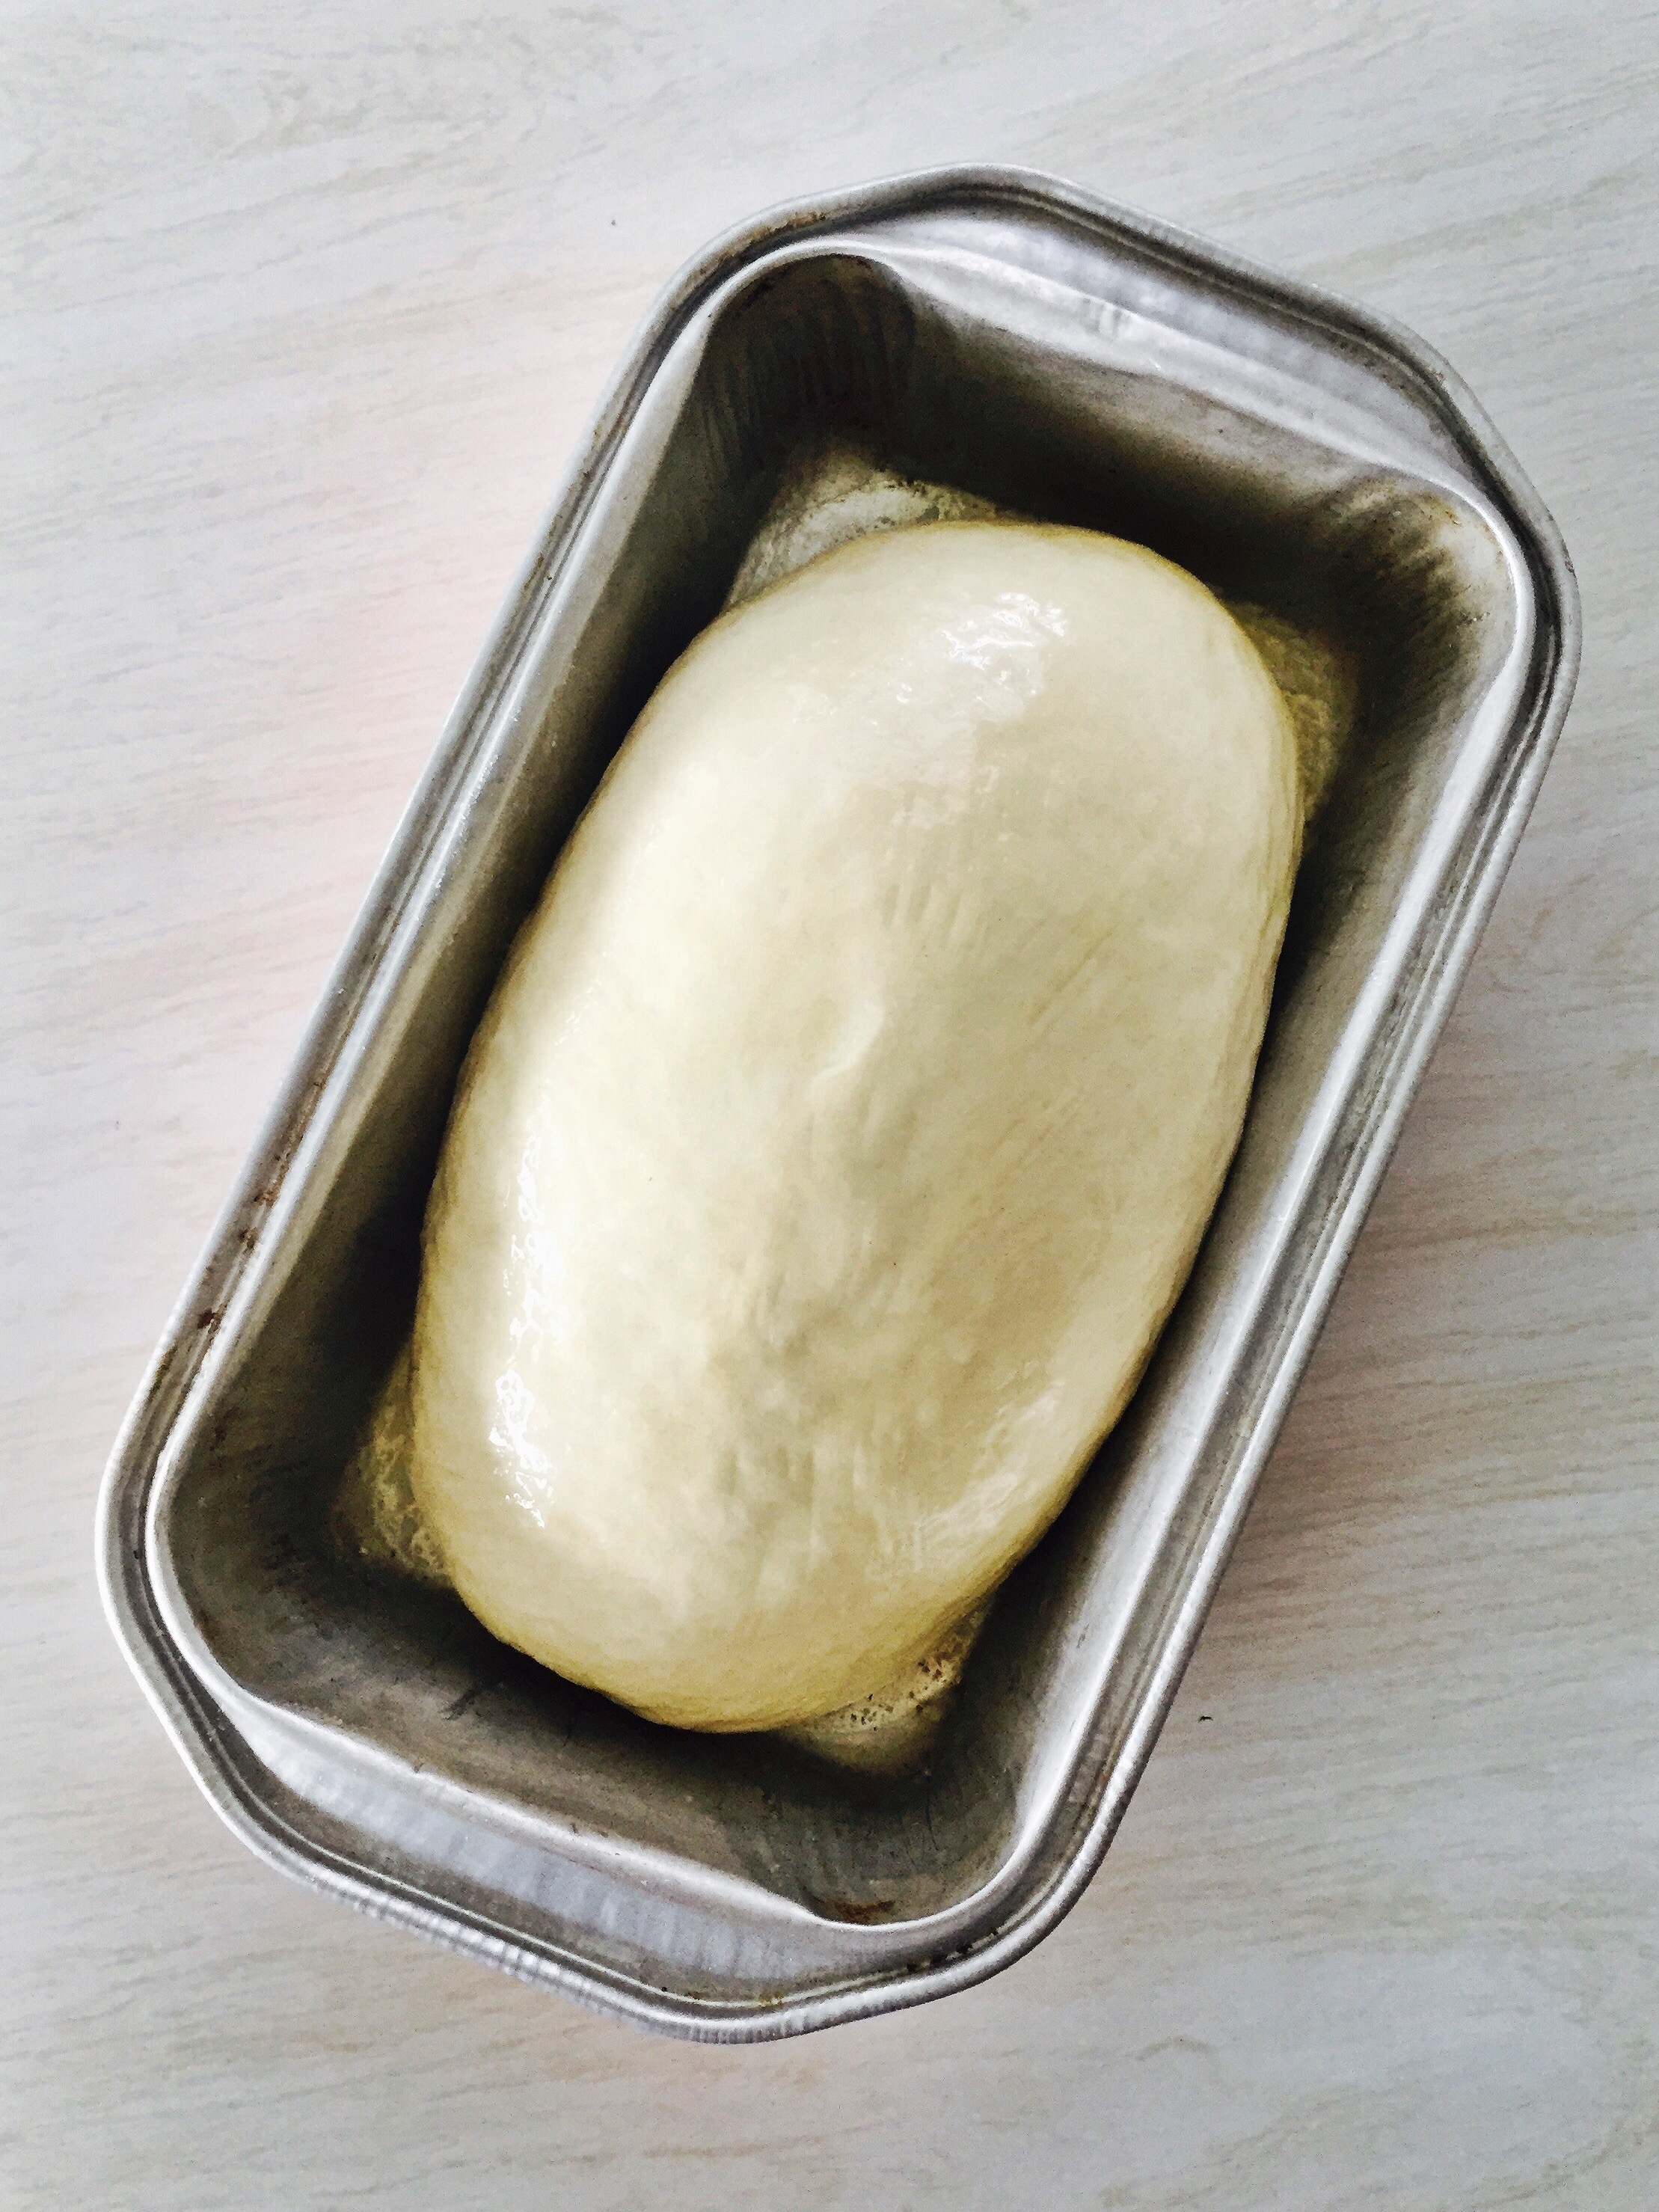
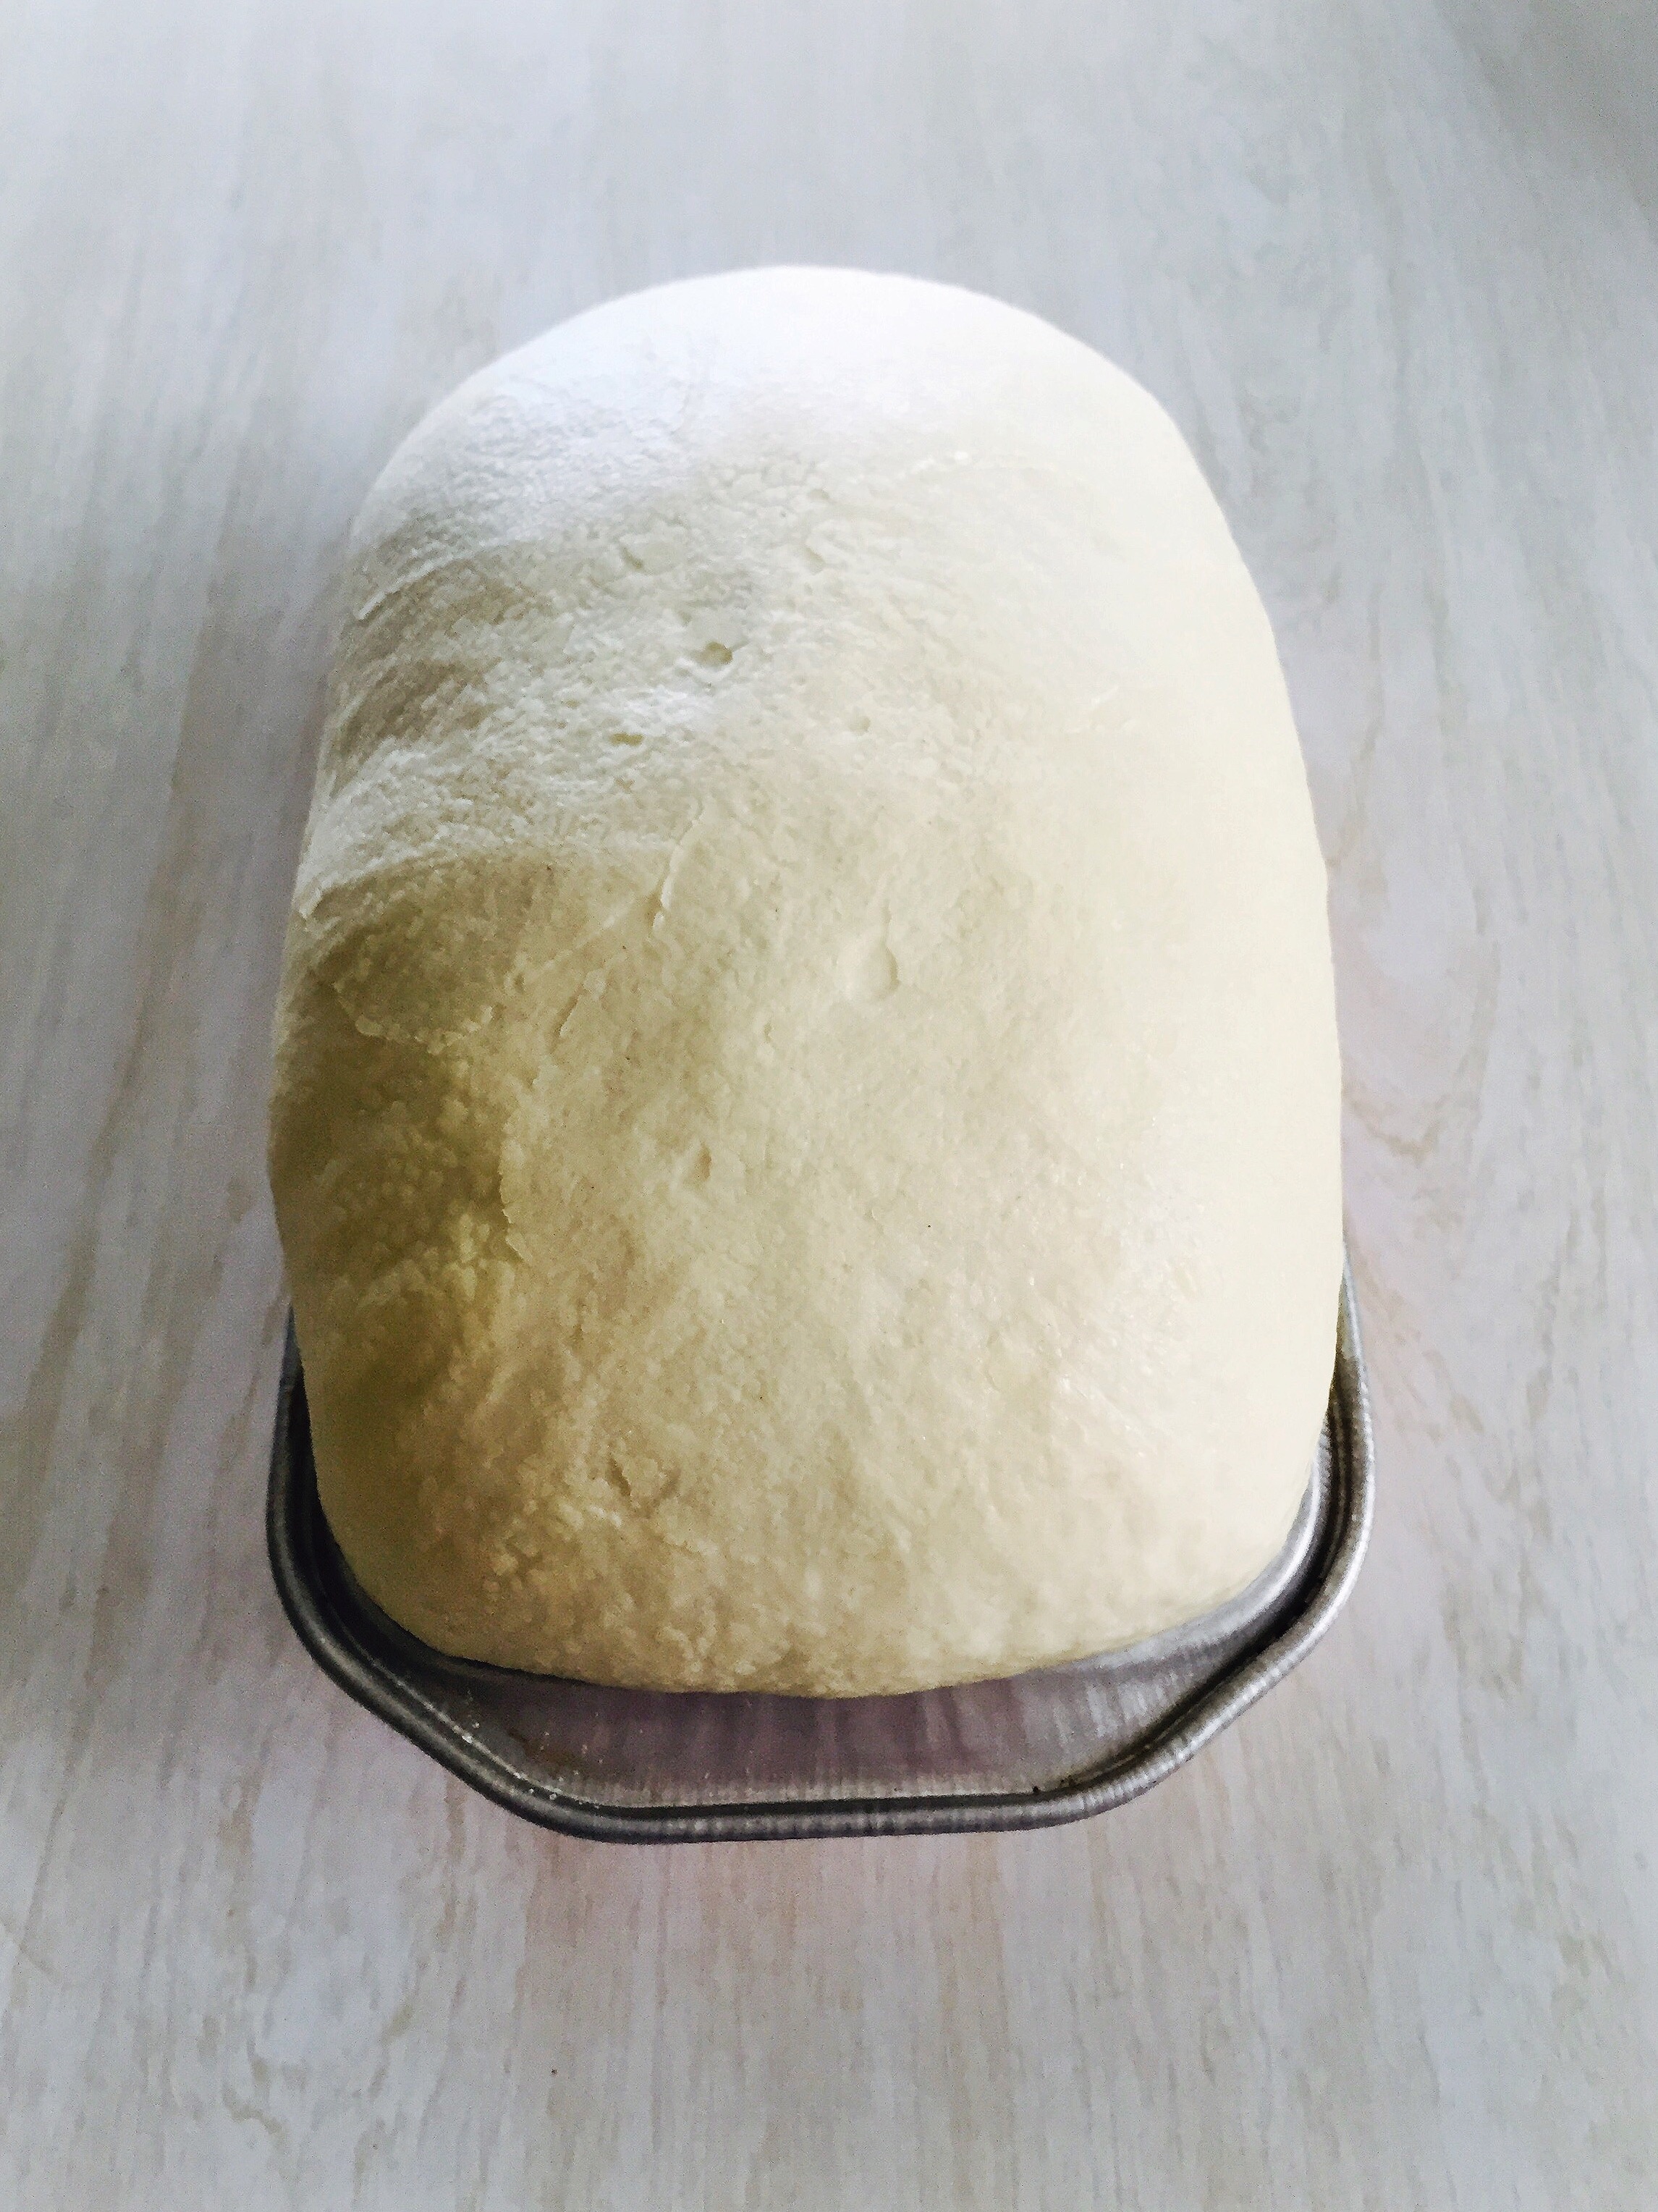
If Wednesday is the center, then it also implies balance and with so much talk of work/life balance, even before the Rona, why not let Wednesday become that day for things you love? For me this consists of spoon carving, bread making, pressing flowers, and other crafty endeavors that reflect my passions. They are only hobbies but with the consistent nurturing of them, they have grown into much more. Spoon carving has since grown into a small business and bread baking helped me connect with new friends through the Full Moon Baking Club. Neither of these things saved anyone’s life but my own, and I mean that in the sense that they gave me a creative outlet in which to enjoy the monotony of time stuck at home. I no longer make excuses for why I haven’t gotten to the fun projects on my back burner. I just do them on Wednesdays, intentionally allowing them a spot on my calendar, smack dab in the middle of everything, right where they belong.

The emptiness of this time will consume you without a plan that considers activities you find fulfilling. (Hashtag retirement?) It’s important that you hang-on to the things you love or else you could lose yourself to the tedium of routine. This entire schedule attempts to eliminate much of that dreariness but it also offers a chance for you to dive deeper into those forgotten favorites, and reshape priorities that better align with your personal values. That’s something worth exploring and you should take advantage of it while the time is available.

Fitness:

I’m guessing you know where this is headed. Core work! Yep. If you’re in the middle of the week, work the middle of yourself, and that can include the abs and back exercises of your choice. Personally, I don’t think it matters much which specific exercises you do so long as you do them. Again, for me the hard part was determining what to work-out and with that out of the way, I am free to just do the sets that pop into mind. It’s also fairly easy to recall the previous weeks exercises since I only do them one day a week and therefore switch it up a bit to keep things interesting. But this is not rocket science. This is literally as dumbed down as it gets because the whole point is not to over think it. It’s not that hard to come-up with a couple core exercises you can do at home. You got this.

Thursday-

Life: Community Outreach

Fitness: Lower Body

Life:

Community Outreach seems a bit weird in the age of social distancing but you’d be surprised how much of it remains. Remember all those emails you opened on Monday? Well, today’s your day to respond if you haven’t all ready. Give yourself this time to connect with the necessary people in your world. This is you being proactive. Send out the memo, schedule the appointment, make the phone call, do the launch… This is all stuff you are pushing out and into the world to give it shape on your own terms. If Mondays are the defensive days where you respond to what been coming “in”, then Thursdays are for playing offense and the ball’s in your court. Take your shot. Push your energy out. Exercise your own leadership by making things happen, especially on Thursdays!

Fitness:

At this point we are over the hump. If you can imagine the work week as this mountain and Wednesday was the peak, Thursday has us coming down the other side. And although the stress of that uphill battle is behind you, you still need to make it down the mountain without collapsing. For me, that means leg day! Squats, lunges, what have you. It’s a good day for leg work because again, the alignment is there to flow with the rhythm of the week, allowing for some relative ease in the process. Why swim upstream when you can float down it? It’s just easier. And I don’t know about you guys but I’m not in the mood for more challenges at the moment. Life is hard enough and I’m just trying to keep all the components intact. Go with the flow…

Friday-

Life: Clean-out/ Organize/Downsize

Fitness: Stretch

Life:

You are so close to the weekend at this point that chances are slim you have the mental capacity to deal with anything that feels “work” related. So why not just accept that? Even if you’ve managed to keep your job, working from home has caused everything to slow down. I don’t see the harm in accepting life for how it is. So rather than pretend you’re going to actually do work on this day, I would encourage you to switch gears and focus on making your house feel homey. If your gonna be stuck mostly inside, you might as well make the space comfortable. Spend some time organizing or tiding up. This doesn’t mean going on an epic purge, all Marie Kondo style. That actually sounds like a lot of f’ing work. Instead, take the day to focus on the weekend. Get your place ready for some downtime. I know many of you utilize the weekends for chores and such but that actually destroys the integrity of the weekend. And we’ll get to more on that in a minute but for now, allow yourself the virtue of easing into the next phase of your week which ideally is slower, less productive, and a well deserved break, in order to recover and start again. That being said, I find you must take initiative to protect those days or it doesn’t happen and the best way I’ve found to do that, is by being proactive before it arrives. Anticipate the weekend! Make it something to look forward to regardless of not being able to go anywhere.

Fitness:

Oh snap! It’s the home stretch so obviously, stretching is on the menu. Easing into the weekend with power lifting or some intense cardio just doesn’t do it for me. I’m more inclined to run to happy hour than run for health and that’s just how it it is. Can’t say that I’m proud of that but I’m also over pretending I’m anyone different than who I am. I’m not someone that’s in love with working out. It’s more like maintenance. It’s just something I have to do like vacuuming or paying bills and this strategy not only makes the whole idea of “fitness” more tolerable for me, it has also enabled me to stick with a “program” that works. I hate to even call it a “program” because I just made it up out of the desperate need to find a routine that both worked at home and my 10,000 excuses. And, if you are anything like me, you might have similar tendencies and to that I say, grab the wine and get on your mat! Take a sip, lay down and then roll around loosening all the tight spots. This doesn’t have to be a full blown yoga routine. It’s just a little somethin somethin to close-out the week with a small nod to health before the weekend debauchery!

Saturday-

Life: No Rules

Fitness: No Rules

Debauchery say wha?! Yeah. Pretty much…

Life:

Ok, here’s the thing about Saturdays. Remember above, where I said tasks and chores were ruining the integrity of the weekend? Well here’s why… When you neglect to protect a place for rest in your schedule then you always live from the place of “catch-up”. Meaning, if you always have something scheduled then you leave yourself no room to go back. You’re on a constant cycle of churn and burn and either exhaustion or boredom will squash even the best intentions. However, if you have a day that serves as a “free space”, that gives you an entire day to catch-up on anything you missed during the week. There is a difference between scheduling tasks that should get done, verse choosing tasks because you have the time. Although they may look similar in action, the difference is in the feeling when pursuing activities as a choice. The freedom of being able to say yes or no is the privileged you have over protecting your mental health. You can’t do all the things, all the time. To ignore your own desires, is you giving away your power to influence your environment. I’m not saying to ignore pressing needs cause again, you have the freedom to address them if you choose. I’m just suggesting you make room to explore your energetic slack. It’s not only ok to give yourself a break, it’s important to acknowledge the monotony of life right now has its own grind and can wear you down.

Fitness:

Dude. It’s no rule. If I were you, I’d up the ante on indulgence! Make cinnamon rolls and drink a beer, all while binging on Netflix in pajamas. Let go of regimen, just for the day, and relish in the chance to explore what you fancy. Take the day off so you can get back to the workweek recovered and with the strength for self-discipline. That discipline part is an increasingly important component in adapting to our new normal, so use this day as a life exhale. If you missed some exercises from earlier in the week then go for it, if you’re game. But if not, then don’t do it, and don’t feel guilty. The best part of this style of “cyclical” training is that you can theoretically skip an entire week of exercise but convince yourself you really only skipped a day. How ya like that logic? It’s good right?! ;)

Sunday-

Life: Prep Day

Fitness: Head Space

Life:

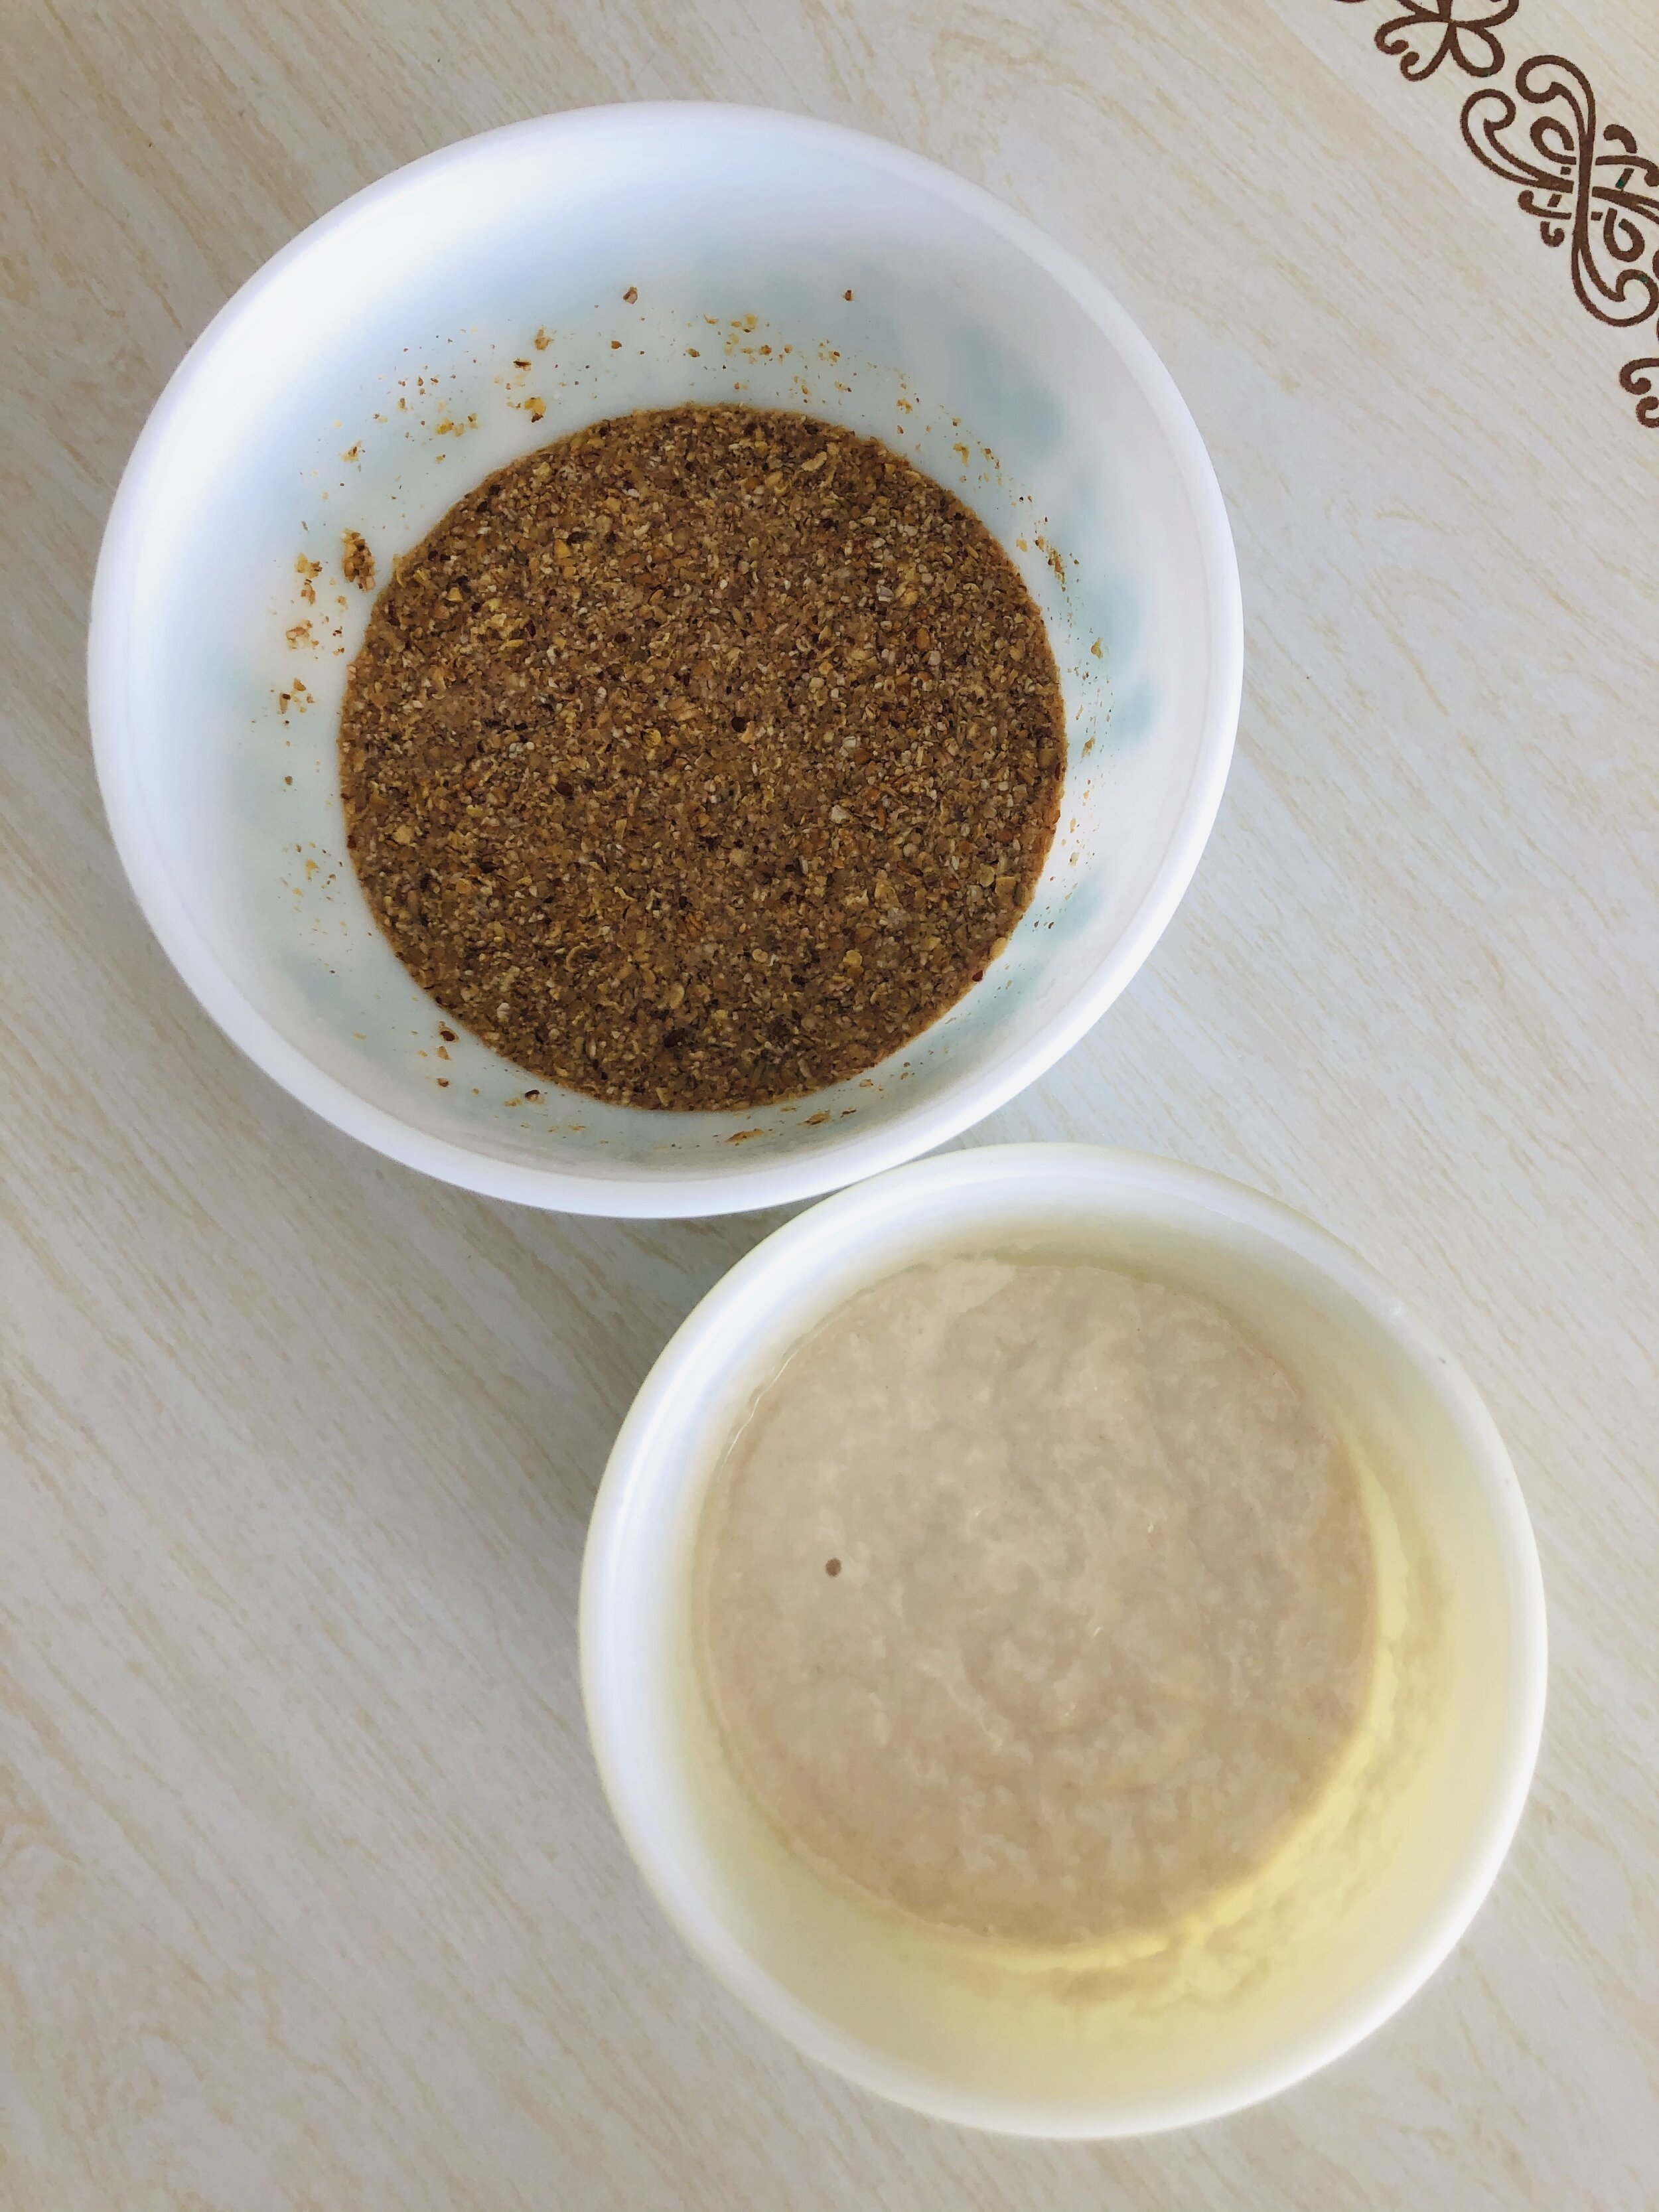
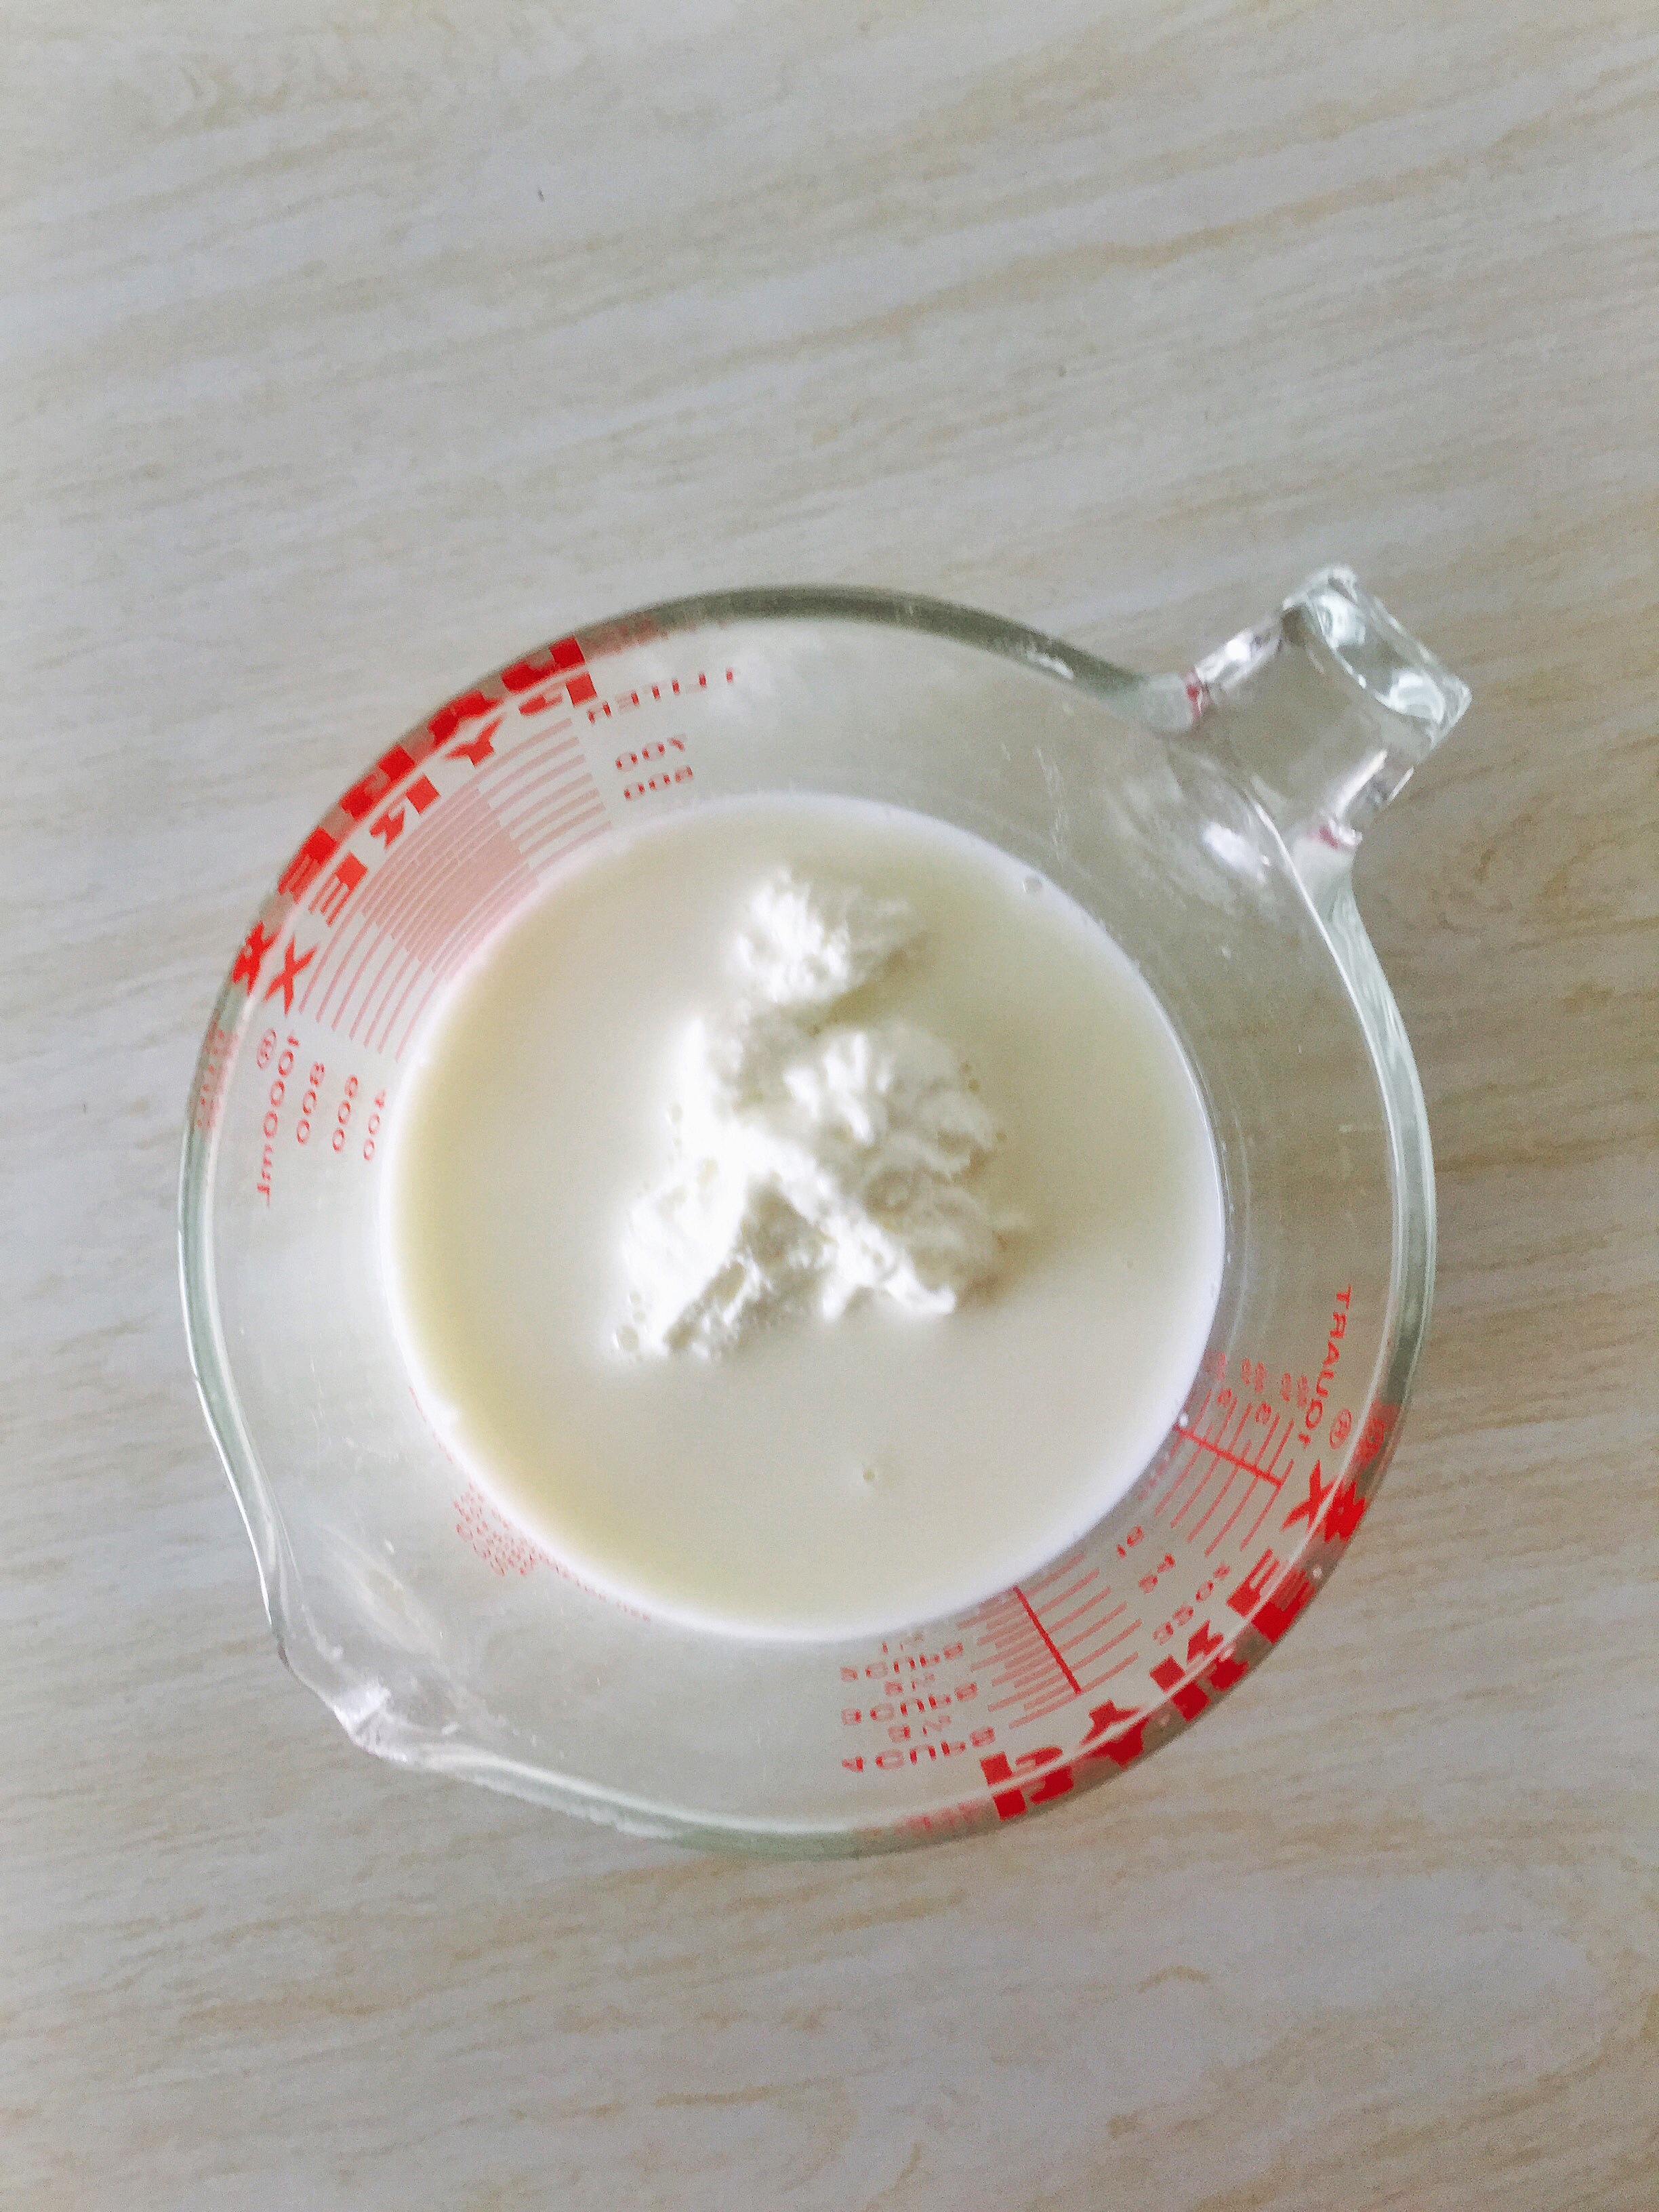
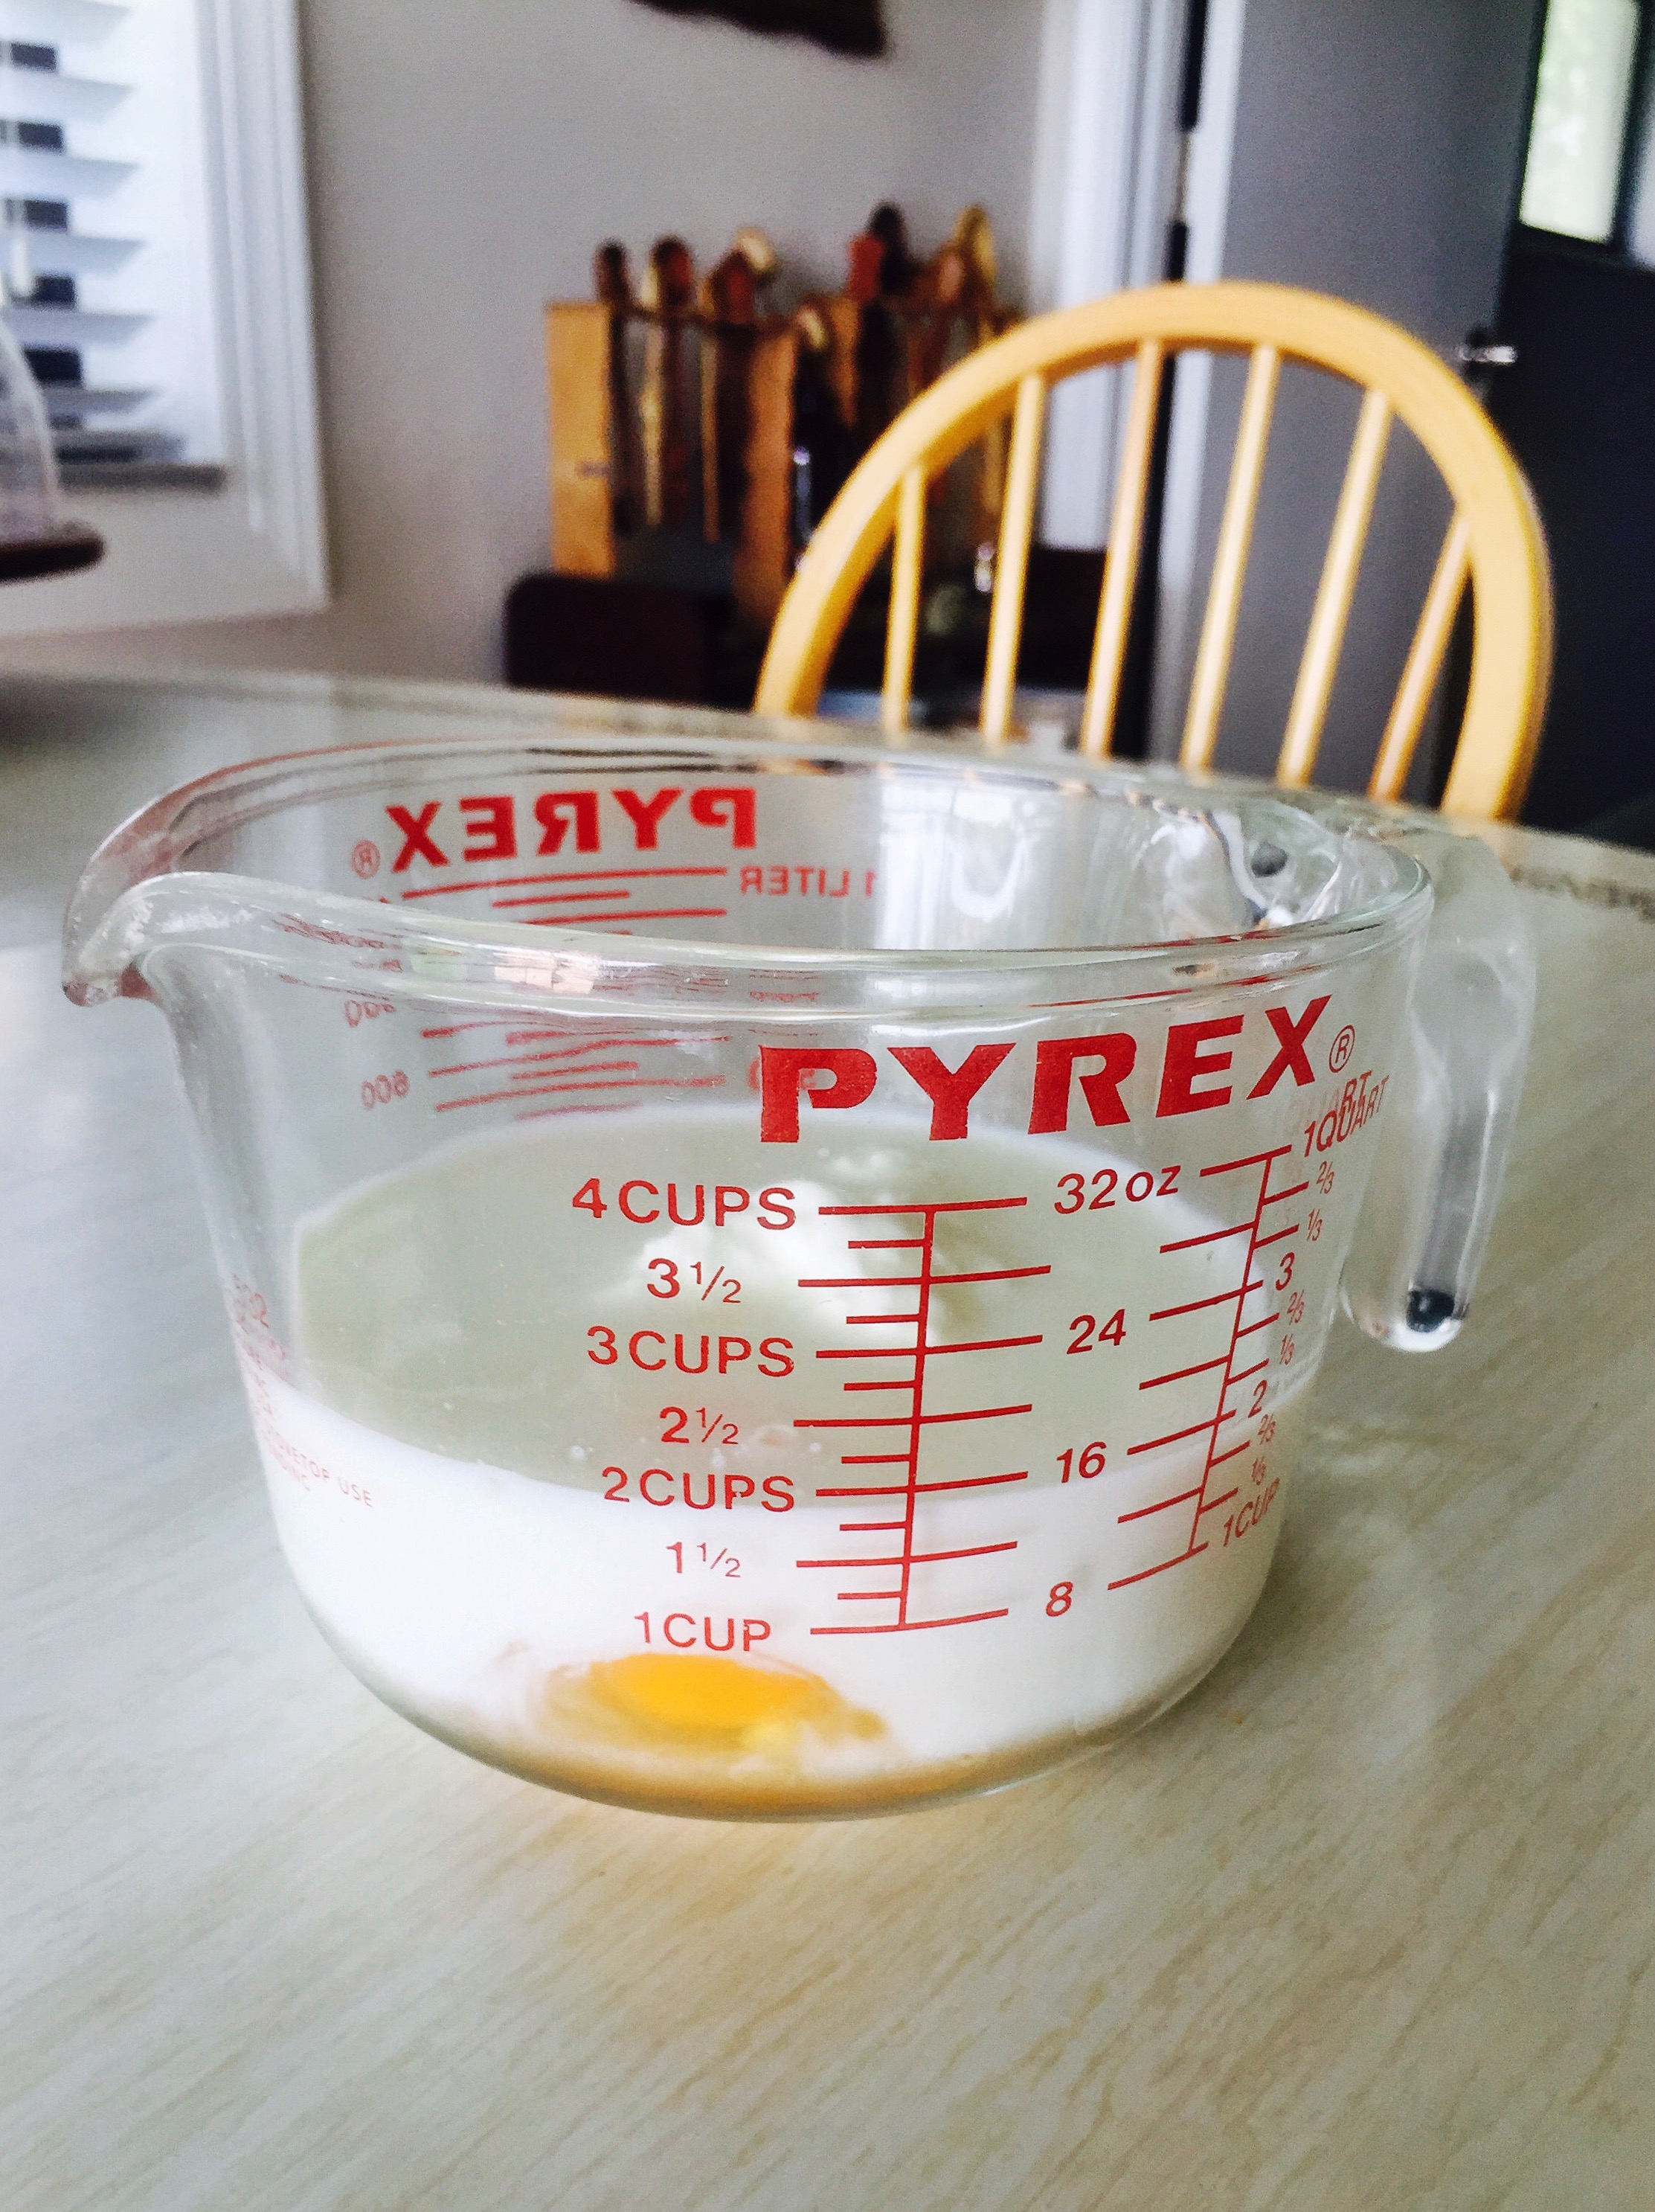
This is for whatever needs to happen to prepare for the coming week. For me this includes things like laundry, groceries, cleaning any common areas that got destroyed in my Saturday bender… I also tend to bake a bread, or make a big meal that will provide for a few days of leftovers. Most this stuff you could defined as chores but they’re the kind of things that prepare you for a strong start, rolling into the next cycle. A little prep on Sundays can go a long way to starting the week out on the right foot.

It’s depressing to think we lost our sense of purpose just because we’ve lost our jobs. That’s really just a misunderstanding. By redefining your schedule to reflect your needs, absent of the clock is a step towards reconnecting with your values. Jobs are not an indication of self worth. That’s just the mind f*ck and the confusion, depressions and paralysis you’re feeling in the shake-up is just the bangover between now and what’s next. The best thing we can do during the interim, is prepare ourselves for hard times but it’s hard to prepare anything without a plan. So take the time… Take the day to think about what you’re going to tackle tomorrow so when you get-up in the morning you have the beginnings of an action plan.

Fitness:

Meditate!

Yeah… I don’t do it either but that doesn’t mean it’s not a good idea. However, if that’s not your thing there are lots of other ways to use your brain. My go-to is books. I like reading and typically do so at night before bed which means I usually fall asleep on the same paragraph every night. I really only get ahead by taking some time on Sundays to read on the couch. Twenty minutes turns into two hours and next thing you know, I’m so sucked into the story, that I’m staying up all night just to finish. I’ve also gotten back into journaling. I’ve gone through phases where I’d keep a journal, mostly while traveling, or going through a break-up or some situation that I need help processing. Journaling helps me get the drama out so I could move on with whatever. And ya know what? This appears to be one of those times. I don’t know about you all but my mind has been racing with thoughts for weeks now and it’s nice to have a place to park them other than Facebook or Instagram. My point is it’s helpful to have a constructive distraction. Be it a puzzle, a book, or even a bath; engage in something that offers a mental escape.

Alright, I know this is beyond long and I’m trying to wrap this up while the pandemic is still relevant. But before I leave you to digest my mental vomit, I want to stress the importance of ADAPTABILITY during this time. We are not in a healthcare crisis or an economic crisis or whatever type of institutional crisis they are gonna throw at us. We are in a national state of emergency which means chaos is on all fronts. If you go to sleep now it’s going to be hard to catch-up so I urge you all to stay aware of the pace of change even if you don’t feel it directly. The lag in our cultural mentality is at threat with our cultural conscience. The fact that the virus is rolling out in waves means some parts of the country won’t understand the severity of the crisis until well after some states have peaked. The peak is not the end. Every state will have to come down the other side and just as we’ve seen some states lag in response, we’ll likely also experience fledgling anticipation to get back to life before it’s safe. The point of this post is to provide you with some tools for how to be ok with being home for potentially a very long time. It’s one thing for officials to tell us that staying home is in our best interest but without tools and coping mechanisms, I fear we’re set-up for failure. I am not an expert on surviving a pandemic but I have a lot of experience to adapting to sudden and isolating change so, these are my tips. I hope they are helpful and I hope some of you have tips of your own that you’d be willing to share. People are going to struggle with this and their success directly influences our ability to move beyond this virus. Share your thoughts! Share your feelings. This is a time to share and connect and guide each other with compassion. Comparisons don’t matter. Race, gender, class… none of that matters. This is a human experience; one with the largest unifying opportunity we might ever experience in our lifetime. It will include anger and grief, and perhaps most importantly vulnerability. How we treat each other during this time will shape our culture for years to come. I’m begging you to act with your heart.

Take love you good people!

April 06, 2020 /Ashley Look
How to feed a senior, stay-at-home, quarentine, social distancing, staying organized, working from home, Covid-19, coronavirus, pandemic, housebound, life, fitness, The Big Picture, schedule, weekly schedule, staying on track, mental health, isolation, productivity, to do list, food security, budget, assessment, sanity, social norms, hygiene, personal standards, nothingness, boredom, unemployment, managing life, workweek, work flow, rhythm, cyclical training, cyclical schedule, structure, adapting, new normal, self-care, social crisis, managing clutter, household, cardio, unity, cultural crisis, cultural mentality, workout strategy, alignment, exercise plan, life plan, core activities, no rules Saturday, core work, craft, community outreach, downsizing, slowing down, weekend, monotony of life, prep day, journaling, distractions, economic crisis, cultural conscience, virus, connection, human experience, vulnerability, lockdown guide, Guide for life, quarantine, quarantine schedule, lockdown schedule, Coronalife, spoon carving, Full Moon Baking Club, Life in lockdown, Lockdown schedule, Guide for lockdown, lockdown life
Caregiving, Carving, Full Moon Baking Club
6 Comments
1 Bowl Banana-chocolate chip mini muffin recipe from for the Full Moon Baking Club.

1 Bowl Banana-chocolate chip mini muffin recipe from for the Full Moon Baking Club.

October 2019: 1 Bowl Banana-Chocolate Chip Mini Muffins

October 13, 2019 by Ashley Look in Full Moon Baking Club, Recipes

These banana-chocolate chip mini muffins are a game changer for senior eating! Mini anything is always enticing but these muffins are made in a single bowl making caregiver clean-up a breeze. They are sure to win over everyone thanks to chocolate chips. Kids too! And with some sneaky ingredients for extra nutrition, what’s not to love? They are mini but mighty, which seems like an important details when it comes to muffins.

mini muffin prep.jpg
mini muffin recipe.jpg

Ingredients

  • 3 ripe bananas mashed
  • 1 egg
  • 1/4 cup plain yogurt
  • 2/3 cup sugar
  • 1/3 cup coconut oil
  • zest on 1 lemon
  • 1/2 cup coconut flour
  • 1/2 cup almond flour
  • 1 cup all-purpose flour
  • 1 1/2 tsp baking powder
  • 1/4 cup chocolate chips

Directions

  1. Preheat oven to 350 degrees F.
  2. In a large bowl mix the mashed bananas, egg, yogurt sugar and oil.
  3. Throw in the flours and baking powder and mix until it's well combined.
  4. Fold in the chocolate chips (I used mini chips however regular size will work just fine).
  5. Scoop batter into well greased muffin tins.
  6. Bake at 350 degrees F for 15ish minutes or until a toothpick comes out clean from a center muffin. (If using tradional sized muffin tins they will likely take longer to cook. Just keep a watchful eye while baking.)
A mini but mighty muffin recipe with banana and chocolate chips.

A mini but mighty muffin recipe with banana and chocolate chips.

Make and bake! And then tell me what you think, especially how many is too many, cause, ugh… I’m asking for a friend? Hehehehe…

October 13, 2019 /Ashley Look
How to feed a senior, 1 bowl Banana Chocolate Chip Mini Muffins, mini muffins, banana, chocolate chips, caregivers, single bowl baking, mighty muffins, Full Moon Baking Club, full moon ceremony, nutrition, bananas, yogurt, coconut flour, almond flour
Full Moon Baking Club, Recipes
Comment
Bulk fermenting my baguette starter. The feet really give it scale don’t you think?

Bulk fermenting my baguette starter. The feet really give it scale don’t you think?

September 2019: Basic Baguette Bread Recipe

September 14, 2019 by Ashley Look in Full Moon Baking Club

Baguettes can be tricky but I’m here to tell you to forget goals of perfection and just get on with yo’ baking selves. There is no reason to let authenticity keep you from making things. I believe it’s far better to fumble through something with decent success than to avoid it all together and be dependent. Perfection often stands in the way of progress. Just try and and you’ll find yourself well on the way to becoming a more competent human. Yes, still far from perfect but more capable and self-reliant which seems like a good first step toward reducing your personal footprint and living a more sustainable lifestyle.

You’re shocked right? Who knew you could get so eco-friendly from baking baguette? Hey, you gotta start somewhere. And if you’re not convinced on the lifestyle, maybe you’ll be inspired by convenience. The great things about have baguettes in your life (besides crostinis) is the easy in feeding a crowd. I got two words for you: Sub and Sandwiches…

This baguette recipe was perfect for shaping long, beautiful loaves.

This baguette recipe was perfect for shaping long, beautiful loaves.

Ingredients:

  • 3 cups flour (extra for dusting your surface and as necessary)
  • 1/4 tsp. active dry yeast
  • 1 tsp. salt
  • 1 1/2 cups warm water

Directions:

Phase 1

  1. In a large bowl mix the flour, salt, and yeast together.
  2. Add the warm water and mix to form a shaggy dough ball.
  3. Cover with plastic wrap and let rest 8 to 12 hours or overnight in a cool environment like a basement. (You can place it in your fridge, but remove it and let it come to room temperature for a few hours before starting the next phase.)

Phase 2

  1. Remove the plastic wrap and carefully dump the dough out onto a floured surface.
  2. Divide the dough in half and gently work one piece at a time into a long 16 inch length baguette loaf. (For shaping tips click here.
  3. Place on an oiled baking sheet and cover with plastic wrap and let rise for about 30 minutes.
  4. Repeat the process with the second piece of dough.

Phase 3

  1. Place a small bread pan with an inch of water in the oven and preheat it to 450 degrees F. (The pan of water will help create a crispy crust that you want for the exterior of your baguettes. You can read about creating crispy crusts at home by clicking here.)
  2. When the oven is ready, remove the plastic wrap, score the tops of your baguettes and place the baking sheet with the loaves in the oven and bake for 15 minutes.
  3. After 15 minutes, carefully remove the pan of water from the oven and continue baking for another 10 to 15 more minutes until the crust is a golden brown.
  4. Carefully remove the baguettes from the baking sheet and let them cool on a wire rack before cutting into them.
Subs.jpg Sub sandwich.jpg

And now that you have your baguettes you can make epic sub sandwiches! Perhaps it was grow-up experiencing Subway’s party sub at childhood birthday parties but I’ve forever thought the execution wicked long sandwiches was brilliant for crowd feeding. Just cut it lengthwise and top it with the goody of your choice and then slice and serve to the masses. It’s seriously easy. I made this falafel version for a group of 25 starving sailors the other day and rejoiced in the easy labor of it all. Would I make 25 individual sandwiches for them? Heck no! Ain’t nobody got time for that! Work smarter not harder folks… You need this recipe in your back pocket.

Enjoy the full moon! Its the weekend. Go bake!

September 14, 2019 /Ashley Look
How to feed a senior, Full Moon Baking Club, full moon ceremony, breaking bread, bread recipe, baguette recipe, sub sandwiches, grinders, flour, salt, yeast, home kitchen, home baker, homemade bread, handmade bread
Full Moon Baking Club
Comment
Homemade sliced Anadama Bread.jpg

August 2019: Anadama Bread

August 15, 2019 by Ashley Look in Full Moon Baking Club, Recipes

Hey Moon Bakers,

As you read this I’m settling into Rockland, ME with the Sea Education Association where I’m cooking for the crew of the Corwith Cramer for the next couple of months. I’m beyond excited to be back with this organization after a five year caregiving break and I’m equally excited to be back in New England where my bread making journey began. Anadama Bread seems a fitting recipe for adventuring back to the north. It’s legendary in these parts and if you’re curious on why, you can click here. The recipe below is slightly less traditional substituting a couple table spoons of honey for some of the molasses but really, it’s all about course corn meal. By soaking the cornmeal overnight and creating a sponge to help with fermentation, this bread produces a light crumb that’s full of texture. It also makes for quite a large loaf. You’ll have sandwich bread for days so you better plan a picnic and invite some friends!

soaker.jpg starter.jpg sponge.jpg pre mix.jpg mixing dough.jpg dough coming together.jpg covered and at rest.jpg first rise.jpg ready for second kneading.JPG Shaped loaf in pan.JPG Anadama Bread.jpg

Ingredients:

Soaker

  • 1/2 cup coarse corn meal

  • 1/2 cup warm water

Sponge

  • 1 cup flour

  • 1 1/2 tsp active dry yeast

  • 1/2 cup warm water

  • Plus the soaker

Dough

  • 1 1/4cup flour

  • 3/4 tsp salt

  • 2 tbsp honey

  • 1 tbsp molasses

  • 1 tbsp softened butter

Directions:

  1. Make the "soaker" by mixing the corn meal and water in a small bowl and rest covered for 6 to 8 hours or overnight.

  2. Transfer the soaker to a large bowl and add all the other "sponge" ingredients and mix well.

  3. Cover with plastic wrap and let rest for an hour or until bubbles begin to form.

  4. Add all the "dough" ingredients to the sponge and mix to combine.

  5. Work the dough and help it form a rough ball then transfer onto a floured counter top.

  6. Begin to knead the dough adding more flour as necessary to keep the dough from sticking.

  7. Knead consistantly for 15 to 20 minutes until all the ingredients are well combined and the dough is soft and pliable. (This dough has a tendancy to be dense so it's important to knead it thoroughly to produce a light and airy finish.)

  8. Once the dough is well formed, placed it in large bowl that’s been greased and then cover and let rise at room temperature for 60 to 90 minutes or until double in size.

  9. Remove the dough to a counter and reknead adding additional flour if necessary as you degass any trapped air bubbles.

  1. Gently shape the dough into a loaf shape and place into a greased loaf pan and then cover again and let rest for another hour.

  2. Preheat the oven to 350 degrees F.

  3. Once the dough has doubled in size, place it in the oven and bake for 20 minutes.

  4. Rotate the pan and continue baking for another 25 minutes.

  5. Carefully remove the bread from the oven and turn out the loaf onto a wire cooling rack.

  6. Let cool before slicing. (I know this part is hard but the bread is so light and fluffy inside that you risk tearing it if you don't wait.)

sliced in hand.jpg

Do you like Anadama Bread? I’d love to hear your thoughts!

August 15, 2019 /Ashley Look
How to feed a senior, Full Moon Baking Club, Anadama Bread, August 2019, baking bread, bread recipe, breaking bread, Anadama recipe, homemade bread, handmade bread, home kitchen, home baker, monthly baking recipe, full moon ceremony, corn meal, molasses, New England, Maine, Sea Education Association, flour, yeast
Full Moon Baking Club, Recipes
The crusty loaf from the Full Moon Baking Club, July 2019.

The crusty loaf from the Full Moon Baking Club, July 2019.

July 2019: The Crusty Loaf

July 16, 2019 by Ashley Look in Full Moon Baking Club, Recipes

Ok, this post is going to be less about a bread recipe and more about how you can get your home oven to mimic that of a professional bakery. Cause that’s what we all want right? Bread at home that has that magic crust that seems to only come from professionals… No worries. I got you! With just this little tip you can start banging out some crusty loaves.

Make it steamy!

Yep. That is pretty much it. If you want to enhance your bread’s crust game you gotta get things steamy. There is a couple ways you can do this:

  1. Dutch Oven Method

    I use this method a lot cause it’s almost a guaranteed win every single time. Baking bread in a dutch oven allows the moisture from the dough to get trapped while baking, creating that steamy environment that gives you that crispy crust. I bake the dough for about 30 minutes with the lid on and then remove it for the last 15 minutes. I won’t go into too much detail now but if you want to explore this method you can find a recipe with some instructions right here.

  2. Pan With Water Method

    Now, for those of you that don’t have a dutch oven, there is still hope. Crispy crust can easily be achieved by adding a pan with some water in it that you will remove midway through baking. I like to use a baking dish with about an inch of water in it. You don’t want too much water though because you want to easily and safety remove it from the oven come time. I add the pan/dish of water when I preheat the oven so it’s good and steamy by the time I’m ready to start baking. Pretty simple really.

The last thing I’ll say about the crust is to get creative when when you score the top. Scoring is the design you slice into the top and it frequently confused for an important step in the baking process. I’m here to tell, that’s not really the case. Scoring allows for a bit more rise from a dough while baking in the oven but mostly its more personality than anything. You can use a razor blade or serrated knife to add some slash marks just before placing it in the oven and you are good to go. And in case you need some inspiration for this, just check out Sarah C. Owen’s Instagram page for some beautiful ideas. She is a queen when it comes to all things bread and scoring skills are on point!

The Crustin Loaf.jpg Sliced homemade bread.jpg holes in homemade bread.jpg

Ingredients

  • 3 cups flour (plus more for kneading)
  • 1/4 tsp active dry yeast
  • 1 tsp salt
  • 1 tbsp sugar
  • 1 1/2 cups milk

Directions

  1. In a large bowl stir together the dry ingredients.
  2. Then add the milk.
  3. Mix together with a spoon until a sticky dough forms and then cover and let it rest on the counter for 6 to 8 hours. (I know that sounds odd but seriously, just cover and forget about it for the day or overnight.)
  4. After the long rest you'll notice the dough has grown into a a loose blob of dough.
  5. Sprinkle some flour onto your counter and then tip the dough out of the bowl, carefully assisting it as necessary.
  6. Sprinkle a bit more flour on top of the dough and begin to work it with your hands, adding more flour as necessary to keep it from sticking to your hands.
  7. Slowly begin to knead the dough, continueing to add flour as necessary.
  8. Knead for roughly 5 to 10 minutes.
  9. Shape the dough in an oblong loaf and place it into a greased bread pan.
  10. Cover with plastic wrap and let rise for about and hour.
  11. Preheat your oven to 450 degress and place a pan with about an inch of water on a low shelf in your oven.
  12. After the dough has rested for an hour and about doubled in size, remove the wrap and score the top of your loaf and then immediately place it in the hot steamy oven.
  13. Then, immediately turn the oven down to 375 degress and bake for 25 minutes.
  14. After 25 minutes, carefully remove the pan of water and continue to bake for another 15 minutes.
  15. Remove the bread from the oven, release it from the bread pan and let cool on a wire rack.

And just in case you need a new mixing spoon in your life, I just finished this one:

Baker's Spade Baker's Spade
Sold Out
Baker's Spade
$47.00

The Baker’s Spade is a one-of-a-kind mixing spoon with a simple design and subtle wood-burned detailing on the handle.

Ok friends, go bake and let me know how your crust turns out, especially if you use the pan with water method. Happy Full Moon!

July 16, 2019 /Ashley Look
how to feed a senior, Full Moon Baking Club, The Crusty Loaf, bread baking, homemade bread, crispy crust, scoring bread, Dutch Oven, loaf pan, steam oven, flour, salt, yeast, sugar, milk, kneading dough, dough, July 2019
Full Moon Baking Club, Recipes
Comment
The Wholesome Loaf is a bread recipe celebrating the full moon in June by the Full Moon Baking Club.

The Wholesome Loaf is a bread recipe celebrating the full moon in June by the Full Moon Baking Club.

June 2019: The Wholesome Loaf

June 17, 2019 by Ashley Look in Full Moon Baking Club, Recipes

What’s that? It’s June and you want to soak up that summer heat by baking bread in your kitchen? Don’t worry. I got you! The Wholesome Loaf recipe for June’s Full Moon Baking club is bound to have you sweating it out and second guessing why you thought this was a good idea. But I’ll just remind you now. Because it’s good. That’s why! And its even better when you make something to share with others.

This bread recipe combines milk, yogurt, and an egg for a soft, pliable dough, that comes together to fulfill your sandwich making needs. Make it, make some sandwiches, and then head out for a picnic with friends and have fun. If its delicious you’ll me so proud of your achievement. If it’s a disaster you’ll have a great memory of that time you made bread for your friends.

I feel like I always have to remind whoever is reading this that the point of the Full Moon Baking Club is not about the recipe so much as it’s about the moments. We cook all the time but so rarely are we cooking and gathering together. Once a month we deserve a break from the norm for the chance to be amungst friends and connect in a way that honors the fact that we are social beings. And I’m not talking about connecting across screens. Real connections, in person, face to face, and in this case with our mouths stuffed.

Ready, set, bake!

Bread making step 1 milk and yogurt.jpg Bread making step 2 milk yogurt and egg.jpg Bread making step 3.jpg Bread making step 4 mix.jpg Bread making step 5 knead.jpg Bread making step 6 dough.jpg Bread making step 7 dough resting for first rise.jpg Bread making step 8 first rise.jpg Bread making step 9 second kneading.jpg Bread making step 10 shaping dough.jpg Bread making step 11 second rise.jpg Bread making step 10 scoring the dough.jpg

Ingredients

  • 1 cup milk
  • 1/2 cup plain yogurt
  • 1 egg
  • 2 tsp dry active yeast
  • 3 cups flour (+1 more cup for kneading)
  • 1 tsp salt
  • 1 tbsp melted butter

Directions

  1. In a bowl combine the milk, yogurt, and egg and mix well.
  2. Stir in the yeast and let disolve.
  3. In a seperate, large bowl, add the 3 cups of flour and the salt.
  4. Then pour in the wet mixture and stir to combine.
  5. As the dough comes together, gently add extra flour (a little at a time) to help bring the dough together into a workable shape.
  6. Sprinkle some flour onto your counter and then tip the dough out.
  7. Sprinkle a bit more flour on top of the dough and begin to work it with your hands, adding more flour as necessary to keep it from sticking to your hands.
  8. Slowly begin to knead the dough, continueing to add flour as necessary.
  9. Knead for roughly 10 or so minutes allowing the dough to fully form with all the ingredients well combined.
  10. Continue to knead the dough, shaping it into a round ball.
  11. Then place it in a greased bowl and cover with plastic wrap and let rest for an hour or until doubled in size.
  12. After its doubled in size, dump ought the dough on a lightly floured surface and knead again.
  13. Shape the dough in an oblong loaf and place it into a greased bread pan.
  14. Brush the top with melted butter and then and then cover with plastic wrap and let rise for about and hour.
  15. Preheat your oven to 450 degress.
  16. After the dough has rested for an hour and about doubled in size, remove the wrap and score the top of your loaf and then immediately place it in the hot oven.
  17. Then, turn the oven down to 375 degress and bake for 35 minutes.
  18. Carefully remove it from the oven and turn the bread out onto a cooling rack and let rest before cutting into it.
June 17, 2019 /Ashley Look
how to feed a senior, Full Moon Baking Club, bread baking, The Wholesome Loaf, June 2019, dough, milk, yogurt, egg, flour, yeast, sandwiches, kneading dough, baking, first rise, second rise, proofing, picnic, breaking bread, community gathering, community building, social beings, real connections, in person, face to face, gathering together
Full Moon Baking Club, Recipes
Comment
Gluten-free peanut butter, chocolate chip cookie recipe is the May 2019 feature from the Full Moon Baking Club.

Gluten-free peanut butter, chocolate chip cookie recipe is the May 2019 feature from the Full Moon Baking Club.

May 2019: Gluten-Free Peanut Butter Chocolate Chip Cookie Recipe

May 17, 2019 by Ashley Look in Full Moon Baking Club, Recipes

April shower’s don’t always bring May flowers, or so I’ve been reminded with the passing of Mother’s Day...

It started out harmless enough. On the Wednesday before, I went to the bank running routine errands and as I was leaving, the clerk wished me “Happy Mother’s Day!” Boom! Just like that, I was triggered. First of all, it was Wednesday, approximately four days too early.

Slowdown tiger… Let’s take things a day at a time…

But then I started the dark spiral into how inappropriate it felt to assume we are all celebrating. I am not a mother, nor do I have my own mother to celebrate the day with, and the blatant cheeriness dripping from the clerk’s chin, all about had me ready to turn around and release the Mother of Dragons at her for making such a careless mistake.

… DRACARYS!!!

My mom Sandrita of House Targaryen.

My mom Sandrita of House Targaryen.

Somehow the words “you too” found their way out of my mouth and I left without torching the place. But then, I couldn’t stop thinking about it. I felt the next several days build with enthusiasm for mom’s everywhere. But I also felt the communal outcry for the bereaved. What that bank clerk neglected, the village provided, and for all the hater’s of social media it would be a shame to dismiss the macro moment of holding space for all of those that have been touched by the institution of motherhood. Being a mother or having a mother makes little difference. The gift of motherhood is ubiquitous and the internet honored them all! My irritation simmered as the larger community reflected a broader sense consciousness and that got me reflecting on my snap judgement of the bank clerk. It seems we were no different, her and I. Both of us, projecting assumptions onto the other. That I would be celebrating Mother’s Day, and she’d be more “woke” and guarded with words… Ugh… I’m ashamed at my own presumption. When a gesture of kindness turns into a source of frustration, it should be a clue that the problem isn’t them; it’s you!

As much as I think I’ve moved on from my mother’s passing, this incident exposed just how raw loss can be, even years later. I’ve heard that moving forward from grief doesn’t mean life eventually returns to “normal”. Instead, we carry the grief with us, heavier by way of holding an emotional weight that only becomes lighter when love lifts us. I’m learning that it’s sometimes impossible to keep a heart from breaking and no amount of glue can restore a shattered one to whole. But loss finds forward traction with love from friends and family, and community members that gather those shards and carry what they can as an emotional service. Humanity and all of its kindness, keeps the burden of pain from being a solo voyage. A village can help shoulder heaviness which is why we need to promote togetherness at all cost. Cue the Full Moon Baking Club…

Communities need work. The growing amount of division among us is concerning but in my experience, baked goods have always had a way of bringing folks together. It’s far from a fix but it’s a start, and if we hope to repair communities we need to disrupt the flow towards isolation and provide opportunities for joyful assembly. This month I invite you to make this recipe, compliments of King Arthur Flour, with the intention to gather, be together and share moments that will spawn memories. We can build relationships and cultivate inclusive environments that proactively combat feelings of “otherness”. And since there are many folks that daily are excluded from the simple pleasure of enjoying food due to allergies, intolerances, and other dietary restrictions, I’m thinking of them this month with this flourless recipe. For all those gluten-free folks battling celiac or gluten intolerance, take a night off from grieving your loss of tasty baked goods, with this cookie recipe. They are delicious and I applaud King Arthur Flour for thinking outside their own box. Cause even the flourless crave flowers… Open your heart by opening your oven door and let cookies be the floodgate in which kindness flows. Happy full moon my friends!

Holding you in heart,

Ashley

Ingredients

  • 1 cup smooth peanut butter
  • 3/4 cup brown sugar
  • 1/2 teaspoon baking soda
  • pinch of salt
  • 1 large egg
  • 1 teaspoon vanilla extract
  • 1/2 cup chocolate chips or mini chips

Directions

  1. Preheat the oven to 350°F.
  2. Beat the peanut butter, sugar, baking soda, and salt at medium speed of your mixer, until well-blended.
  3. Add the egg and vanilla, and blend on low-medium speed until incorporated.
  4. Stir in the chocolate chips.
  5. Scoop the dough by the tablespoonful onto a baking sheet and push the top of the dough to flatten just slightly.
  6. Bake the cookies for 8 to 10 minutes. Remove them from the oven, and cool right on the pan. The tops should be slightly crinkled and you will want to pull them BEFORE they begin to brown on the edges.

* For the original recipe click here.

May 17, 2019 /Ashley Look
how to feed a senior, Full Moon Baking Club, May 2019, Gluten-free, Peanut butter, chocolate chips, cookie recipe, gluten free cookie recipe, King Arthur Flour, loss, grief, Game of Thrones, April showers, May flowers, flour free, celiac disease, gluten intolerant, gluten intolerance, House Targaryen, togetherness, community gathering, community building, motherhood, Mother's Day, FOMO, bereaved, Flower Moon, Full Moon
Full Moon Baking Club, Recipes
Comment
  • Newer
  • Older
 
Search