Of Grain and Grain  |  Tactile Explorations of Flour and Wood

By Ashley Look

  • Blog
  • Flour
  • Wood
  • Shop
  • Services
  • Events
  • About
  • Contact
  • Search

Heart-shaped soft pretzel.

Heart-Shaped Pretzels & February Adventures: A Sweet Farewell to the Month of Love

February 28, 2025 by Ashley Look in Breads, Flour, Recipes

Hey, hey, hey… what a month!

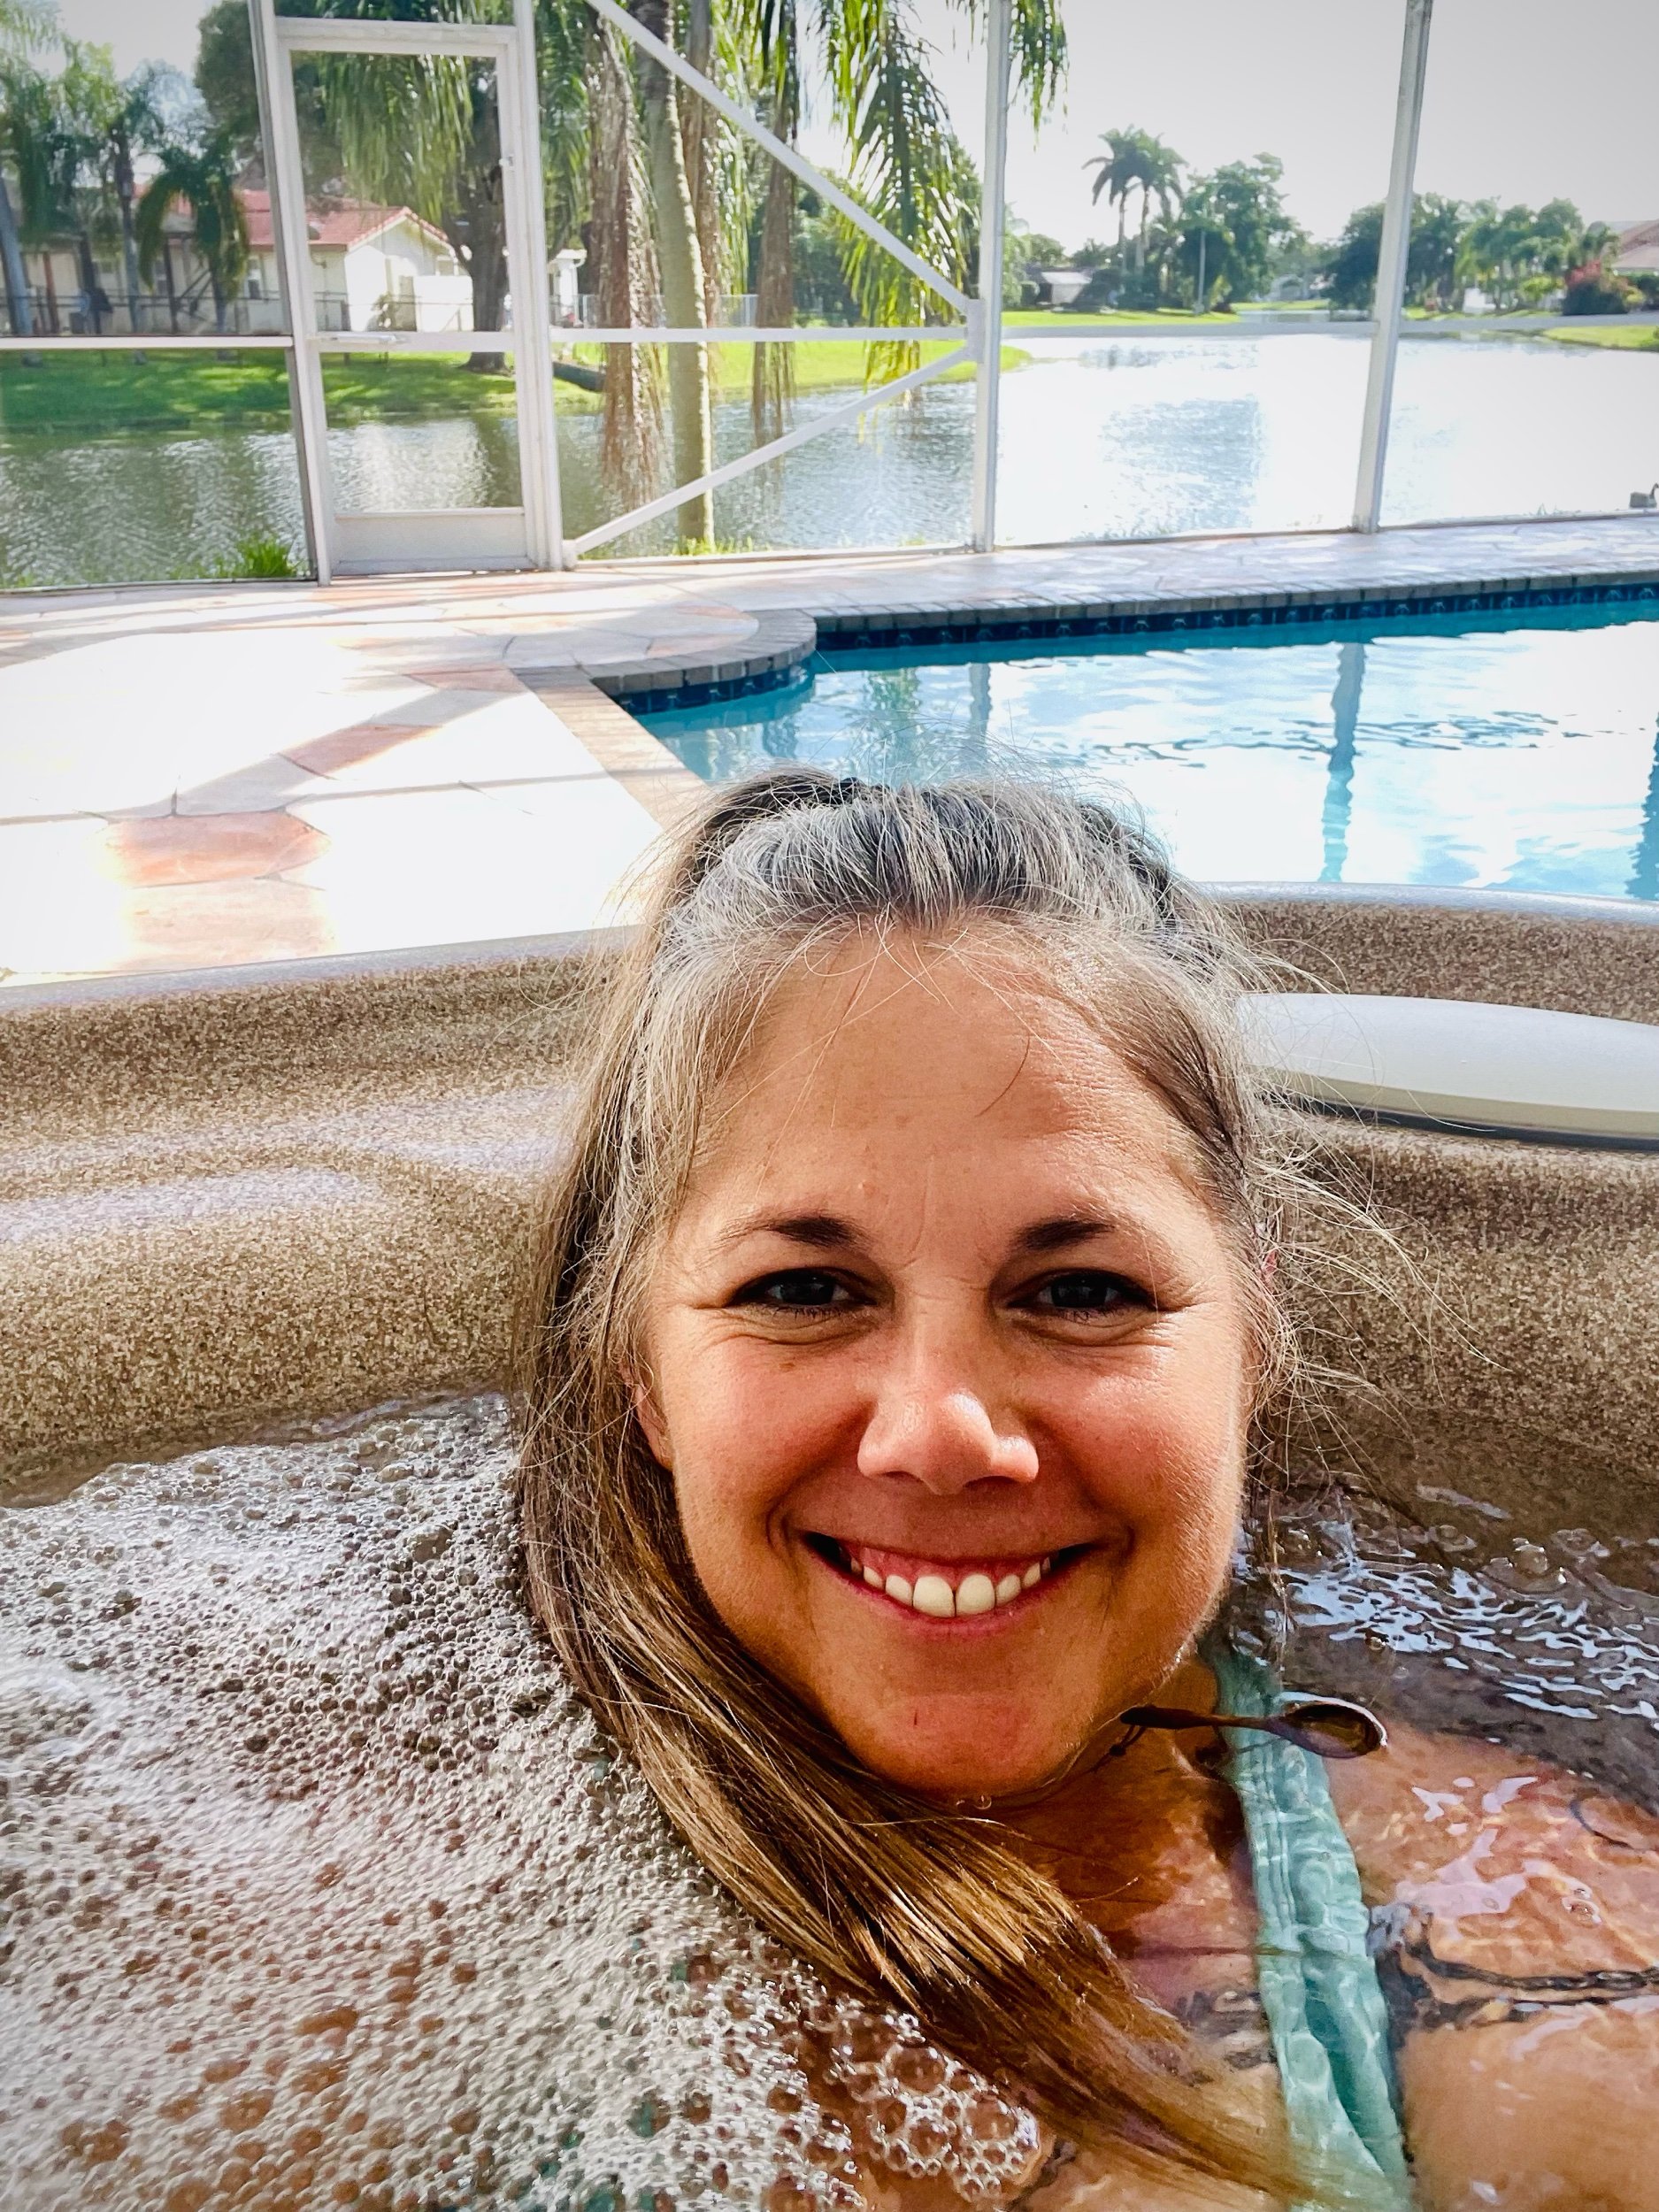
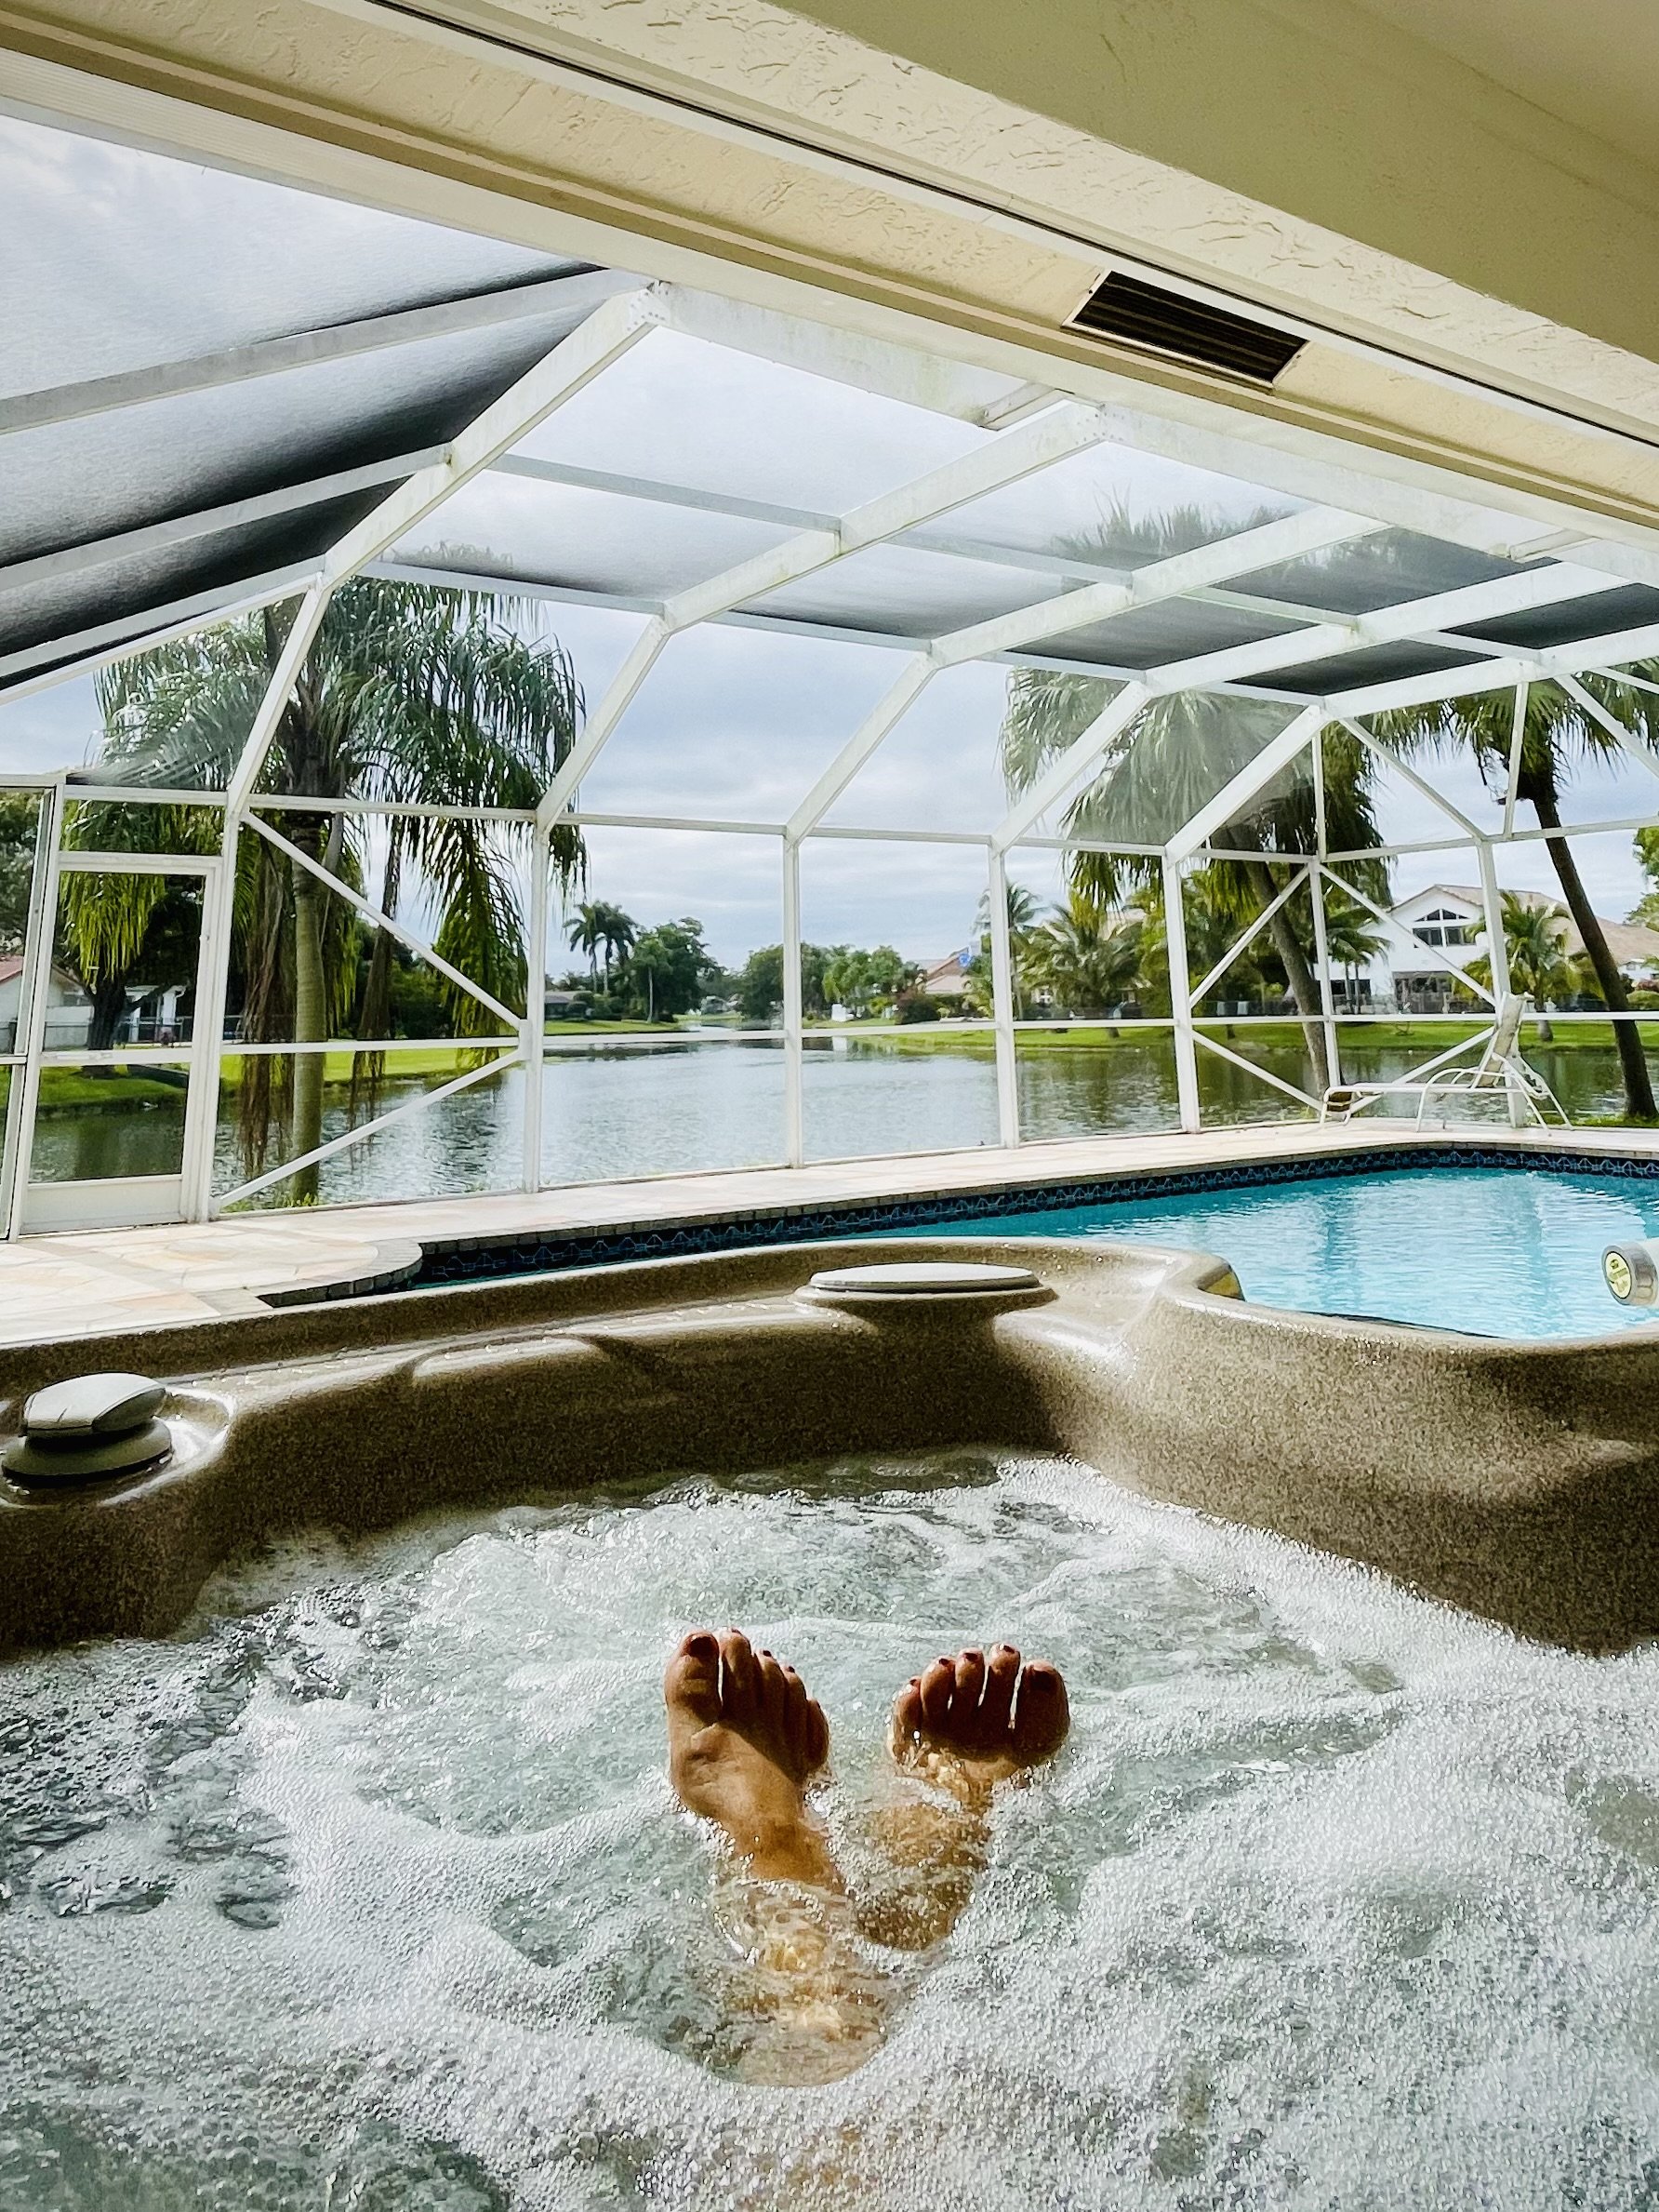
February comes to a close and what a doozy it was. For a short month, it was packed full. We had lots of guests, so entertaining included an airboat ride in the Everglades, several trips to the Yellow Green Market in Hollywood, FL, a tour of Miami's Wynwood Walls, a Polynesian night at Mai-Kai, and a day cruising around the Intracoastal Waterway on a water taxi tour of Fort Lauderdale with time to explore downtown Las Olas and the beach. Somehow in the midst of all that, we also managed to finished a 1000-piece Valentine’s puzzle, created a "Romantel" (a seasonally romantic mantel), signed up for a wine club membership, and practiced heart-shaped latte art daily with our new Breville Bambino espresso machine. I have no idea how we squeezed this all in. And to top it all off, I snuck in a quick interview with Bold Journey Magazine which you can read here if you missed it.

Romantel.jpg Ashley Mai-Kai.jpg Mai-kai drink 1.jpg Mai-Kai tiki.jpg Randall Mai-Kai.JPG Valentines puzzle.jpg latte art heart.jpg

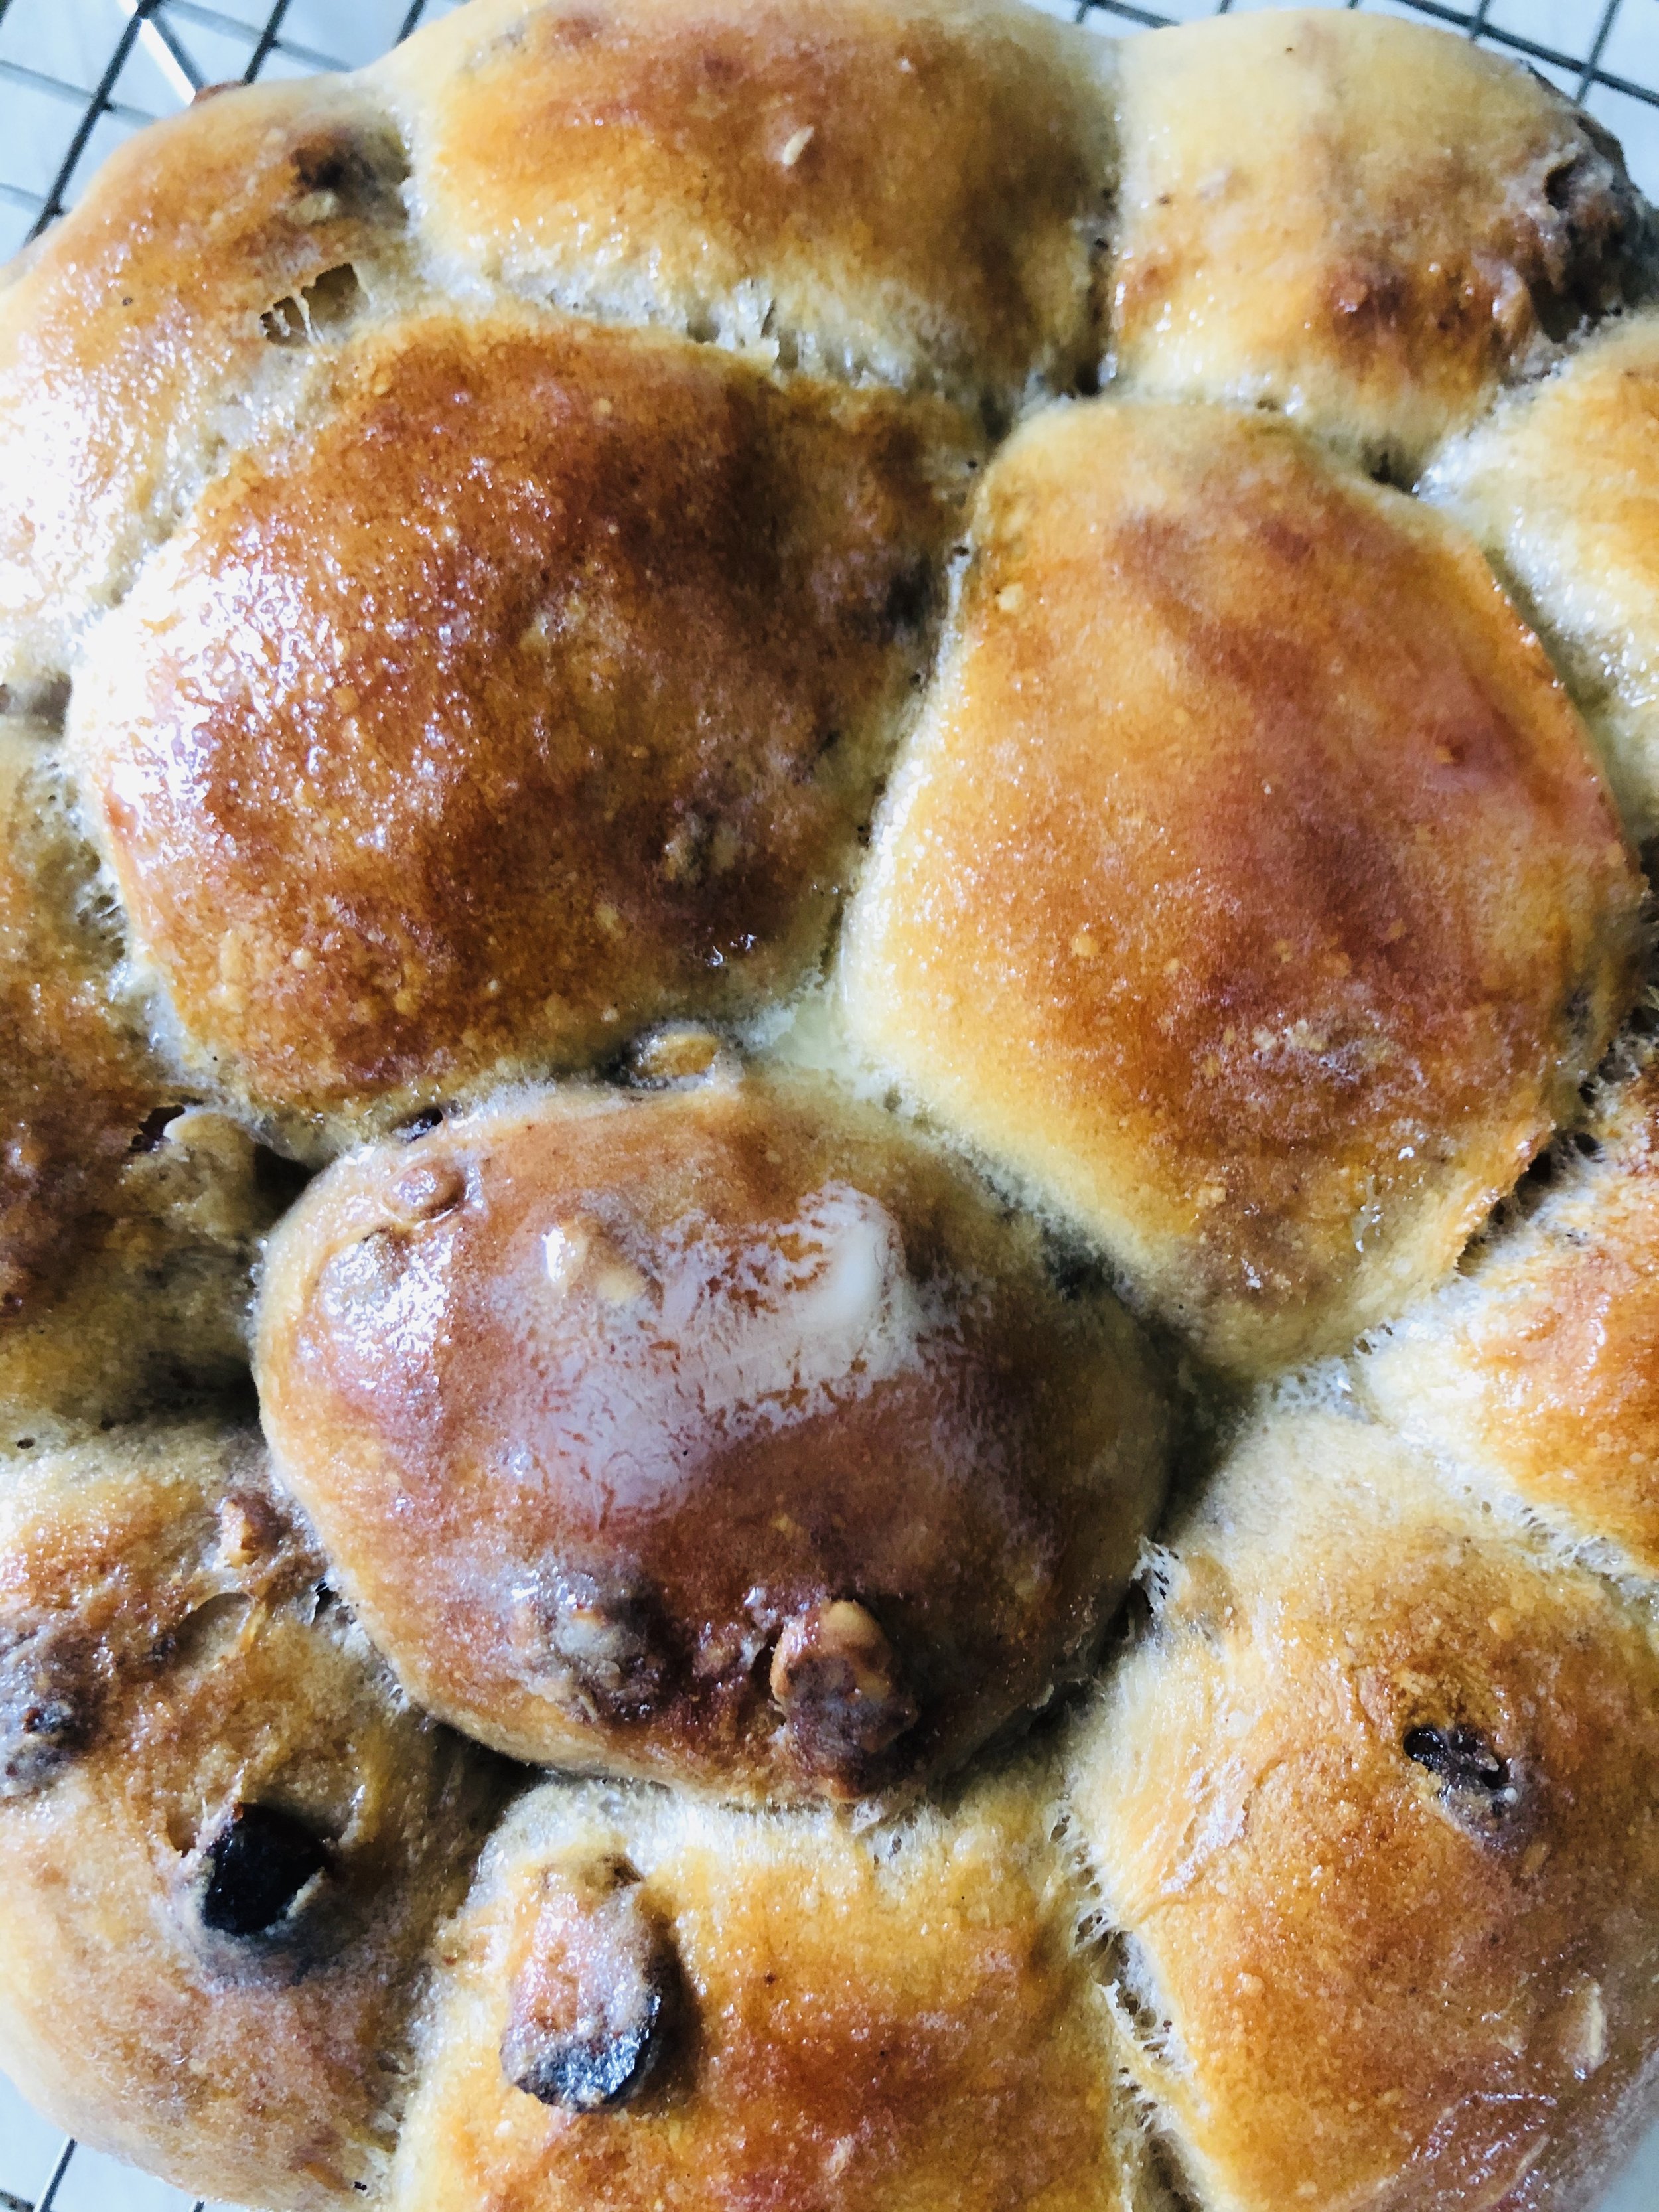
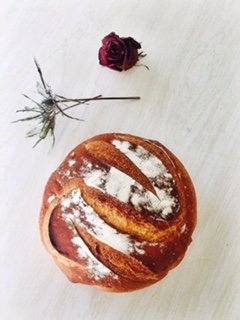
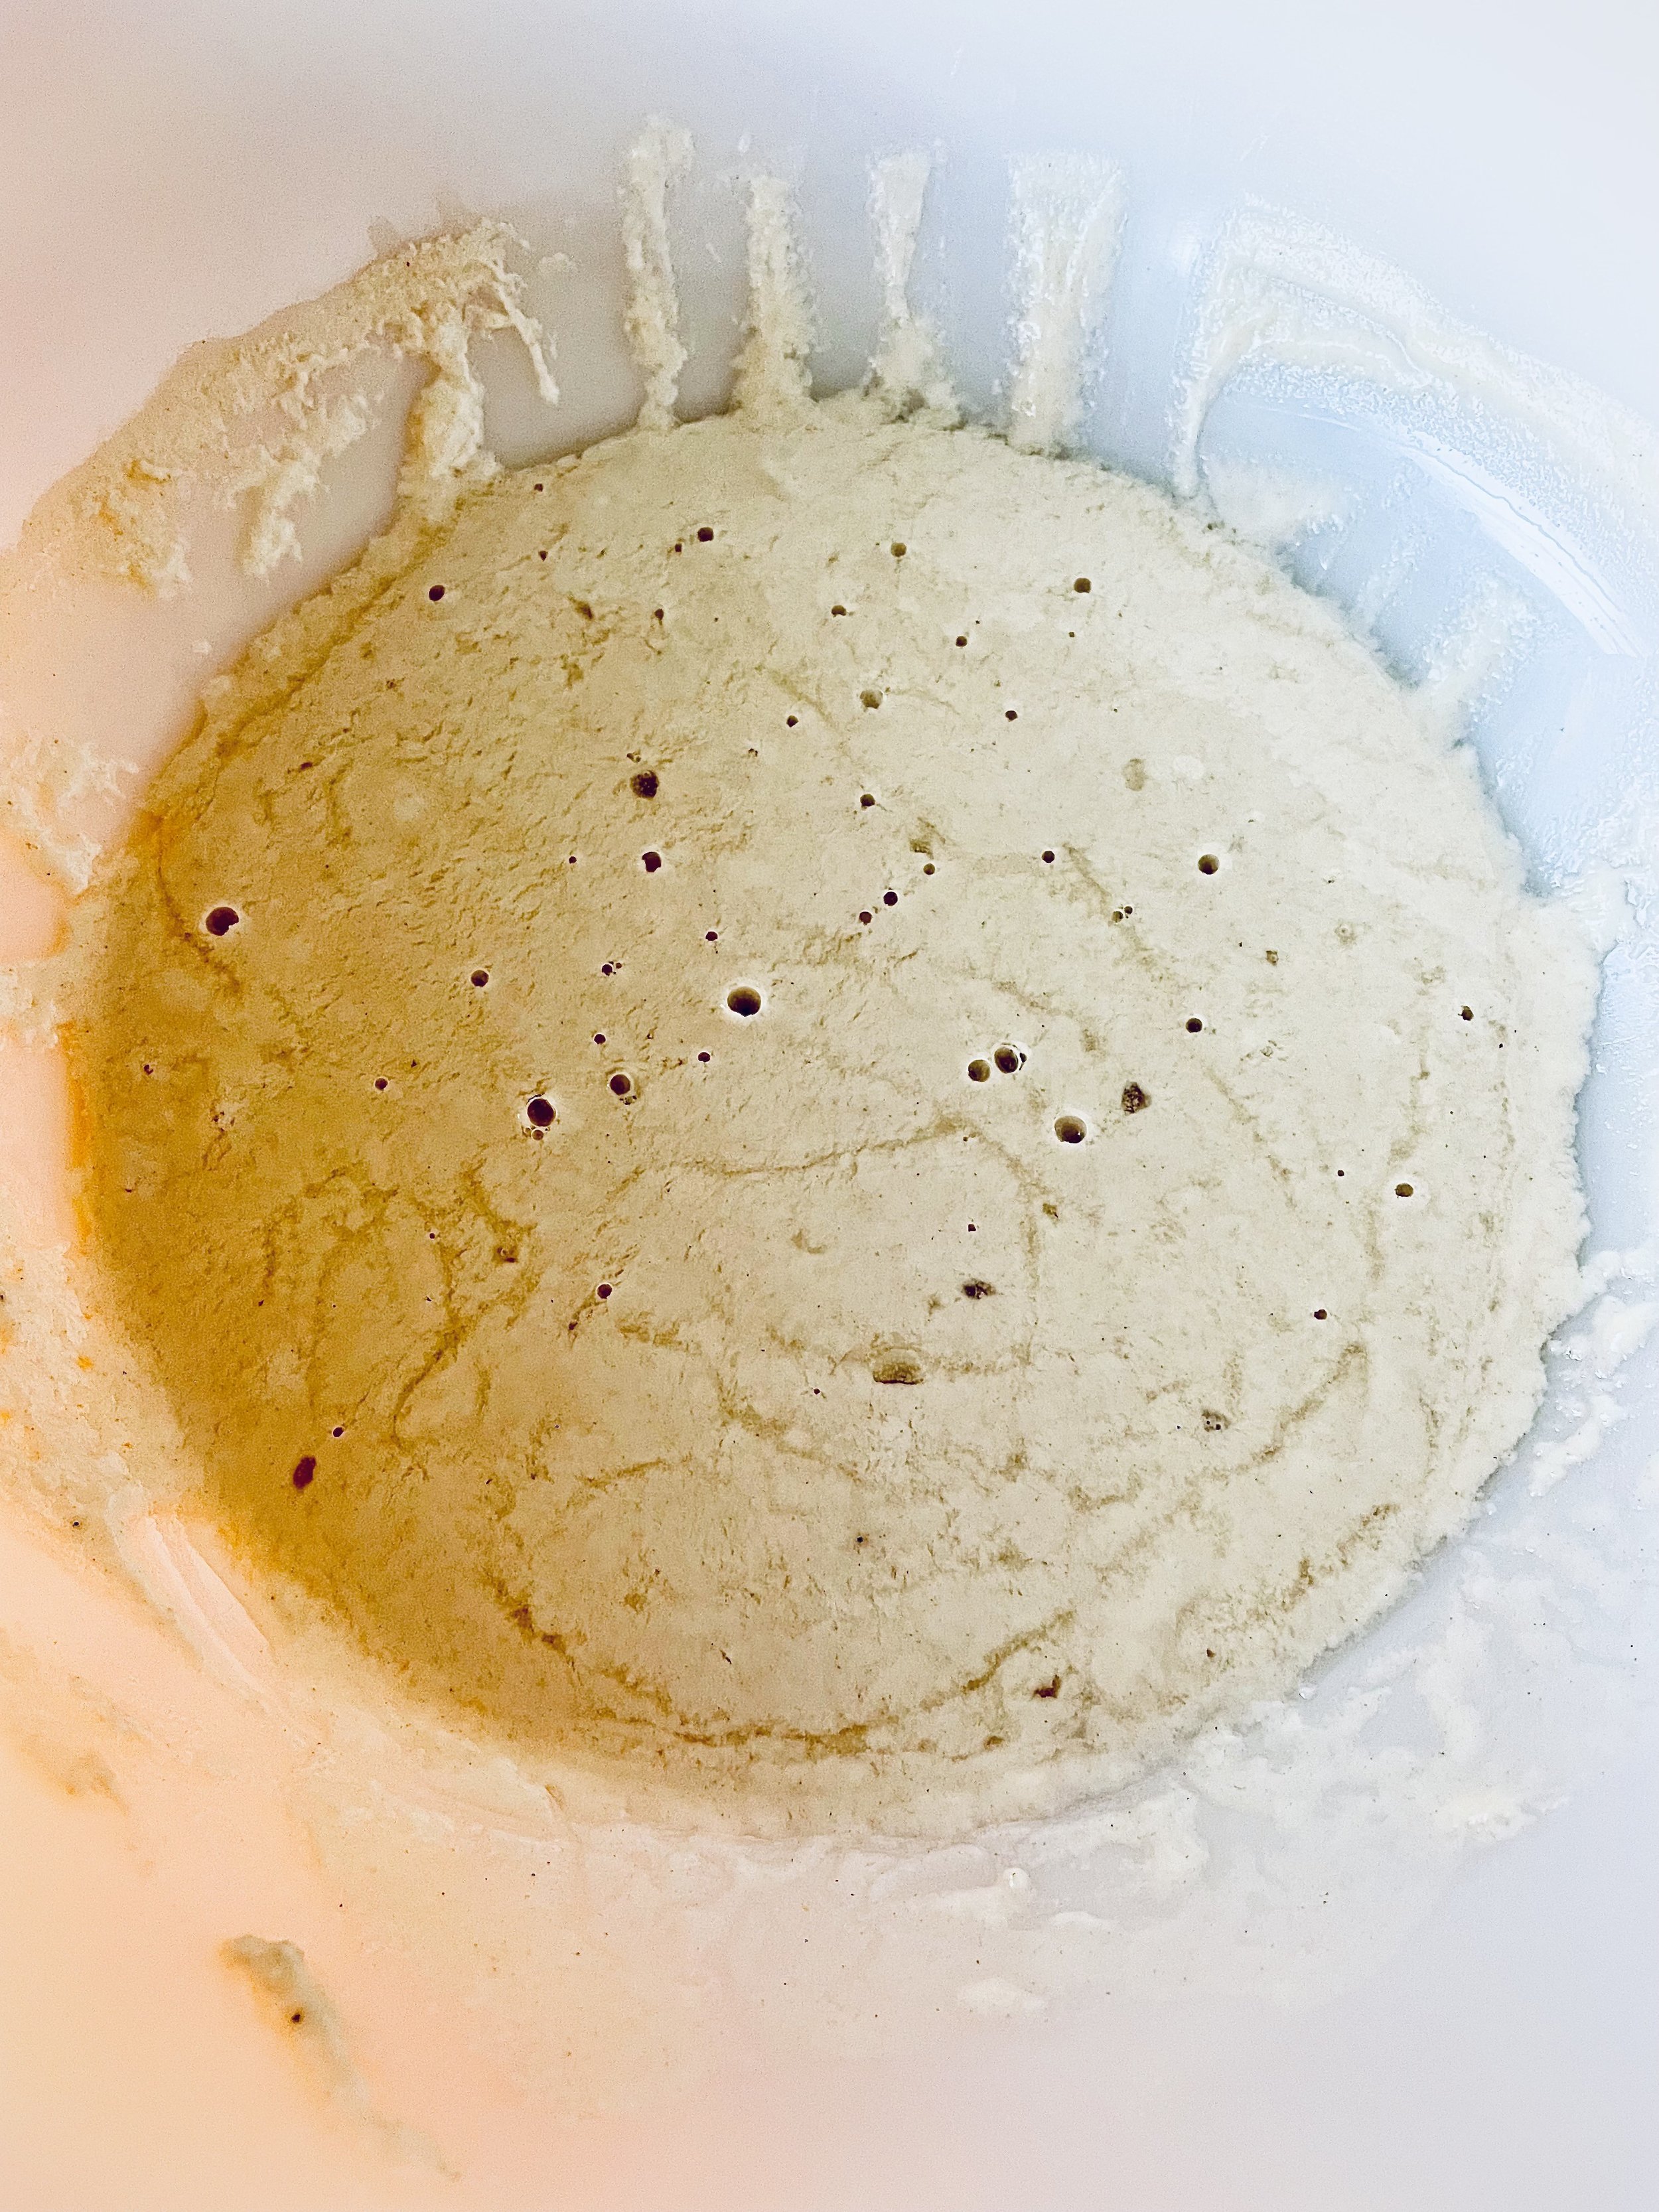
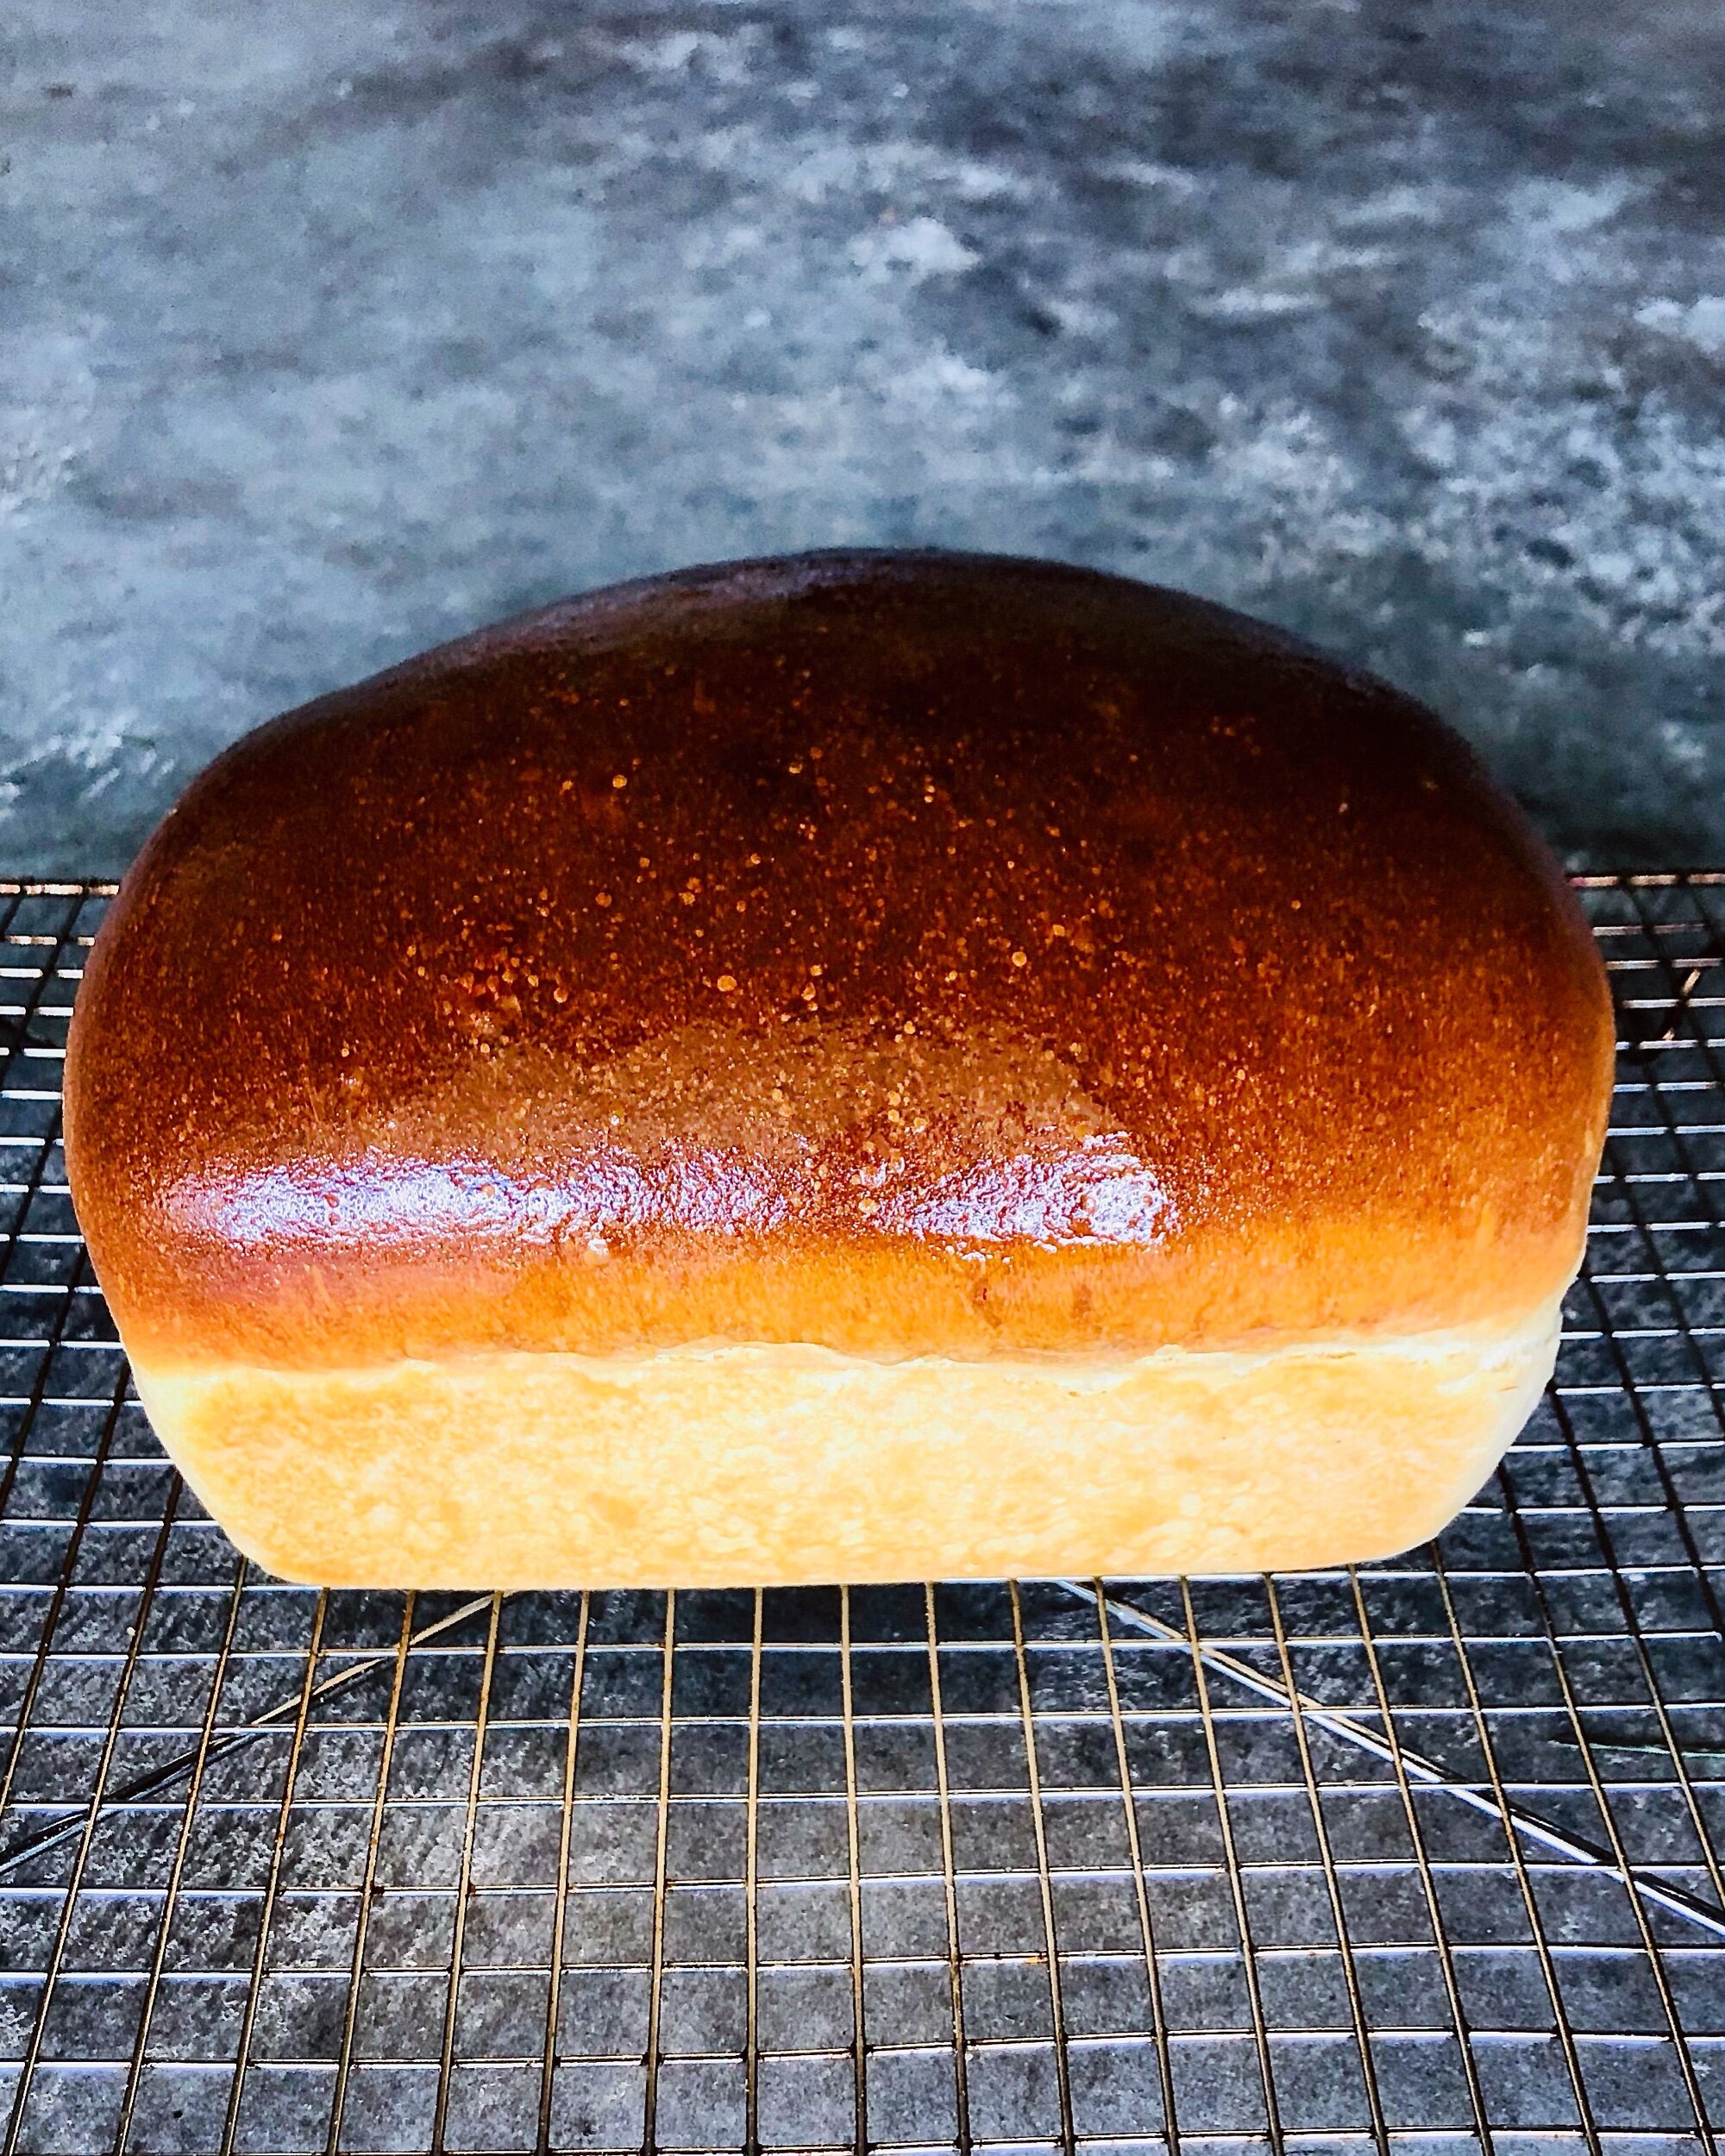
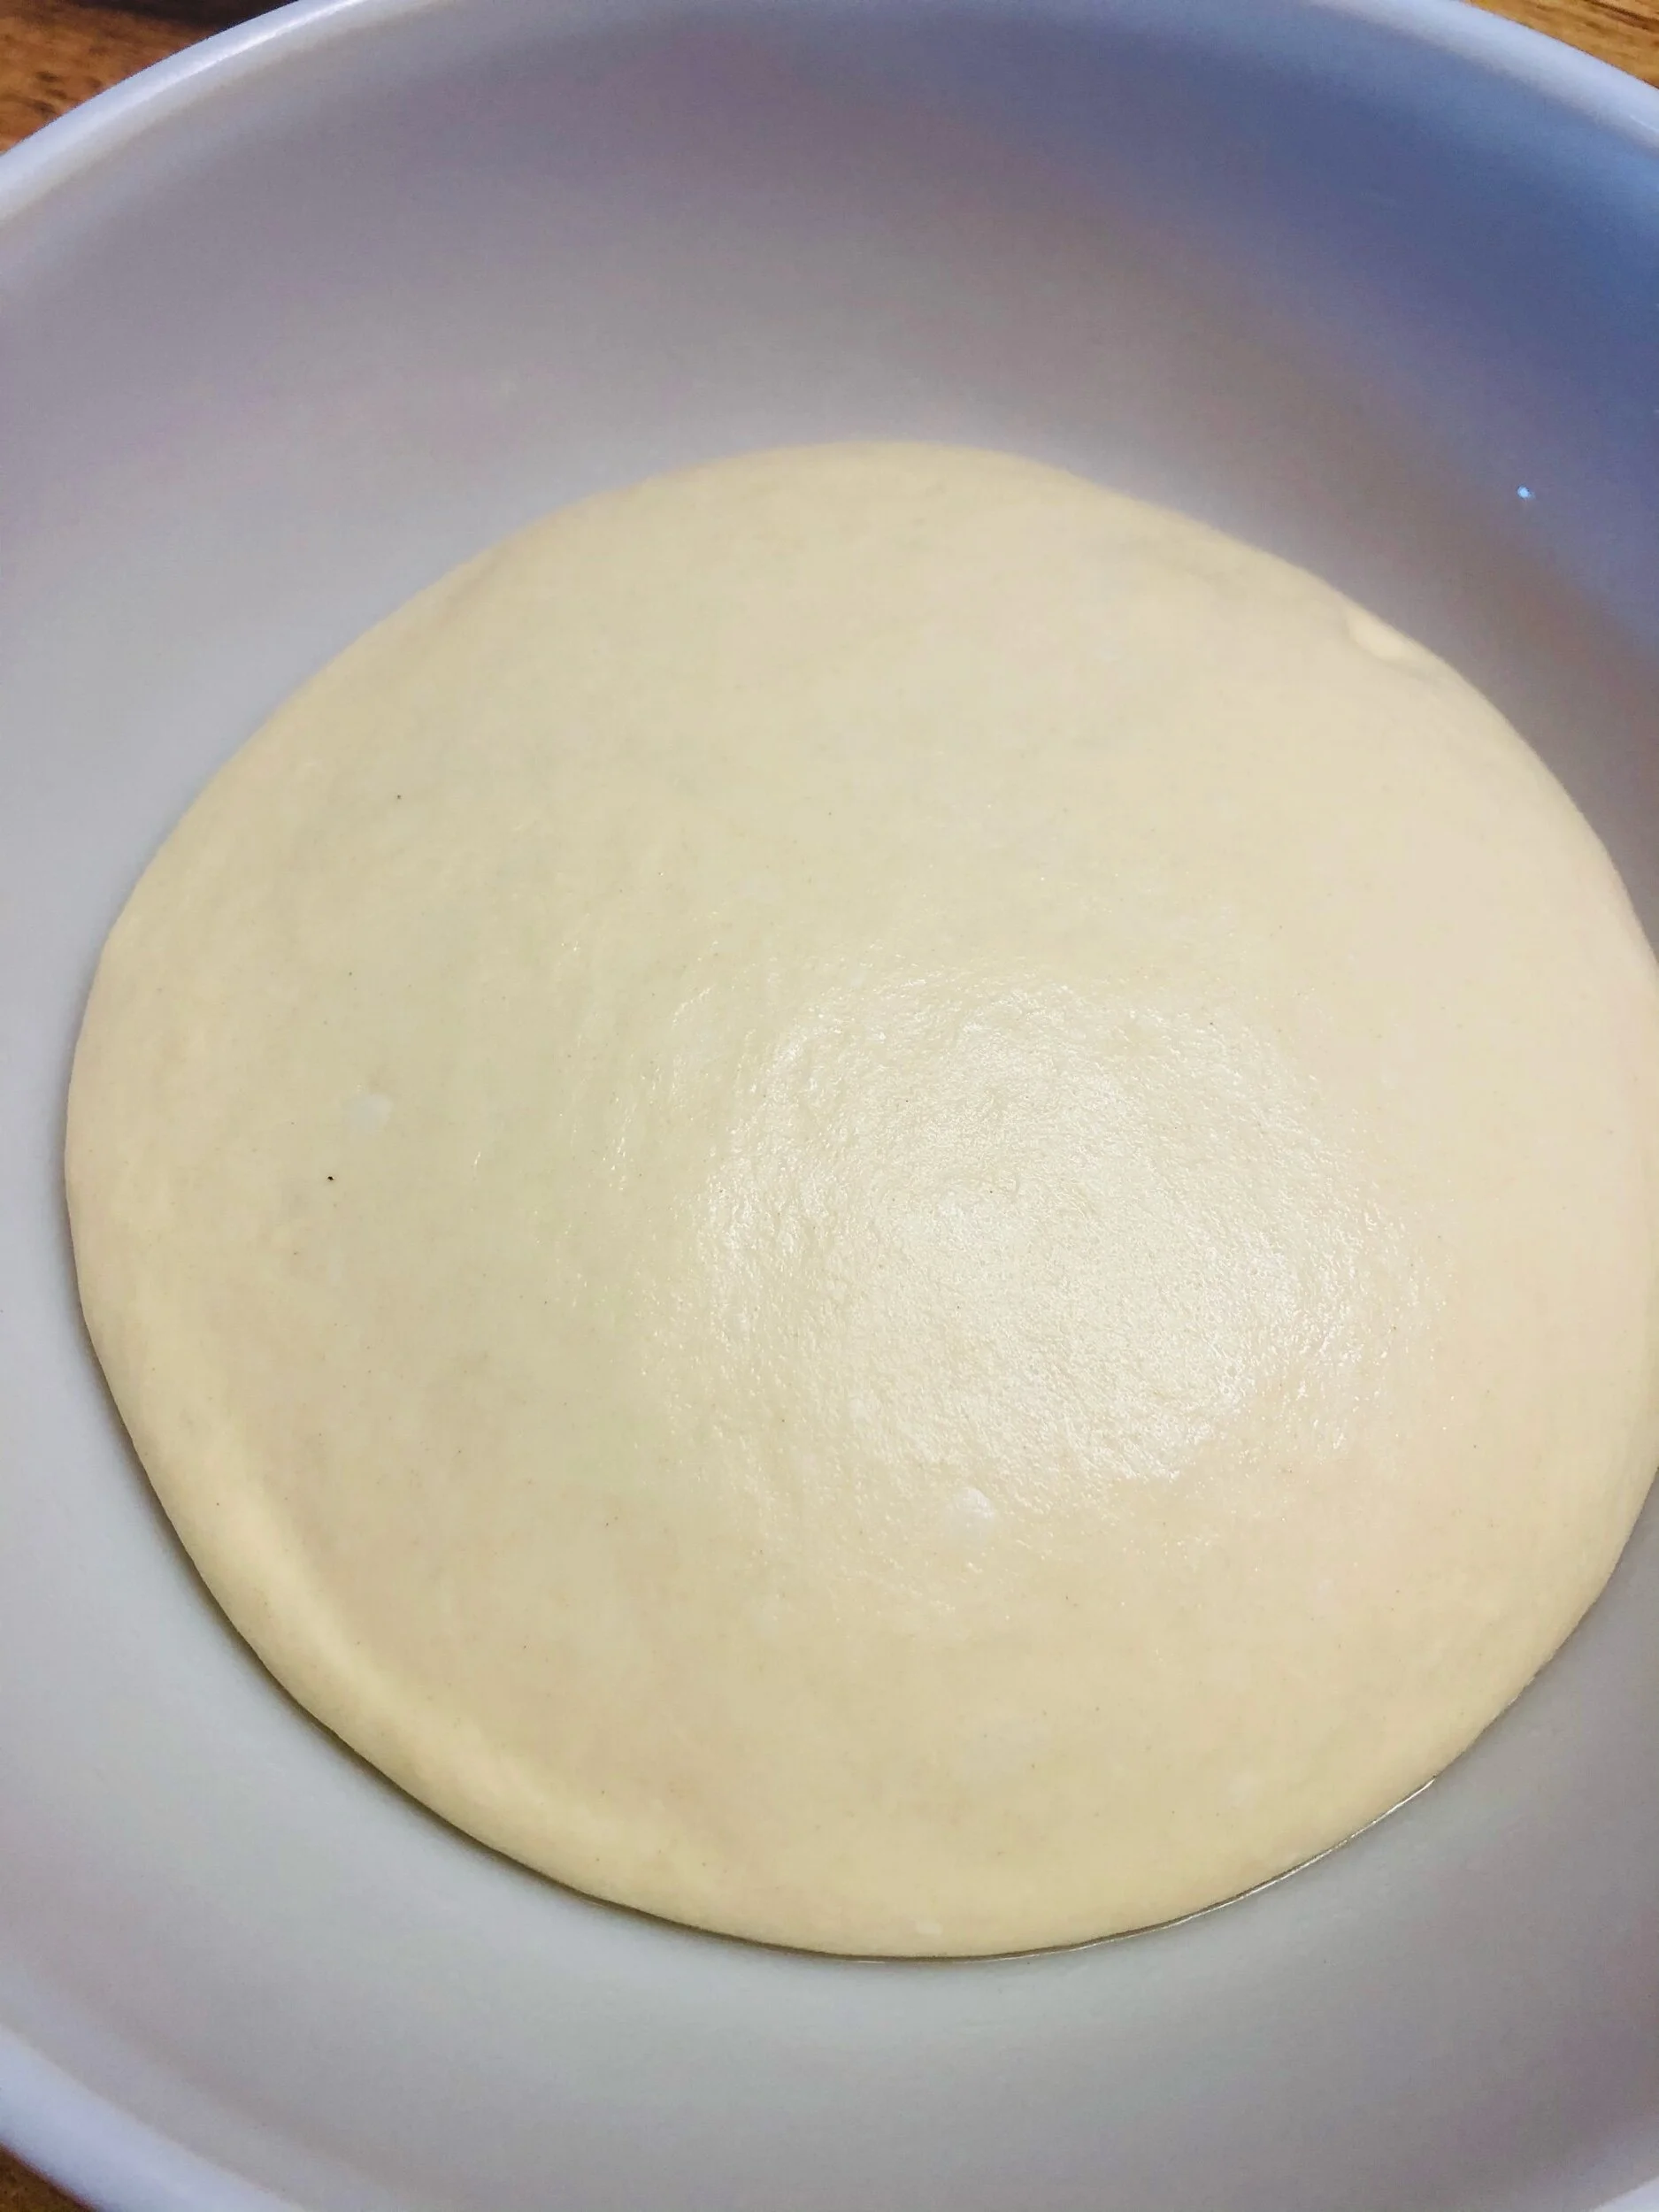
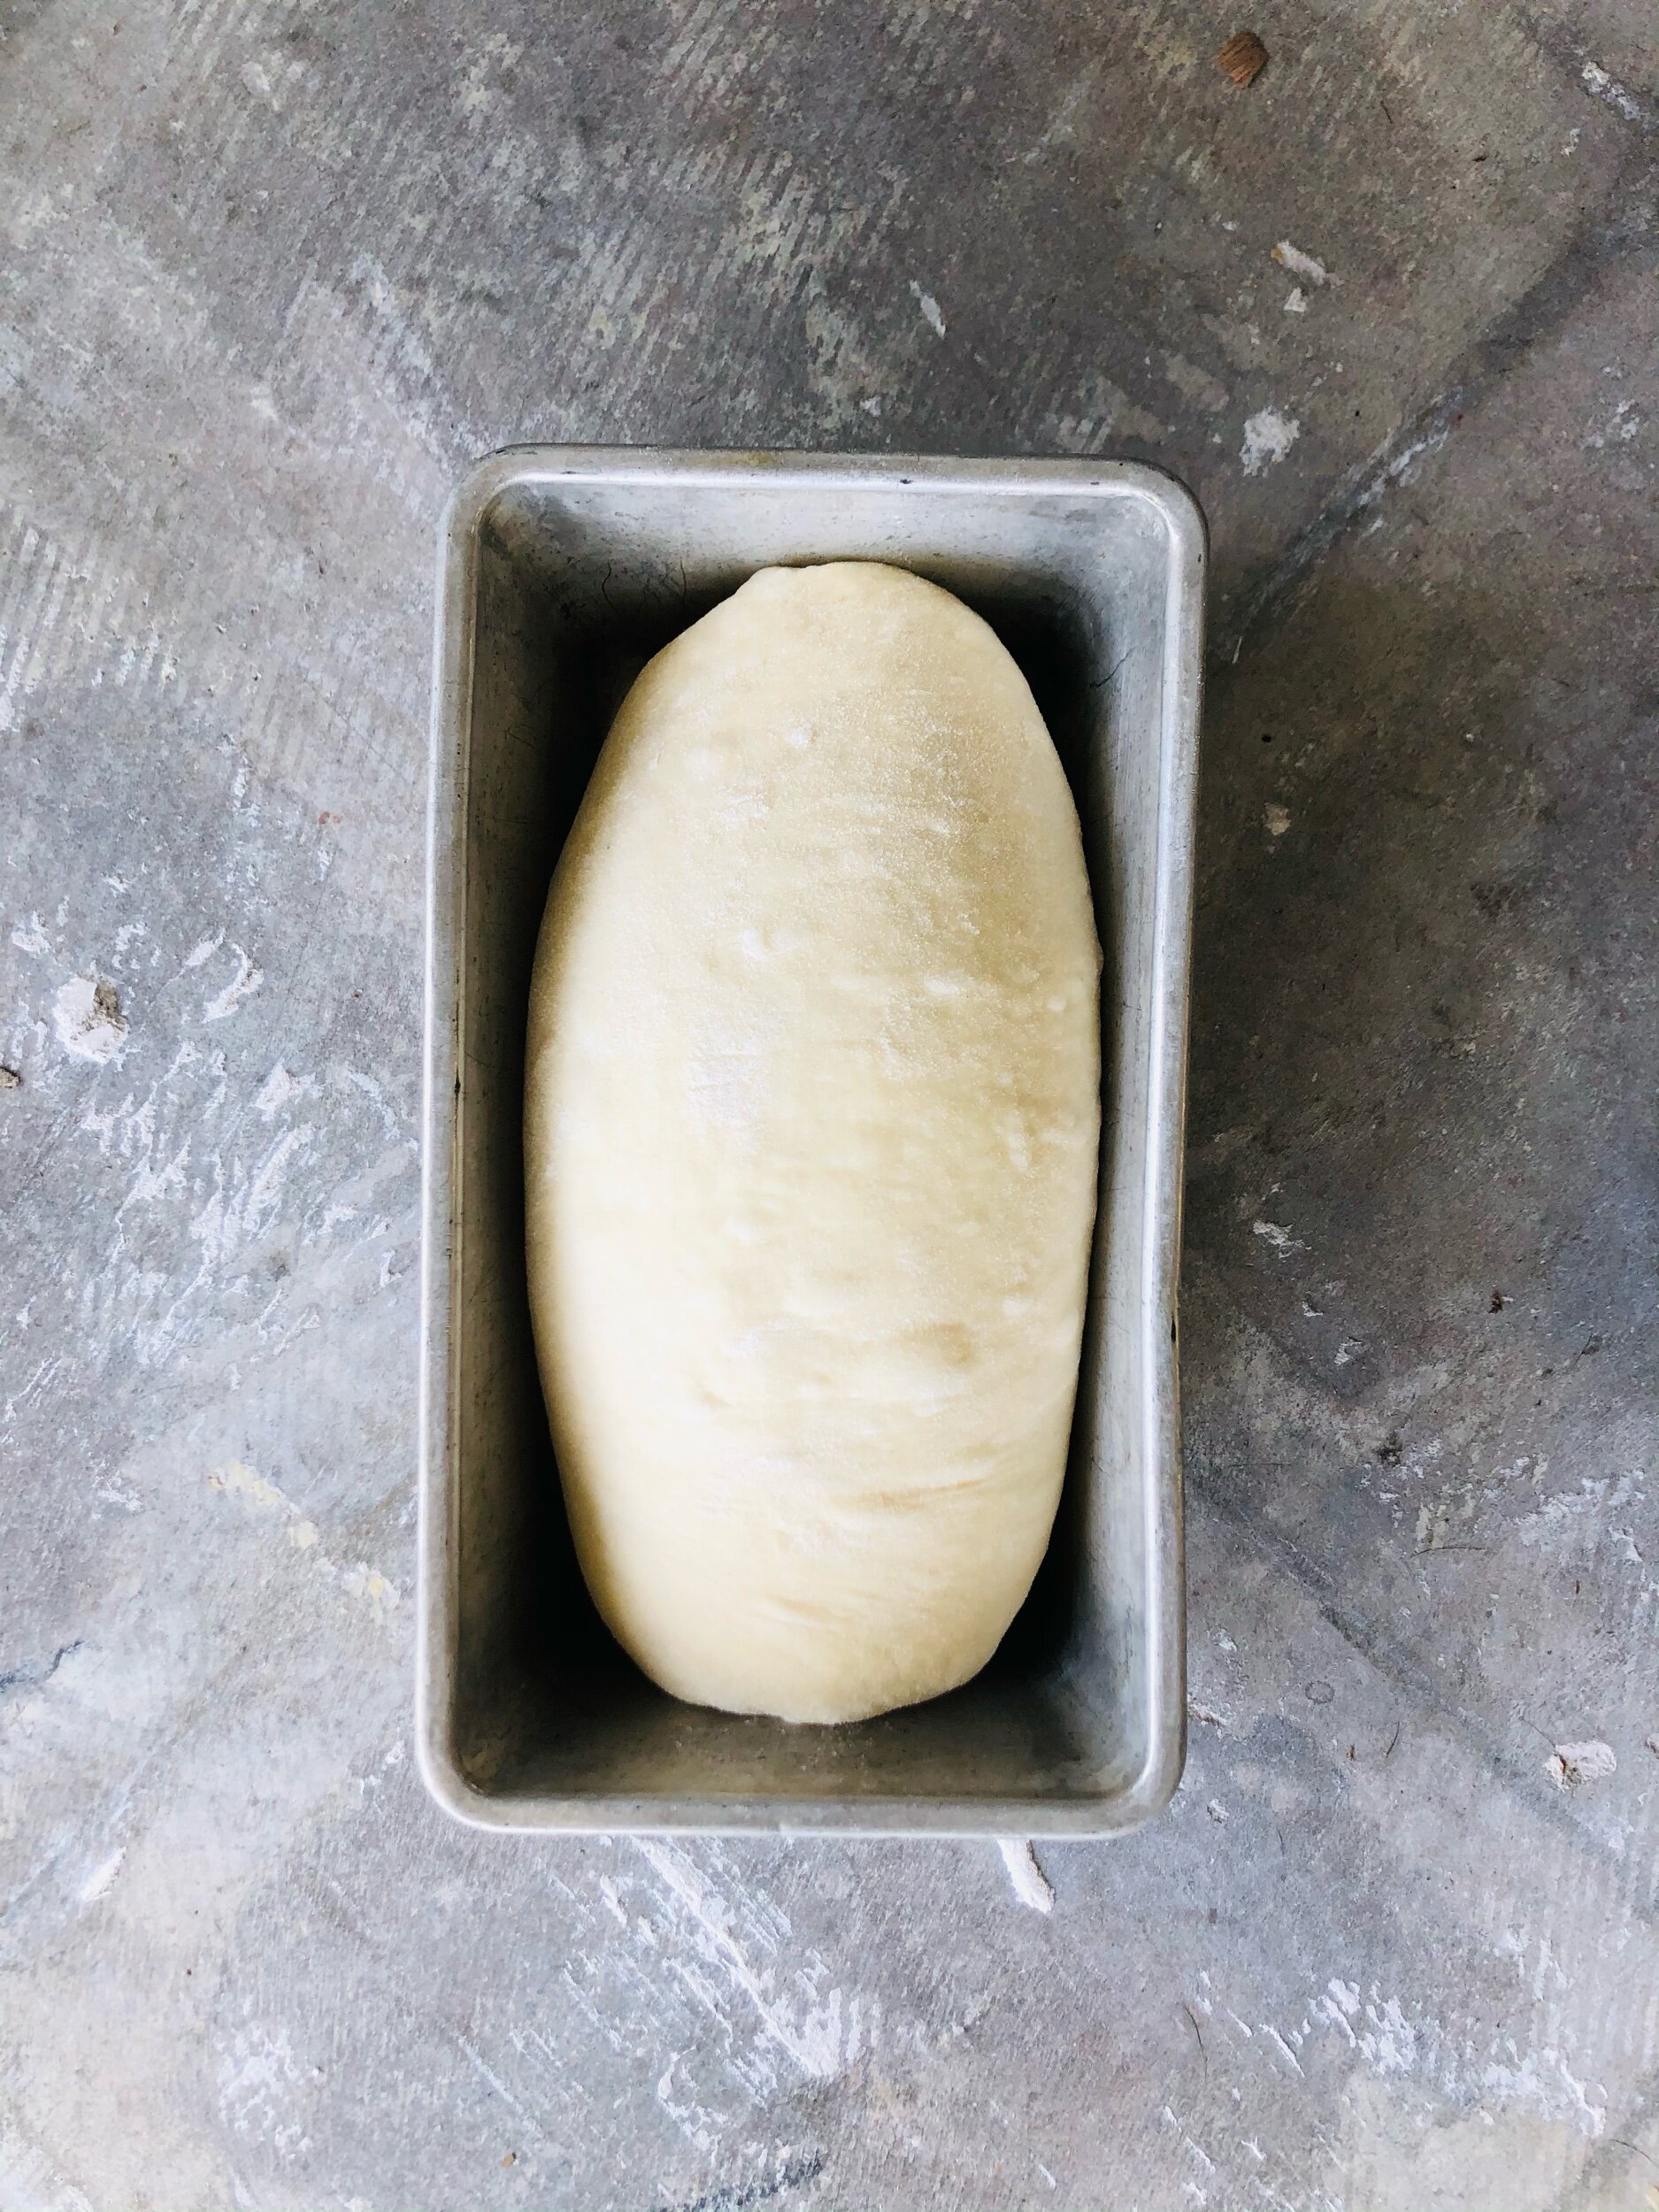
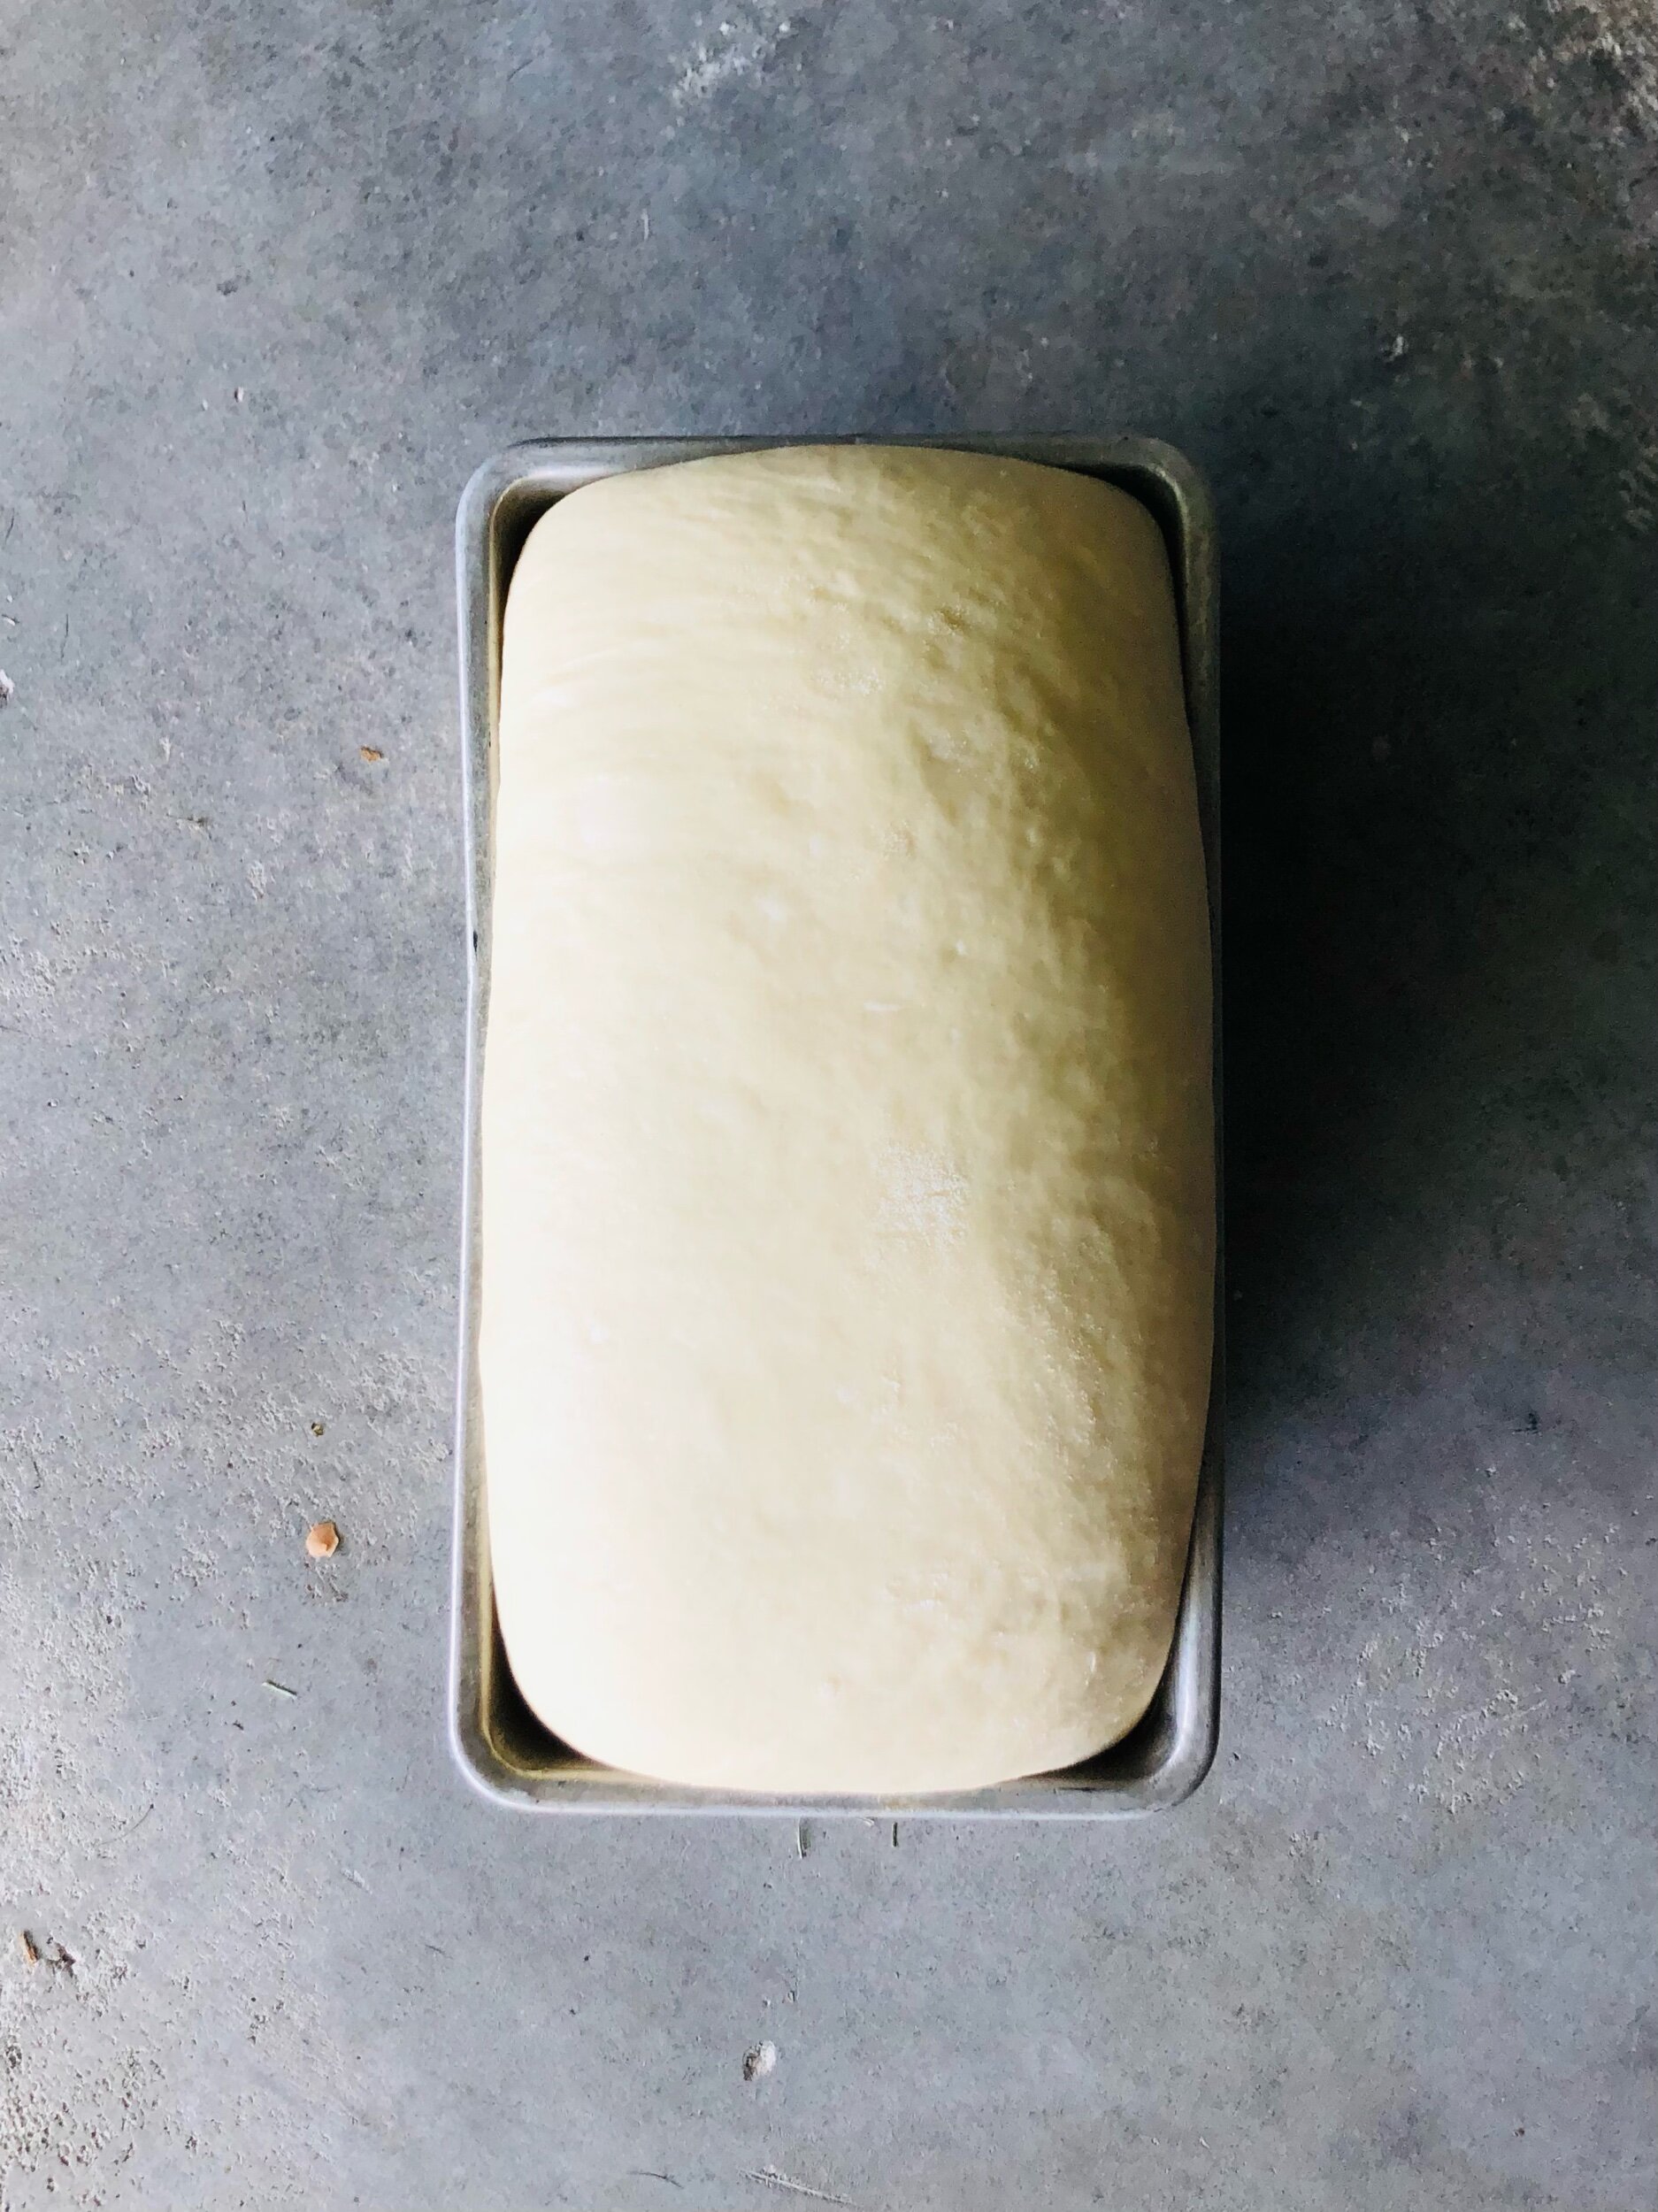
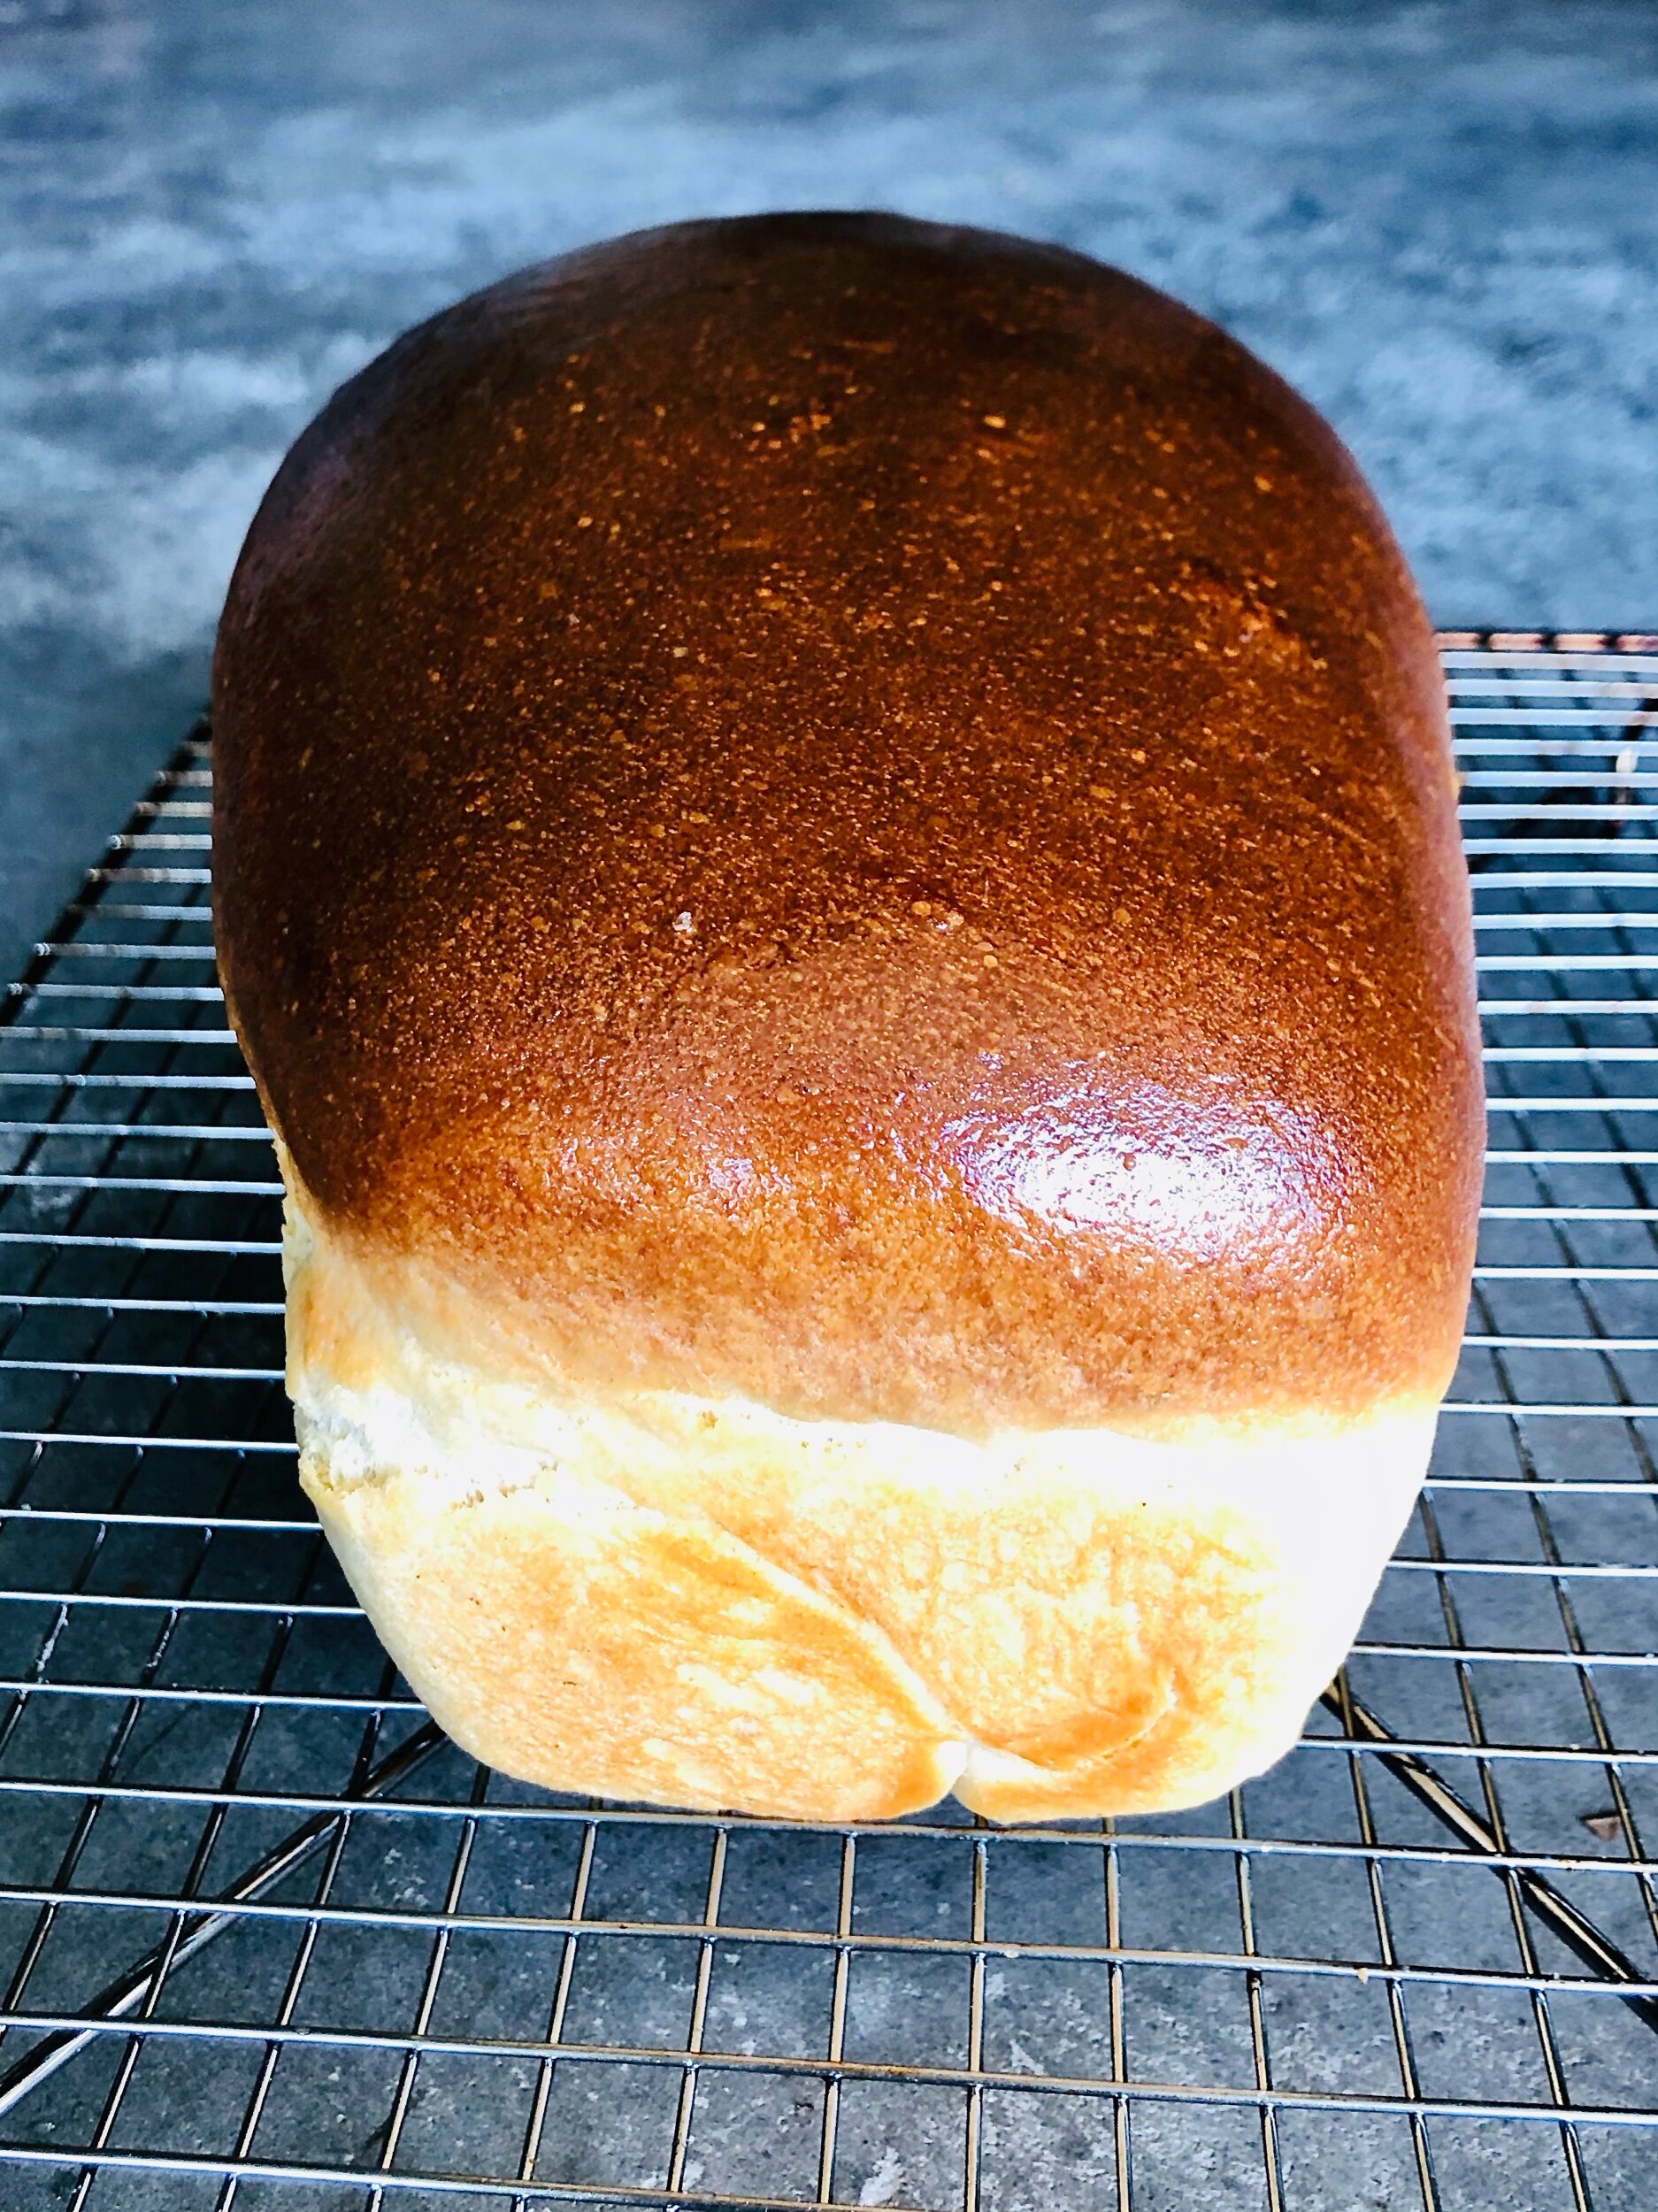
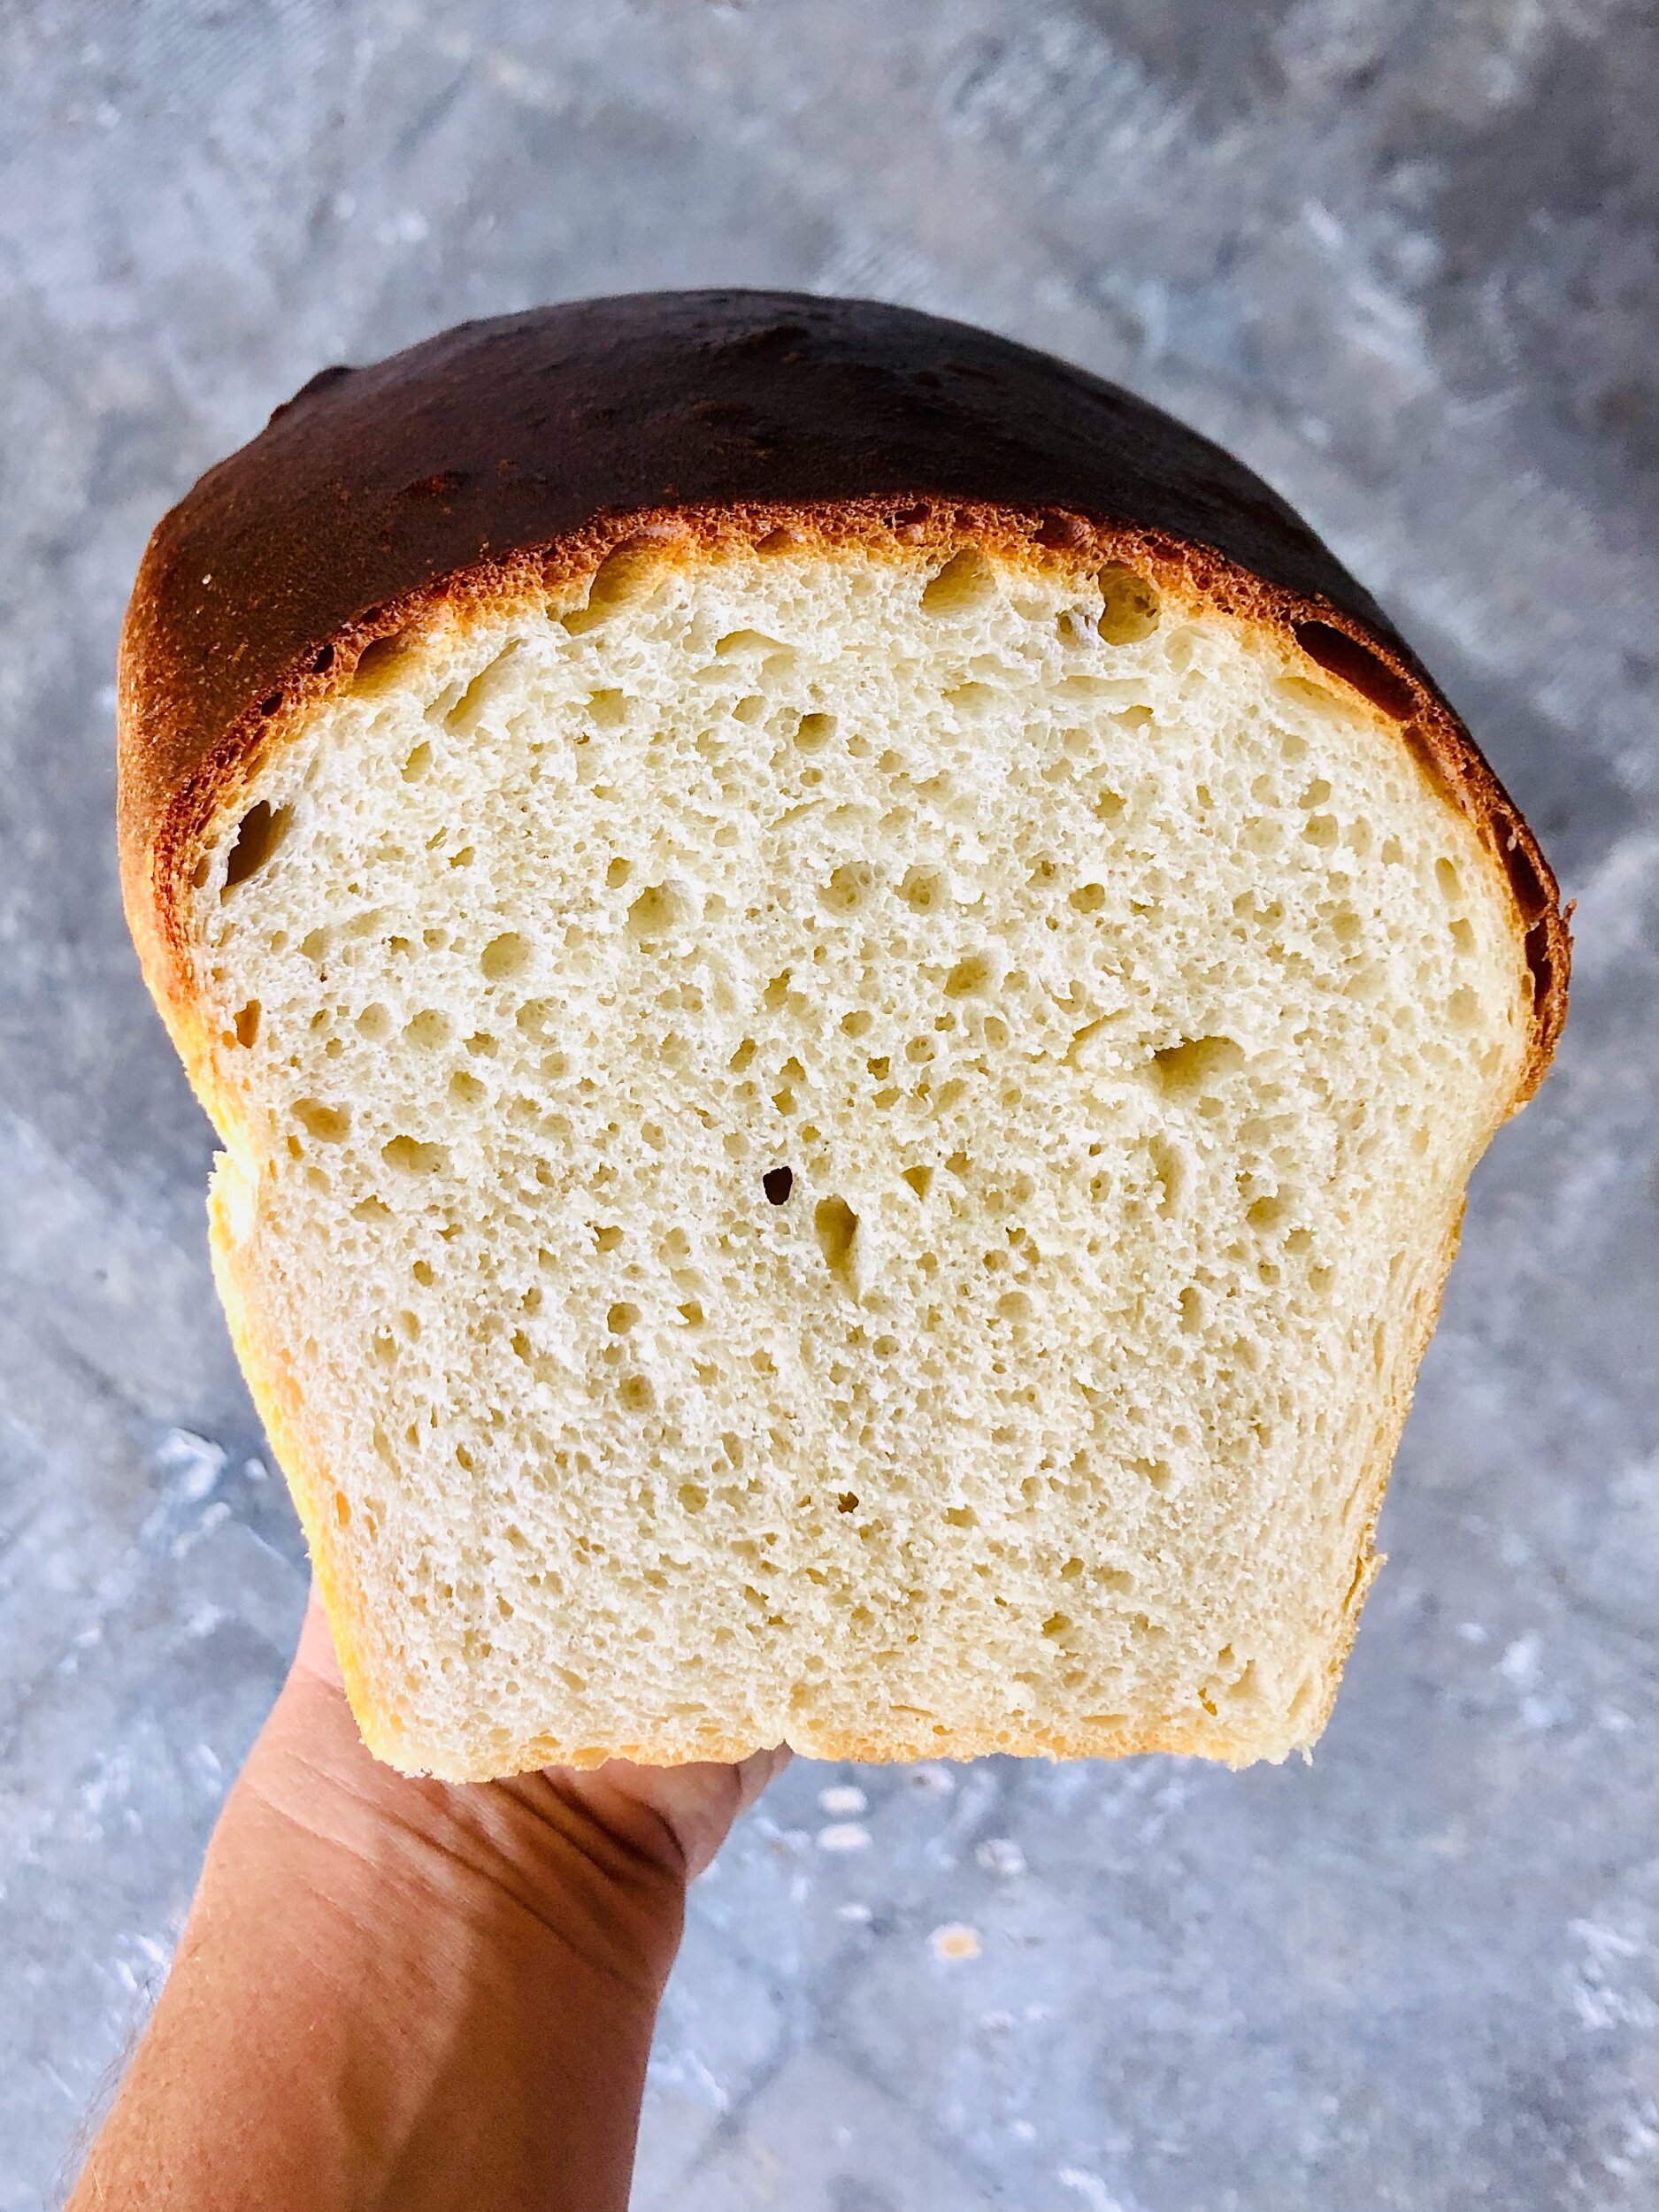
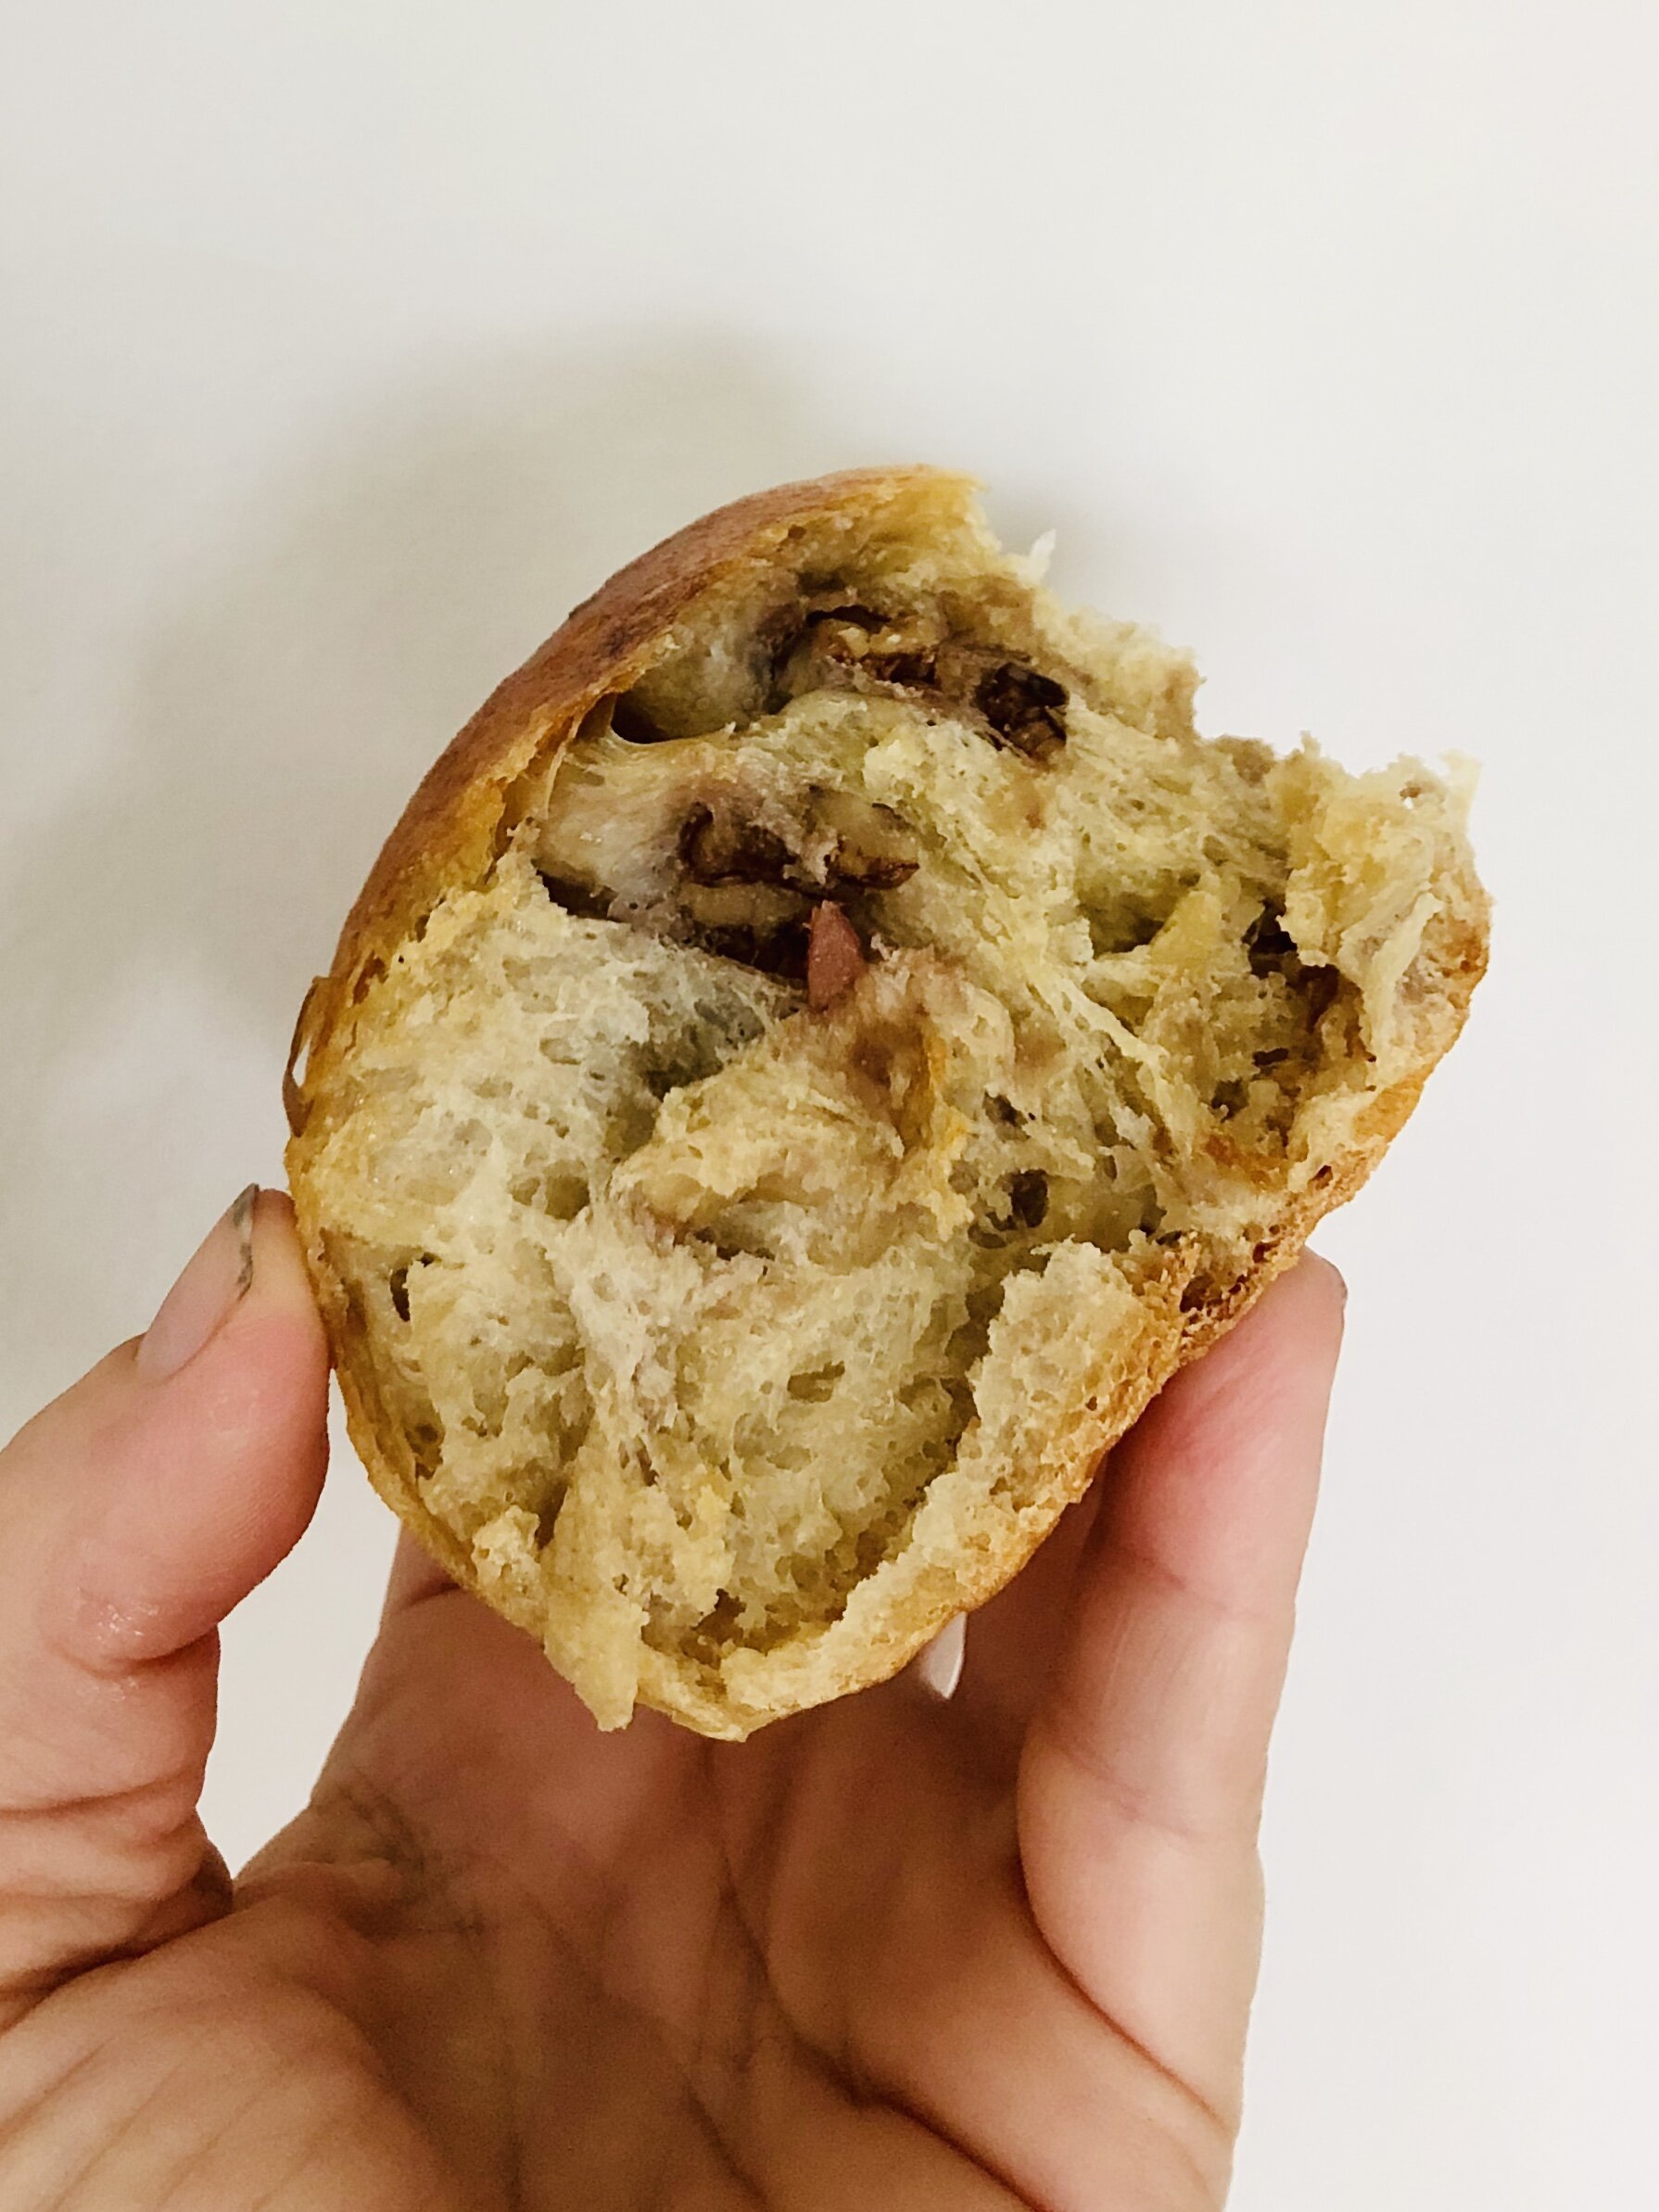
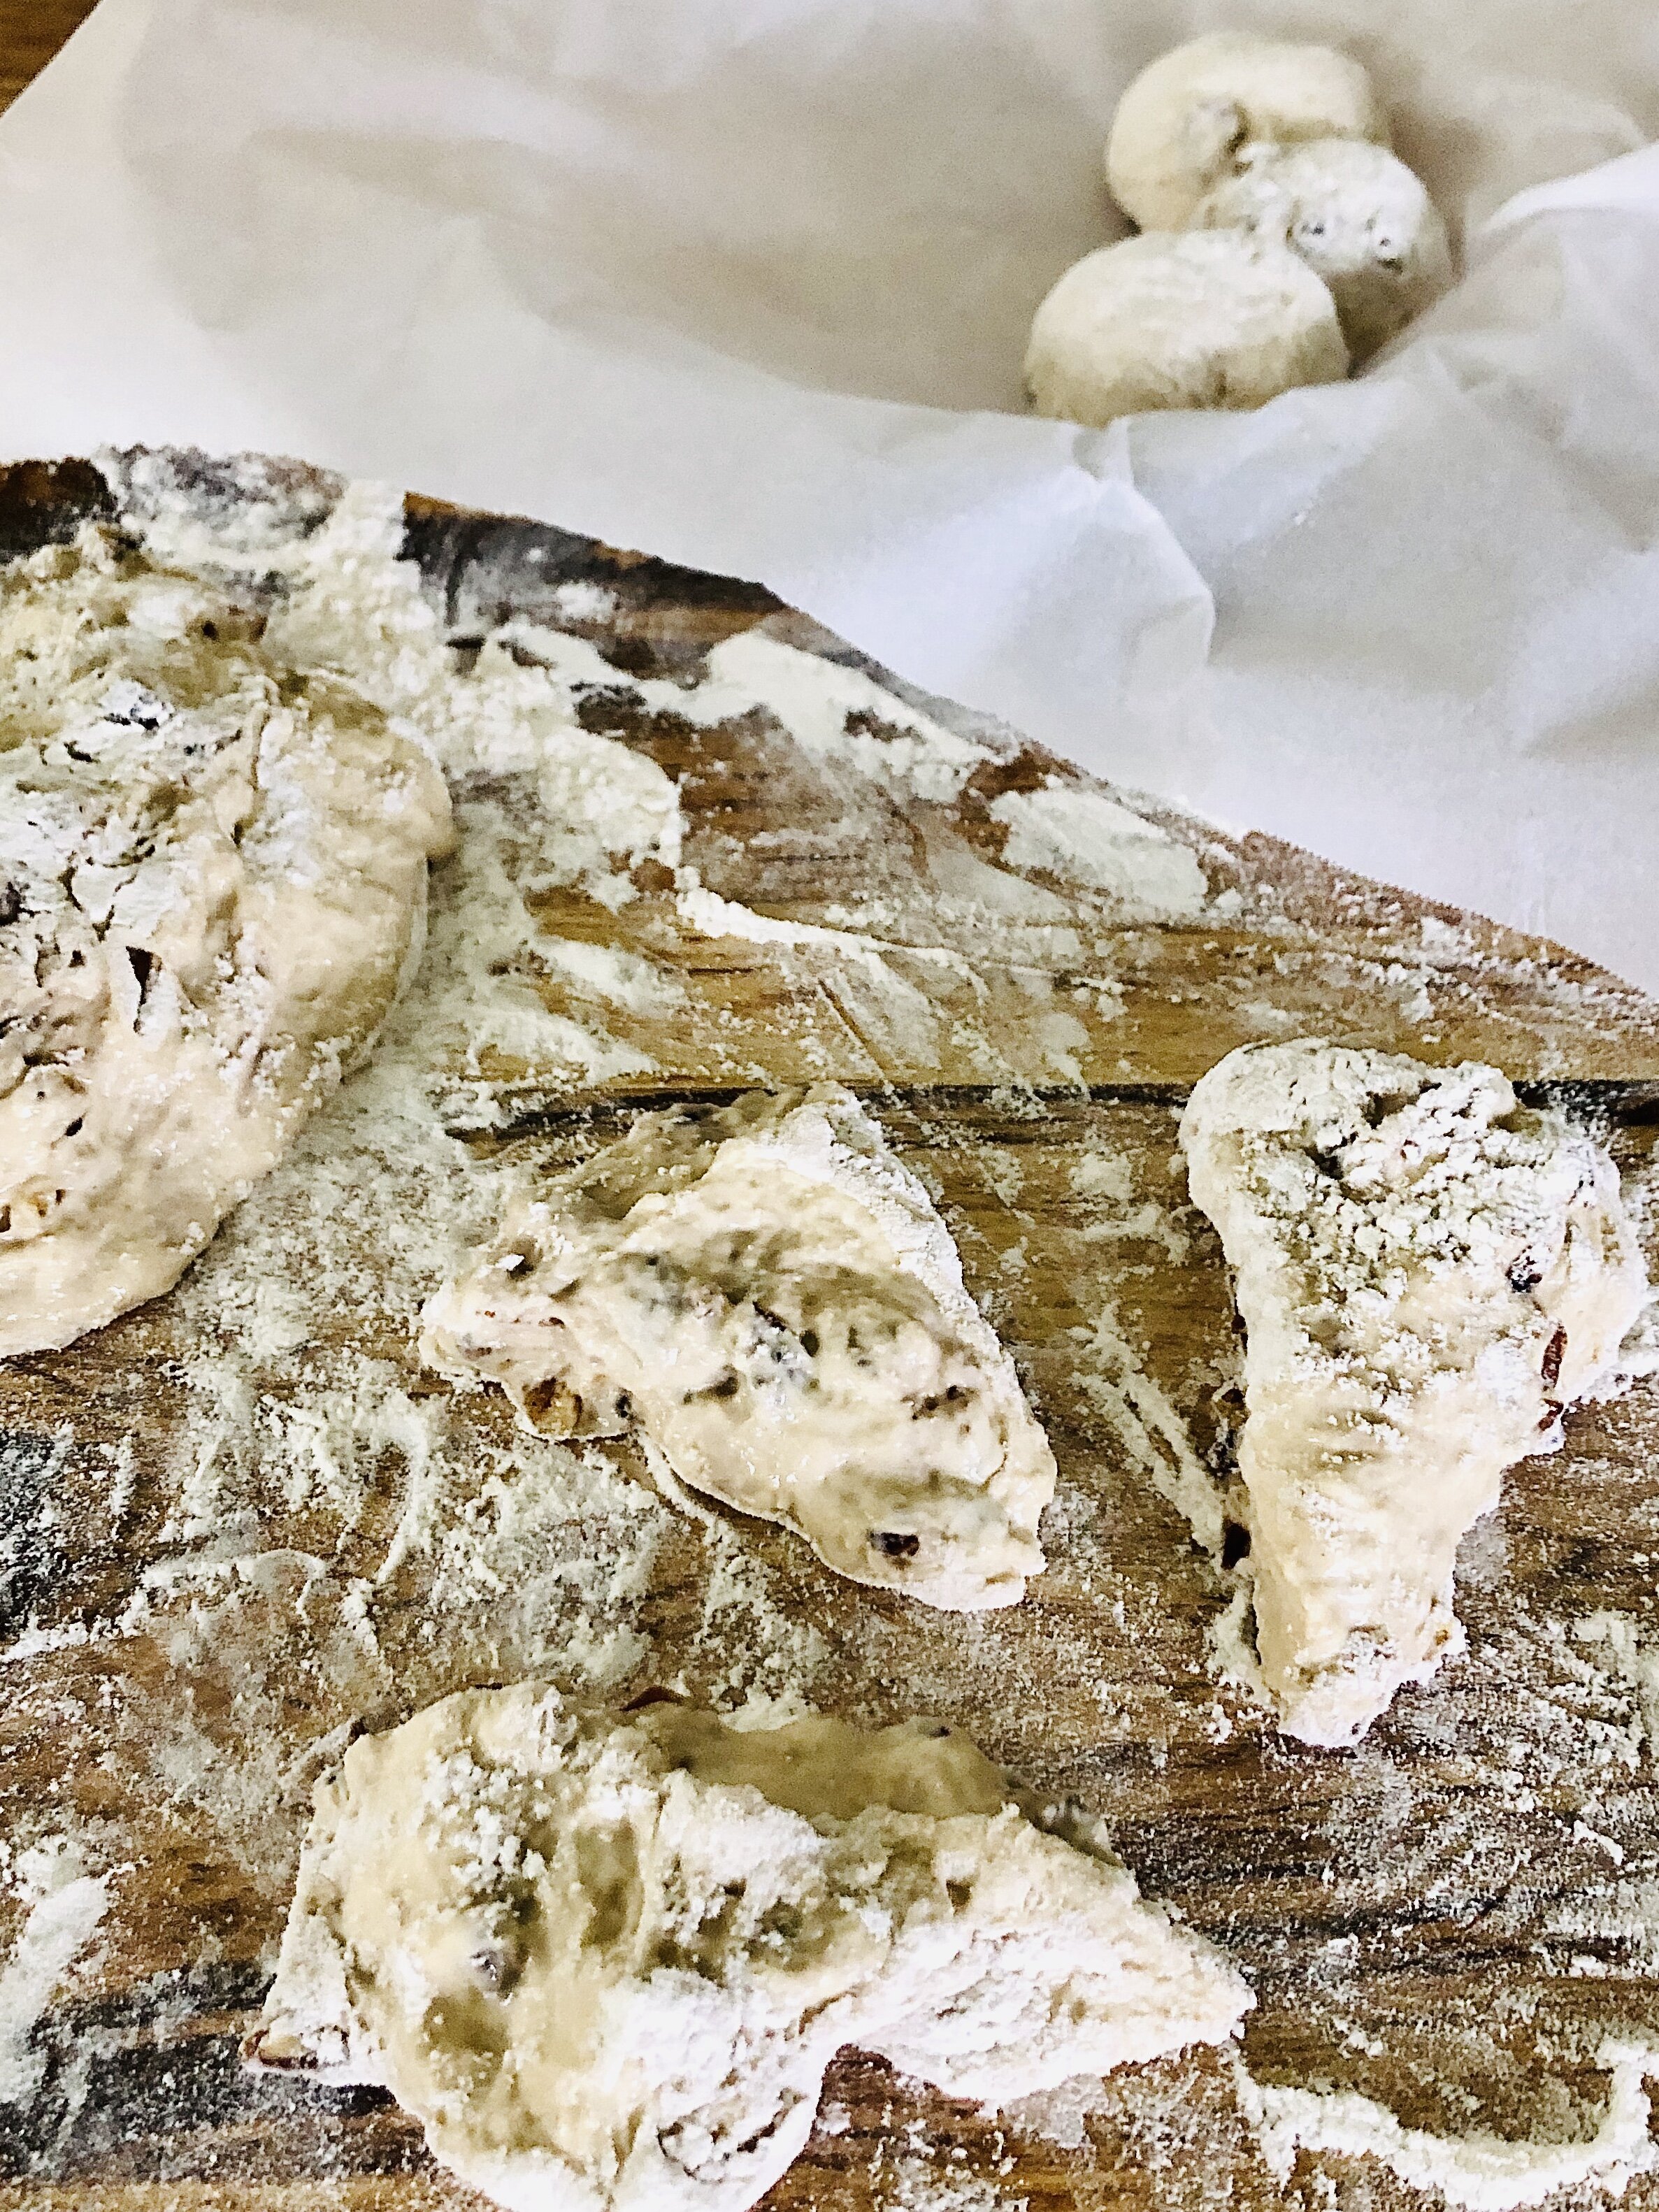
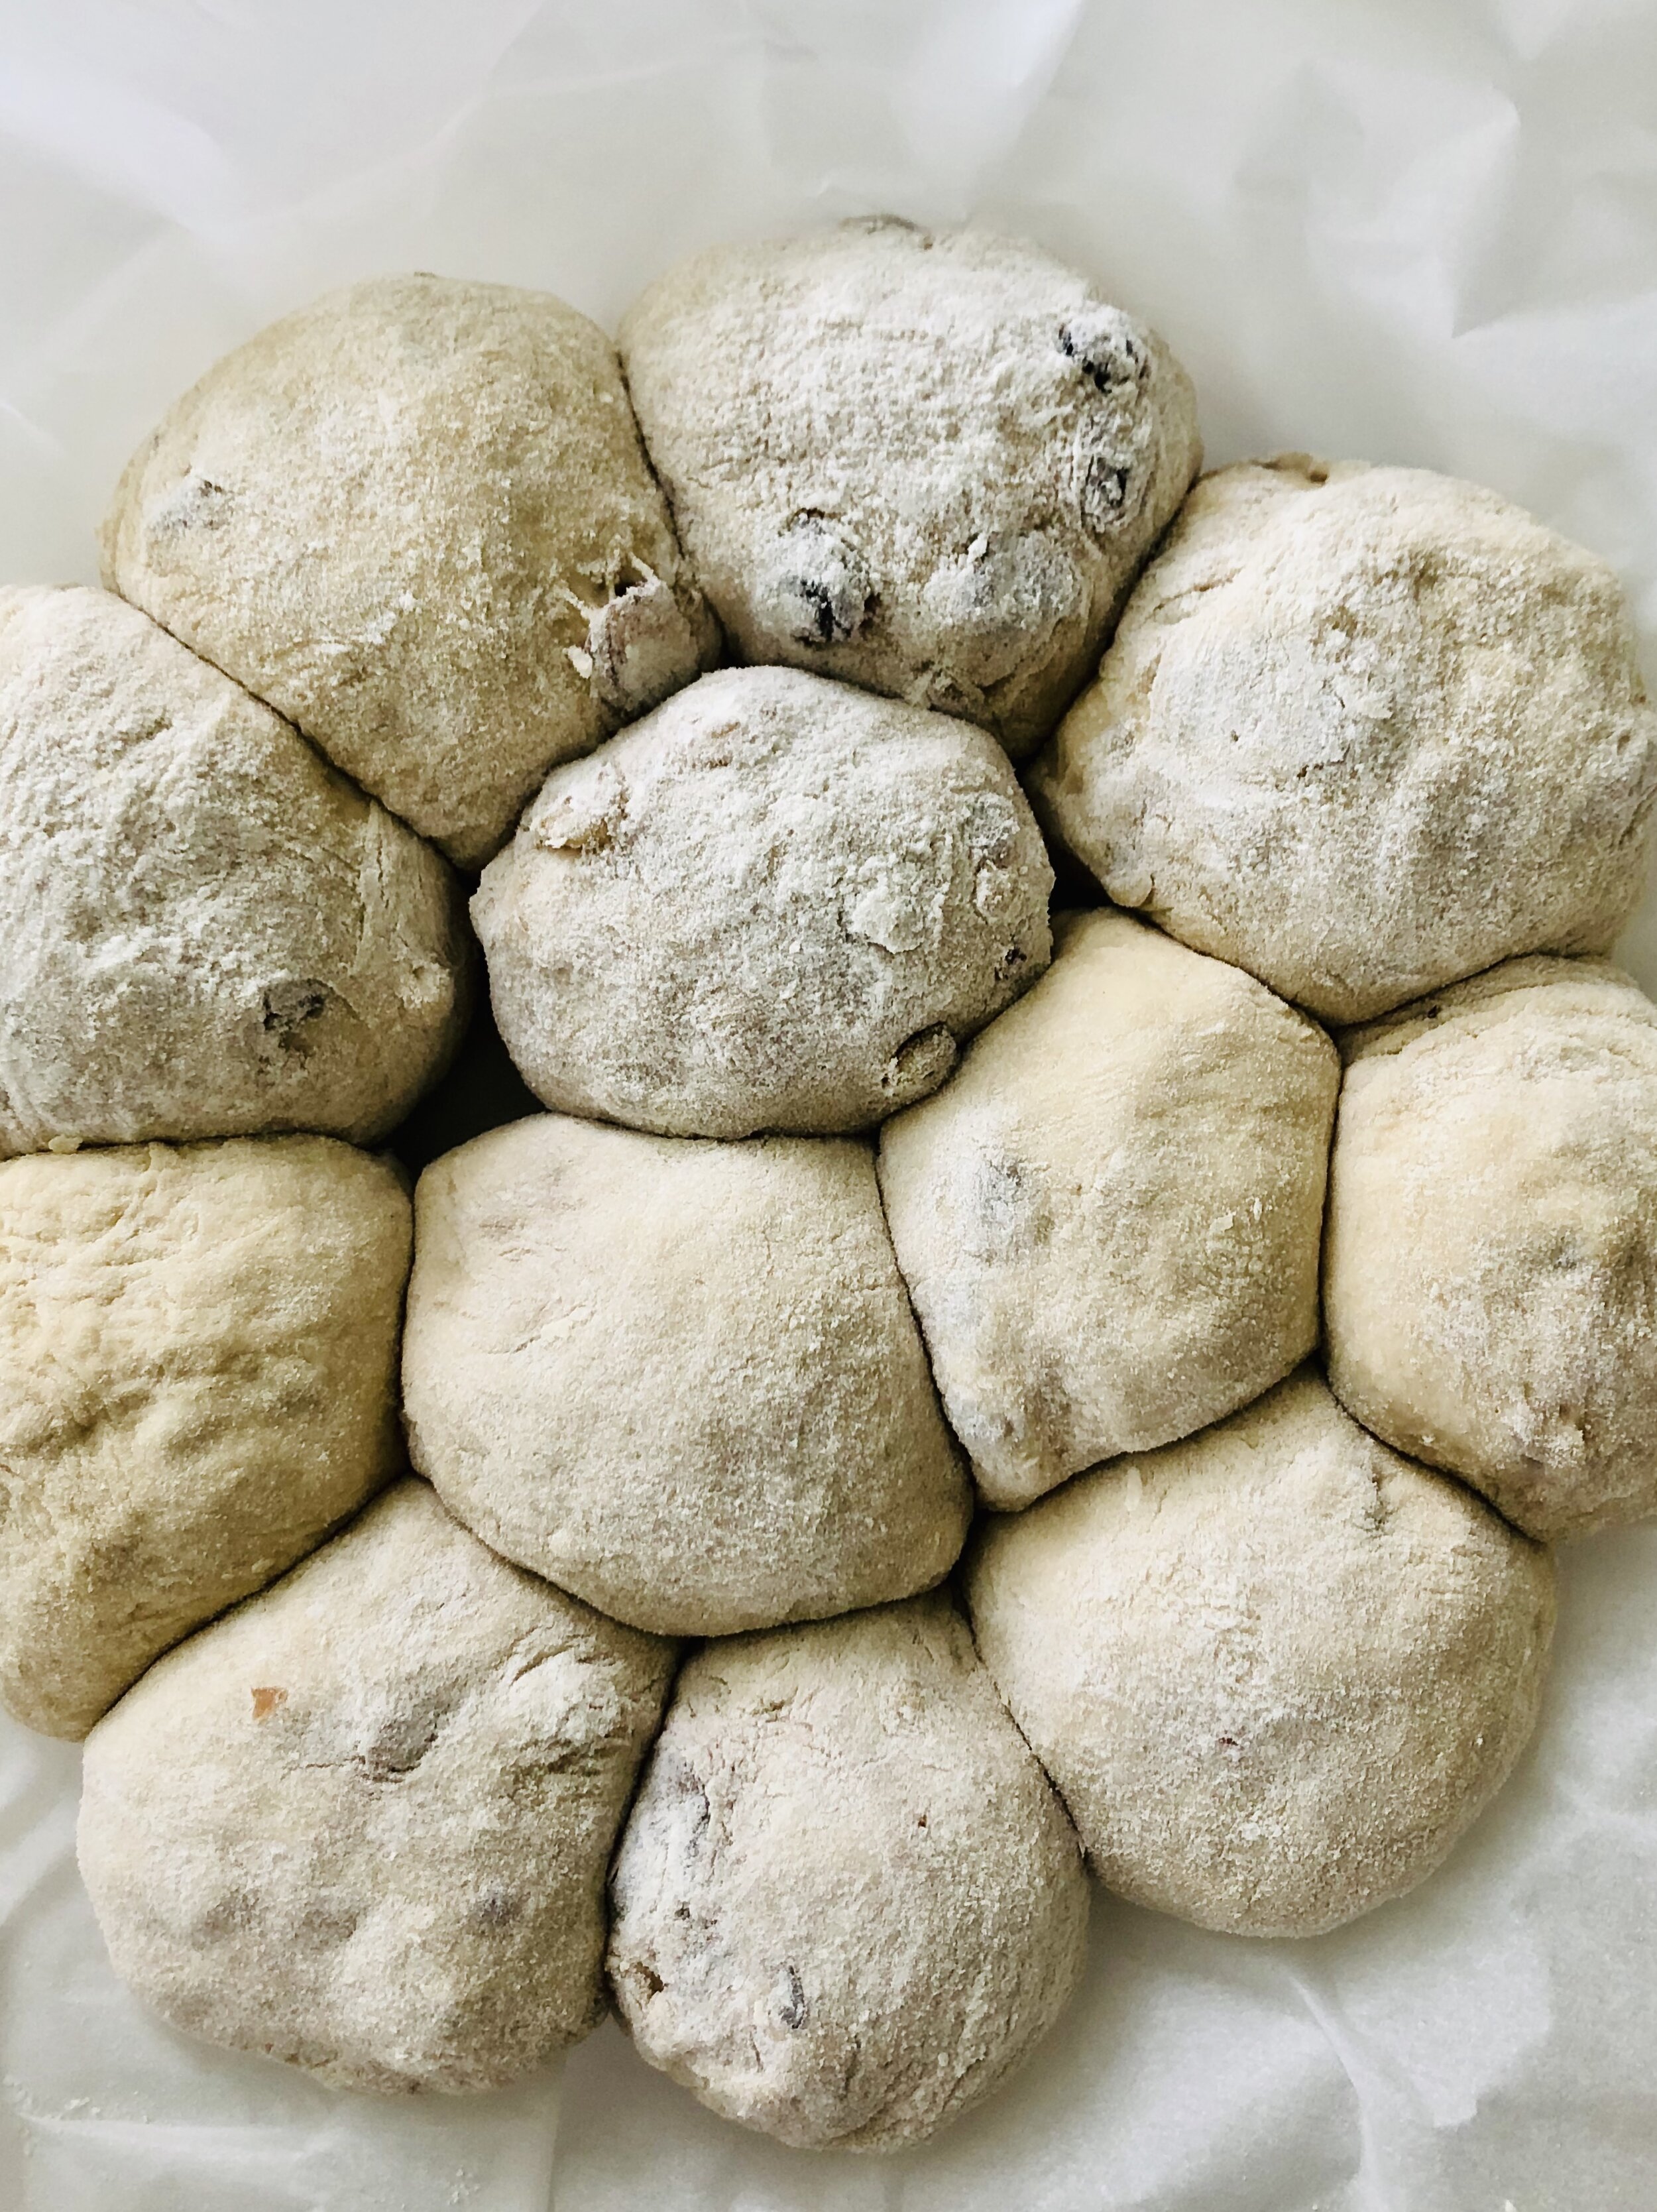
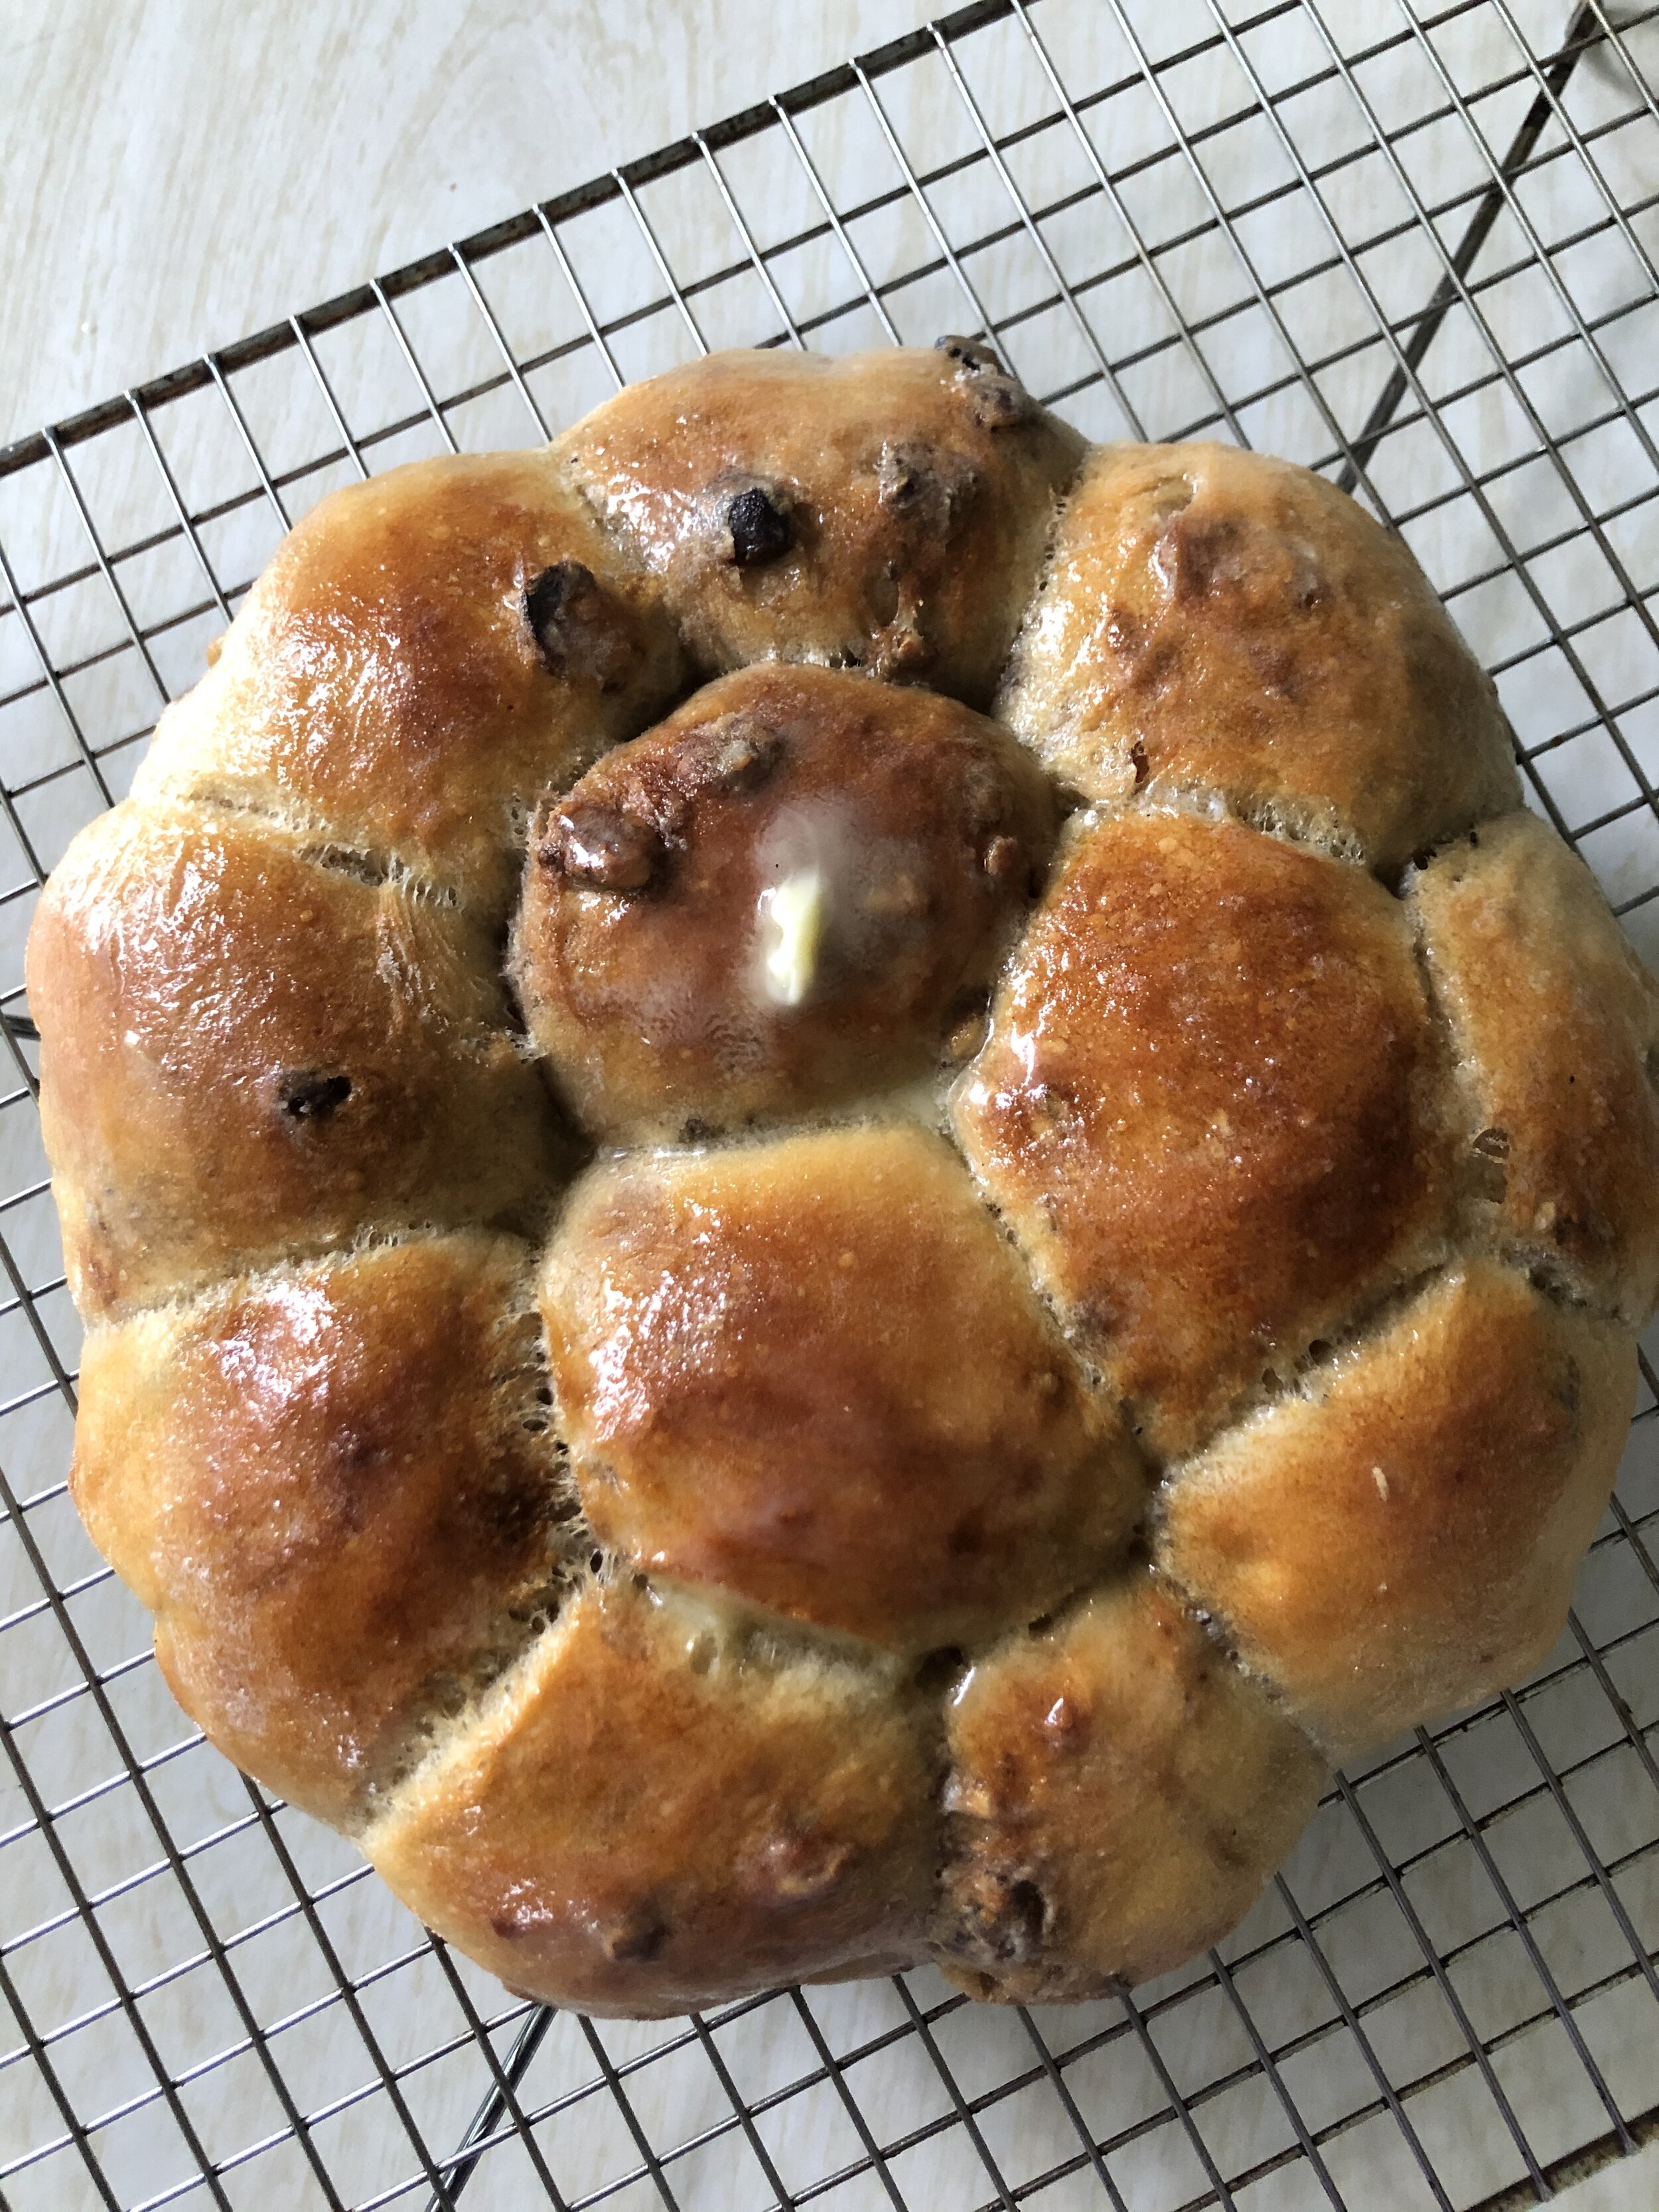
Speaking of heart shapes, how about these heart-shaped pretzels! I couldn't let February pass without trying these and they were most definitely the high of our Superbowl party. They had that perfect chewy soft pretzel texture with a touch of Valentine's spirit. Swoon… Obviously, they don’t have to be heart-shaped and in the future I’ll probably just cut little chunks of dough and skip the twisty shaping. The dough was surprisingly simple to make and with all the dough making that happens in this house, I kinda wonder why I waited so long to make them. Regardless of what shape you go for, just go for it cause they are fun and delicious!

Pretzel dough.jpg Pretzels.jpg pretzel dough project.jpg Pretzels1.jpg

Yields: 8 pretzels

Ingredients

For the Dough:

  • 1 ½ cups (355ml) warm water (about 110°F/45°C)
  • 1 packet (2 ¼ tsp) active dry yeast
  • 1 tsp salt
  • 1 tbsp granulated sugar
  • 4 cups (500g) all-purpose flour (plus extra for dusting)
  • 2 tbsp unsalted butter, melted

For the Baking Soda Bath:

  • 10 cups water
  • ⅔ cup baking soda

For Topping:

  • 1 egg yolk + 1 tbsp water (for egg wash)
  • Coarse salt, for sprinkling Instructions

Activate the Yeast:

  1. In a large mixing bowl, combine warm water, sugar, and yeast. Let it sit for 5 minutes until frothy.

Make the Dough:

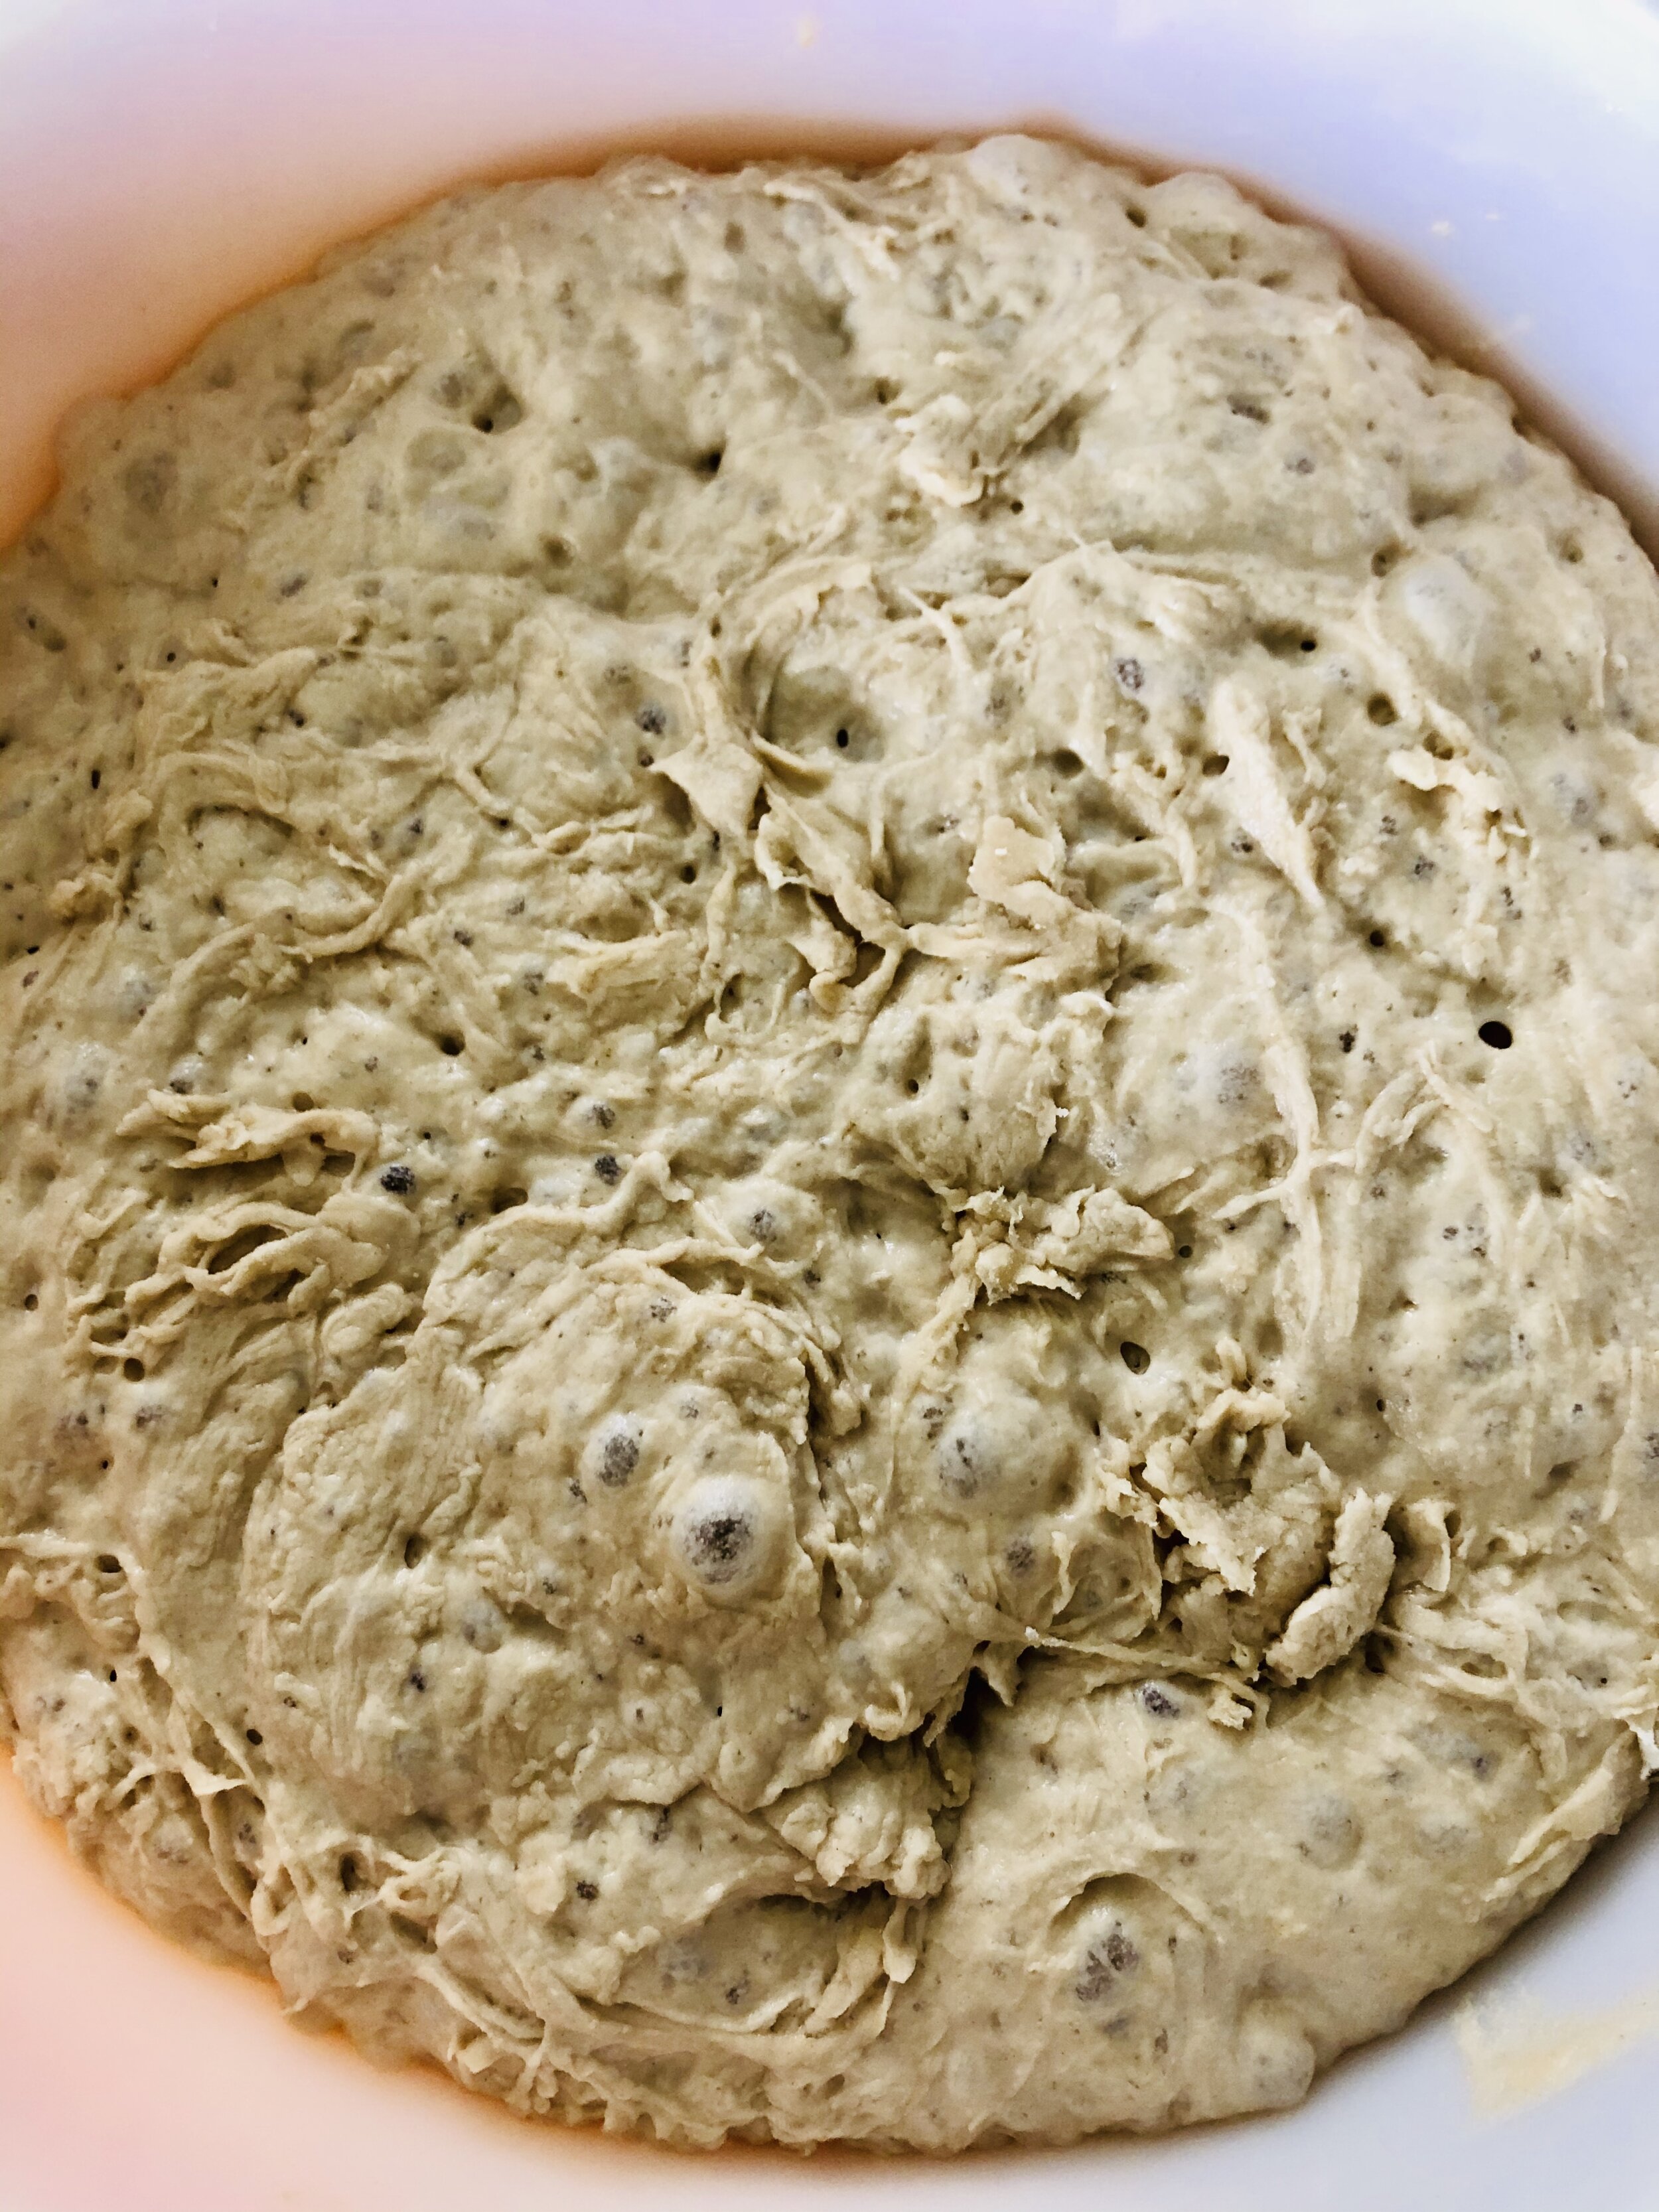
  1. Add melted butter and salt to the yeast mixture.
  2. Gradually stir in the flour, one cup at a time, until a dough forms.
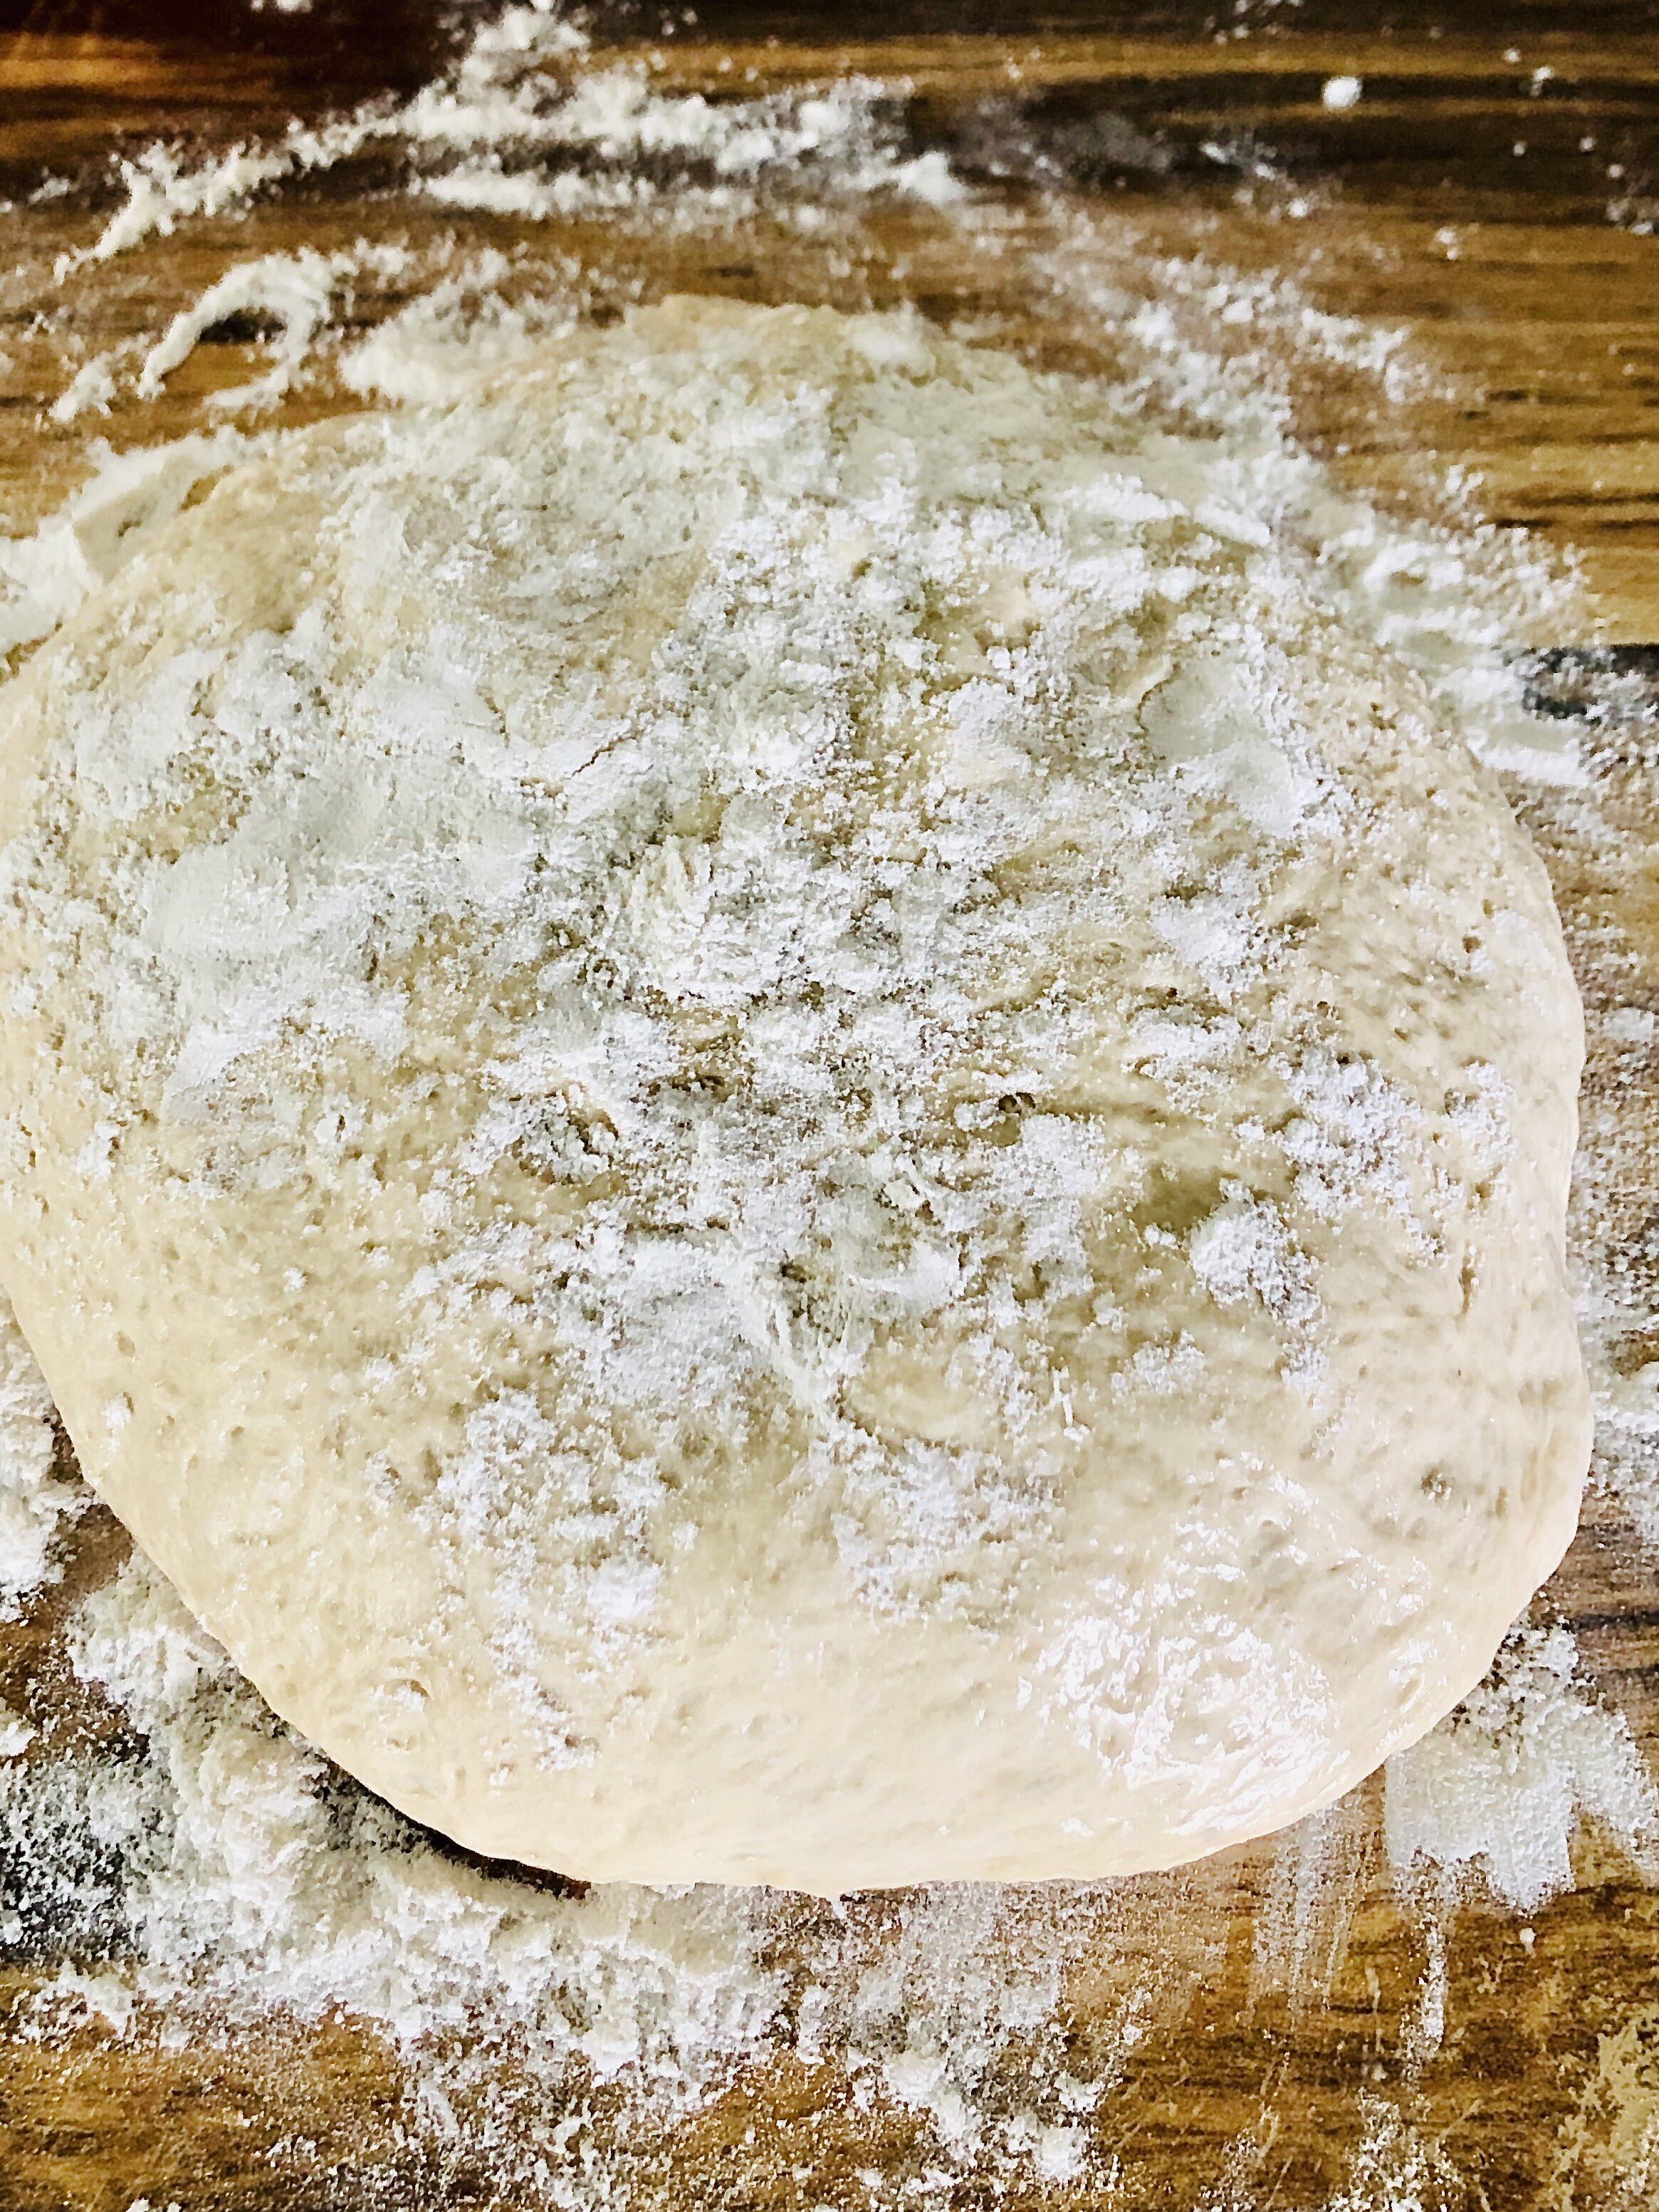
  3. Knead on a floured surface for about 5–7 minutes until smooth and slightly tacky.
  4. Place dough in a greased bowl, cover, and let rise in a warm spot for 1 hour or until doubled.

Preheat & Prepare Baking Soda Bath:

  1. Preheat oven to 450°F (230°C). Line two baking sheets with parchment paper.
  2. In a large pot, bring 10 cups of water to a boil. Stir in baking soda.

Shape the Pretzels:

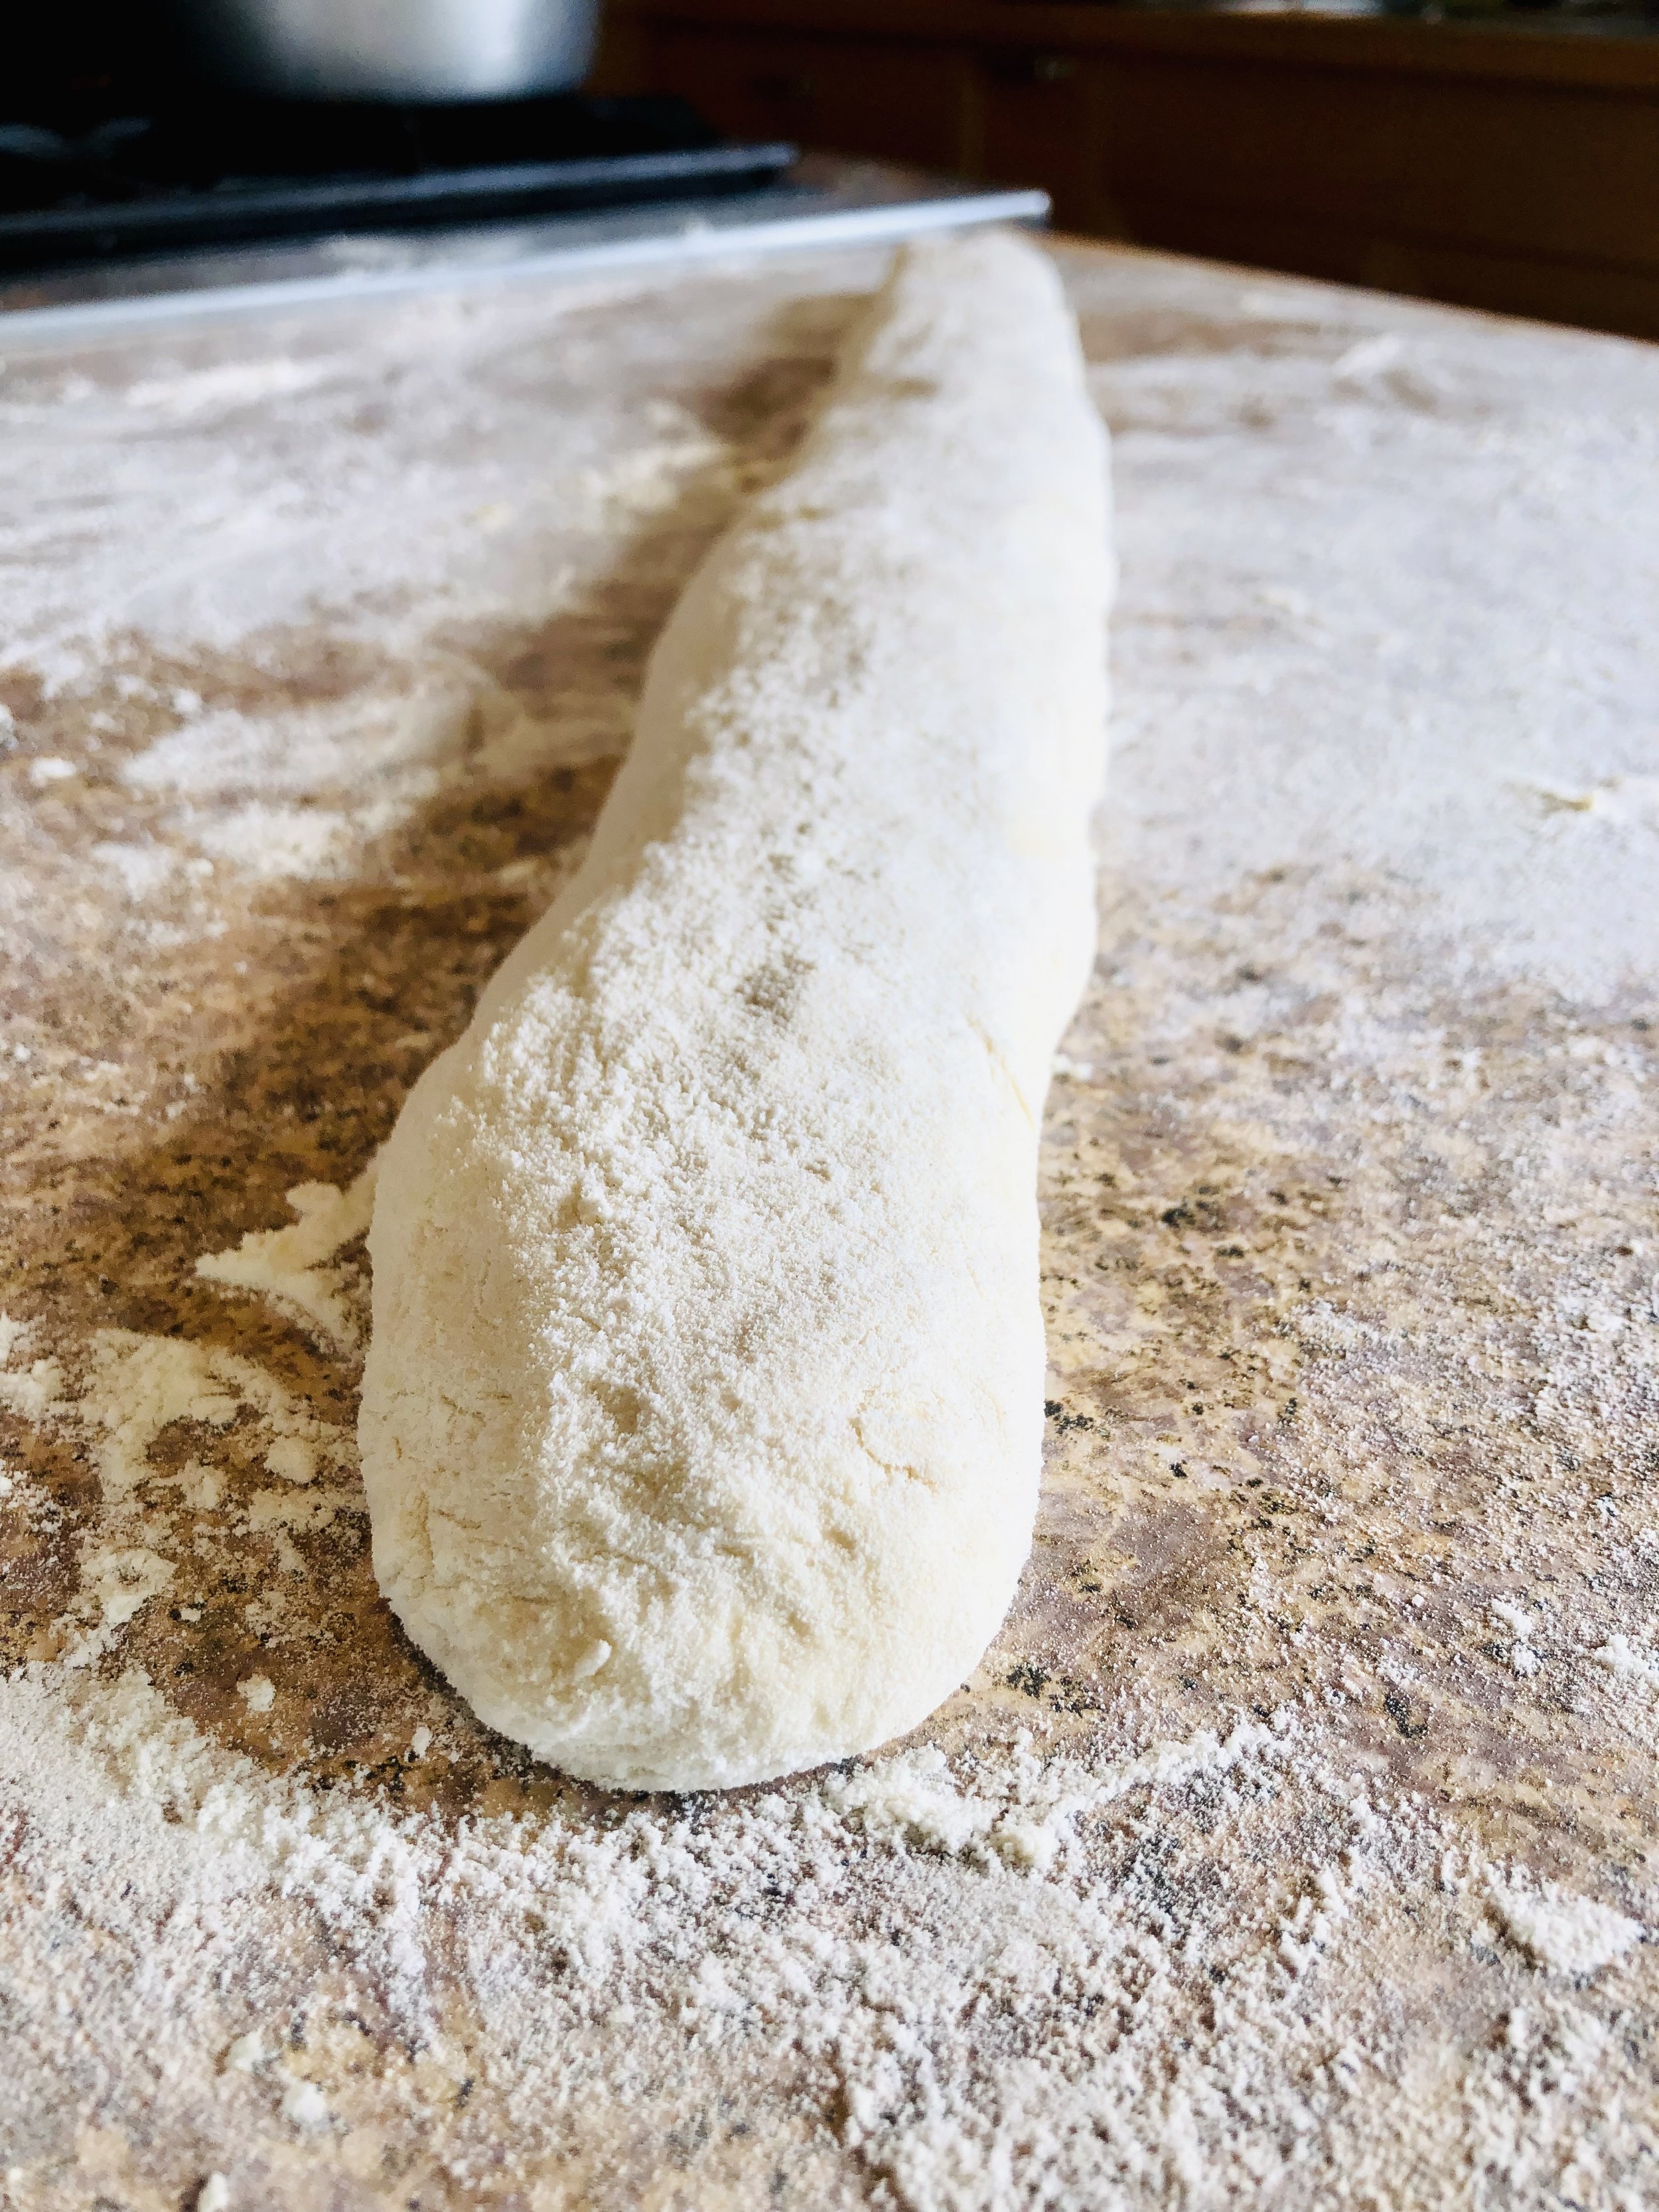
  1. Punch down dough and divide into 8 pieces. Roll each piece into a 24-inch rope.
  2. Shape into a heart by twisting the middle, curving the top shape, and then crossing the ends over each other, and pressing them together.

Boil the Pretzels:

  1. Using a slotted spoon, dip each pretzel in the baking soda bath for 30 seconds.
  2. Remove and place on prepared baking sheets.

Egg Wash & Bake:

  1. Brush pretzels with egg wash and sprinkle with coarse salt.
  2. Bake for 12–15 minutes until deep golden brown.
  3. Cool & Serve

And that’s a wrap on February! I wish I could say things are slowing down in March but this is the start of all things spoon carving. My class at Morikami is already sold out so hopefully you got lucky and secured as spot. Speaking of luck, that’s the theme for March! We are leaning into green and gold and hopefully lots of luck. Lucky in what? I don’t know but more importantly, is a shamrock “Shamantel” in order?

February 28, 2025 /Ashley Look
Pretzels, Valentine Day, February, Baking, Homemade pretzels, Fort Lauderdale, Miami, Everglades, Cooper's Hawk Winery & Restaurants
Breads, Flour, Recipes
Comment
Freshly baked bread in front of the porthole of the ship.

Breadmaking Onboard: Adventures in Baking on the High Seas

January 20, 2024 by Ashley Look in Breads, Flour, sailing

Setting sail on the open seas is a wild adventure full of salty air, rhythmic waves, and endless horizons. But amidst the nautical chaos, there's a secret culinary magic happening – baking bread in the ship's galley. It’s different from land baking. The comfort and warmth of a fresh loaf in the galley brings the crew to sniff out what’s in store, and more than anything offers a hint of calm below deck when the waters get rough.

The Galley's Surprising Bread-Making Vibe:

Who would've thought the ship's kitchen would be the perfect spot for bread baking? Well, it turns out the galley's heat and humidity create a sweet spot for bread dough to rise and shine. In the cozy, compact quarters, the conditions are just right to make the yeast do its dance and produce the fluffiest loaves.

.jpg IMG_2859.jpg IMG_3265.jpg

Riding the Dough Rollercoaster:

Now, it's not all smooth sailing in the galley. The ship's constant motion – whether it's a gentle sway or a more enthusiastic roll – messes with the whole bread-making gig. Picture this: trying to knead dough while the ship does its own interpretative dance. It's challenging, especially as ingredients move about, loose items fly around, and just standing upright is problematic. But a baker’s gotta bake, and the awkward galley space can just as easily become a meditative playground when your sea legs are about to give out. Deep breaths and knead dough… Some folks like to focus on the horizon but I just focus on the dough!

IMG_3030.jpg IMG_3329.jpg IMG_3295.jpg

Making Bread, Finding Comfort:

Amidst the ups and downs, there's nothing like the smell of fresh bread wafting throughout the ship. It's like a warm hug for those feeling a bit seasick and a therapeutic distraction for times when I too feel queasy. Over the years it’s become my way to create something homey and familiar in a sea state that’s always unpredictable. Kneading, shaping, and baking – it's like a delicious rebellion against the storm. And when that fresh loaf comes out of the oven, warm and comforting, it's more than just bread; it's a symbol of strength, togetherness, and perseverance on the high seas.

Sunset view from the bowsprit of a sailing ship with the JT sheet raised, capturing the serene beauty of the open sea.

Sailing into the sunset.

Baking bread at sea is more than a kitchen experiment; it's a crazy, comforting journey for any cook brave enough to face what awaits you offshore. The galley's controlled chaos, is a place to turn flour and yeast into a source of joy and stability. The aroma of freshly baked bread isn't just a kitchen treat; it's a reminder that even in the vastness of the ocean, the simple joys of life can be found in a warm loaf of bread, and a ship can be a home as good as any when you break bread with those you love.

Fair winds friends! And keep on baking!

January 20, 2024 /Ashley Look
Bread baking at sea, sea cook adventures, Freshbread onboard, galley life, rough seas, kneading dough, seasickness, homemade bread
Breads, Flour, sailing
Comment
Baker proudly displaying a freshly baked loaf of homemade bread.

Just a girl and her bread.

How a New Year's Resolution Changed My Life

January 06, 2024 by Ashley Look in Flour, Breads

Hey there, folks! As we dive into a new year, I figured I’d share a story about how a simple New Year's resolution led me down a path I could've never imagined.

Picture this: I was on vacation in Argentina, sick and not feeling my best, and contemplating what life had in store for me back home in New England. I was living there at the time, and the idea of bringing warmth and good smells into my life as I was coughing and sniffling was beyond inviting. I was chalk full of inspiration thanks to the book "Animal, Vegetable, Miracle," where the author's husband was a weekend bread baker. The thought of making my home cozy with freshly baked bread intrigued me. Just a couple of powders and water mixed together could fill a room with comfort? It was worth a shot, seeing I was sick as a dog, and heading back to a frigid Massachusetts winter.

So, I made my New Year's resolution: Learn how to bake bread. I bought a bread cookbook and weekly set about the challenge of trying to bake bread. Little did I know that this decision would spark a journey of self-discovery and growth. Baking bread became more than a hobby; it was a pathway to self-improvement at a time in which I was generally “meh” about everything else in life. The resolution was a project that staved off boredom and gave me something to do during the slowness that is a Cape Cod winter.

The scent of freshly baked bread filled my New England home, and I realized that resolutions, goals, and curiosities are like breadcrumbs leading us to our future selves. I started to crave more of these learning journeys, and over the years dove into other resolutions like exploring coffee latte art, learning jump rope tricks, and mastering the art of cooking meats on the bone. All these ideas have been things that I’ve expanded upon, broadening my skills with every attempt. These curiosities saddled nicely with how to spend my time. They have become part of a catalogue of sorts for things to do when I think “there’s nothing to do”.

But here's the kicker: you never know where a new hobby or habit might lead you. I loved bread baking so much that I started dabbling more in cooking and eventually I decided to take it to the next level. I enrolled in the Nutrition Therapy Institute, a cooking school in Denver, CO. Moving across the country for this program was my exit strategy for a life that at the time felt underwhelming. The “meh” feelings had me wondering if I was settling for a lifestyle that was fine enough, but I didn’t exactly love. Culinary school was a way out. It shook-up the stagnation I was feeling while providing the best time to explore this side of myself. I enjoyed learning all about cooking and deepening my skills. My random resolution grew into a full blown passion! Shortly before graduating, I landed a job cooking for the Sea Education Association, an organization that sails internationally conducting science based research.

If you had told me that baking bread at home would eventually send me around the world, I would never have believed you. I would double down on that belief if you happened to be part of the lucky few that got to taste some of these early breads. Yikes. Bricks I tell you… BRICKS! They were not good but that was ok. They were fun to make! And the anticipation of tasting them fresh from the oven was a thrill every time, even when the hard, dense texture could not be overlooked.

Homemade seed bread.jpg Anadama Bread.jpg Shaped baguette.jpg Honey Bread.jpg close up rolls.jpg Homemade bread.jpg The Wholesome Loaf.jpg Soft Sandwich Bread.jpg Basic Bread Recipe.jpg Simple Sourdough.jpg Squash Maple Walnut Loaf.jpg Canberry Sauce Bread.jpg

The thing is though, a journey is journey and you can’t see the finish-line before you start. You just have to start chipping away, rounding corners, and navigating the various turns as they come so you can later look back with pride and discover how far you’ve come. Looking back you can see how much fun you had a long the way, and hopefully how much fun is still is store as a passion can just grow and grow.

This journey taught me that our ideas, resolutions, and curiosities shape who we become. So, as you embrace this new year, don't be afraid to chase your own ideas or whimsy interests. Who knows where they might lead you? And if you stumble onto something amazing, be sure to report back because I'm always on the lookout for another learning journey to explore. My 2024 New Year’s Resolution is still yet to be determined so send me ideas if you got them! And incase you feel inspired for your own bread journey, here is basic bread recipe to get you started.

Cheers to an exciting year of new adventures and unexpected discoveries. Happy New Year, everyone!

January 06, 2024 /Ashley Look
New Year's Resolution, Bread baking journey, Career change, Personal growth, Curiosity and passion, cozy home, learning adventures, culinary exploration, Cooking school experience, unexpected career path
Flour, Breads
Comment
Fresh baked loaf of bread

Fresh baked loaf of bread.

Recent Highs In Flour and Wood

March 26, 2023 by Ashley Look in Breads, Flour, Wood, Spoons

I made this bread….

Hand carved wooden spoon

Hand carved wooden spoon.

And sold this spoon!

I’m leaning into a season of making. I have a lot of spoon work coming up and I’m trying my best to just enjoy the art of the practice. It’s been a while since I’ve been able to just sit with my crafts. I forget the luxury of what it means to “make time to take time.” But, with so many spoon carving classes on the horizon, I have nothing but gratitude for everything that’s in store. And when anxiety strikes and I’m feeling overwhelmed with sourcing knives, and cutting blanks, I switch to making breads where my hands can stay active but my mind can rest. So, basically, stay tuned for more post about both. Breads and spoons, breads and spoons…

You can click here if you want to get in on some spoon carving in Sebring, FL. Or if a quiet day at home is more your speed, please enjoy the bread recipe below:

Recipe

Soaker:

  • 1 cup flour

  • 1/2 cup water

  • 1/2 cup milk

  • 1 tbsp plain yogurt

Dough:

  • 2 cups flour

  • 1 1/4 tsp yeast

  • 1 1/2 tsp salt

  • 1/4 cup water

  • 1 tbsp molasses

Process:

  1. Combine the soaking ingredients in a large bowl and let rest for 2 to 8 hours.

  2. After resting, add the additional ingredients to make the dough.

  3. Mix it well so the dough starts to form and then knead it until it’s springy (10 minutes-ish? and you might use up to another cup of flour while kneading.)

  4. Cover and rest for 1 hour in a clean bowl that’s been greased with oil.

  5. After resting and the dough has doubled in size, punch it down and knead it again.

  6. Shape the dough, and let rest another hour.

  7. Preheat a dutch oven to 450F degrees.

  8. Score the dough and carefully transfer it to the preheated dutch oven and bake for 25 minutes.

  9. Remove the lid and reduce the temperature to 410F degrees and continue baking for 15 more minutes.

  10. Carefully remove the bread from the oven and let cool before slicing.

  11. Enjoy!

March 26, 2023 /Ashley Look
Flour, wood, spoons, spoon carving, bread making, craft, art
Breads, Flour, Wood, Spoons
Comment
IMG_0139.jpeg Bathtub soak.jpg A good soak.jpg

The value of a good soak: A bread story

February 12, 2023 by Ashley Look in Flour, Breads

Fun fact about me; I’ve never met a soak I didn’t like. Pools, spas, friend’s bath tubs… I live for anything resembling an immersion tank. I’m not joking. I will plan trips around where I can get my soak on, and occasionally have resorted to sneaking around town, just to sneak myself into a local hotel hot tub. Being up to my ears in water has a calming effect and the warmer the water, the better! Half the time I bring myself to the brink of fainting. I know that probably sounds extreme but ascending from a tank so utterly depleted, lends itself to some mad rest. Such lassitude is where the aches of life get a chance to heal and I can move about my days a bit softer and more forgiving. Well guess what? The same goes for bread making!

Soaking flour in bowl.

Equal parts flour and water soaking in a bowl.


Recipe

Soaker:

  • 1 cup flour

  • 1 cup water

Dough:

  • 2 cups flour

  • 1 1/4 tsp yeast

  • 1 1/2 tsp salt

Process:

  1. Combine the soaking ingredients in a large bowl and let rest for 2 to 8 hours.

  2. After resting, add the additional ingredients to make the dough.

  3. Mix it well so the dough starts to form and then knead it until it’s springy (10 minutes-ish?)

  4. Cover and rest for 1 hour in a clean bowl that’s been greased with oil.

  5. After resting and the dough has doubled in size, punch it down and knead it again.

  6. Shape the dough, and let rest another hour.

  7. Preheat a dutch oven to 450F degrees.

  8. Score the dough and carefully transfer it to the preheated dutch oven and bake for 25 minutes.

  9. Remove the lid and reduce the temperature to 410F degrees and continue baking for 15 more minutes.

  10. Carefully remove the bread from the oven and let cool before slicing.

  11. Enjoy!


Bread baked from soaked flour.

So, soaked flour, soaked self… both produce good results. Give it a go and feel your way through the process. The dough will be light, and the crumb of the bread softer. Not a bad things really.

Bake on!

February 12, 2023 /Ashley Look
Soaked flour, bread, recipe, dough, soft dough, crumb, dutch oven, yeast, of grain and grain
Flour, Breads
Comment

A freshly baked loaf of Molasses and Milk bread.

Bread for the Home

October 23, 2022 by Ashley Look in Breads, Flour

Still got it!

I baked this loaf of bread yesterday. It was my first attempt at bread baking post elbow surgery. Did I use both hands to knead it? Not really… This is a one-handed wonder bread but still, it was good to see not all is lost!


Recipe -ish

Dry Ingredients Combined:

  • 2 cups flour

  • 3/4 tsp yeast

  • 3/4 tsp salt

Wet Ingredients Combined:

  • 1/4 cup molasses

  • 1/4 cup warm milk

  • 1/4 cup warm water

Process:

  1. Place all dry ingredients in a bowl.

  2. Mix wet ingredients together and then add to the bowl.

  3. Combine, form dough, knead…

  4. Cover and rest for 1 hour.

  5. Punch down, knead again, shape, and let rest another hour.

  6. Preheat oven to 400F degrees.

  7. Bake for 30ish minutes.

  8. Enjoy!


This loaf is on the small side cause I needed it to be manageable with one hand. Now, just imagine what you could bake with two!

So, go on…get dirty! Bake this and let me know what you think. You like-y?

October 23, 2022 /Ashley Look
fresh bread, bread baking, molasses, milk, of grain and grain, kneading dough, one-handed baking, yeast, homemade bread, bread for home
Breads, Flour
Comment
A loaf of Simply Soft Sandwich Bread with a buttery crust.

A loaf of Simply Soft Sandwich Bread with a buttery crust.

Simply Soft Sandwich Bread

March 28, 2021 by Ashley Look in Breads, Full Moon Baking Club

Hey bakers!

I have a little something different this month. The original idea for the Full Moon Baking Club was to bake and share the delights monthly with those in your community. Covid put the kabash on that dream but not before turning folks into banana bread bakers, sourdough caregivers, virtual class junkies, and all things Zoom. So, it was really only a matter of time until I got in on the action. I’ve been hesitant to embrace digital living but a friend from across the web held my hand for my first ever Zoom baking class!

Rebecca from A Sweeter Course, whom also happens to run The Night Bakery was kind enough to give me a taste of all the things I’ve been missing. We recently “got together” to test this month’s Full Moon Baking Club recipe while participating in a bit of an interview exchange. I gave her all the details on my becoming a full-time family caregiver and how all things Food and Craft became my coping mechanisms. You can read all about it here as well as find the recipe for this month’s Simply Soft Sandwich Bread.

IMG_4909.jpeg IMG_4910.jpeg IMG_4912.jpeg IMG_4917.jpeg IMG_4918.jpeg

It’s also worth noting that anyone that runs something called The Night Bakery was destined to be a friend. Those of you lucky enough to live around New York City you should check of all the sweet treats Rebecca has available! There are cakes and cookies and subscription boxes to fill your fancy so be sure to browse her offerings and get in on what’s baking!

Happy full moon friends! See you next month!

March 28, 2021 /Ashley Look
How To Feed A Senior, Full Moon Baking Club, simply soft sandwich bread, recipe, fresh bread, breaking bread, A Sweeter Course, The Night Bakery, New York City, sweet treats, community, bread bakers, family caregiver, food, craft, baking, banana bread, bakers
Breads, Full Moon Baking Club
Comment

A Simple Sandwich Bread Recipe for Beginner Bakers

February 27, 2021 by Ashley Look in Full Moon Baking Club, Recipes, Breads

This Simple Sandwich Bread Recipe breaks down the bread baking process for beginner bakers embarking on a new bread making journey. It’s more than a recipe. It’s a tactile relationship between wet and dry ingredients so anyone can become an intuitive baker.

Read More
February 27, 2021 /Ashley Look
How To Feed A Senior, Full Moon Baking Club, simple sandwich bread, beginner baker, flour, yeast, bread baking journey, intuitive baking, basic bread recipe, wet verse dry ingredients, sticky dough, dry dough, tactile, bread baking process, milk, measuring dry ingredients, liquid volume, kneading dough, stiff dough, oven spring
Full Moon Baking Club, Recipes, Breads
Comment
These Honey Nut Date Rolls baked in a Dutch Over are crunchy on the outside and soft and chewy on the inside. (PS-Ignore my dirty nails. I was carving a lot when I made these. Eek!)

These Honey Nut Date Rolls baked in a Dutch Over are crunchy on the outside and soft and chewy on the inside. (PS-Ignore my dirty nails. I was carving a lot when I made these. Eek!)

November 2020: Honey Nut Date Rolls

How To Feed A Senior
November 30, 2020 by Ashley Look in Full Moon Baking Club, Recipes, Breads

My life after caregiving tales will continue as it’s only the end of November and I’ll be at sea until mid January. But fear not Full Moon Bakers! I have a club recipe for you to make this month that will compliment the upcoming holiday vibe. These Honey Nut Date Rolls provide that special hint of festive, bringing good spirits to everyone that gets a taste. They also offer you, the baker, a bit of a challenge by folding in ingredients into dough that’s already prepped. The significance of this step can’t be understated because the technique can elevate your baking for years to come. You can take the exact same recipe and substitute the dates and walnuts for other dried fruit, nuts, cheese, seeds, etc. It’s more of a formula than a recipe so feel free to experiment!

dough.jpg nuts and dates.jpg folding dough.jpg kneeded dough.jpg cutting rolls.jpg shaped hone nut date rolls.jpg Rolls in Dutch Oven.jpg Buttered Honey Nut Date Rolls.jpg

Ingredients

  • 3 cups flour
  • 1 1/2 tsp salt
  • 1/4 tsp active dry yeast
  • 1 1/2 cups warm water
  • 2 TBSP honey
  • 1/2 cup pitted, chopped dates
  • 1/2 cup chopped walnuts

Directions

Day 1 Prep:

  1. Place the flour in a large bowl with the salt and the yeast
  2. Next, combine the water and the honey together and then pour it into the bowl with the flour mixture.
  3. Mix the ingredients together until a stick dough ball forms.
  4. Cover and let rest for 8 hours or overnight.

Day 2 Prep:

  1. After the dough has risen, place the chopped dates and walnuts on top.
  2. With a wet hand, gently reach along the sides of the bowl and lift and fold the dough over the top, beginning to cover the dates and nuts with the dough.
  3. Turn the bowl a quarter turn and reach in again loosening the dough from the bowl edges and bringing up over the the nuts and dates.
  4. Do this two or three more times until the dough has been loosened from the bowl on all side and the dates and nuts are enclosed.
  5. Then, dump the dough out onto a floured surface.
  6. Gently begin to knead the dough adding more flour as necessary to keep it from sticking to your hands and counter.
  7. Continue to knead the dough helping distribute the dates and nuts thoughout, being careful not to over work them out of the dough.
  8. After kneading, cut the dough into 10 to 12 pieces and carefully shape them into little round balls.
  9. Place each dough ball in a pie pan that's covered with parchment paper and cover the top with plastic wrap.

Bake:

  1. Preheat a dutch oven in the oven to 450F degrees.
  2. When the oven reaches temperature, carefully remove the dutch oven and place the parchment paper with the rolls inside.
  3. Cover with the lid and return the dutch oven to the oven and bake for 20 minutes.
  4. After 20 minutes, remove the lid, lower the temperature to 415F degrees and continue baking for another 10 minutes.
  5. After baking, carefully remove the rolls from the dutch oven and let cool on a wire rack.
  6. While the rolls are still hot, brush the tops with butter or honey butter* (see tip below)and let it melt into the crust.
Fresh baked and buttered Honey Nut Date Rolls.

Fresh baked and buttered Honey Nut Date Rolls.

*Tip: These rolls are exceptionally good with the addition of honey butter. You can easily make some by mixing 2 TBSP of butter with 1 TSP of honey. Warm slightly it in the microwave or on the stove top, mix it together, and then brush the tops of you warm rolls and enjoy. Yum, yum, yum

November 30, 2020 /Ashley Look
How To Feed A Senior, Full Moon Baking Club, Honey Nut Date Rolls, Flour, bread, baking
Full Moon Baking Club, Recipes, Breads
Comment
 
Search