Of Grain and Grain  |  Tactile Explorations of Flour and Wood

By Ashley Look

  • Blog
  • Flour
  • Wood
  • Shop
  • Services
  • Events
  • About
  • Contact
  • Search
IMG_0139.jpeg Bathtub soak.jpg A good soak.jpg

The value of a good soak: A bread story

February 12, 2023 by Ashley Look in Flour, Breads

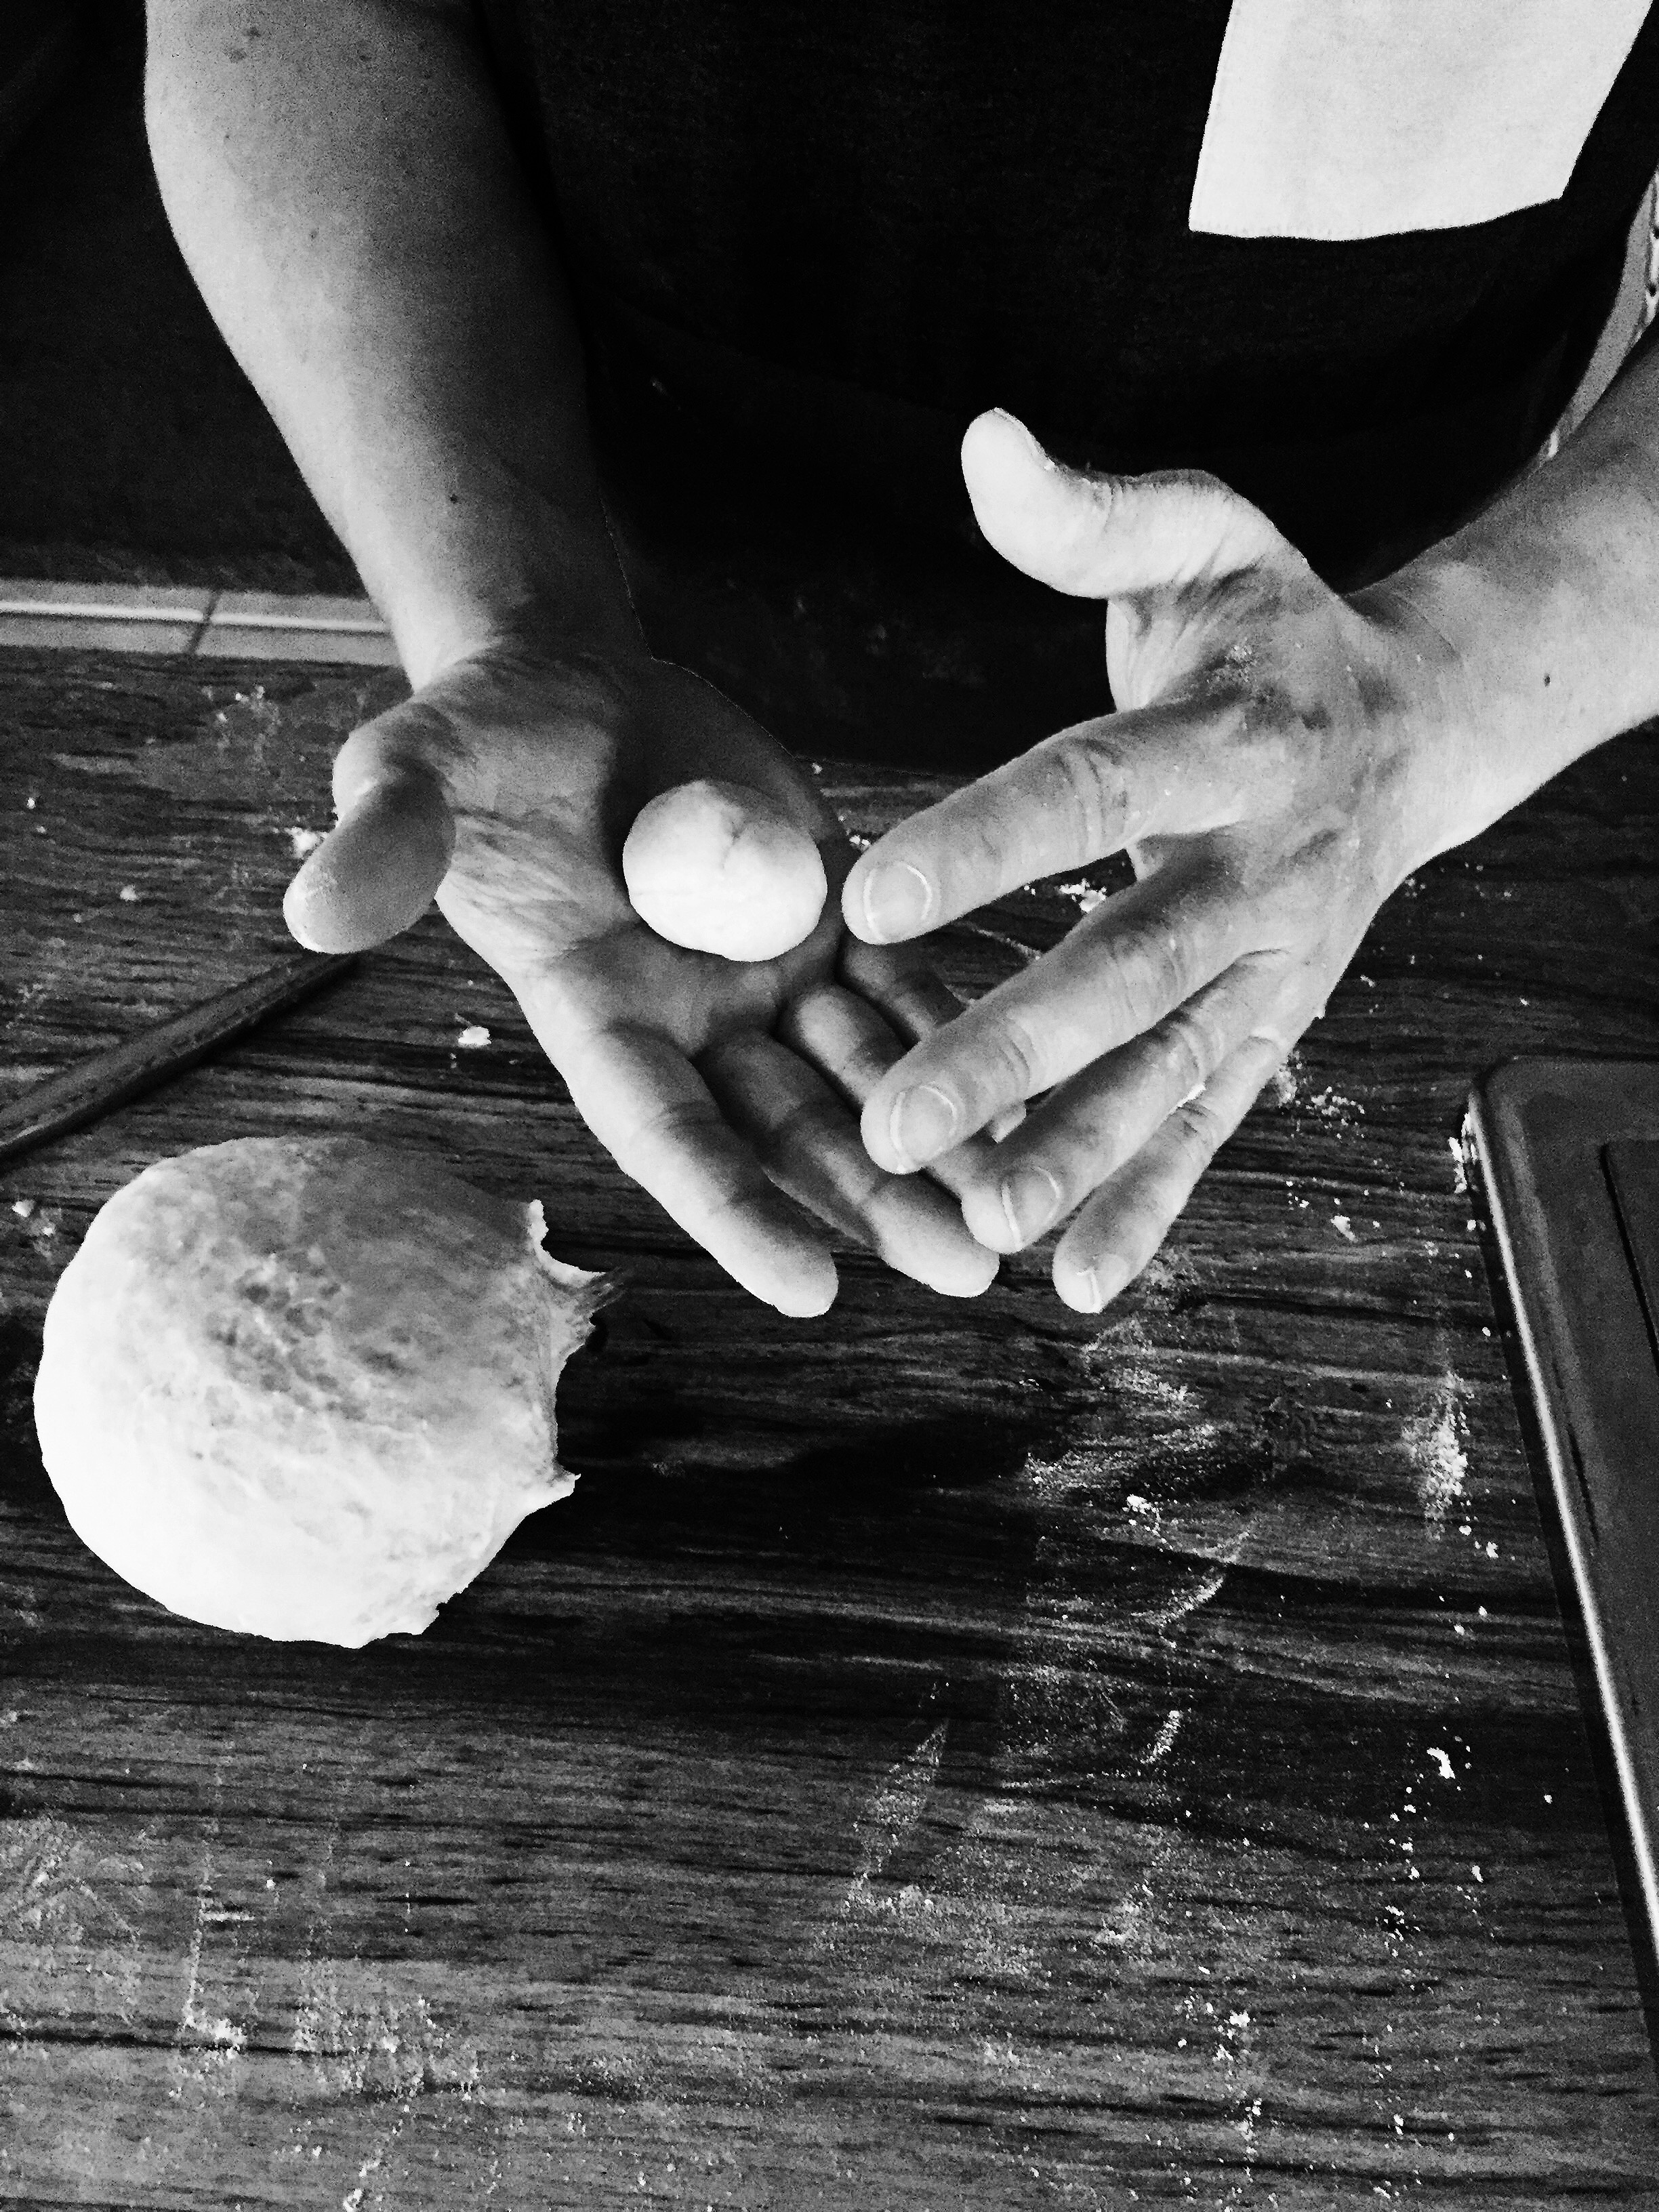
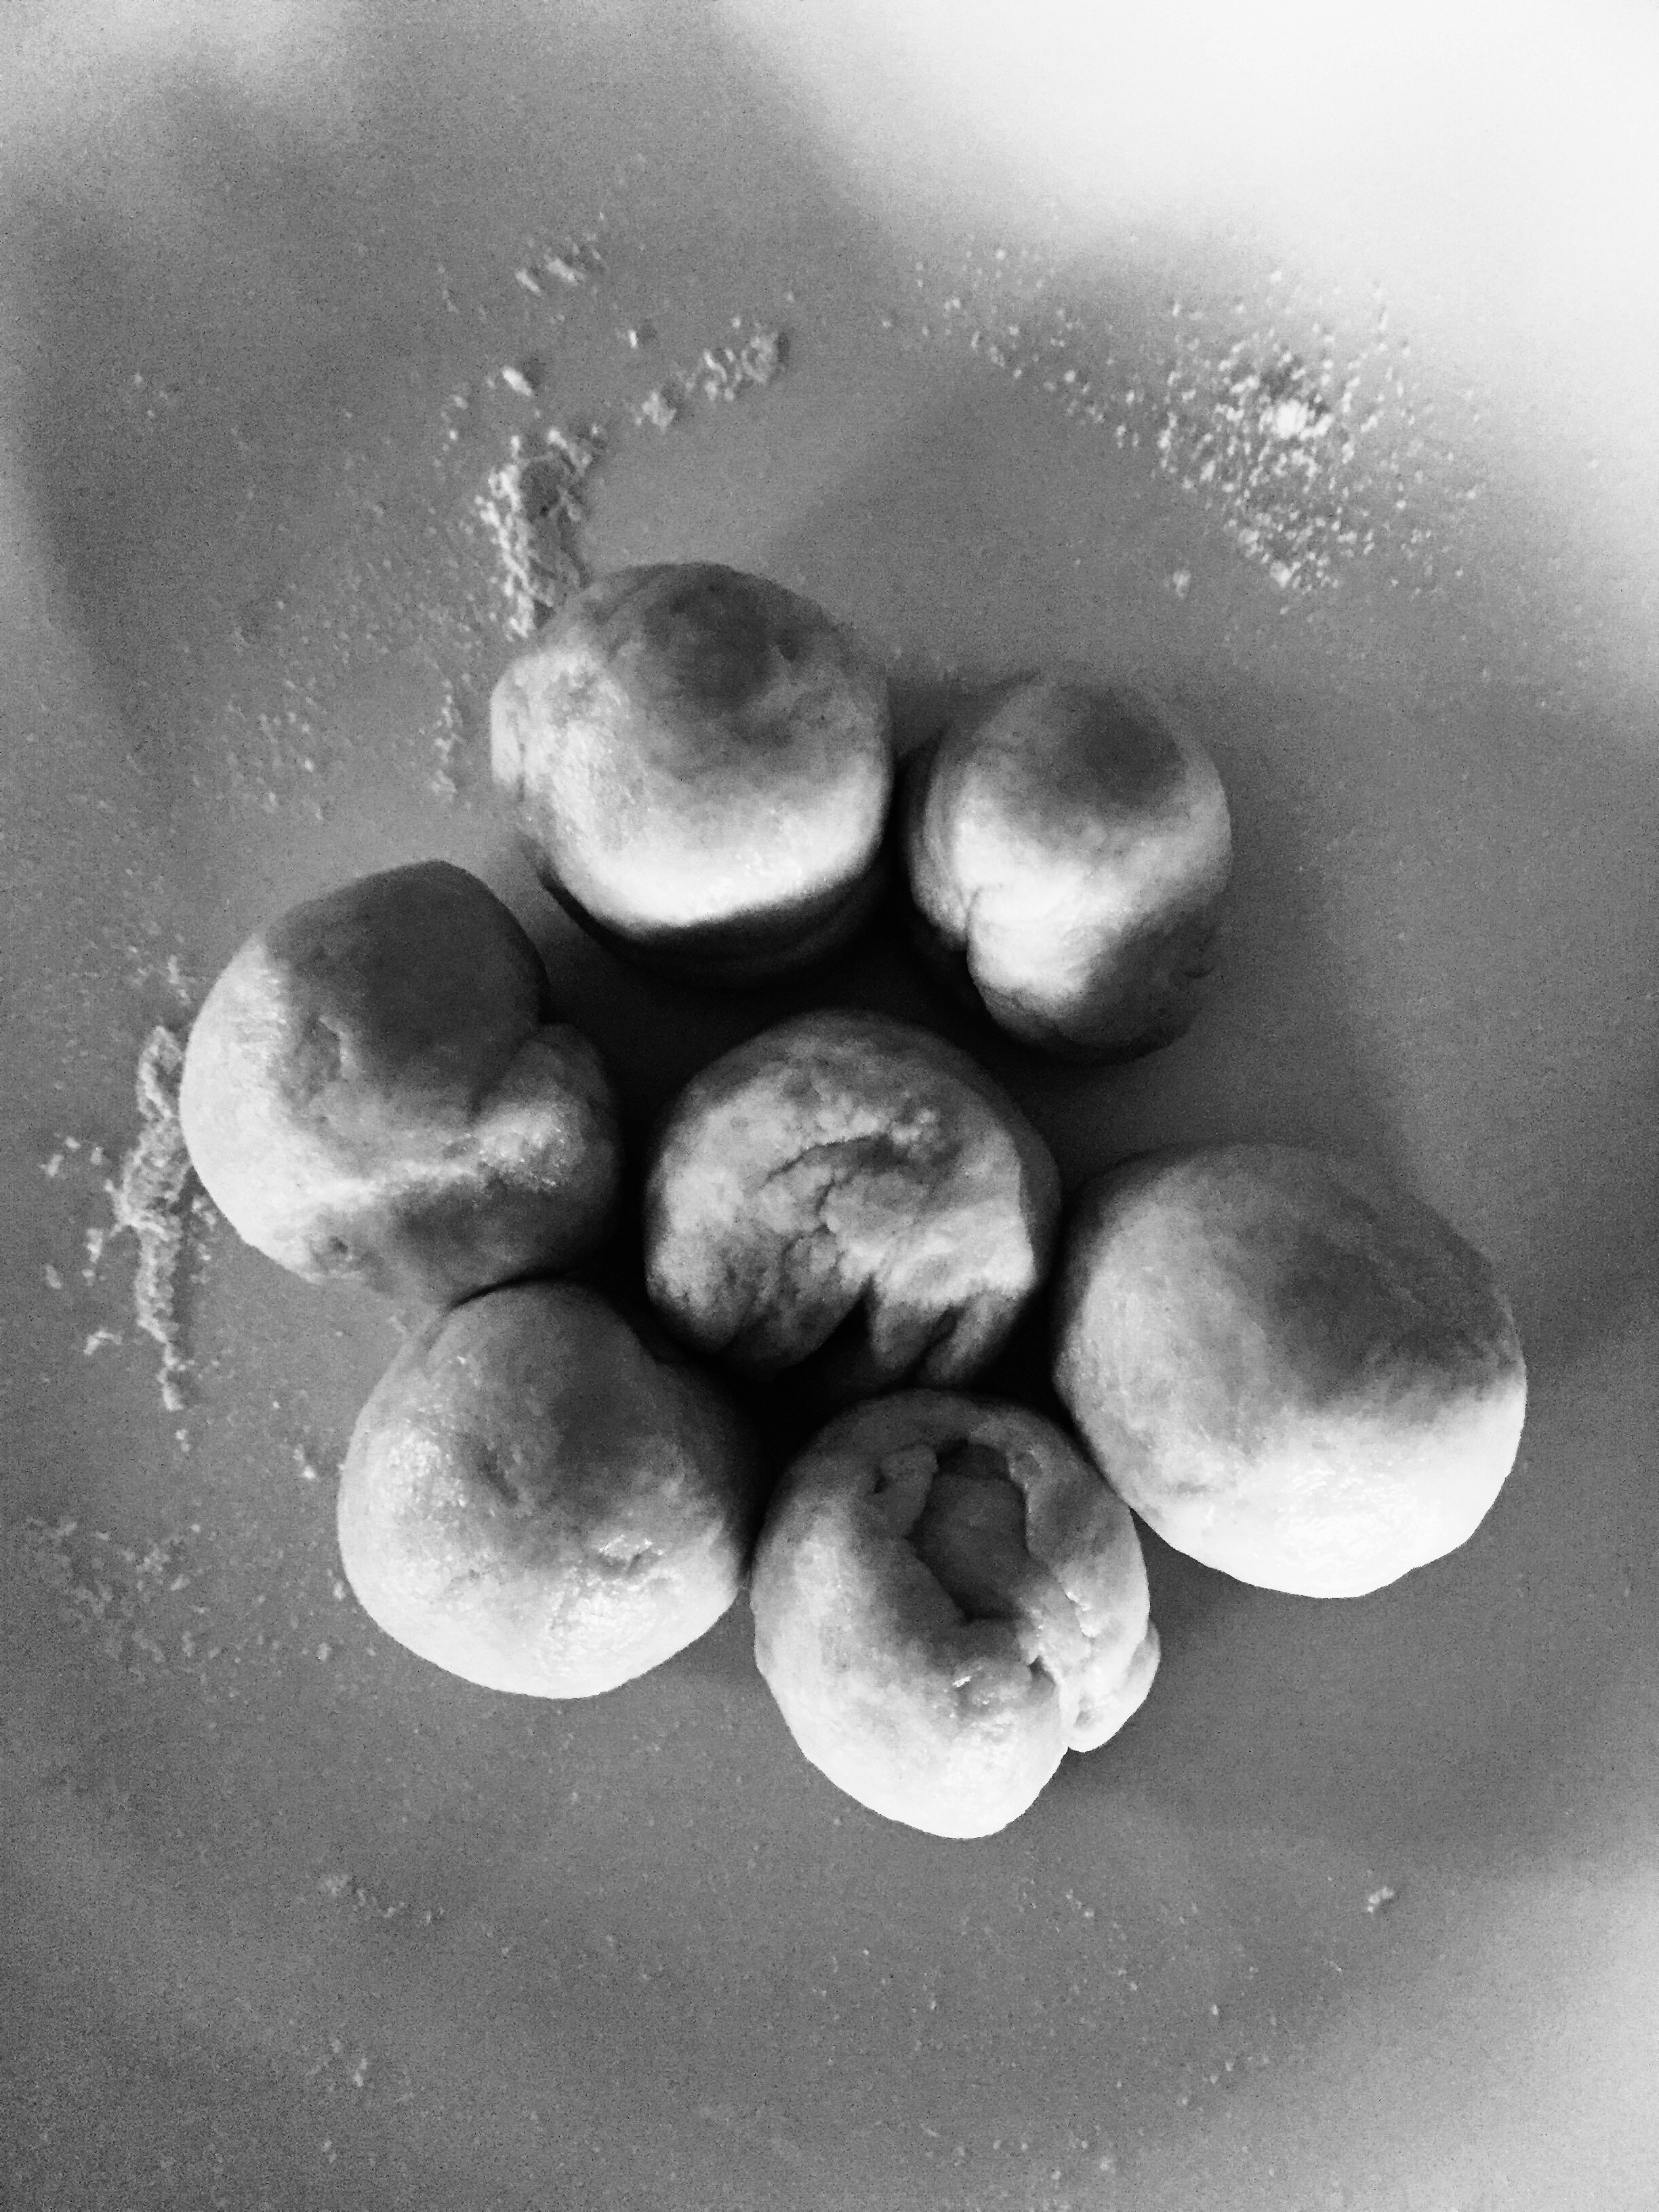
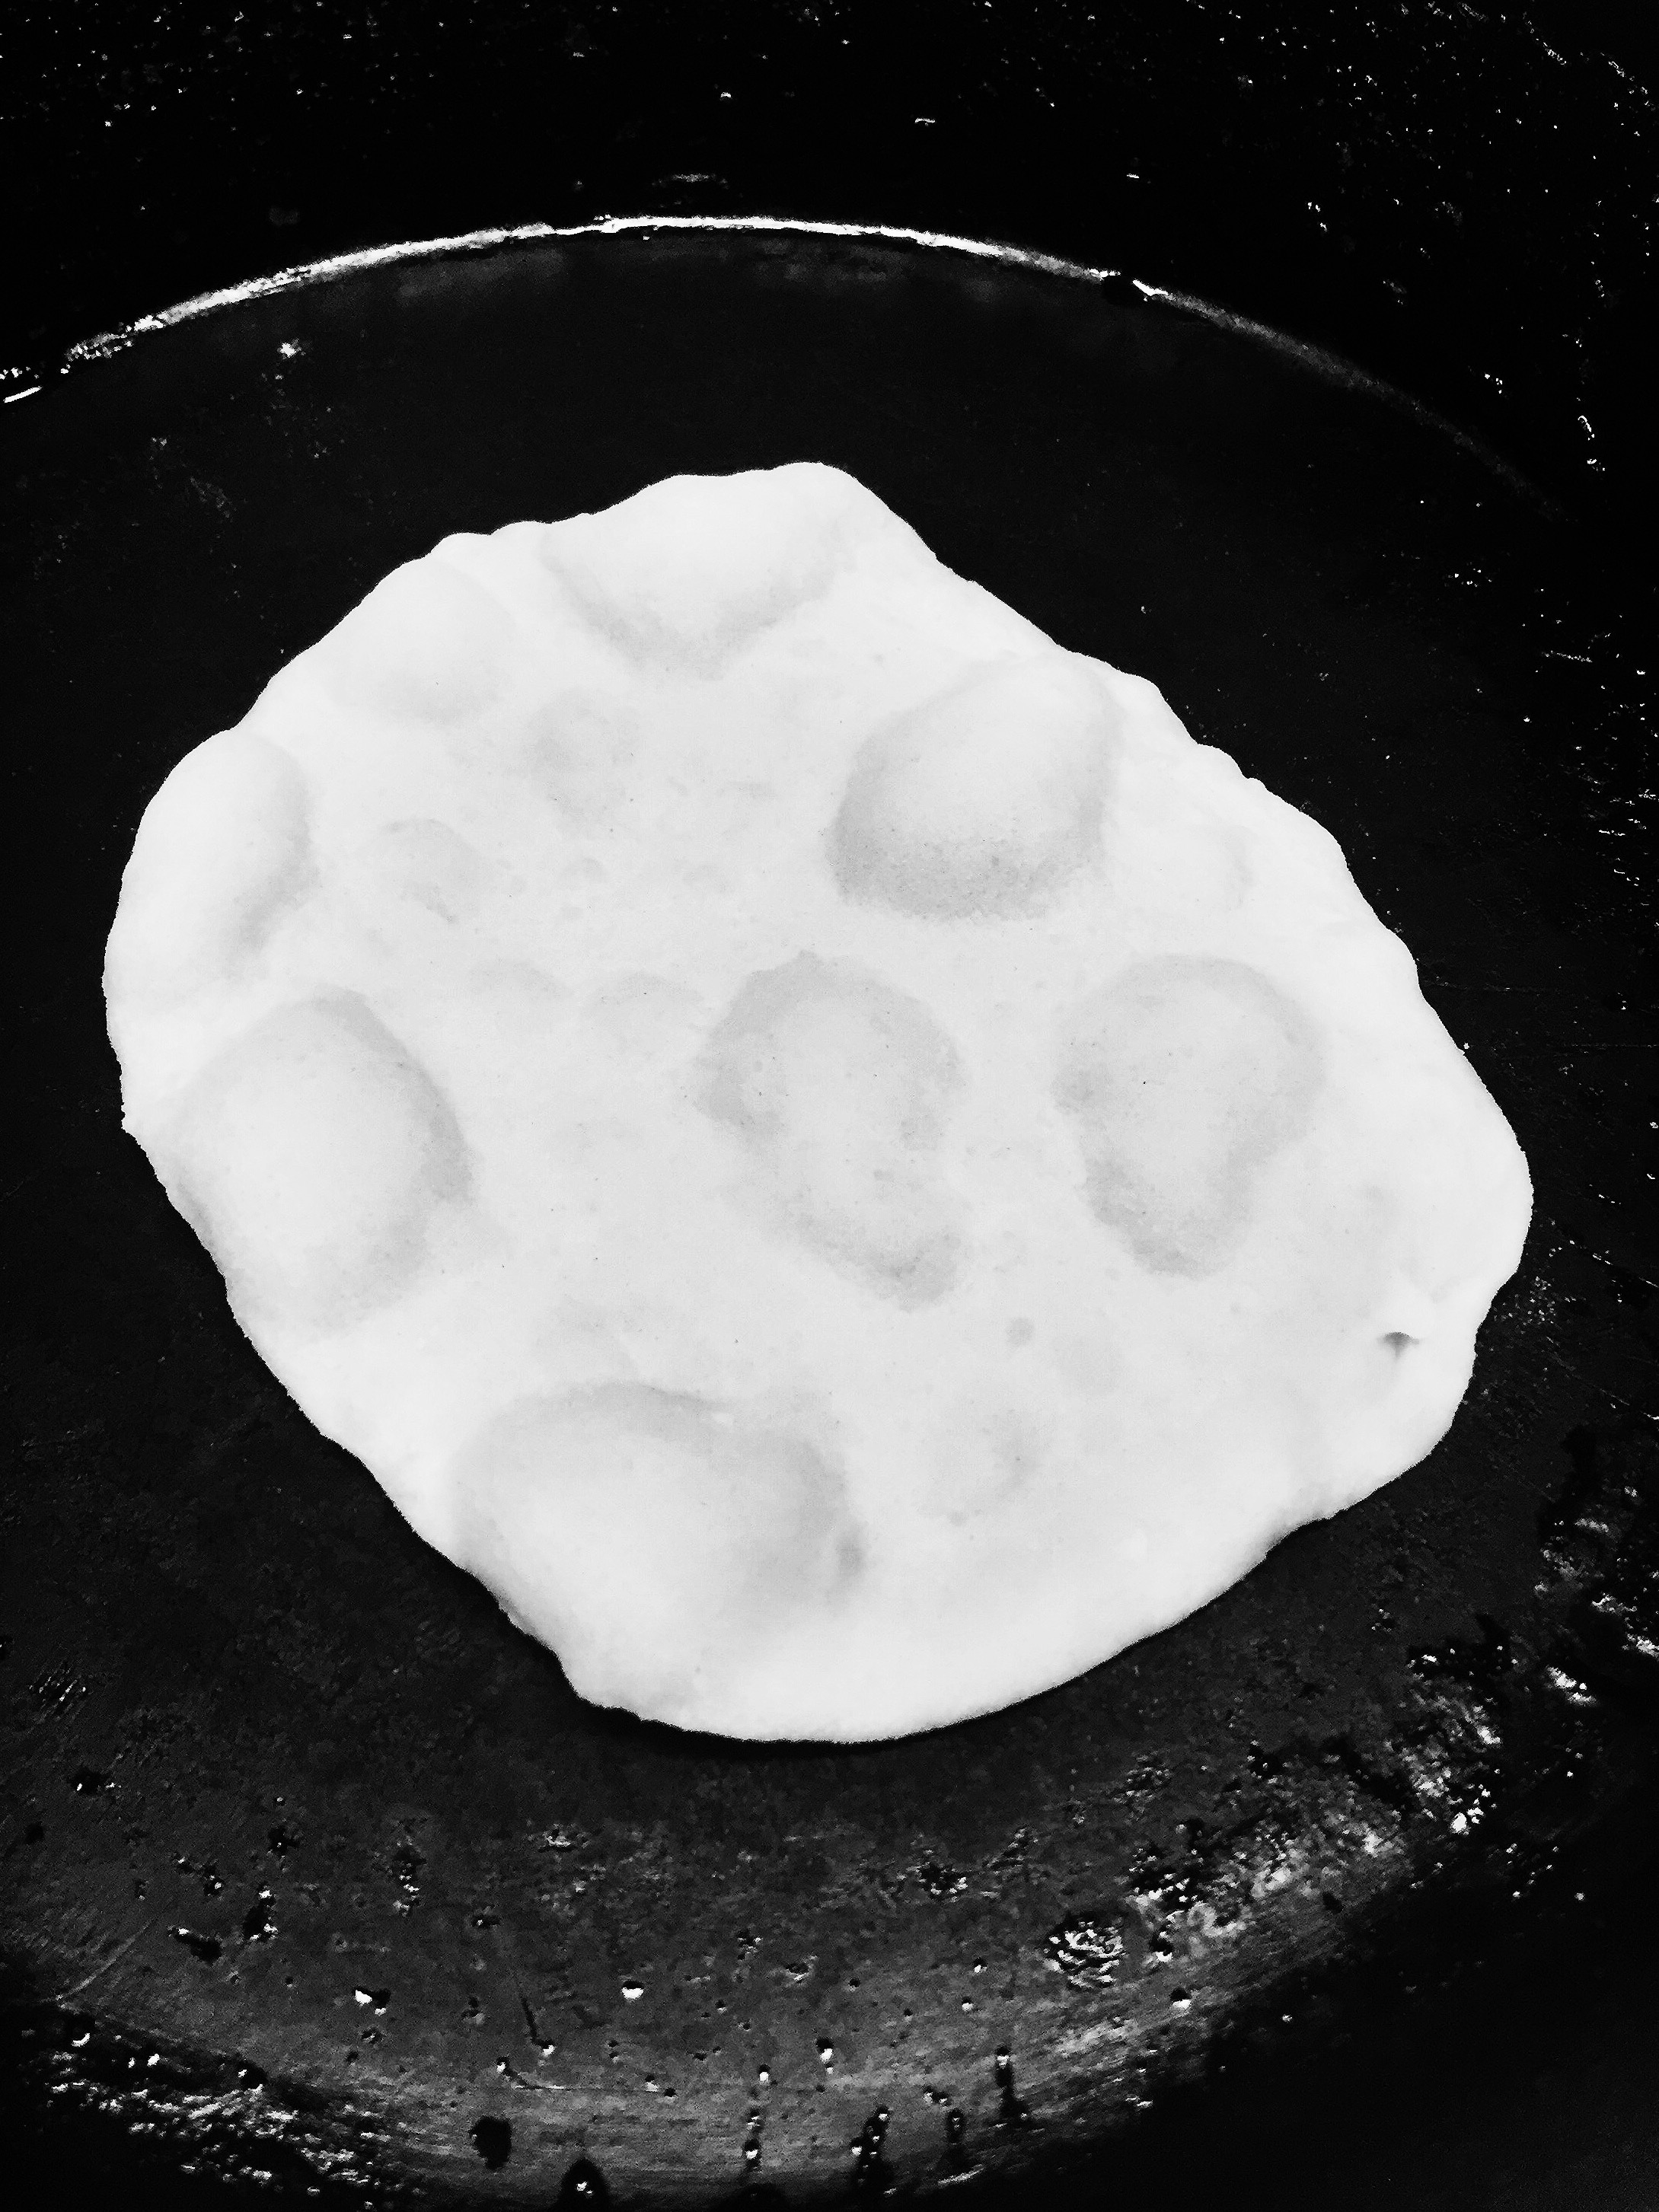
Fun fact about me; I’ve never met a soak I didn’t like. Pools, spas, friend’s bath tubs… I live for anything resembling an immersion tank. I’m not joking. I will plan trips around where I can get my soak on, and occasionally have resorted to sneaking around town, just to sneak myself into a local hotel hot tub. Being up to my ears in water has a calming effect and the warmer the water, the better! Half the time I bring myself to the brink of fainting. I know that probably sounds extreme but ascending from a tank so utterly depleted, lends itself to some mad rest. Such lassitude is where the aches of life get a chance to heal and I can move about my days a bit softer and more forgiving. Well guess what? The same goes for bread making!

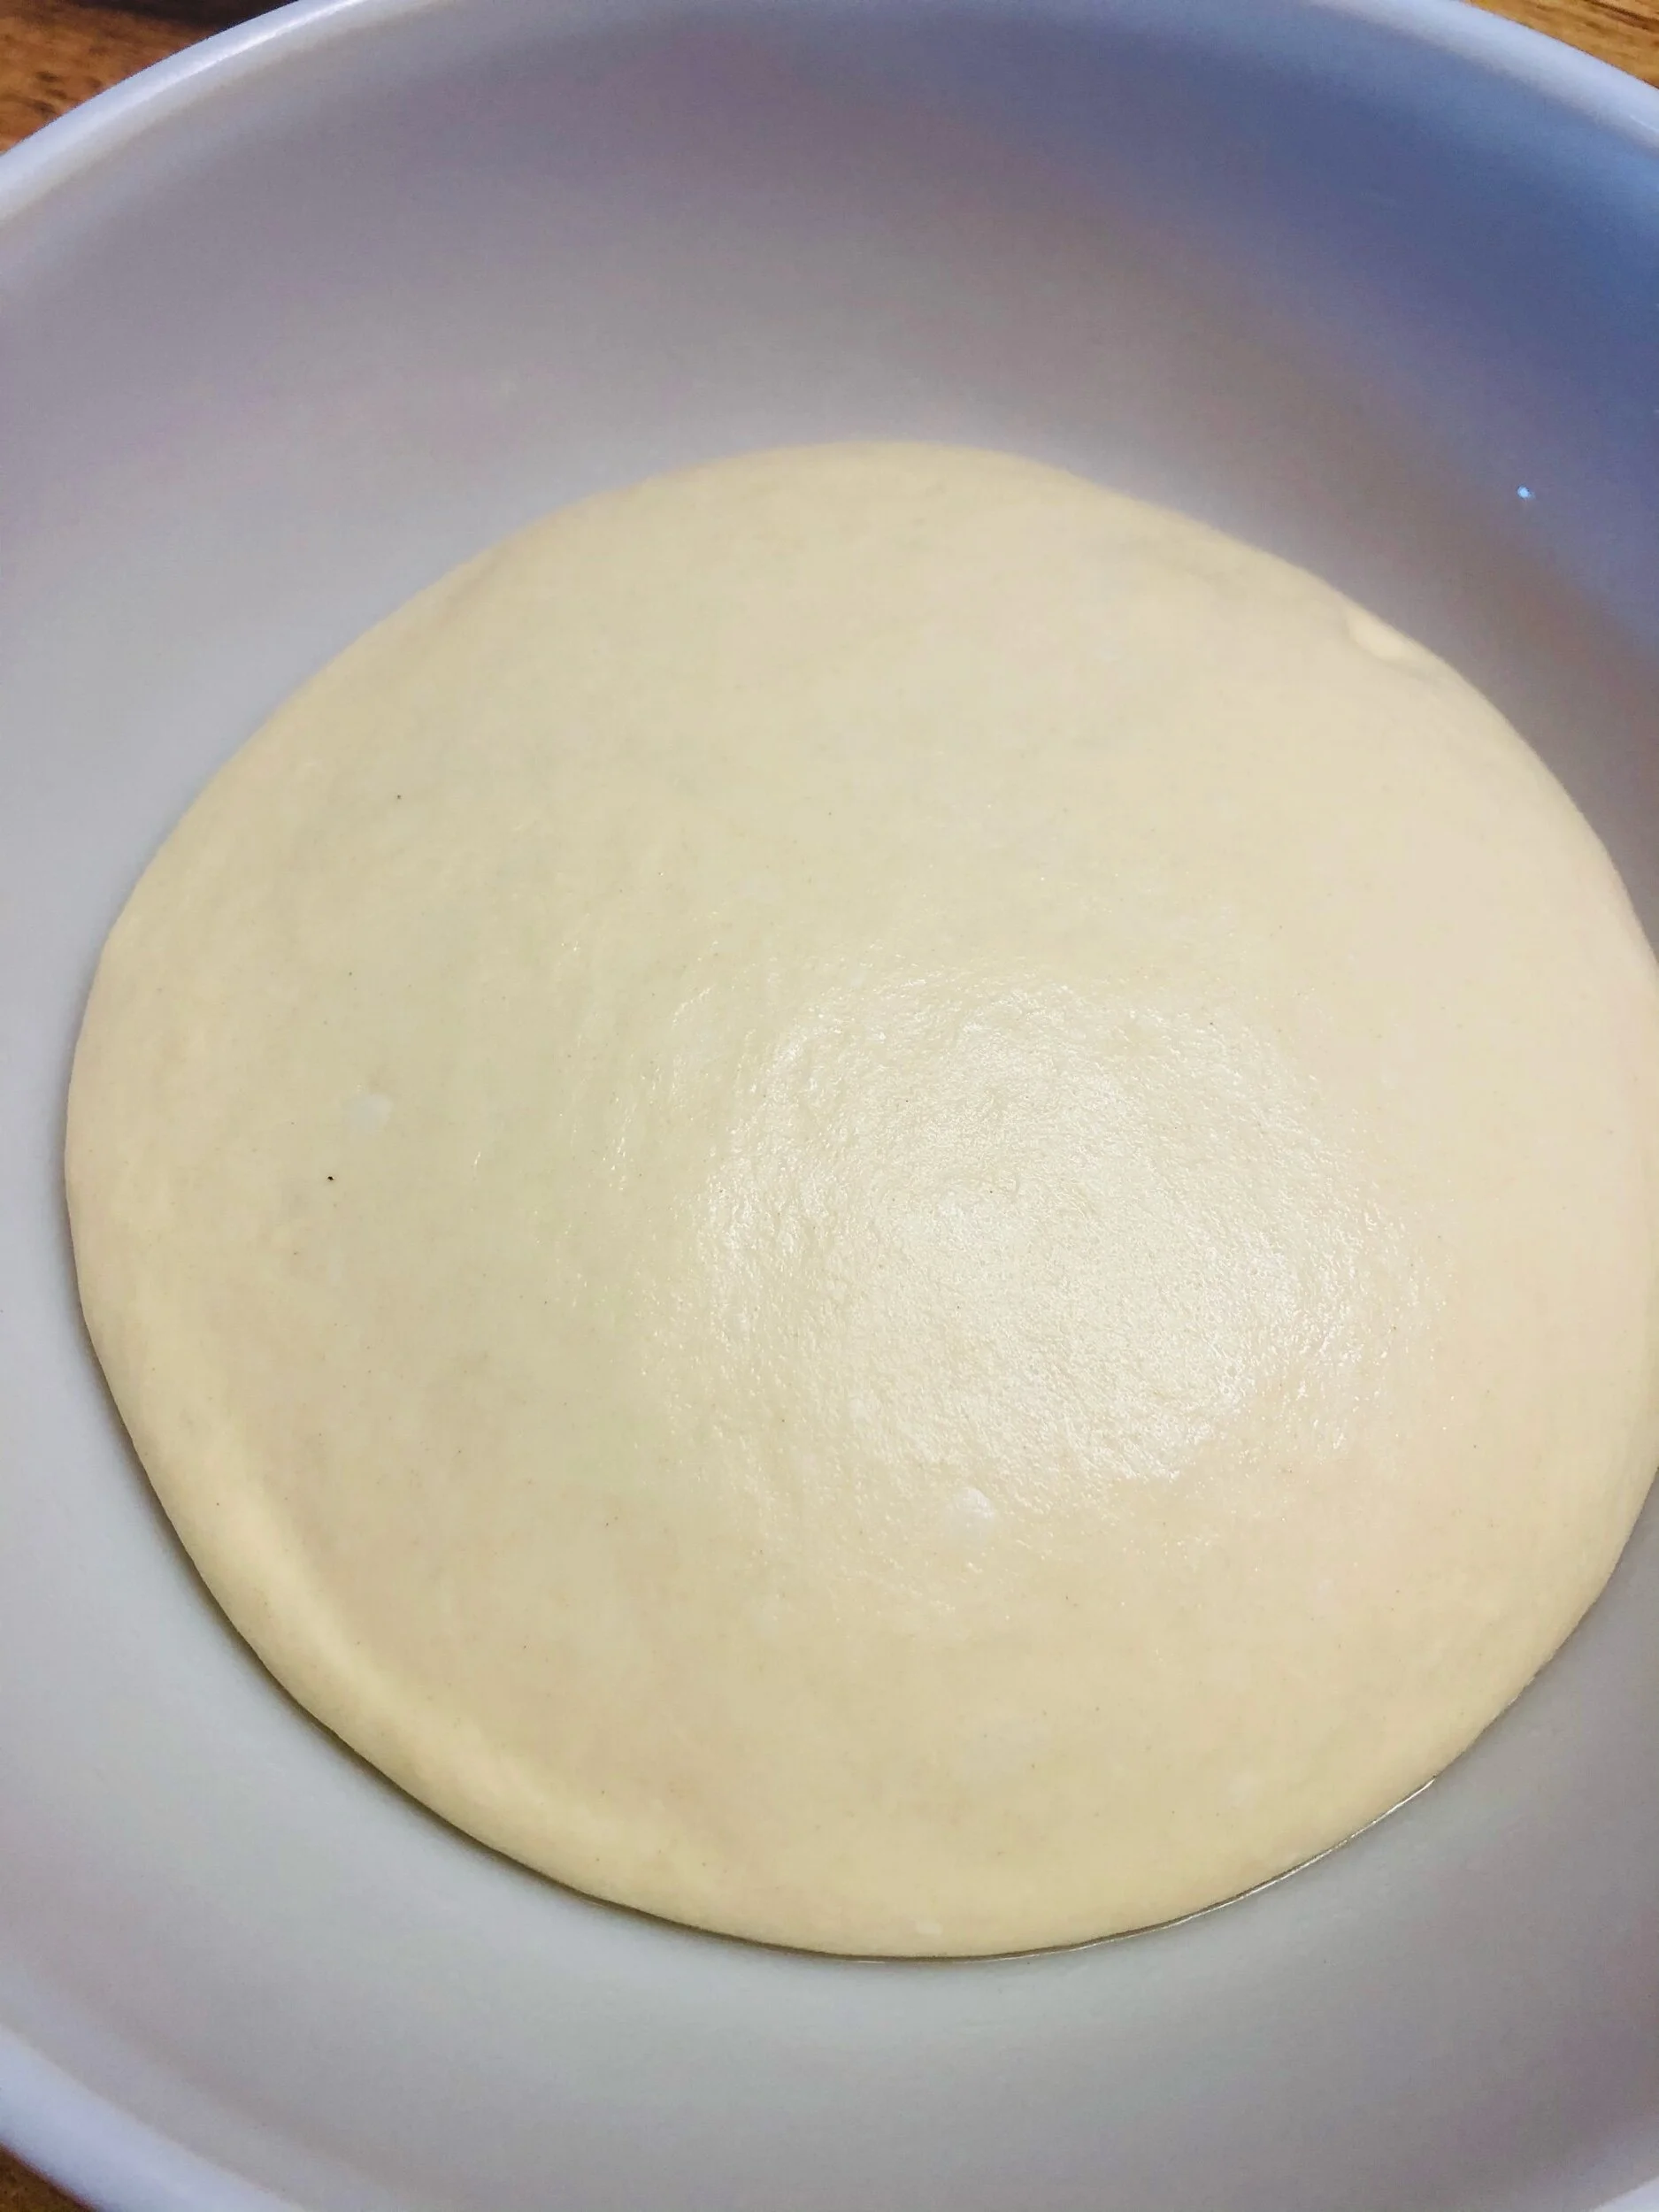
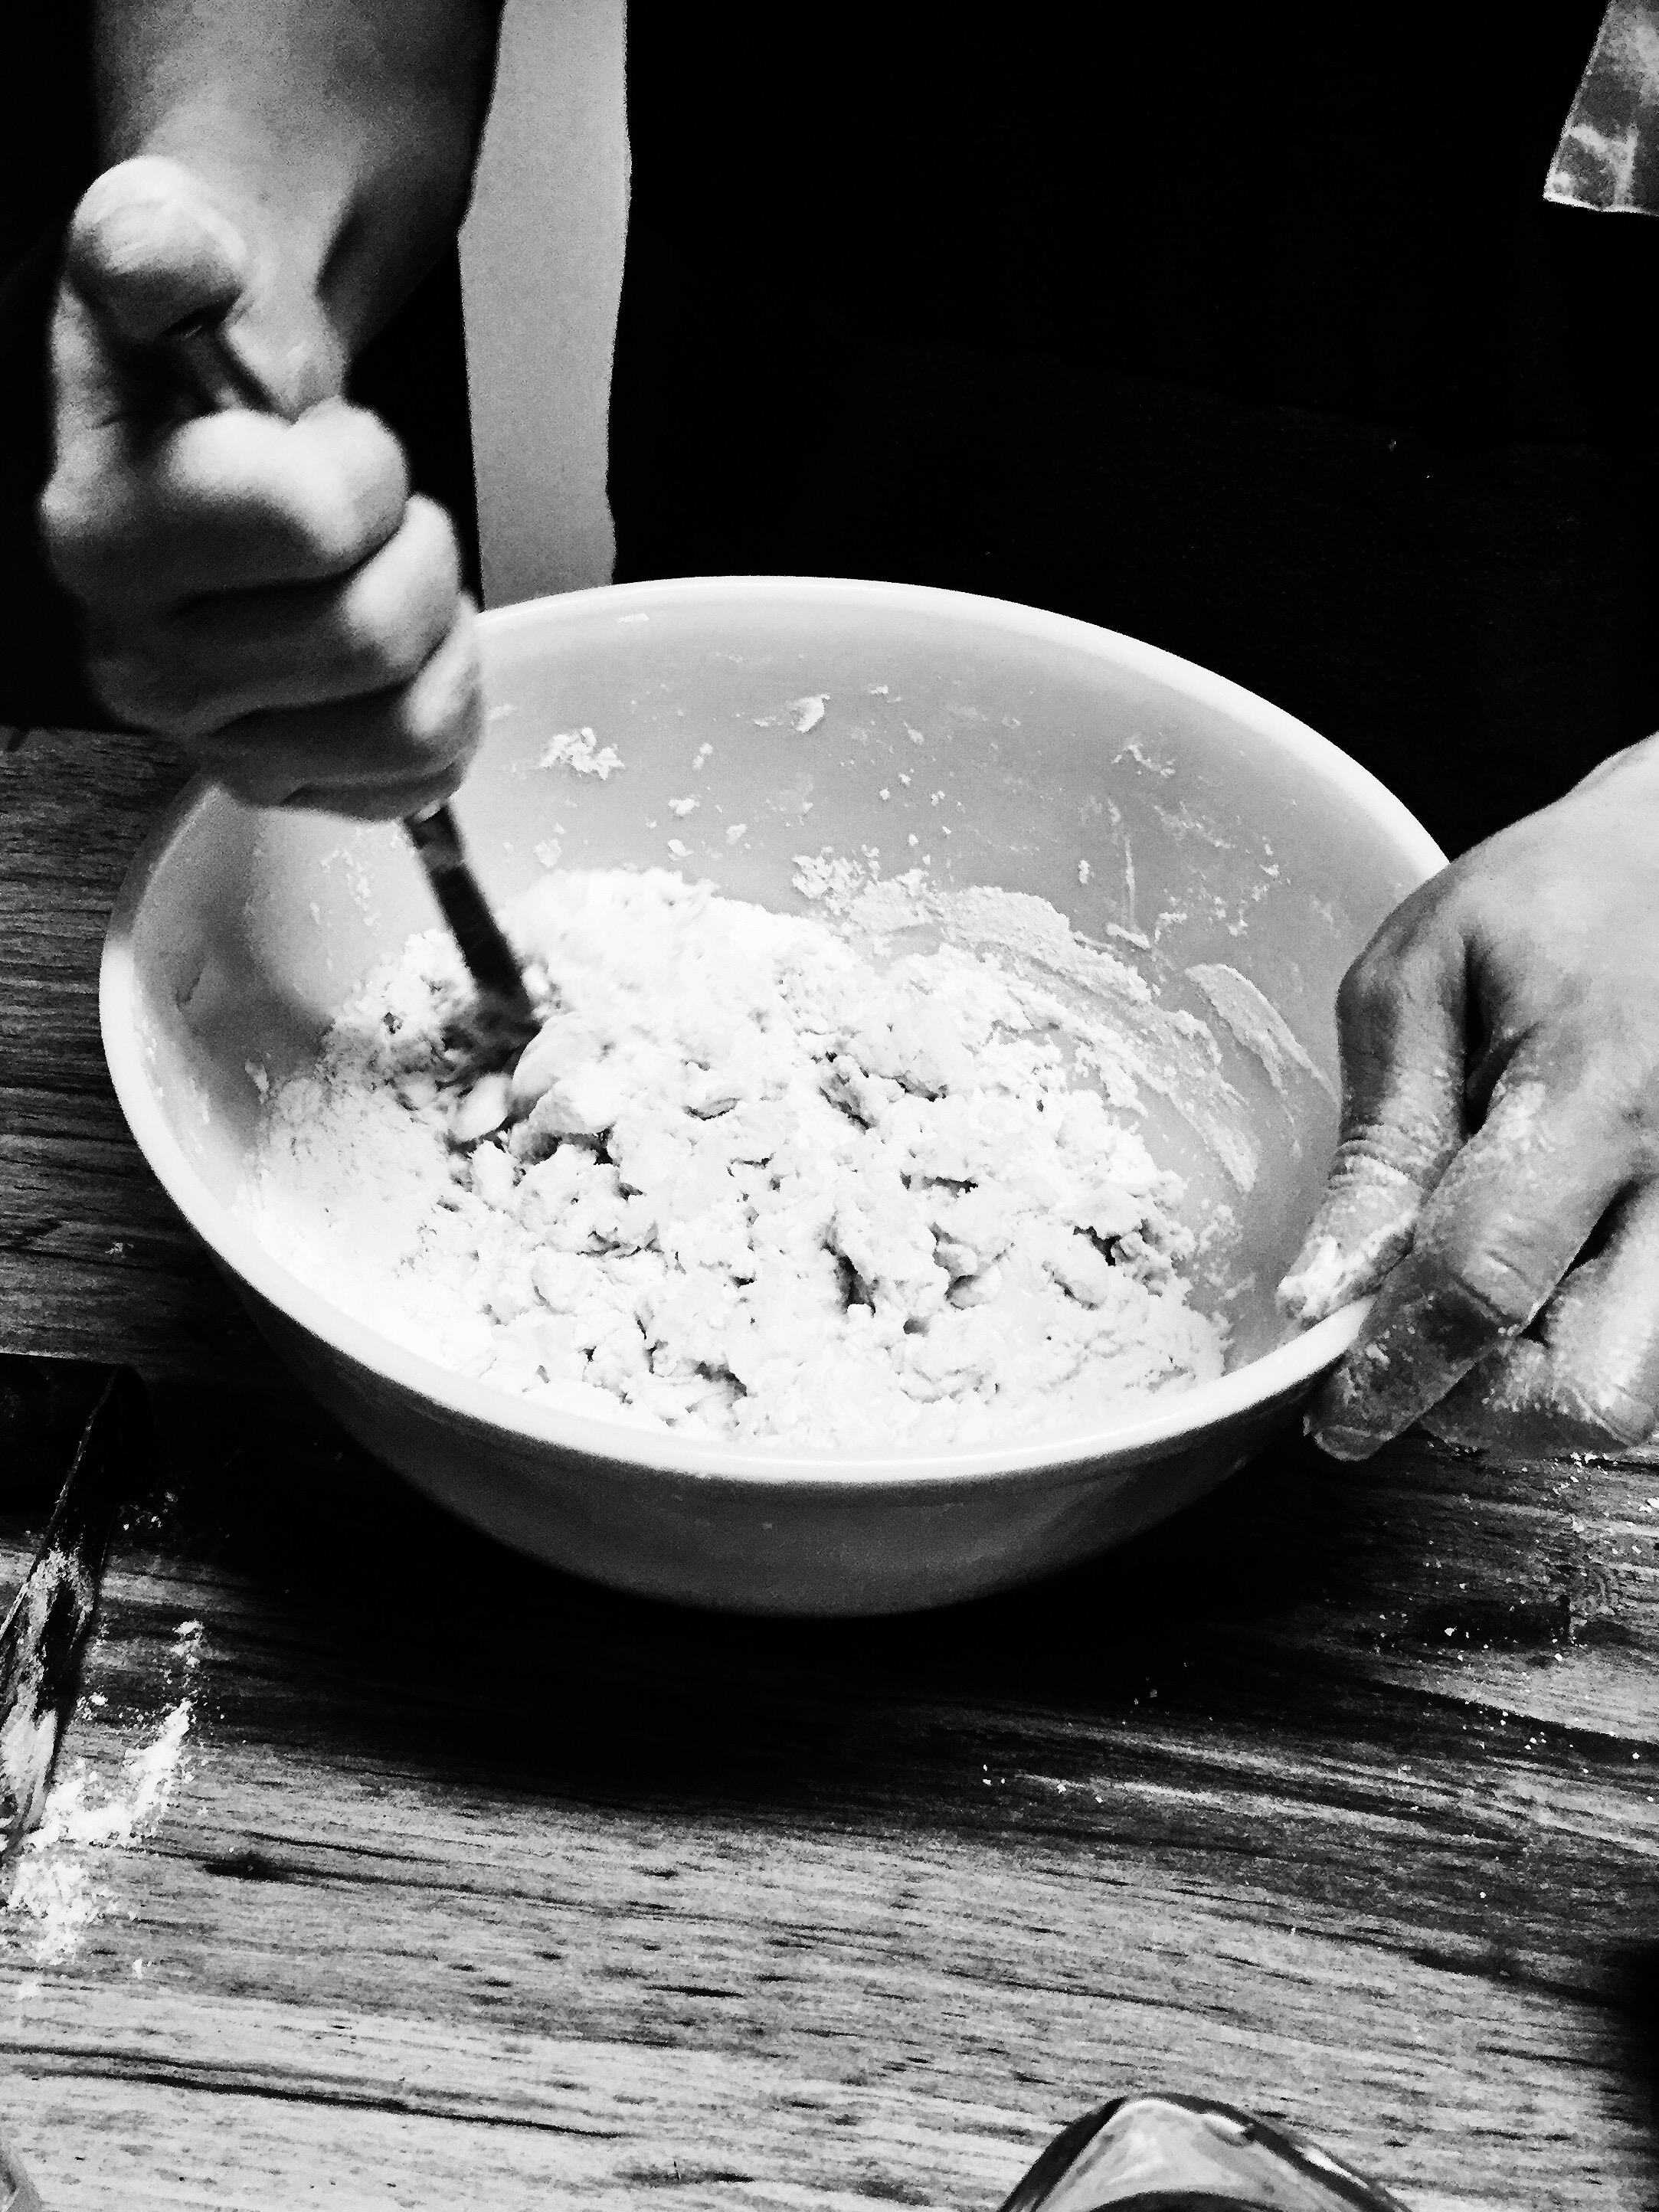
Soaking flour in bowl.

Equal parts flour and water soaking in a bowl.


Recipe

Soaker:

  • 1 cup flour

  • 1 cup water

Dough:

  • 2 cups flour

  • 1 1/4 tsp yeast

  • 1 1/2 tsp salt

Process:

  1. Combine the soaking ingredients in a large bowl and let rest for 2 to 8 hours.

  2. After resting, add the additional ingredients to make the dough.

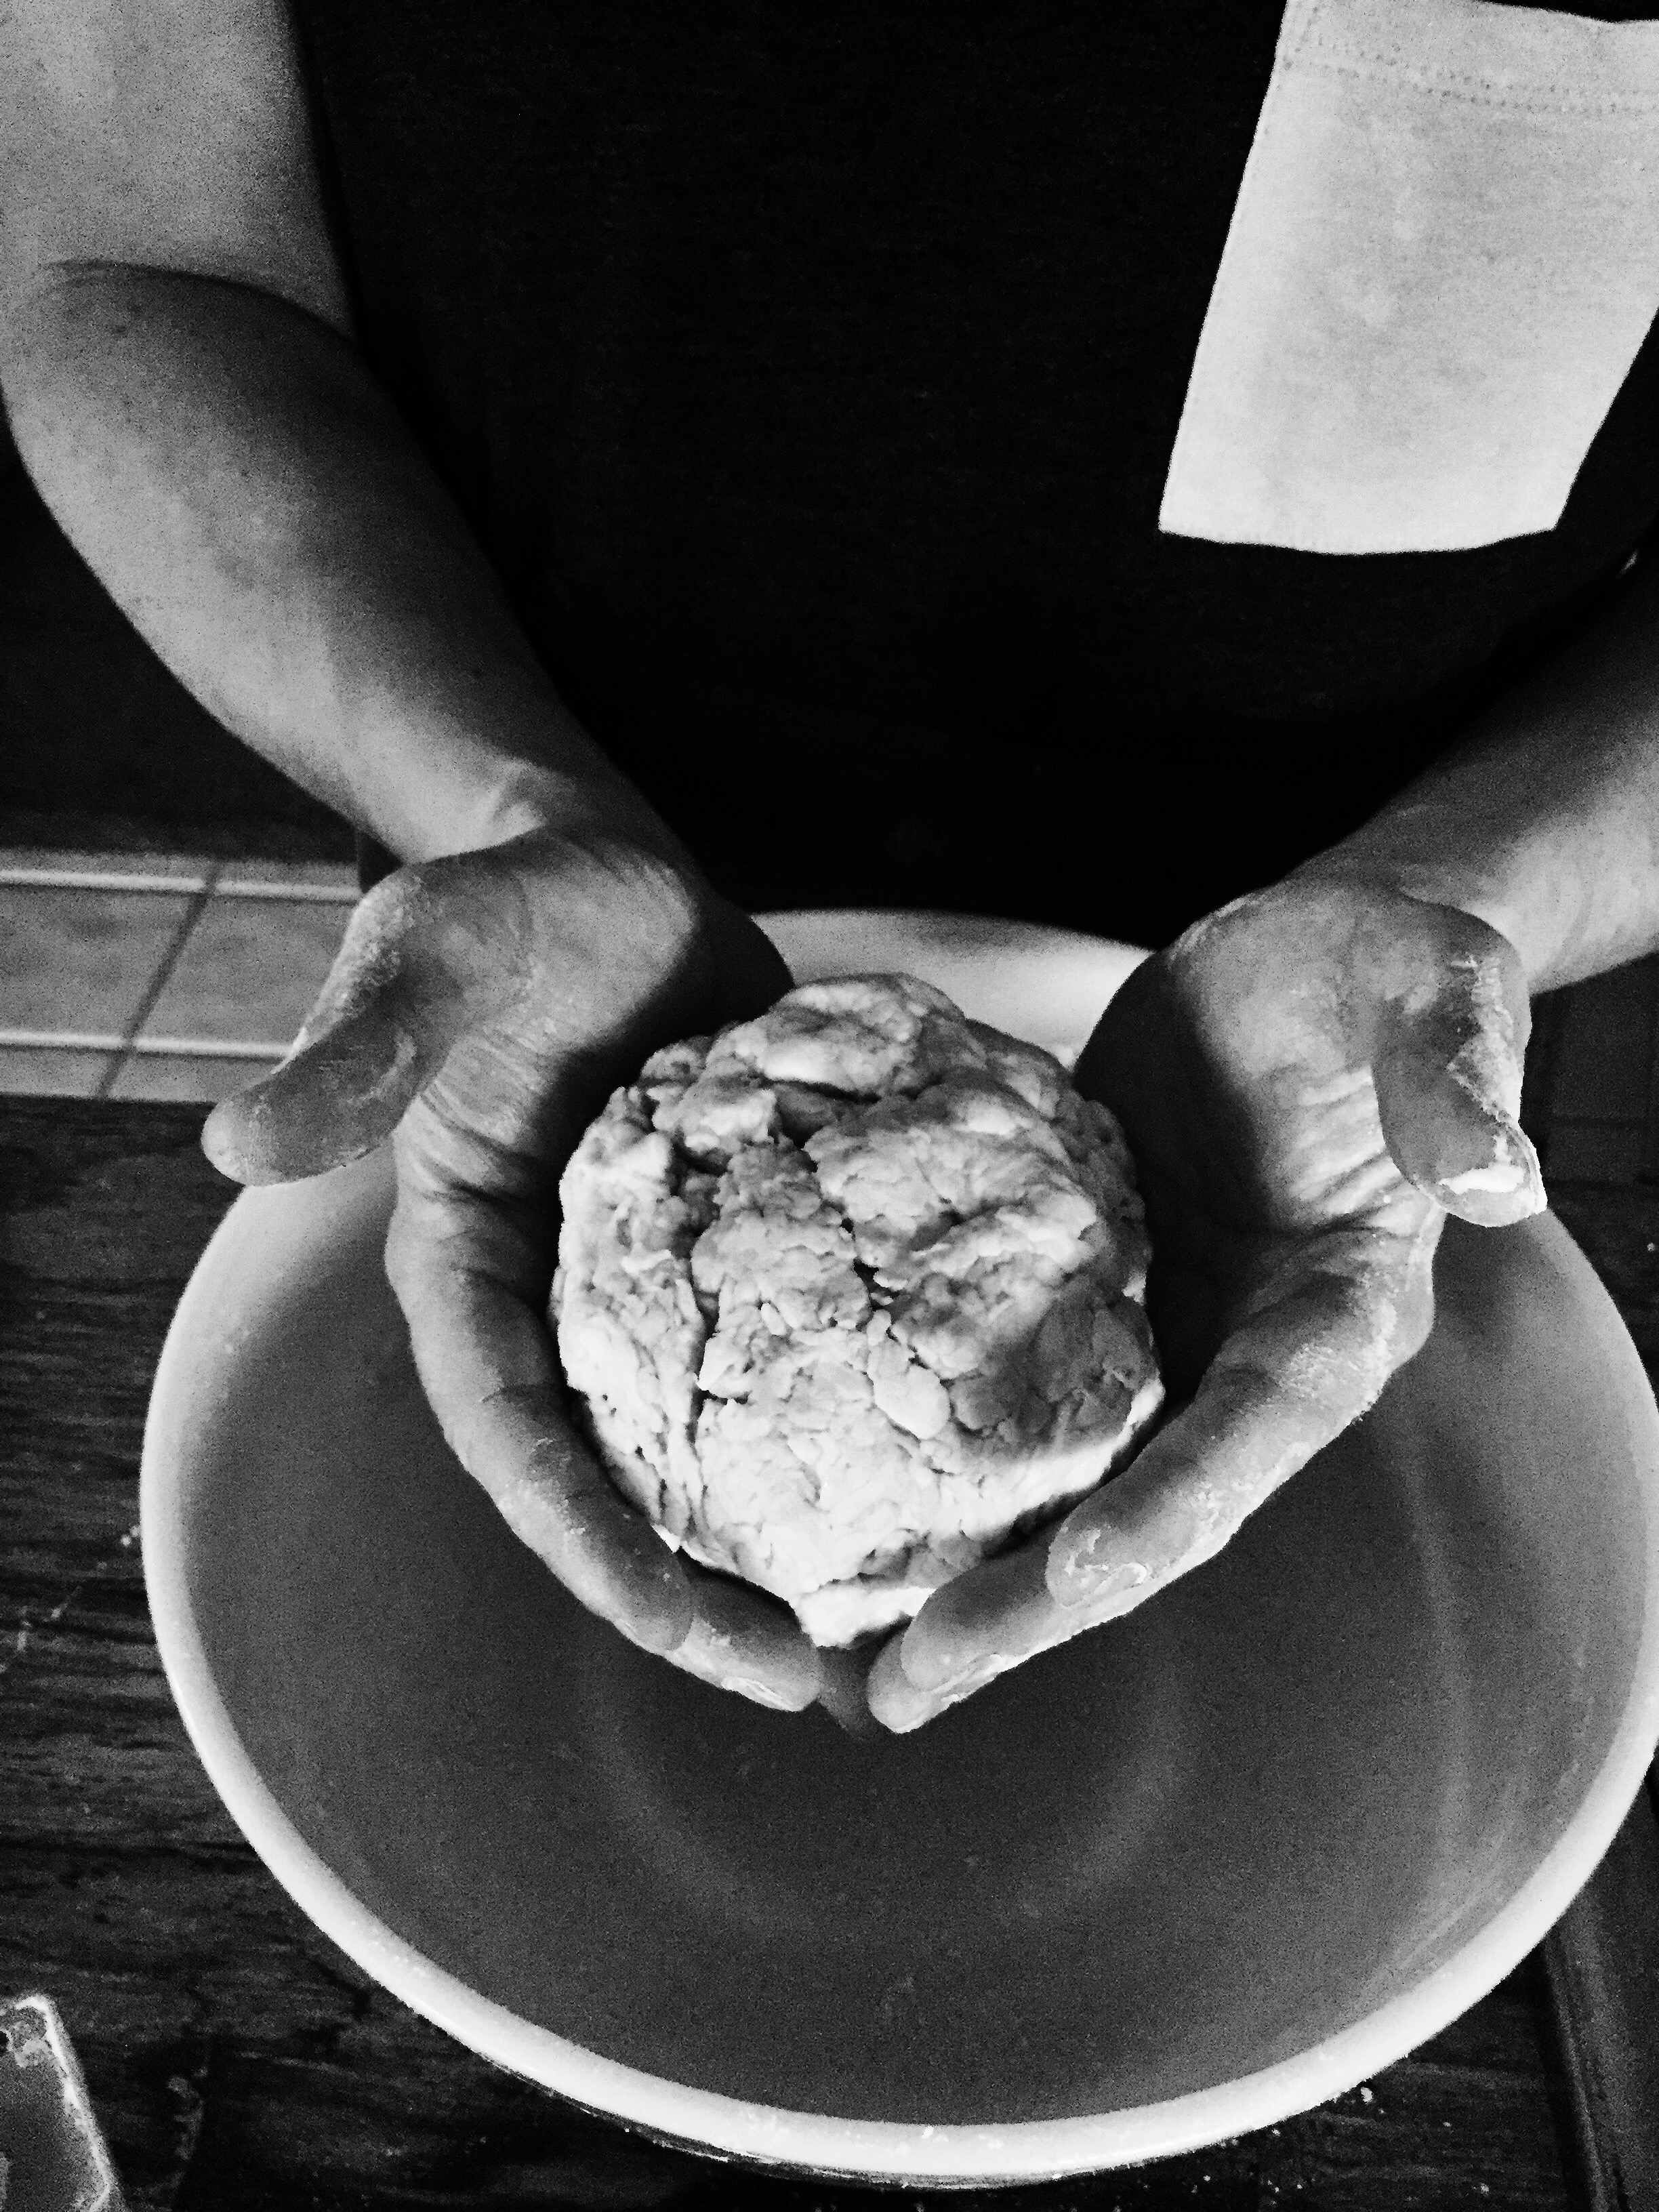
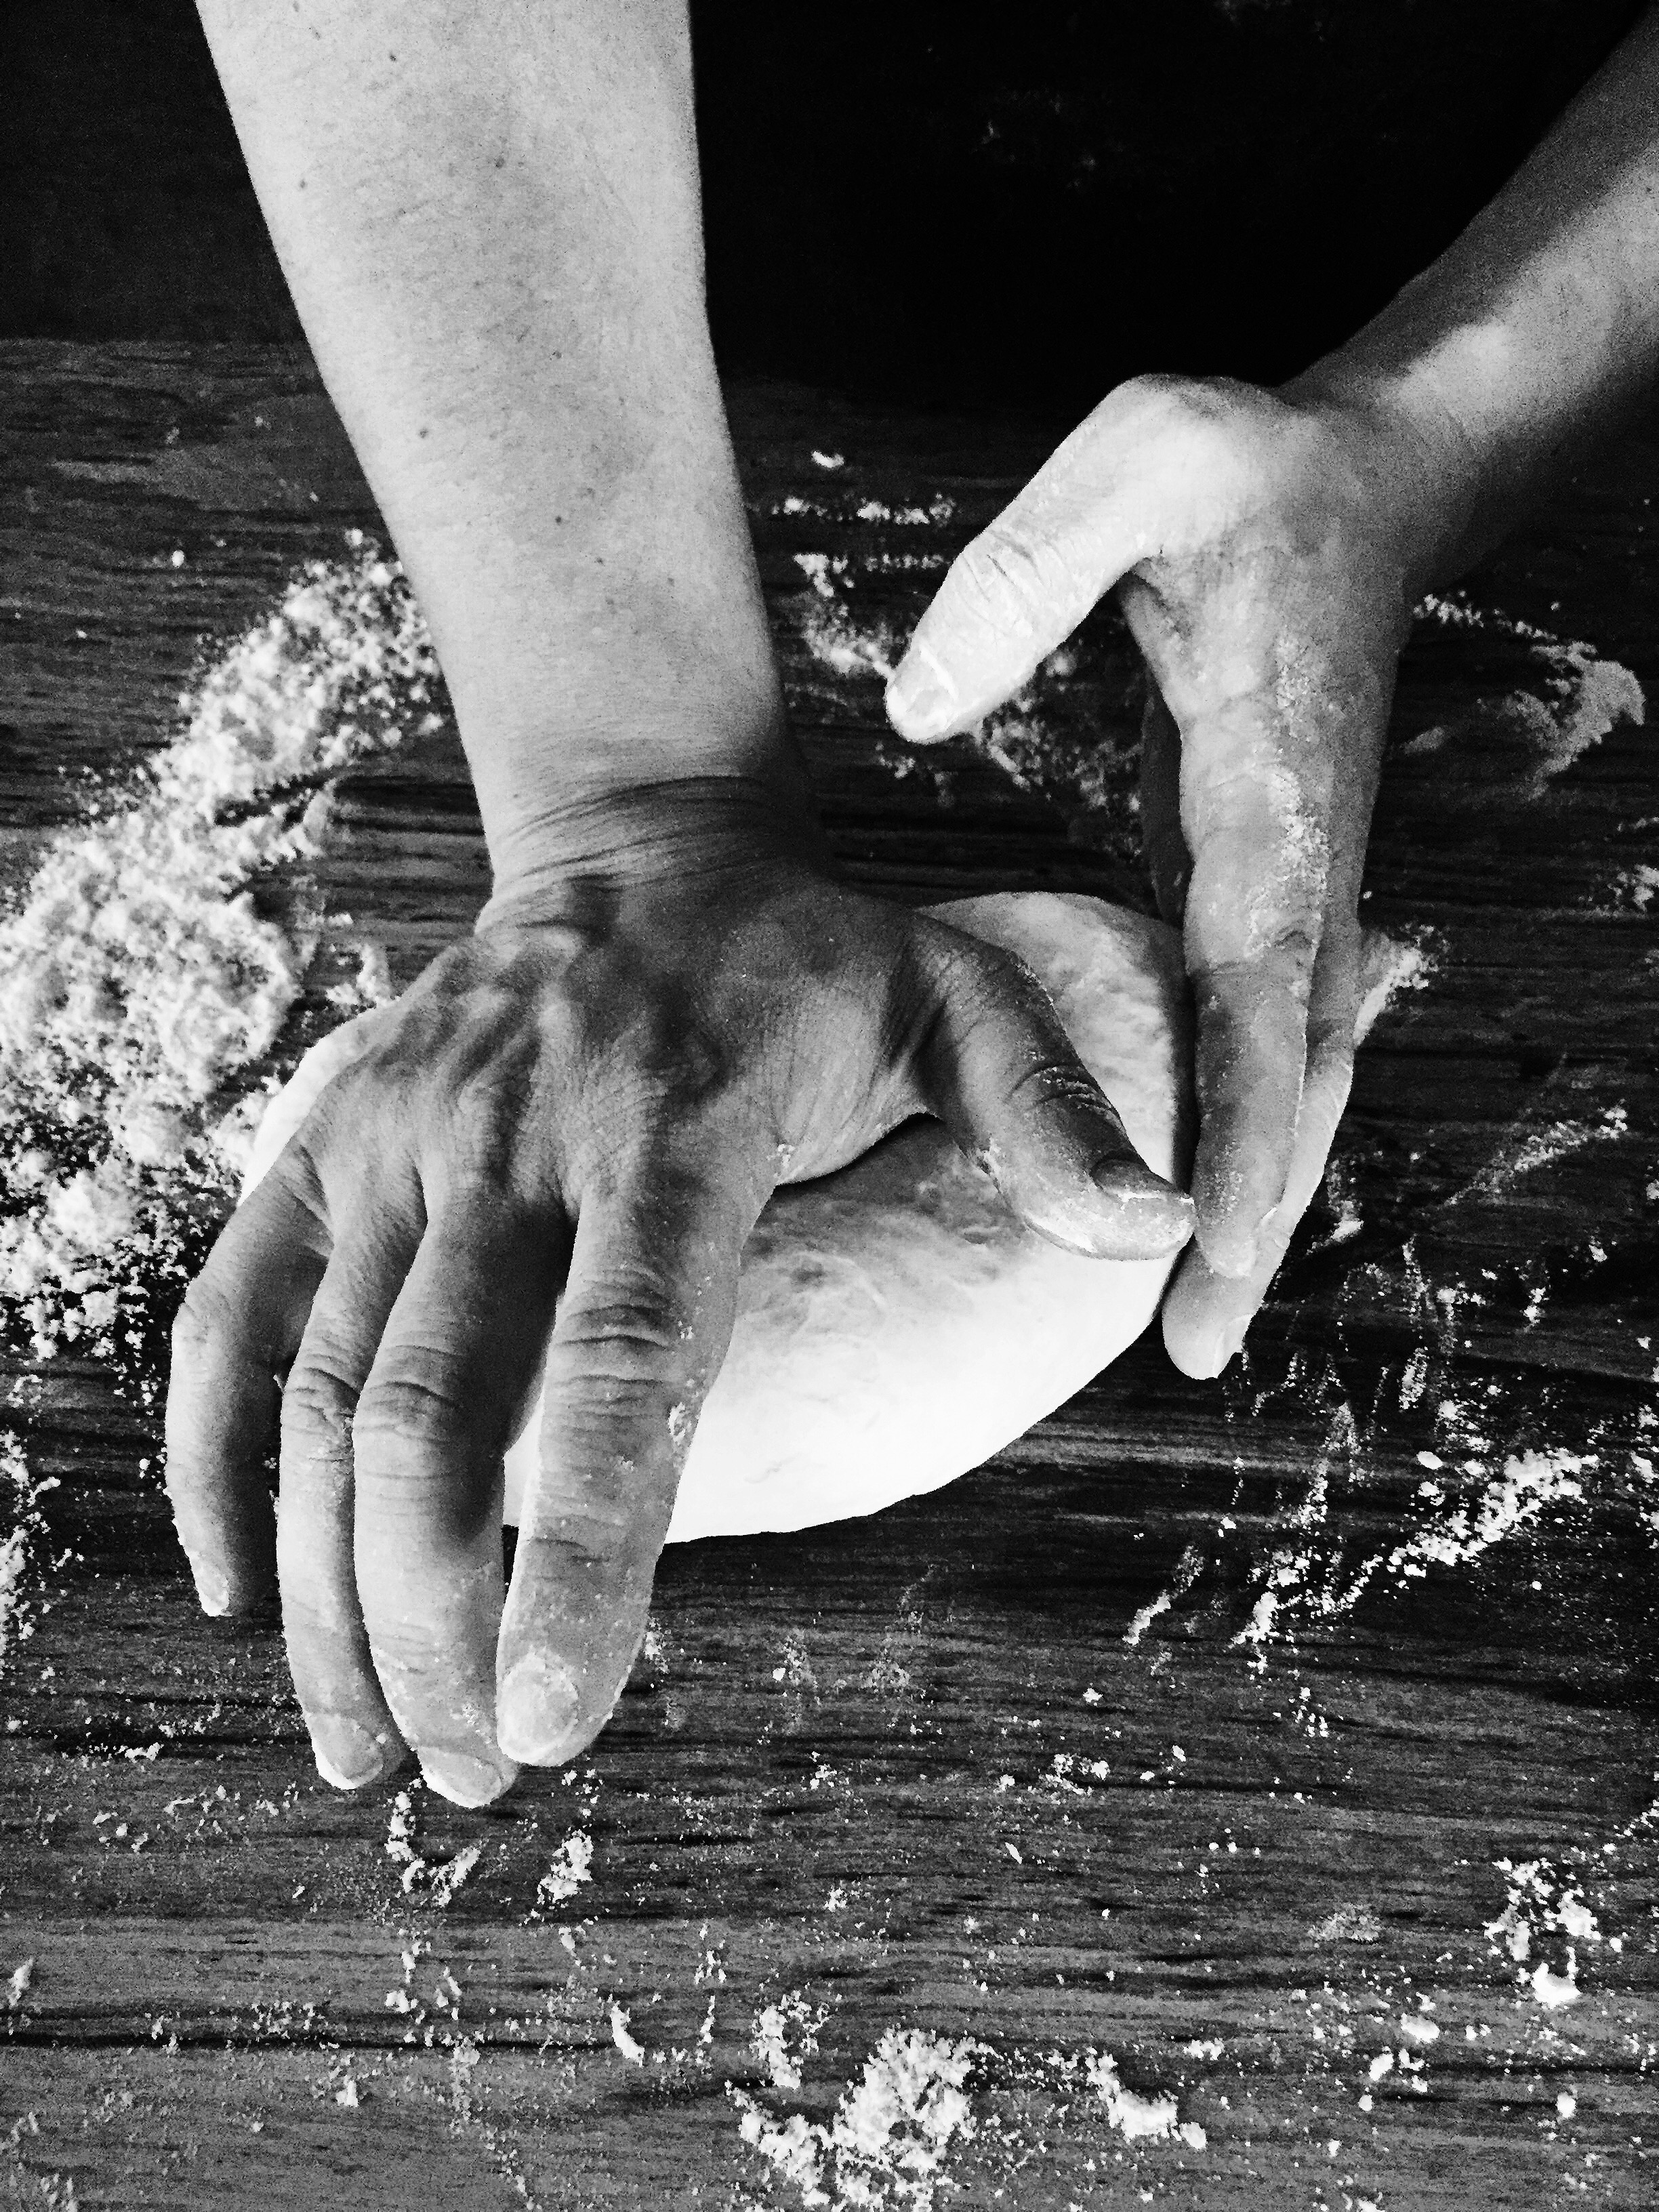
  3. Mix it well so the dough starts to form and then knead it until it’s springy (10 minutes-ish?)

  4. Cover and rest for 1 hour in a clean bowl that’s been greased with oil.

  5. After resting and the dough has doubled in size, punch it down and knead it again.

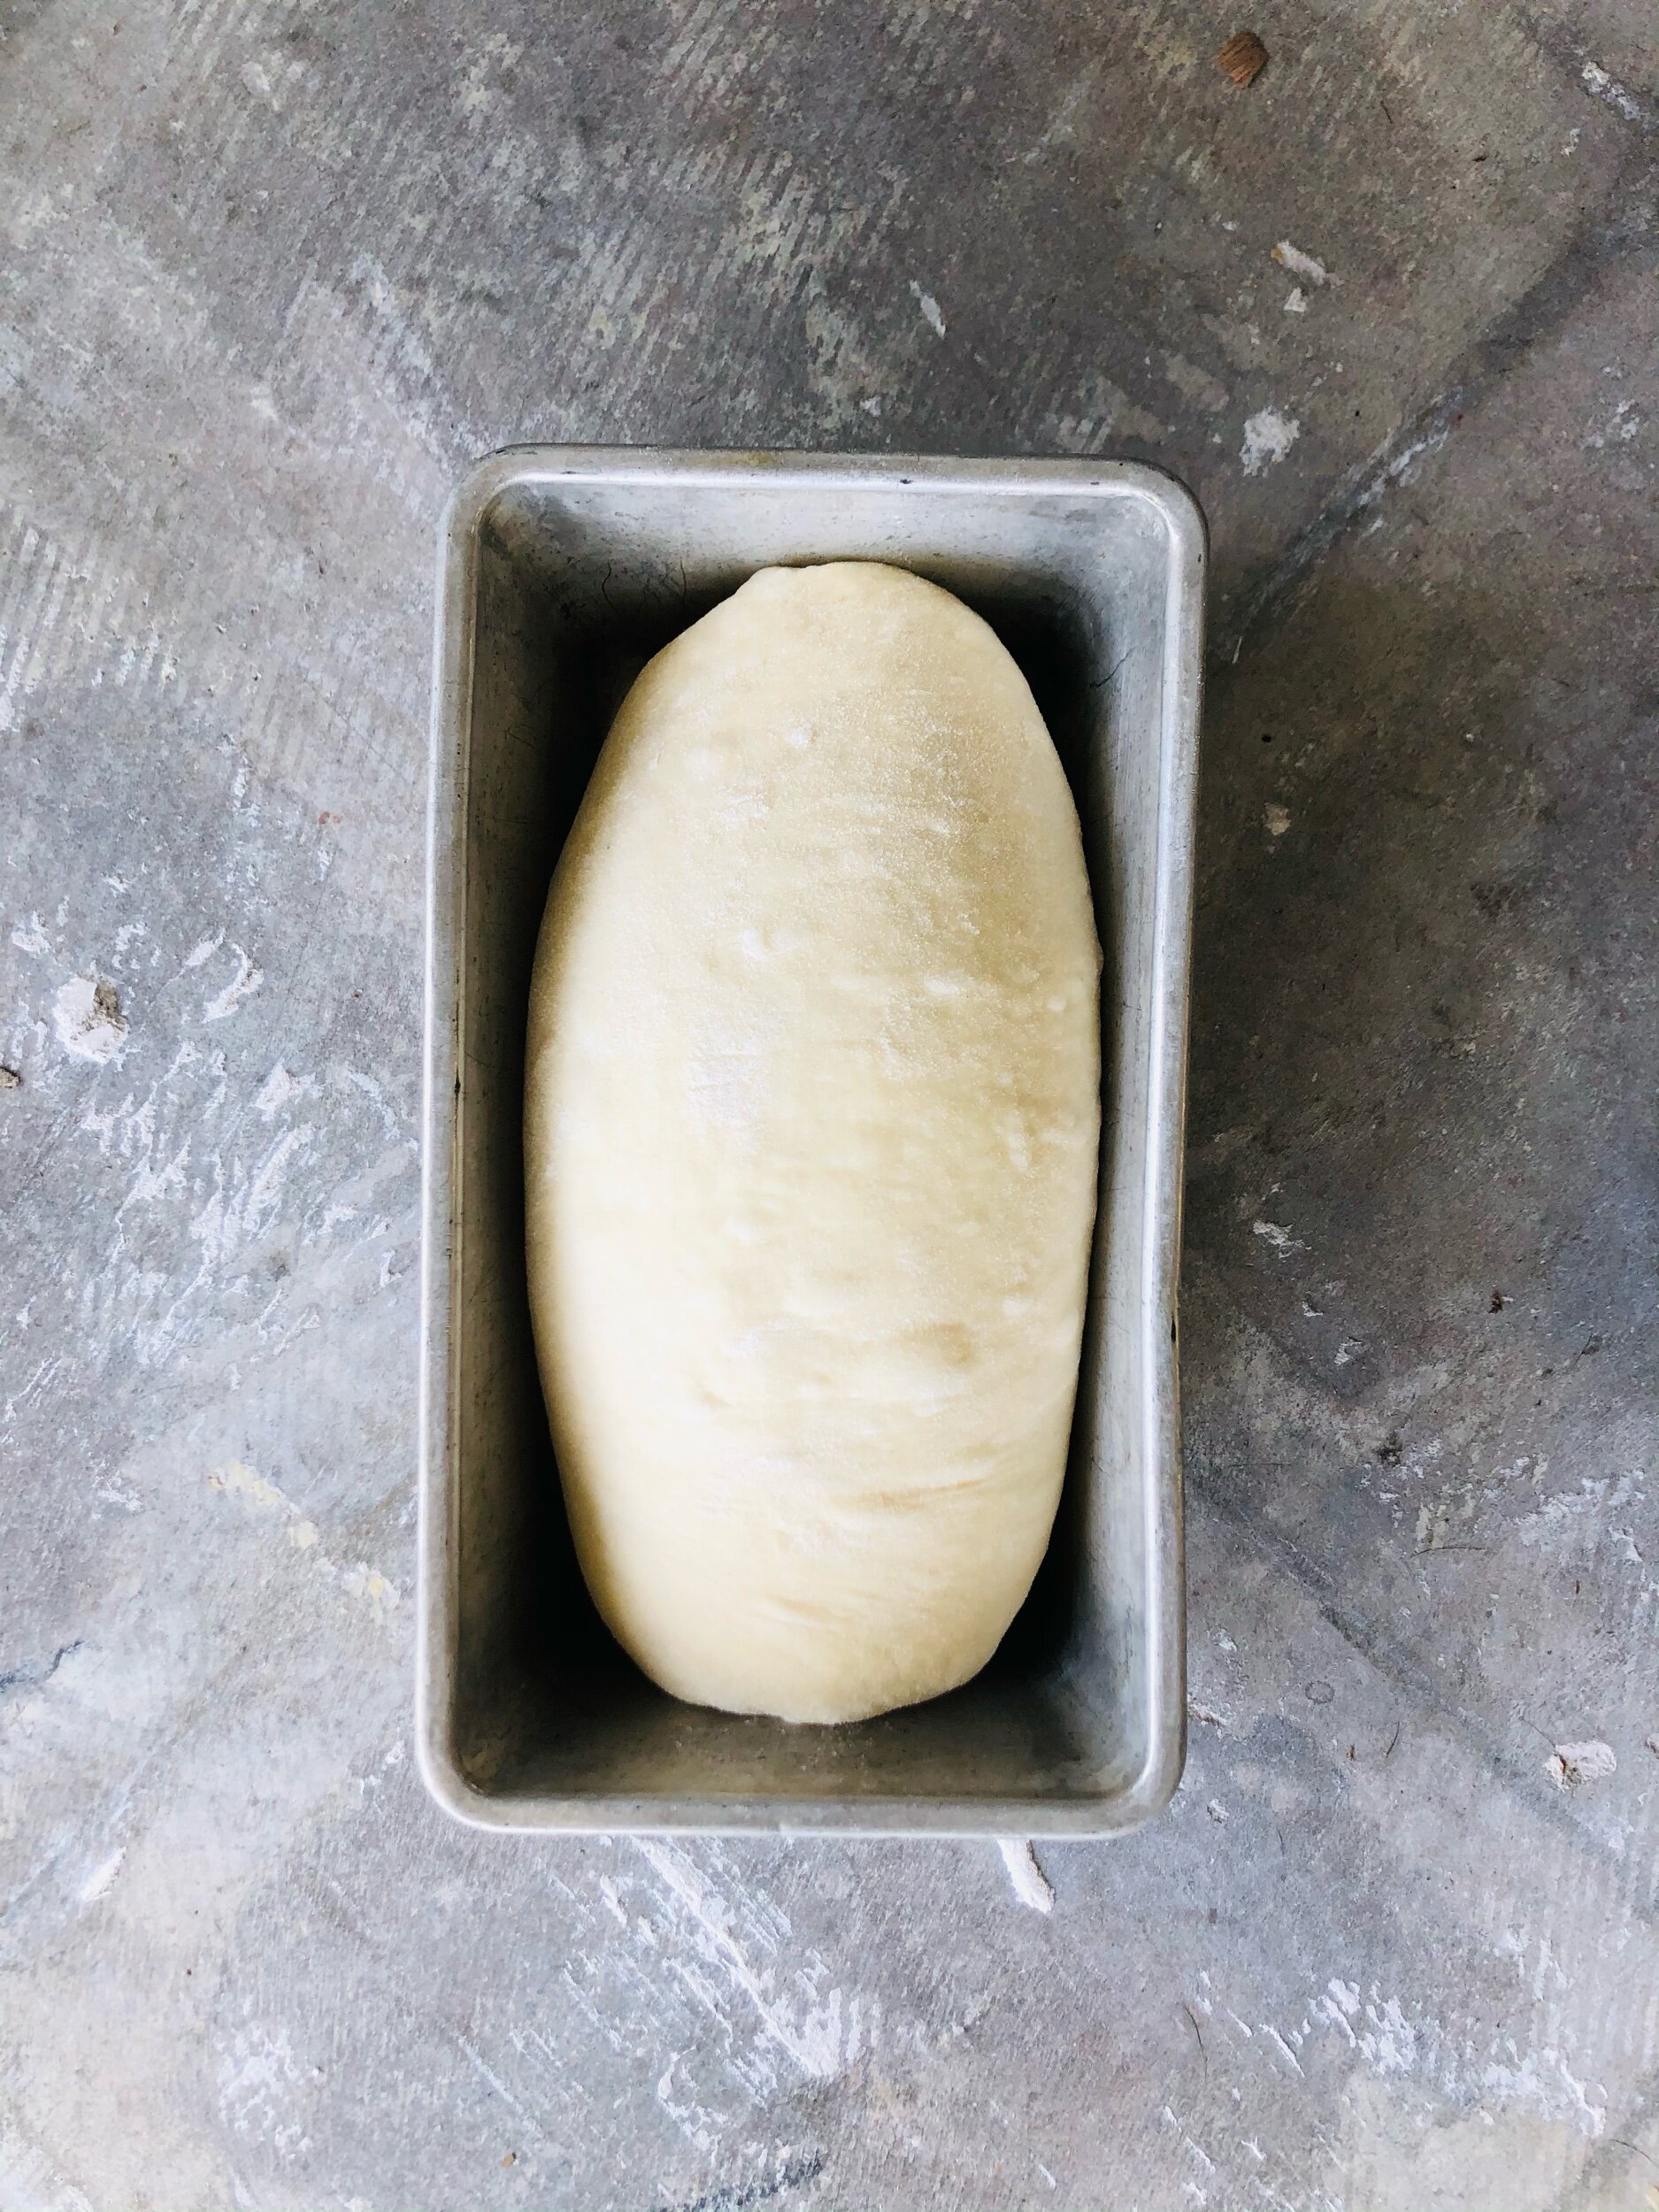
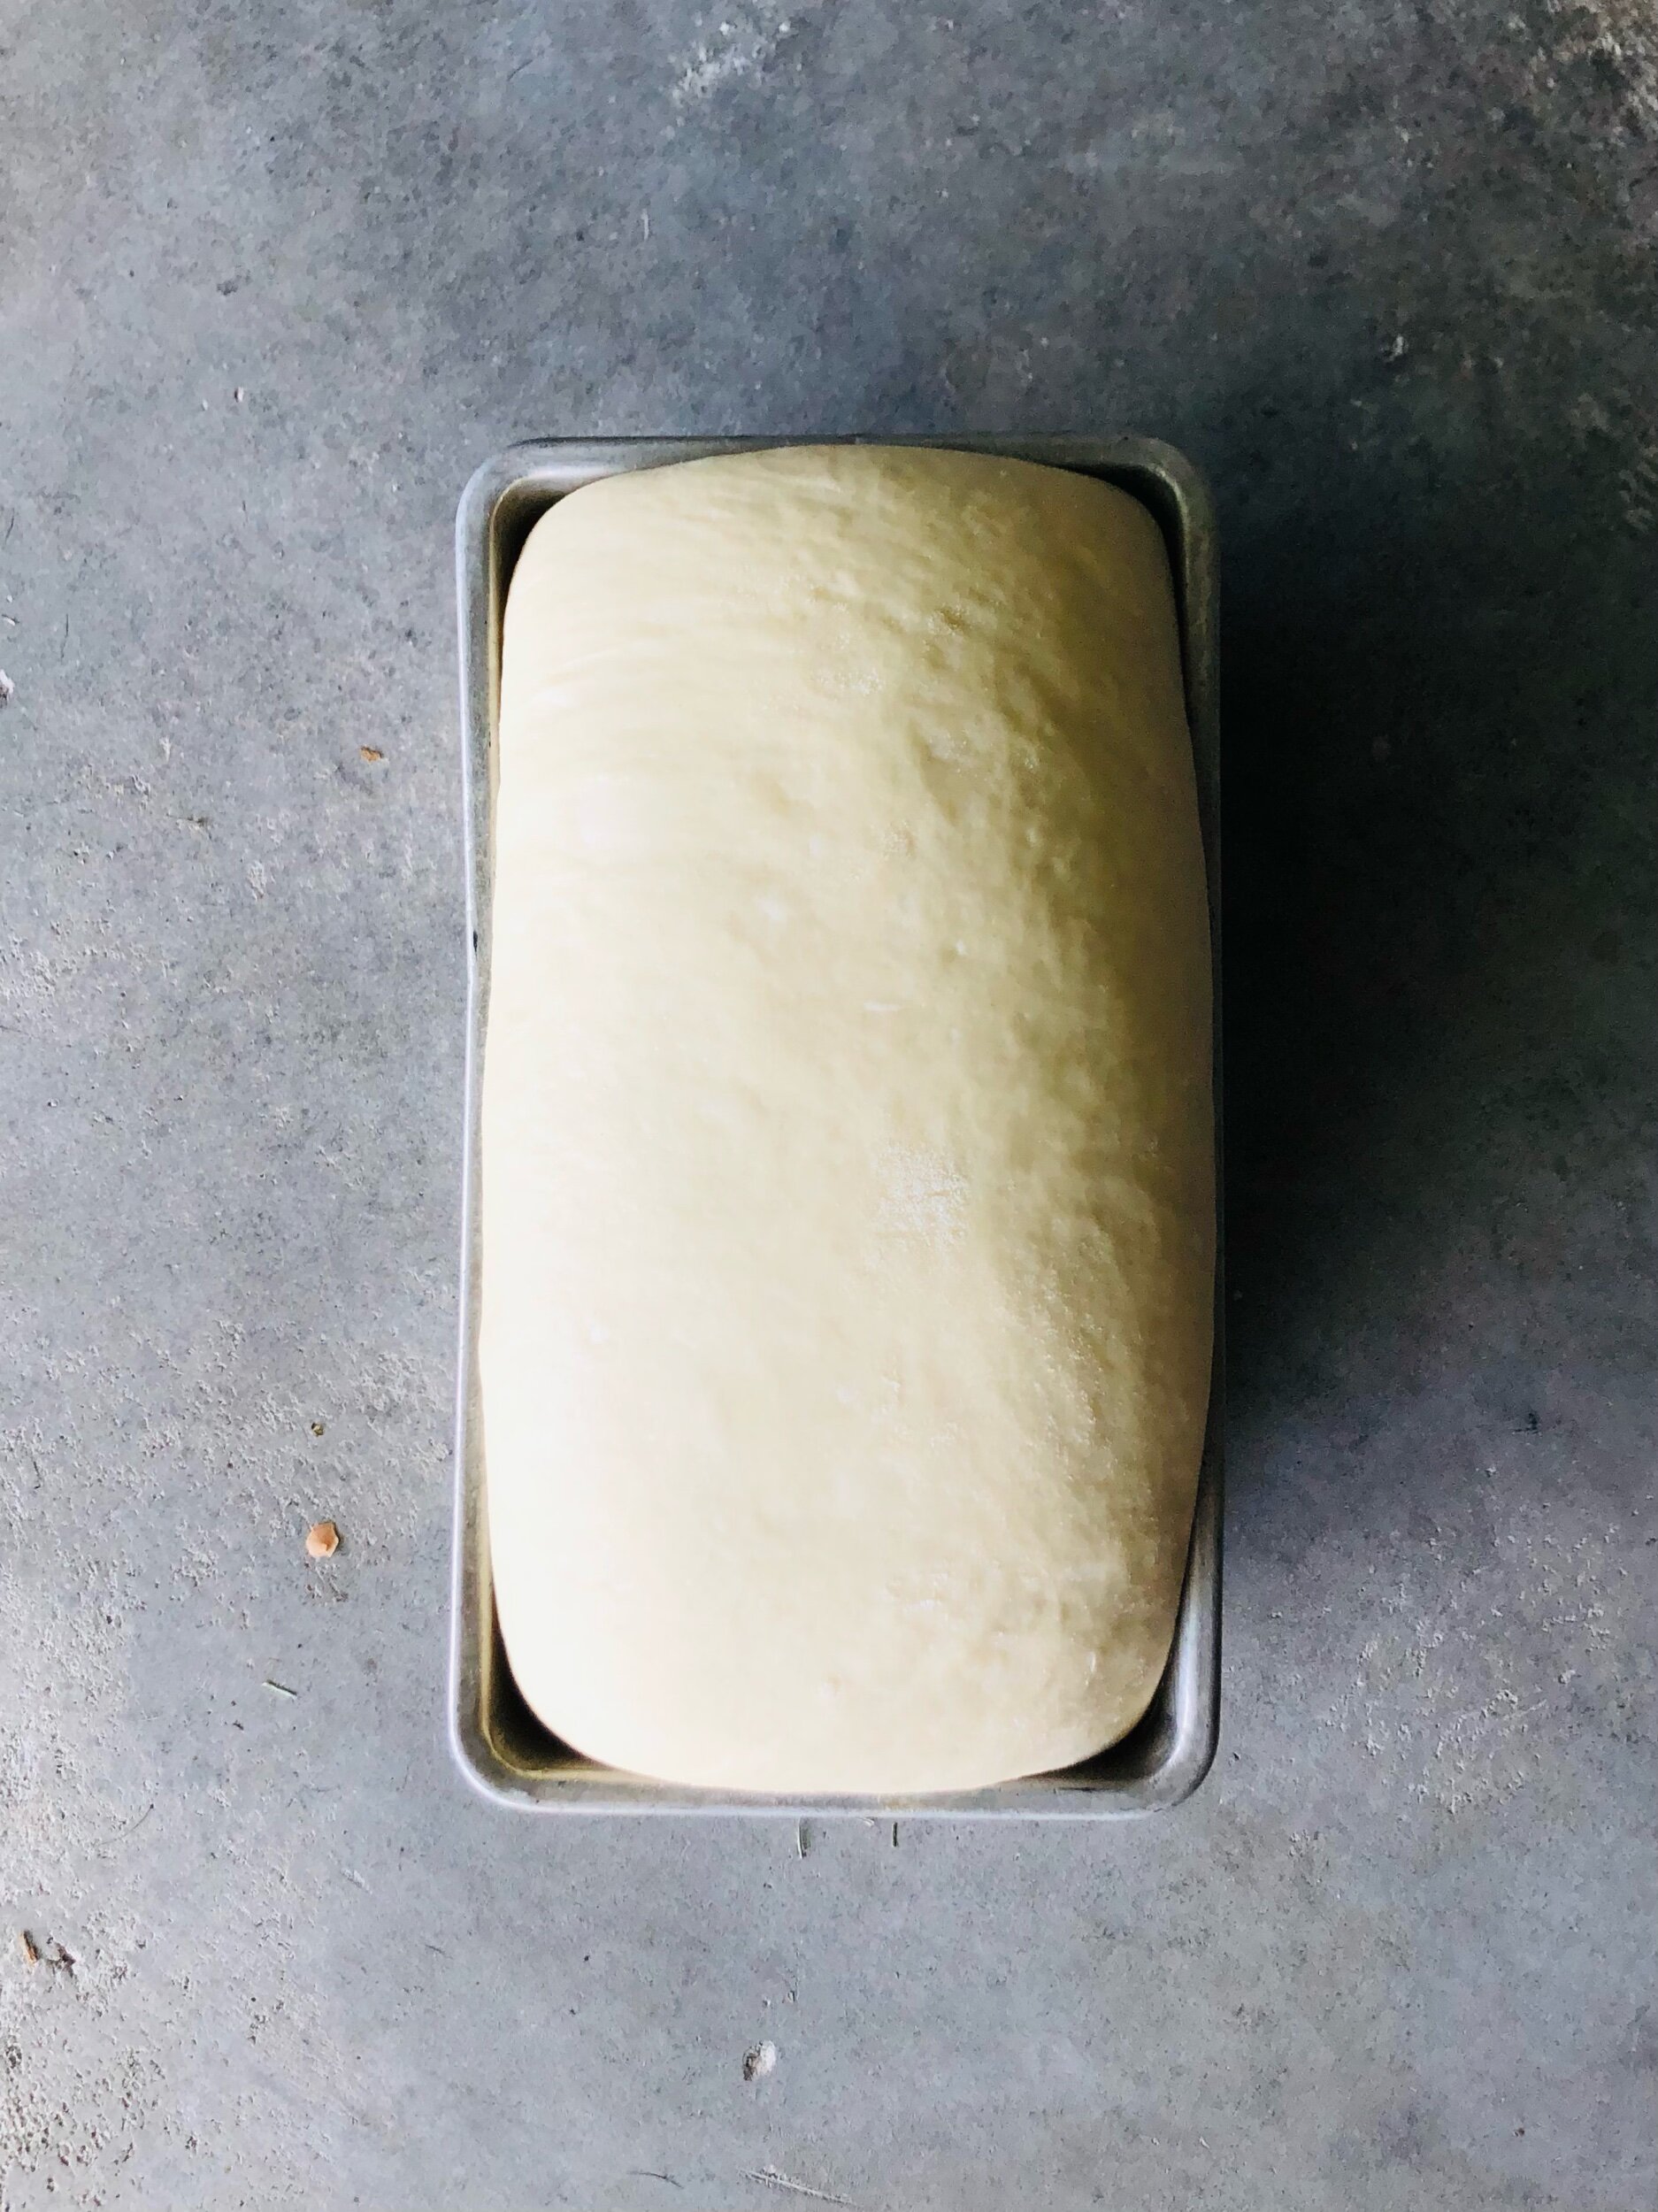
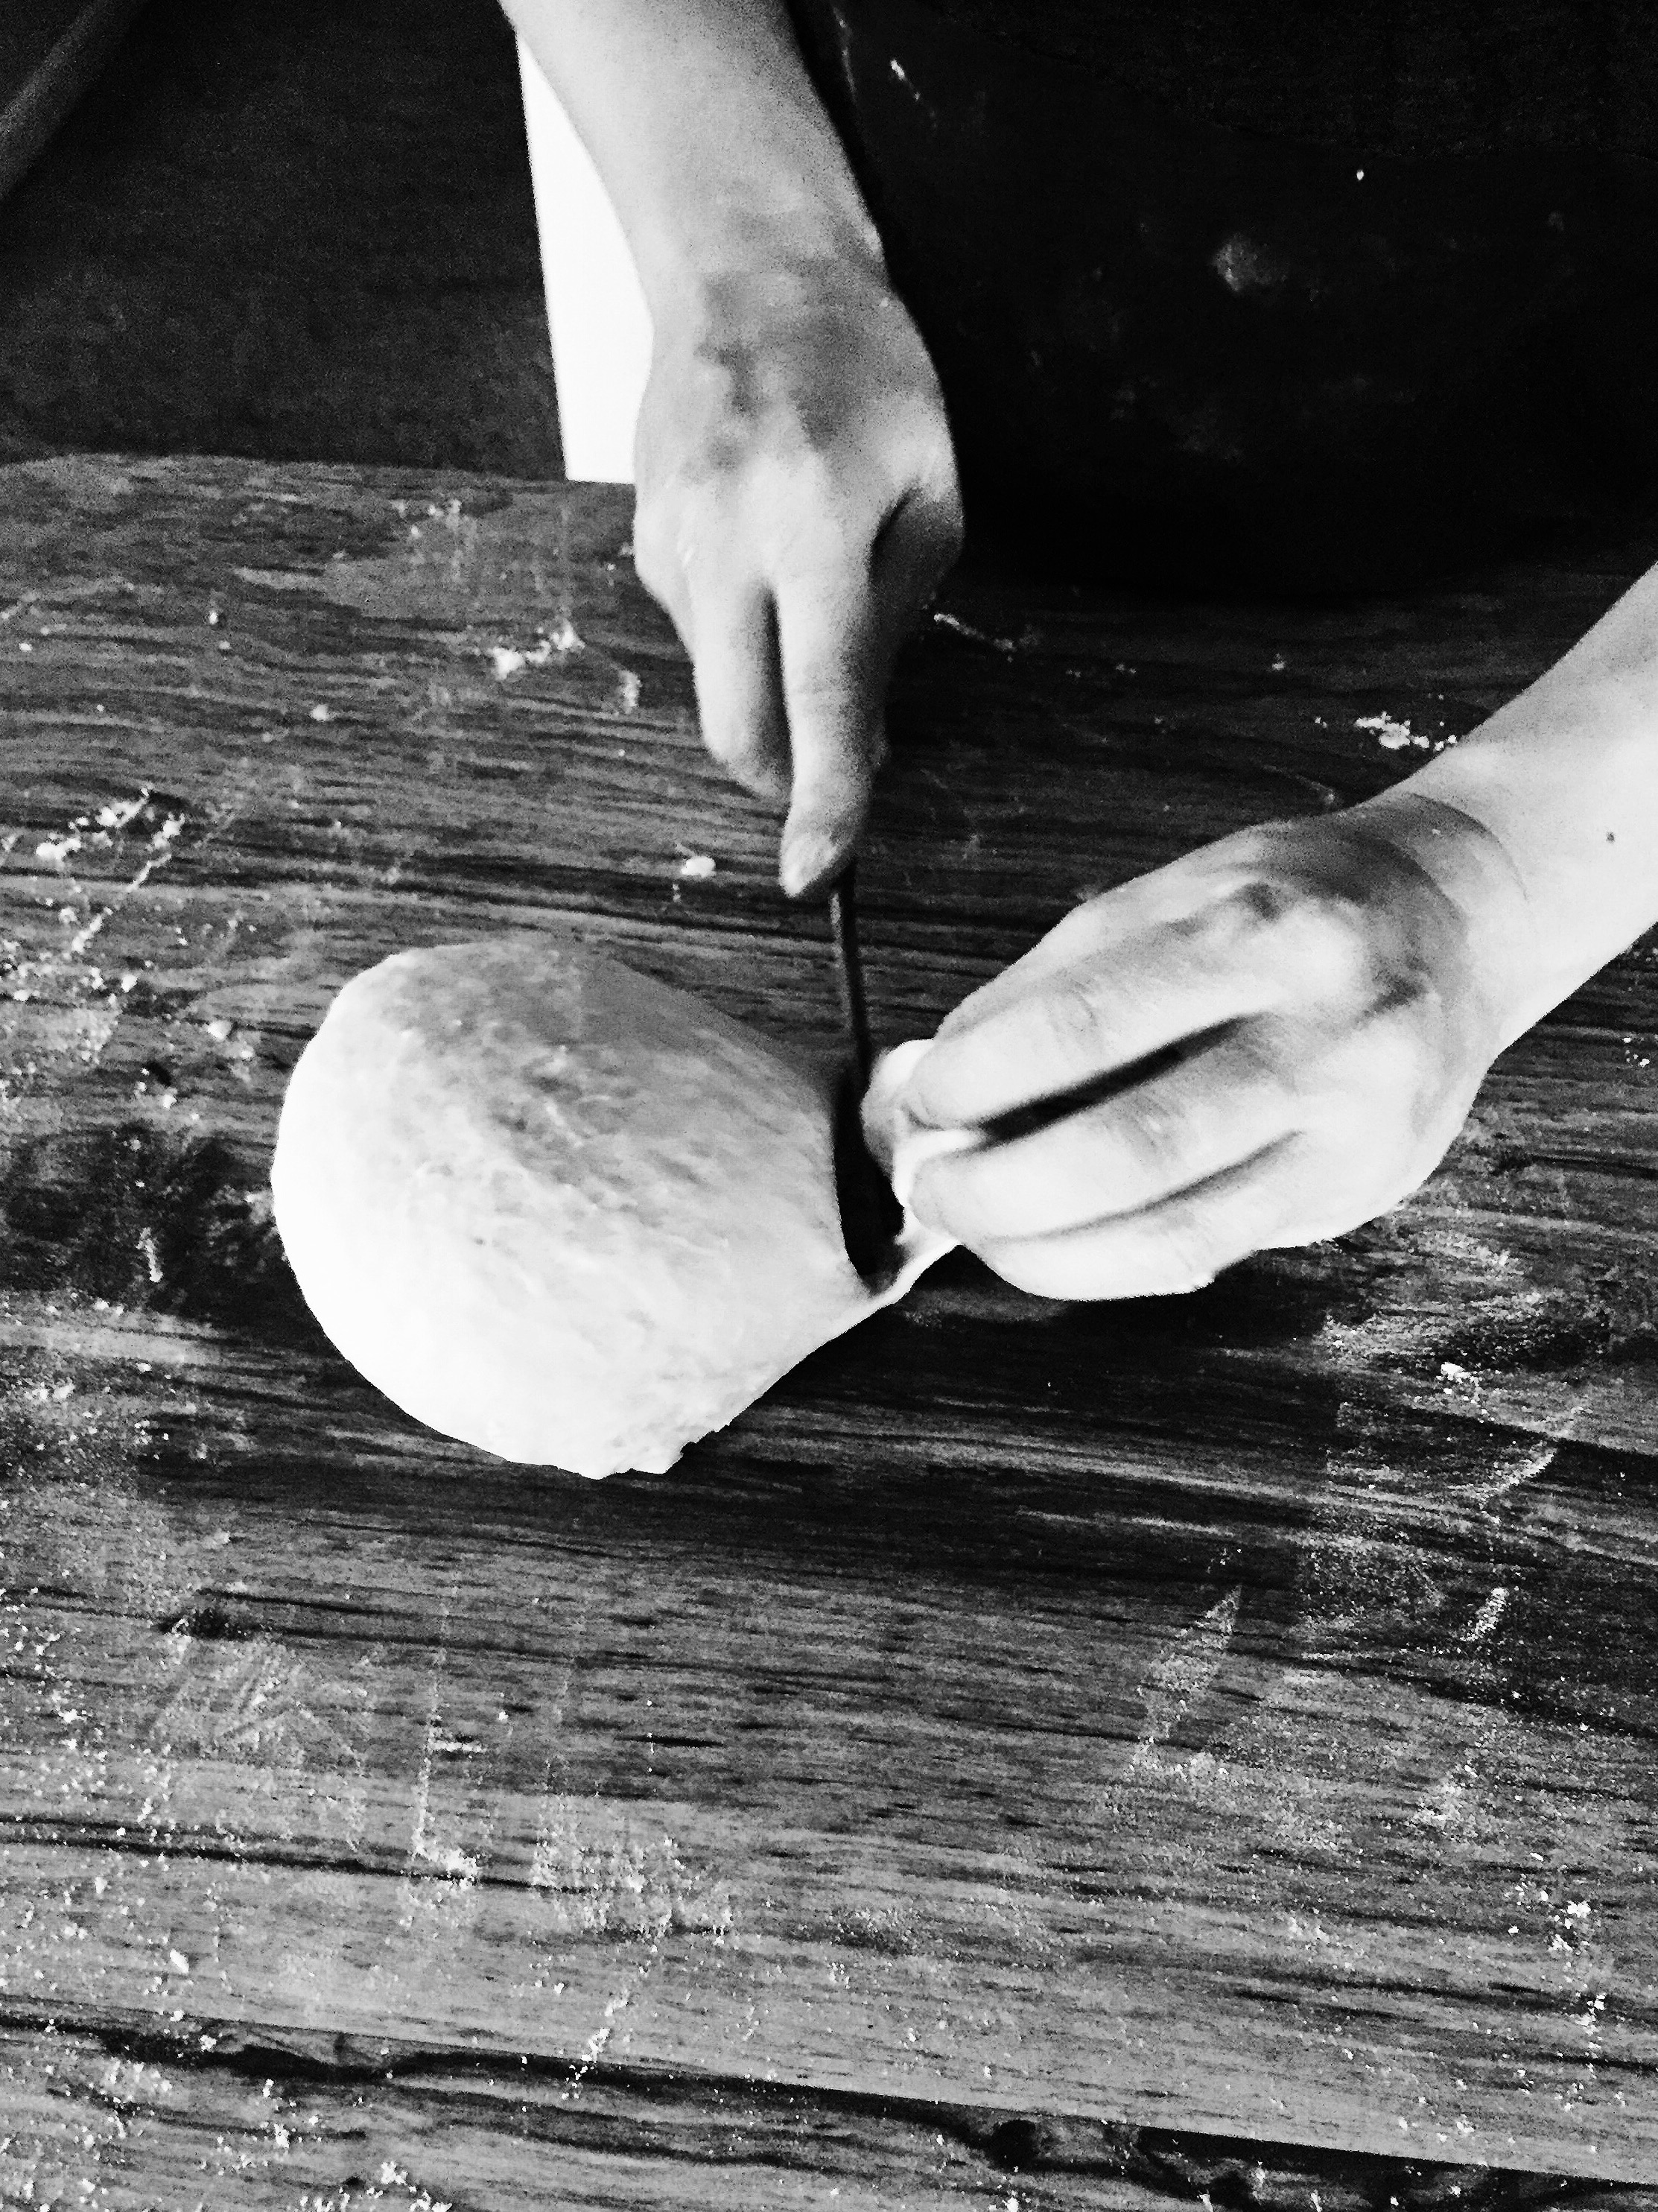
  6. Shape the dough, and let rest another hour.

  7. Preheat a dutch oven to 450F degrees.

  8. Score the dough and carefully transfer it to the preheated dutch oven and bake for 25 minutes.

  9. Remove the lid and reduce the temperature to 410F degrees and continue baking for 15 more minutes.

  10. Carefully remove the bread from the oven and let cool before slicing.

  11. Enjoy!


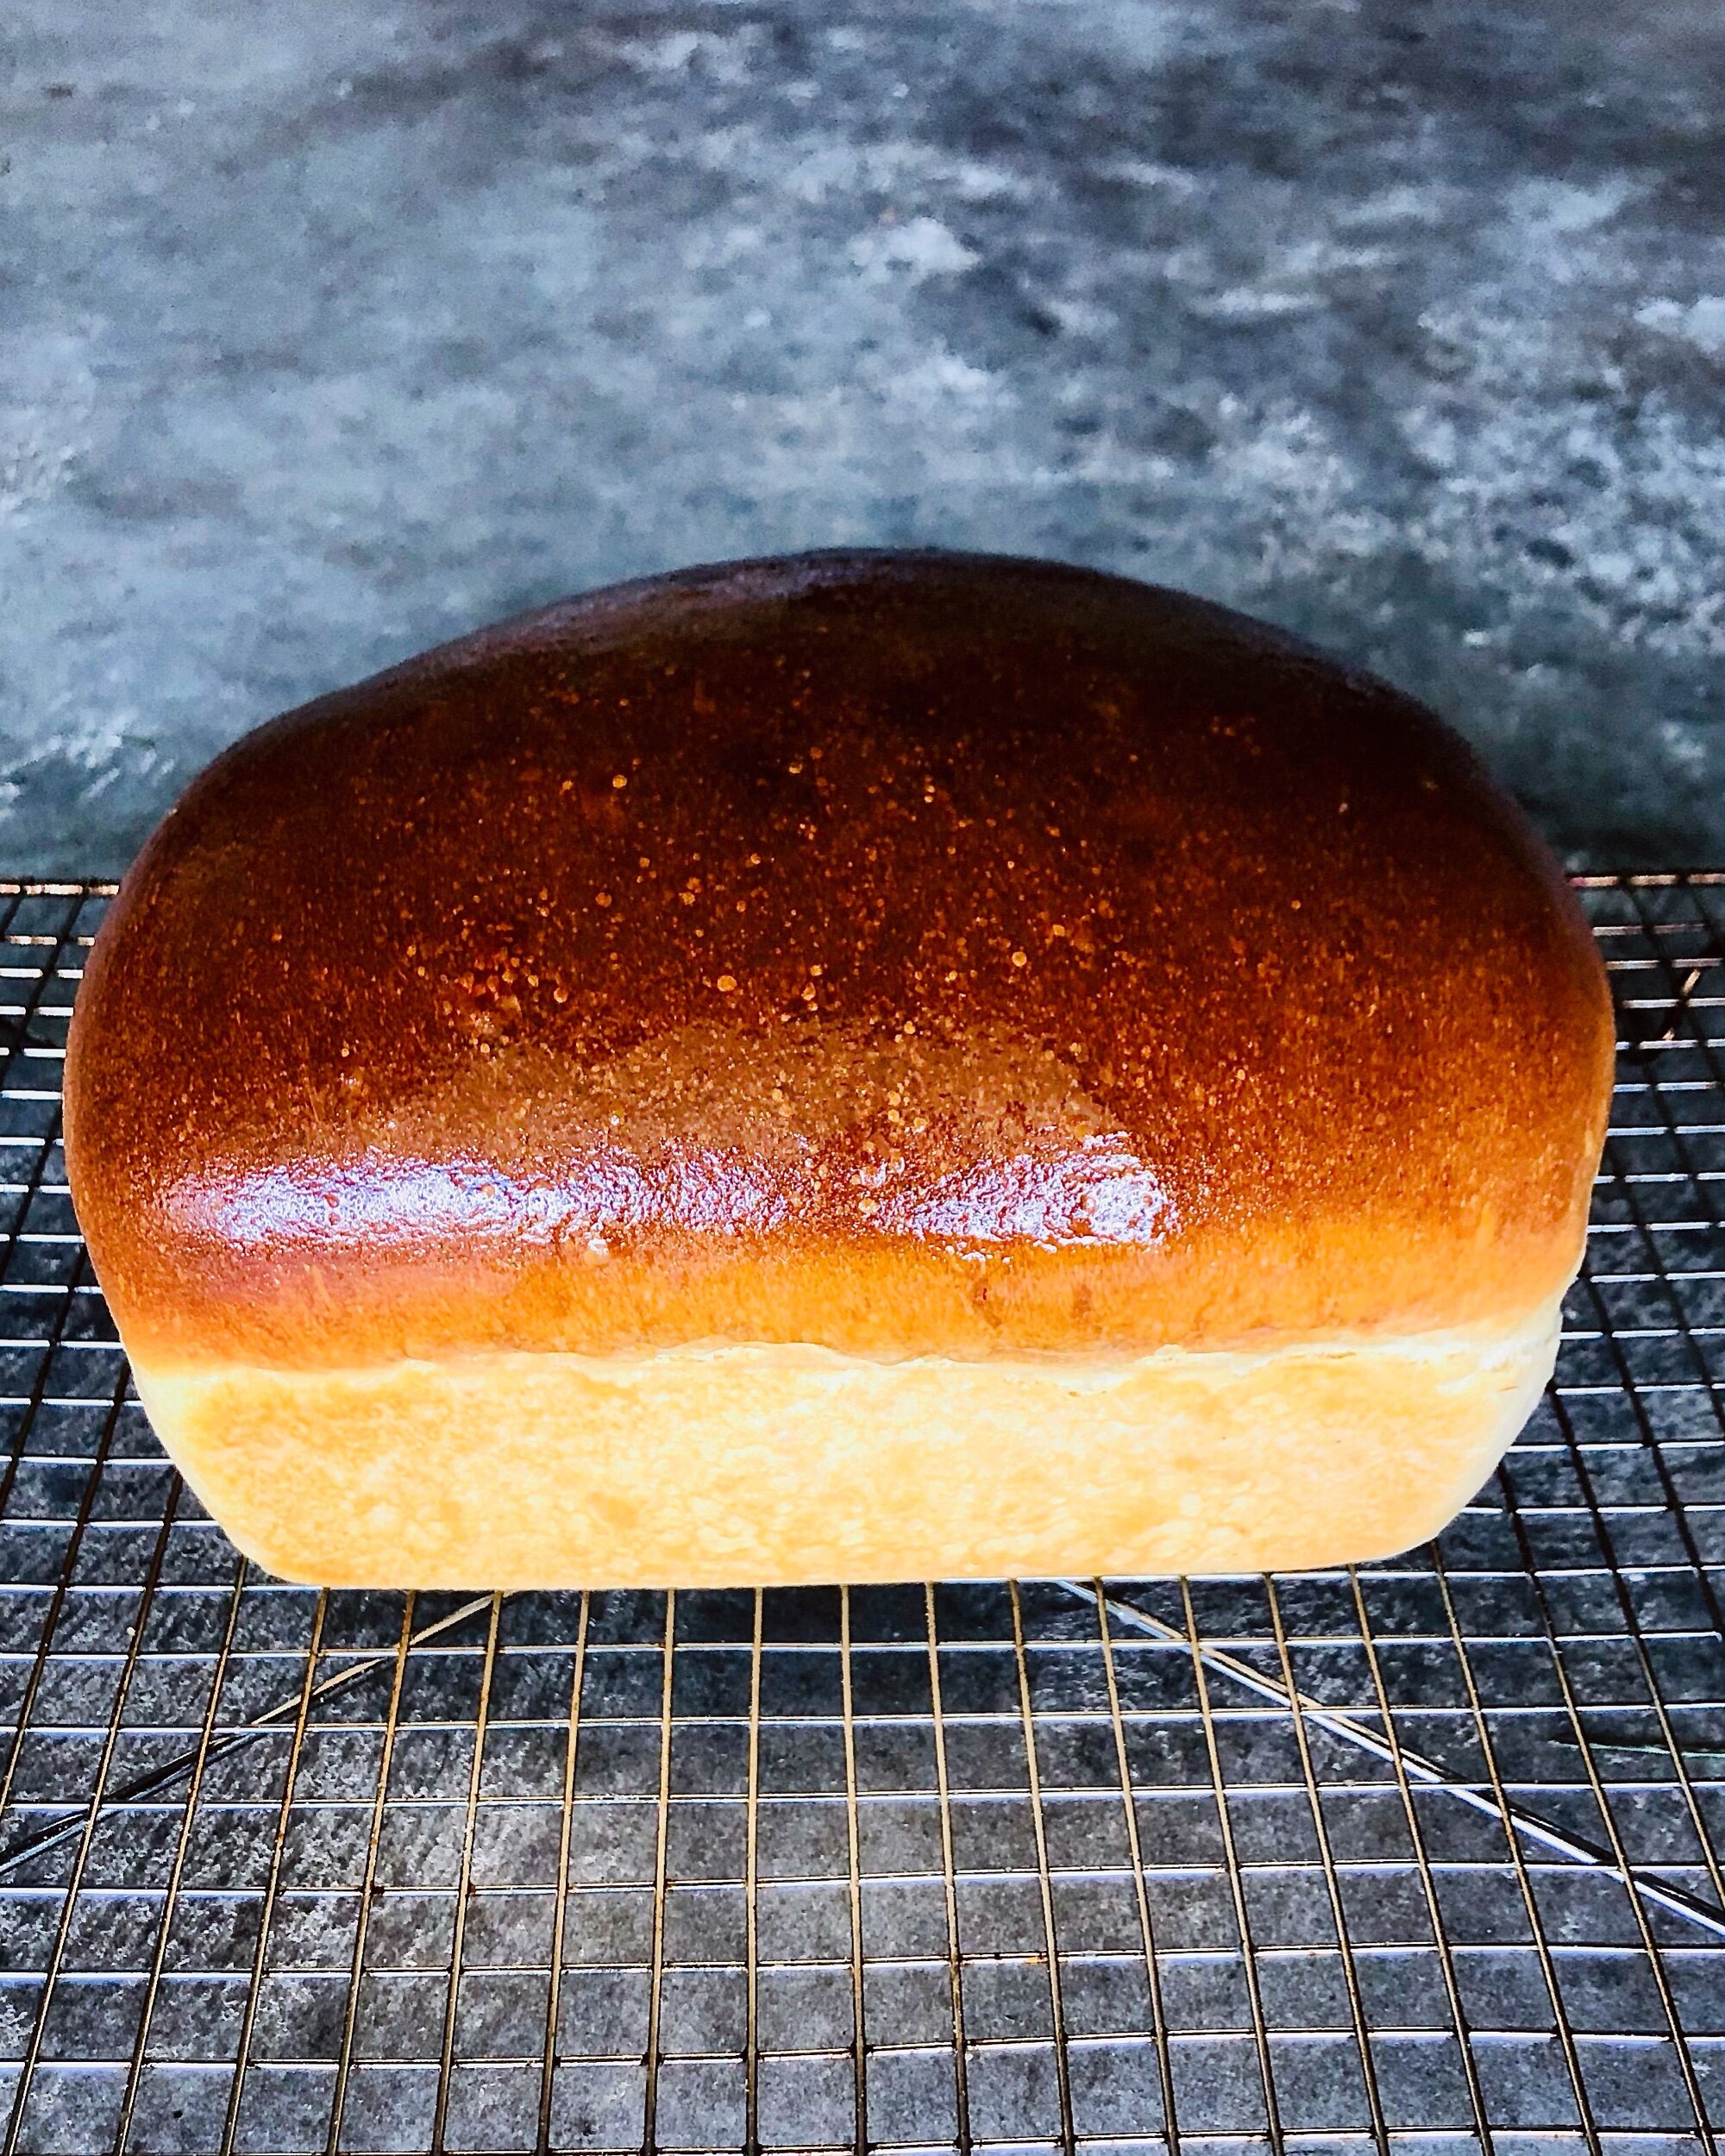
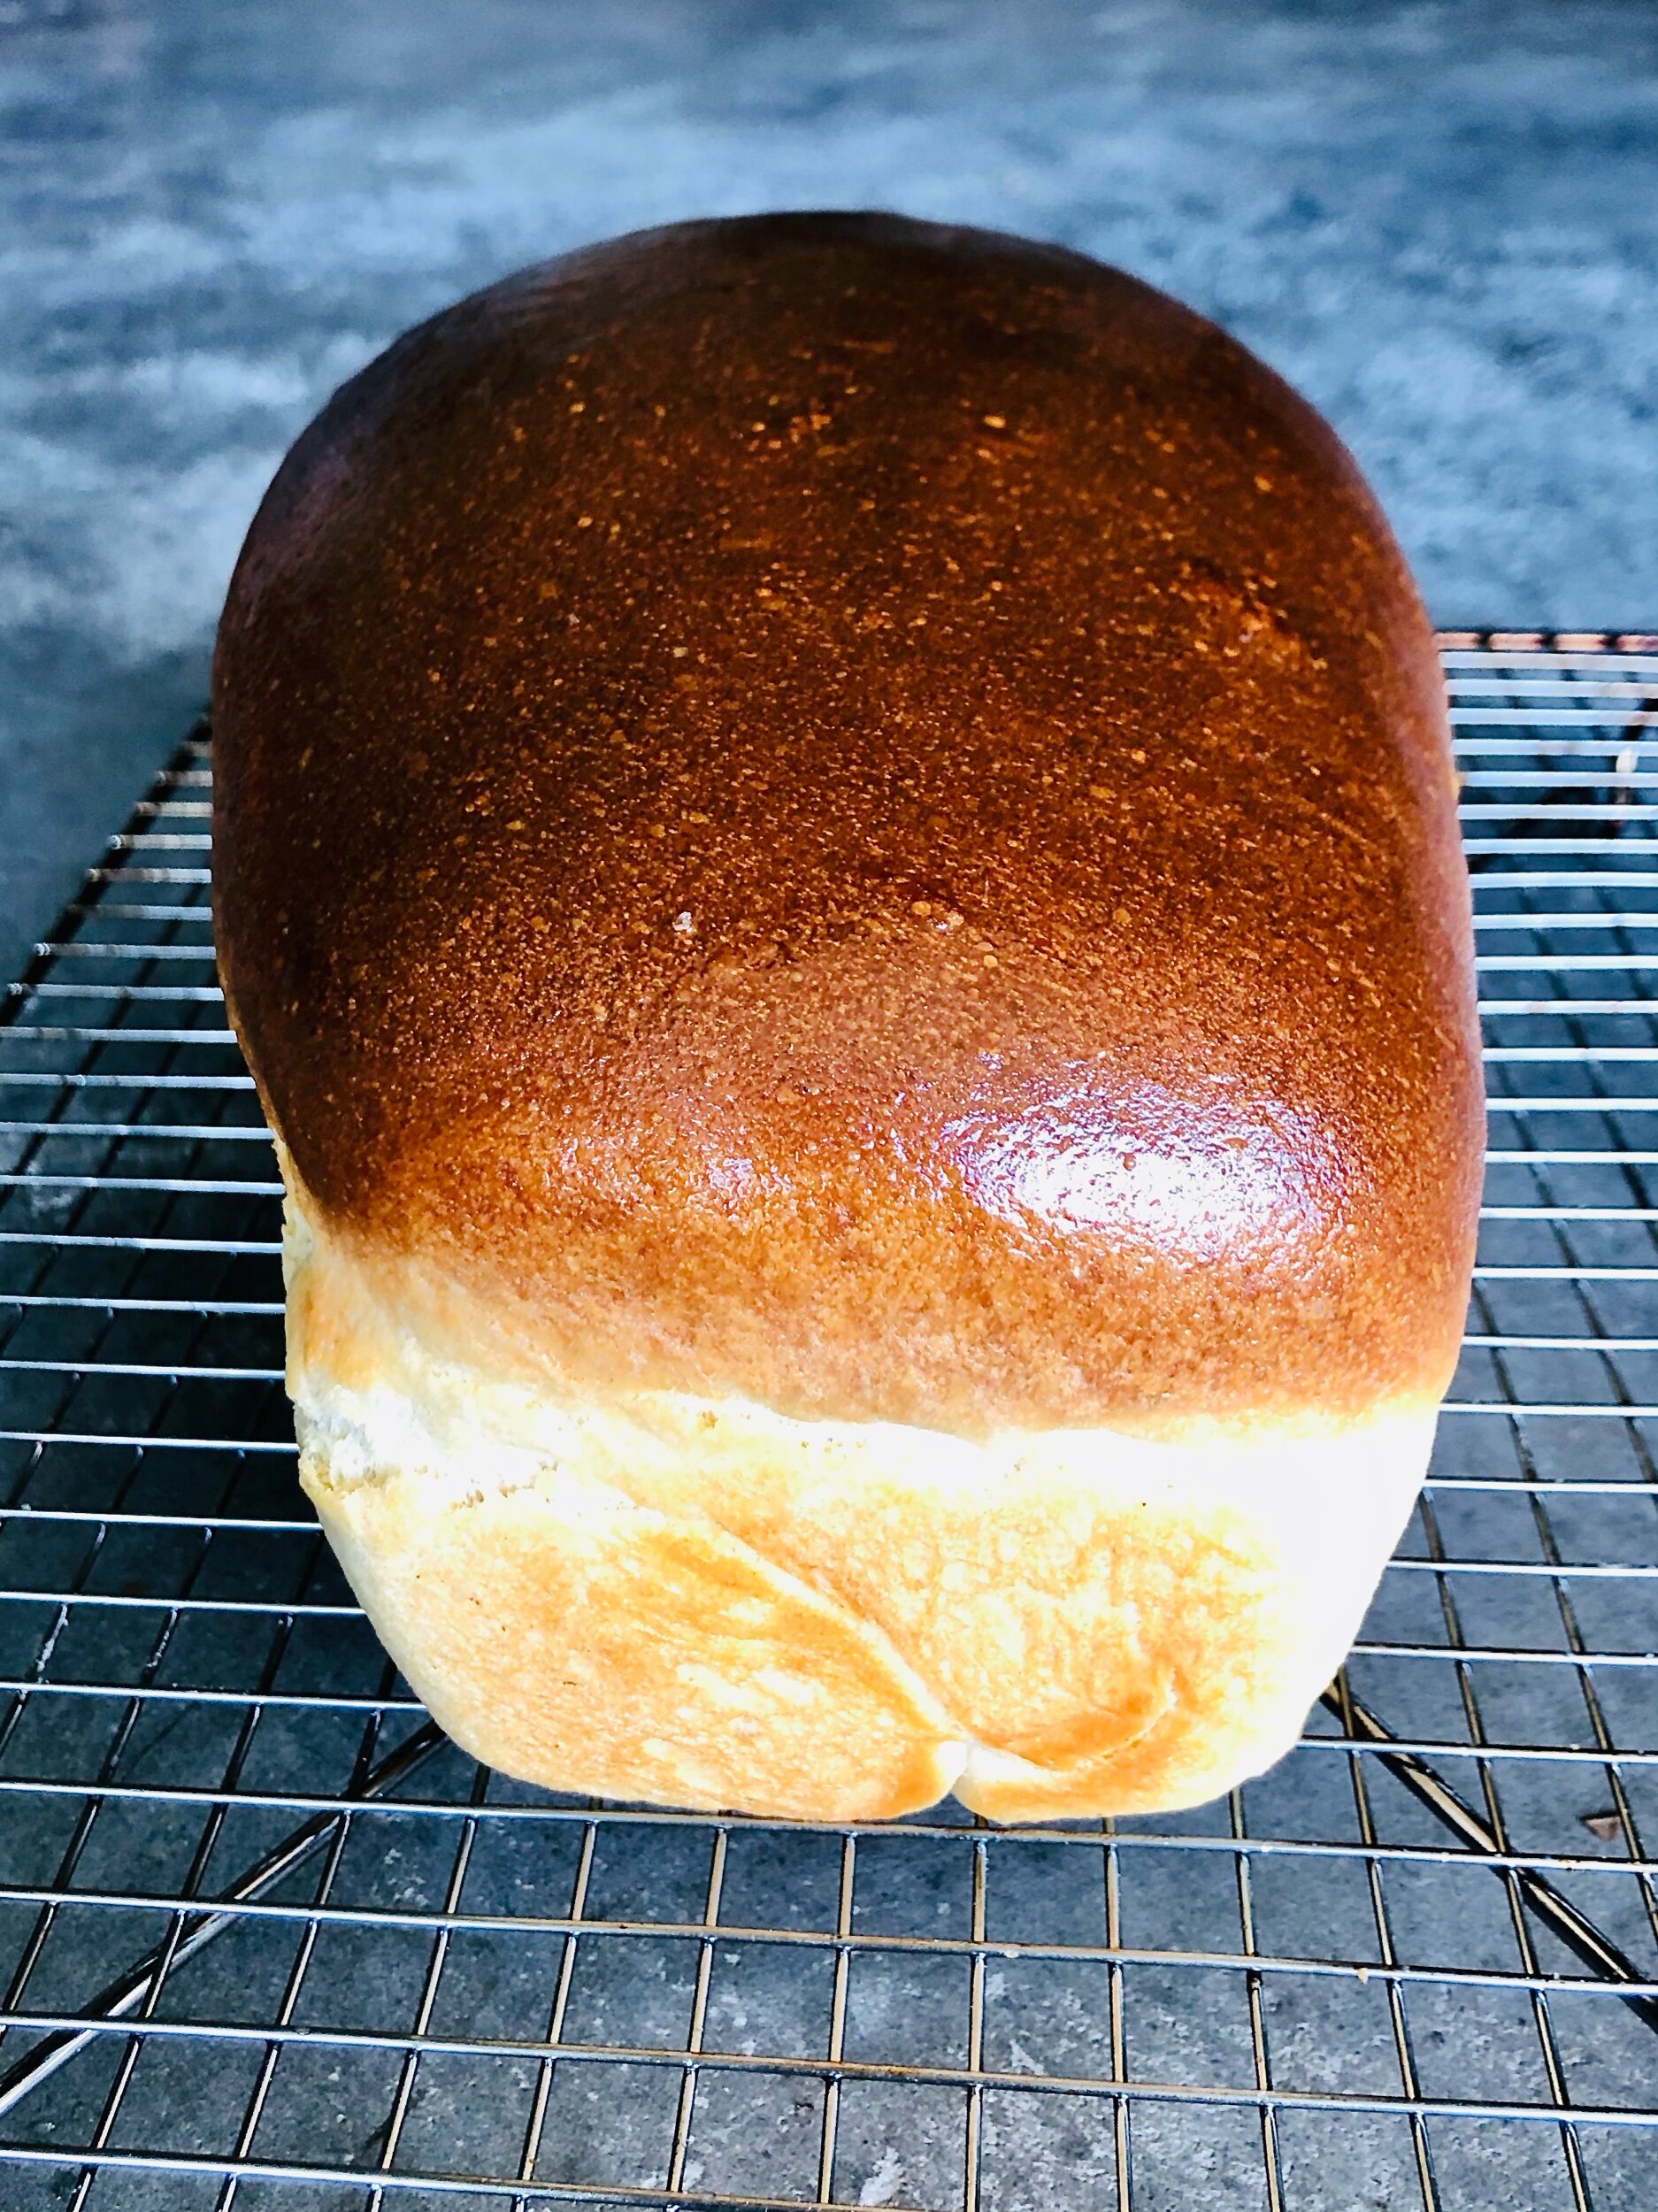
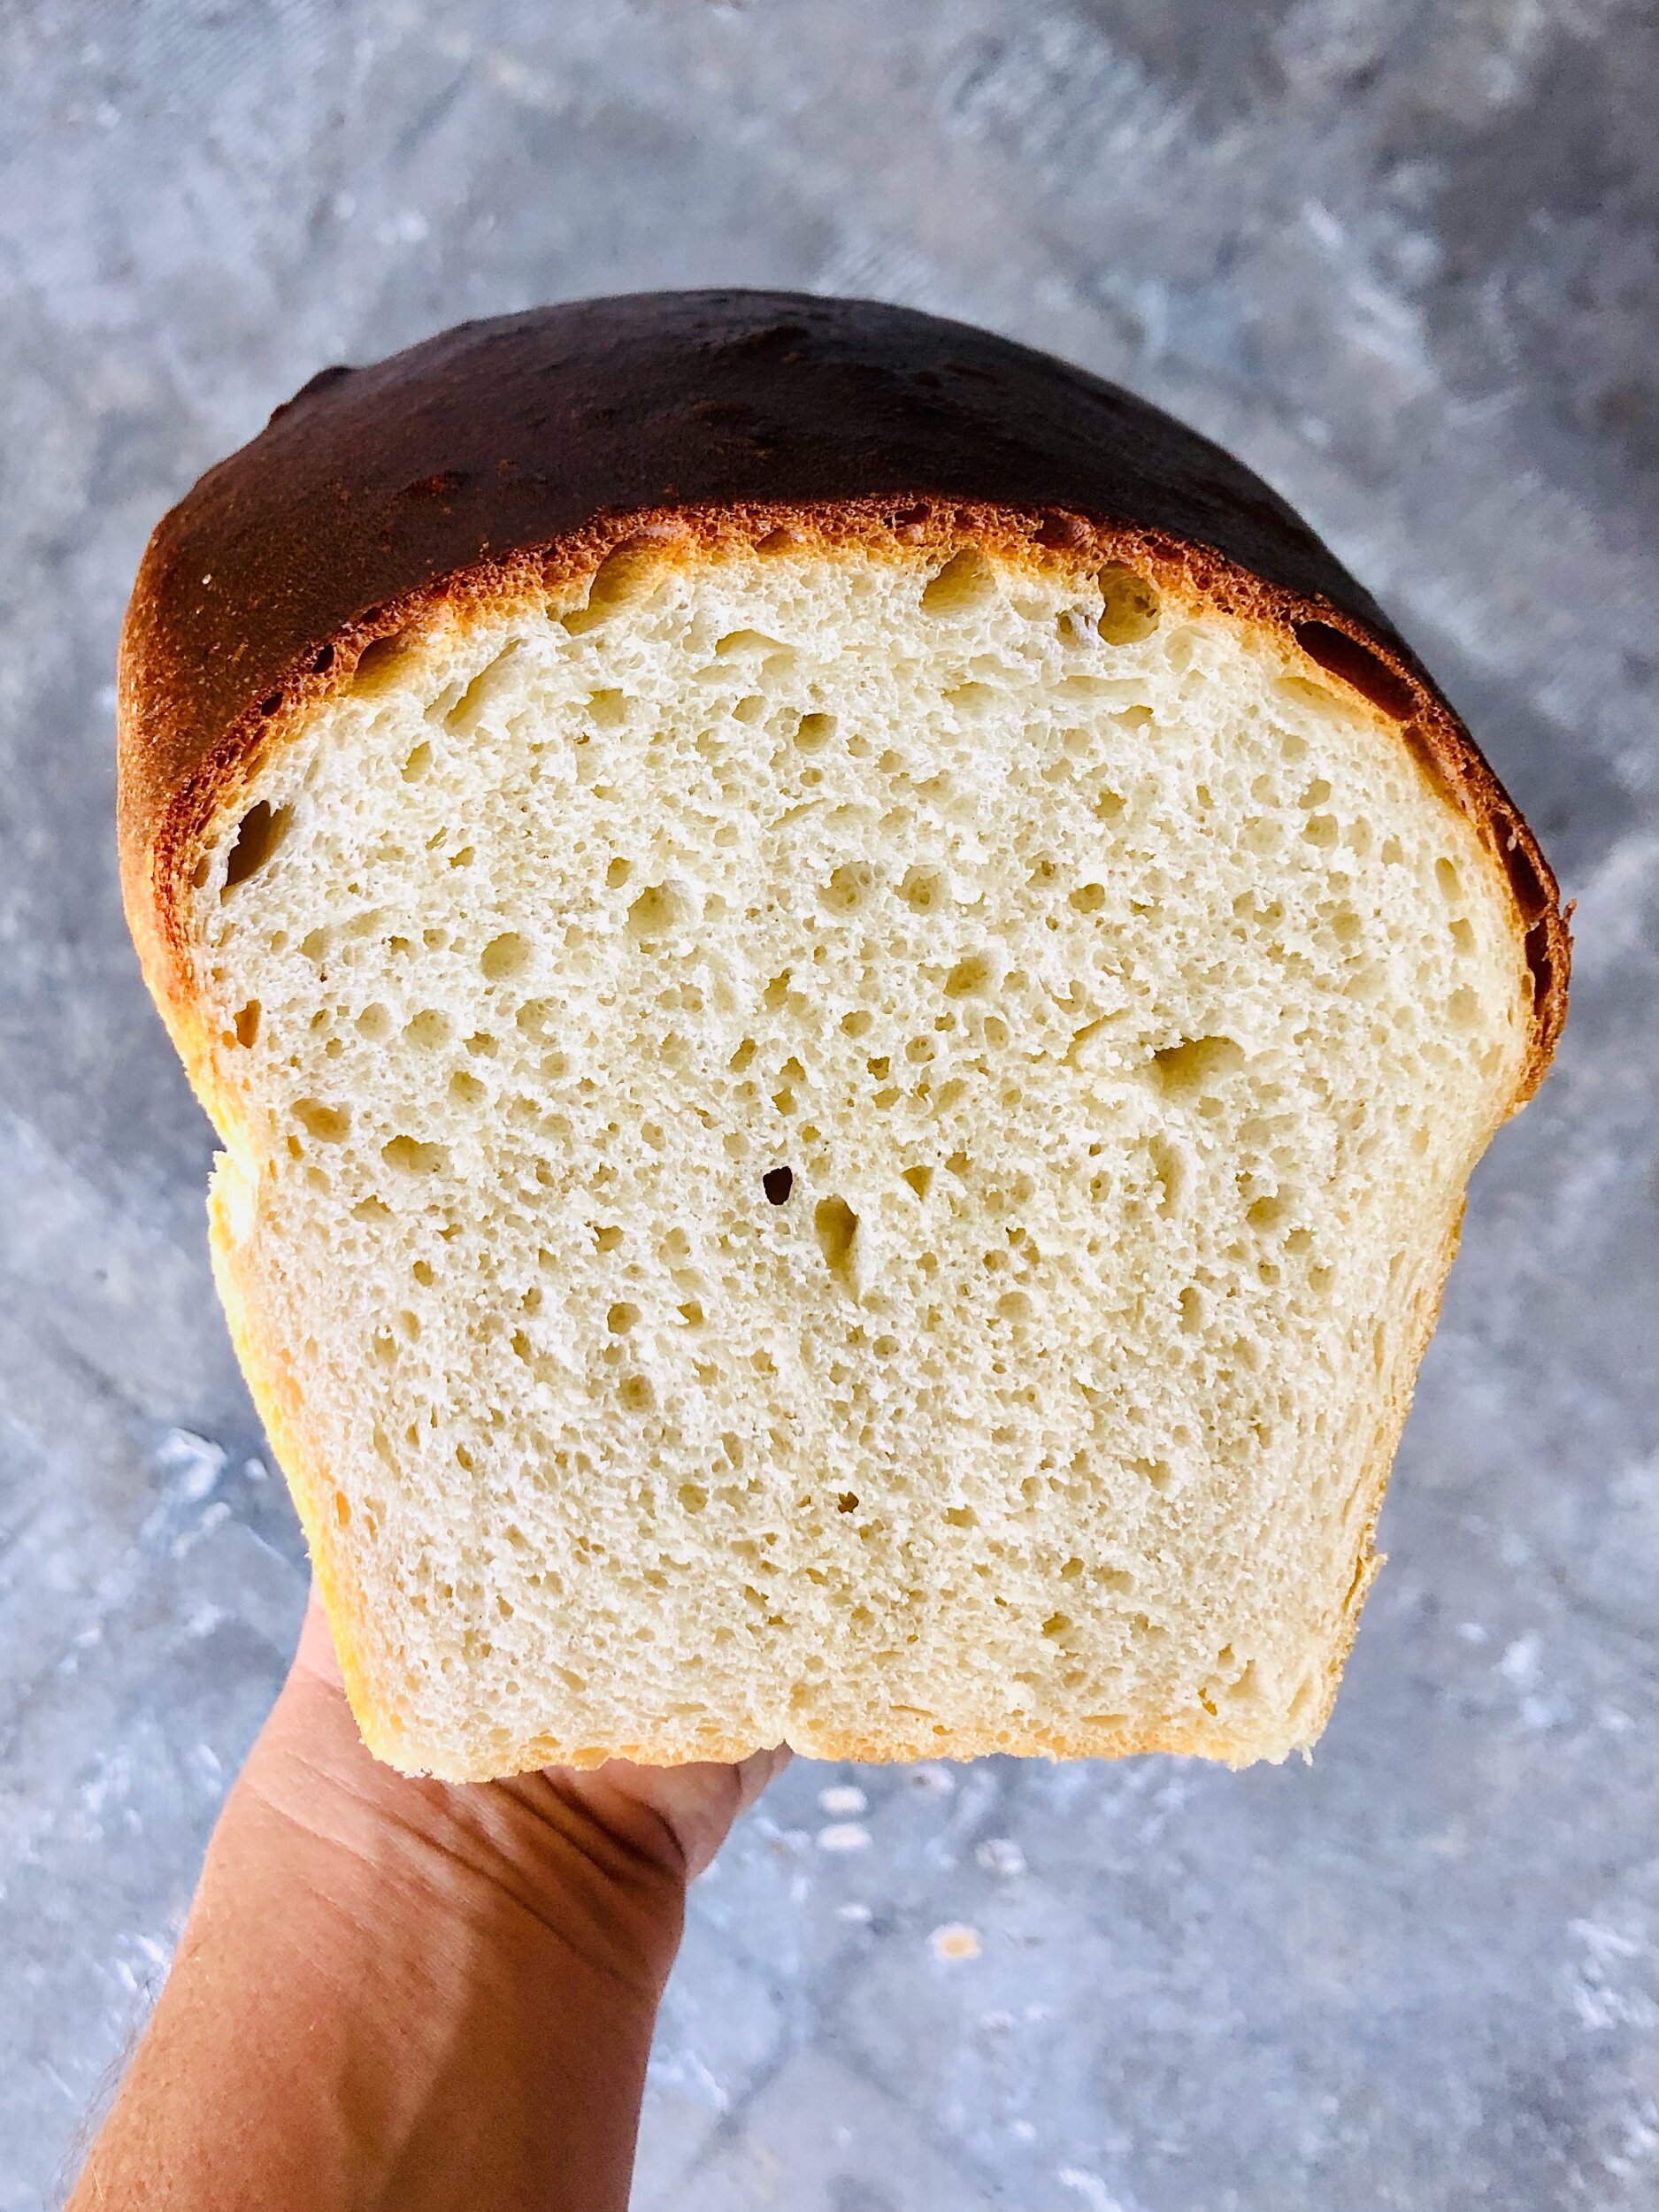
Bread baked from soaked flour.

So, soaked flour, soaked self… both produce good results. Give it a go and feel your way through the process. The dough will be light, and the crumb of the bread softer. Not a bad things really.

Bake on!

February 12, 2023 /Ashley Look
Soaked flour, bread, recipe, dough, soft dough, crumb, dutch oven, yeast, of grain and grain
Flour, Breads
Comment
A loaf of Simply Soft Sandwich Bread with a buttery crust.

A loaf of Simply Soft Sandwich Bread with a buttery crust.

Simply Soft Sandwich Bread

March 28, 2021 by Ashley Look in Breads, Full Moon Baking Club

Hey bakers!

I have a little something different this month. The original idea for the Full Moon Baking Club was to bake and share the delights monthly with those in your community. Covid put the kabash on that dream but not before turning folks into banana bread bakers, sourdough caregivers, virtual class junkies, and all things Zoom. So, it was really only a matter of time until I got in on the action. I’ve been hesitant to embrace digital living but a friend from across the web held my hand for my first ever Zoom baking class!

Rebecca from A Sweeter Course, whom also happens to run The Night Bakery was kind enough to give me a taste of all the things I’ve been missing. We recently “got together” to test this month’s Full Moon Baking Club recipe while participating in a bit of an interview exchange. I gave her all the details on my becoming a full-time family caregiver and how all things Food and Craft became my coping mechanisms. You can read all about it here as well as find the recipe for this month’s Simply Soft Sandwich Bread.

IMG_4909.jpeg IMG_4910.jpeg IMG_4912.jpeg IMG_4917.jpeg IMG_4918.jpeg

It’s also worth noting that anyone that runs something called The Night Bakery was destined to be a friend. Those of you lucky enough to live around New York City you should check of all the sweet treats Rebecca has available! There are cakes and cookies and subscription boxes to fill your fancy so be sure to browse her offerings and get in on what’s baking!

Happy full moon friends! See you next month!

March 28, 2021 /Ashley Look
How To Feed A Senior, Full Moon Baking Club, simply soft sandwich bread, recipe, fresh bread, breaking bread, A Sweeter Course, The Night Bakery, New York City, sweet treats, community, bread bakers, family caregiver, food, craft, baking, banana bread, bakers
Breads, Full Moon Baking Club
Comment

Restorative Miso Soup Recipe

January 11, 2021 by Ashley Look in Recipes, Bowls

Whenever I need a cleanse of sorts, I return to making this Restorative Miso Soup recipe for a nutritional boost to my system. It’s light and earthy broth is grounding when life feels overwhelming.

Read More
January 11, 2021 /Ashley Look
how to feed a senior, miso soup, recipe, seaweed, self-care, dashi, Holiday cleanse, soup cleanse, meals for seniors, recipes for seniors, Alzheimer's, afternoon ritual, broth, sundowning, caregiver tips
Recipes, Bowls
Comment
Swirls of peanut butter and warm chocolate chips turn this simple banana bread recipe into a dream.

Swirls of peanut butter and warm chocolate chips turn this simple banana bread recipe into a dream.

October 2020: Peanut Butter and Chocolate Chip Banana Bread

How To Feed A Senior
October 01, 2020 by Ashley Look in Full Moon Baking Club, Recipes

Swirls of creamy peanut butter and a smattering of chocolate chips turns this simple banana bread recipe into a decadent affair. I know the word “decadent” seems like a stretch of a description for the humble banana bread but you gotta trust me here. Warm chocolate and gooey peanut butter? Yeah… there’s not much more to say… You’re gonna want to make this recipe!

A close-up of all the gooey goody in this banana bread.

A close-up of all the gooey goody in this banana bread.

INGREDIENTS

  • 3 overripe bananas
  • 1/2 cup melted coconut oil or melted butter
  • 1/2 cup honey
  • 2 eggs
  • 2 tsp vanilla extract
  • 2 cups flour
  • 1 1/2 tsp baking soda
  • 1 tsp ground cinnamon
  • 1/2 tsp salt
  • 1 cup chocolate chips
  • 1/2 cup creamy peanut butter

INSTRUCTIONS

  1. Preheat the oven to 350F degrees and grease your bread pan and lay a piece of parchment paper inside.
  2. In a large bowl, mash your bananas.
  3. Then, add in the coconut oil, honey, eggs, and vanilla and combined.
  4. Next add the flour, baking soda, cinnamon, and salt, and mix until the batter forms.
  5. Gently fold in the chocolate distributing the chocolate chips throughout.
  6. Using teaspoon size amounts, dollop 3/4th of the peanut butter into the batter and gently swirl it throughout.(Don't over mix. You want them swirls!)
  7. Pour the batter into the prepped pan with parchment paper.
  8. Dollop your remaining peanut butter on top and gently swirl it through the batter.
  9. Bake for 50-60 minutes, or until center is set being careful not to over cook. (Cover with foil if necessary.)
  10. Remove the bread from the oven and let cool for 5 minutes in the pan.
  11. Gently lift the bread with the parchment out of the pan and let cool for another 15 minutes on a wire rack before cutting into it.
October 01, 2020 /Ashley Look
How To Feed A Senior, Peanut butter, chocolate chips, banana bread, flour, decadent, creamy, chocolate, humble, recipe, simple, bananas, eggs, honey
Full Moon Baking Club, Recipes
Comment
Turmeric-ginger squash soup with lemon, coconut milk and a drizzle of pomegranate reduction.

Turmeric-ginger squash soup with lemon, coconut milk and a drizzle of pomegranate reduction.

Turmeric & Ginger Squash Soup Recipe

September 05, 2019 by Ashley Look in Recipes

There is just something about the combination of both turmeric and ginger that brings the cozy and what better cozy is there than a soup? That’s right folks. It’s soup season. I might be a bit early on this one but when you are a girl from South Florida hangin’ in Maine, the cold comes early. ‘Tis time…

And if you’re looking to boost your immune system as we head into some cooler weather, well grab a bowl cause this soup is basically a nutrition bomb. It’s rich in antioxidants like carotenoids and curcumin helping to reduce inflammation and keep you feeling good. Did I mention the lemon juice and pomegranate drizzle? Yeah… you’re just gonna have to take my word for it. You need this soup in your life!

Ingredients

  • 2 tbsp. turmeric
  • 1 tsp. curry powder
  • 1/2 tsp. ground ginger
  • 1/2 tsp. cumin
  • 1 tbsp. butter
  • 1 tbsp. coconut oil
  • 1 yellow onion, chopped
  • 1 clove garlic, grated
  • 1 inch fresh ginger, grated
  • 3 cups squash ( I roasted a Jarradale Squash whole and scooped out 3 cups.)
  • 3 to 4 cups of broth or enough for desired consistancy.
  • 1 lemon
  • 1 can coconut milk
  • 1 tbsp pomegranate reduction

Directions

  1. In a large pot, dry toast the powdered spices till slightly fragrant.
  2. Add the butter and oil and mix with the spices.
  3. Then add the chopped onion, garlic and fresh ginger and saute in the spices for a few minutes.
  4. Next, add a small amount of broth to deglaze the botton of the pot, then add the squash.
  5. Add more broth to cover the squash and let simmer till thouroughly cooked.
  6. Carefully use an immersion blender and puree soup addind more broth if necessary.
  7. Squeeze the lemon into the soup and stir. (I used a whole lemon.)
  8. Serve into bowls and add 1/8 cup of coconut milk to each bowl.
  9. Drizzle the pomagranate sauce if using and add salt and pepper to taste.
September 05, 2019 /Ashley Look
How to feed a senior, Turmeric Ginger Squash Soup, recipe, carotenoids, curcumin, turmeric, ginger, winter squash, coconut milk, lemon juice, pomegranate reduction, soup recipe, reduce inflammation, curry powder
Recipes
Comment
Handmade flour tortilla recipe from the Full Moon Baking Club, February 2019.

Handmade flour tortilla recipe from the Full Moon Baking Club, February 2019.

February 2019: Handmade Flour Tortilla Recipe

March 06, 2019 by Ashley Look in Full Moon Baking Club, Recipes

Hey Full Moon Bakers!

I’m trying to ease back into all the things after my father’s passing and that includes the Full Moon Baking Club. There is really no better way to make that happen than with a good friend. To be honest, that’s what this baking club is for. Gathering friends, attempting kitchen crafts and ideally eating said crafts with good company. As much as I believe in breaking bread and the power of sharing food to foster togetherness, this was the first month in which I have been able to participate in that vision. Lucky for me (and us) I happen to know one of the best handmade flour tortilla makers this side of the border. He happily shared his recipe, technique, and personal counsel for an epic night of tacos. It was a true reminder that no matter life’s circumstances, good times still await us. We just need to make the time.

Speaking of time, hand making tortillas takes some… Individually rolling out 15 to 20 small pieces of dough is a workout so I suggest enlisting a friend (duh…) to help with the pan frying. You’ll find a rhythm and have fun in the process. And I mentioned the tacos, right? Just make the tortillas. Surely you know how to apply the fixin’s. Check below for the recipe and some step-by-step visuals.

handmade flour tortilla recipe 1.jpg handmade flour tortilla recipe 2.jpg Making handmade flour tortilla dough.jpg Handmade flour tortilla recipe dough 3.jpg handmade flour tortilla recipe dough 4.jpg handmade flour tortilla recipe dough 5.jpg Handmade flour tortilla recipe dough 6.jpg Handmade flour tortilla recipe dough balls 7.jpg Handmade flour tortilla recipe dough balls covered 8.jpg Rolling handmade tortilla dough 9.jpg Frying handmade flour tortilla dough 10.jpg

Ingredients

  • 2 cups flour
  • 1 tsp. salt
  • 1 tsp.baking powder
  • 4 to 5 tbsp butter
  • 3/4 cup hot water

Directions

  1. Mix the dry ingredients together in a large bowl.
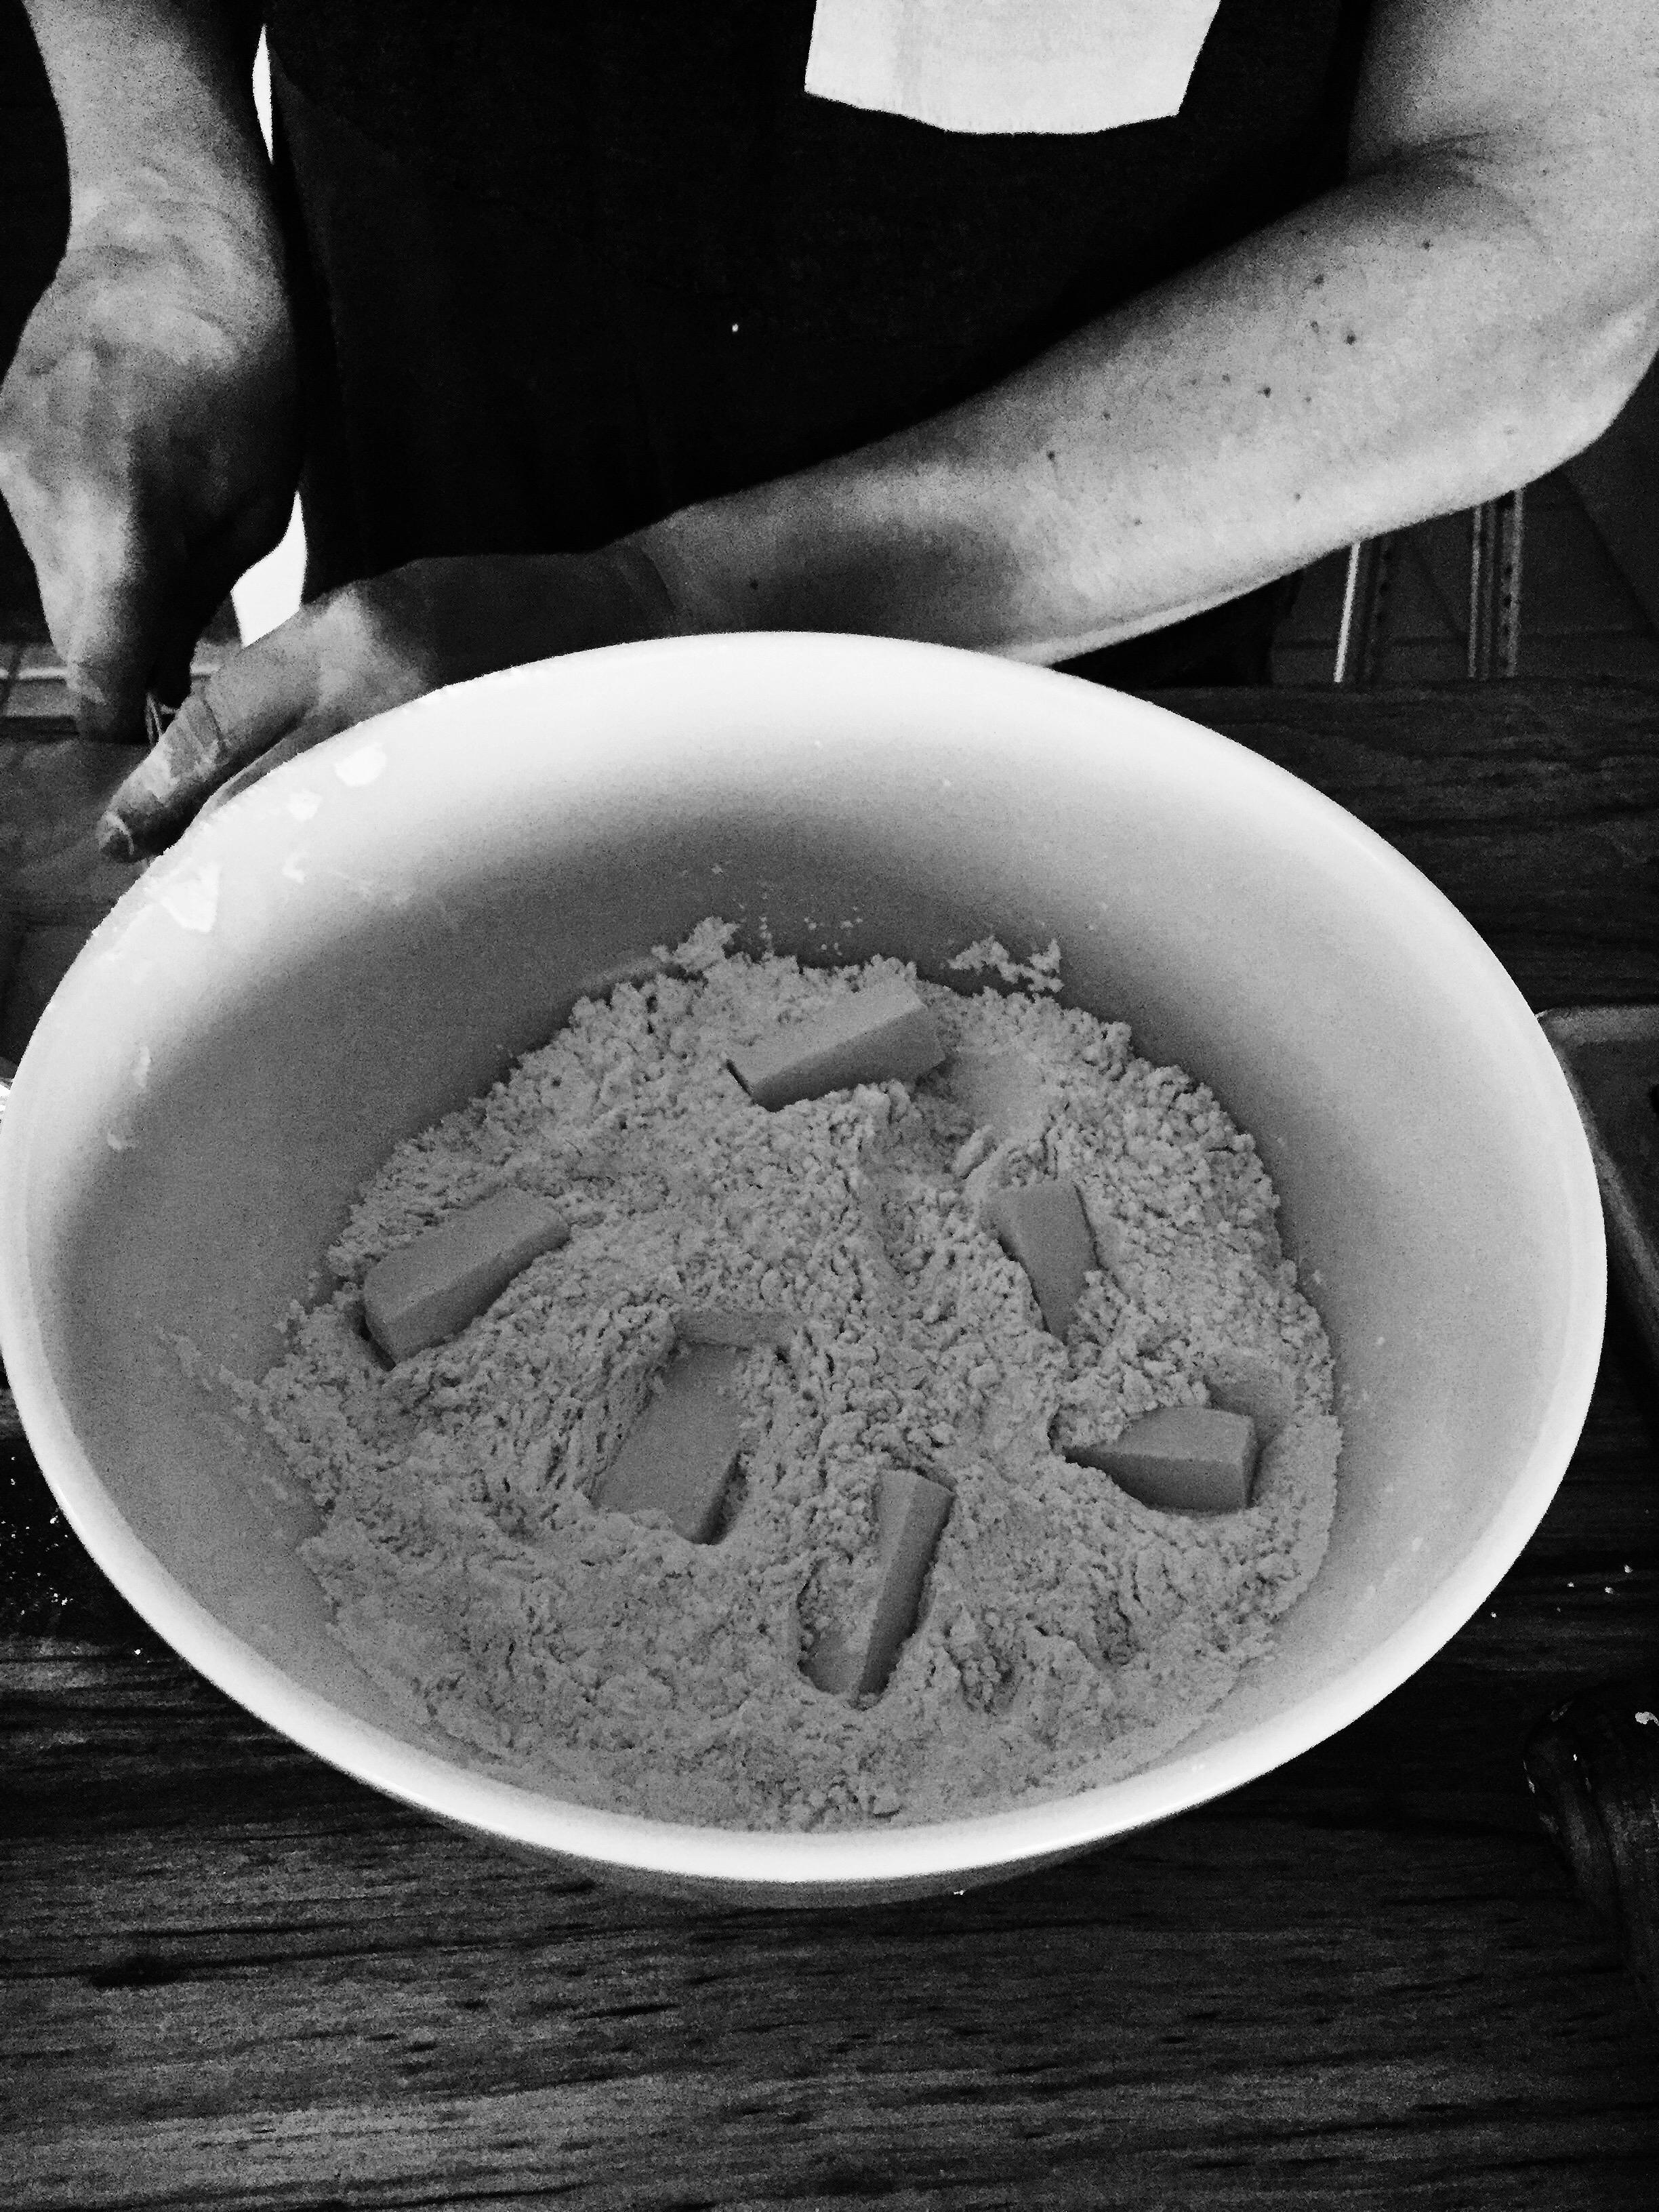
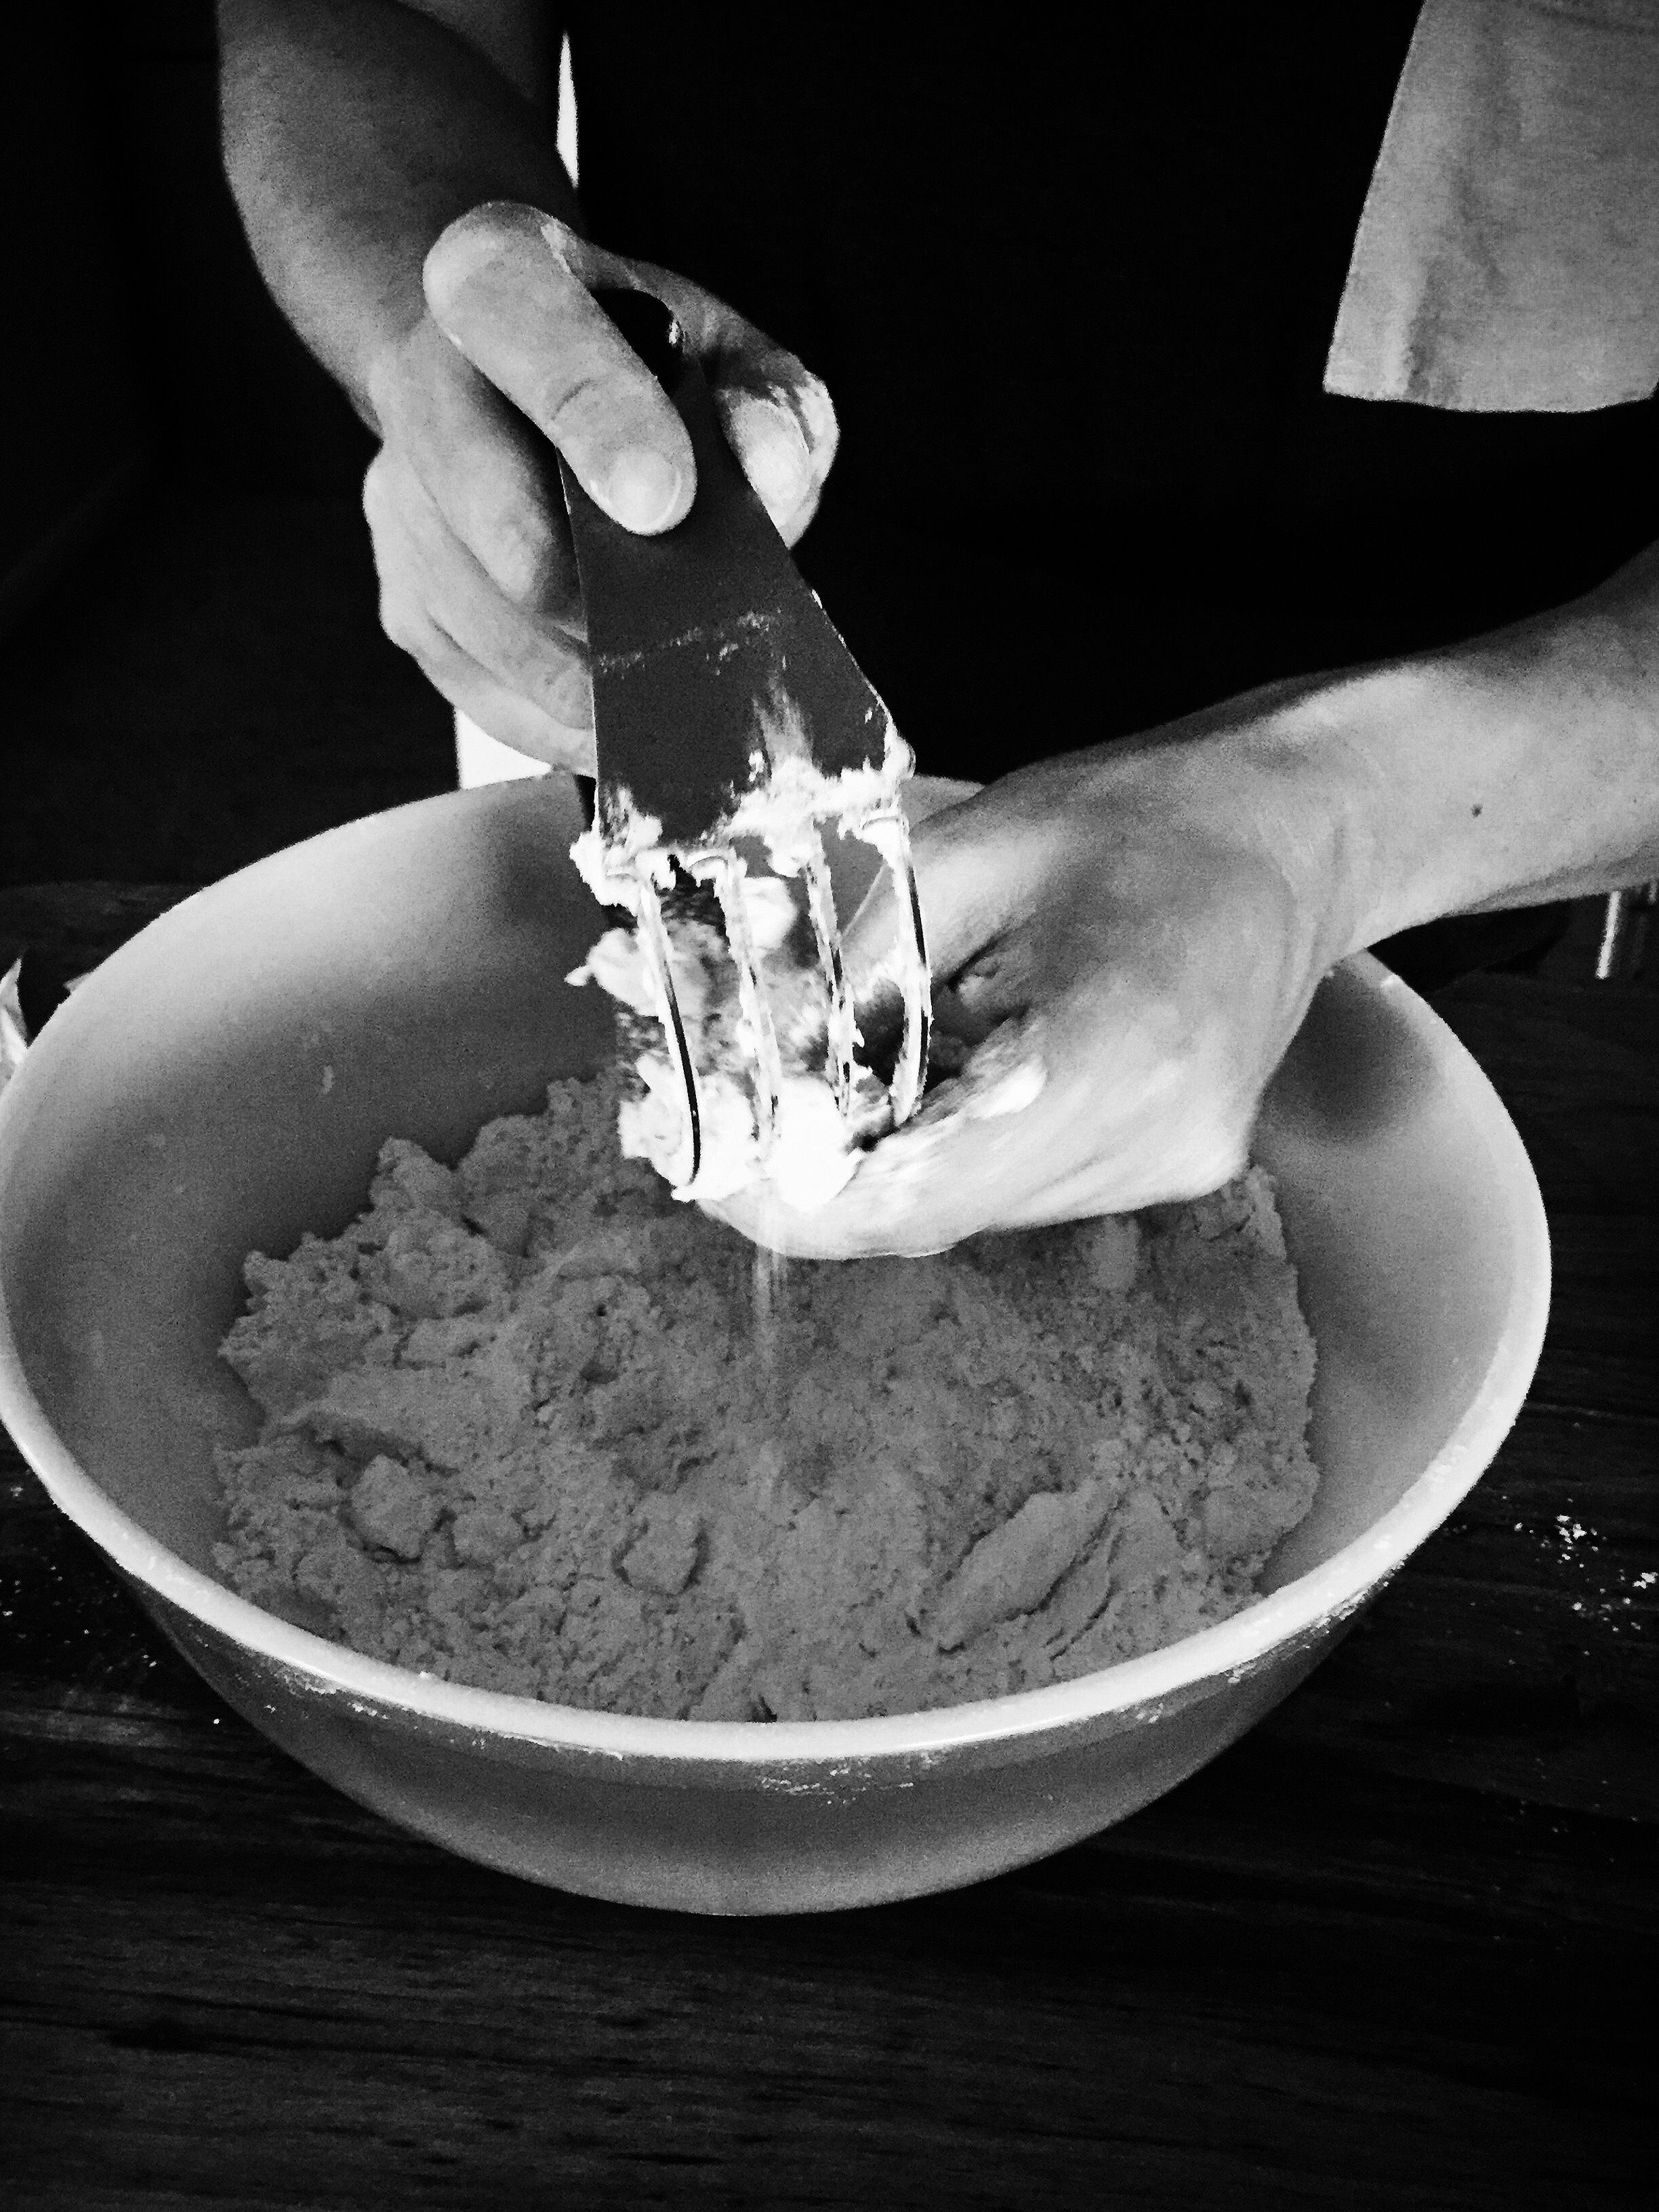
  2. Add in the butter and cut it into the flour until you roughly have pea sized pieces throughout.
  3. Pour in the water and stir to combine forming the dough
  4. Knead the dough on the counter until the ingredients are well combined and the dough is smooth and well formed.
  5. Then cut the dough into 15 or 20 individual pieces and form into small balls roughly the size of a golf ball.
  6. Place them on a plate, cover, and let them rest for 20 minutes.
  7. Warm a dry skillet over medium-high and let it heat all the way through.
  8. With a rolling pin, individually roll out each piece of dough. (You want them thin and a good size for serving.)
  9. Without using oil, dry fry the tortillas on each side, turning after bubbles forms in the dough.
  10. Do them one at a time. As you get a feel for the timing you can start to roll the next tortilla out as the previous one is frying. Just be sure to keep and eye on your pan and flip them before burning.
  11. Keep them warm by boiling an inch of water in a pot. Once the water boils, turn the heat off and place a plate with a clean cloth towel or napkin folded on top. Place each tortilla within the cloth after frying. This will keep them nice and warm until all of them are ready to serve. (Sorry, I forgot to take that picture.)
Pork tacos with roasted poblano peppers, arugula, avocado, and fresh papaya salsa with handmade flour tortillas.

Pork tacos with roasted poblano peppers, arugula, avocado, and fresh papaya salsa with handmade flour tortillas.

These were 100% worth it. Good luck and let me know if you make these tortillas!

March 06, 2019 /Ashley Look
how to feed a senior, Full Moon Baking Club, Handmade, flour, tortillas, dough, tacos, recipe, February, 2019
Full Moon Baking Club, Recipes
Comment
Left toppings- Peaches & blueberries + yogurt + flax seeds + powdered sugar + honey...Right toppings- Blueberries + ricotta cheese + powdered sugar + maple syrup...

Left toppings- Peaches & blueberries + yogurt + flax seeds + powdered sugar + honey...

Right toppings- Blueberries + ricotta cheese + powdered sugar + maple syrup...

How to Dutch Baby

August 26, 2018 by Ashley Look in Recipes

Without delay, let's just get into this shall we?  The beauty of the Dutch Baby is its simplicity.  It's the kind of dish that looks impressive without the headache and is easily adapted to whatever you have on-hand.  It really comes down to four things.  Ready?

1. Pan

Personally, I suggest a cast iron skillet but any oven safe pan will work.  I like Lodge Cast Iron for both function and affordability but again, as long as it’s oven friendly you should be good. The reason for this is because you are going to melt the butter on the stove top before poring the batter in and then transferring it to cook in the oven.  

Lodge 10.25 Inch Cast Iron Skillet. Pre-Seasoned Cast Iron Skillet Pan for Stovetop of Oven Use
Lodge Logic

2. Basic Batter 

I'm talking three ingredients basic...

2 eggs + 1/2 cup milk + 1/2 cup flour = batter

3. Butter

Butter you could say is an additional ingredient however, it's really more about the butter's role in the cooking process and its relationship to your pan.  The goal is a "pool" of butter.  Contrary to everything you think you know about butter being some evil fat, trust me when I tell you that the butter is your workhorse.  Do yourself a favor and buy quality and use it generously.  You want enough butter to melt and swirl around the pan, coating all sides with plenty to pool in the pan when completely melted. I typically use about a 1/2 stick.  You can certainly get by with less but I find that doing so influences the puff factor and that puff is what it's all about!  The butter helps the batter develop a terrain of sorts, and the nooks and crannies take-on almost a croissant type characteristic.  Butter makes the pastry... end of story.

4. Toppings

Ok, this is where your creativity gets its license.  The most basic of Dutch Baby presentations might consist of a sprinkle of powdered sugar and a squeeze of lemon juice.   Tasty?  Yes.  Nutritionally sound? Not so much...  I personally prefer to enhance the nutritional density of my Dutch Babies by including the following formula:

creamy + fresh + drizzle + sprinkle = topping

Doing so adds more nutritional value thereby helping to reduce a carb heavy spike in blood sugar.  I try to add things to help boost protein and fiber like nuts and seeds, dairy products, and fresh fruit.  As for assembly, below is a list of some things I commonly use in each category.

Creamy items: Yogurt, ricotta cheese, cream cheese, whip cream, etc... These item tend to soften when met with the hot Dutch Baby and help mix the other toppings into a delicious mixture of yum! I'm not sure how else to describe it, but it's for this very reason I prefer to add my cream item first.  It also serves as a landing pad for the other toppings.

Fresh stuff: I typically use fruit but veggies could work too.  I like berries or things sliced kinda small to scatter around whatever creamy base I used.

Drizzles: Honey and syrups are my go-to drizzles but occasionally I'll stew some fruit (especially if I'm using frozen fruit) for a hybrid of the fresh and the drizzle.

Sprinkles: Nuts, seeds, herbs, powdered sugar, or any specialty sugar or spices...  This is the final zing!  It's the small touch of detail to garnish the Dutch Baby before serving.

A naked Dutch Baby showcasing the ideal topography/terrain. Lots of buttery nooks and crannies to help catch all the toppings you want to pile on!

A naked Dutch Baby showcasing the ideal topography/terrain. Lots of buttery nooks and crannies to help catch all the toppings you want to pile on!

And, since we are on the subject, I'll just say that the serving is "important".  This is the point where the wow factor is at its all time high.  From watching the Dutch Baby rise while its in the oven, to getting it all gussied up with its toppings, it just doesn't get much better than that moment so be sure to parade it around before serving.  For real though!  Cause as soon as you cut into your creation, it takes on a life of its own.   The baby deflates much like a souffle, and the toppings all run together which remember, is the great part of applying the creamy product first, but what you gain in taste you start to lose in appearance. The toppings pretty much spill out into the pan as you remove the pastry slice by slice but just scoop it up and throw it on your plate.  This isn't a post about how you eat a Dutch Baby.  This is merely telling you how you can go about creating your own.  I'll quickly share that I eat mine with my hands, taco style wrapping the pastry around the fruity-creamy mess and I dredge whatever's in hand right on through any remaining butter!  It's not pretty but its sure tastes good so, no shame here!

Mixed Berry.JPG Ricotta with fruit.JPG Strwberry shortcake.JPG Peaches and Cream.JPG Blueberry ricotta and flax.jpg

Ingredients

  • 2 eggs
  • 1/2 cup milk
  • 1/2 cup flour
  • 1/2 stick butter

Directions

  1. Preheat oven to 410 degrees F.
  2. Mix the eggs, milk and flour together in a bowl until thoroughly combined.
  3. In an oven safe skillet, melt the butter on the stove stop.
  4. Carefully swirl the butter in the pan and around the edges to coat all sides.
  5. Pour the batter into the pan and carefully transfer it to the oven.
  6. Bake for 13 minutes at 410 degrees F, then turn the oven down to 350 degrees F and bake for another 10 minutes.
  7. I strongly encourage watching your Dutch Baby change shape through the oven window (cheap thrills!) but whatever you do, don't open the oven door until it is finished cooking or it will begin to deflate.
  8. When it's done baking, remove it from the oven and top it with the topping combo you decide. Chef's choice!
  9. Slice and serve. Or hoard? Just saying...

PS- a fitness related post is coming soon cause... duh!


 How to Feed a Senior is a participant in the Amazon Services LLC Associates Program, which is an affiliate advertising program. If you choose to purchase items after clicking on these links, I will earn a small commission at no extra cost to you.

August 26, 2018 /Ashley Look
How to feed a senior, dutch baby, toppings, batter, recipe, terrain, topography, butter, German pancake, formulas, cast iron skillet, creamy, drizzle, fresh, dairy, cream cheese, ricotta, berries, fruit, Lodge Cast Iron
Recipes
6 Comments
A miso soup recipe to make when you need a moment of self-care.

A miso soup recipe to make when you need a moment of self-care.

A Cleansing Miso Soup Recipe

March 01, 2016 by Ashley Look in Recipes

Whenever I need a cleanse of sorts, I return to making miso soup. It’s light and earthy which helps ground me when life feels overwhelming. It’s my post-holiday go-to dish when my diet needs a reboot or anytime I’m craving a dose of self-care. You could say it’s my peaceful moment maker where just a few simple garnishes equates to a pot of calm.

My vision of miso soup blurs the lines between soup and tea.  Yes, yes, yes… Technically it's soup but it's so forgiving in it's comfort that it deserves a place in our hearts along with coffee, tea, and other moments of cherished rituals.   Just make the dashi, or stock, you can easily turn out miso soup in minutes!  Below are the details for how I like to make mine.

Ingredients

  • 2 large pieces of kombu
  • 2 cups bonito flakes
  • 6 cups water
  • 2 tsp wakame (chop this up while still dry for smaller pieces)
  • 1/2 cup of firm tofu cut into small cubes
  • 1/4 cup white miso (you can use red but I prefer the white)
  • 2 scallions, thinly sliced (garnish)
  • 2 button mushrooms, thinly sliced (garnish)

Directions

  1. Begin making the dashi, or stock, by soaking the kombu in the 6 cups of water for 30 minutes in a large pot.
  2. After soaking, bring the Kombu up to boil and then immediatly remove the pot from heat.
  3. Remove the kombu from the pot and discard.
  4. Stir in the bonito flakes so they completely submerge.
  5. Gently simmer for 5 minutes, then remove from heat and let steep for 15 minutes. (See? It's like tea!)
  6. After steeping, strain the dashi through a fine mesh sieve. (Do not press on the bonito flakes.)
  7. Return the dashi to the pot and add the tofu and wakame and heat to a gentle simmer.
  8. Remove from heat and submerge a fine mesh sieve into the soup to add the miso. (Miso is rather granual and the sieve will help catch any larger bits as you stir it in.)
  9. Taste the broth and make adjustments by adding more miso if necessary
  10. Serve into bowls (or tea cups?) topping each with a sprinkle of scallions and a mushroom slice.

I encourage you to explore your version of miso soup often, especially after the holidays or any time the stresses of life become too much, and you need to restore a sense of calm. Think of it like a soup meditation where you sip your way to restorative health.

The end.

March 01, 2016 /Ashley Look
how to feed a senior, miso soup, recipe, seaweed, self-care, self-care repair, soup meditation, calm, self-care rituals, dashi, recipe for self-care, Holiday cleanse, cherished moments, soup cleanse, post-holiday diet
Recipes
Comment
 
Search