Of Grain and Grain  |  Tactile Explorations of Flour and Wood

By Ashley Look

  • Blog
  • Flour
  • Wood
  • Shop
  • Services
  • Events
  • About
  • Contact
  • Search
IMG_0139.jpeg Bathtub soak.jpg A good soak.jpg

The value of a good soak: A bread story

February 12, 2023 by Ashley Look in Flour, Breads

Fun fact about me; I’ve never met a soak I didn’t like. Pools, spas, friend’s bath tubs… I live for anything resembling an immersion tank. I’m not joking. I will plan trips around where I can get my soak on, and occasionally have resorted to sneaking around town, just to sneak myself into a local hotel hot tub. Being up to my ears in water has a calming effect and the warmer the water, the better! Half the time I bring myself to the brink of fainting. I know that probably sounds extreme but ascending from a tank so utterly depleted, lends itself to some mad rest. Such lassitude is where the aches of life get a chance to heal and I can move about my days a bit softer and more forgiving. Well guess what? The same goes for bread making!

Soaking flour in bowl.

Equal parts flour and water soaking in a bowl.


Recipe

Soaker:

  • 1 cup flour

  • 1 cup water

Dough:

  • 2 cups flour

  • 1 1/4 tsp yeast

  • 1 1/2 tsp salt

Process:

  1. Combine the soaking ingredients in a large bowl and let rest for 2 to 8 hours.

  2. After resting, add the additional ingredients to make the dough.

  3. Mix it well so the dough starts to form and then knead it until it’s springy (10 minutes-ish?)

  4. Cover and rest for 1 hour in a clean bowl that’s been greased with oil.

  5. After resting and the dough has doubled in size, punch it down and knead it again.

  6. Shape the dough, and let rest another hour.

  7. Preheat a dutch oven to 450F degrees.

  8. Score the dough and carefully transfer it to the preheated dutch oven and bake for 25 minutes.

  9. Remove the lid and reduce the temperature to 410F degrees and continue baking for 15 more minutes.

  10. Carefully remove the bread from the oven and let cool before slicing.

  11. Enjoy!


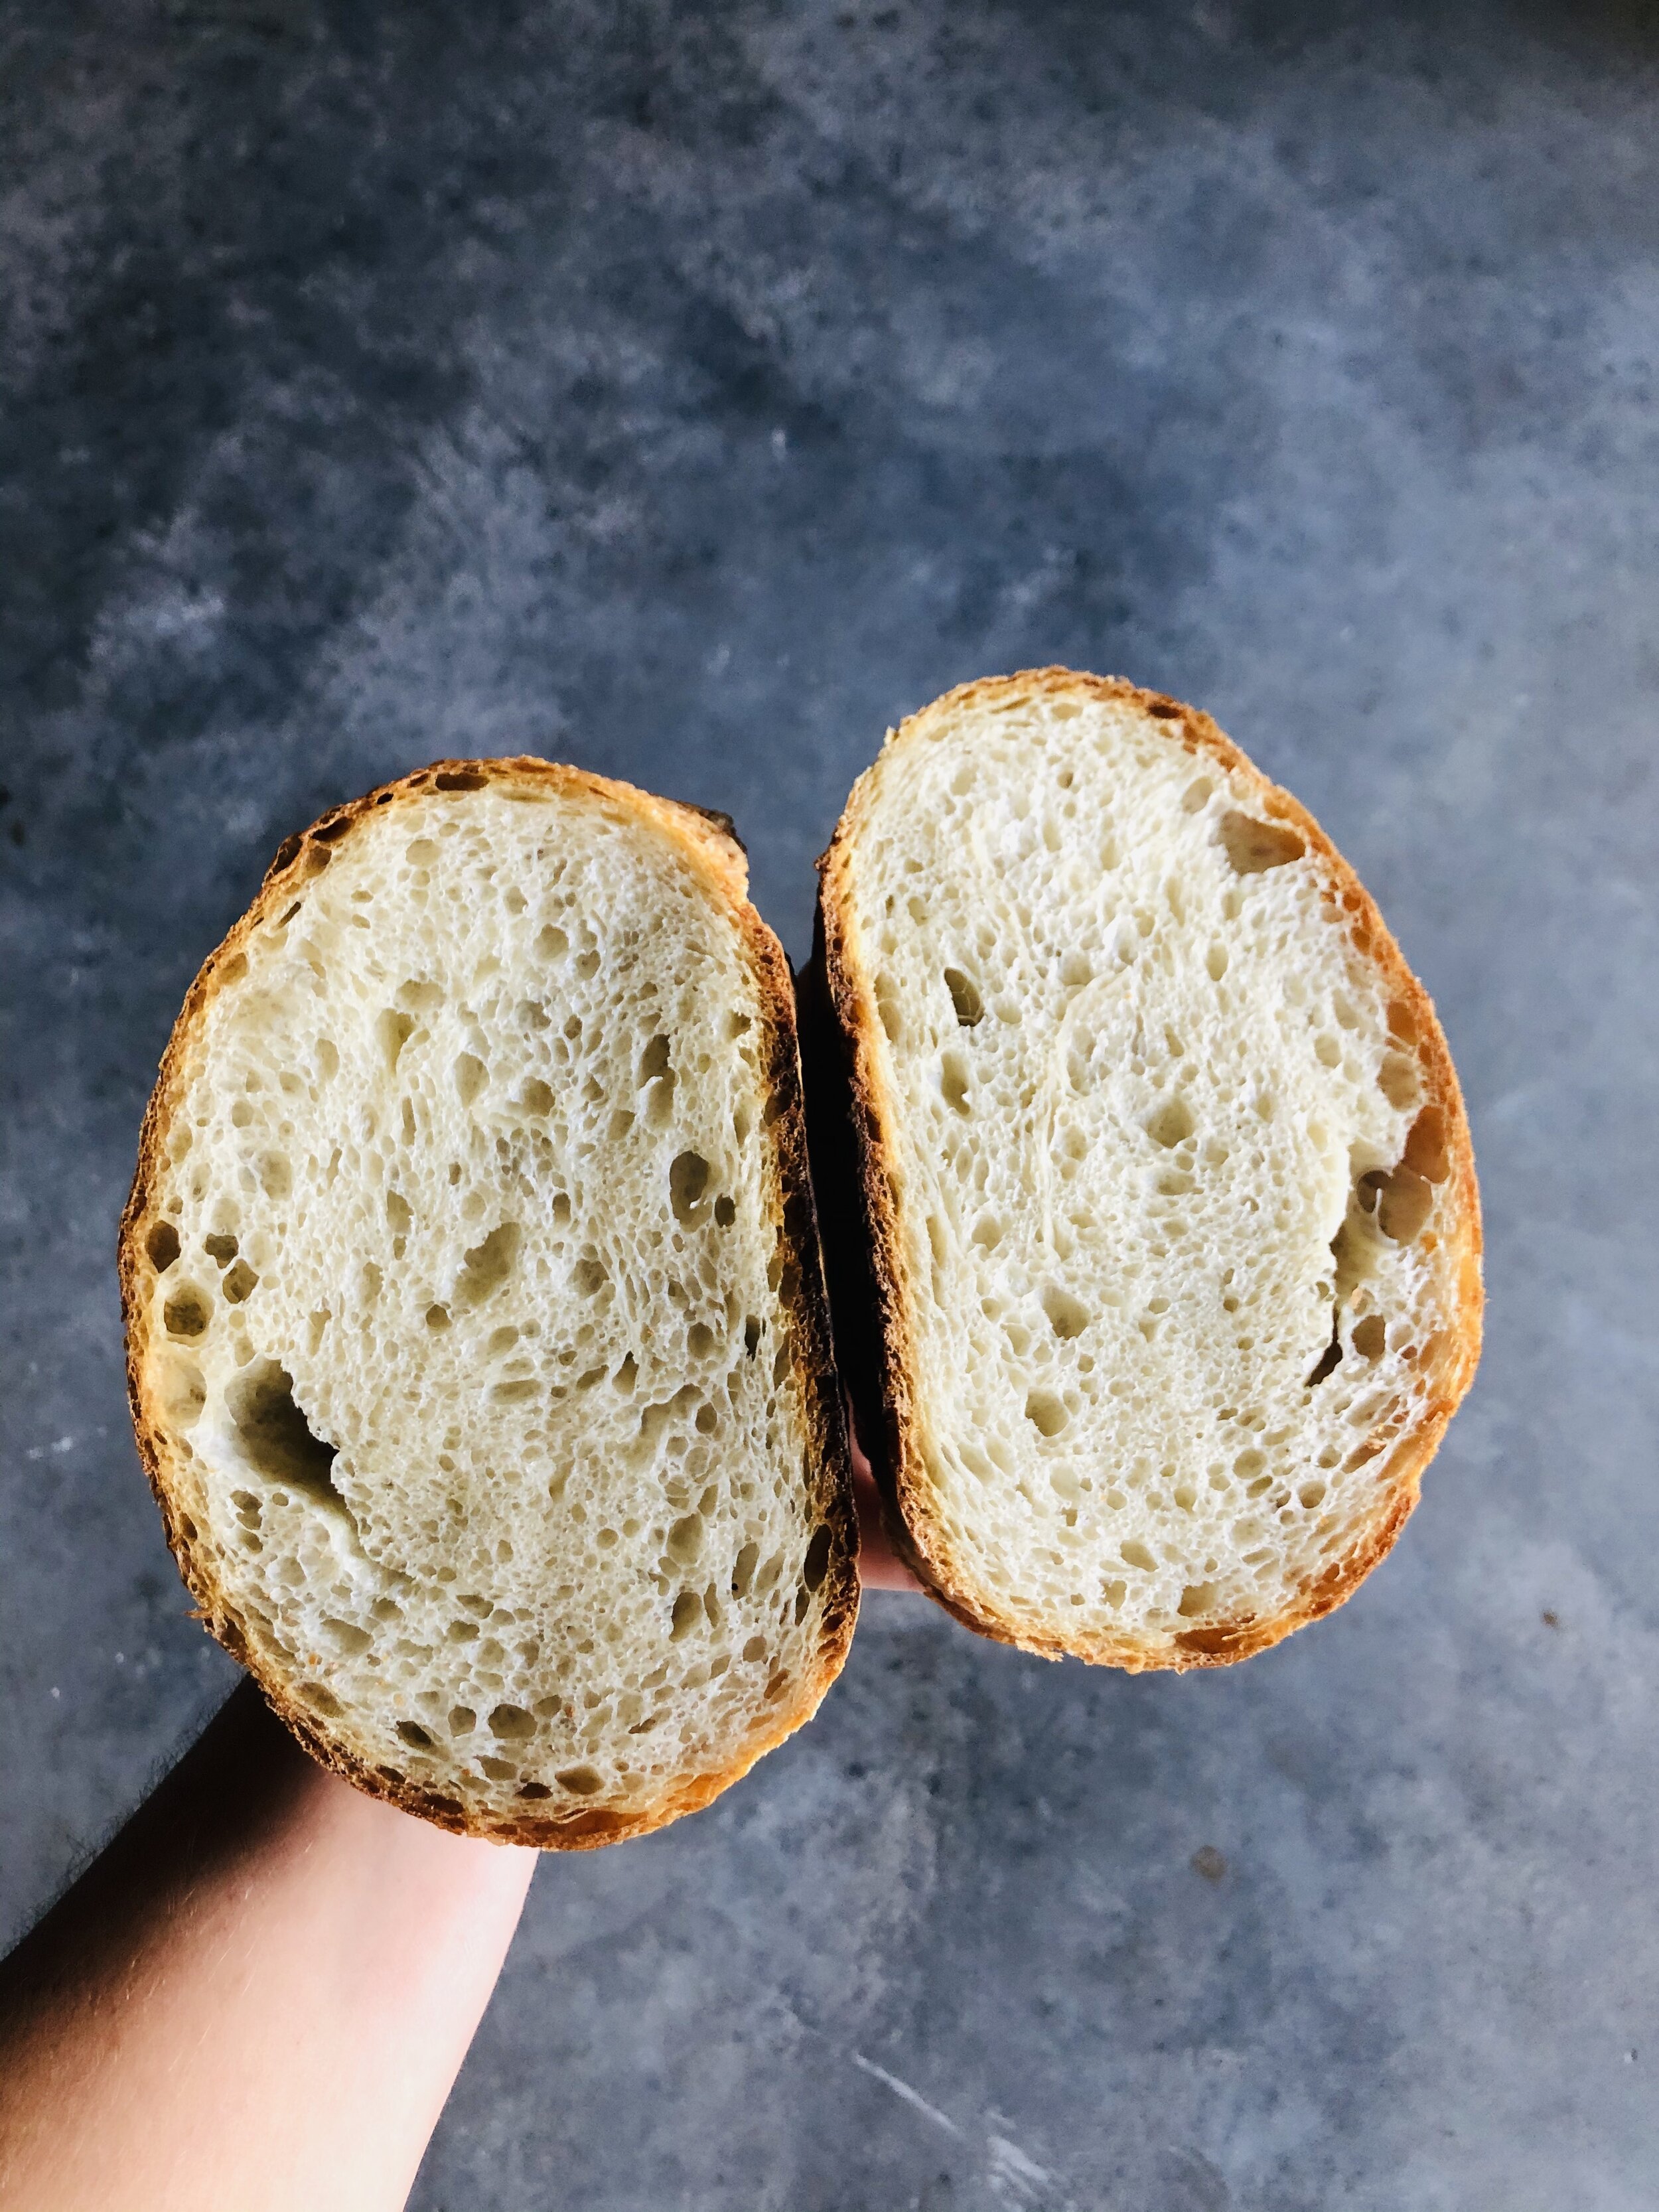
Bread baked from soaked flour.

So, soaked flour, soaked self… both produce good results. Give it a go and feel your way through the process. The dough will be light, and the crumb of the bread softer. Not a bad things really.

Bake on!

February 12, 2023 /Ashley Look
Soaked flour, bread, recipe, dough, soft dough, crumb, dutch oven, yeast, of grain and grain
Flour, Breads
Comment
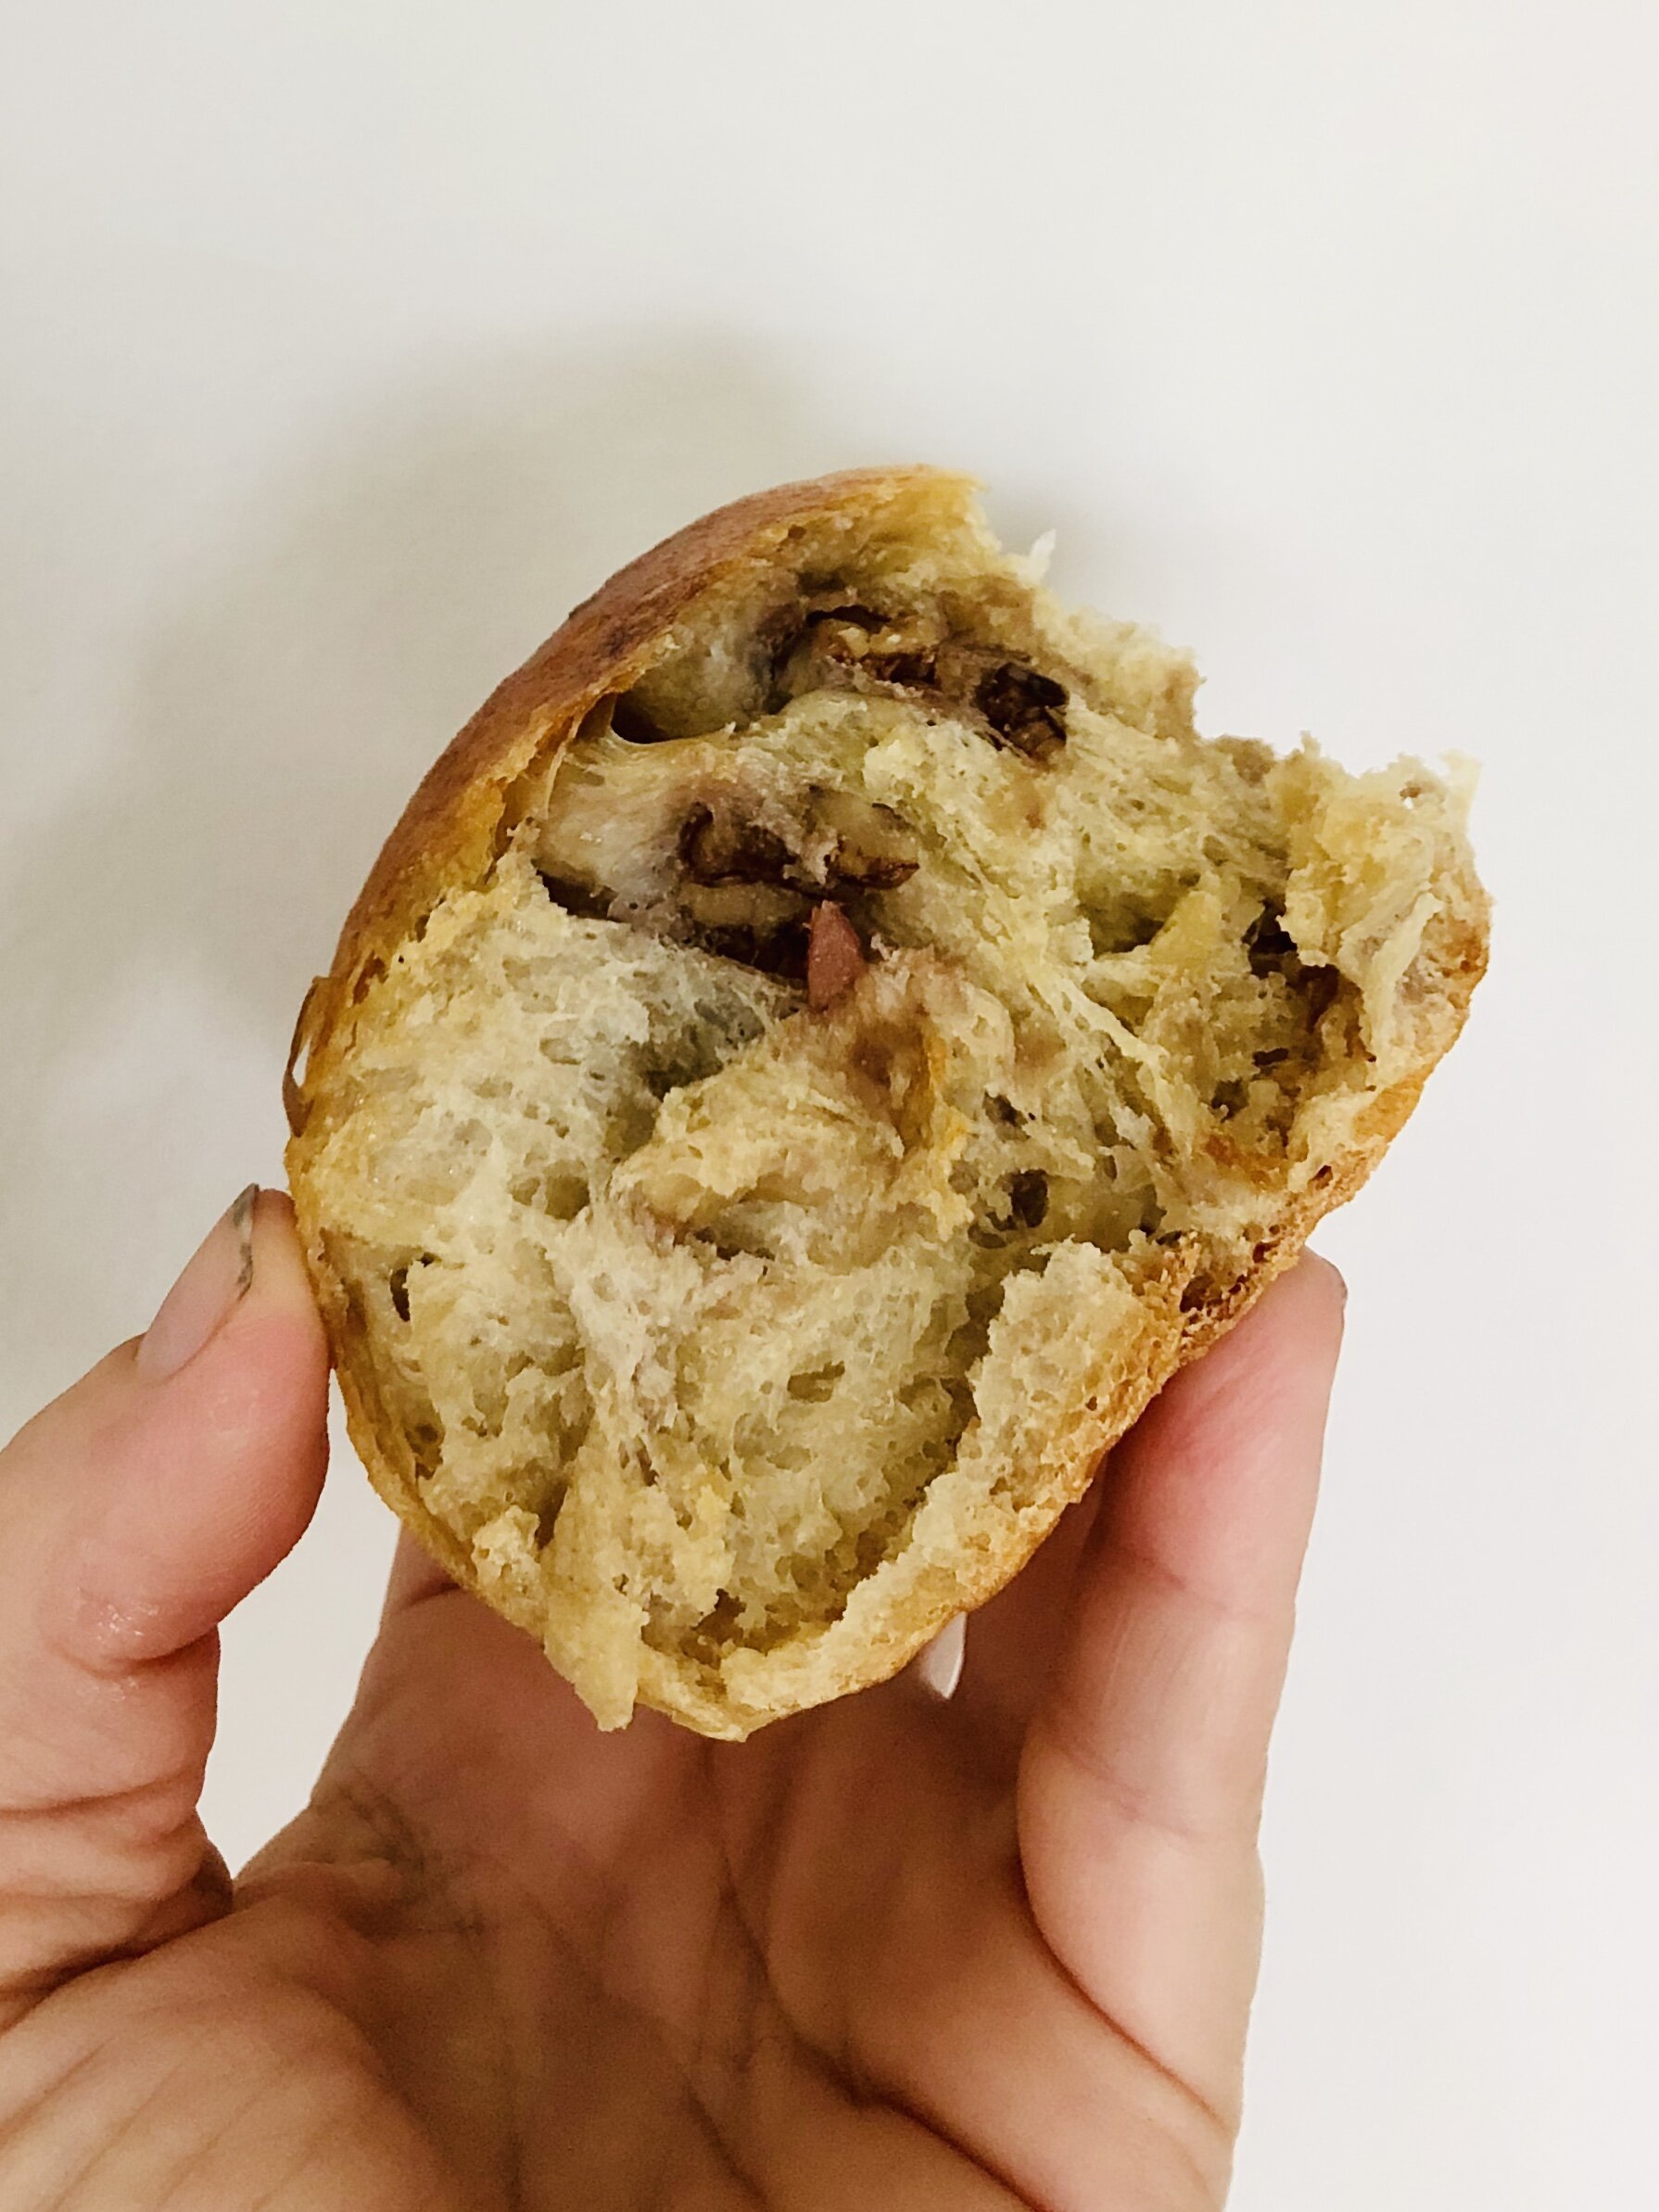
These Honey Nut Date Rolls baked in a Dutch Over are crunchy on the outside and soft and chewy on the inside. (PS-Ignore my dirty nails. I was carving a lot when I made these. Eek!)

These Honey Nut Date Rolls baked in a Dutch Over are crunchy on the outside and soft and chewy on the inside. (PS-Ignore my dirty nails. I was carving a lot when I made these. Eek!)

November 2020: Honey Nut Date Rolls

How To Feed A Senior
November 30, 2020 by Ashley Look in Full Moon Baking Club, Recipes, Breads

My life after caregiving tales will continue as it’s only the end of November and I’ll be at sea until mid January. But fear not Full Moon Bakers! I have a club recipe for you to make this month that will compliment the upcoming holiday vibe. These Honey Nut Date Rolls provide that special hint of festive, bringing good spirits to everyone that gets a taste. They also offer you, the baker, a bit of a challenge by folding in ingredients into dough that’s already prepped. The significance of this step can’t be understated because the technique can elevate your baking for years to come. You can take the exact same recipe and substitute the dates and walnuts for other dried fruit, nuts, cheese, seeds, etc. It’s more of a formula than a recipe so feel free to experiment!

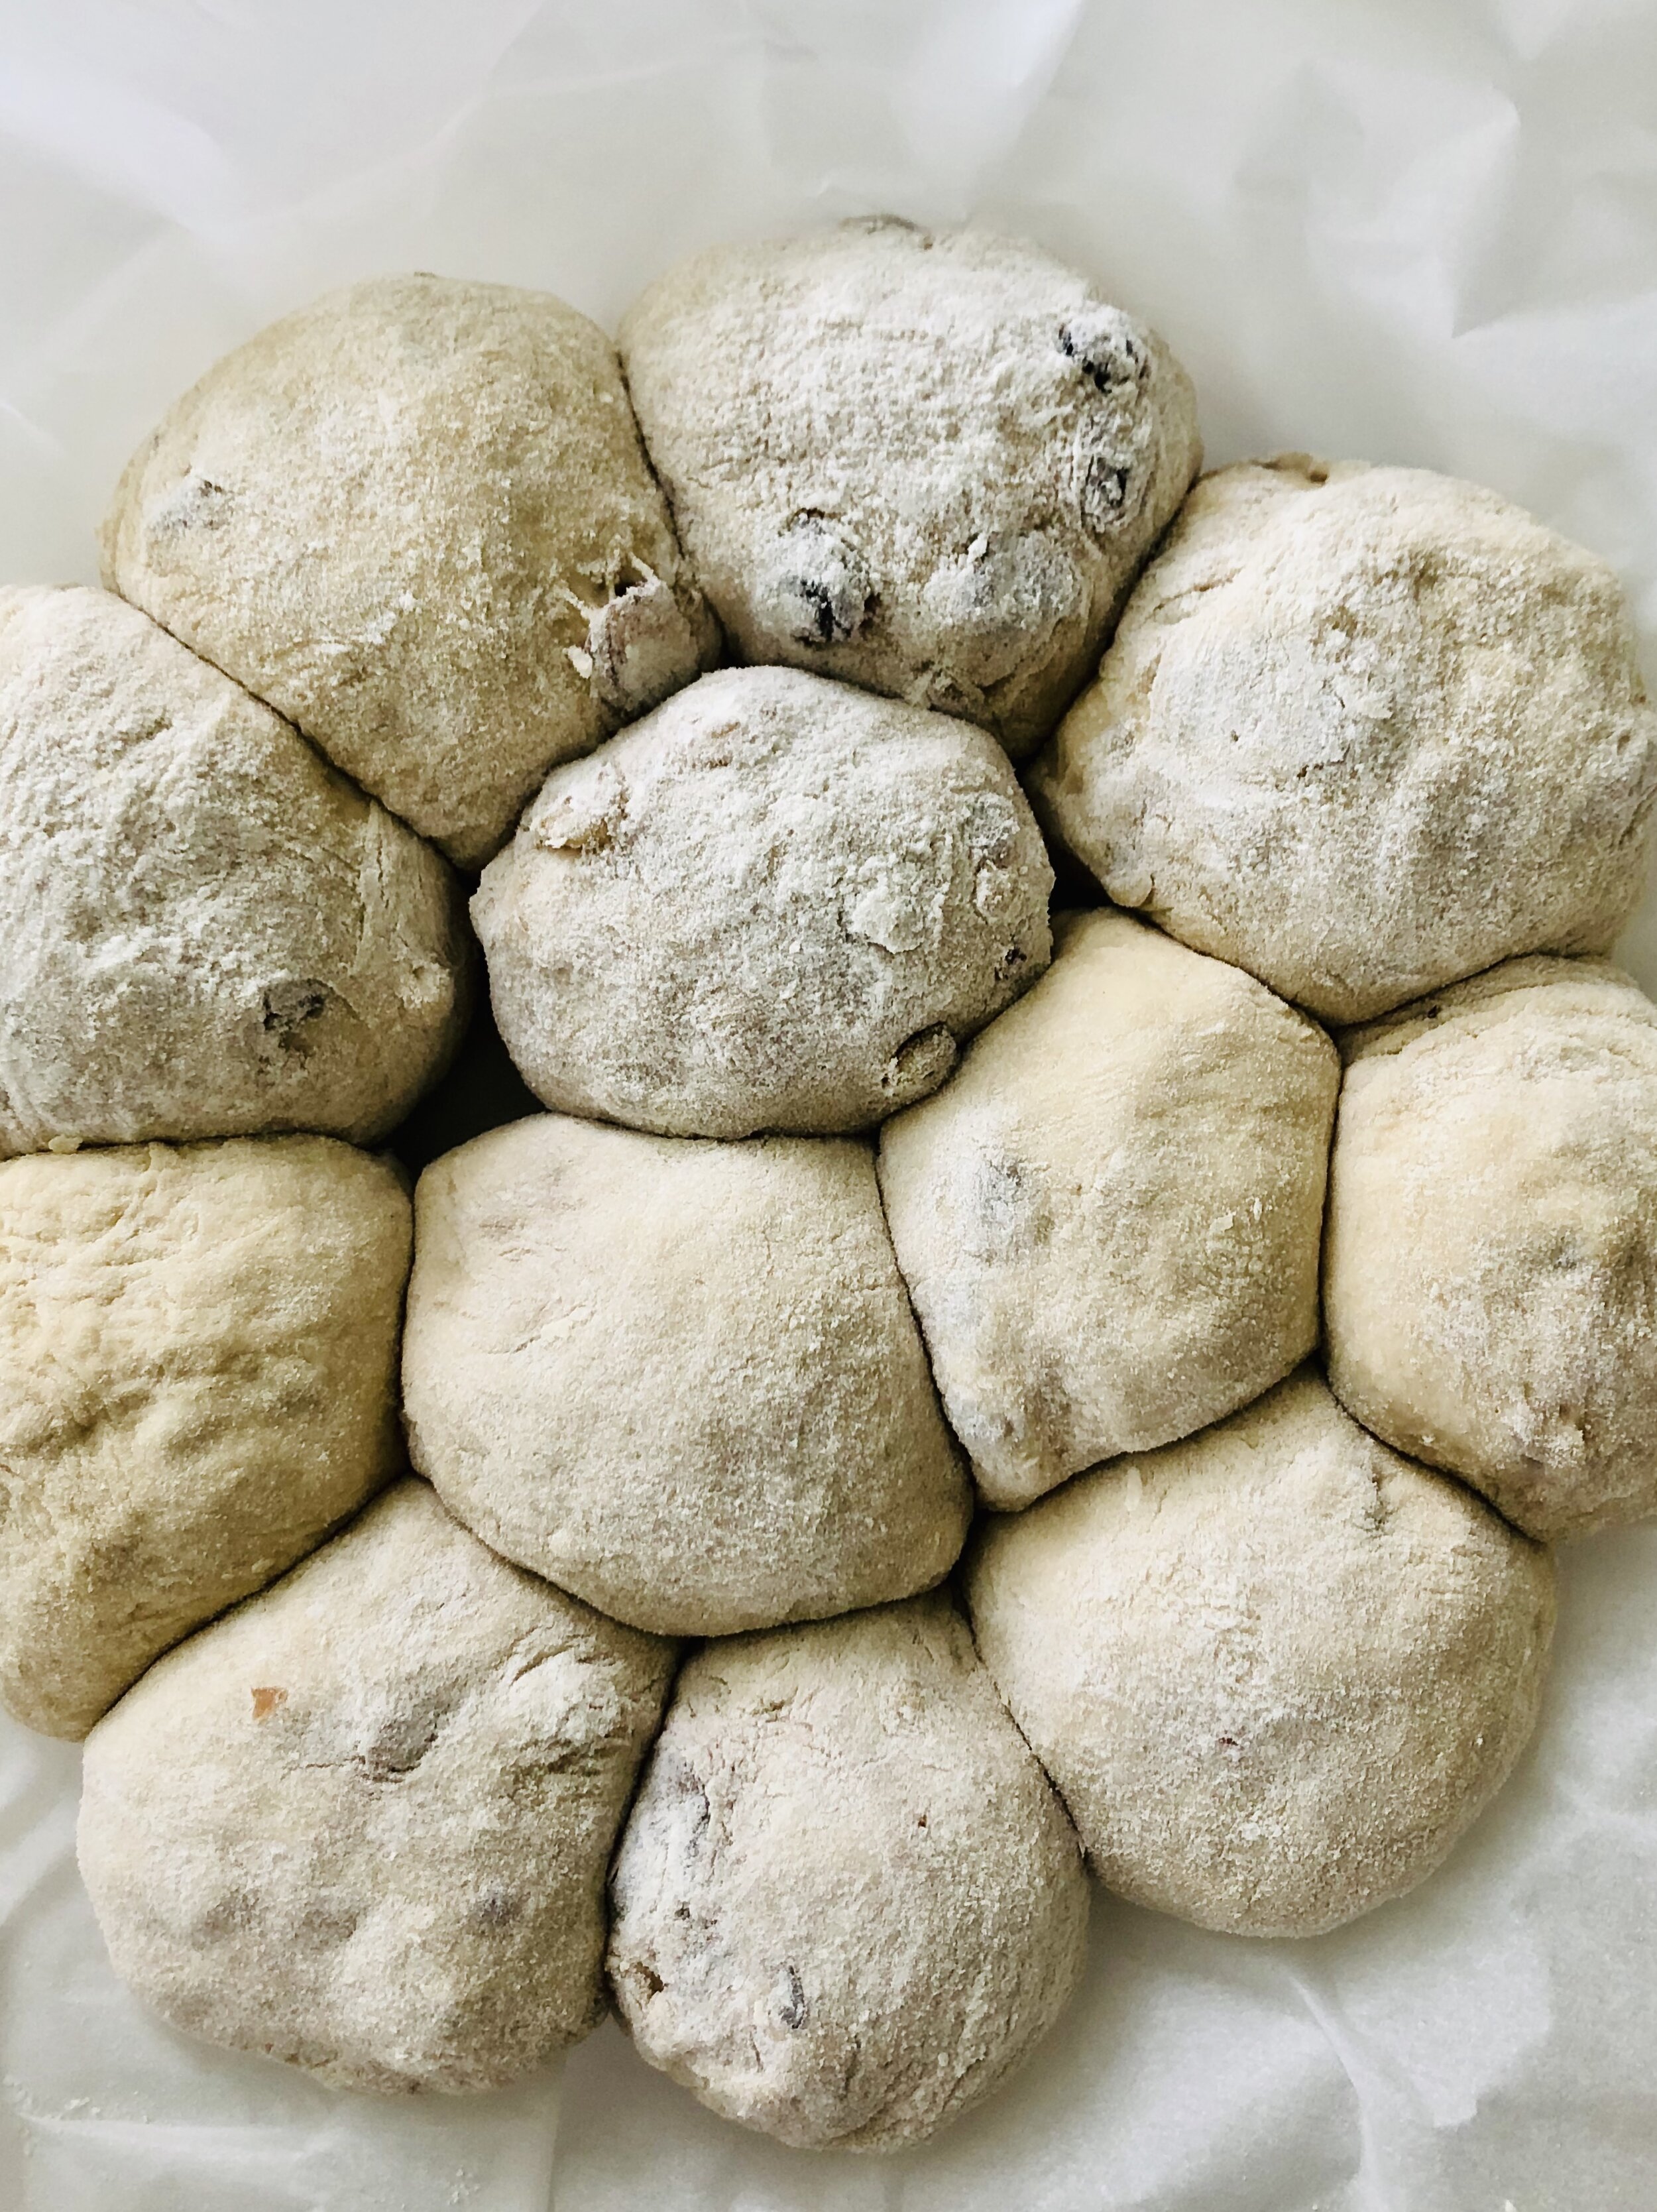
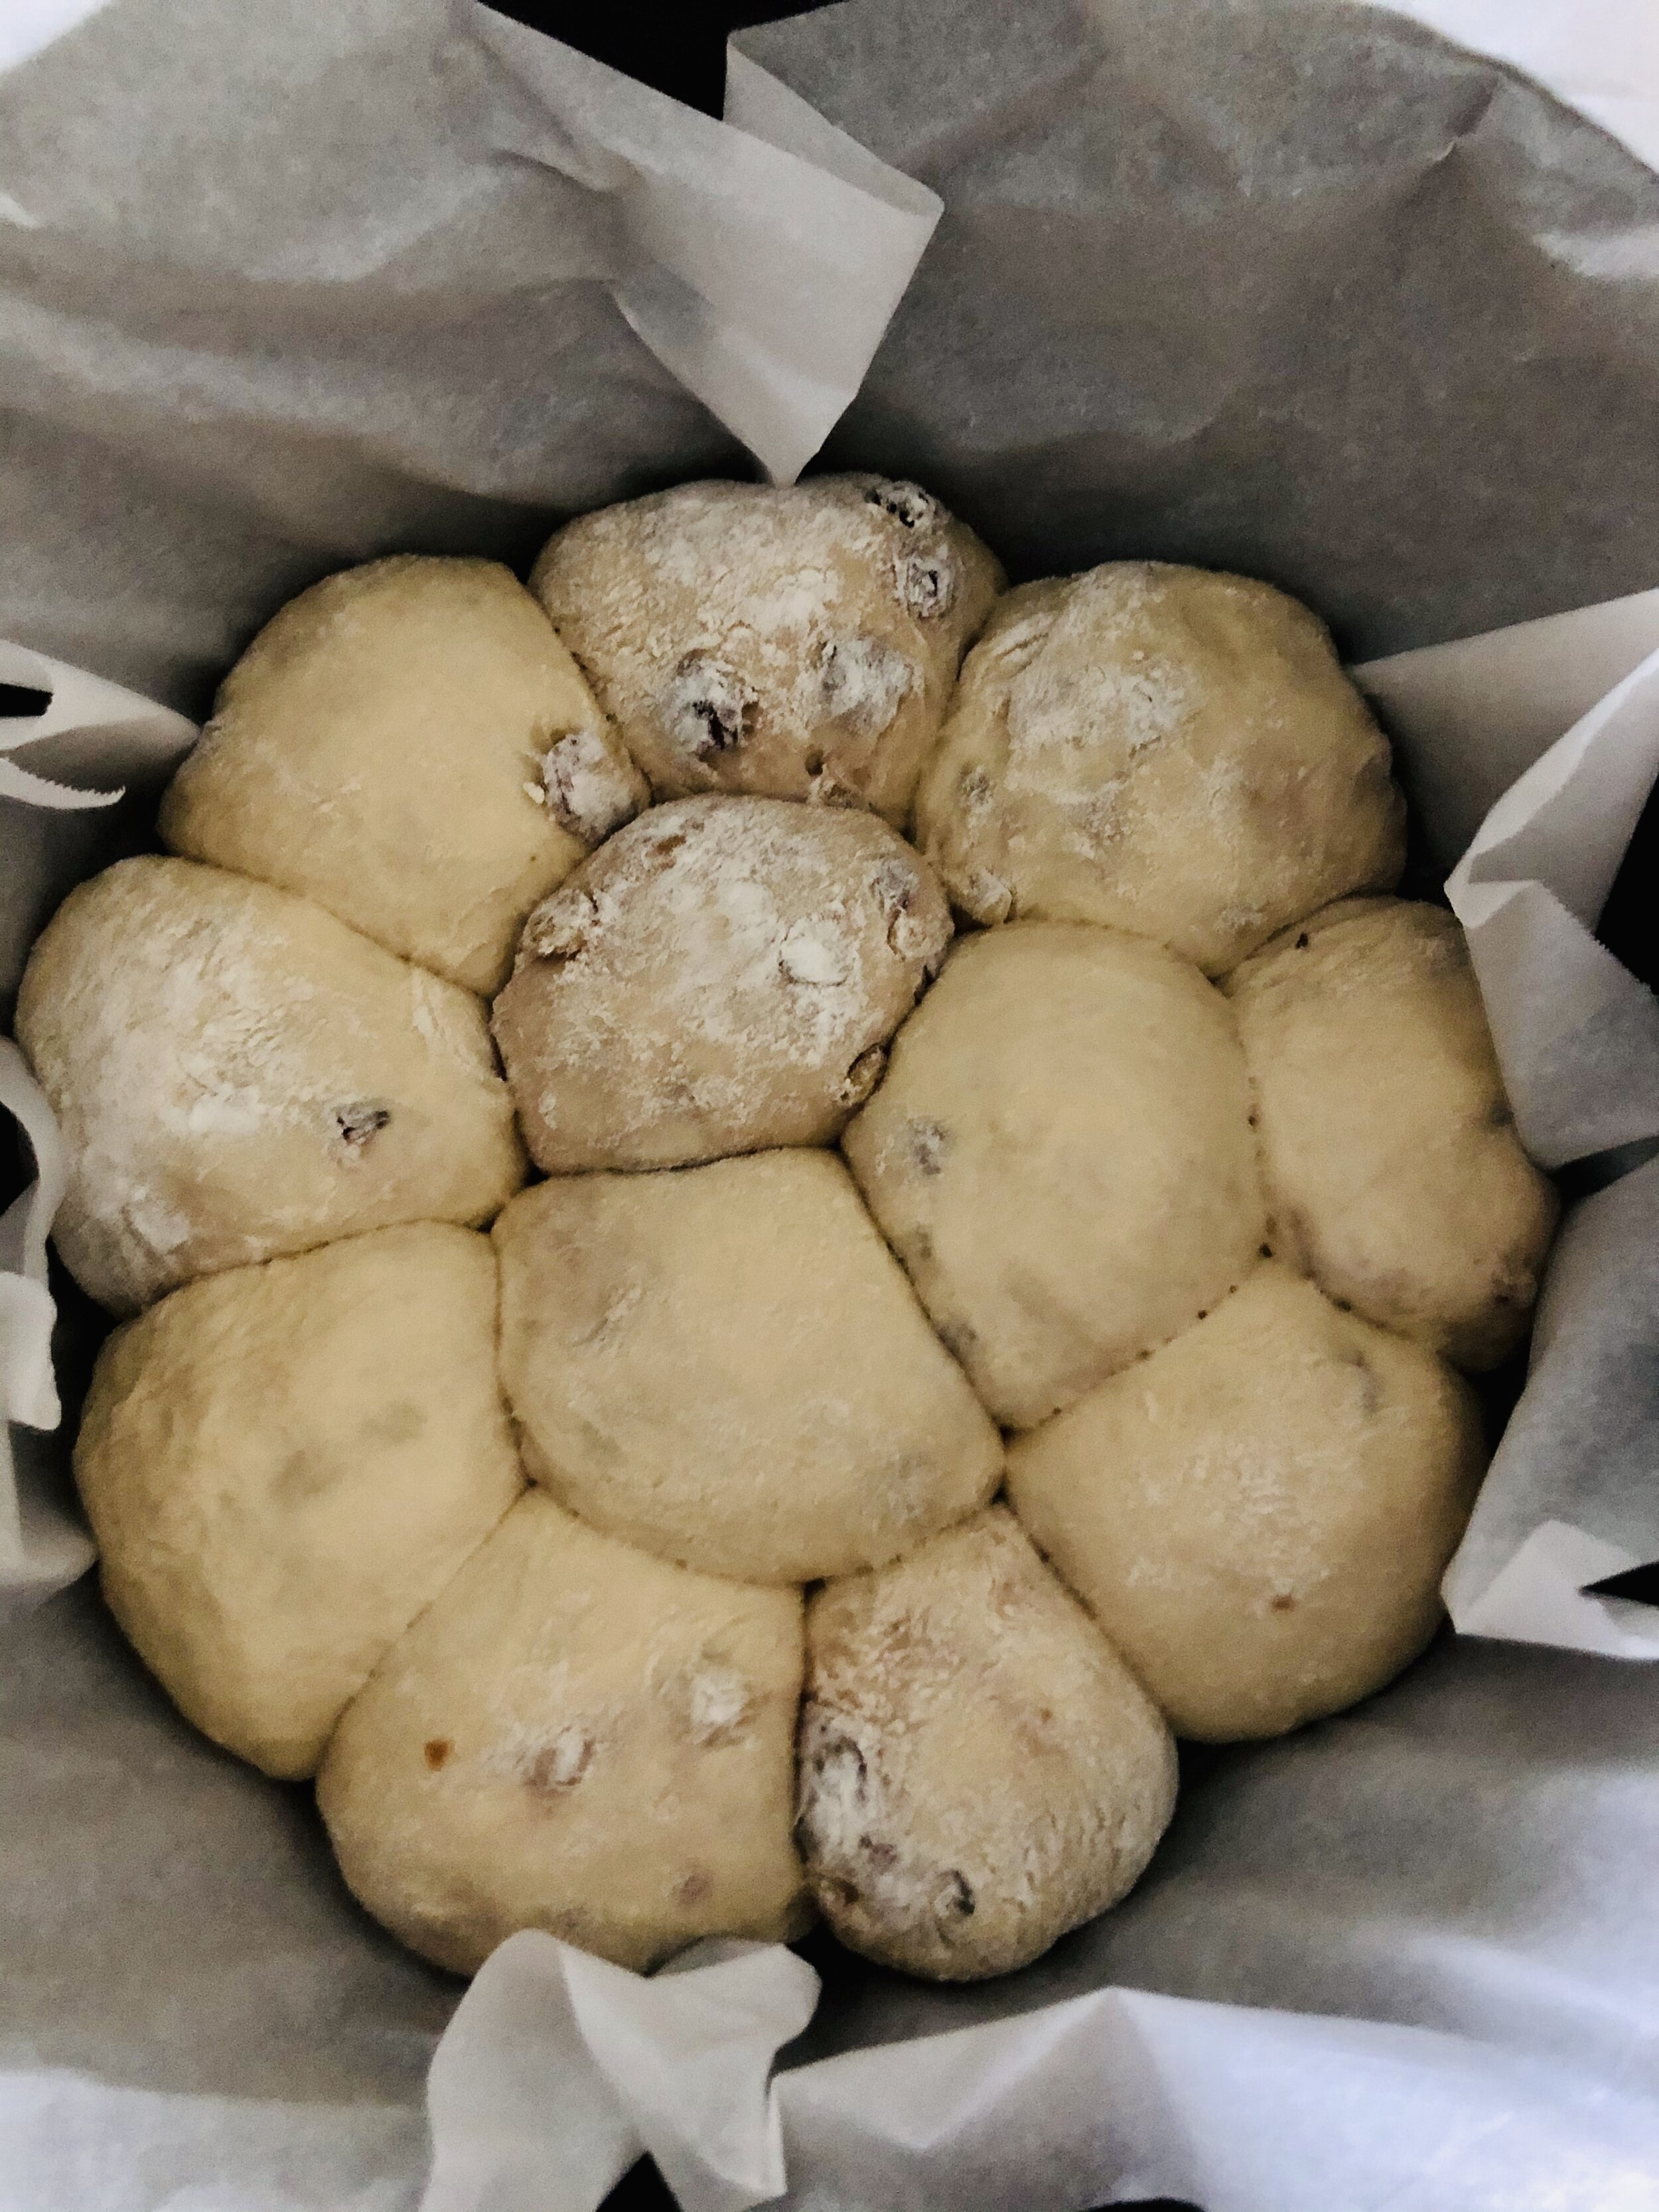
dough.jpg nuts and dates.jpg folding dough.jpg kneeded dough.jpg cutting rolls.jpg shaped hone nut date rolls.jpg Rolls in Dutch Oven.jpg Buttered Honey Nut Date Rolls.jpg

Ingredients

  • 3 cups flour
  • 1 1/2 tsp salt
  • 1/4 tsp active dry yeast
  • 1 1/2 cups warm water
  • 2 TBSP honey
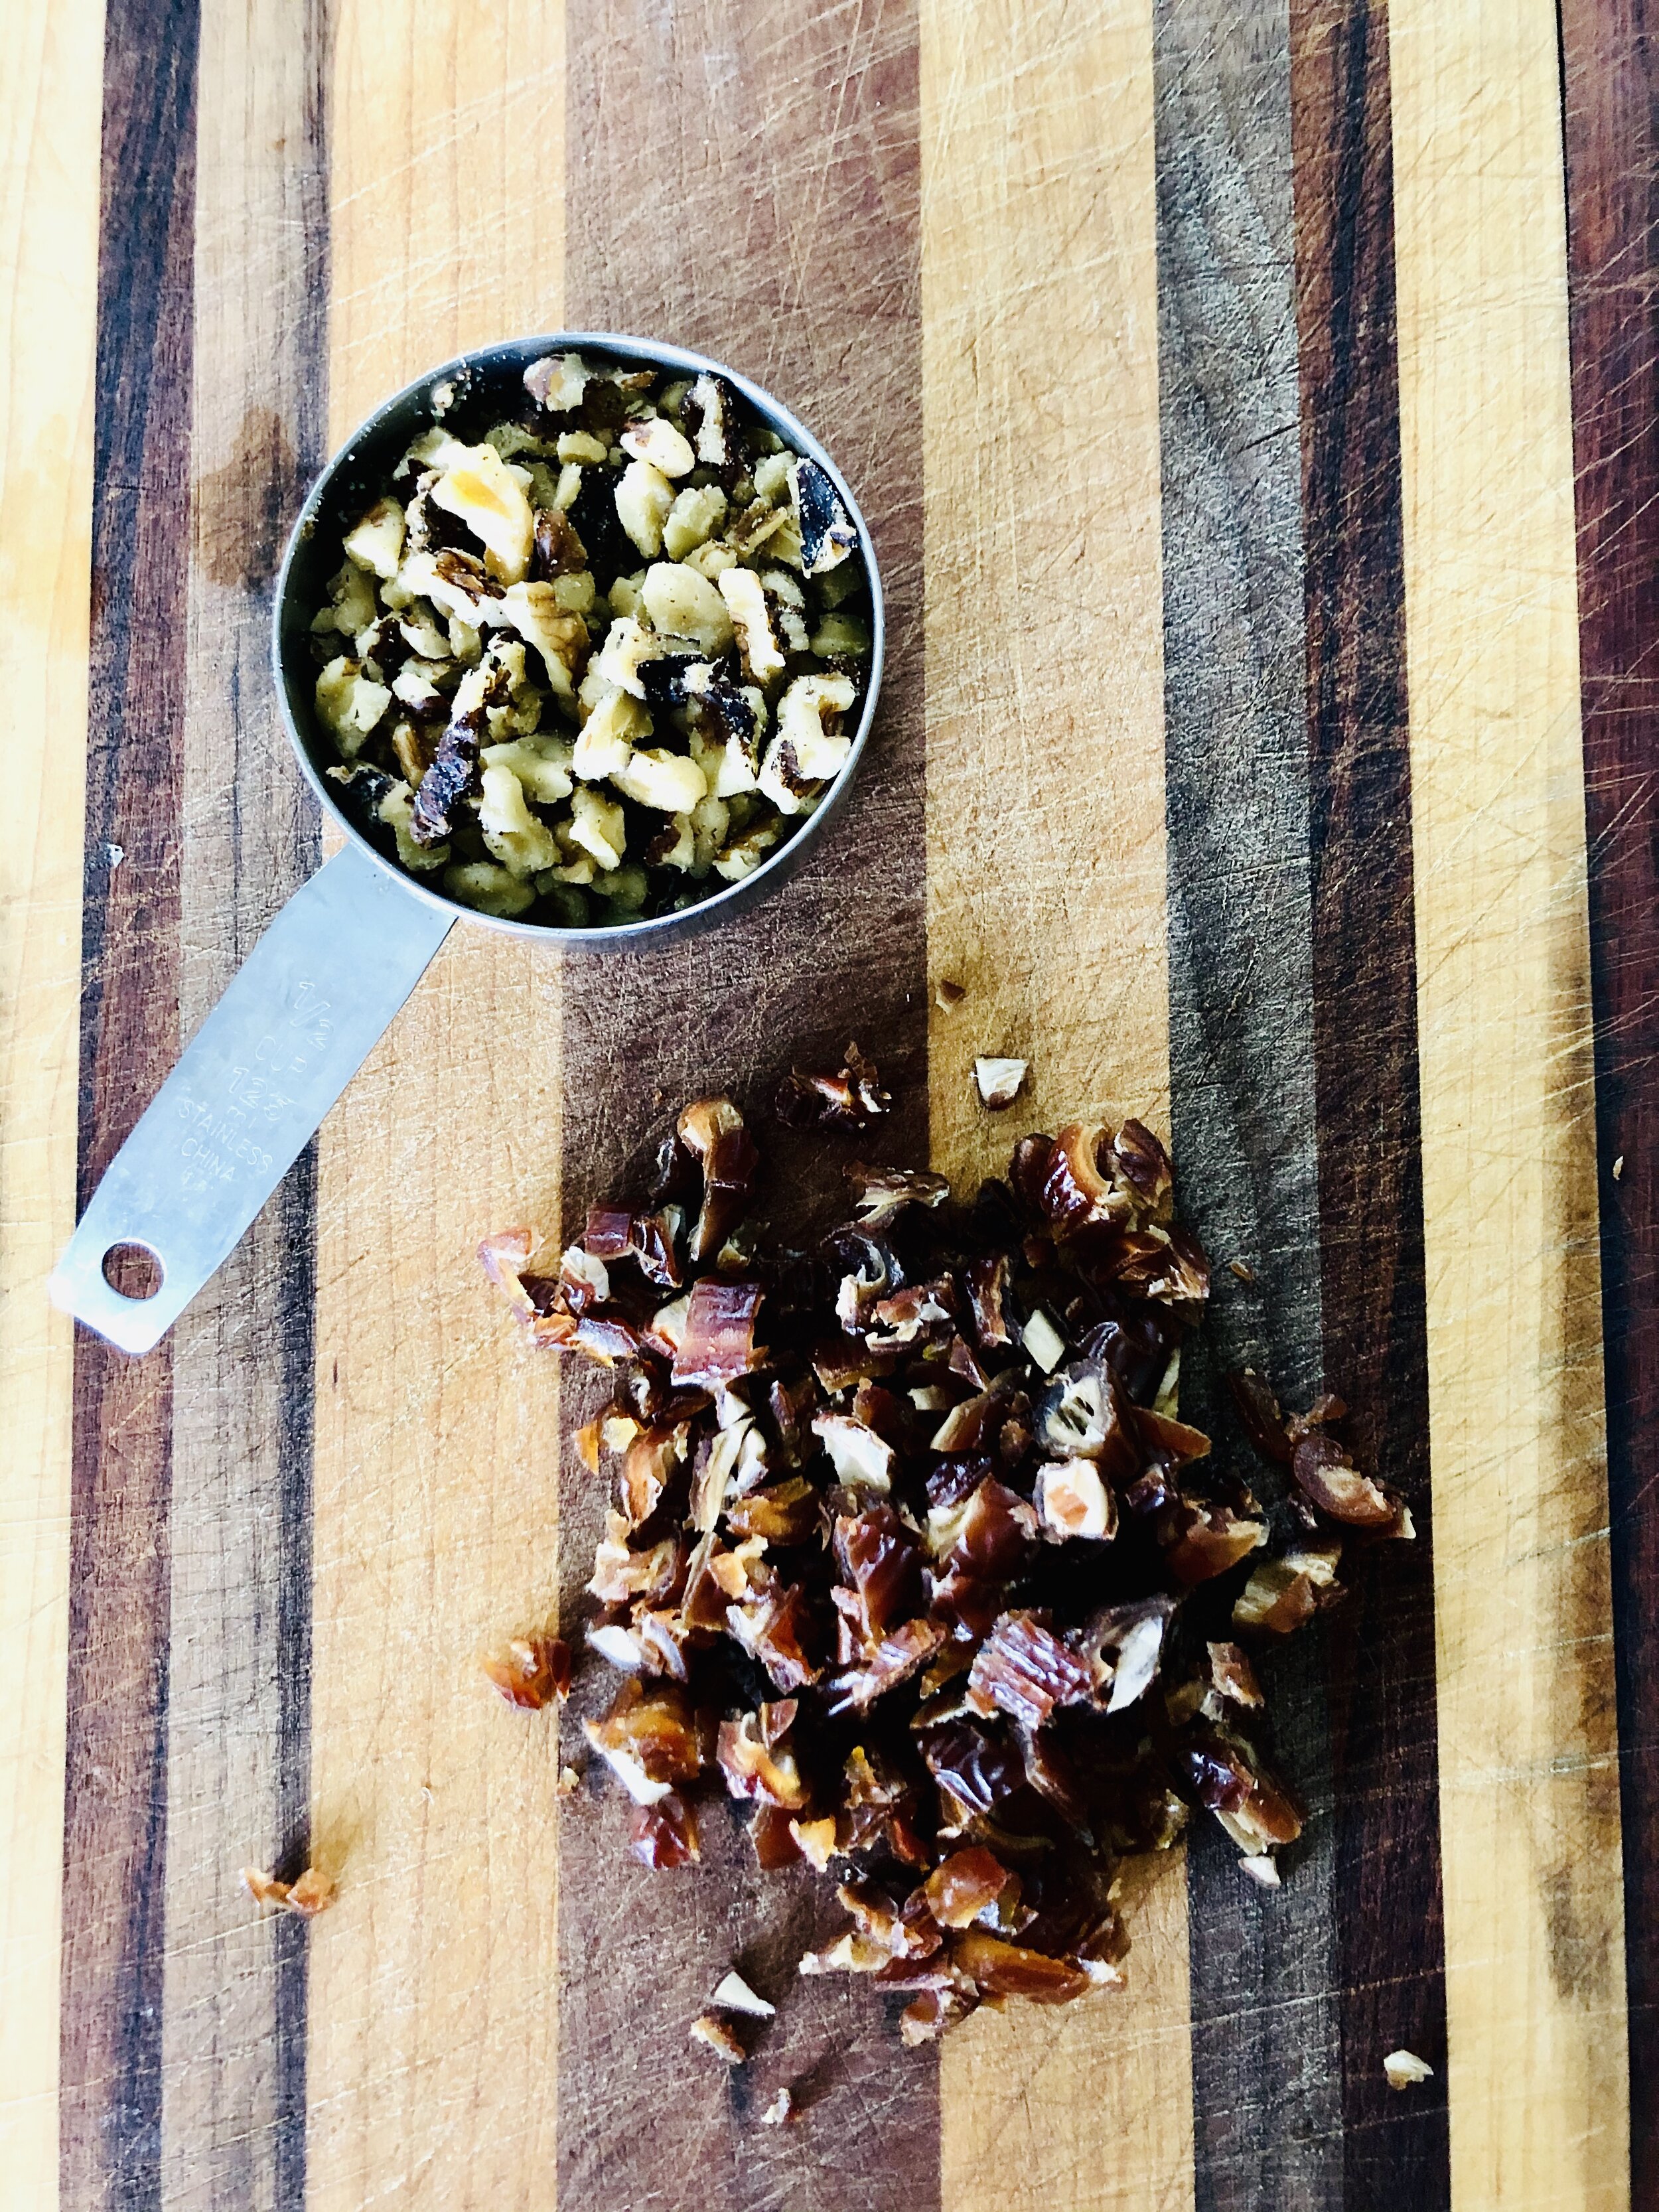
  • 1/2 cup pitted, chopped dates
  • 1/2 cup chopped walnuts

Directions

Day 1 Prep:

  1. Place the flour in a large bowl with the salt and the yeast
  2. Next, combine the water and the honey together and then pour it into the bowl with the flour mixture.
  3. Mix the ingredients together until a stick dough ball forms.
  4. Cover and let rest for 8 hours or overnight.

Day 2 Prep:

  1. After the dough has risen, place the chopped dates and walnuts on top.
  2. With a wet hand, gently reach along the sides of the bowl and lift and fold the dough over the top, beginning to cover the dates and nuts with the dough.
  3. Turn the bowl a quarter turn and reach in again loosening the dough from the bowl edges and bringing up over the the nuts and dates.
  4. Do this two or three more times until the dough has been loosened from the bowl on all side and the dates and nuts are enclosed.
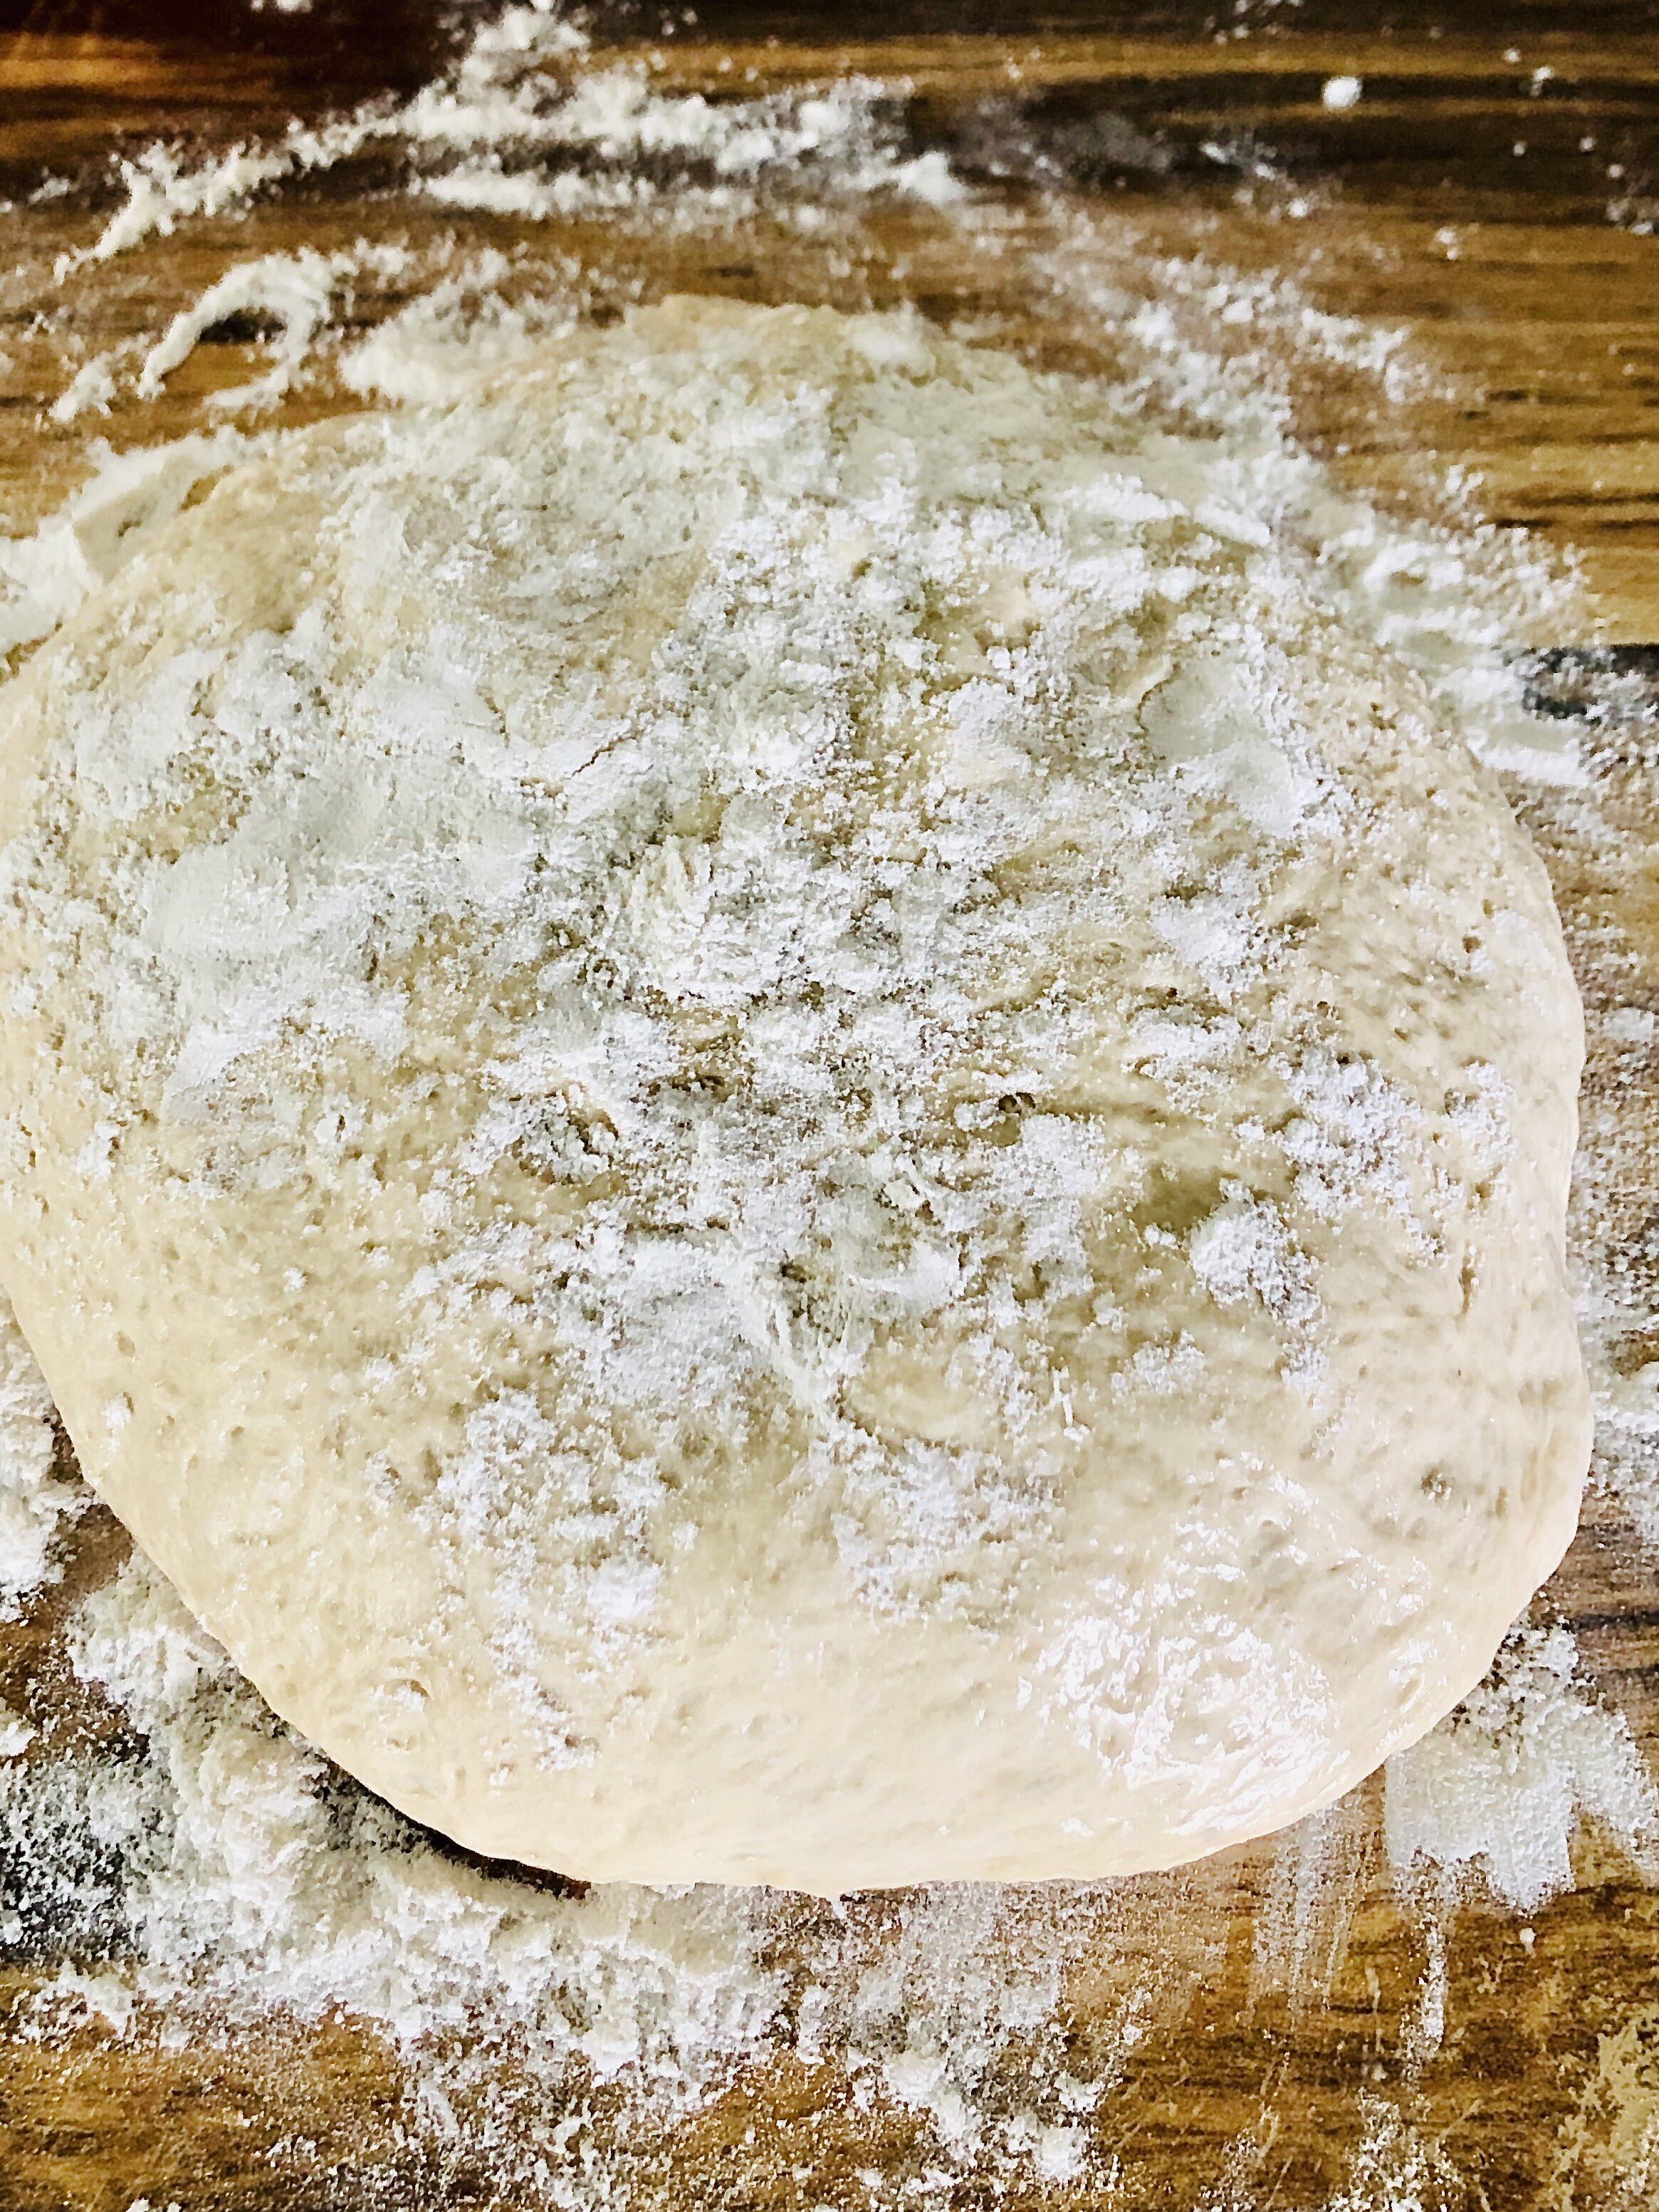
  5. Then, dump the dough out onto a floured surface.
  6. Gently begin to knead the dough adding more flour as necessary to keep it from sticking to your hands and counter.
  7. Continue to knead the dough helping distribute the dates and nuts thoughout, being careful not to over work them out of the dough.
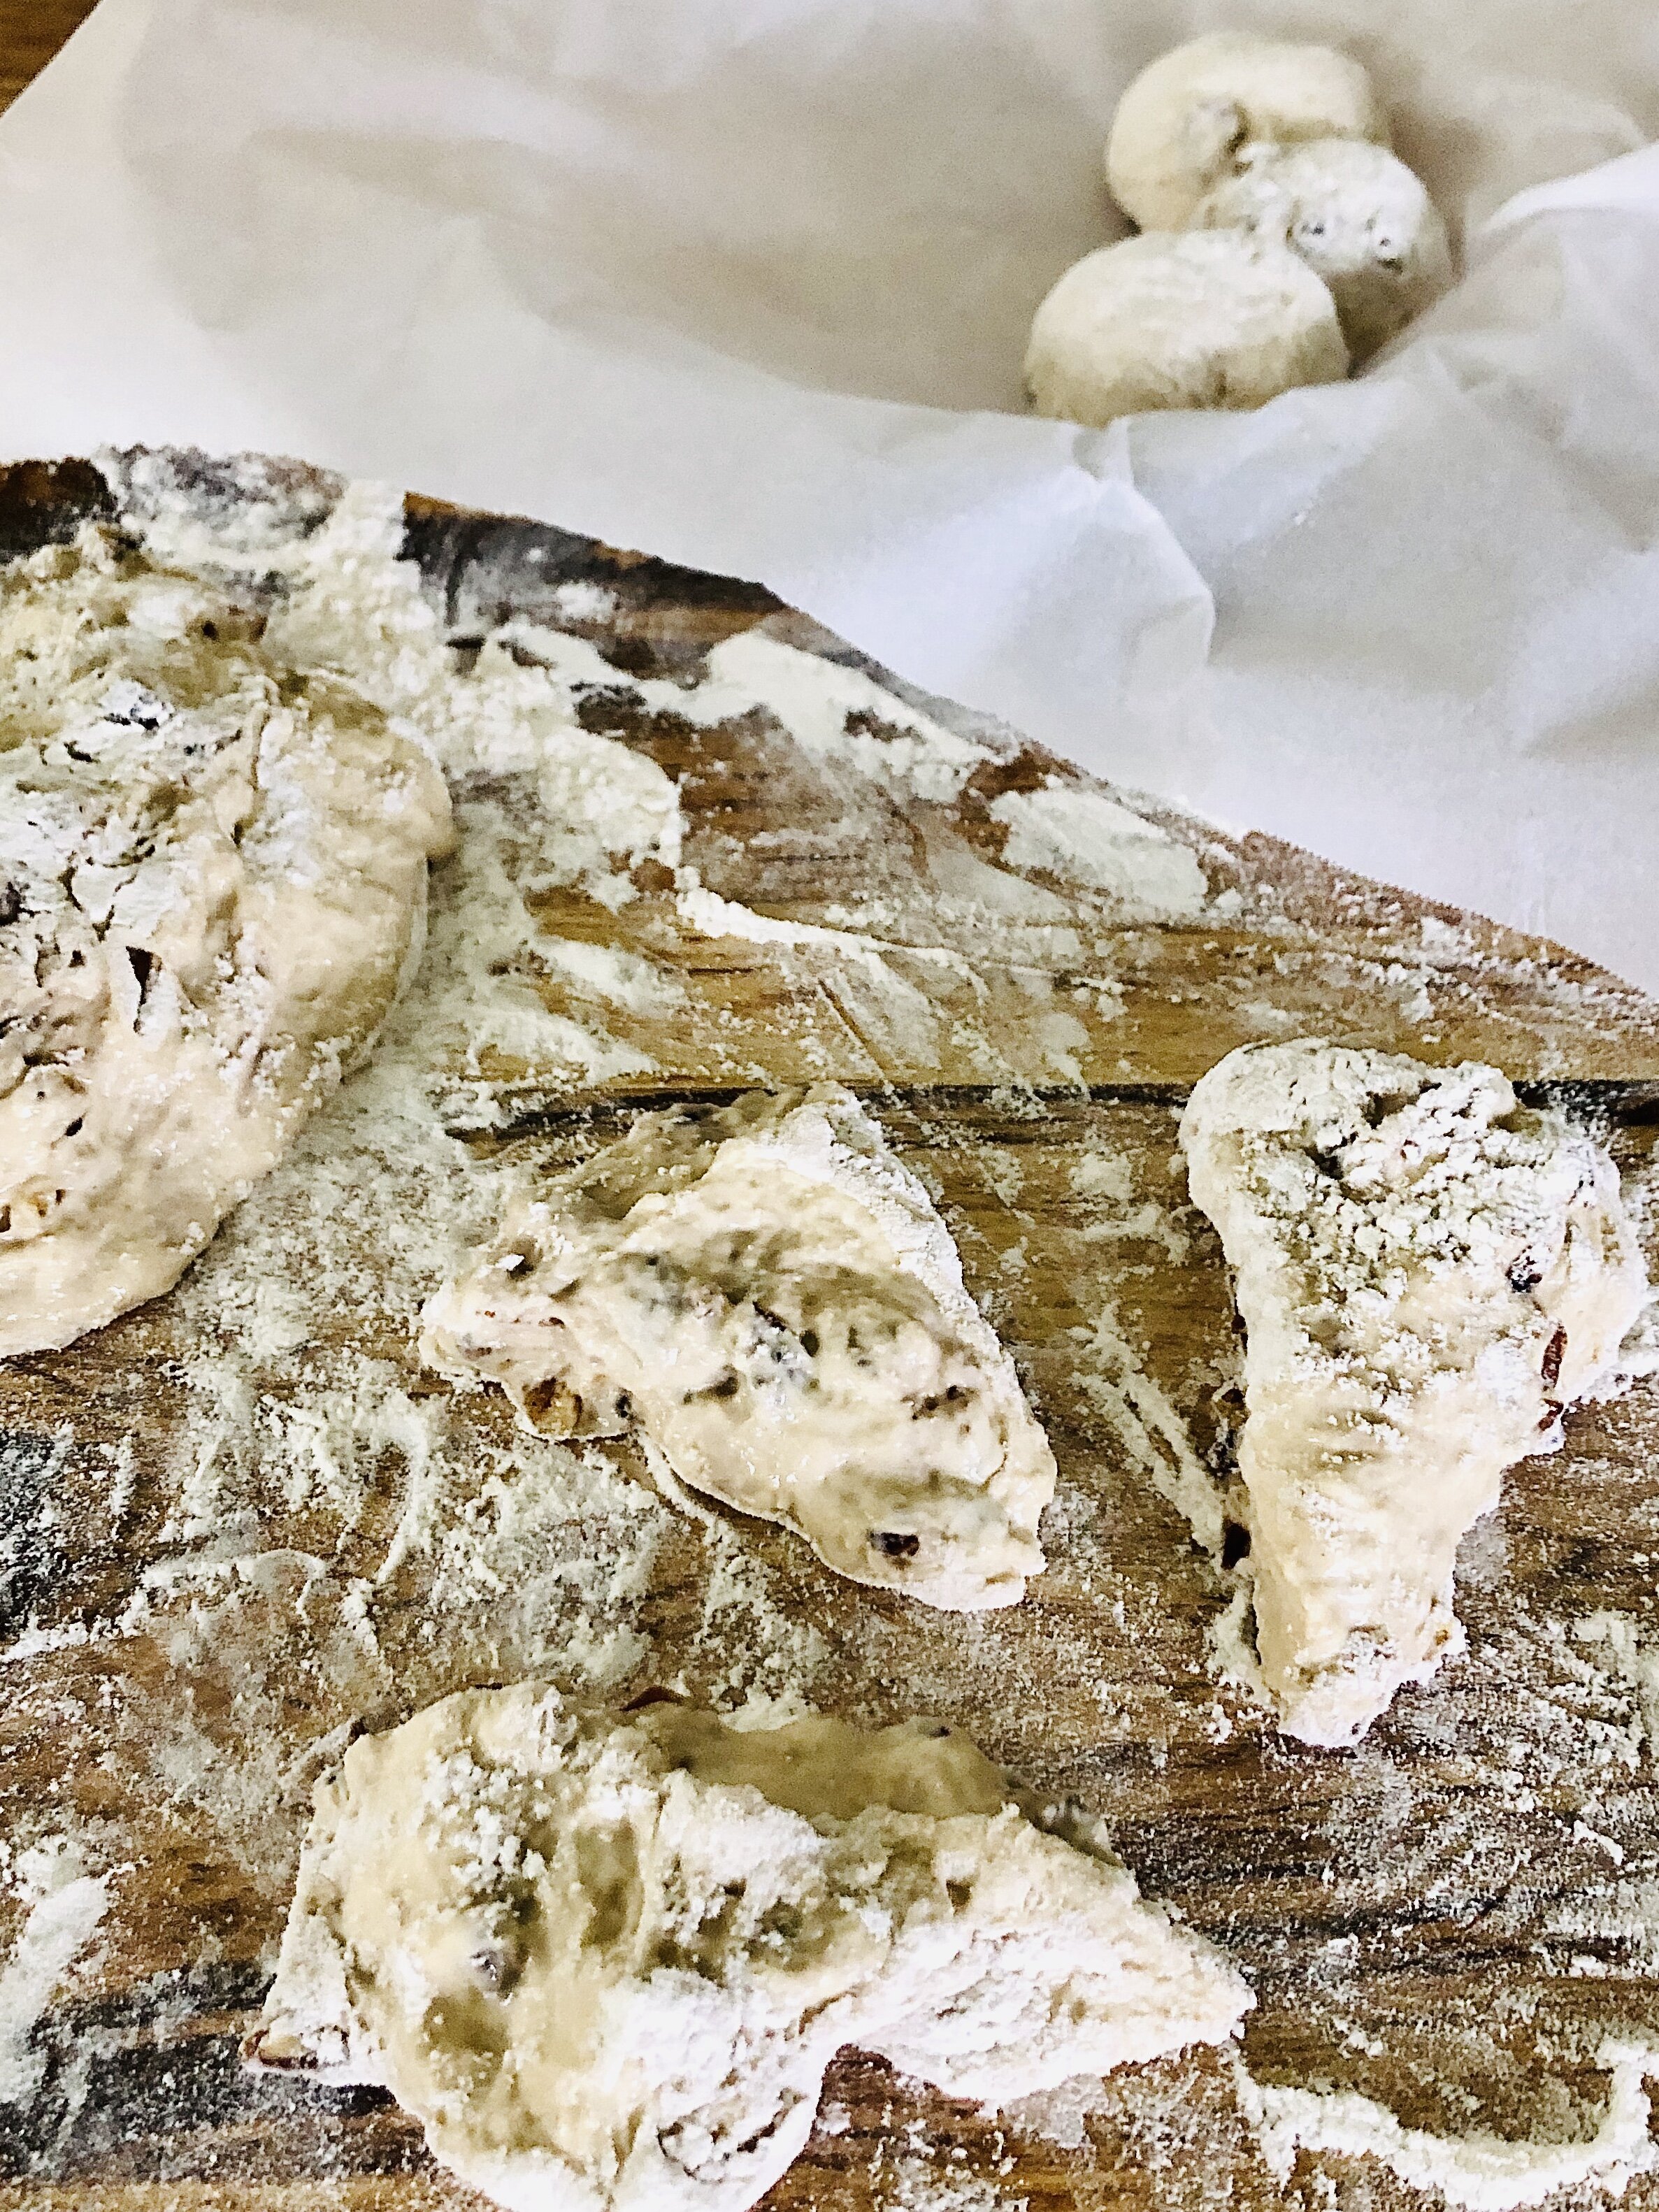
  8. After kneading, cut the dough into 10 to 12 pieces and carefully shape them into little round balls.
  9. Place each dough ball in a pie pan that's covered with parchment paper and cover the top with plastic wrap.

Bake:

  1. Preheat a dutch oven in the oven to 450F degrees.
  2. When the oven reaches temperature, carefully remove the dutch oven and place the parchment paper with the rolls inside.
  3. Cover with the lid and return the dutch oven to the oven and bake for 20 minutes.
  4. After 20 minutes, remove the lid, lower the temperature to 415F degrees and continue baking for another 10 minutes.
  5. After baking, carefully remove the rolls from the dutch oven and let cool on a wire rack.
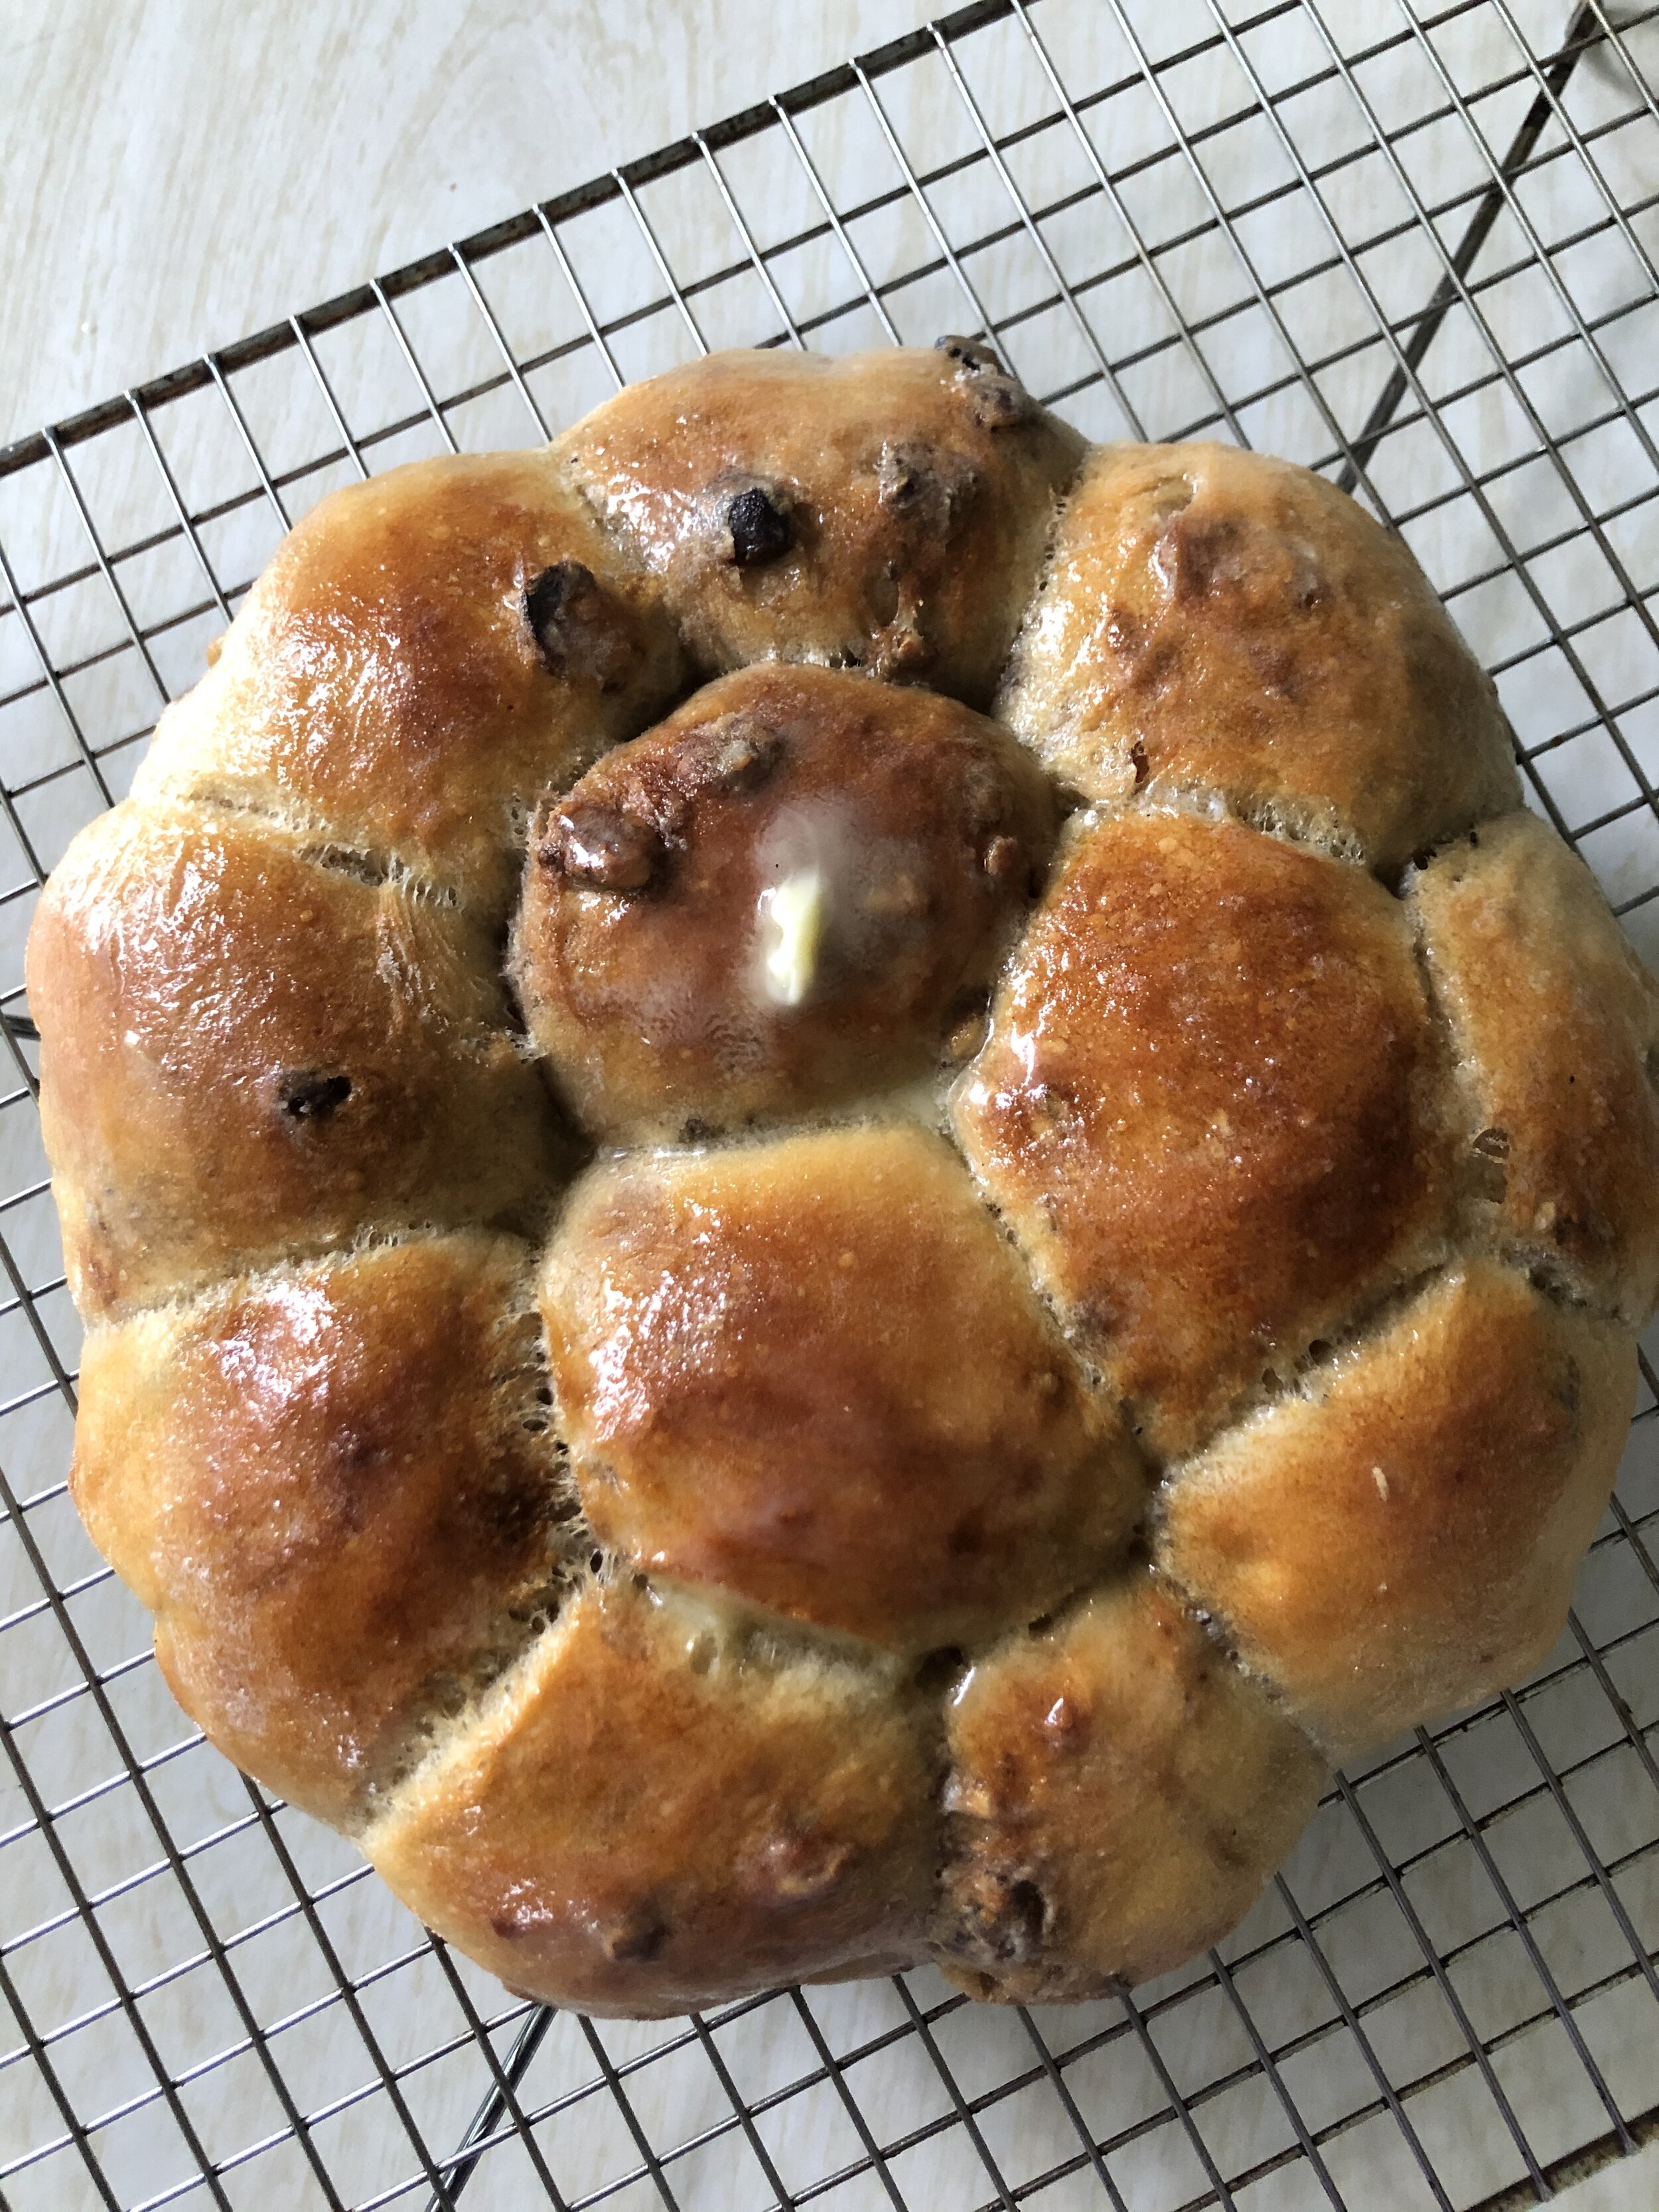
  6. While the rolls are still hot, brush the tops with butter or honey butter* (see tip below)and let it melt into the crust.
Fresh baked and buttered Honey Nut Date Rolls.

Fresh baked and buttered Honey Nut Date Rolls.

*Tip: These rolls are exceptionally good with the addition of honey butter. You can easily make some by mixing 2 TBSP of butter with 1 TSP of honey. Warm slightly it in the microwave or on the stove top, mix it together, and then brush the tops of you warm rolls and enjoy. Yum, yum, yum

November 30, 2020 /Ashley Look
How To Feed A Senior, Full Moon Baking Club, Honey Nut Date Rolls, Flour, bread, baking
Full Moon Baking Club, Recipes, Breads
Comment
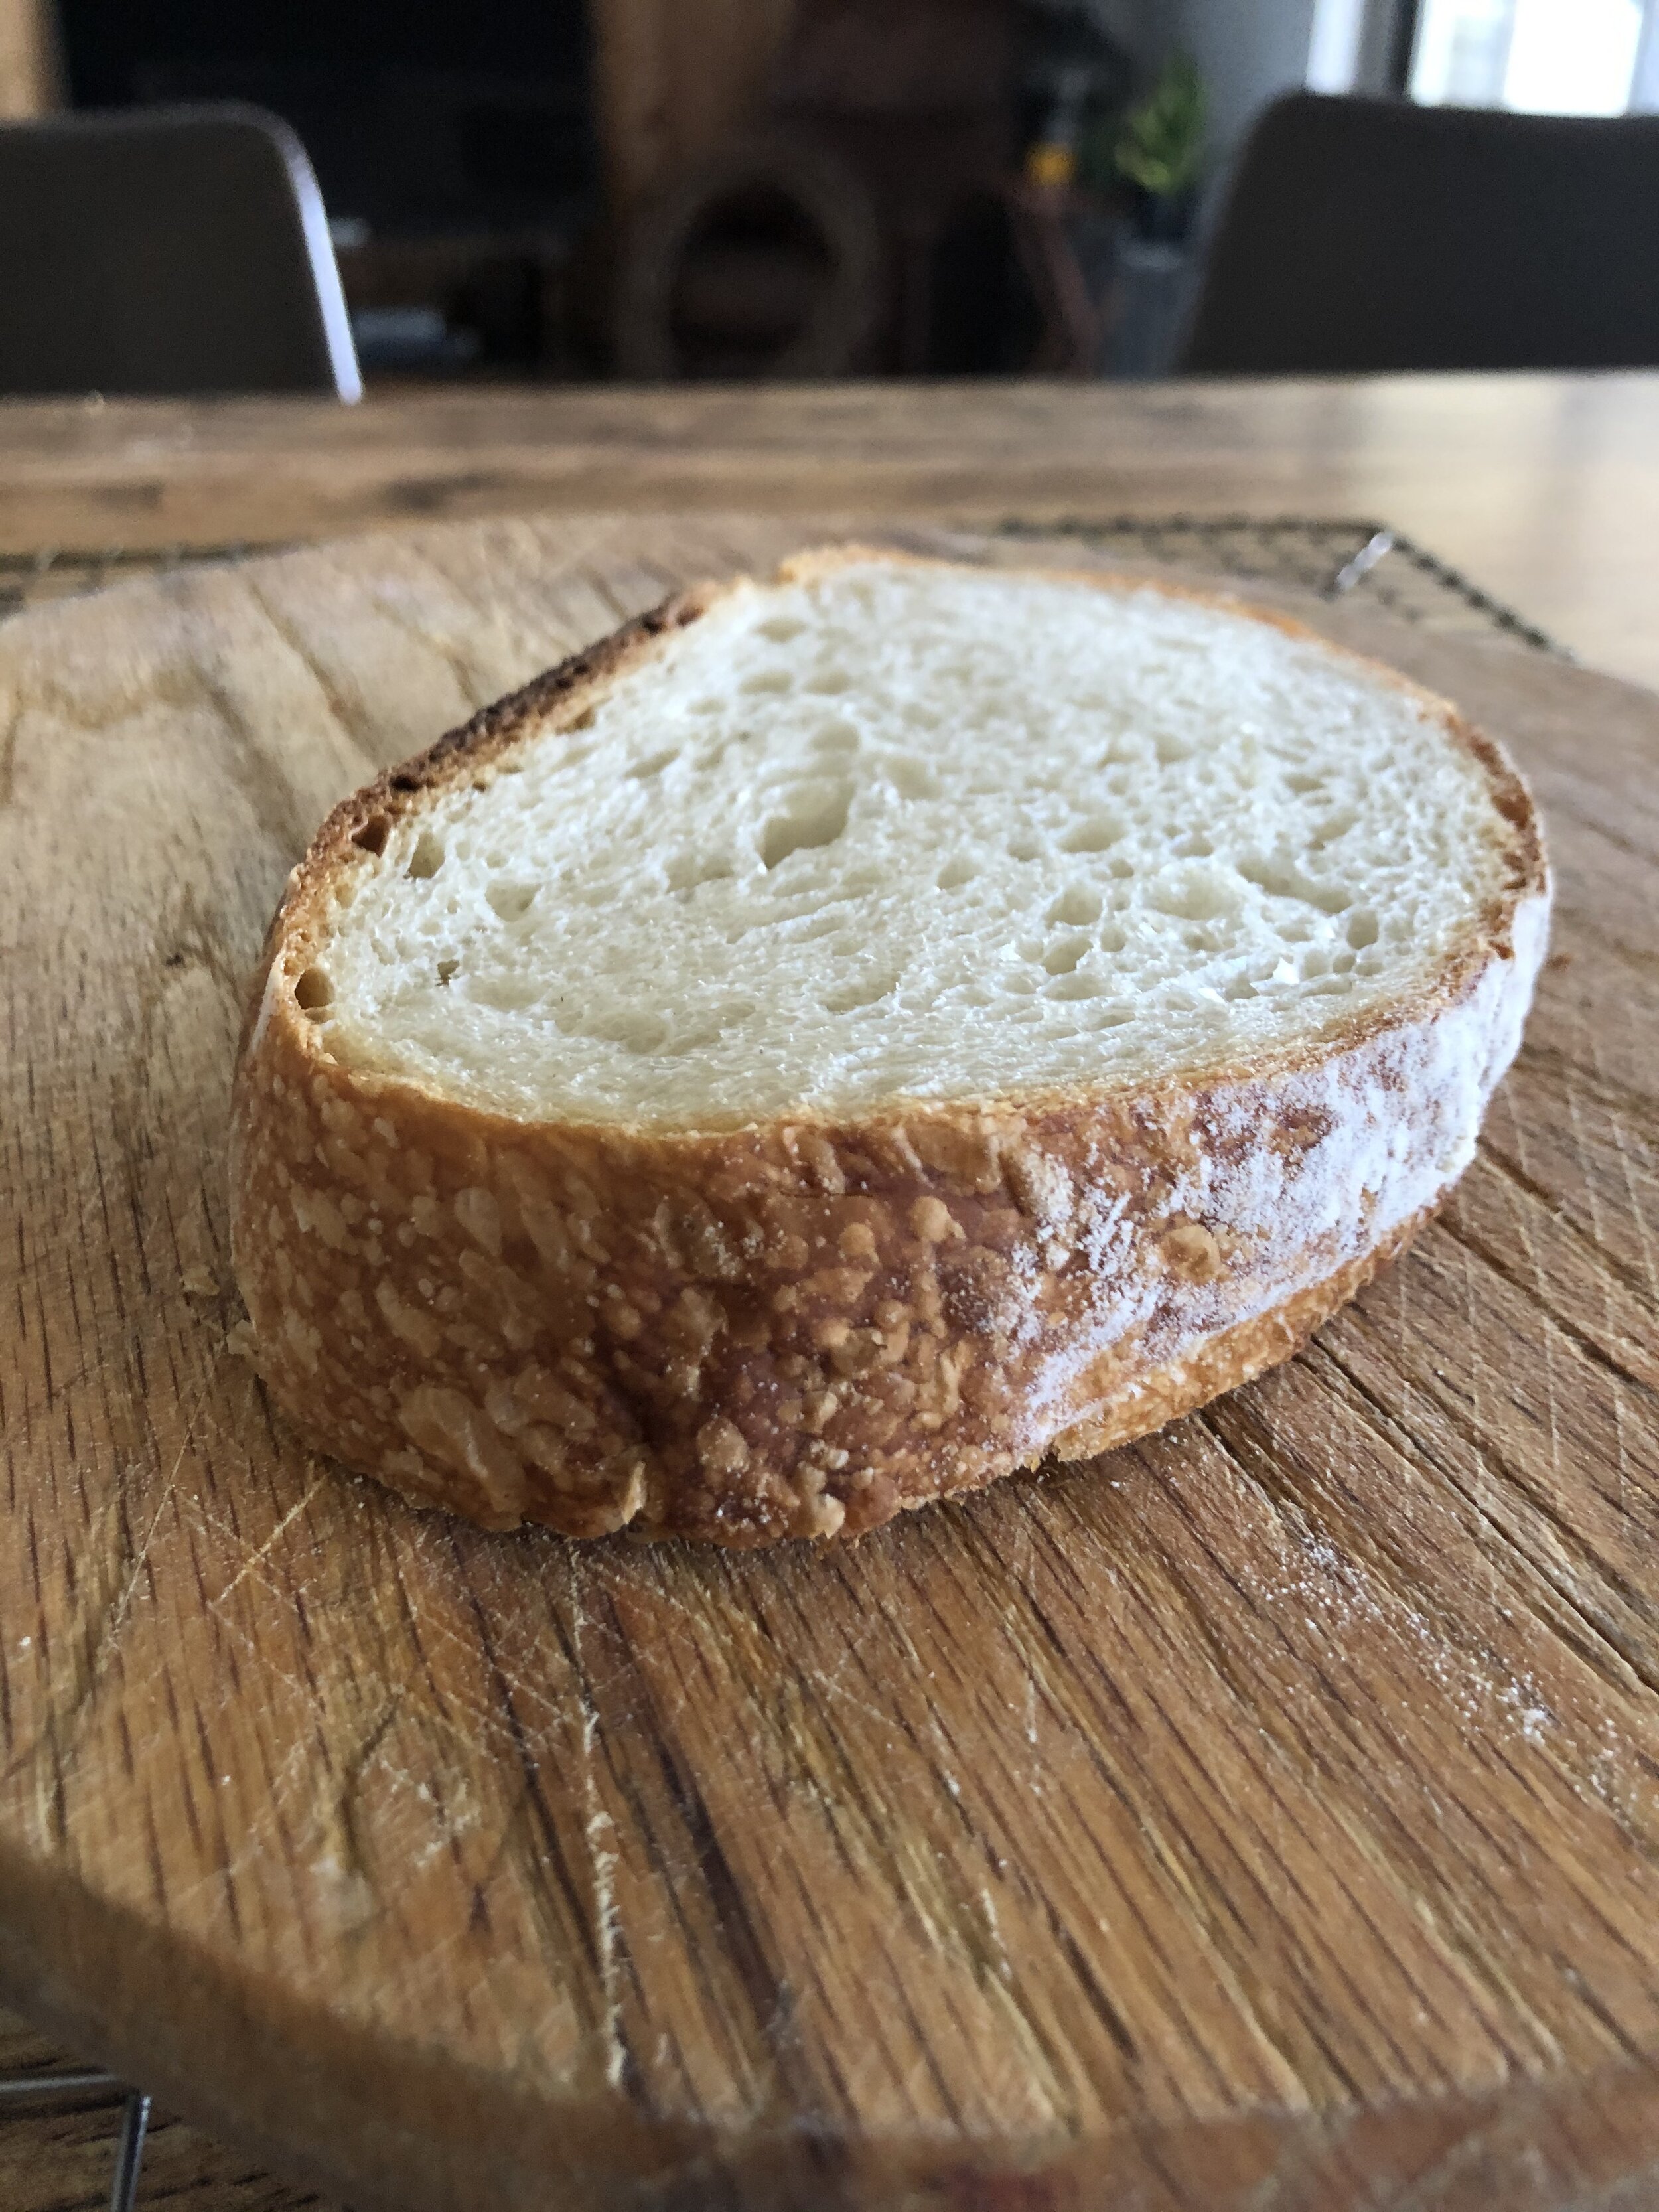
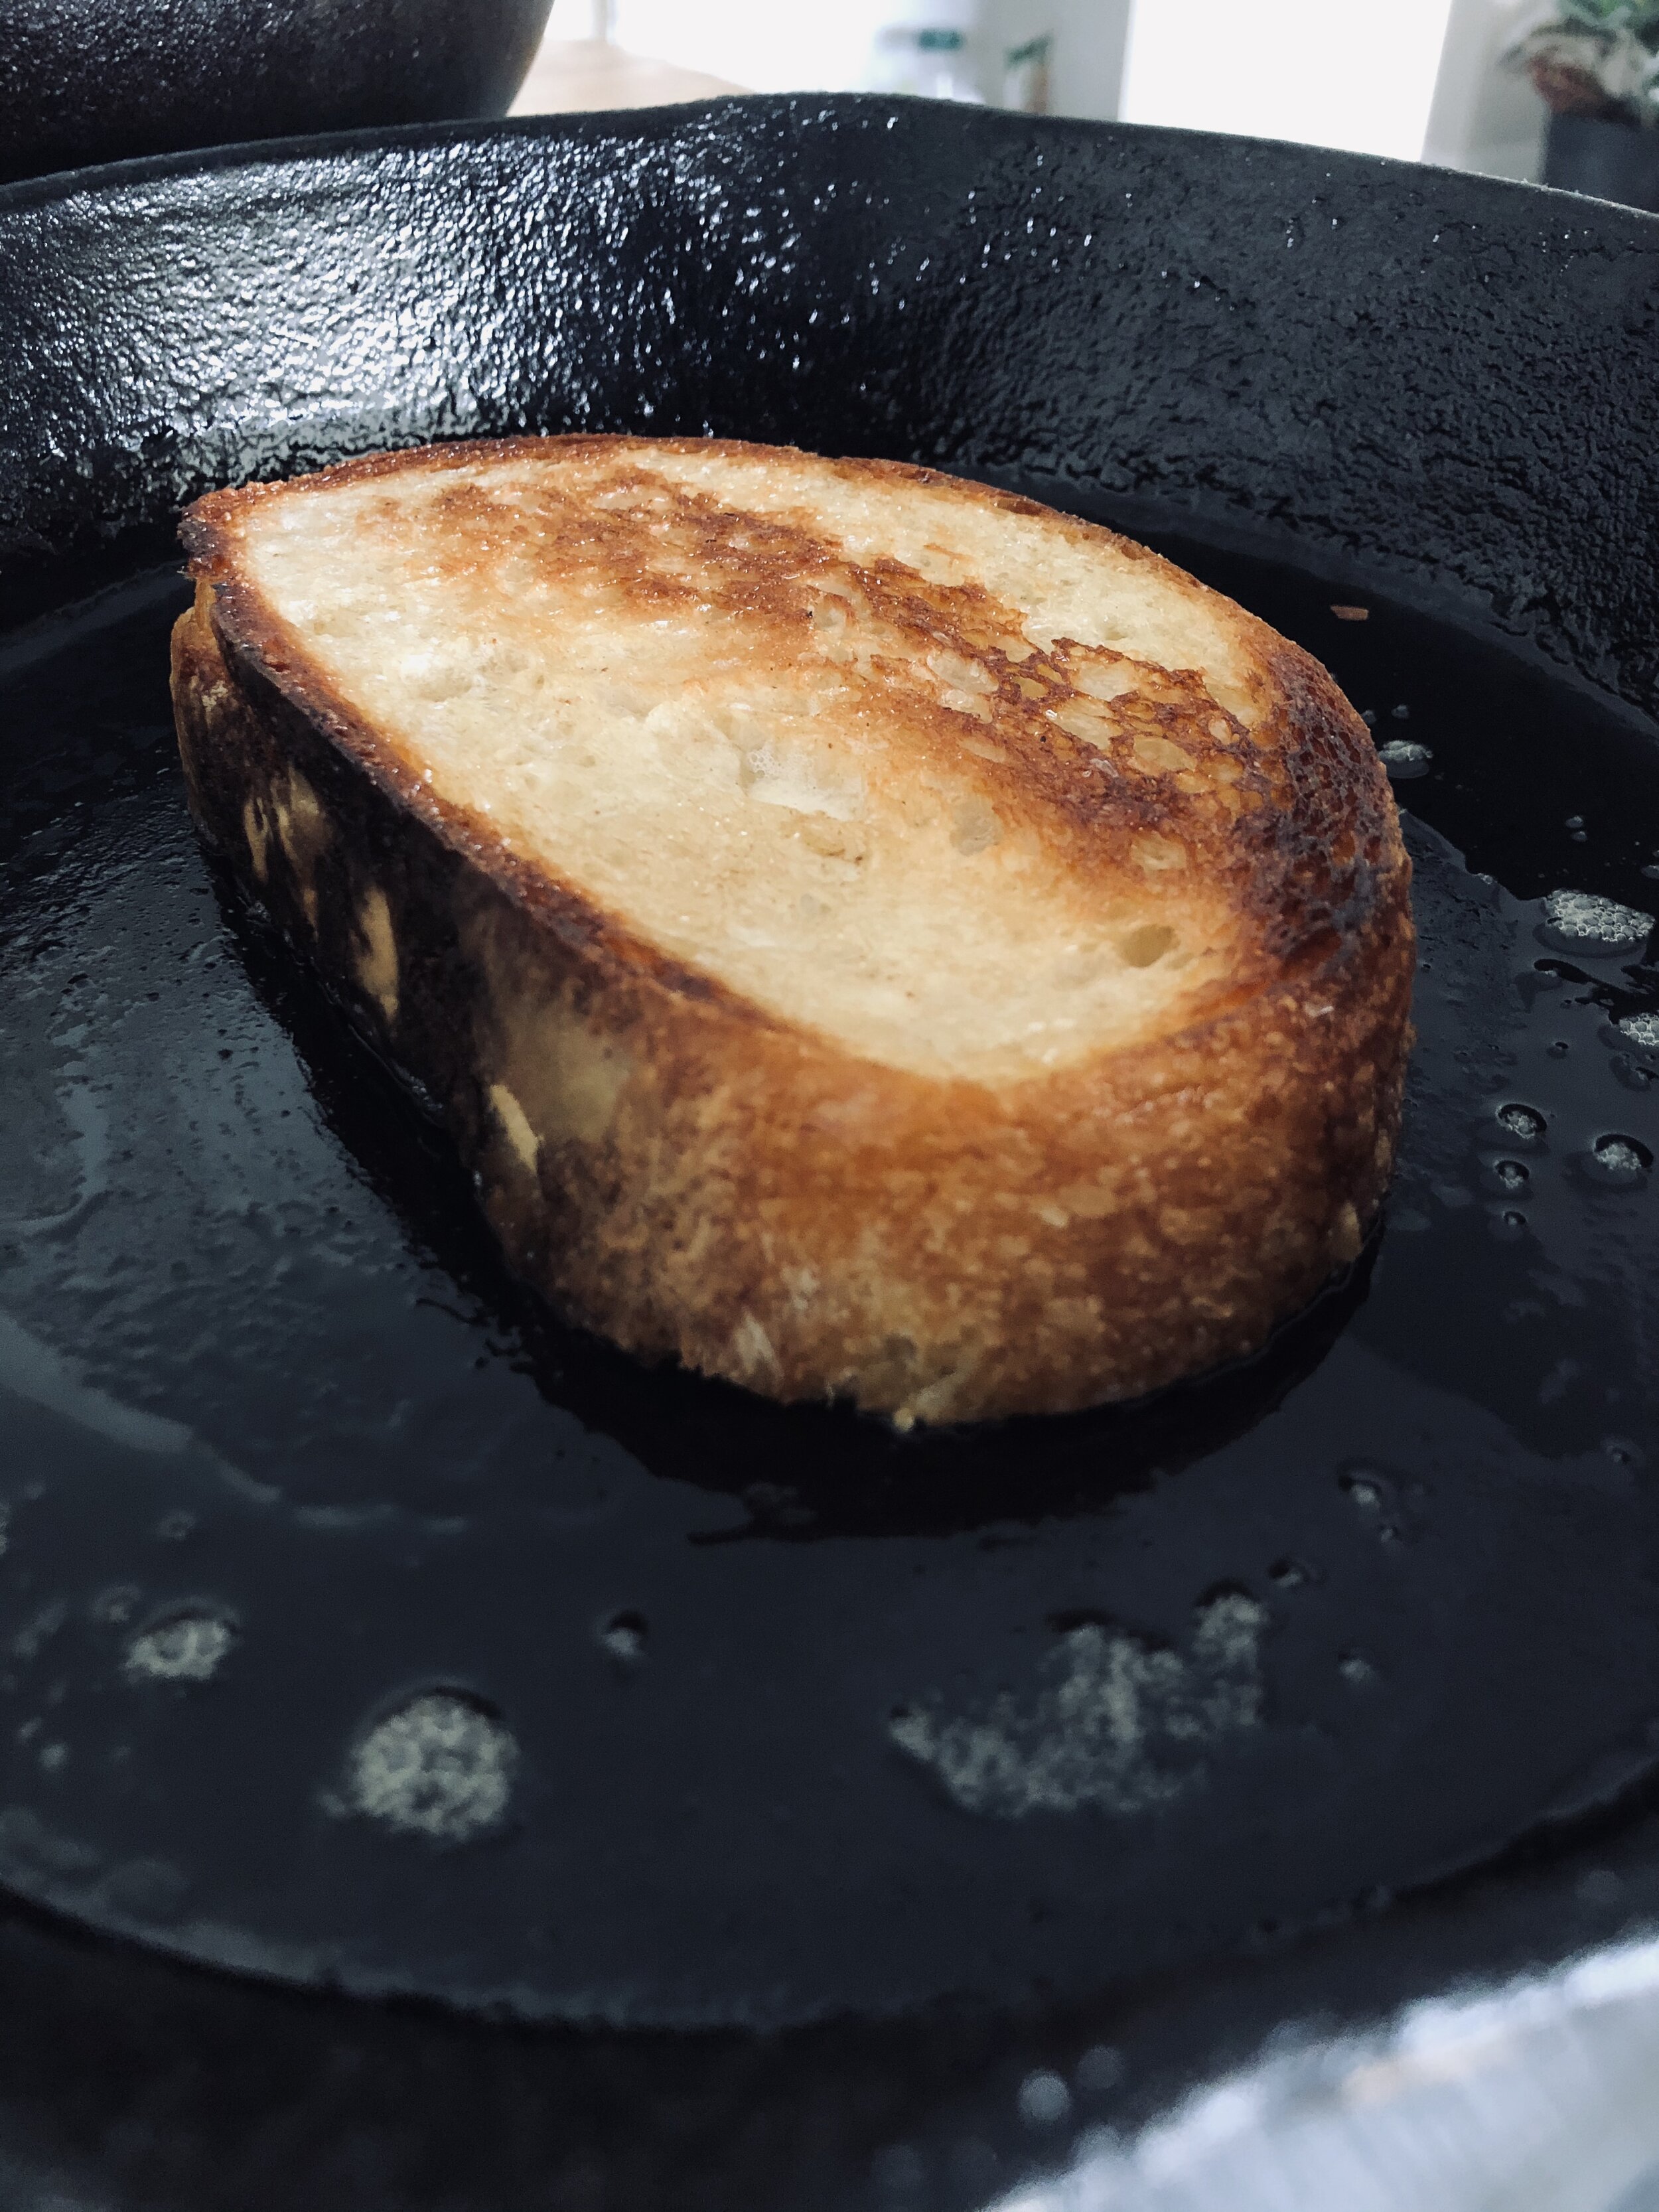
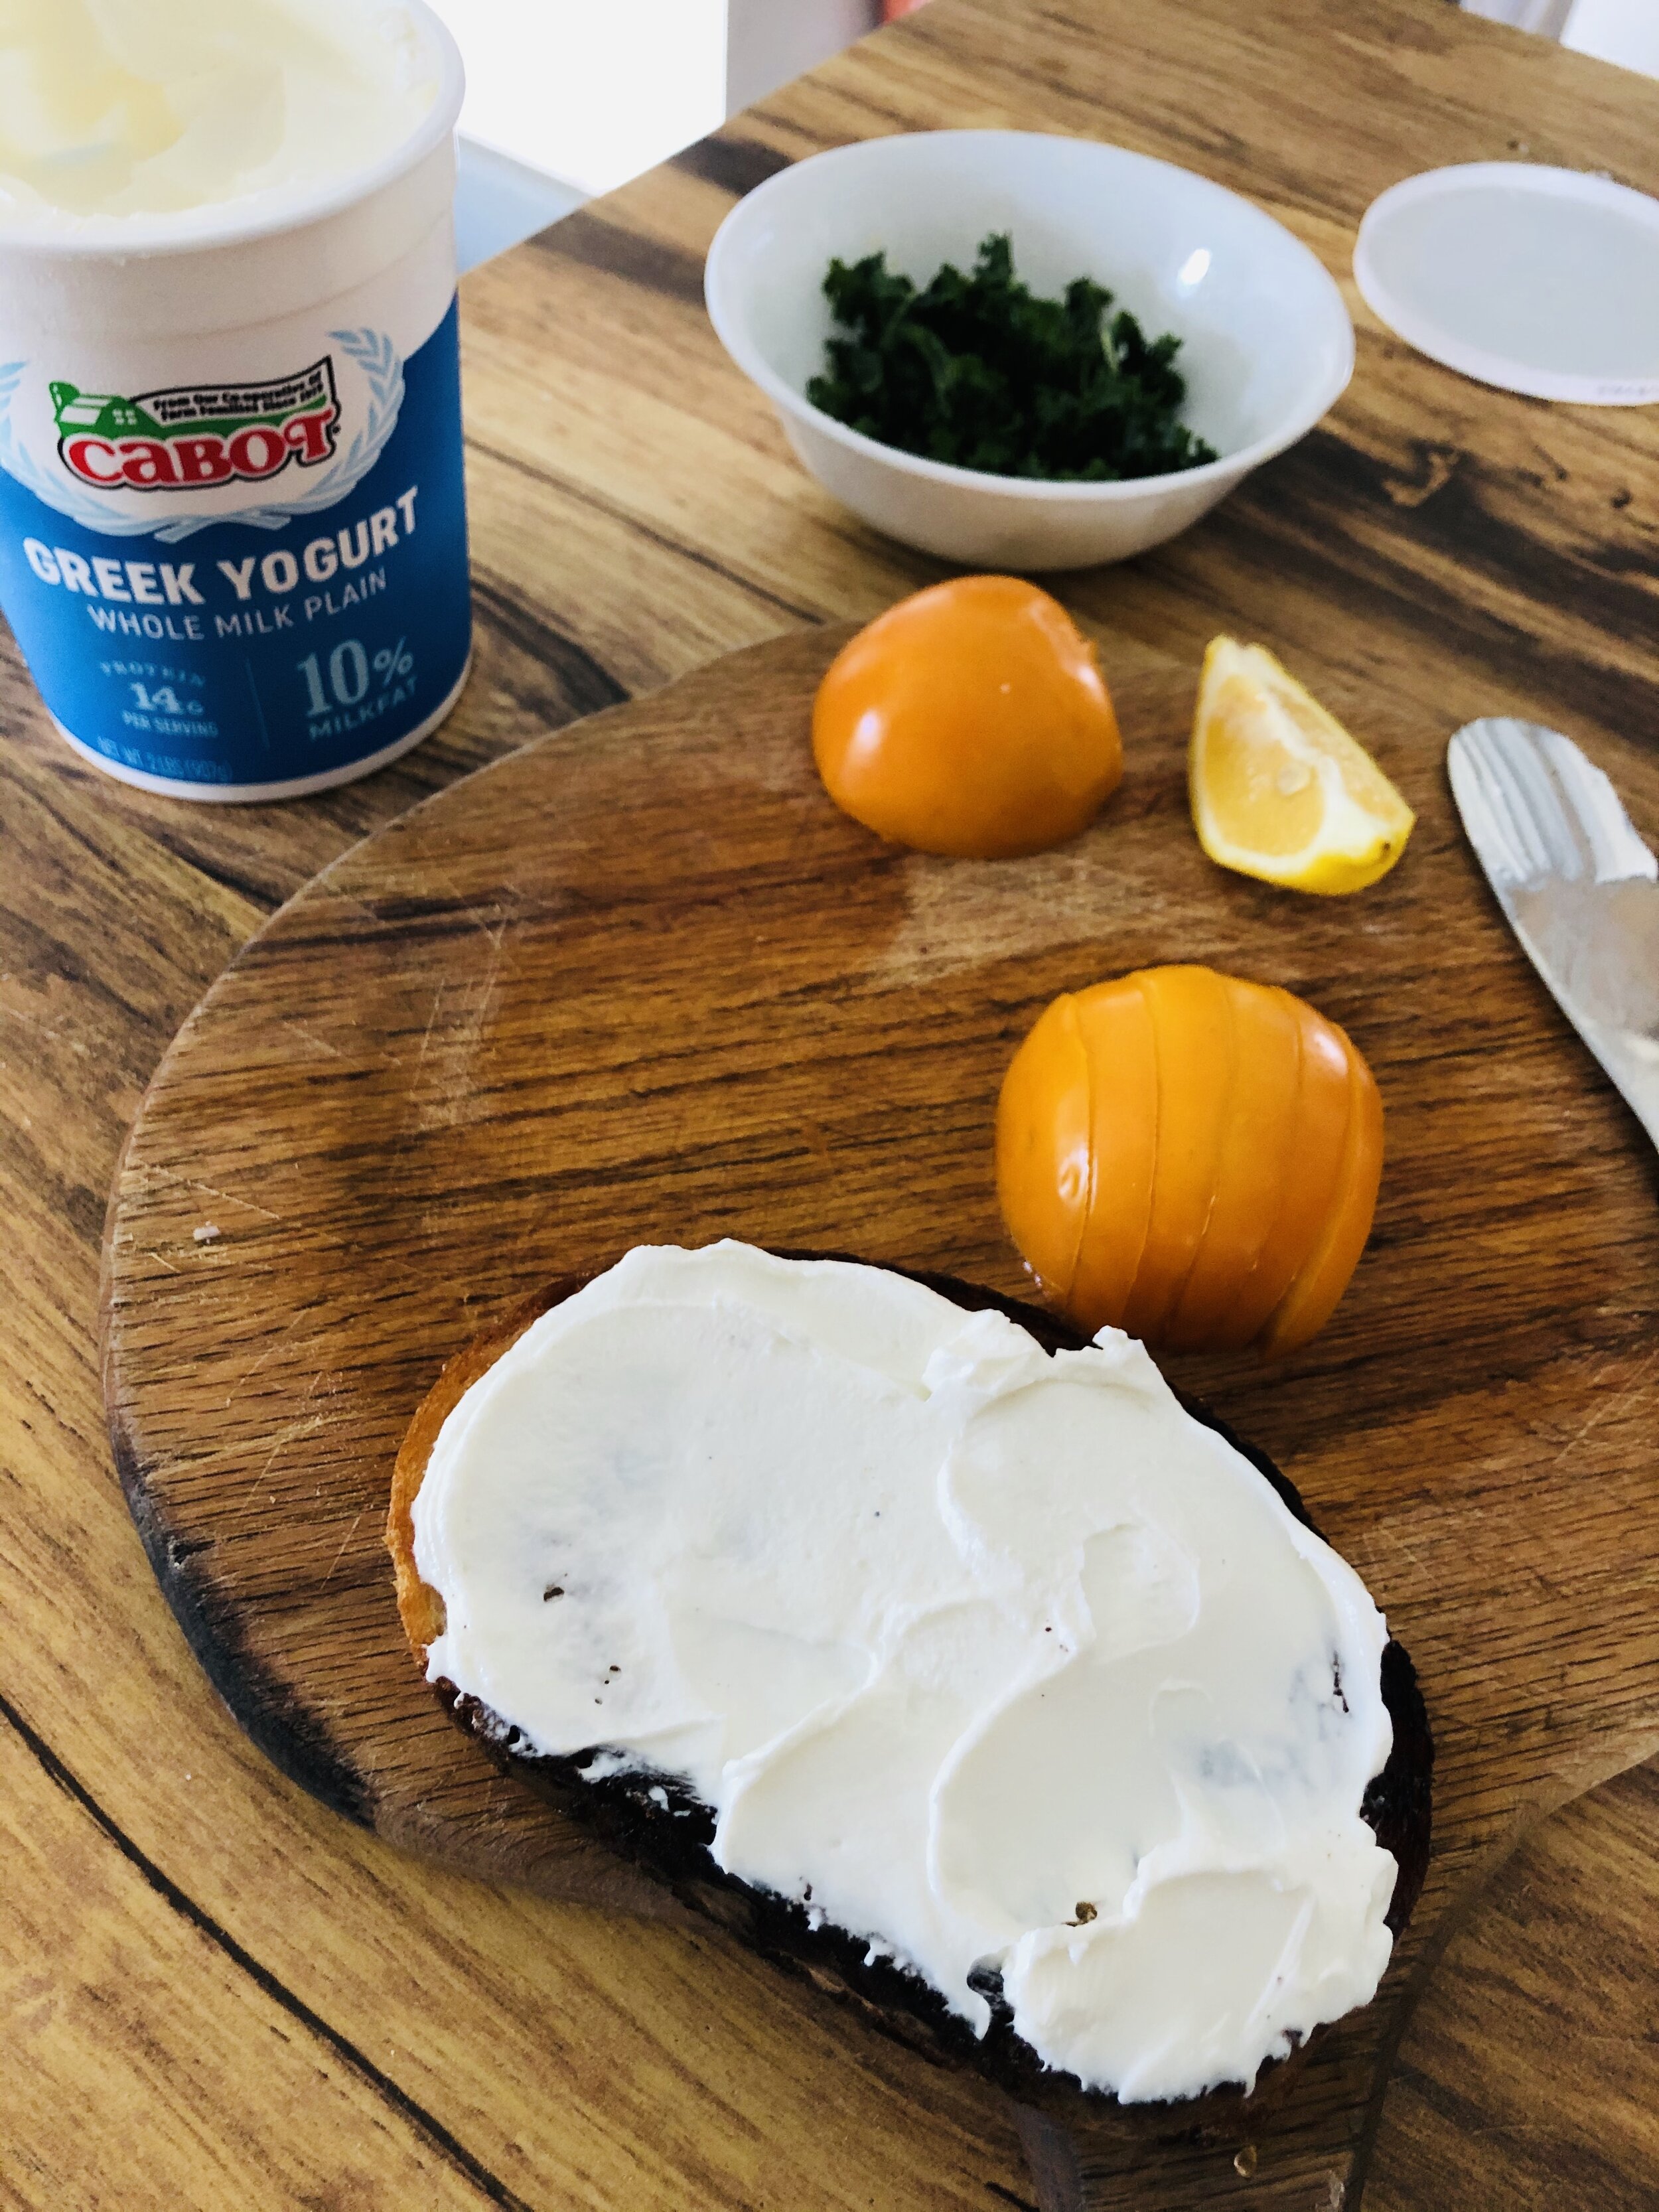
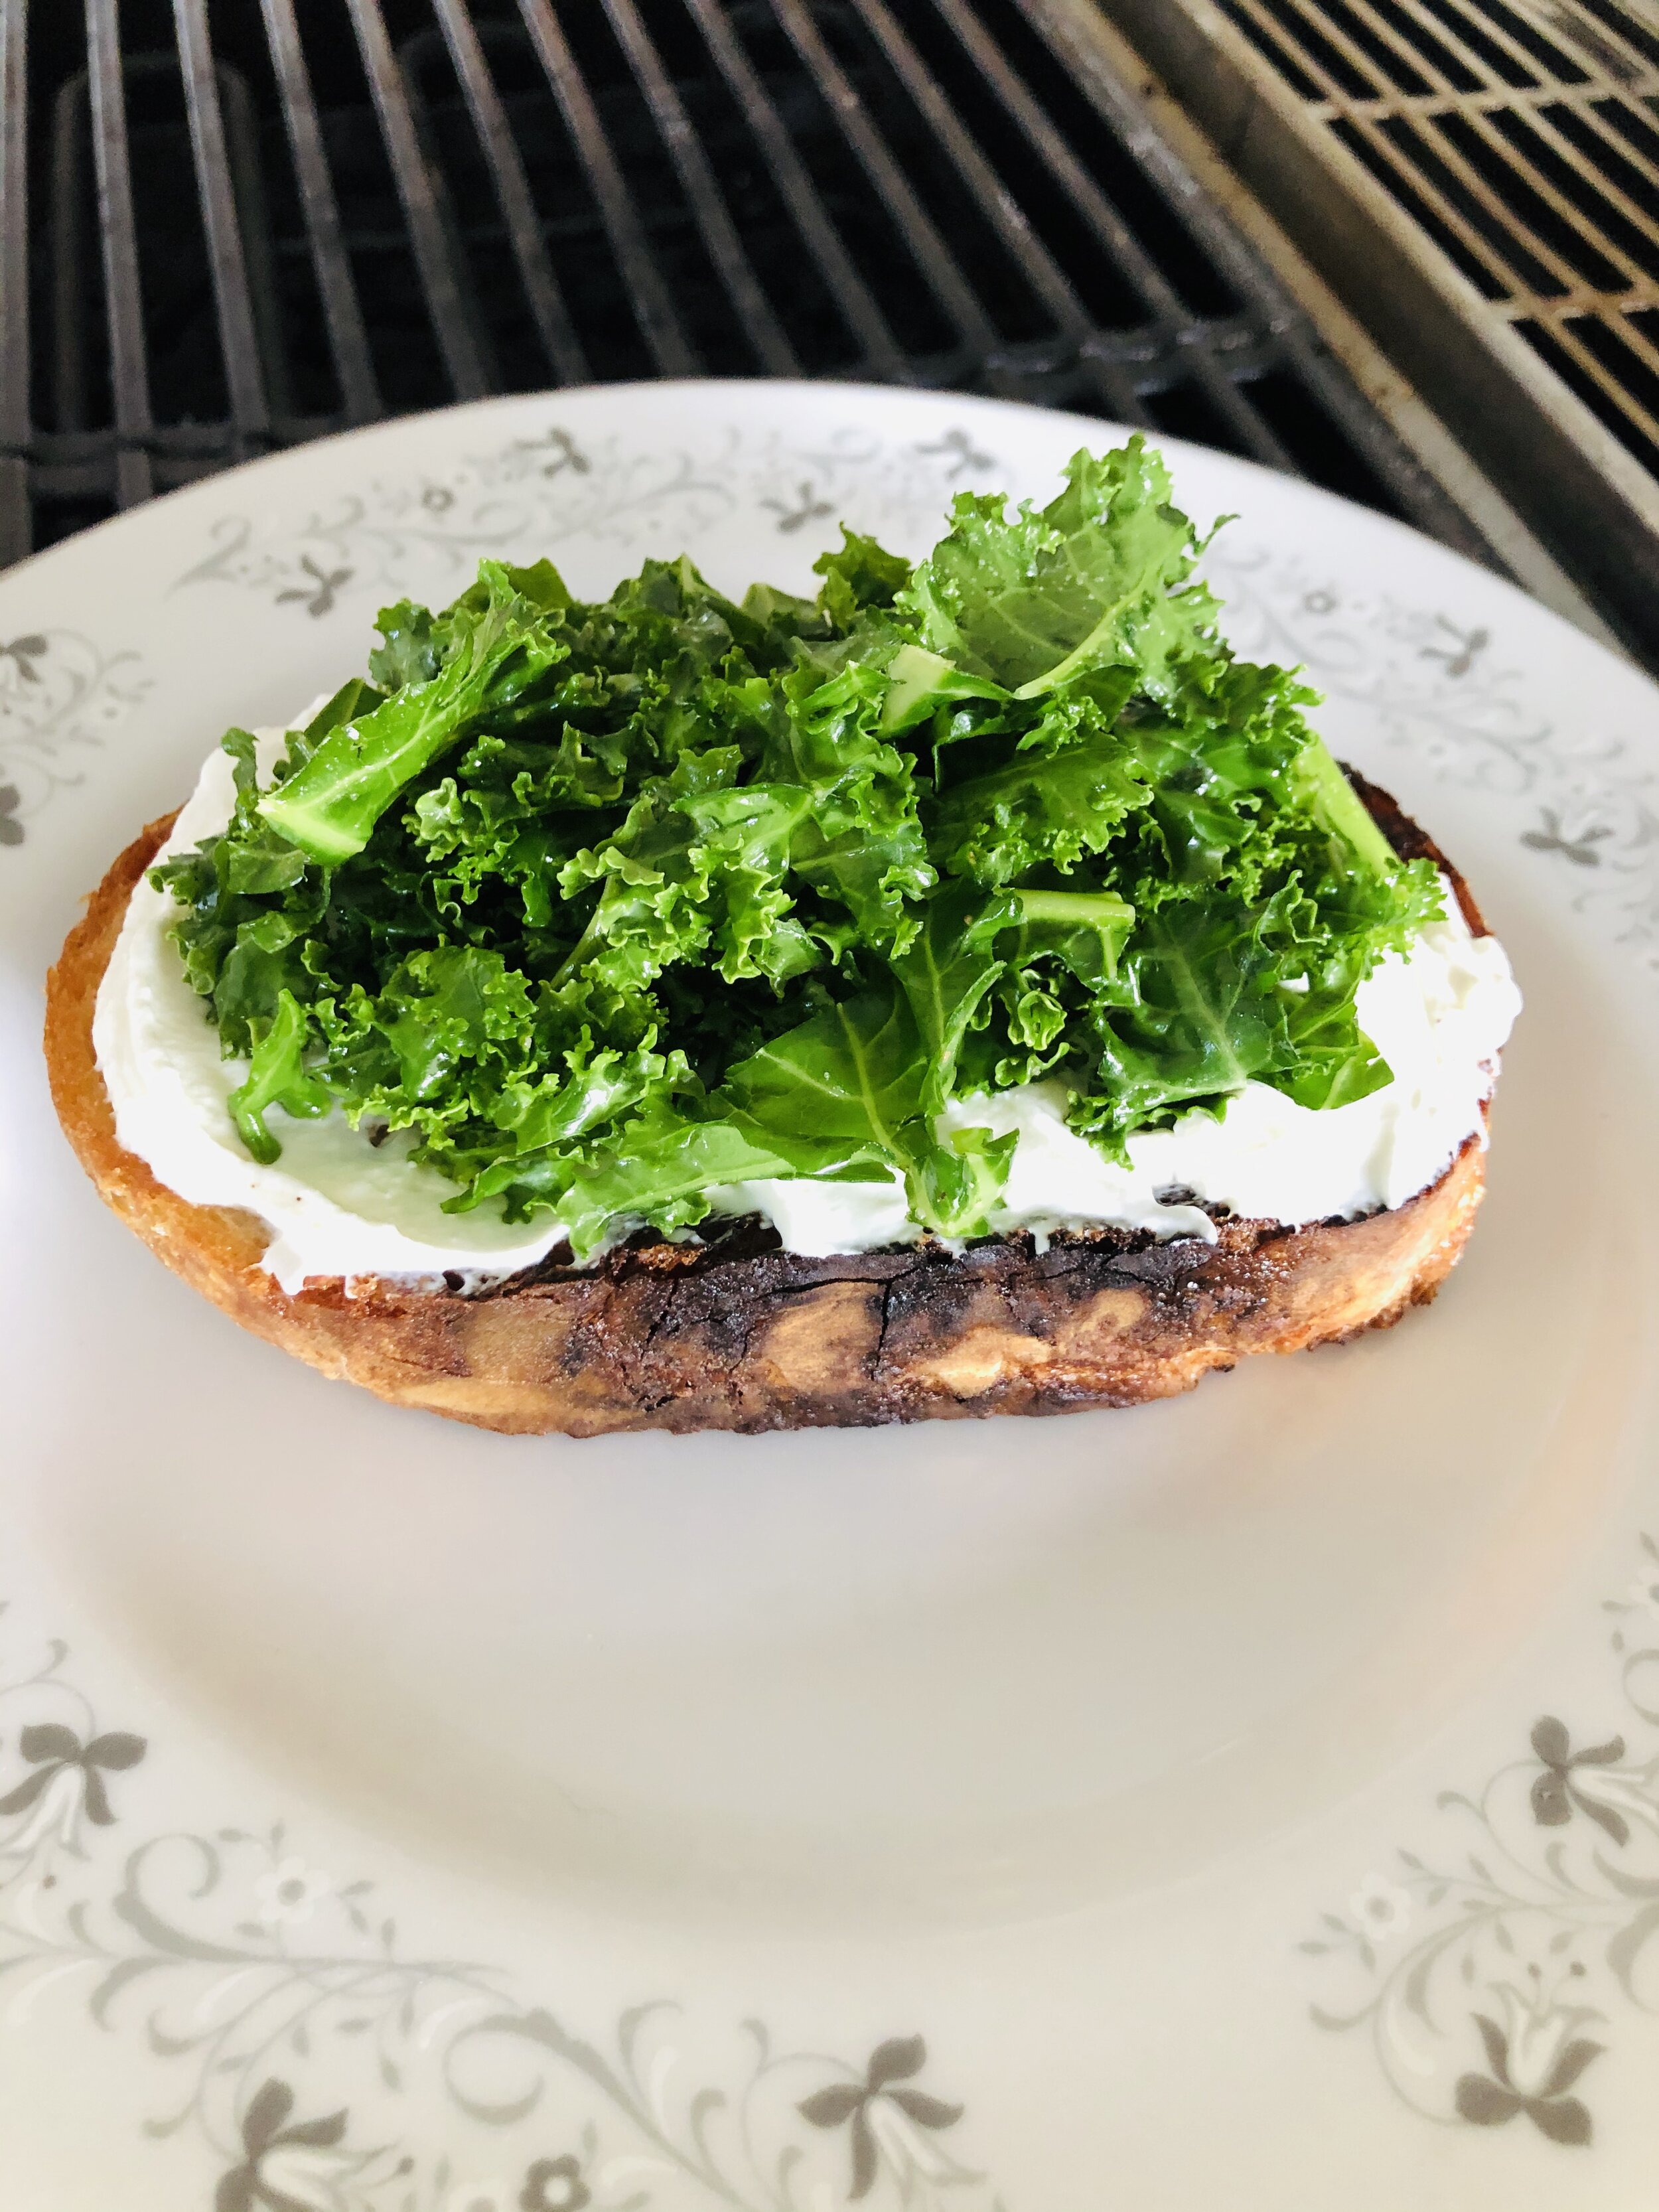
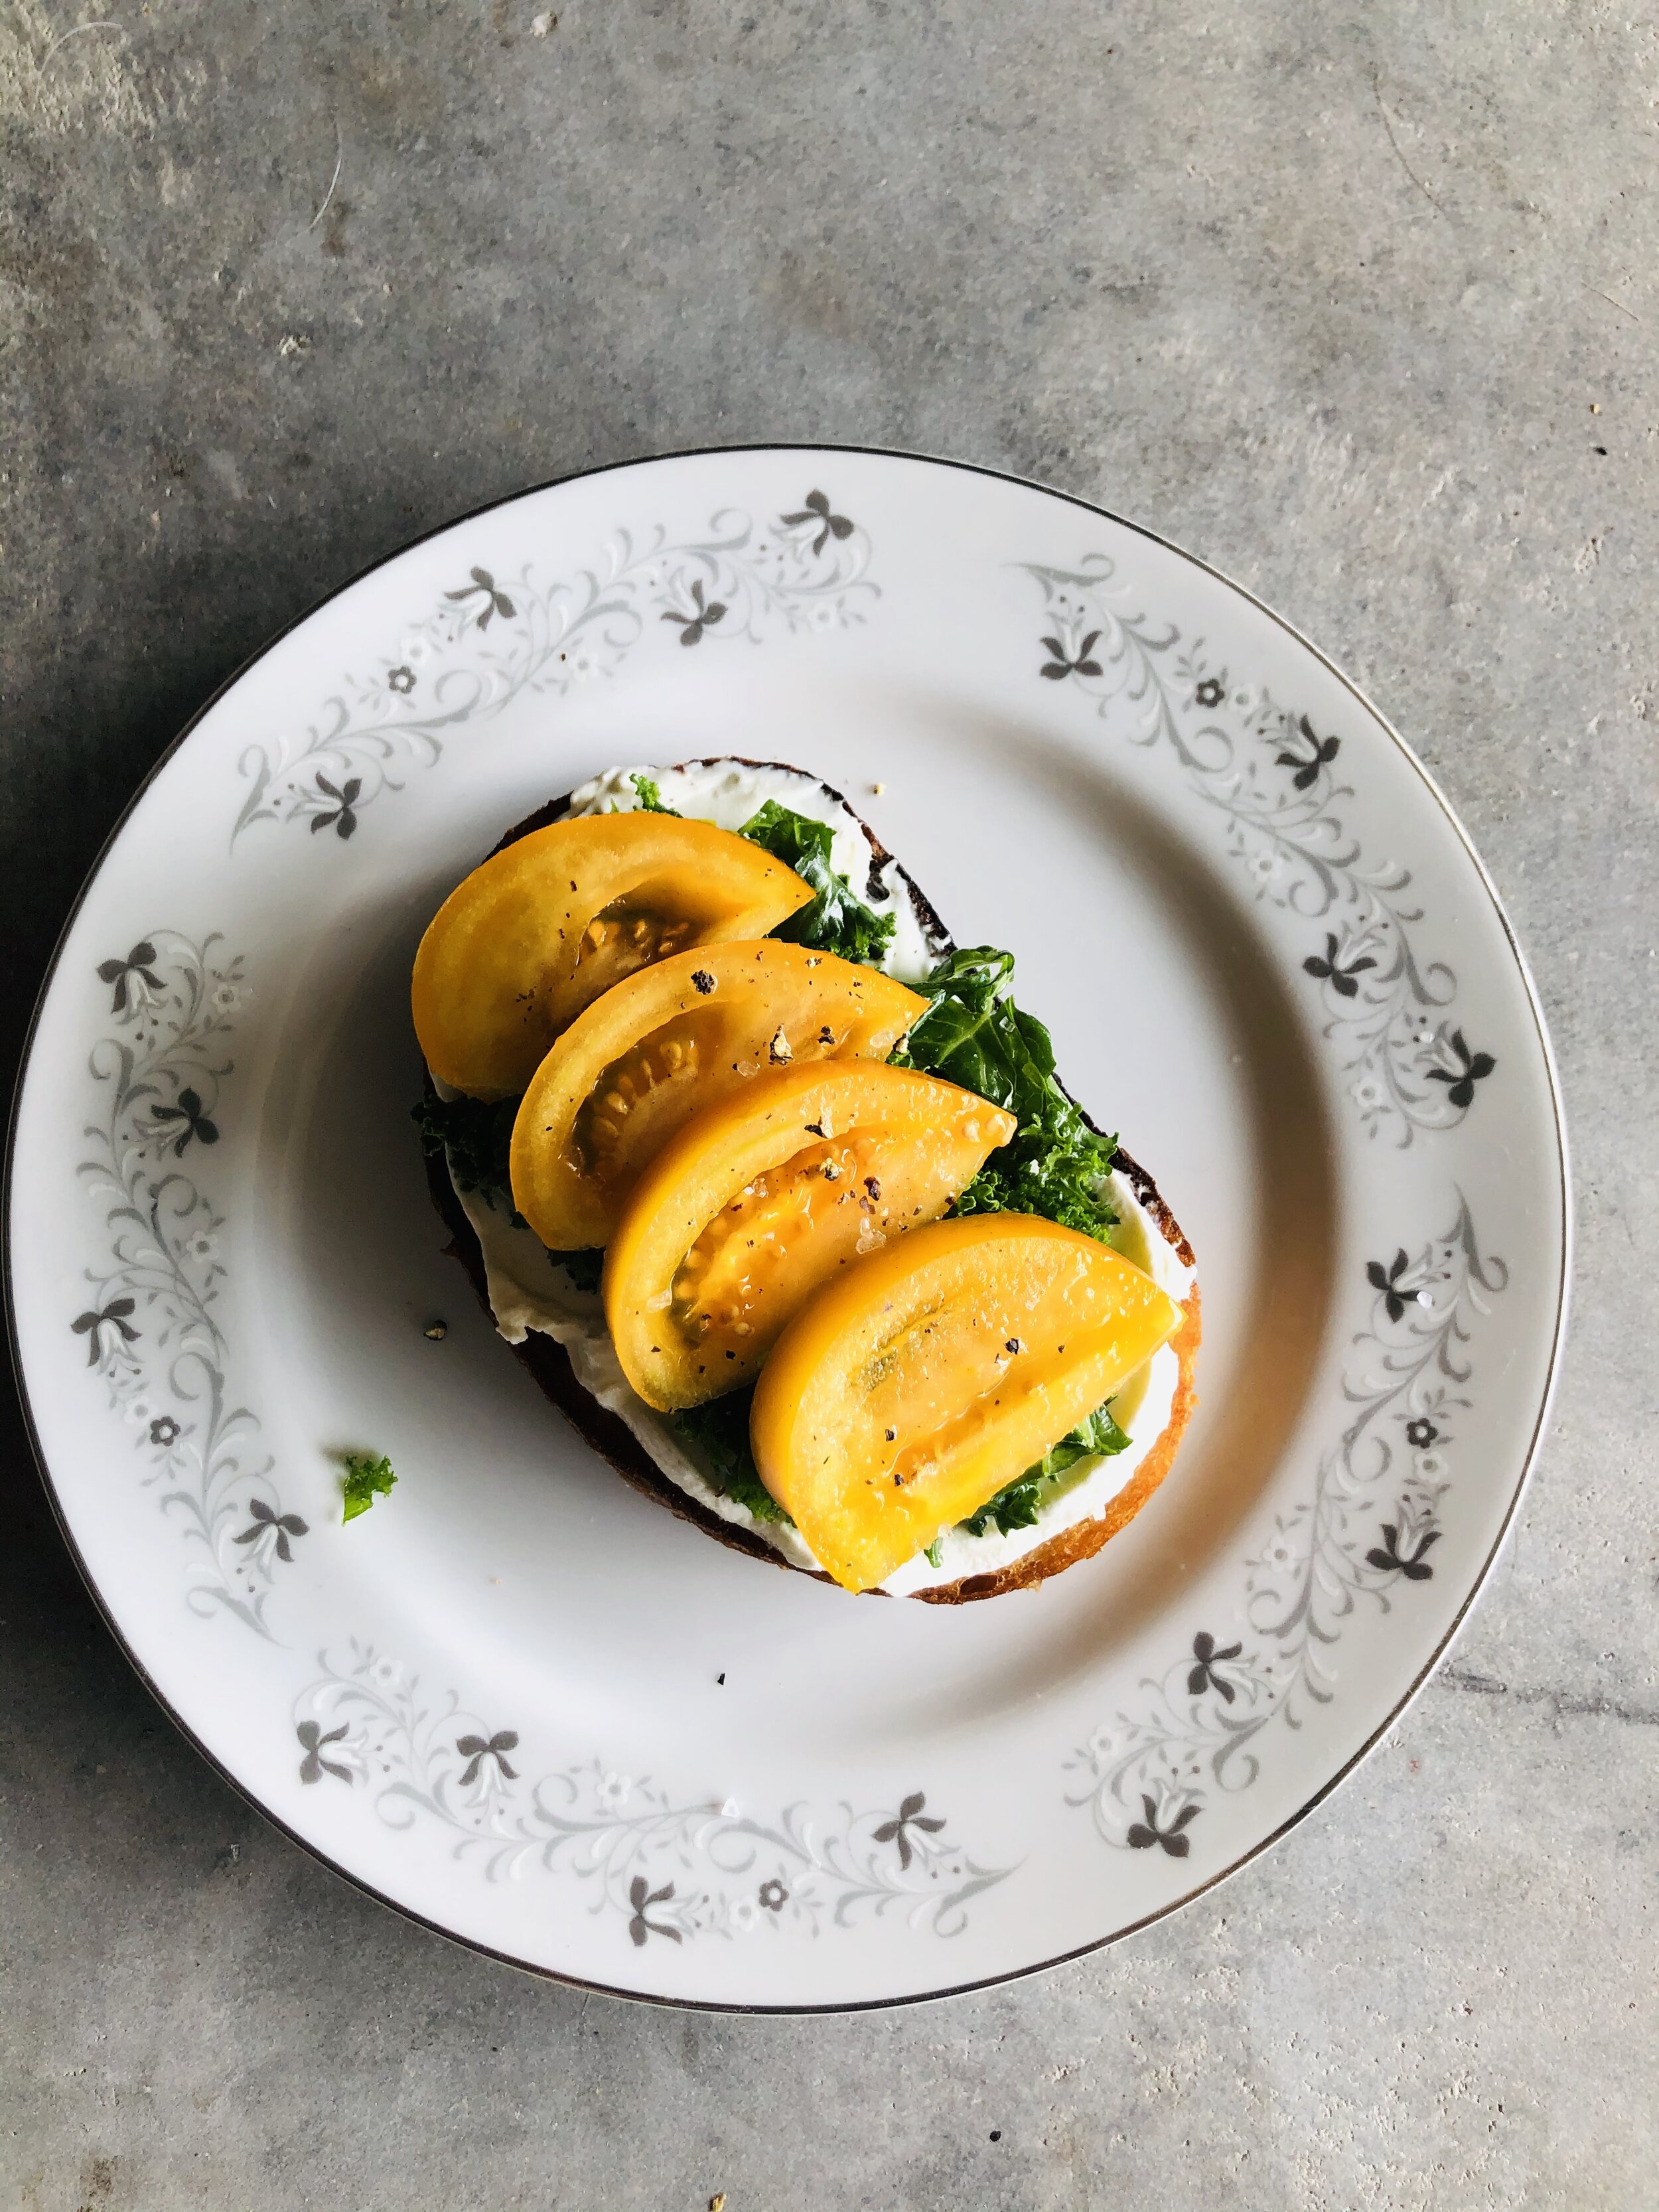
Thick slice of griddled bread topped with plain yogurt, oil massaged kale, and some sliced orange tomatoes, otherwise known as a plate of bread steak.

Thick slice of griddled bread topped with plain yogurt, oil massaged kale, and some sliced orange tomatoes, otherwise known as a plate of bread steak.

Bread Steak (A Simple Meal For Hard Times)

July 27, 2020 by Ashley Look in Recipes

I know what you’re thinking. “Bread Steak? What the heck is Bread Steak?”

Well, it’s basically a thick slice of bread that you griddle, and then top with all the fixin’s. It’s more of a formula than a recipe but nonetheless, it comes in handy. I like to think of it as the poor (wo)man’s gourmet as it has allowed for a taste of the “good life” even during hard times. Ugh… pandemic much? Between lockdowns, curfews, and cases of Covid-19 currently surging, trips to the store are rather infrequent. So, this is one way I stretch a dollar and ingredients…

Step 1: Get onboard with baking bread!

For a minute there, baking bread was all the rage. Although it seems to have passed, I would encourage everyone to embrace it as more than a fad. Baking bread is simple and cheap. Sure, there is some technique to get down but that’s just a matter of practice. And assuming we are all still laying low due to the virus, why not use the time as bread boot camp? I equate bread baking to a life skill, on par with things like building a fire or changing a tire… It’s the art of making something work. If you can make bread, you can make toast, or sandwiches, or pizzas, or pretty much anything else utilizing dough. There are endless possibles which is why it should be of no surprise that I’ve decided Bread Steak should be a thing! It’s a riff on classy when you’re feeling financially stretched.

If you need a place to start your own bread journey, consider this basic bread recipe. You can also follow along with the Full Moon Baking Club where each full moon a new baking recipe is released. Long story short, baking bread is cheap and we all should be doing it. It requires the most basic of ingredients and yet once you have them, you can make all kinds of things. Get on it!

Step 2: Understand the Bread Steak formula.

By formula I mean the process rather than ingredients. Whatever you decide about embarking on the quest to bake your own bread, a good slice remains essential to getting your “steak” on. Ideally you will cut yourself a nice fatty that you slather up with butter or mayo and then griddle in a skillet. (Yep! I said mayo as in mayonnaise. It’s a culinary hack for all you grilled cheese makers waiting too long for your butter to soften.) Sear it on both sides like you would a steak, and no; you can’t use a toaster for this. It’s not the same you lazy cheaters!

Once the bread is griddled on both sides you can start in with your toppings. I like to add a base layer of some kind of spread that will help cradle the other goodies. Cream cheese and ricotta work well, as does yogurt, nut butters, and hummus. Think of it like the binding agent that’s going to hold everything together. Next, give it some kind of bedding. This could be anything from mixed greens to sauteed onions or mushrooms, or even sliced fruit. Think of it as a layer of bulk that provides nutritional balance to the bread slice. Lastly, add a finishing topping. There are endless possibilities here. The final topping is an element of contrast that helps tie it all together. It might be a poached egg or sliced fruit, cured meat, or perhaps a drizzle of honey with a sprinkle of seeds. Mostly these layers are a matter of composition. The formula, rather than recipe, gives you the freedom to work with what ya got.

Bread + Spread + Bedding + Topping = Bread Steak

Bread.jpg Sliced bread.jpg Griddled Bread.jpg Smothered Bread.jpg Smothered bread with kale.jpg bread steak with yogurt, kale, and tomatoes.jpg

It’s a privilege to be able to race out to the store and grab supplies when necessary. Some of us live in food deserts. Others are fighting the loss of income. Not all of us are in positions to stock-up on items and therefore must be creative with what’s on hand. I know personally that both my pantry and my bank account have been dwindling as years of financial hardships accumulate. I also see the internet continue to entice with it luxuries. Everything from home goods to gourmet fare seem to fly in the face of those struggling; begging us to be impulsive and spend money we don’t have. The good news though is you don’t need a lot of money to feel rich when it comes to your diet. You can find ways to have more with less, without feeling like you’ve sacrificed something. The Bread Steak is my steak. It’s not a fillet or a T-Bone but it’s juicy nonetheless, and there’s nothing better than cutting into it with a fork and knife and knowing it’s a treat. It often falls apart and turns into a mess that spreads all over my plate but that mess brings out my inner bon viviant, reminding me that it’s not what I buy, but what I make with what I have… Such is life?

Bread steak with ricotta, arugula, mushrooms, shallots, goat cheese and thyme.

Bread steak with ricotta, arugula, mushrooms, shallots, goat cheese and thyme.

So, go find your fancy. Search for it in the unexpected and remember that simple pleasures are often hiding behind an elaborate veneer. A decadent steak doesn’t have to be meat. By the way, have you ever looked up the word decadent? It’s not the glory you might think. Anyway, good luck you fine people! Make good food and trust that you can nourish your health on a budget, and liberate yourself from the elitism surrounding our food culture. You got this!

July 27, 2020 /Ashley Look
Bread Steak, bread, sliced bread, food desert, elitism, food budget, financial hardships, bread baking, bread recipe, simple pleasures, pandemic budget, hard times, ways to stretch a dollar, life skills, dough, Full Moon Baking Club, Basic Bread Recipe, poverty, unemployment, lost wages, cheap eats, cheap recipes, foodie, gourmet, cheap food, How To Feed A Senior, griddle
Recipes
Comment
Conceived: 1/1/16;  Born: 1/21/16

Conceived: 1/1/16;  Born: 1/21/16

The Fermented Loaf

February 17, 2016 by Ashley Look in Recipes

Like any bun in the oven, this baby took time and like any expectant mother, I have dreamed about this moment for months.  Well, really just one month 'cause this is just the beginning of my fermented adventures but there is nothing like observing growth and development happening before your very eyes. When a bread pops out of the oven, it's nothing short of a bundle of joy! Occasionally, I even swaddle it and parade it around the house like it's "show and tell". What can I say? It's a mother's love...

For me, bread equals passion and reminds me that Grain & Grain, my bread baking and spoon carving workshops, will likely exist again sometime in the future because it's hard to put passion to rest.  So, kneadless to say (see what I did there?!), bread and I have a bond that cannot be broken.  True love will pass the test of time and I am learning that time is for the taking, aging is not for the faint of heart, and old is equal to gold.  Fermentation is age-related glory and this little loaf gets a gold star for sure!

For the "how-to" back story I encourage you to start here.  It provides all the details on how to capture wild yeast and is an introduction to the world of sourdough.  Once your starter reaches maturity and the wild bacteria has true leavening potential, you will have bread beyond your wildest dreams.

Prep

  • 1/2 cup flour
  • 1/2 cup warm water
  • 1/4 cup starter (recipe here)

In a large bowl mix the above ingredients making a levain then cover and let sit for an hour or two allowing the yeast to acclimate.

Make

  • 3 cups flour (and then more for dusting as needed)
  • 1/4 tsp. salt
  • 3/4 cup warm water
  • 1/8 cup of molasses (honey or maple syrup also work)

Directions

  1. In the bowl with the starter, add the flour and the salt. (Do not stir).
  2. In a separate bowl combine the water and molasses and stir thoroughly.
  3. Add the water/molasses mixture to the bowl with the flour and mix with a wooden spoon till the dough starts to pull away from the bowl.
  4. As the dough starts to come together, begin to knead it slightly with your hand and encourage it along.
  5. Once you have a rough dough ball formed you can dump it onto a floured surface and continue kneading. (Note: if your dough is stiff and on the dryer side you may not require much surface flour but if it feels wet, more flour is necessary to keep it from sticking to your hands and your counter top).
  6. Knead for a good 10 to 15 minutes to help develop the gluten.
  7. Lightly oil a large bowl and place the dough inside, giving it a little toss to slightly coat all sides. Lay it to rest with the seam side down. Cover it with plastic wrap and leave to rest for 6-8 hours. (The wild yeast is less potent than commercial yeast, so time is truly necessary to allow the dough to double in size. I typically make this dough in the evening so I can let it rest overnight and bake it in the morning).

Bake

  1. After the dough has doubled, remove it from the bowl and knead it again to degas the dough slightly, dusting with flour as necessary.
  2. Shape the dough and place it on an inverted lid of a flat-top dutch oven (something like this). If you don't have this type of dutch oven you can place the dough in a greased bread pan or sheet pan alternatively without a "top".
  3. Let it rise covered for another hour or until it doubles in size.
  4. Preheat your oven to 500 degrees along with the bottom of your dutch oven which in this case will serve as your "top".
  5. When the oven is up to temperature, score your loaf with afew decrative slashes then carefully remove the dutch oven "top" and place it over the dough so the loaf is now inside the dutch oven.
  6. Carefully place the inverted pot into the oven and bake for 30 minutes.
  7. After 30 minutes, reduce the temperature to 450 degrees, remove the "top" and continue baking for more 15 minutes uncovered, or until the internal temperature reaches 190 degrees.
  8. Cool on a rack for an hour before slicing.

*Note: If you are using a bread or sheet pan, you can mimic these results by preheating a baking pan on the lowest oven rack. After you score the bread, place it immediately in the oven and add two inches of water to the baking pan. This will create steam which helps contribute to the crispy crust. Bake for 10 minutes then remove the pan of water and lower the temperature to 375 degrees. Bake for an additional 25-30 minutes or until the internal temperature reaches somewhere between 180-190 degrees.

As a final addition I like to brush the top with butter.  This brings out the sheen in the crust and also adds a little flavor.  I mean, you can't go wrong with butter right?

February 17, 2016 /Ashley Look
how to feed a senior, Sourdough Starter, bread
Recipes
Comment
 
Search