Of Grain and Grain  |  Tactile Explorations of Flour and Wood

By Ashley Look

  • Blog
  • Flour
  • Wood
  • Shop
  • Services
  • Events
  • About
  • Contact
  • Search
Fresh baked loaf of bread

Fresh baked loaf of bread.

Recent Highs In Flour and Wood
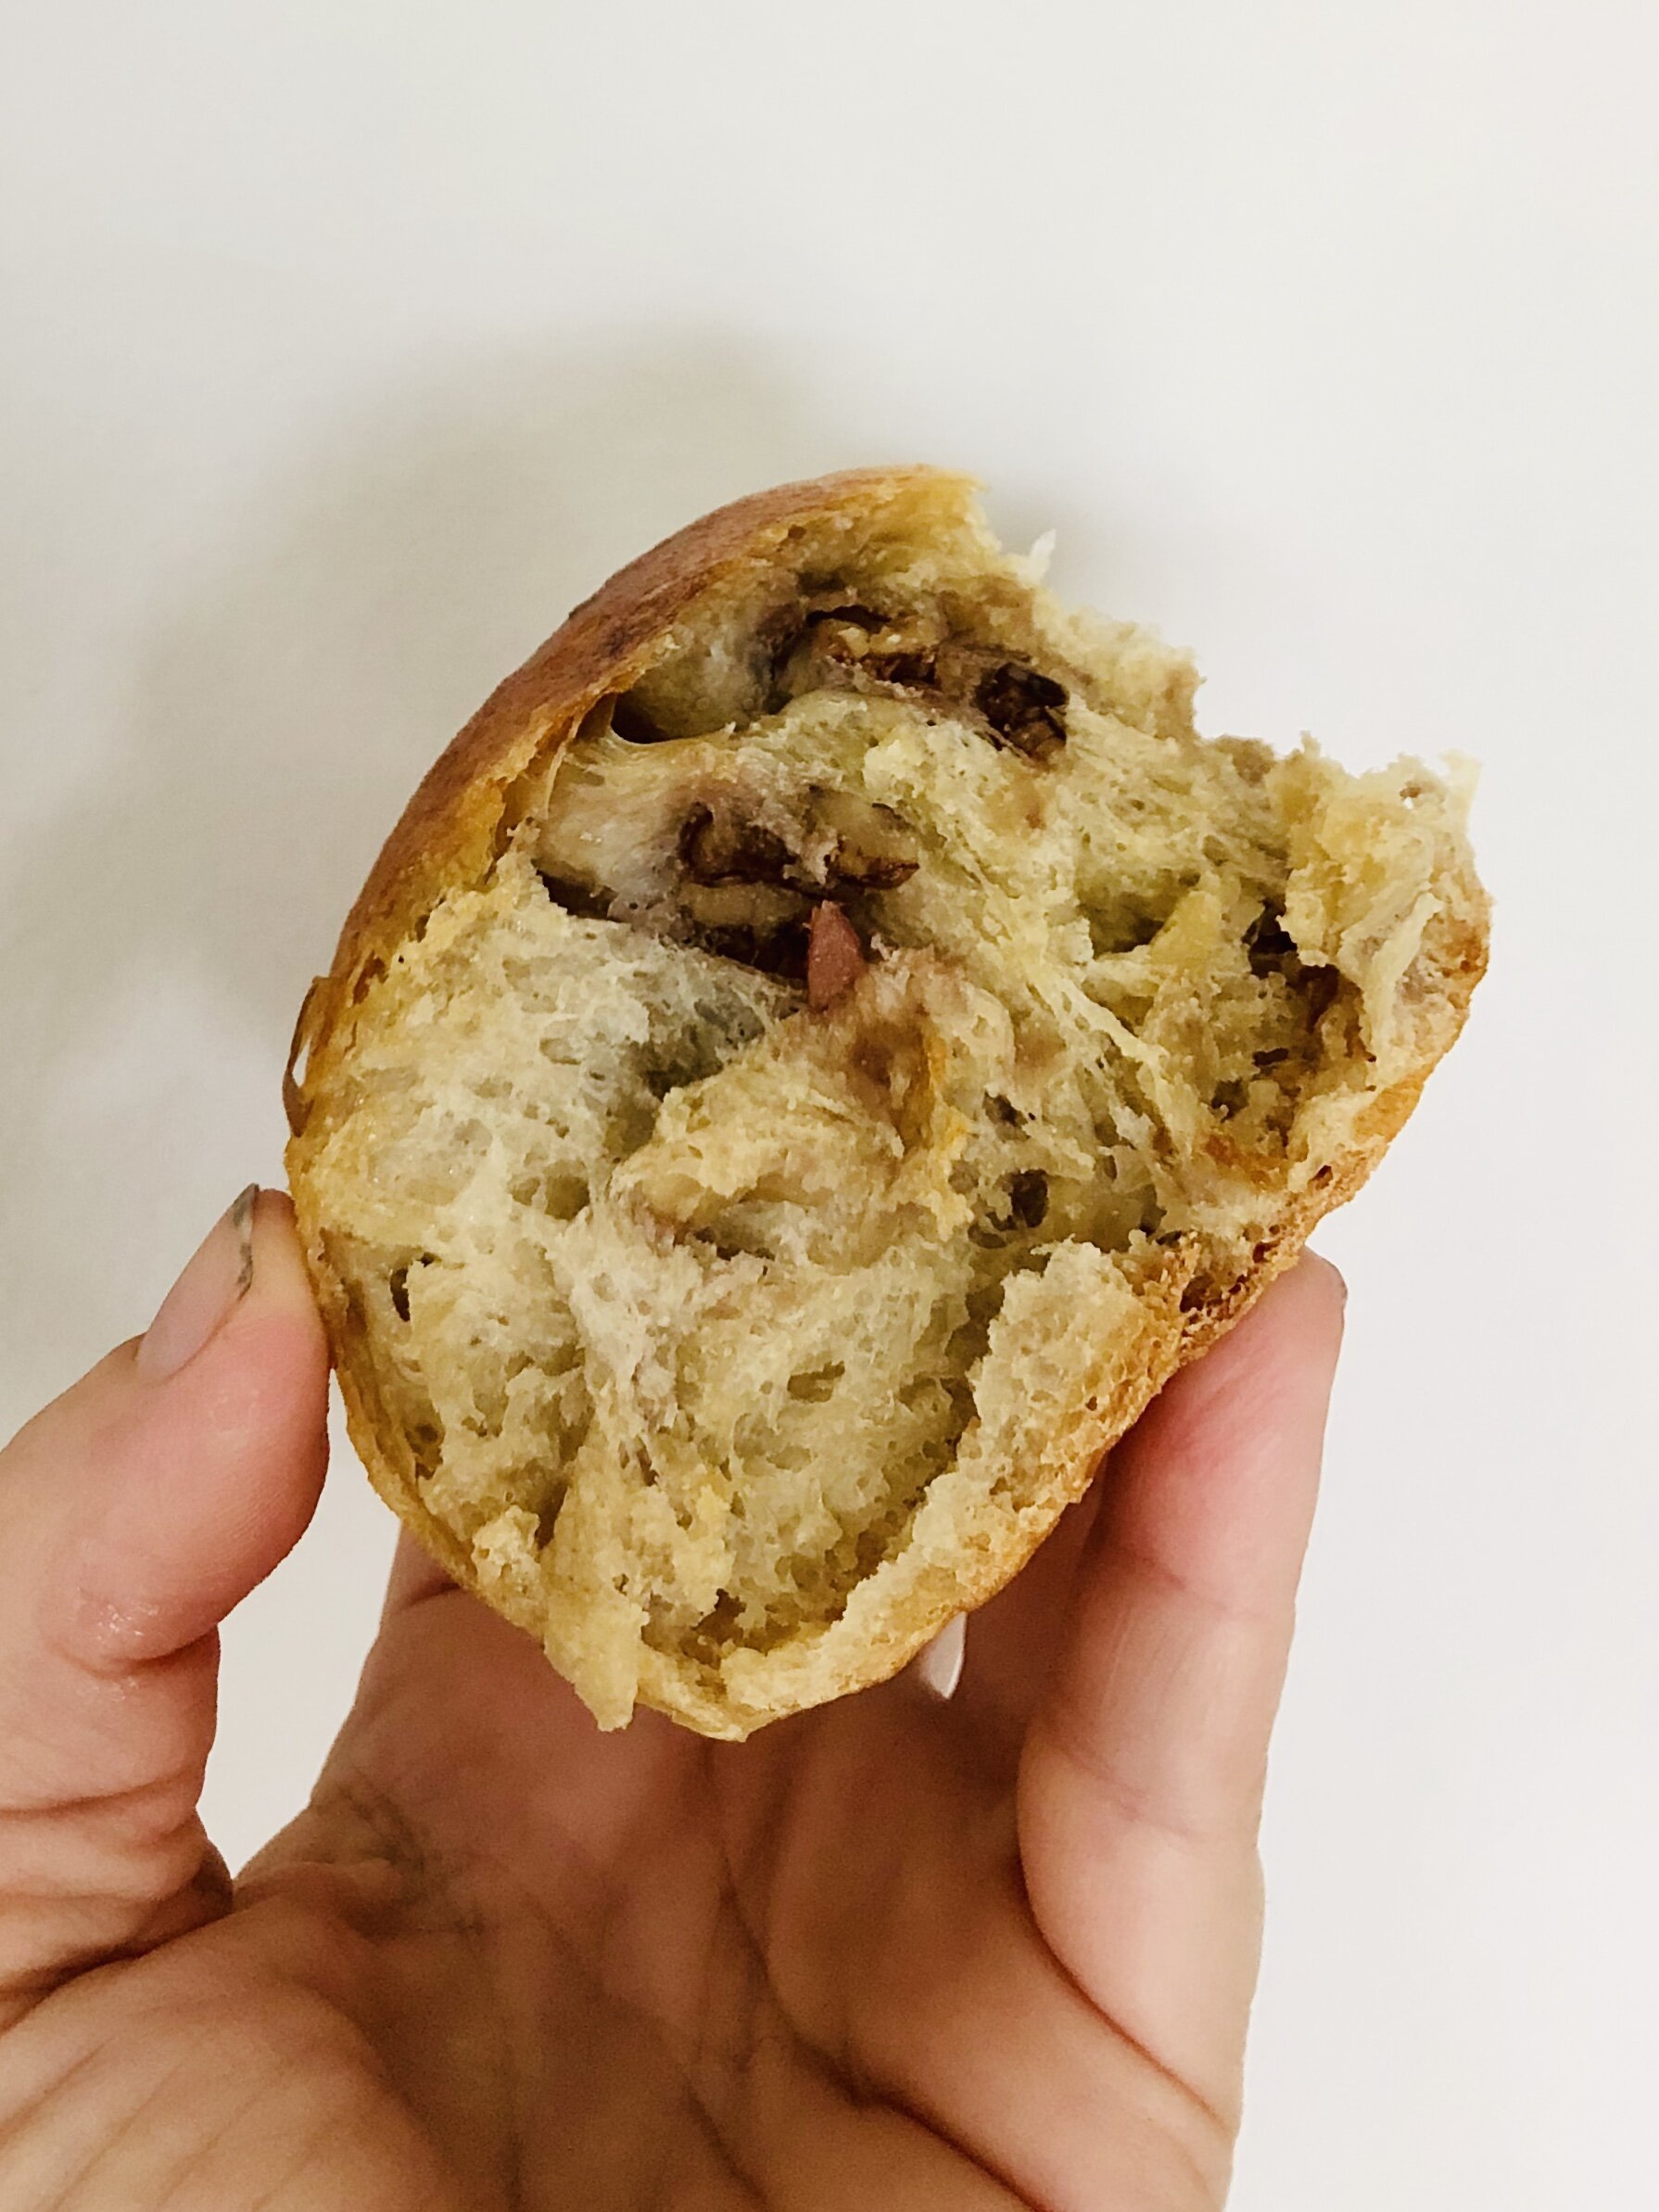
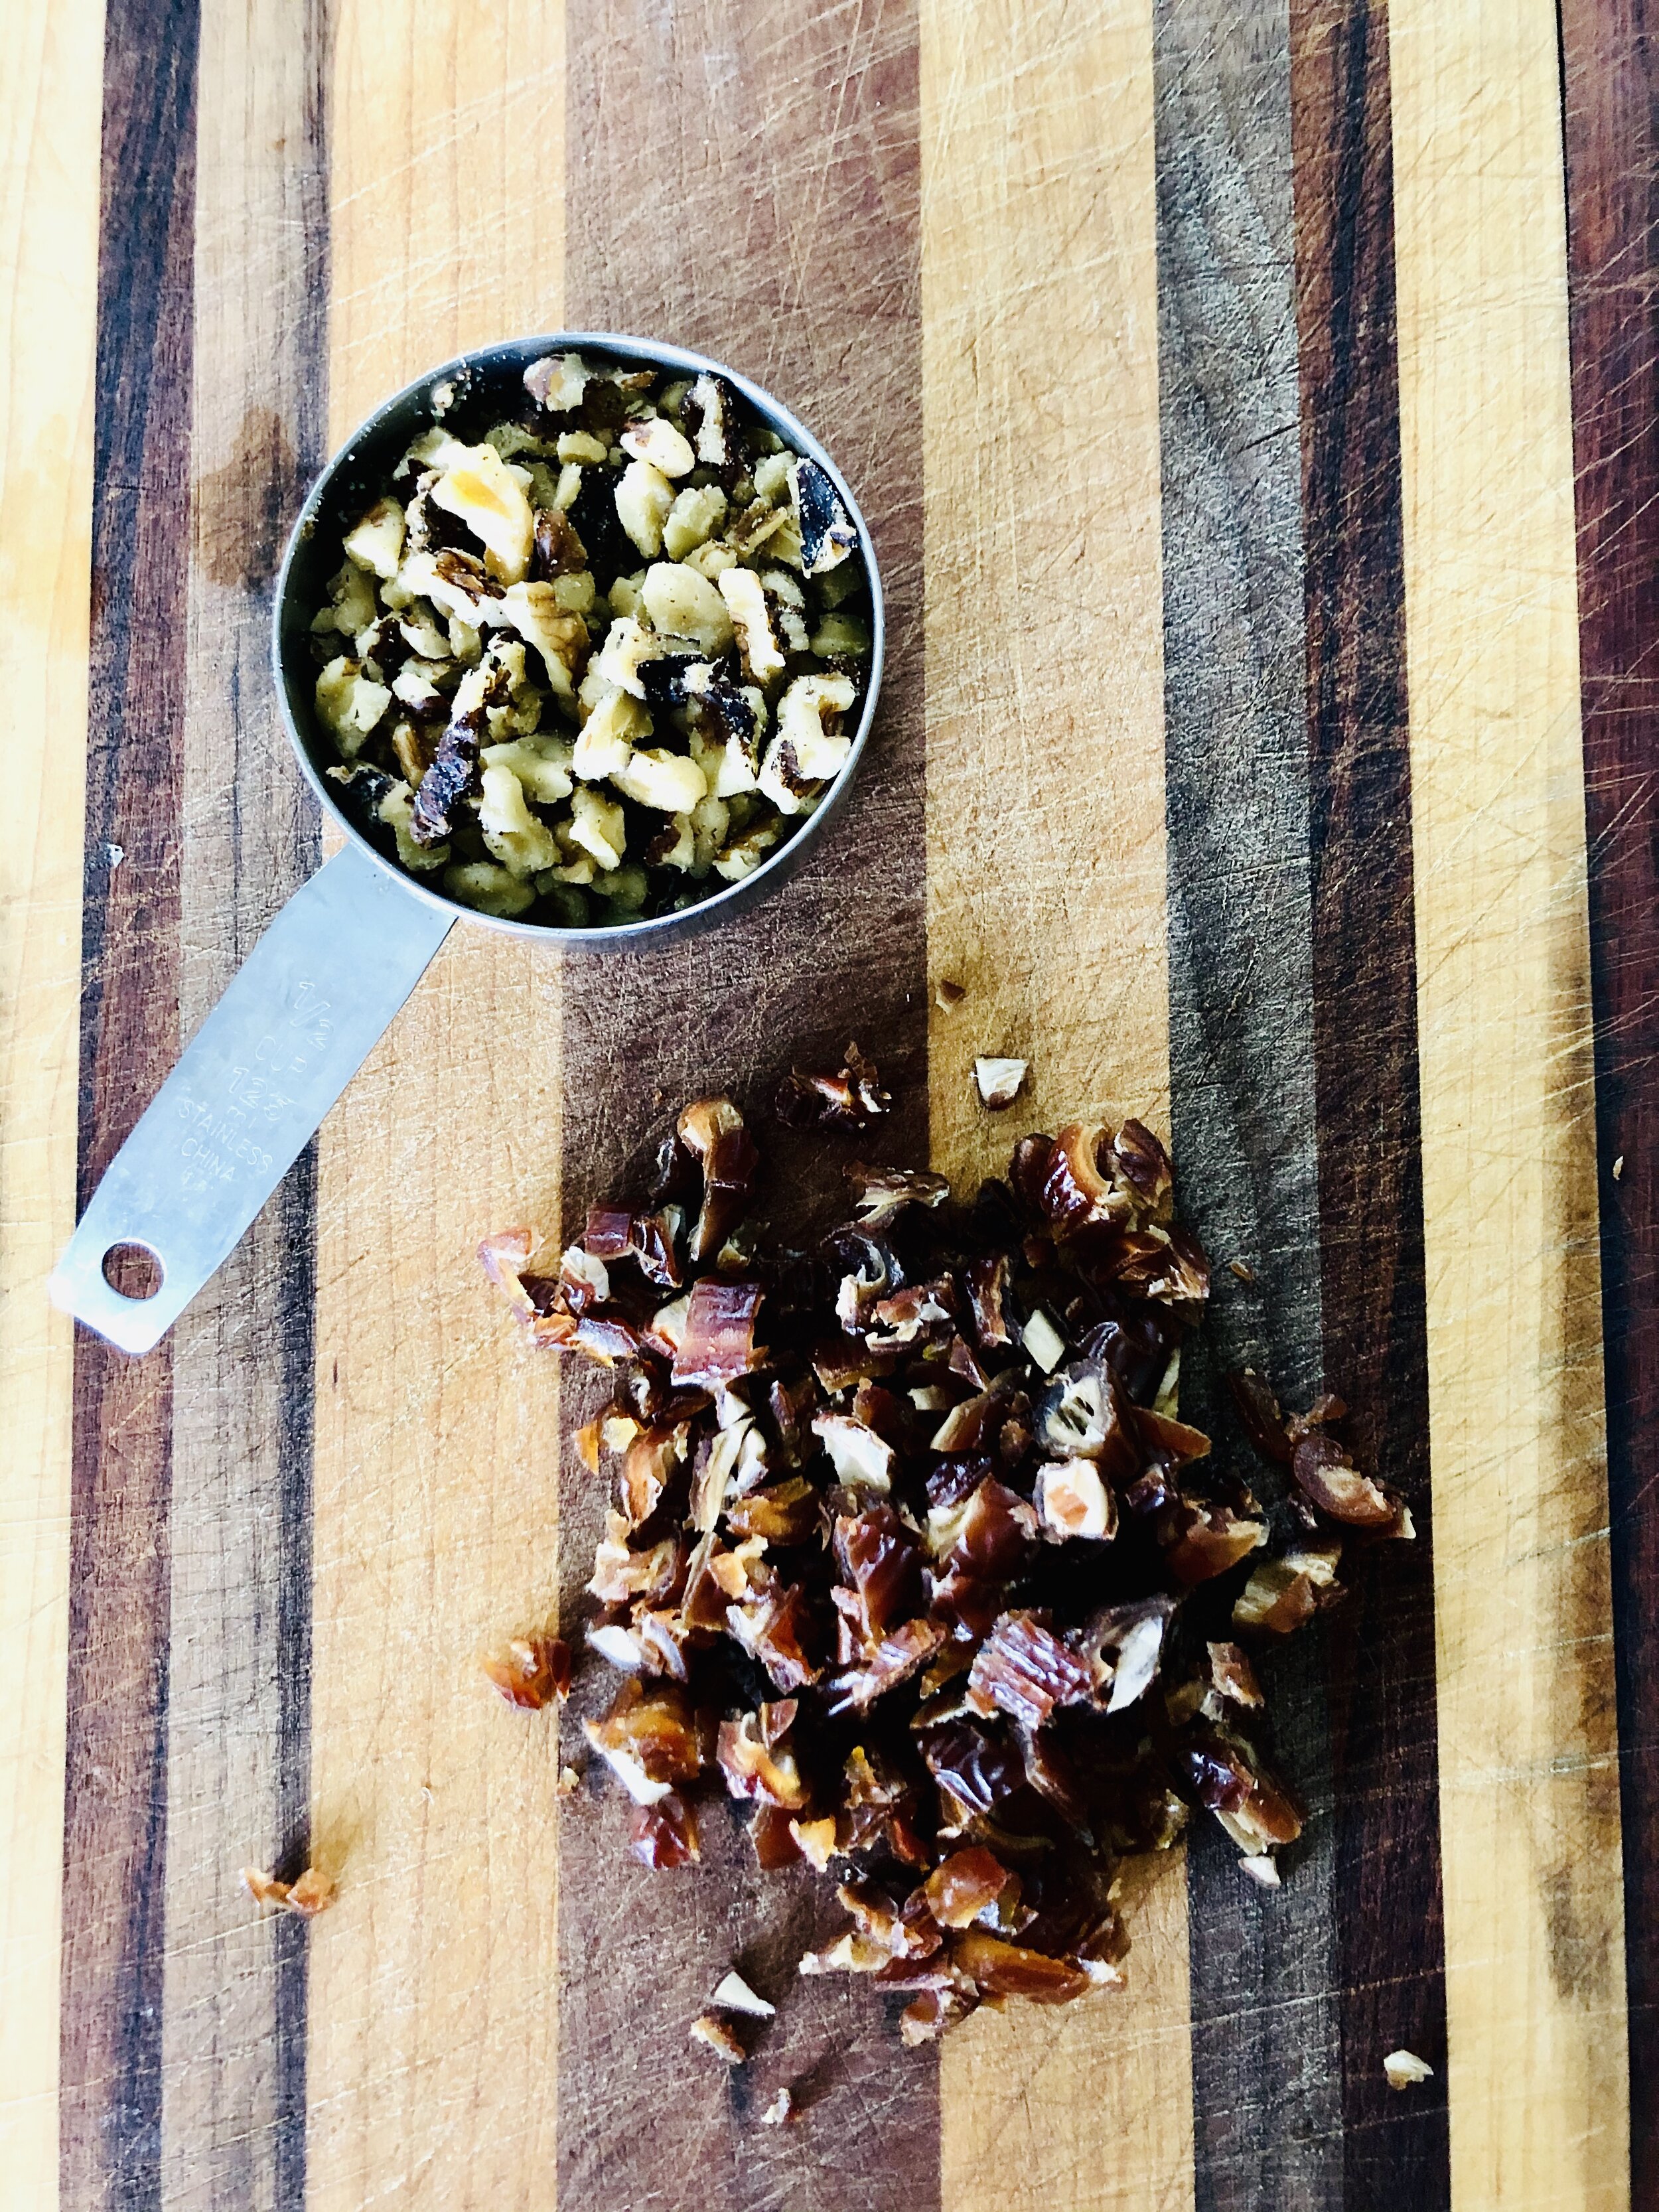
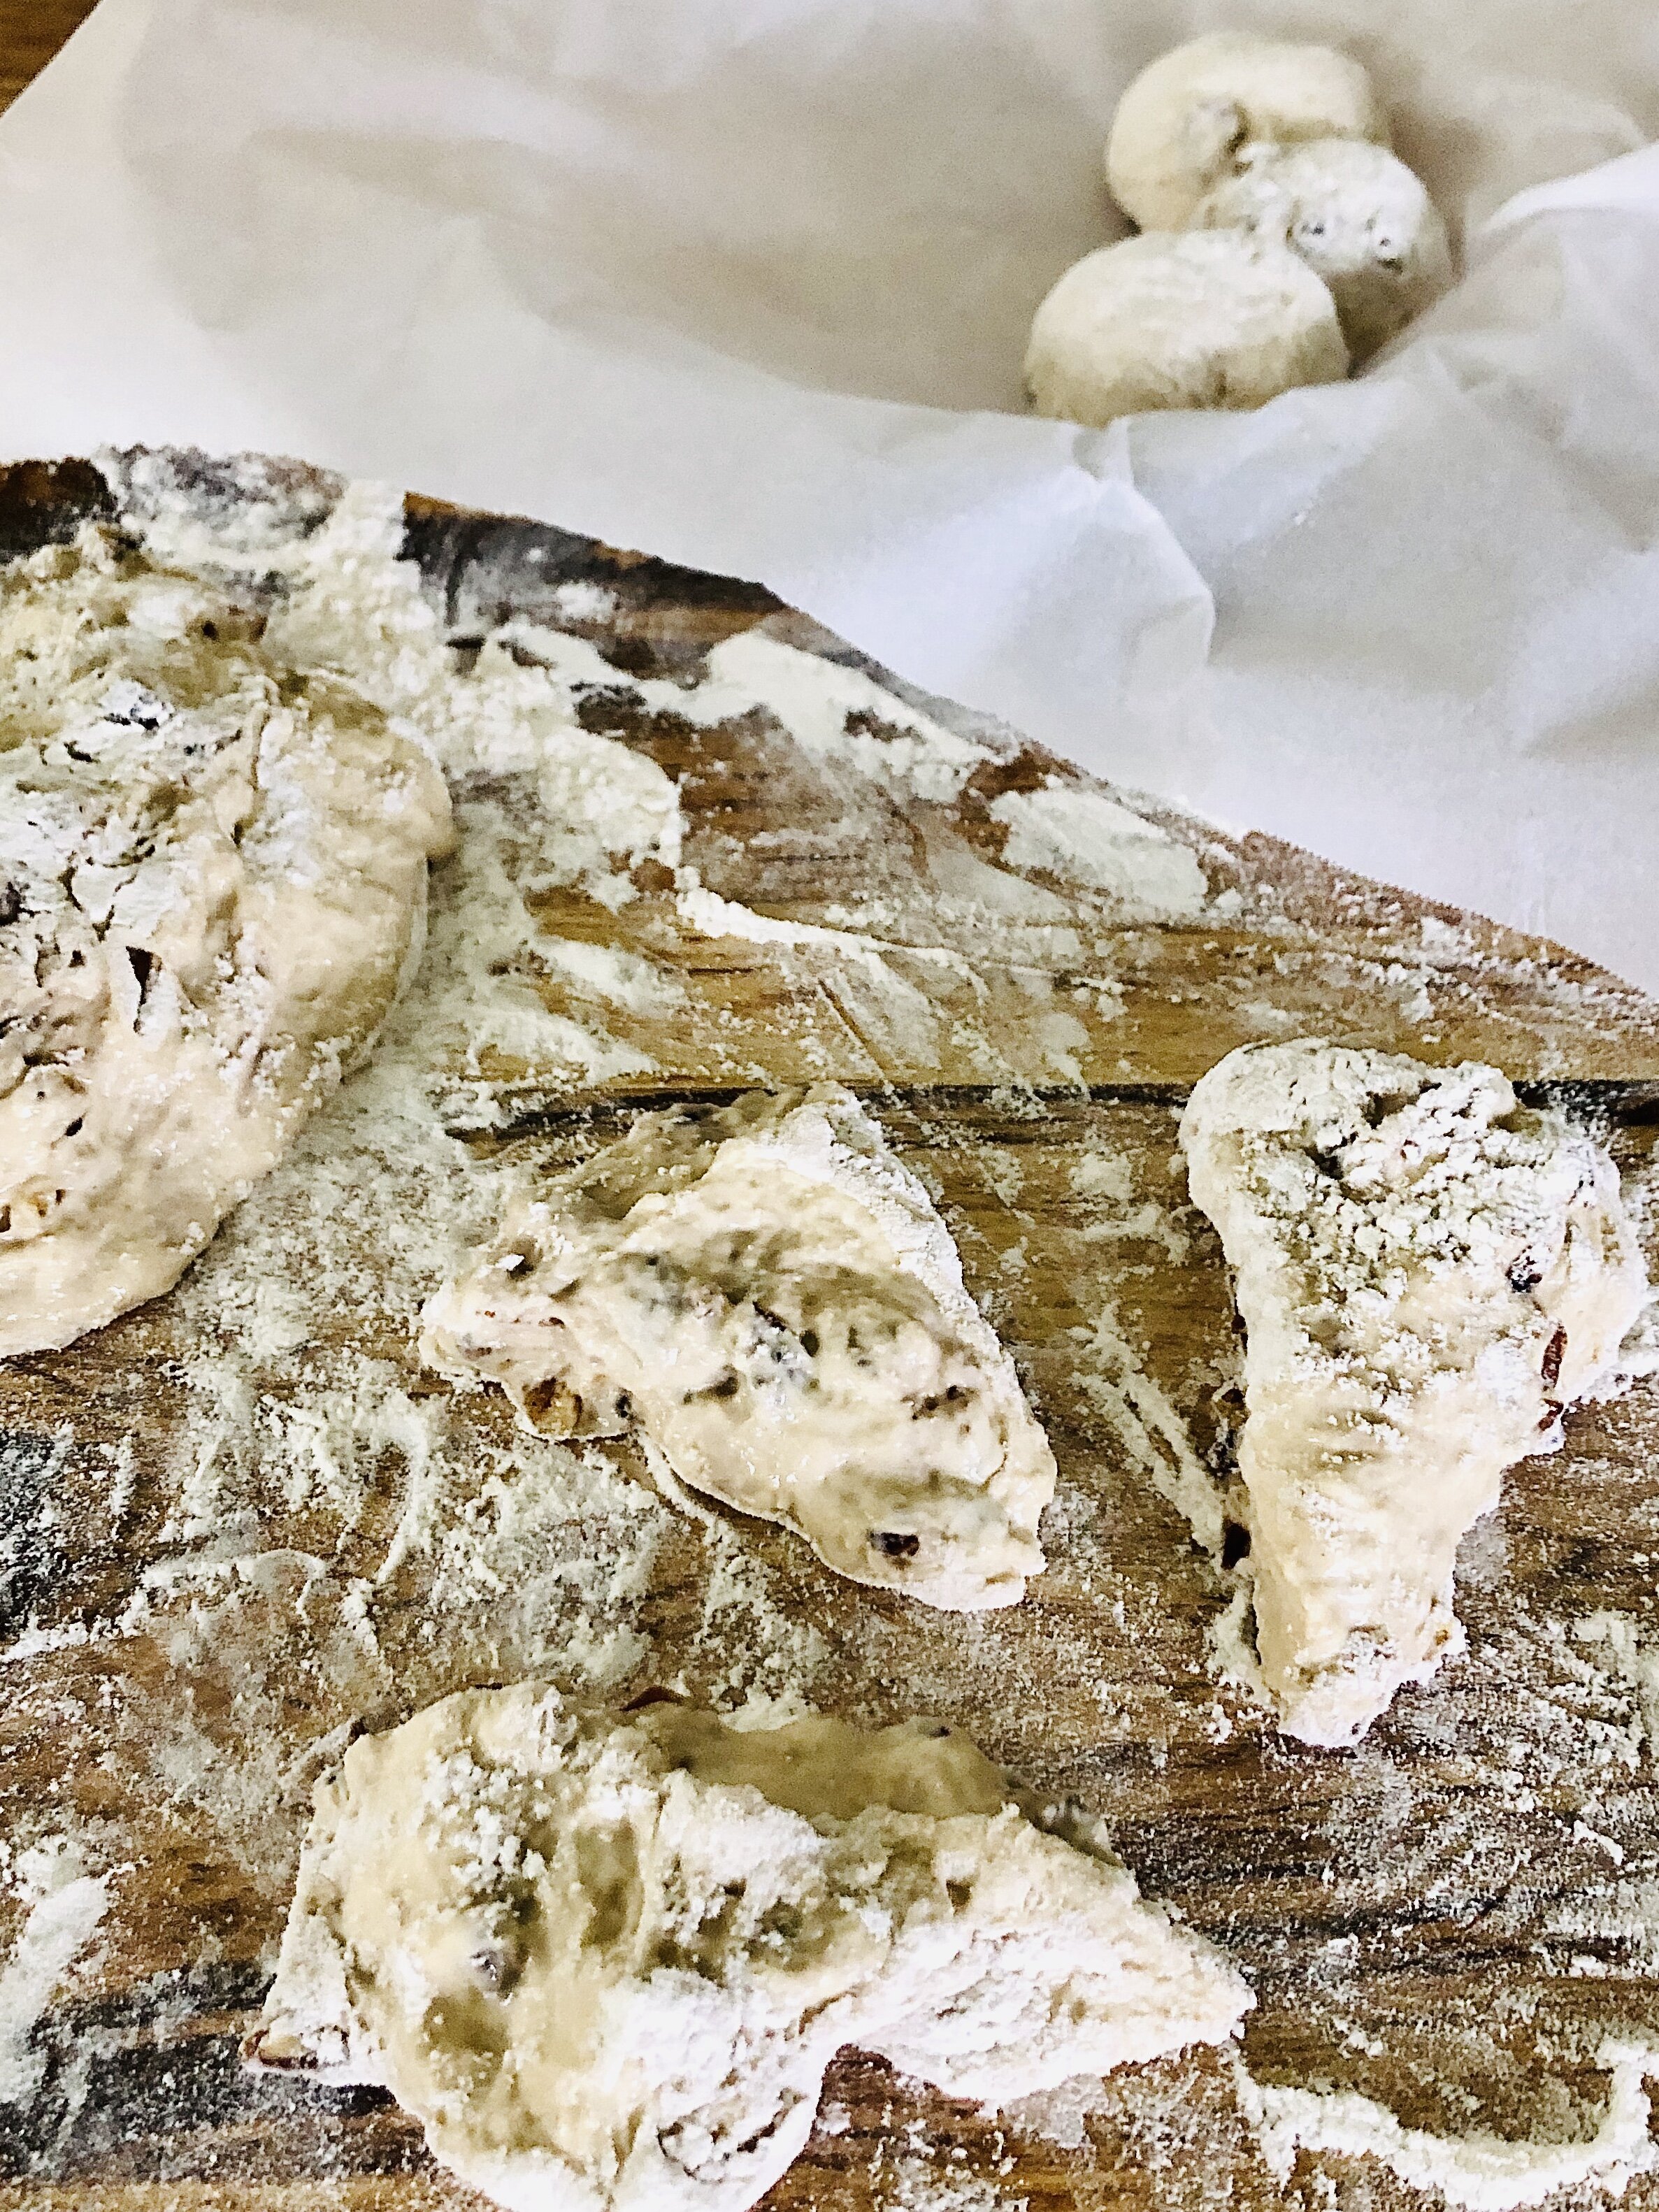
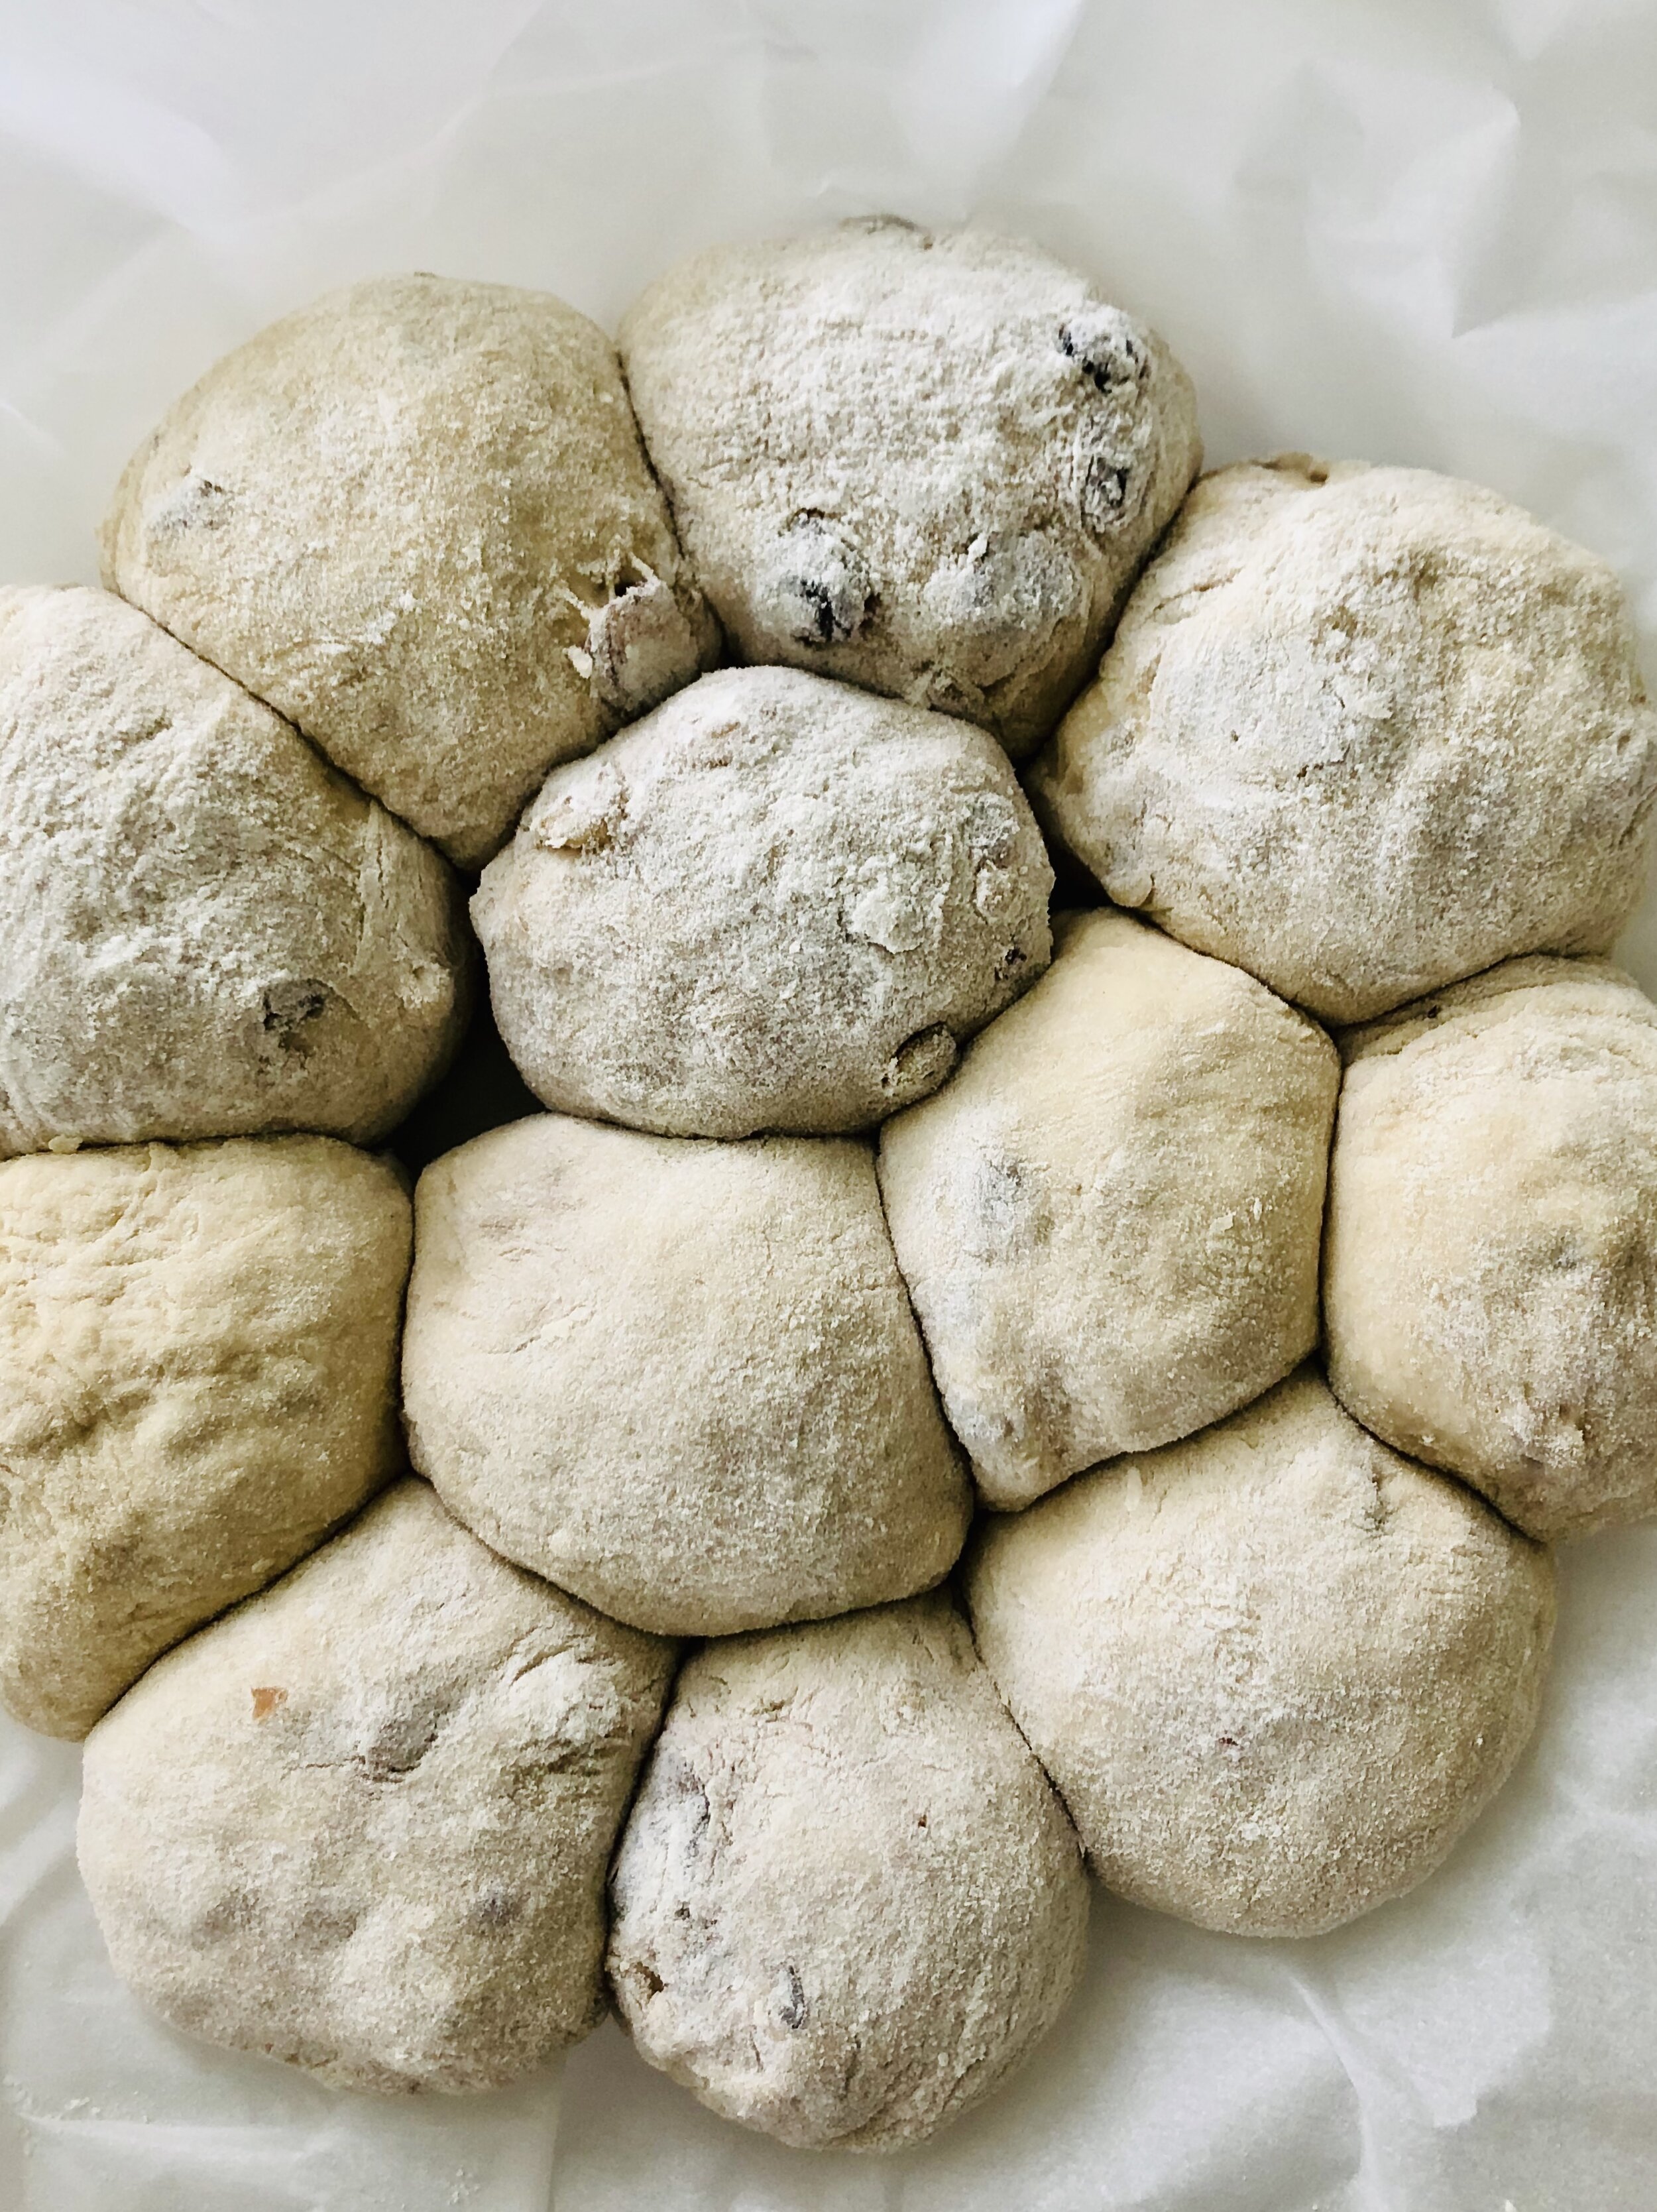
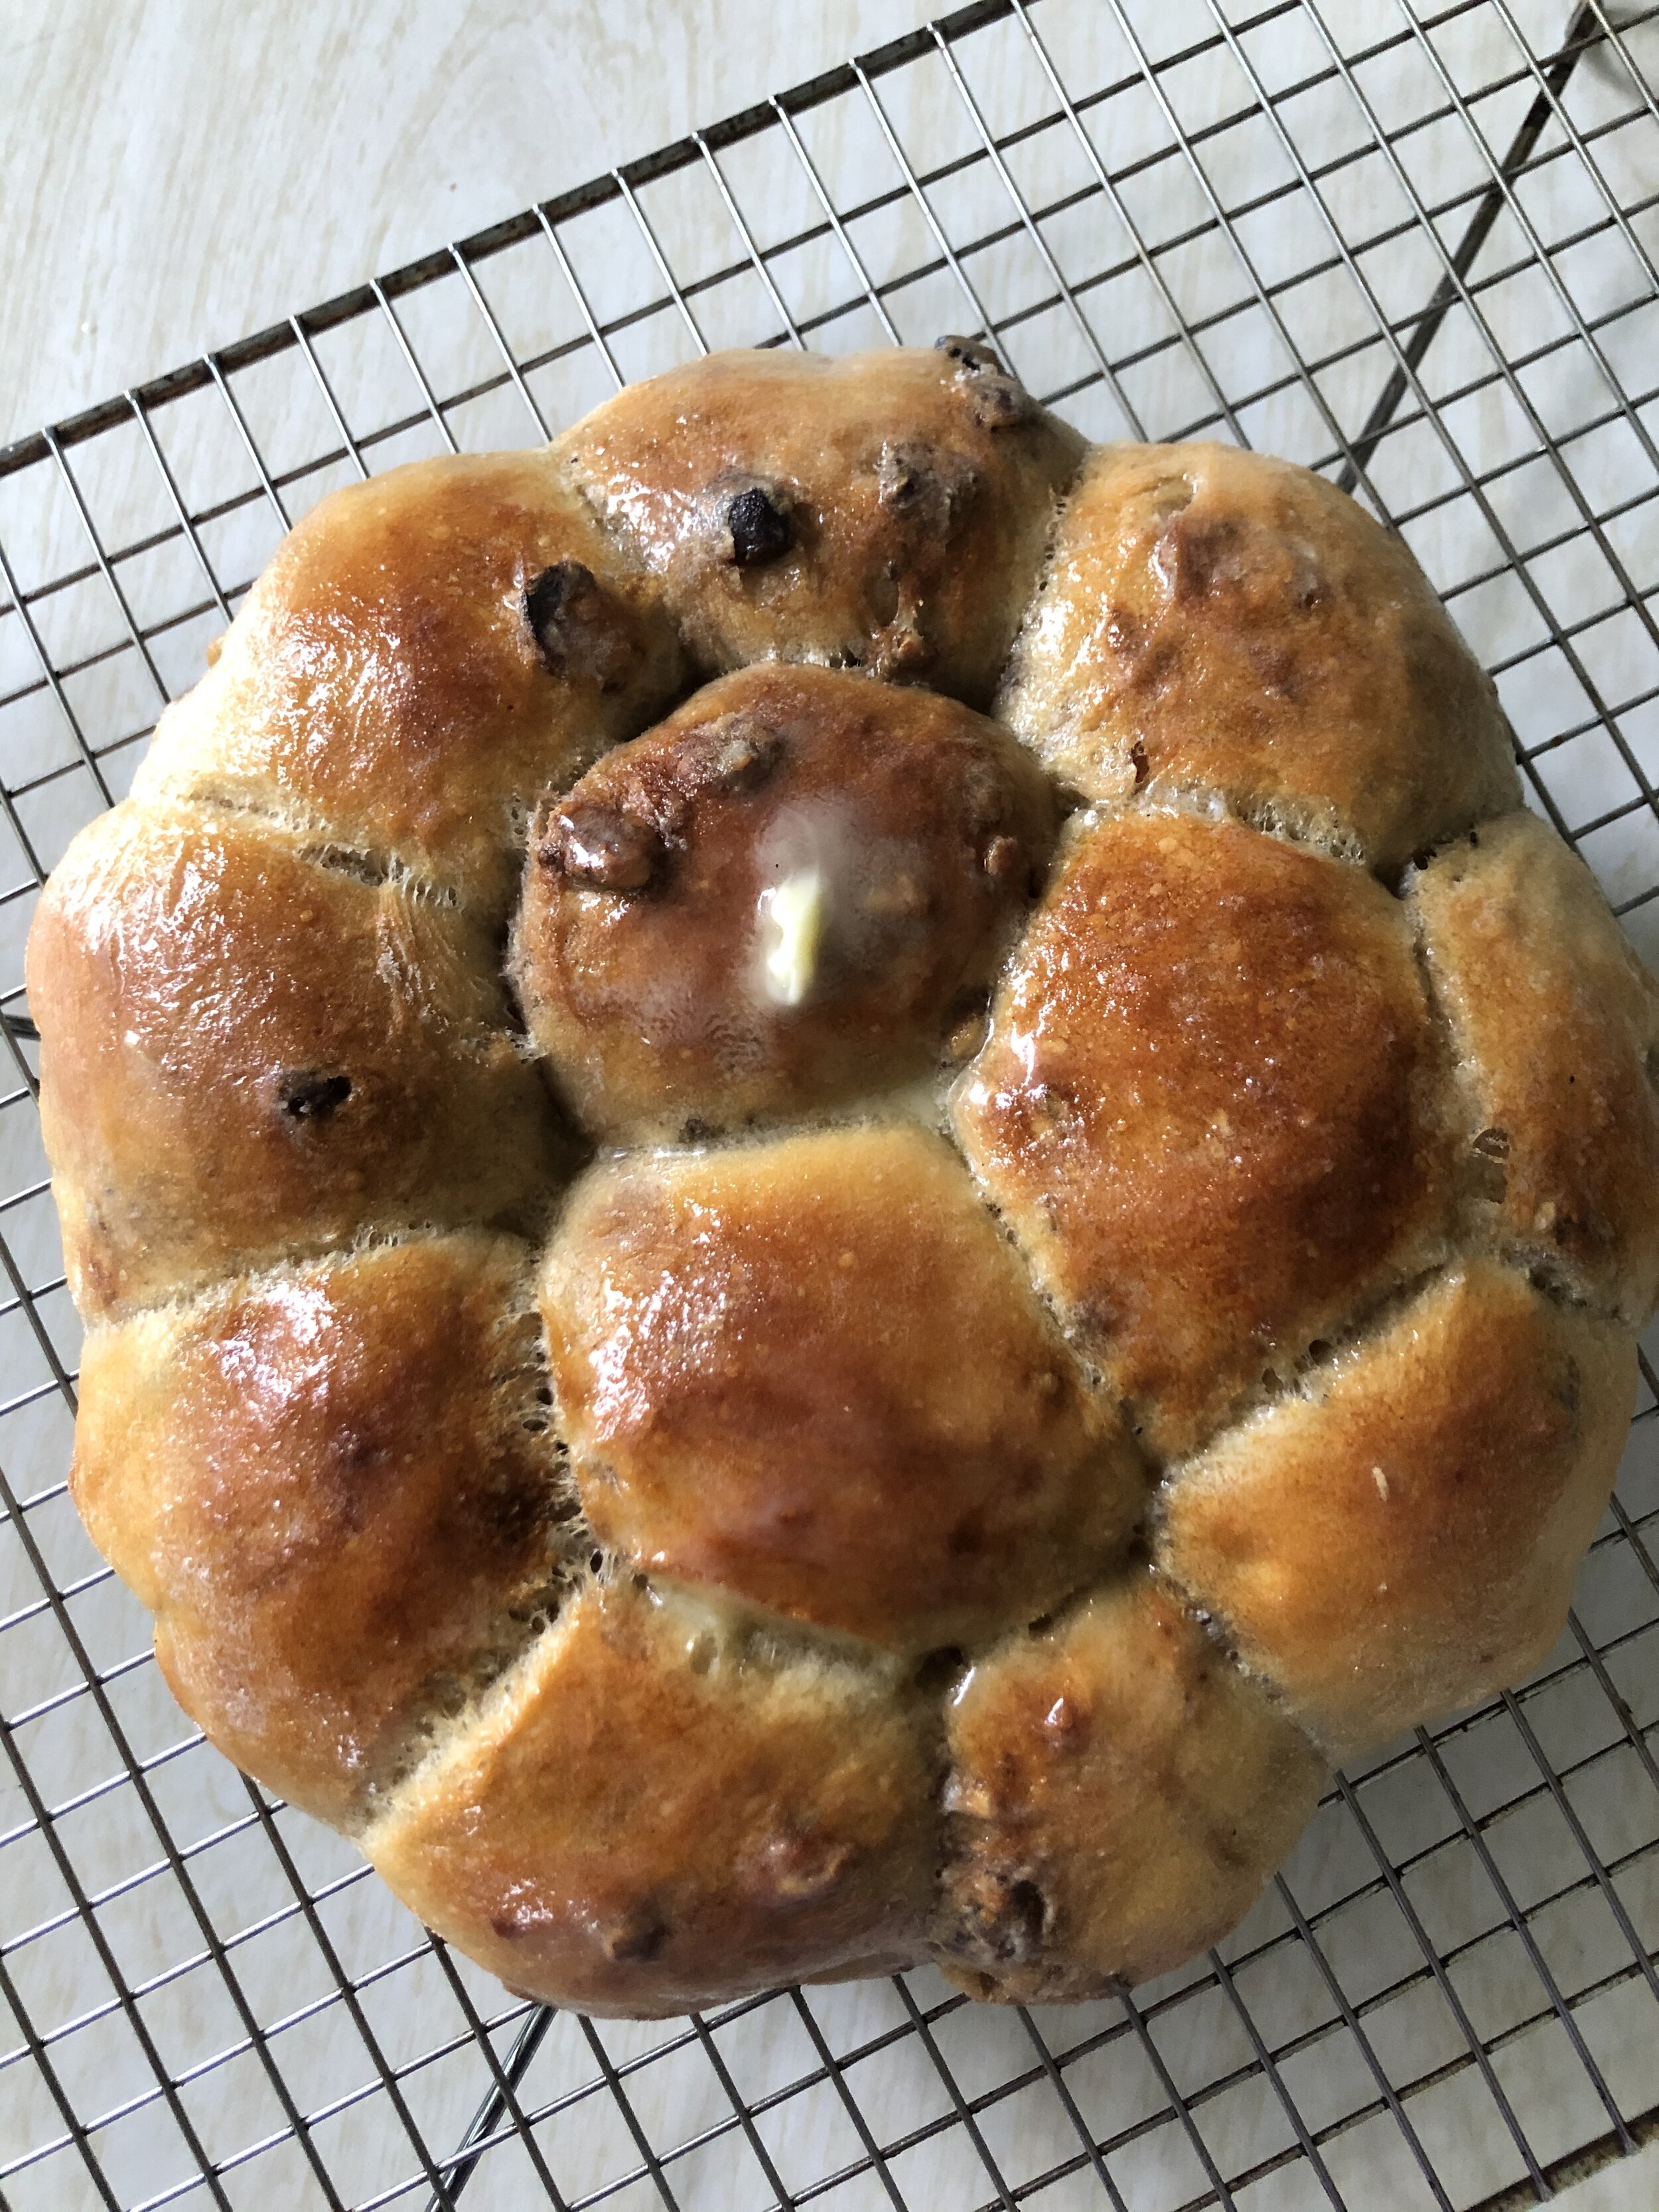
March 26, 2023 by Ashley Look in Breads, Flour, Wood, Spoons

I made this bread….

Hand carved wooden spoon

Hand carved wooden spoon.

And sold this spoon!

I’m leaning into a season of making. I have a lot of spoon work coming up and I’m trying my best to just enjoy the art of the practice. It’s been a while since I’ve been able to just sit with my crafts. I forget the luxury of what it means to “make time to take time.” But, with so many spoon carving classes on the horizon, I have nothing but gratitude for everything that’s in store. And when anxiety strikes and I’m feeling overwhelmed with sourcing knives, and cutting blanks, I switch to making breads where my hands can stay active but my mind can rest. So, basically, stay tuned for more post about both. Breads and spoons, breads and spoons…

You can click here if you want to get in on some spoon carving in Sebring, FL. Or if a quiet day at home is more your speed, please enjoy the bread recipe below:

Recipe

Soaker:

  • 1 cup flour

  • 1/2 cup water

  • 1/2 cup milk

  • 1 tbsp plain yogurt

Dough:

  • 2 cups flour

  • 1 1/4 tsp yeast

  • 1 1/2 tsp salt

  • 1/4 cup water

  • 1 tbsp molasses

Process:

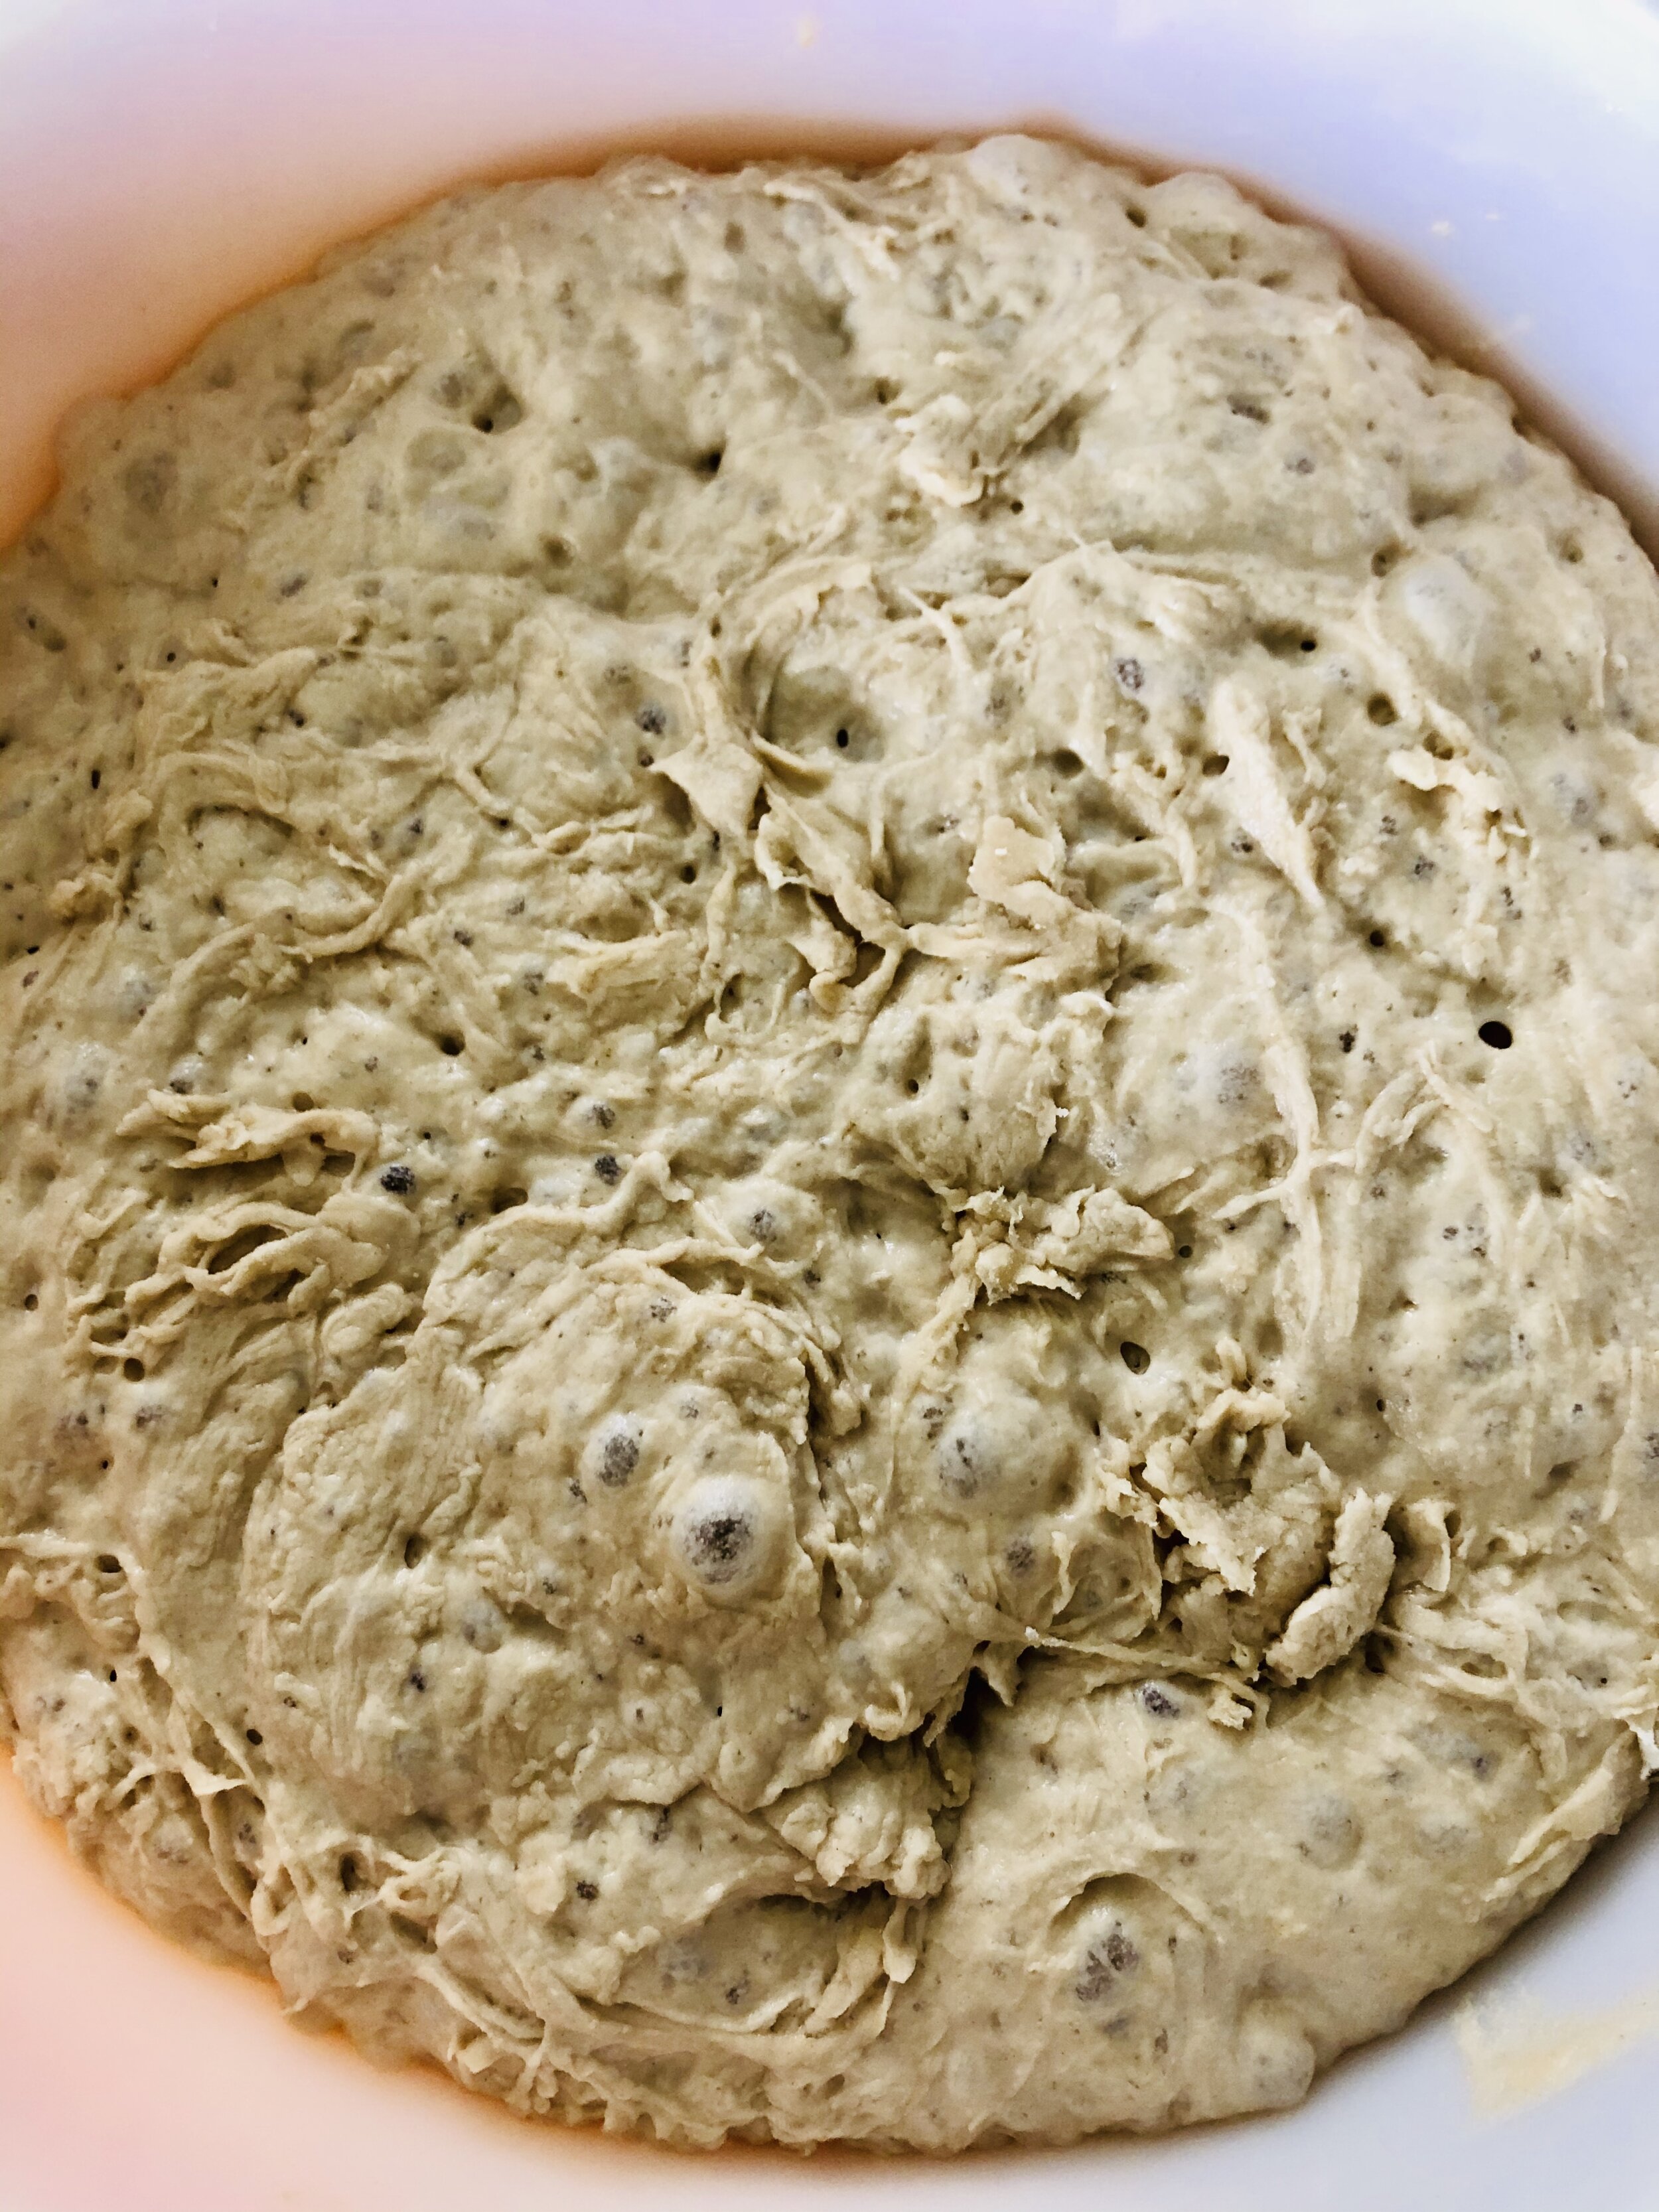
  1. Combine the soaking ingredients in a large bowl and let rest for 2 to 8 hours.

  2. After resting, add the additional ingredients to make the dough.

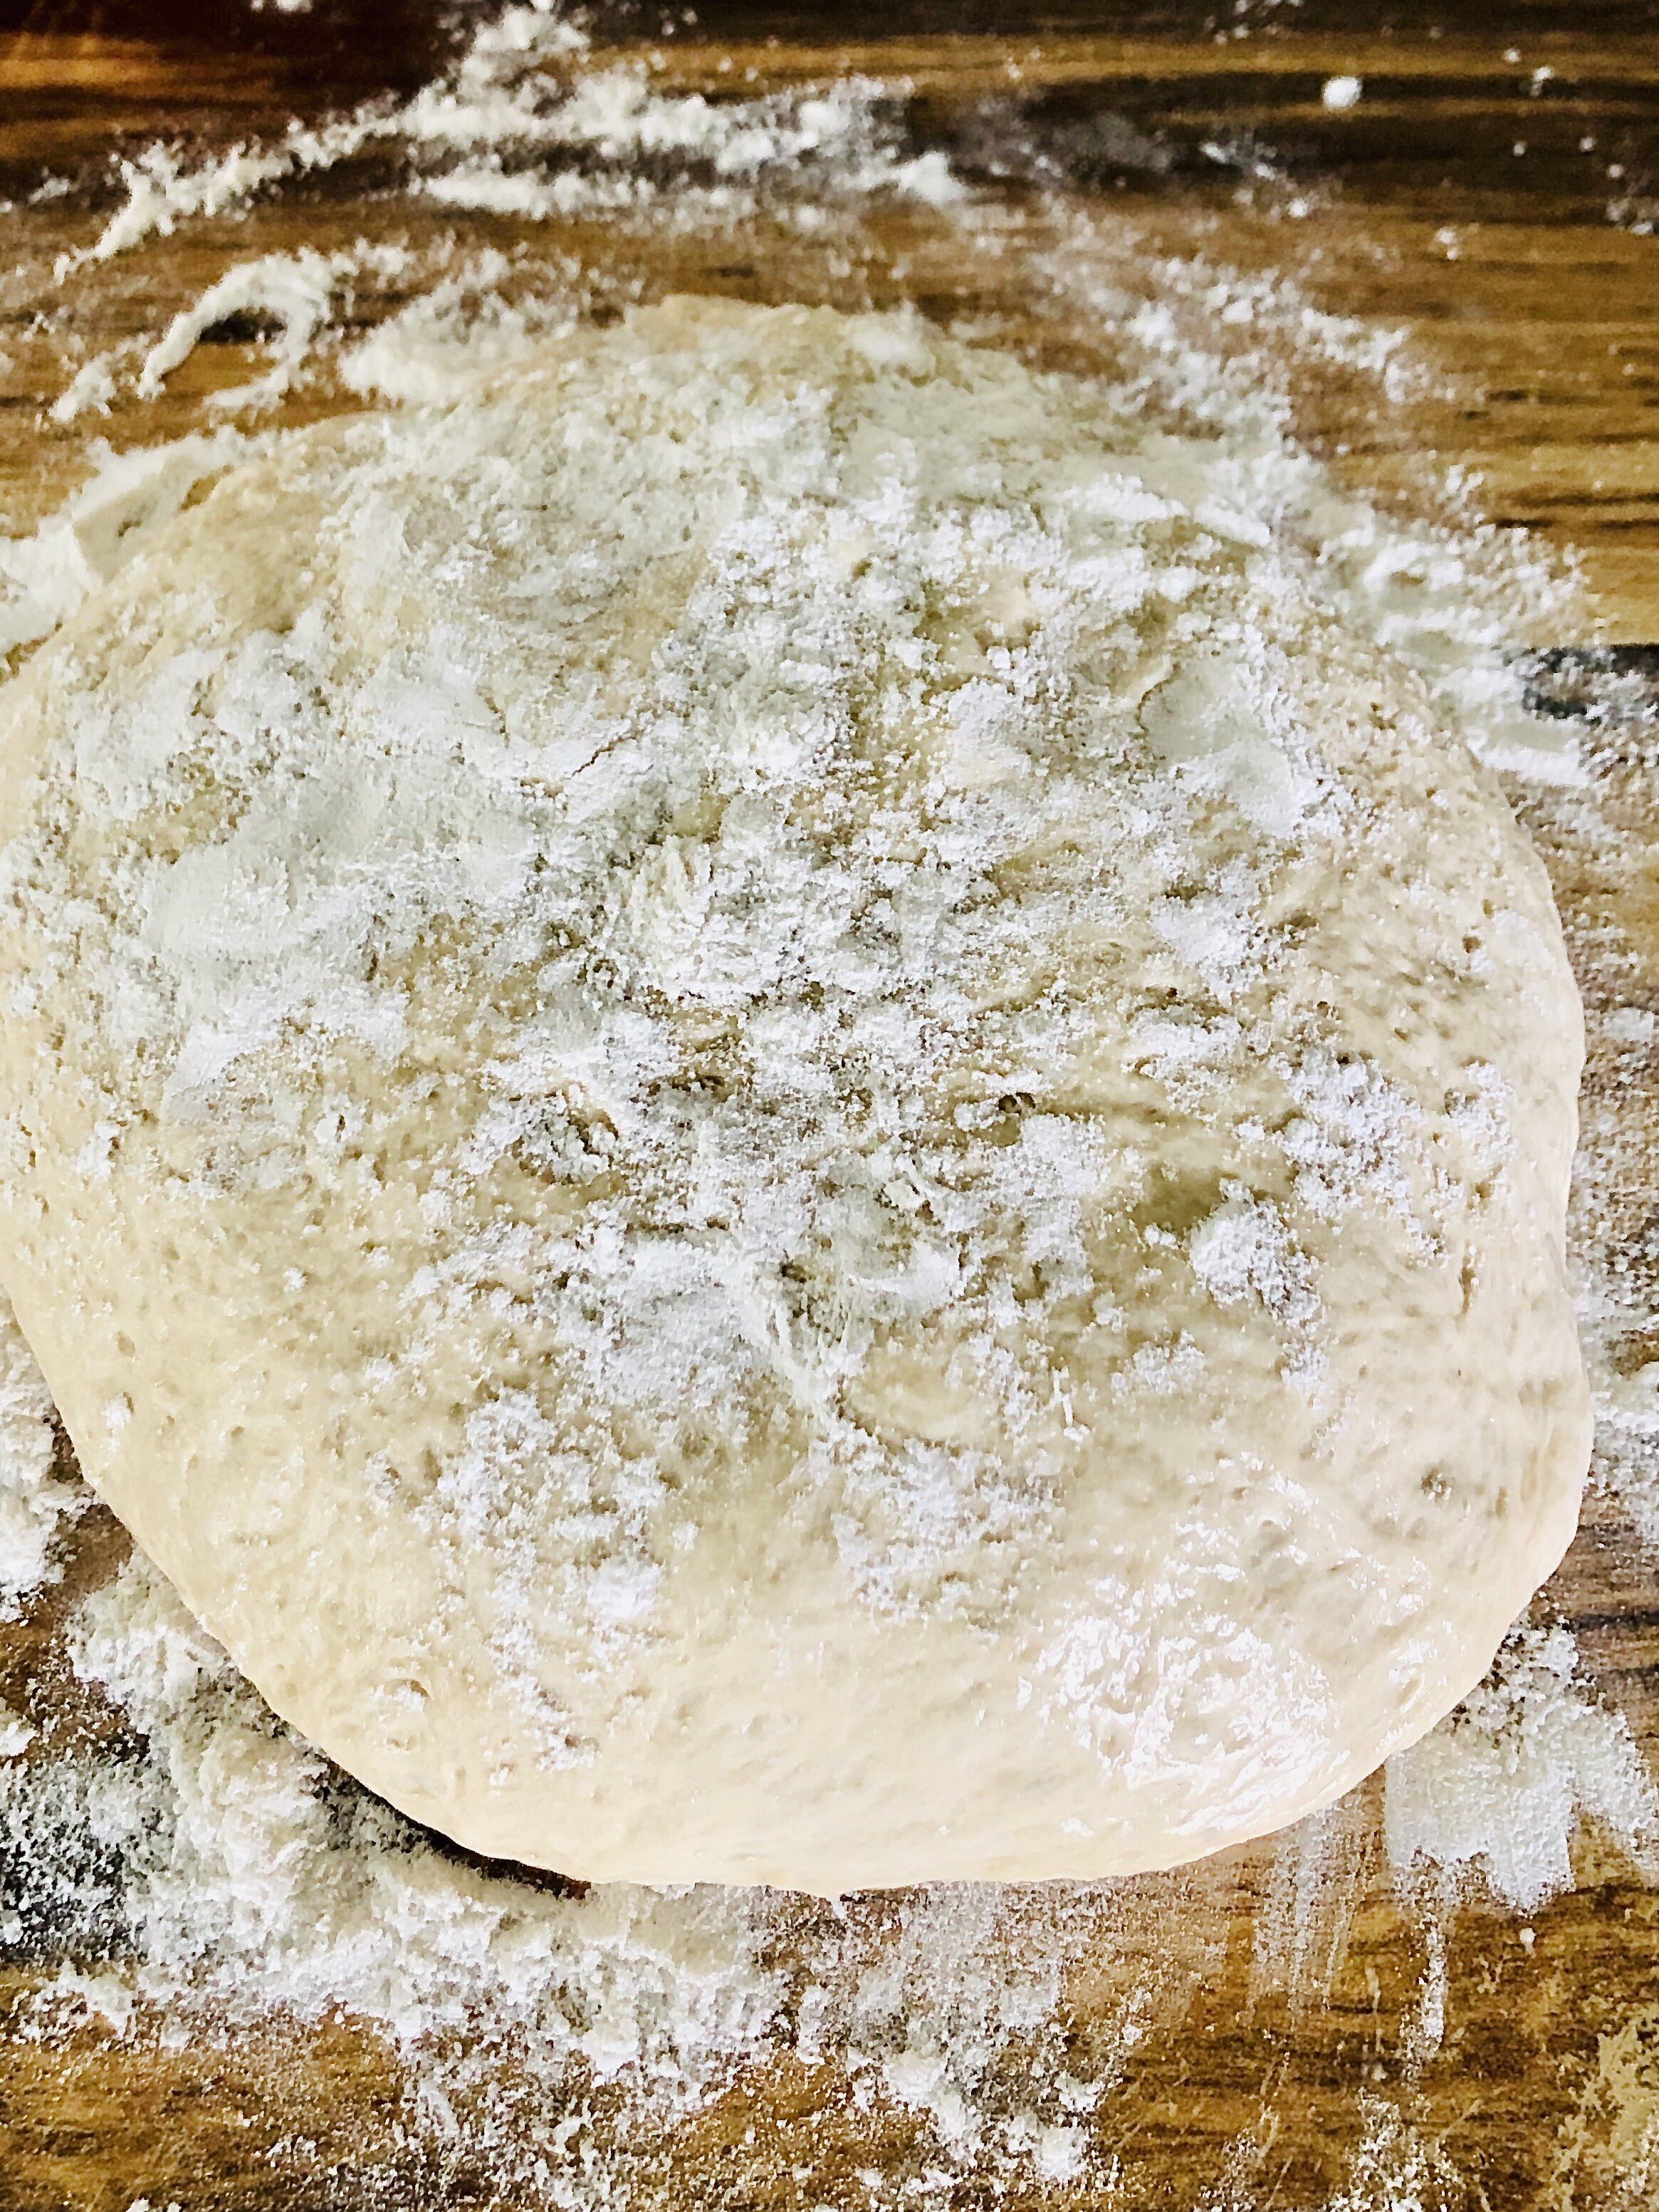
  3. Mix it well so the dough starts to form and then knead it until it’s springy (10 minutes-ish? and you might use up to another cup of flour while kneading.)

  4. Cover and rest for 1 hour in a clean bowl that’s been greased with oil.

  5. After resting and the dough has doubled in size, punch it down and knead it again.

  6. Shape the dough, and let rest another hour.

  7. Preheat a dutch oven to 450F degrees.

  8. Score the dough and carefully transfer it to the preheated dutch oven and bake for 25 minutes.

  9. Remove the lid and reduce the temperature to 410F degrees and continue baking for 15 more minutes.

  10. Carefully remove the bread from the oven and let cool before slicing.

  11. Enjoy!

March 26, 2023 /Ashley Look
Flour, wood, spoons, spoon carving, bread making, craft, art
Breads, Flour, Wood, Spoons
Comment

Getting Started Baking Bread

How to Feed A Senior
January 28, 2021 by Ashley Look in Full Moon Baking Club, Recipes

There is no greater joy than realizing you still have the ability to surprise yourself. That’s what happened... One New Year’s Eve, several years ago, I made a resolution to learn how to bake my own bread and never looked back. Now I want to help you on your own bread baking journey of self-discovery.

Read More
January 28, 2021 /Ashley Look
how to feed a senior, Full Moon Baking Club, Basic Bread Recipe, breaking bread, wholesome, homemade bread, scratch, loaf, Flour, salt, yeast, active dry yeast, beginner bread baker, bread baking journey, New Year's Resolution, beginner baker, fresh bread, January, kneading dough, baking bread, bread fail
Full Moon Baking Club, Recipes
Comment
These Honey Nut Date Rolls baked in a Dutch Over are crunchy on the outside and soft and chewy on the inside. (PS-Ignore my dirty nails. I was carving a lot when I made these. Eek!)

These Honey Nut Date Rolls baked in a Dutch Over are crunchy on the outside and soft and chewy on the inside. (PS-Ignore my dirty nails. I was carving a lot when I made these. Eek!)

November 2020: Honey Nut Date Rolls

How To Feed A Senior
November 30, 2020 by Ashley Look in Full Moon Baking Club, Recipes, Breads

My life after caregiving tales will continue as it’s only the end of November and I’ll be at sea until mid January. But fear not Full Moon Bakers! I have a club recipe for you to make this month that will compliment the upcoming holiday vibe. These Honey Nut Date Rolls provide that special hint of festive, bringing good spirits to everyone that gets a taste. They also offer you, the baker, a bit of a challenge by folding in ingredients into dough that’s already prepped. The significance of this step can’t be understated because the technique can elevate your baking for years to come. You can take the exact same recipe and substitute the dates and walnuts for other dried fruit, nuts, cheese, seeds, etc. It’s more of a formula than a recipe so feel free to experiment!

dough.jpg nuts and dates.jpg folding dough.jpg kneeded dough.jpg cutting rolls.jpg shaped hone nut date rolls.jpg Rolls in Dutch Oven.jpg Buttered Honey Nut Date Rolls.jpg

Ingredients

  • 3 cups flour
  • 1 1/2 tsp salt
  • 1/4 tsp active dry yeast
  • 1 1/2 cups warm water
  • 2 TBSP honey
  • 1/2 cup pitted, chopped dates
  • 1/2 cup chopped walnuts

Directions

Day 1 Prep:

  1. Place the flour in a large bowl with the salt and the yeast
  2. Next, combine the water and the honey together and then pour it into the bowl with the flour mixture.
  3. Mix the ingredients together until a stick dough ball forms.
  4. Cover and let rest for 8 hours or overnight.

Day 2 Prep:

  1. After the dough has risen, place the chopped dates and walnuts on top.
  2. With a wet hand, gently reach along the sides of the bowl and lift and fold the dough over the top, beginning to cover the dates and nuts with the dough.
  3. Turn the bowl a quarter turn and reach in again loosening the dough from the bowl edges and bringing up over the the nuts and dates.
  4. Do this two or three more times until the dough has been loosened from the bowl on all side and the dates and nuts are enclosed.
  5. Then, dump the dough out onto a floured surface.
  6. Gently begin to knead the dough adding more flour as necessary to keep it from sticking to your hands and counter.
  7. Continue to knead the dough helping distribute the dates and nuts thoughout, being careful not to over work them out of the dough.
  8. After kneading, cut the dough into 10 to 12 pieces and carefully shape them into little round balls.
  9. Place each dough ball in a pie pan that's covered with parchment paper and cover the top with plastic wrap.

Bake:

  1. Preheat a dutch oven in the oven to 450F degrees.
  2. When the oven reaches temperature, carefully remove the dutch oven and place the parchment paper with the rolls inside.
  3. Cover with the lid and return the dutch oven to the oven and bake for 20 minutes.
  4. After 20 minutes, remove the lid, lower the temperature to 415F degrees and continue baking for another 10 minutes.
  5. After baking, carefully remove the rolls from the dutch oven and let cool on a wire rack.
  6. While the rolls are still hot, brush the tops with butter or honey butter* (see tip below)and let it melt into the crust.
Fresh baked and buttered Honey Nut Date Rolls.

Fresh baked and buttered Honey Nut Date Rolls.

*Tip: These rolls are exceptionally good with the addition of honey butter. You can easily make some by mixing 2 TBSP of butter with 1 TSP of honey. Warm slightly it in the microwave or on the stove top, mix it together, and then brush the tops of you warm rolls and enjoy. Yum, yum, yum

November 30, 2020 /Ashley Look
How To Feed A Senior, Full Moon Baking Club, Honey Nut Date Rolls, Flour, bread, baking
Full Moon Baking Club, Recipes, Breads
Comment
Basic bread recipe from the Full Moon Baking Club, made utilizing the dutch oven baking technique.

Basic bread recipe from the Full Moon Baking Club, made utilizing the dutch oven baking technique.

March 2019: Basic Bread Recipe

March 20, 2019 by Ashley Look in Full Moon Baking Club, Recipes

Calling all makers, gatherers, and aspiring bakers!

It brings me joy to write this to you on March 21st celebrating the Full Moon and also, the Vernal Equinox. This auspicious alignment provides some clarity around my why for this club, which gets me to the why of this recipe. You ready?

Thus far, I have been making things up as I go. I had the idea for the Full Moon Baking Club as a way to bring folks together, break bread honoring it as a community tradition, as well as to archive my own baking pursuits. I was doing the whole Instagram Live thing but honestly, it’s wasn’t quite working in the way I had I hoped. As much as I thought it would feel like a “hang-out” it didn’t and started giving me unnecessary stress. The purpose of the “club" should really be a reason to gather your friends together and enjoy their company. Now, that might include the baking process, however I think the real gift of this club is in the eating.

So, with it now officially being the start of Spring, I thought there’s no better time to plant some seeds of intention. My goal now is to provide you with a baking recipe on every full moon so that you can call-up your crew, invite them over, and offer them something wholesome and handmade. The fun comes from the togetherness and homemade goodies makes those moments all the better.

When I started baking bread, it was an impulsive New Year’s Eve resolution. I was inspired by reading Animal, Vegetable, Miracle by Barbra Kingsolver. It’s mostly an account of her family’s attempt to live off the land. There were lots of homestead-y stories throughout but what stuck with me was that her husband had a weekend ritual of baking bread. It was a subtle reference but by the end of the book, I was ready to pursue bread making. I had zero prior experience. At the time, cooking wasn’t even on my radar. I just remember being moved by the idea and the perceived notion of it’s simplicity. Baking bread, from scratch, at home…

Animal, Vegetable, Miracle: A Year of Food Life
By Barbara Kingsolver

To great surprise, it was easy! My first few loaves where meh… Some were dense. Others were dry. But shortly after I started my pursuits of bread making, things kinda clicked. It didn’t take long to realize that to make bread you just need a basic formula. There are endless bread recipes out there but at their core they are mostly the same. So this month, I’m skipping all the fancy and giving you this basic bread recipe.

Ingredients

  • 3 cups flour (extra for dusting your surface and as necessary)
  • 2 tsp. active dry yeast
  • 1 tsp. salt
  • 1 1/2 cups warm water

Directions

  1. Place all the dry ingredients in a large bowl.
  2. Add in the warm water.
  3. Mix to combine so a dough begings to form.
  4. Form it into a rough ball and then turn out onto a lightly floured surface.
  5. Gather the dough together and knead it for 10 minutes(maybe more) until the dough is smooth and pliable and all the ingredients are well incorporated.
  6. Shape it into a round ball and place it into a large oiled or greased bowl and cover with plastic wrap or a damp cloth to rise for an hour or until doubled in size.
  7. After the first rise, knead the dough again on a lightly floured surface for 5 or 10 more minutes adding flour if necessary to keep from sticking.
  8. Then shape the dough to suit your loaf pan.
  9. Oil or grease the loaf pan and lay the dough in it, cover it, and let it rest for another hour or until it doubles in size.
  10. Preheat the oven to 375 degrees F.
  11. Score the top of your loaf with a few slits or markings.
  12. Bake for 35-40 minutes or until the internal temperature reaches 185 degrees F.
  13. When finished, carefully remove the bread from the pan and cool on a wire rack.

Now here’s the thing when baking bread at home. You need to decide your cooking vessel. You can bake bread on the simplicity of a baking sheet if you don’t have a loaf pan. However, a loaf pan in nice because as the dough rises during the second rise, it rises up. This makes for that traditional sandwich bread shape, instead of out which tends to happen when using a baking sheet. Both methods work so don’t get hung-up on having the right equipment. Just start getting into a habit of making your own bread and you’ll discover the things you want to enhance your hobby.

One investment when you’re ready, is a dutch oven. It’s easily used for all kinds of cooking endeavors and also makes fantastic bread! Dutch oven bread baking helps to trap moisture during the baking process which lends itself to the most amazing crust. If you already have one, you are in luck! Follow the above recipe through Step 7 then skip to the steps below.

Lodge 5 Quart Cast Iron Dutch Oven. Pre-Seasoned Pot with Lid and Dual Loop Handle
Lodge

Dutch Oven Bread Baking

Follow the above recipe through Step 7 then...

  1. Shape the dough into a round shape and place on a piece of parchment paper and set it into a pie pan.
  2. Cover and let rest for an hour or until doubled in size.
  3. Preheat your oven with the dutch oven inside to 450 degrees F.
  4. When it's up to tempurature, carefully remove the dutch oven and set the lid to the side.
  5. Score your dough and then carefully lift the dough by the parchment paper and transfer the whole thing into the hot dutch oven.
  6. Secure the lid and place it in the oven to bake for 30 minutes.
  7. After 30 minutes, remove the lid and lower the temperature to 415 degrees F and continue baking for an additional 15 minutes or the internal tempurature reached 185 degrees F.
  8. When finished cooking, remove the bread from the dutch oven and cool on a wire rack.

So that’s your basic bread recipe. You just need flour, yeast, and salt. Yeast tends to be an ingredient that holds wannabe bakers back, so just seek some out and keep it in the fridge. Once you have the basics of bread baking down you soon realize that pizza on a whim are possible and so much more.

Fleischmann's Active Dry Yeast,0.25 Ounce, 3 Count (Pack of 2)
Fleischmann's

Go forth and bake! And have fun sharing it with friends cause, sharing is caring!

Happy Full Moon and Spring Equinox! I’ll be back next month with a seed bread of some kind Seeds seem very springs. If you have any seed suggestions let me know. I’m going to be searching all the seedy-bread inspiration in preparation. Let me know if you have any favorites.


How to Feed a Senior is a participant in the Amazon Services LLC Associates Program, which is an affiliate advertising program. If you choose to purchase items after clicking on the links above, I will earn a small commission at no extra cost to you. Thank you for your support!

March 20, 2019 /Ashley Look
how to feed a senior, Full Moon Baking Club, Basic Bread Recipe, Dutch Oven, March 2019, Full Moon, Spring Equinox, Vernal Equinox, breaking bread, community gathering, wholesome, homemade bread, scratch, seeds, loaf, Flour, salt, yeast, active dry yeast
Full Moon Baking Club, Recipes
Comment
 
Search