Of Grain and Grain  |  Tactile Explorations of Flour and Wood

By Ashley Look

  • Blog
  • Flour
  • Wood
  • Shop
  • Services
  • Events
  • About
  • Contact
  • Search
Freshly baked bread in front of the porthole of the ship.

Breadmaking Onboard: Adventures in Baking on the High Seas

January 20, 2024 by Ashley Look in Breads, Flour, sailing

Setting sail on the open seas is a wild adventure full of salty air, rhythmic waves, and endless horizons. But amidst the nautical chaos, there's a secret culinary magic happening – baking bread in the ship's galley. It’s different from land baking. The comfort and warmth of a fresh loaf in the galley brings the crew to sniff out what’s in store, and more than anything offers a hint of calm below deck when the waters get rough.

The Galley's Surprising Bread-Making Vibe:

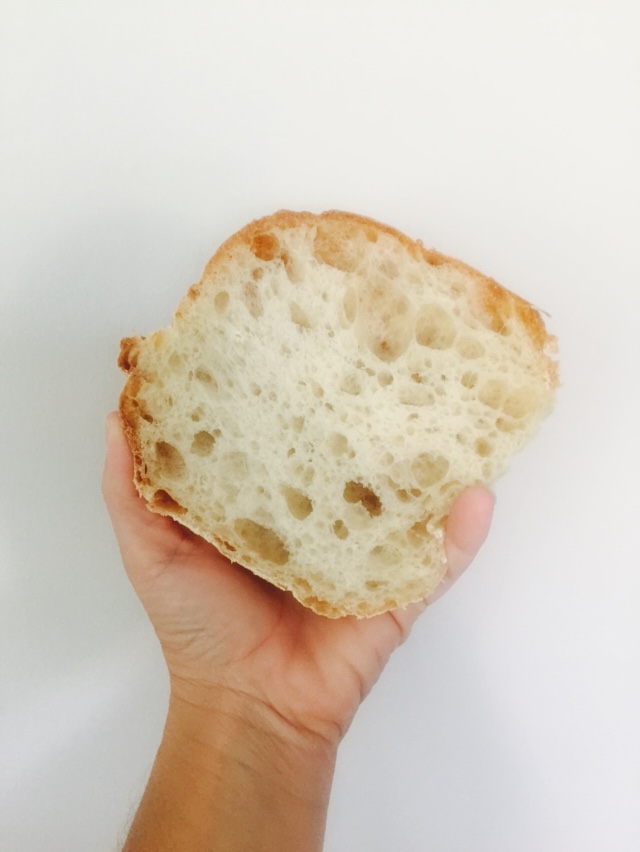
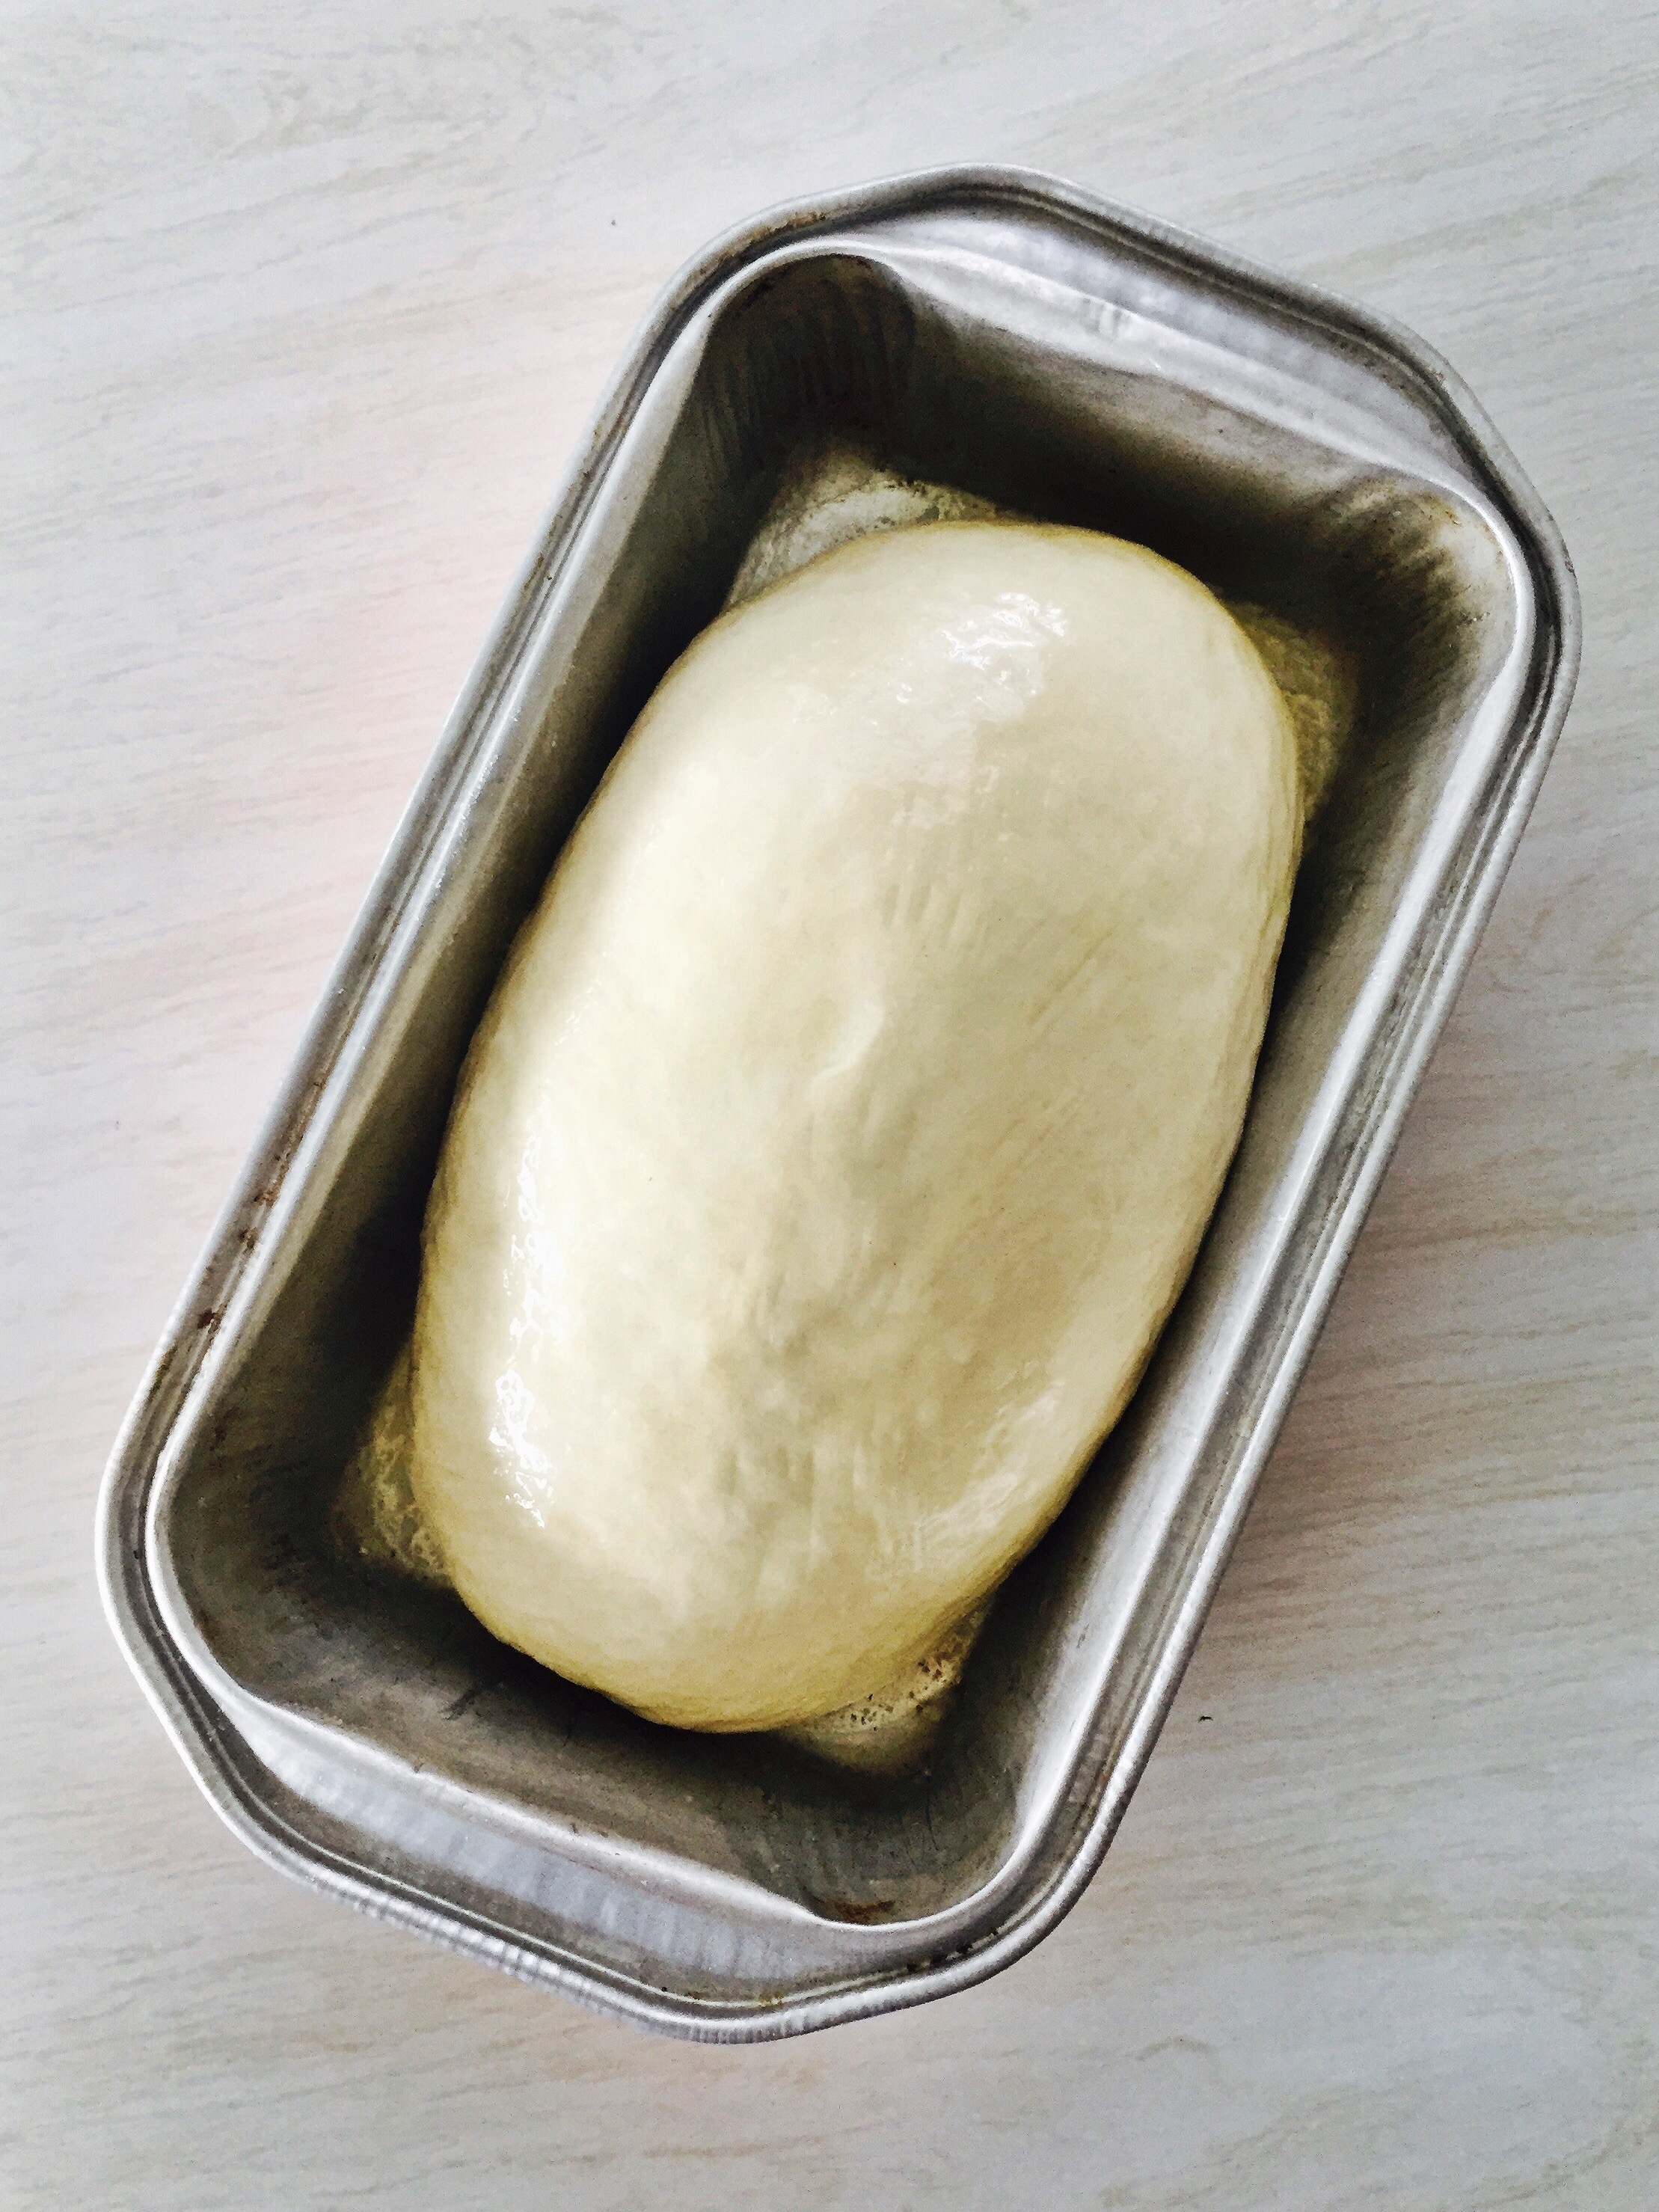
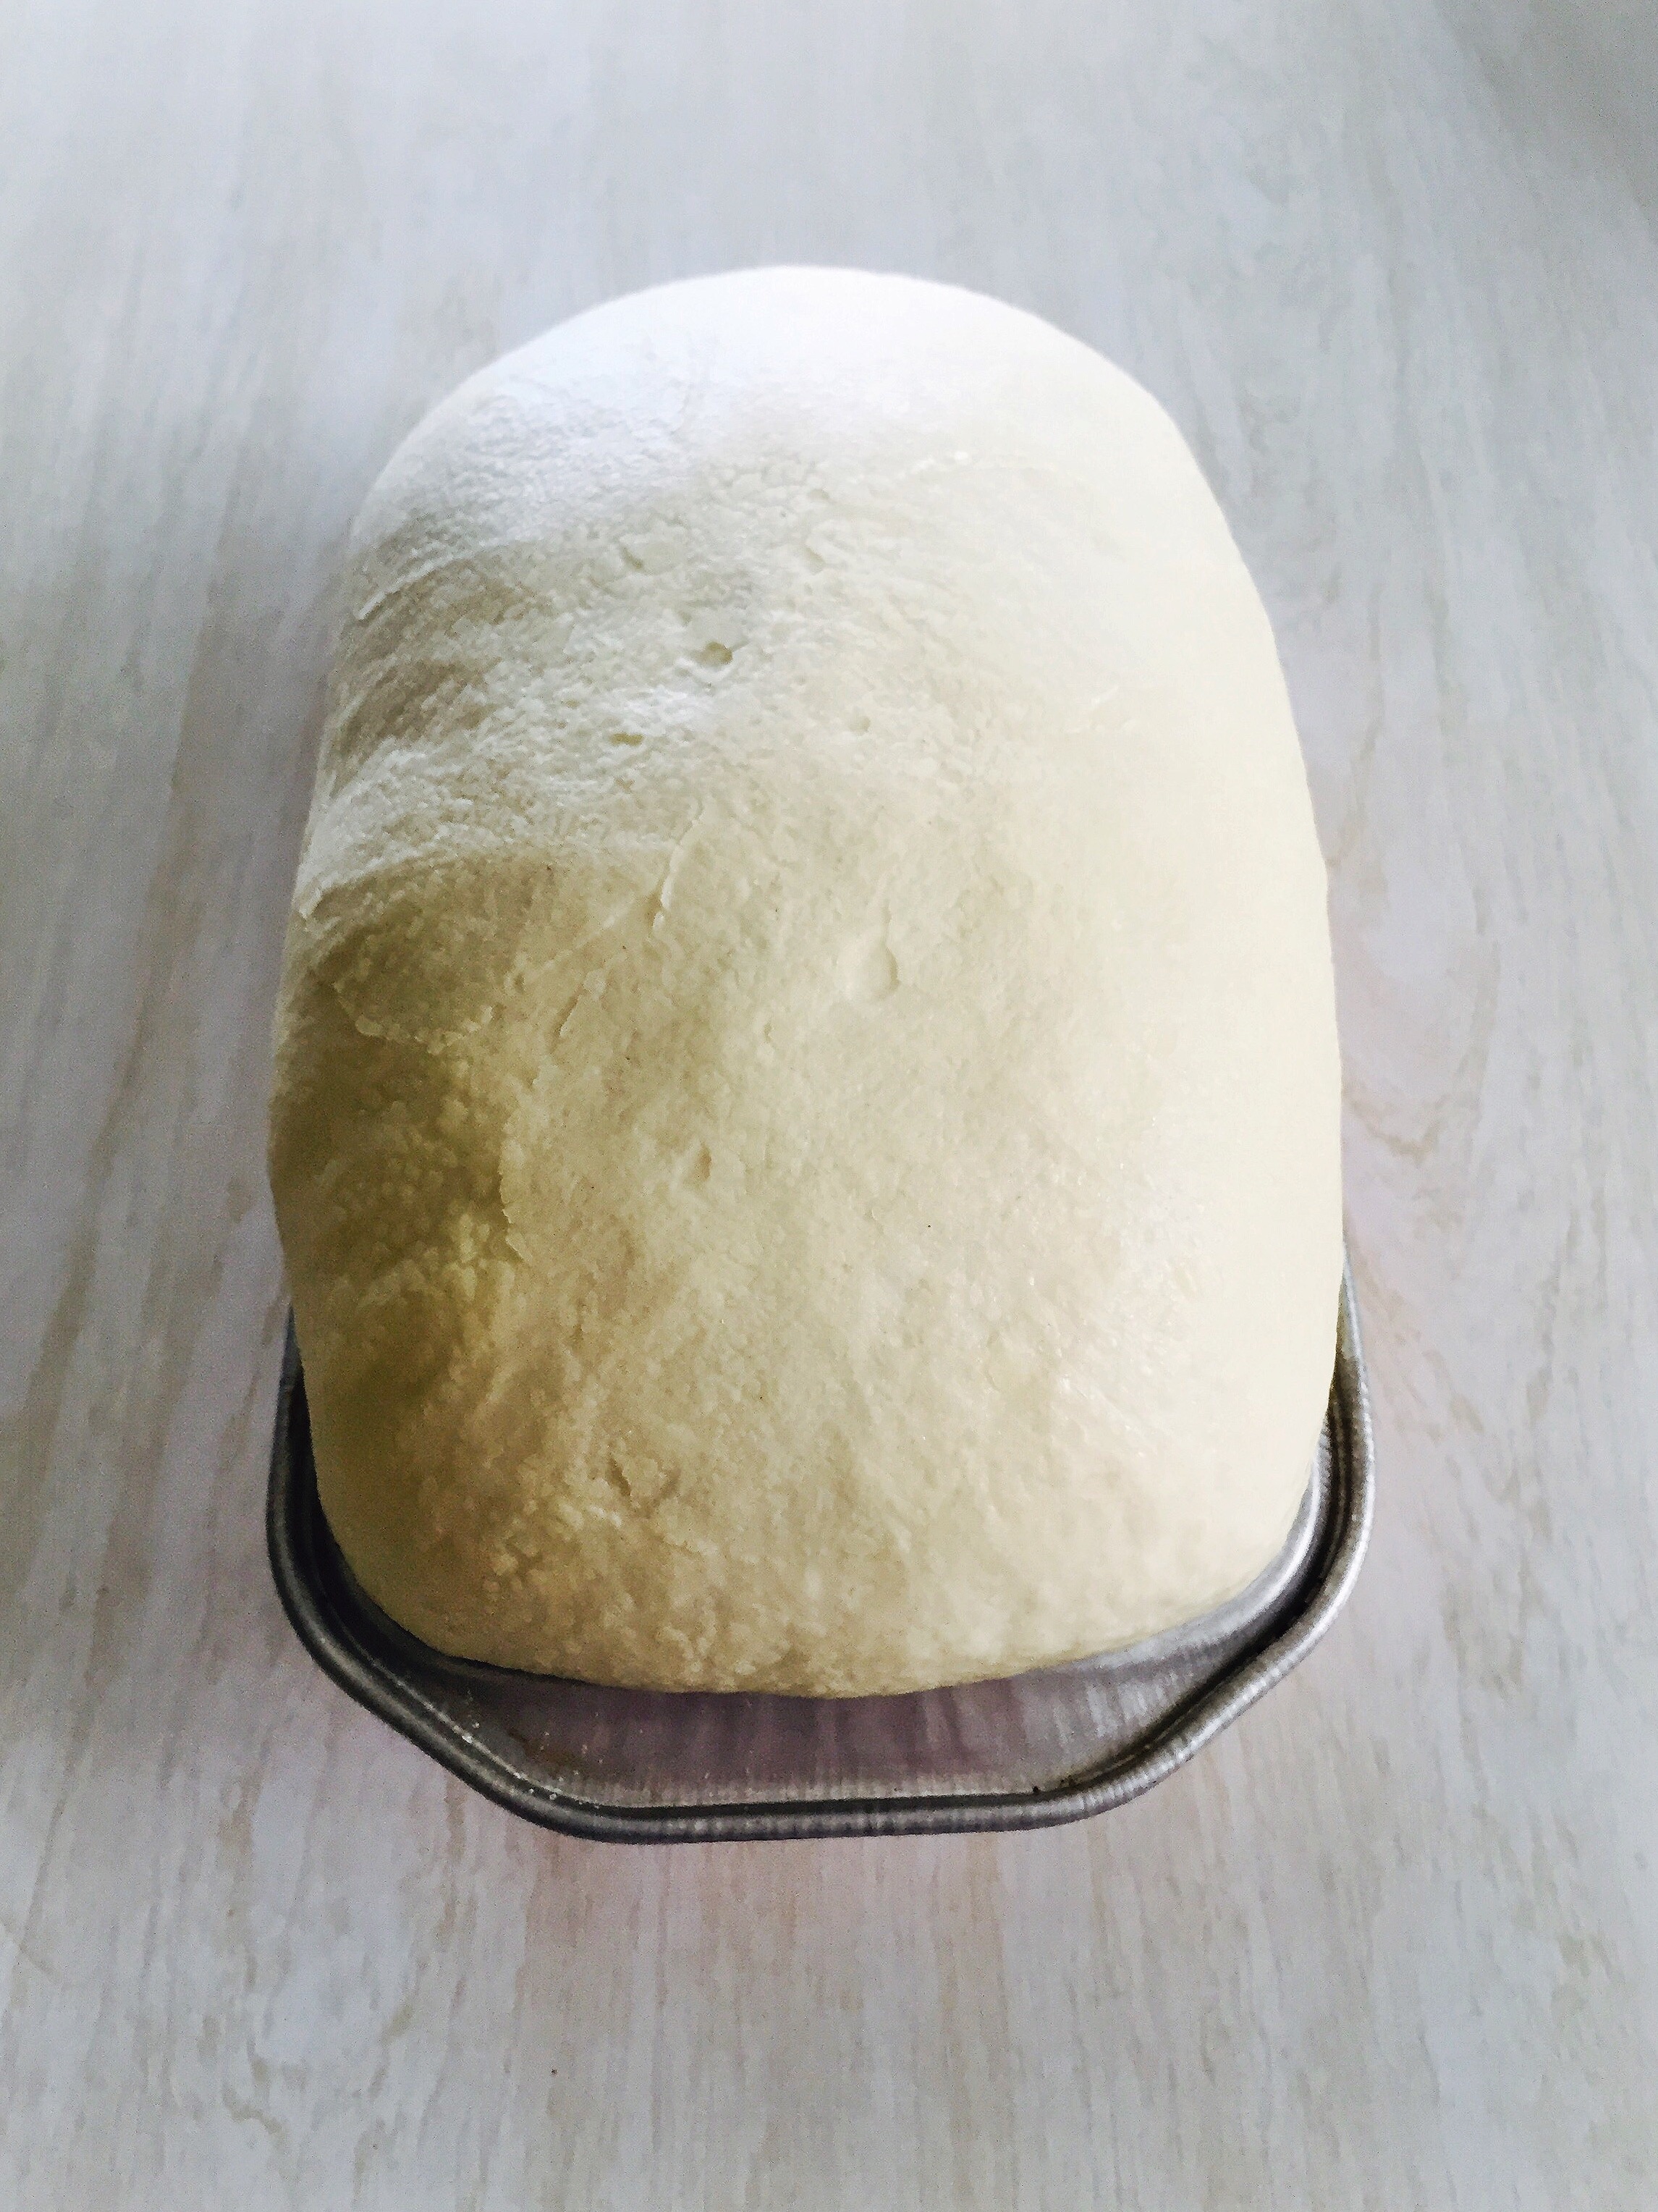
Who would've thought the ship's kitchen would be the perfect spot for bread baking? Well, it turns out the galley's heat and humidity create a sweet spot for bread dough to rise and shine. In the cozy, compact quarters, the conditions are just right to make the yeast do its dance and produce the fluffiest loaves.

.jpg IMG_2859.jpg IMG_3265.jpg

Riding the Dough Rollercoaster:

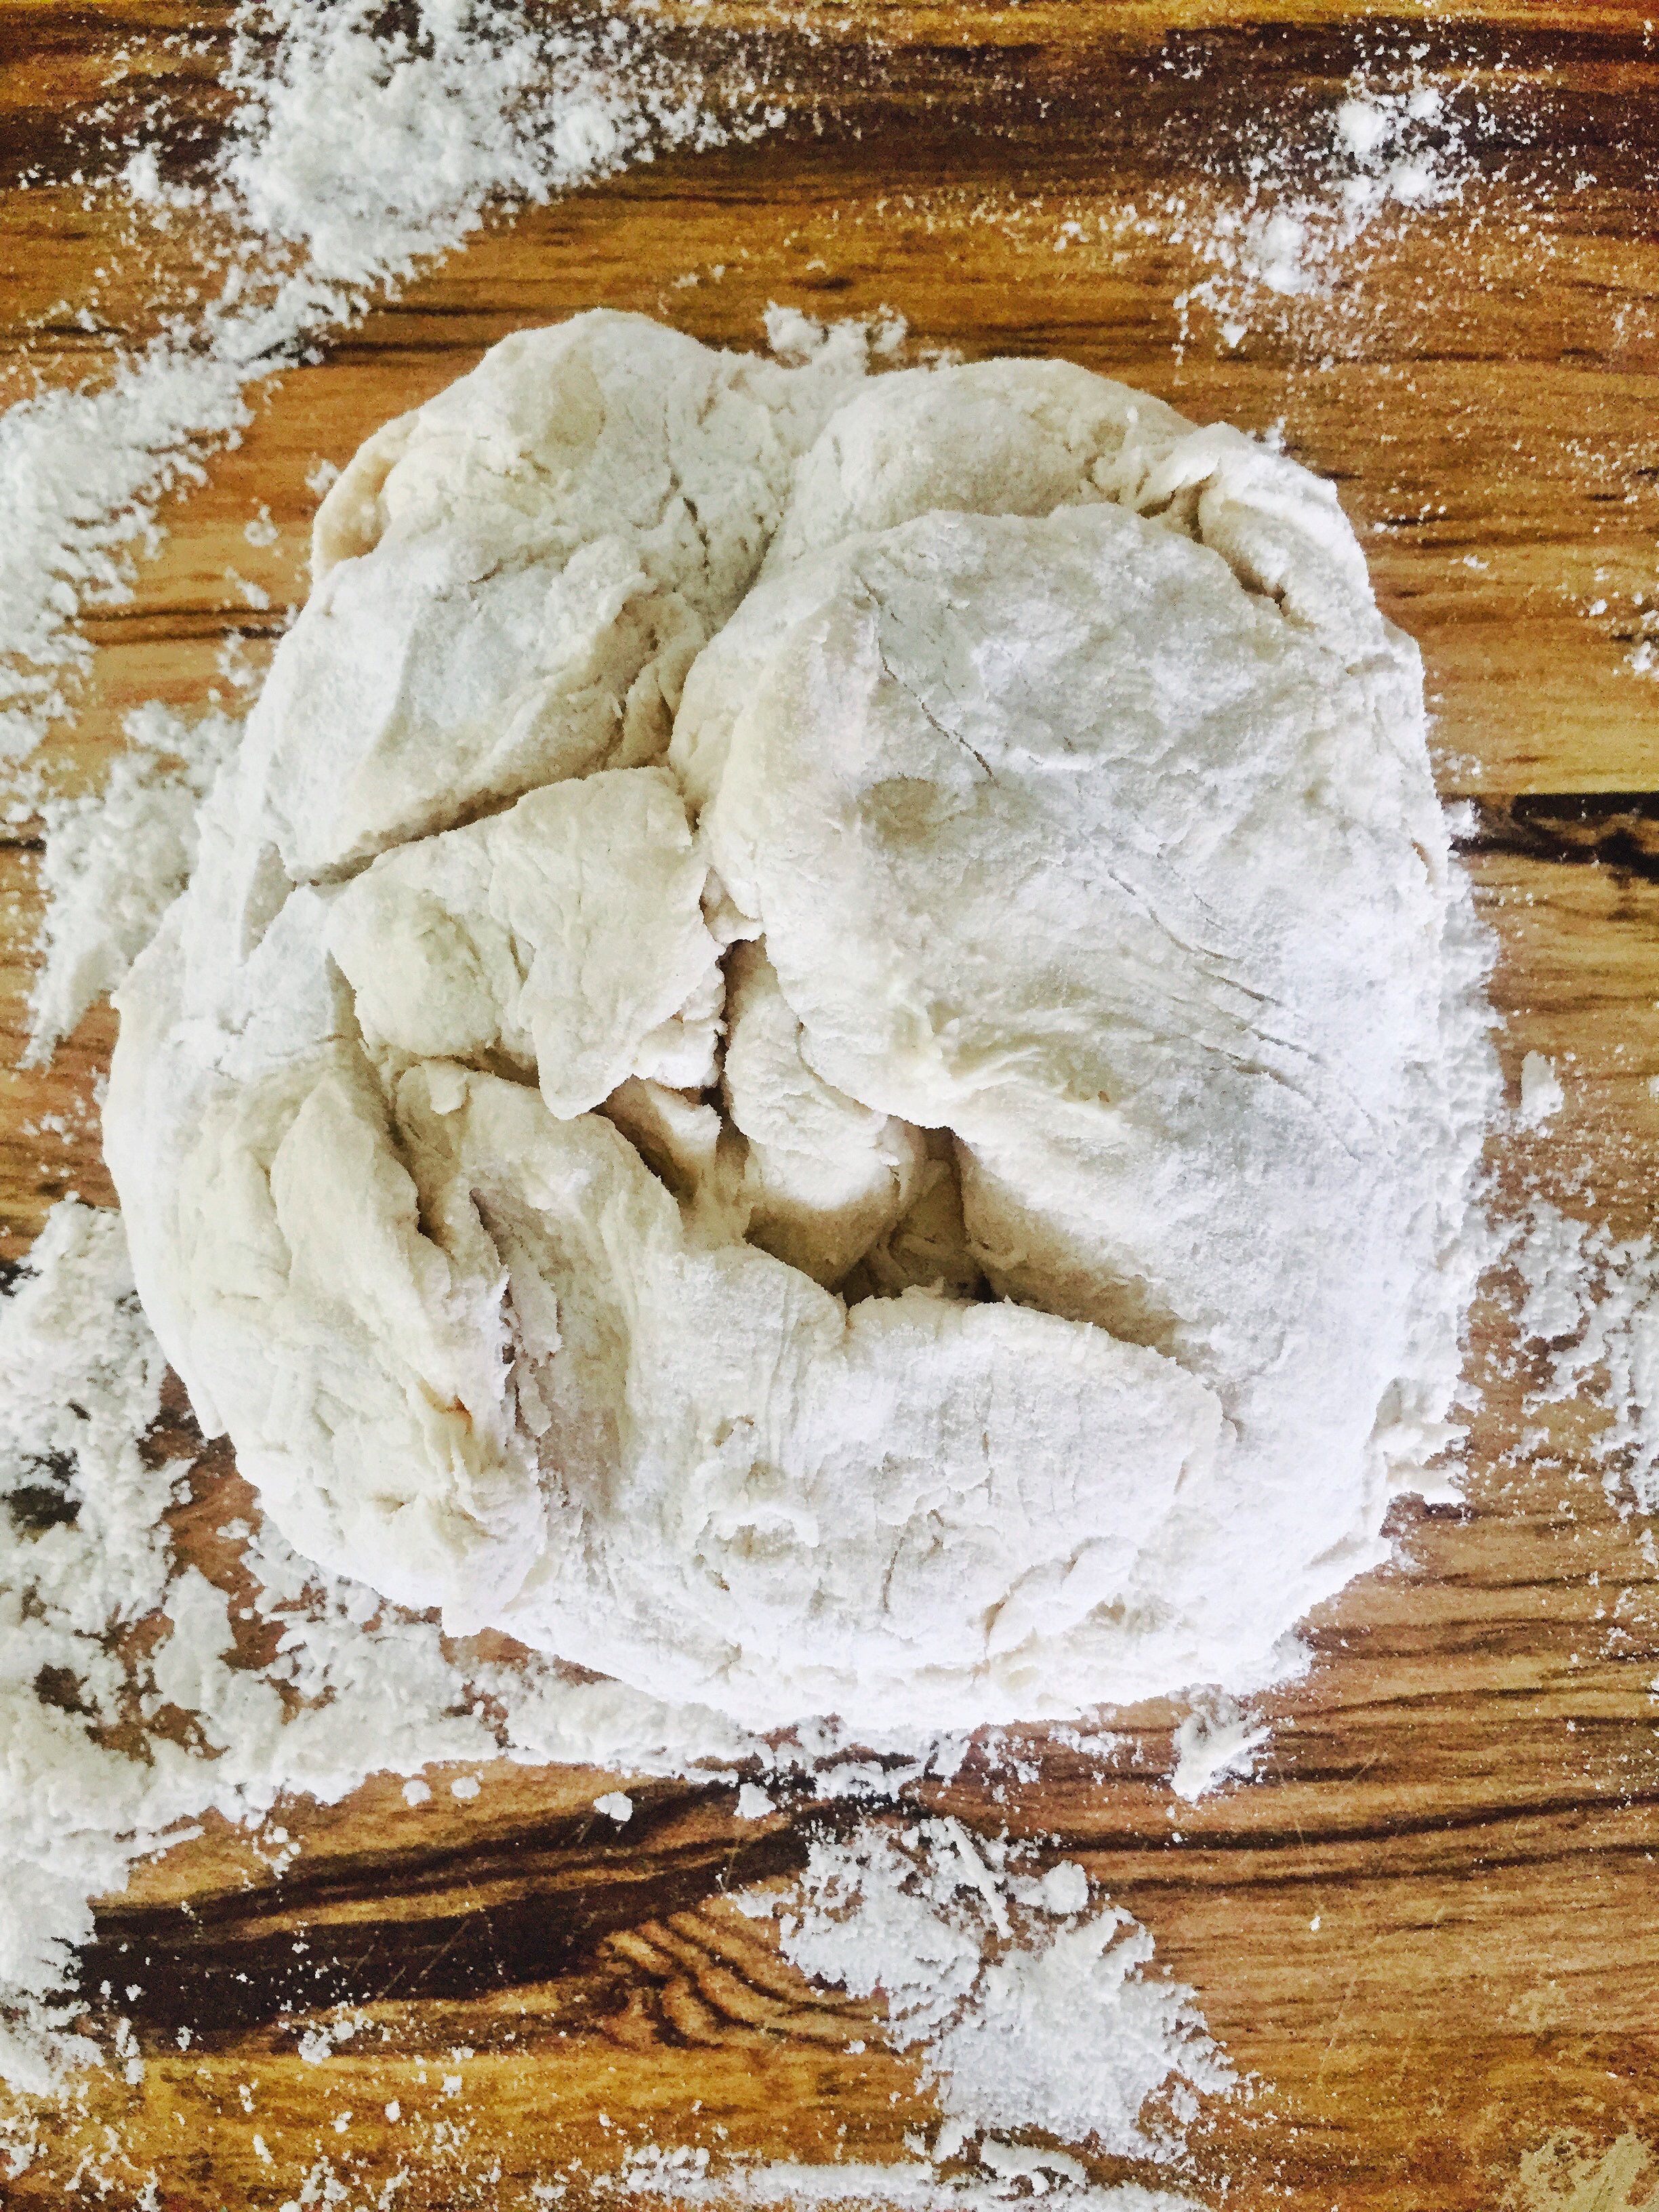
Now, it's not all smooth sailing in the galley. The ship's constant motion – whether it's a gentle sway or a more enthusiastic roll – messes with the whole bread-making gig. Picture this: trying to knead dough while the ship does its own interpretative dance. It's challenging, especially as ingredients move about, loose items fly around, and just standing upright is problematic. But a baker’s gotta bake, and the awkward galley space can just as easily become a meditative playground when your sea legs are about to give out. Deep breaths and knead dough… Some folks like to focus on the horizon but I just focus on the dough!

IMG_3030.jpg IMG_3329.jpg IMG_3295.jpg

Making Bread, Finding Comfort:

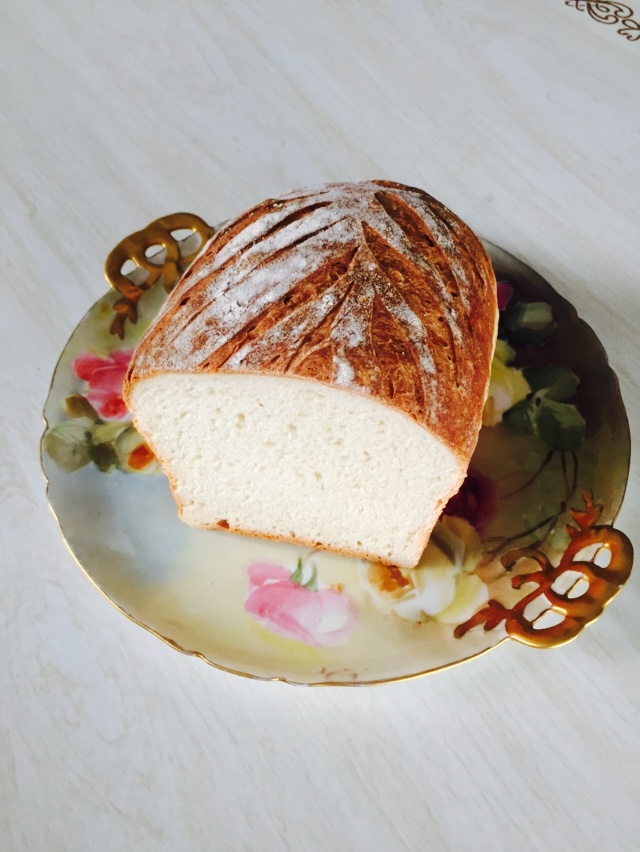
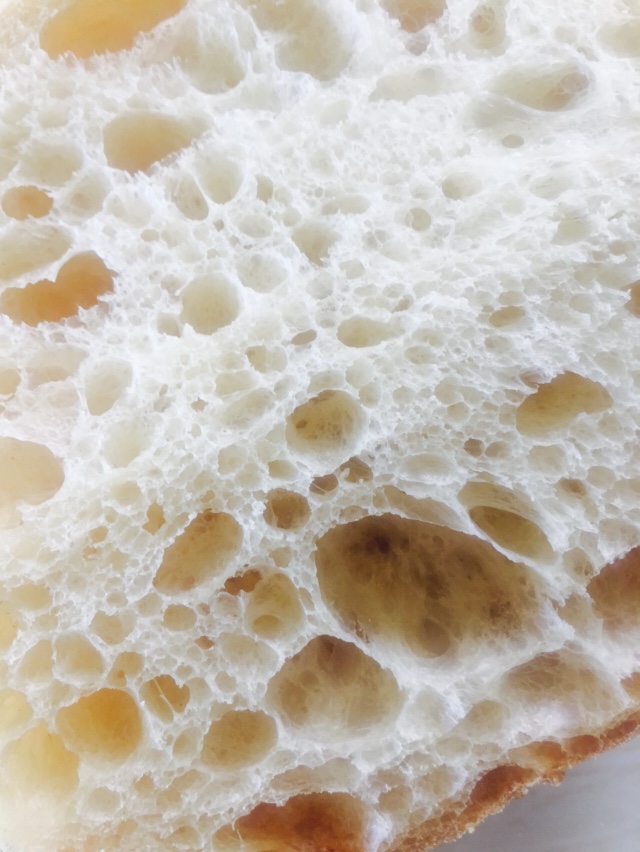
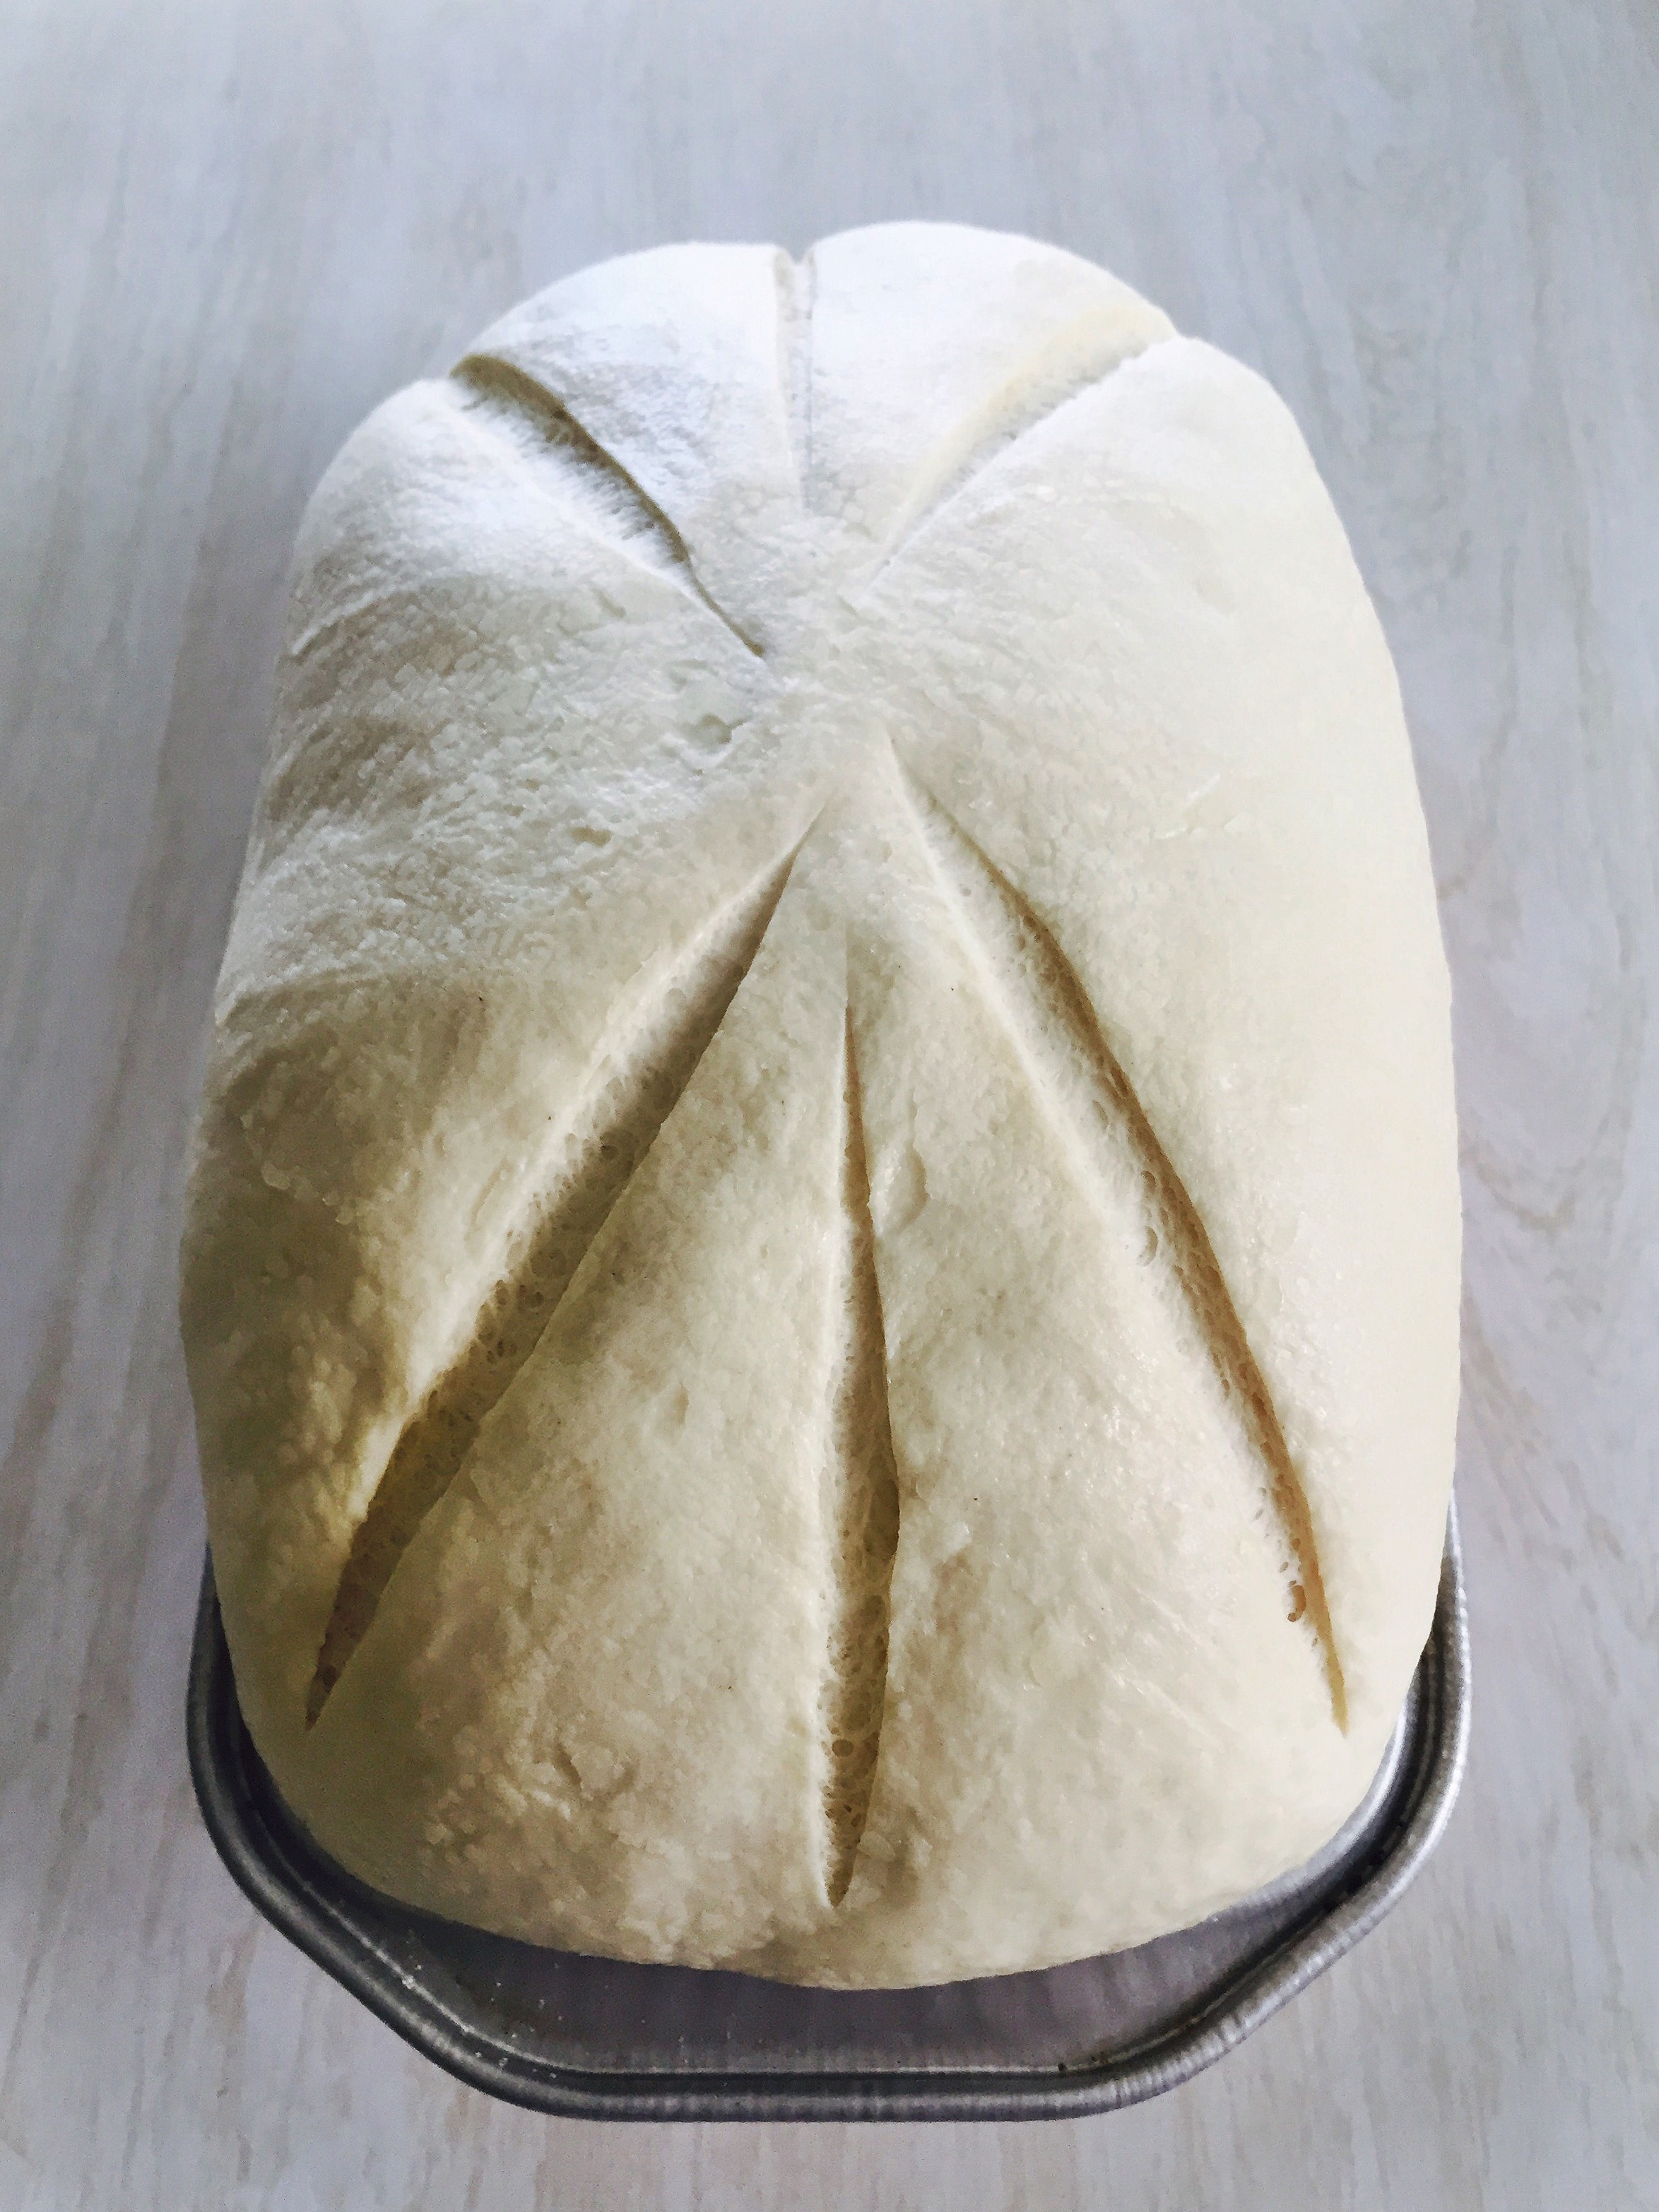
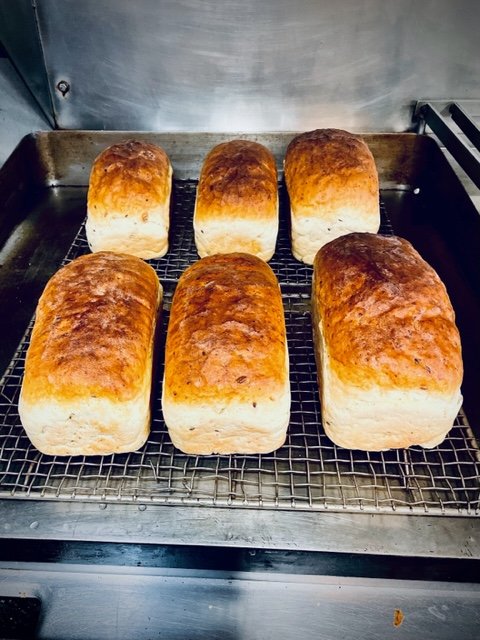
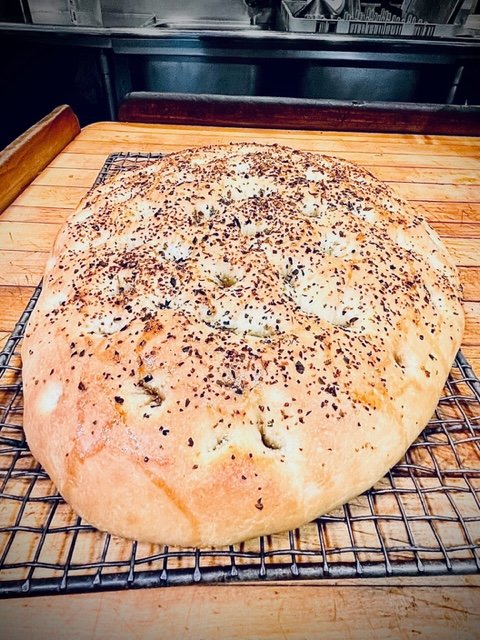
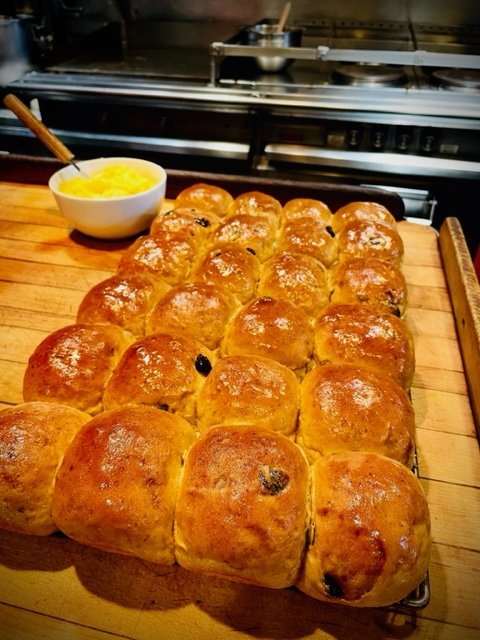
Amidst the ups and downs, there's nothing like the smell of fresh bread wafting throughout the ship. It's like a warm hug for those feeling a bit seasick and a therapeutic distraction for times when I too feel queasy. Over the years it’s become my way to create something homey and familiar in a sea state that’s always unpredictable. Kneading, shaping, and baking – it's like a delicious rebellion against the storm. And when that fresh loaf comes out of the oven, warm and comforting, it's more than just bread; it's a symbol of strength, togetherness, and perseverance on the high seas.

Sunset view from the bowsprit of a sailing ship with the JT sheet raised, capturing the serene beauty of the open sea.

Sailing into the sunset.

Baking bread at sea is more than a kitchen experiment; it's a crazy, comforting journey for any cook brave enough to face what awaits you offshore. The galley's controlled chaos, is a place to turn flour and yeast into a source of joy and stability. The aroma of freshly baked bread isn't just a kitchen treat; it's a reminder that even in the vastness of the ocean, the simple joys of life can be found in a warm loaf of bread, and a ship can be a home as good as any when you break bread with those you love.

Fair winds friends! And keep on baking!

January 20, 2024 /Ashley Look
Bread baking at sea, sea cook adventures, Freshbread onboard, galley life, rough seas, kneading dough, seasickness, homemade bread
Breads, Flour, sailing
Comment

A freshly baked loaf of Molasses and Milk bread.

Bread for the Home

October 23, 2022 by Ashley Look in Breads, Flour

Still got it!

I baked this loaf of bread yesterday. It was my first attempt at bread baking post elbow surgery. Did I use both hands to knead it? Not really… This is a one-handed wonder bread but still, it was good to see not all is lost!


Recipe -ish

Dry Ingredients Combined:

  • 2 cups flour

  • 3/4 tsp yeast

  • 3/4 tsp salt

Wet Ingredients Combined:

  • 1/4 cup molasses

  • 1/4 cup warm milk

  • 1/4 cup warm water

Process:

  1. Place all dry ingredients in a bowl.

  2. Mix wet ingredients together and then add to the bowl.

  3. Combine, form dough, knead…

  4. Cover and rest for 1 hour.

  5. Punch down, knead again, shape, and let rest another hour.

  6. Preheat oven to 400F degrees.

  7. Bake for 30ish minutes.

  8. Enjoy!


This loaf is on the small side cause I needed it to be manageable with one hand. Now, just imagine what you could bake with two!

So, go on…get dirty! Bake this and let me know what you think. You like-y?

October 23, 2022 /Ashley Look
fresh bread, bread baking, molasses, milk, of grain and grain, kneading dough, one-handed baking, yeast, homemade bread, bread for home
Breads, Flour
Comment

A Simple Sandwich Bread Recipe for Beginner Bakers

February 27, 2021 by Ashley Look in Full Moon Baking Club, Recipes, Breads

This Simple Sandwich Bread Recipe breaks down the bread baking process for beginner bakers embarking on a new bread making journey. It’s more than a recipe. It’s a tactile relationship between wet and dry ingredients so anyone can become an intuitive baker.

Read More
February 27, 2021 /Ashley Look
How To Feed A Senior, Full Moon Baking Club, simple sandwich bread, beginner baker, flour, yeast, bread baking journey, intuitive baking, basic bread recipe, wet verse dry ingredients, sticky dough, dry dough, tactile, bread baking process, milk, measuring dry ingredients, liquid volume, kneading dough, stiff dough, oven spring
Full Moon Baking Club, Recipes, Breads
Comment

Getting Started Baking Bread

How to Feed A Senior
January 28, 2021 by Ashley Look in Full Moon Baking Club, Recipes

There is no greater joy than realizing you still have the ability to surprise yourself. That’s what happened... One New Year’s Eve, several years ago, I made a resolution to learn how to bake my own bread and never looked back. Now I want to help you on your own bread baking journey of self-discovery.

Read More
January 28, 2021 /Ashley Look
how to feed a senior, Full Moon Baking Club, Basic Bread Recipe, breaking bread, wholesome, homemade bread, scratch, loaf, Flour, salt, yeast, active dry yeast, beginner bread baker, bread baking journey, New Year's Resolution, beginner baker, fresh bread, January, kneading dough, baking bread, bread fail
Full Moon Baking Club, Recipes
Comment
Homemade pizza crust topped with tomatoe sauce, mozzarella cheese, arugula, and prosciutto.

Homemade pizza crust topped with tomatoe sauce, mozzarella cheese, arugula, and prosciutto.

August 2020: Quick and Easy Homemade Pizza Dough

August 03, 2020 by Ashley Look in Full Moon Baking Club, Recipes

You need an easy Homemade Pizza Dough recipe in your life! Something that is quick and low maintenance so you can crank out pies on a whim. For real! If you’ve been ordering pizza out our purchasing store bought dough you are missing the simplicity of pizza being a house staple. I like to think of pizza as a catch-all. It’s one of those last minute concoctions that can be quickly thrown together. Yeah, yeah yeah… dough has to rise but the truth is, the dough is typically good to go by the time you are finished prepping all your other ingredients. Just start the dough first. I’ll also remind you that pizza is a “flat bread” meaning, if you screw it up and the dough doesn’t rise, it’s not a problem. Thin crust is still good crust! and this is not up for debate!

Anyway, the need for this dough recipe is not for banging out pies. It’s for managing food going bad in your fridge! I think just abut any ingredient can be turned into a pizza topping and honestly that’s were your culinary creativity will truly shine. If you don’t believe me, throw a random ingredient in the comments and I will get back to you with how I’d work it into a pie. Pizzas can go beyond that of tomato sauce and mozzarella. Gawd, half the time, I’m out of those things entirely. But never out of pizza. Ever! Below is a spinach, artichoke, Alfredo pizza with Parmesan and the other is a breakfast version with bacon, eggs and cheese. There are so many options. Just get down with making your own crust!

homemade pizza crust.jpg Homemade pizza dough.jpg

Pizza Crust Recipe

Ingredients:

  • 3 cups flour
  • 2 tsp yeast (rapid rise and dry active are both fine)
  • 1 1/2 tsp sugar
  • 1 1/2 tsp salt
  • 1 1/2 cups warm water
  • 1 tbsp oil

Directions:

  1. In a large mixing bowl add all the dry ingredients and combine.
  2. Add the warm water and oil and start mixing.
  3. Mix until the dough starts to come together and pull away from the bowl and then dump out onto a lightly floured surface.
  4. Knead the dough until it comes together and forms a ball.
  5. Continue to knead for about 10 minutes until the ingredients are well combined.
  6. At this point you can either divide the dough into two balls for 14 inch pies or split into 4 dough ball and make personal pies.
  7. Grease a sheet tray and place your dough balls on it. Lightly oil them with a thin coat then cover and let rest for 30 minutes to an hour or until doubled in size.
  8. Once doubled it's pizza time! If baking on a sheet tray, oil it and then plop your dough ball onto it and gently stretch towards the edges. If using a pizza pan/screen you can either lightly toss the dough if you have them skills or flour the counter and roll it with a rolling pin. Then transfer the dough onto the pan.(Do not roll the dough out on a pizza screen. This will cause it to stick to the screen when baking. (If either technique has the dough springing back on you, refusing to hold the stretch, pause, let it rest for 10 minutes, and then come back and continue the process.)
  9. Once your dough is in place, go about adding your sauce, cheese and toppings.
  10. Bake at 550F degrees (or the highest temperature your oven will allow)on the top rack for 10 to 15 minutes keeping an eye on the cheese for browning.
  11. Remove after baking and let cool slightly before slicing.
Homemade Cheese Pizza.jpg Homemade Pepperoni Pizza.jpg

For real! If you don’t know how to use an ingredient, drop it in the comments and I’ll give you a pizza “flavor profile”. Building unique pizzas is my jam! I love the basics, but I also all love the non-traditionals…

Happy pizza making!

August 03, 2020 /Ashley Look
How To Feed A Senior, Pizza, Crust, dough, flour, quick, easy, simple, Homemade Pizza Dough, flat bread, this crust, pizza toppings, tomato sauce, mozzarella, sheet tray, pizza pan, pizza screen, kneading dough, pies, pizza pies, yeast, cheese, pizza recipe, flavor profile, pepperoni
Full Moon Baking Club, Recipes
Comment
The crusty loaf from the Full Moon Baking Club, July 2019.

The crusty loaf from the Full Moon Baking Club, July 2019.

July 2019: The Crusty Loaf

July 16, 2019 by Ashley Look in Full Moon Baking Club, Recipes

Ok, this post is going to be less about a bread recipe and more about how you can get your home oven to mimic that of a professional bakery. Cause that’s what we all want right? Bread at home that has that magic crust that seems to only come from professionals… No worries. I got you! With just this little tip you can start banging out some crusty loaves.

Make it steamy!

Yep. That is pretty much it. If you want to enhance your bread’s crust game you gotta get things steamy. There is a couple ways you can do this:

  1. Dutch Oven Method

    I use this method a lot cause it’s almost a guaranteed win every single time. Baking bread in a dutch oven allows the moisture from the dough to get trapped while baking, creating that steamy environment that gives you that crispy crust. I bake the dough for about 30 minutes with the lid on and then remove it for the last 15 minutes. I won’t go into too much detail now but if you want to explore this method you can find a recipe with some instructions right here.

  2. Pan With Water Method

    Now, for those of you that don’t have a dutch oven, there is still hope. Crispy crust can easily be achieved by adding a pan with some water in it that you will remove midway through baking. I like to use a baking dish with about an inch of water in it. You don’t want too much water though because you want to easily and safety remove it from the oven come time. I add the pan/dish of water when I preheat the oven so it’s good and steamy by the time I’m ready to start baking. Pretty simple really.

The last thing I’ll say about the crust is to get creative when when you score the top. Scoring is the design you slice into the top and it frequently confused for an important step in the baking process. I’m here to tell, that’s not really the case. Scoring allows for a bit more rise from a dough while baking in the oven but mostly its more personality than anything. You can use a razor blade or serrated knife to add some slash marks just before placing it in the oven and you are good to go. And in case you need some inspiration for this, just check out Sarah C. Owen’s Instagram page for some beautiful ideas. She is a queen when it comes to all things bread and scoring skills are on point!

The Crustin Loaf.jpg Sliced homemade bread.jpg holes in homemade bread.jpg

Ingredients

  • 3 cups flour (plus more for kneading)
  • 1/4 tsp active dry yeast
  • 1 tsp salt
  • 1 tbsp sugar
  • 1 1/2 cups milk

Directions

  1. In a large bowl stir together the dry ingredients.
  2. Then add the milk.
  3. Mix together with a spoon until a sticky dough forms and then cover and let it rest on the counter for 6 to 8 hours. (I know that sounds odd but seriously, just cover and forget about it for the day or overnight.)
  4. After the long rest you'll notice the dough has grown into a a loose blob of dough.
  5. Sprinkle some flour onto your counter and then tip the dough out of the bowl, carefully assisting it as necessary.
  6. Sprinkle a bit more flour on top of the dough and begin to work it with your hands, adding more flour as necessary to keep it from sticking to your hands.
  7. Slowly begin to knead the dough, continueing to add flour as necessary.
  8. Knead for roughly 5 to 10 minutes.
  9. Shape the dough in an oblong loaf and place it into a greased bread pan.
  10. Cover with plastic wrap and let rise for about and hour.
  11. Preheat your oven to 450 degress and place a pan with about an inch of water on a low shelf in your oven.
  12. After the dough has rested for an hour and about doubled in size, remove the wrap and score the top of your loaf and then immediately place it in the hot steamy oven.
  13. Then, immediately turn the oven down to 375 degress and bake for 25 minutes.
  14. After 25 minutes, carefully remove the pan of water and continue to bake for another 15 minutes.
  15. Remove the bread from the oven, release it from the bread pan and let cool on a wire rack.

And just in case you need a new mixing spoon in your life, I just finished this one:

Baker's Spade Baker's Spade
Sold Out
Baker's Spade
$47.00

The Baker’s Spade is a one-of-a-kind mixing spoon with a simple design and subtle wood-burned detailing on the handle.

Ok friends, go bake and let me know how your crust turns out, especially if you use the pan with water method. Happy Full Moon!

July 16, 2019 /Ashley Look
how to feed a senior, Full Moon Baking Club, The Crusty Loaf, bread baking, homemade bread, crispy crust, scoring bread, Dutch Oven, loaf pan, steam oven, flour, salt, yeast, sugar, milk, kneading dough, dough, July 2019
Full Moon Baking Club, Recipes
Comment
The Wholesome Loaf is a bread recipe celebrating the full moon in June by the Full Moon Baking Club.

The Wholesome Loaf is a bread recipe celebrating the full moon in June by the Full Moon Baking Club.

June 2019: The Wholesome Loaf

June 17, 2019 by Ashley Look in Full Moon Baking Club, Recipes

What’s that? It’s June and you want to soak up that summer heat by baking bread in your kitchen? Don’t worry. I got you! The Wholesome Loaf recipe for June’s Full Moon Baking club is bound to have you sweating it out and second guessing why you thought this was a good idea. But I’ll just remind you now. Because it’s good. That’s why! And its even better when you make something to share with others.

This bread recipe combines milk, yogurt, and an egg for a soft, pliable dough, that comes together to fulfill your sandwich making needs. Make it, make some sandwiches, and then head out for a picnic with friends and have fun. If its delicious you’ll me so proud of your achievement. If it’s a disaster you’ll have a great memory of that time you made bread for your friends.

I feel like I always have to remind whoever is reading this that the point of the Full Moon Baking Club is not about the recipe so much as it’s about the moments. We cook all the time but so rarely are we cooking and gathering together. Once a month we deserve a break from the norm for the chance to be amungst friends and connect in a way that honors the fact that we are social beings. And I’m not talking about connecting across screens. Real connections, in person, face to face, and in this case with our mouths stuffed.

Ready, set, bake!

Bread making step 1 milk and yogurt.jpg Bread making step 2 milk yogurt and egg.jpg Bread making step 3.jpg Bread making step 4 mix.jpg Bread making step 5 knead.jpg Bread making step 6 dough.jpg Bread making step 7 dough resting for first rise.jpg Bread making step 8 first rise.jpg Bread making step 9 second kneading.jpg Bread making step 10 shaping dough.jpg Bread making step 11 second rise.jpg Bread making step 10 scoring the dough.jpg

Ingredients

  • 1 cup milk
  • 1/2 cup plain yogurt
  • 1 egg
  • 2 tsp dry active yeast
  • 3 cups flour (+1 more cup for kneading)
  • 1 tsp salt
  • 1 tbsp melted butter

Directions

  1. In a bowl combine the milk, yogurt, and egg and mix well.
  2. Stir in the yeast and let disolve.
  3. In a seperate, large bowl, add the 3 cups of flour and the salt.
  4. Then pour in the wet mixture and stir to combine.
  5. As the dough comes together, gently add extra flour (a little at a time) to help bring the dough together into a workable shape.
  6. Sprinkle some flour onto your counter and then tip the dough out.
  7. Sprinkle a bit more flour on top of the dough and begin to work it with your hands, adding more flour as necessary to keep it from sticking to your hands.
  8. Slowly begin to knead the dough, continueing to add flour as necessary.
  9. Knead for roughly 10 or so minutes allowing the dough to fully form with all the ingredients well combined.
  10. Continue to knead the dough, shaping it into a round ball.
  11. Then place it in a greased bowl and cover with plastic wrap and let rest for an hour or until doubled in size.
  12. After its doubled in size, dump ought the dough on a lightly floured surface and knead again.
  13. Shape the dough in an oblong loaf and place it into a greased bread pan.
  14. Brush the top with melted butter and then and then cover with plastic wrap and let rise for about and hour.
  15. Preheat your oven to 450 degress.
  16. After the dough has rested for an hour and about doubled in size, remove the wrap and score the top of your loaf and then immediately place it in the hot oven.
  17. Then, turn the oven down to 375 degress and bake for 35 minutes.
  18. Carefully remove it from the oven and turn the bread out onto a cooling rack and let rest before cutting into it.
June 17, 2019 /Ashley Look
how to feed a senior, Full Moon Baking Club, bread baking, The Wholesome Loaf, June 2019, dough, milk, yogurt, egg, flour, yeast, sandwiches, kneading dough, baking, first rise, second rise, proofing, picnic, breaking bread, community gathering, community building, social beings, real connections, in person, face to face, gathering together
Full Moon Baking Club, Recipes
Comment
 
Search