Of Grain and Grain  |  Tactile Explorations of Flour and Wood

By Ashley Look

  • Blog
  • Flour
  • Wood
  • Shop
  • Services
  • Events
  • About
  • Contact
  • Search
Early sourdough fermentation bubbles in my starter.

Early sourdough fermentation bubbles in my starter.

Sourdough Starter Support Group

April 08, 2020 by Ashley Look in Full Moon Baking Club, Recipes

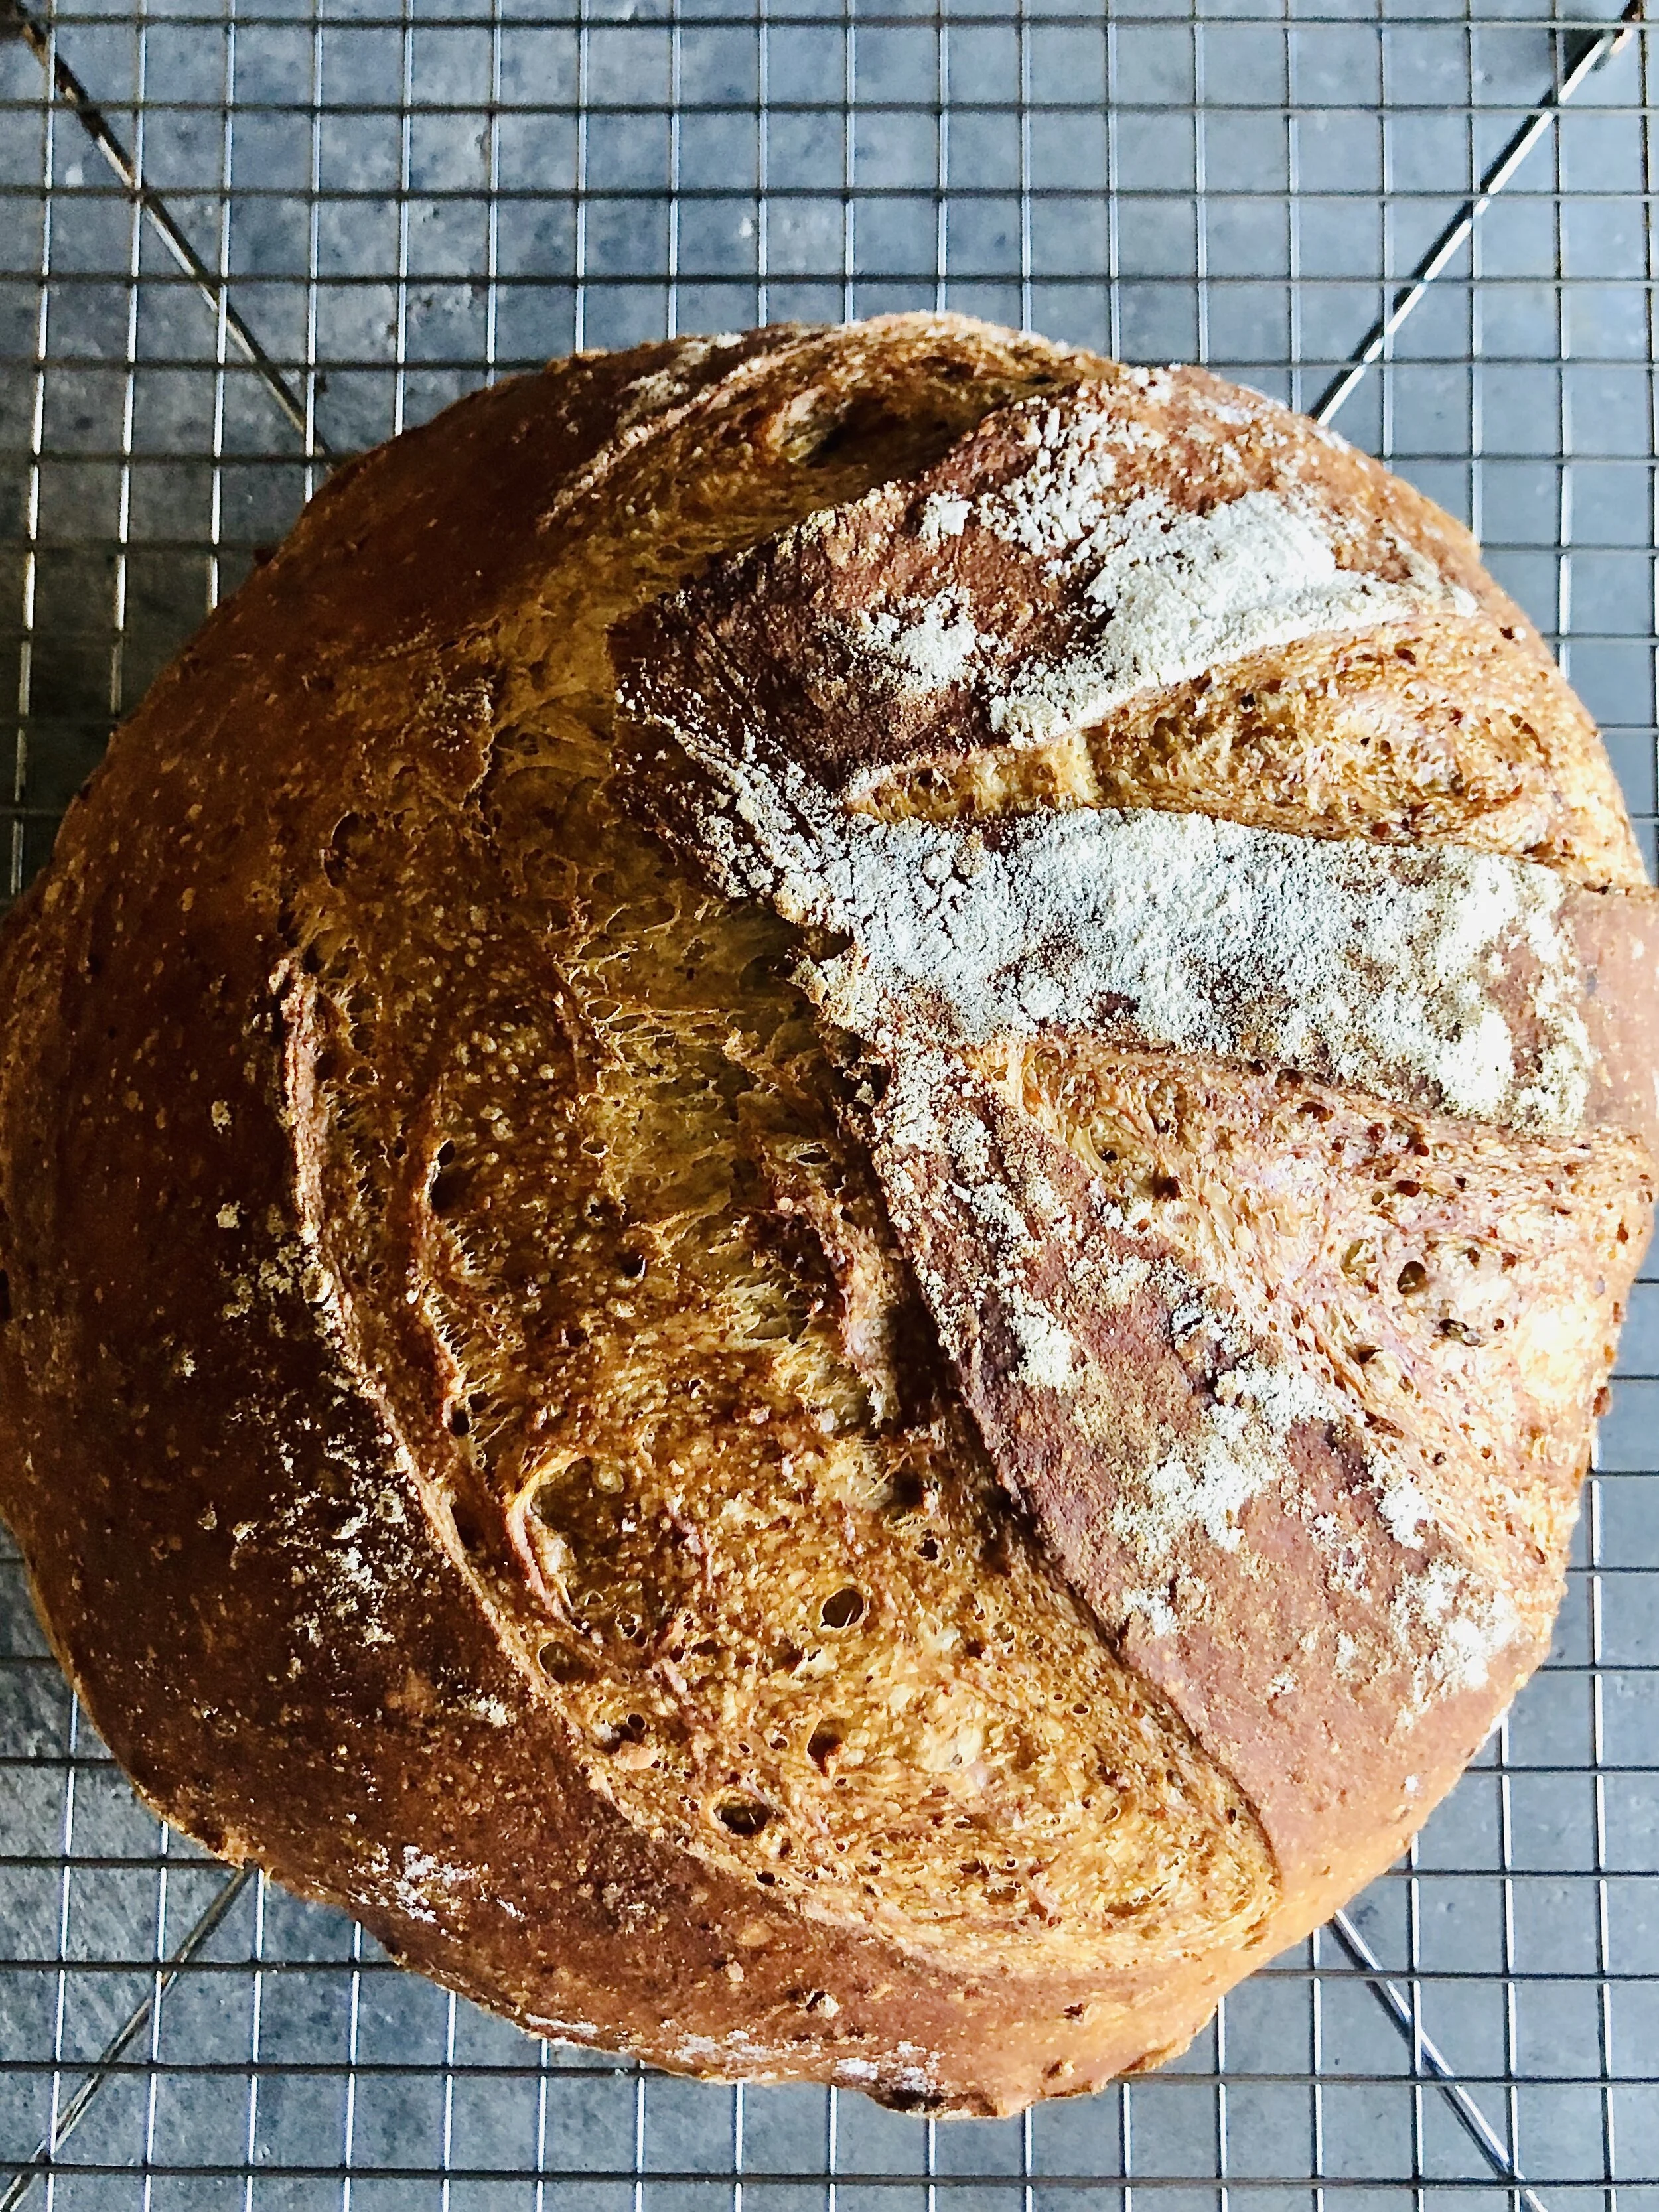
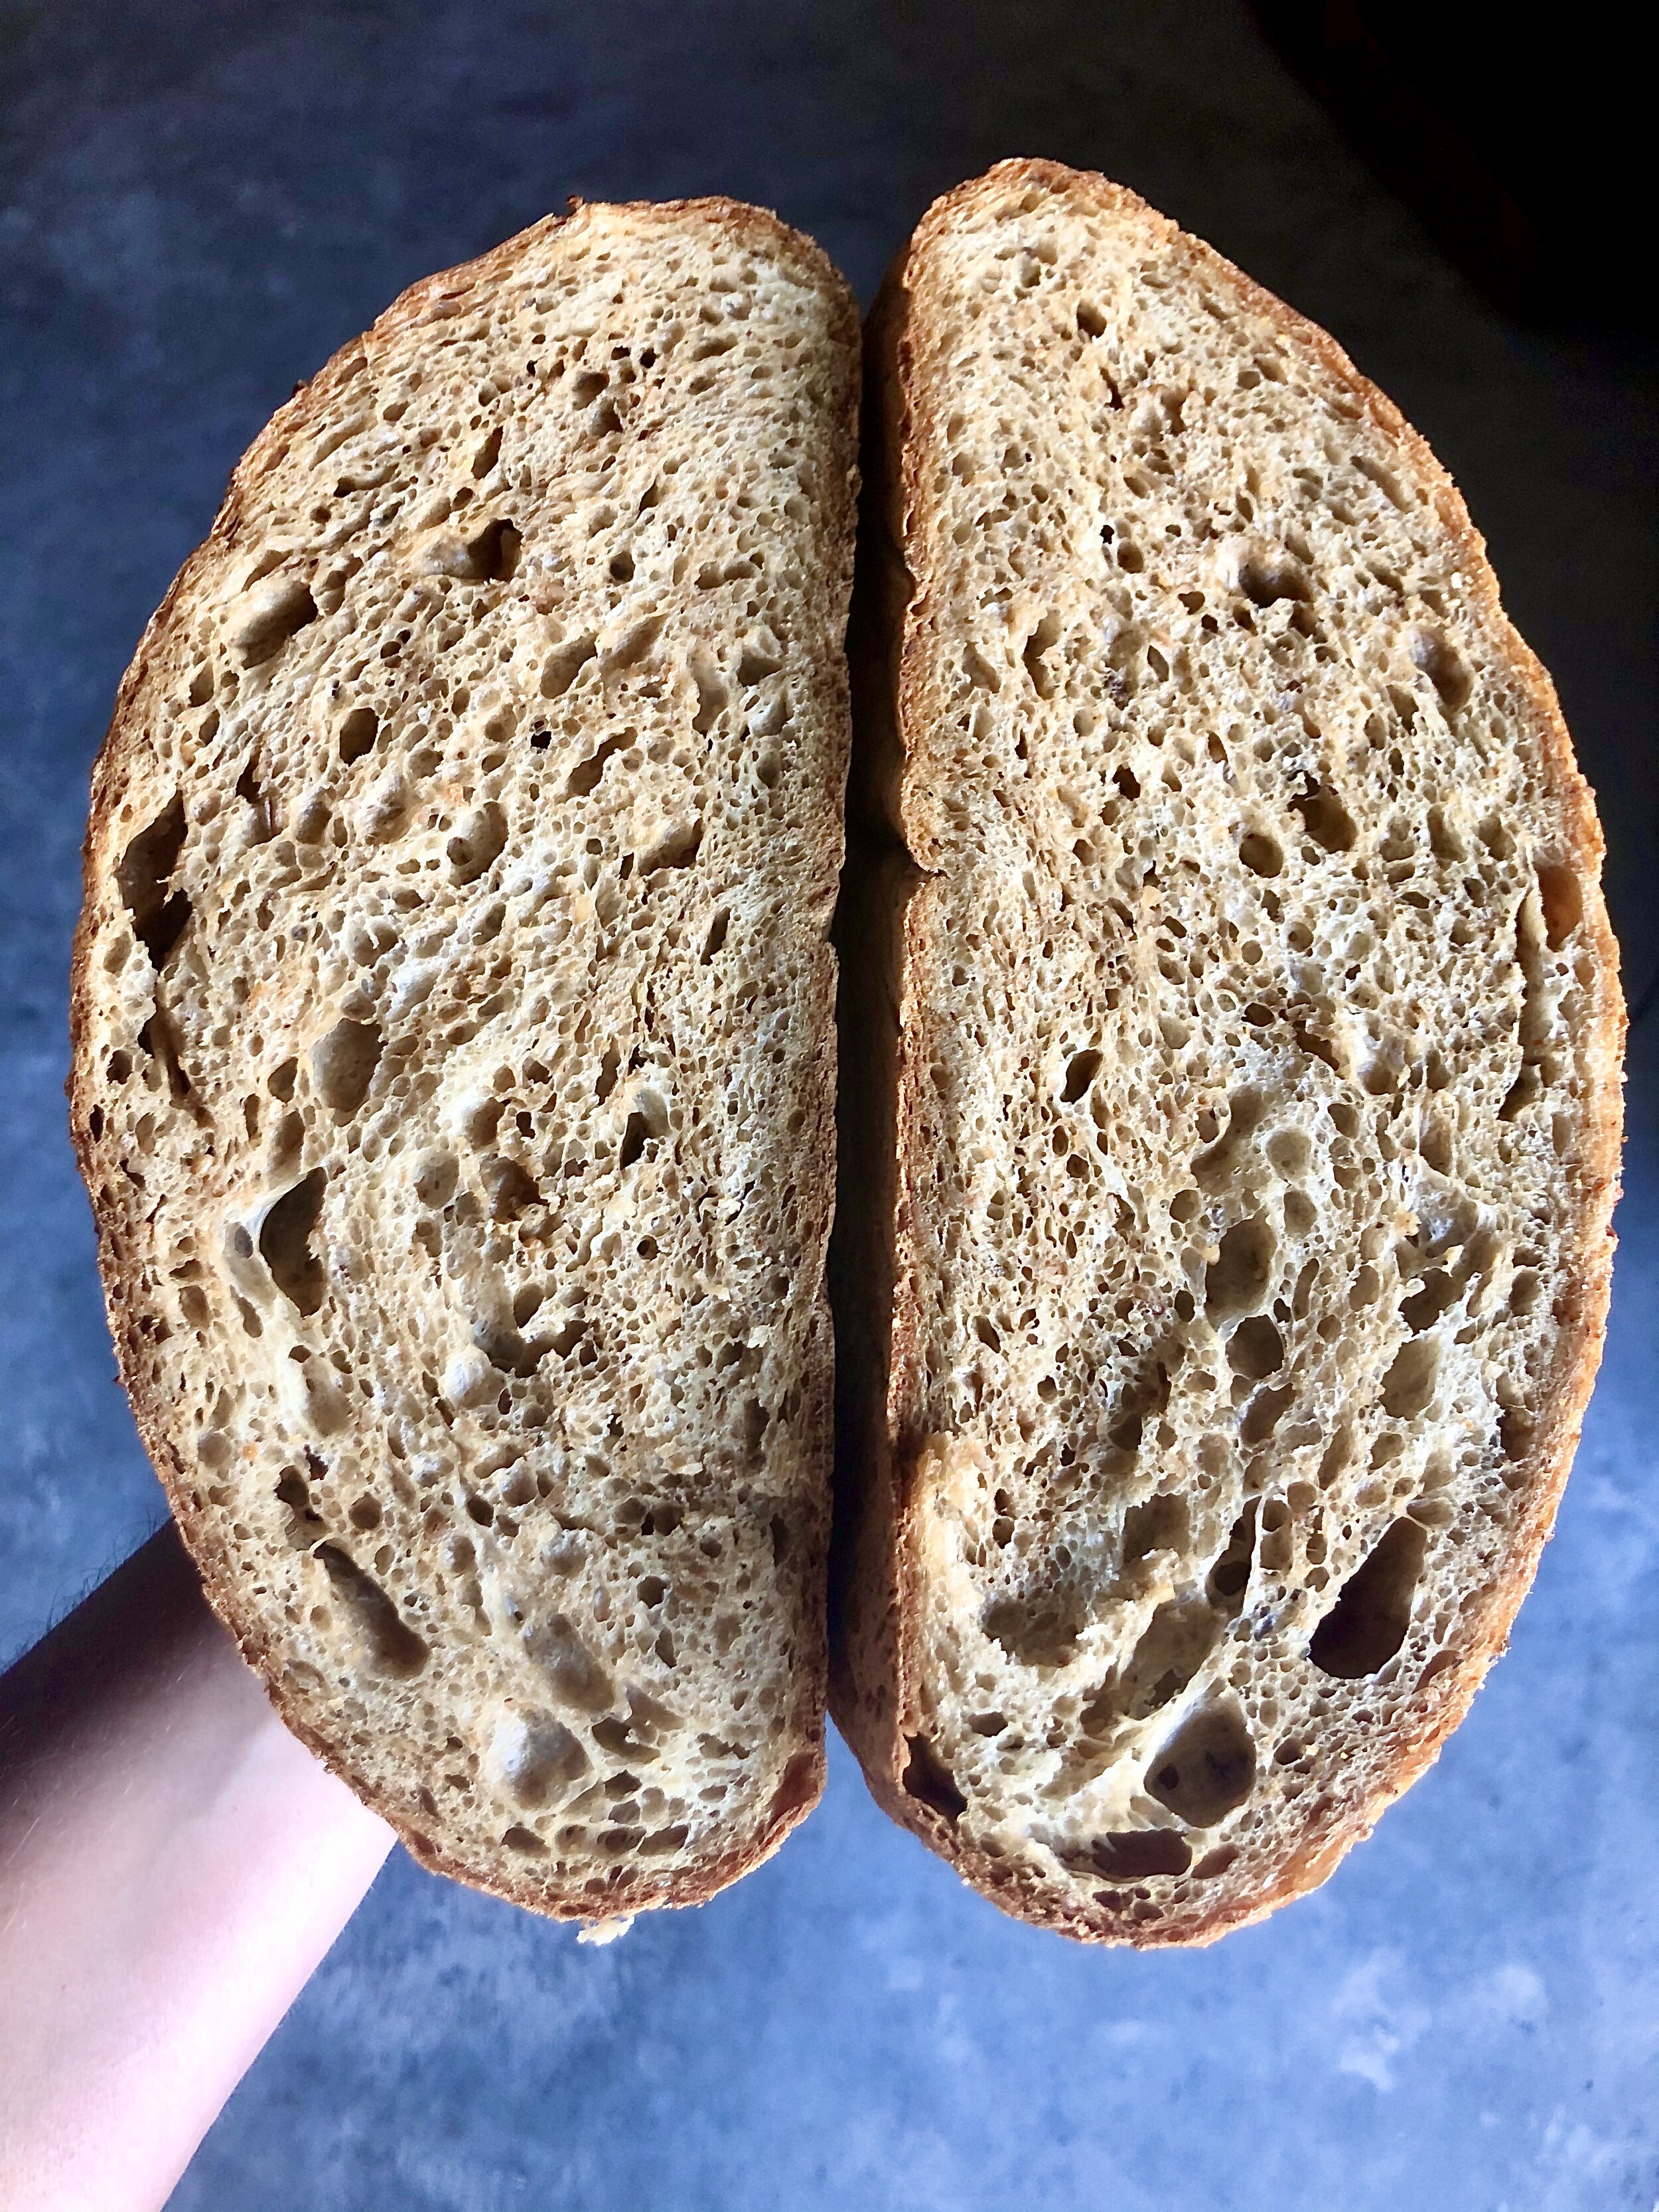
It’s been incredible watching the internet boom with bread baking. The dough life is everywhere and the breads are looking amazing! I’ve been on the bread train for a while now, so when this new wave of bakers emerged, I was caught somewhat off guard. Dare I say, “jealous” you’ve been baking without me? Luckily, FOMO is a pre-coronavirus complex since we’re all stuck at home these days. But dang! You guys with your bread flex right now brings me so much joy. I’ve been seeing so many sourdough starters in my Facebook feed that I figured we needed a support group for all the questions. Seriously though, you guys are champions! I’m loving all the close-ups of fermentation bubbles, and those sexy hooch lines. It’s like the baker’s version of the first day of school and your starter’s already on the honor roll!

I know some of you created a starter because you were running low on yeast. Smart move! Others, feel left behind cause they are completely without. Fortunately, you’re not out of the bread game just yet. You can easily collect wild yeast to make a sourdough starter. Once your starter is active you’re good to go. When it comes to working it into recipes, I typically use about a 1/4 cup per loaf. There’s a ton of information out there about how and when to feed your starter, weighing the flour, blah, blah blah… Personally, I can’t be bothered with the details and save that for the professionals like Sarah Owens and Tara Jensen. They are the darlings of sourdough in my book, so if you wanna dive deep, check them out. Otherwise, if you see a hooch layer forming, it’s time for another feeding.

As for getting back into baking with the Full Moon Baking Club I figure now is as good as any for a reboot! Rather than post a recipe this month, I figured we should just get our starters up to snuff so in a month we can get our bake on. If you have yeast, you can explore the recipes on the Full Moon Baking Club page, or if your starter is ready, you can get experimental and try out the Fermented Loaf recipe.

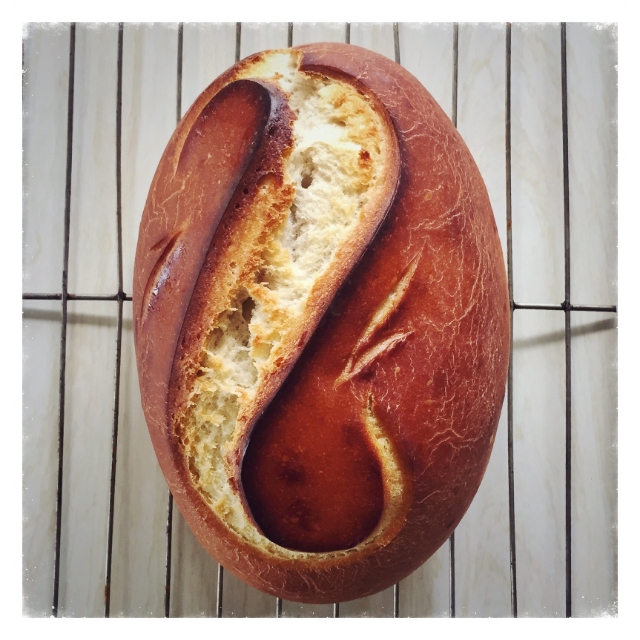
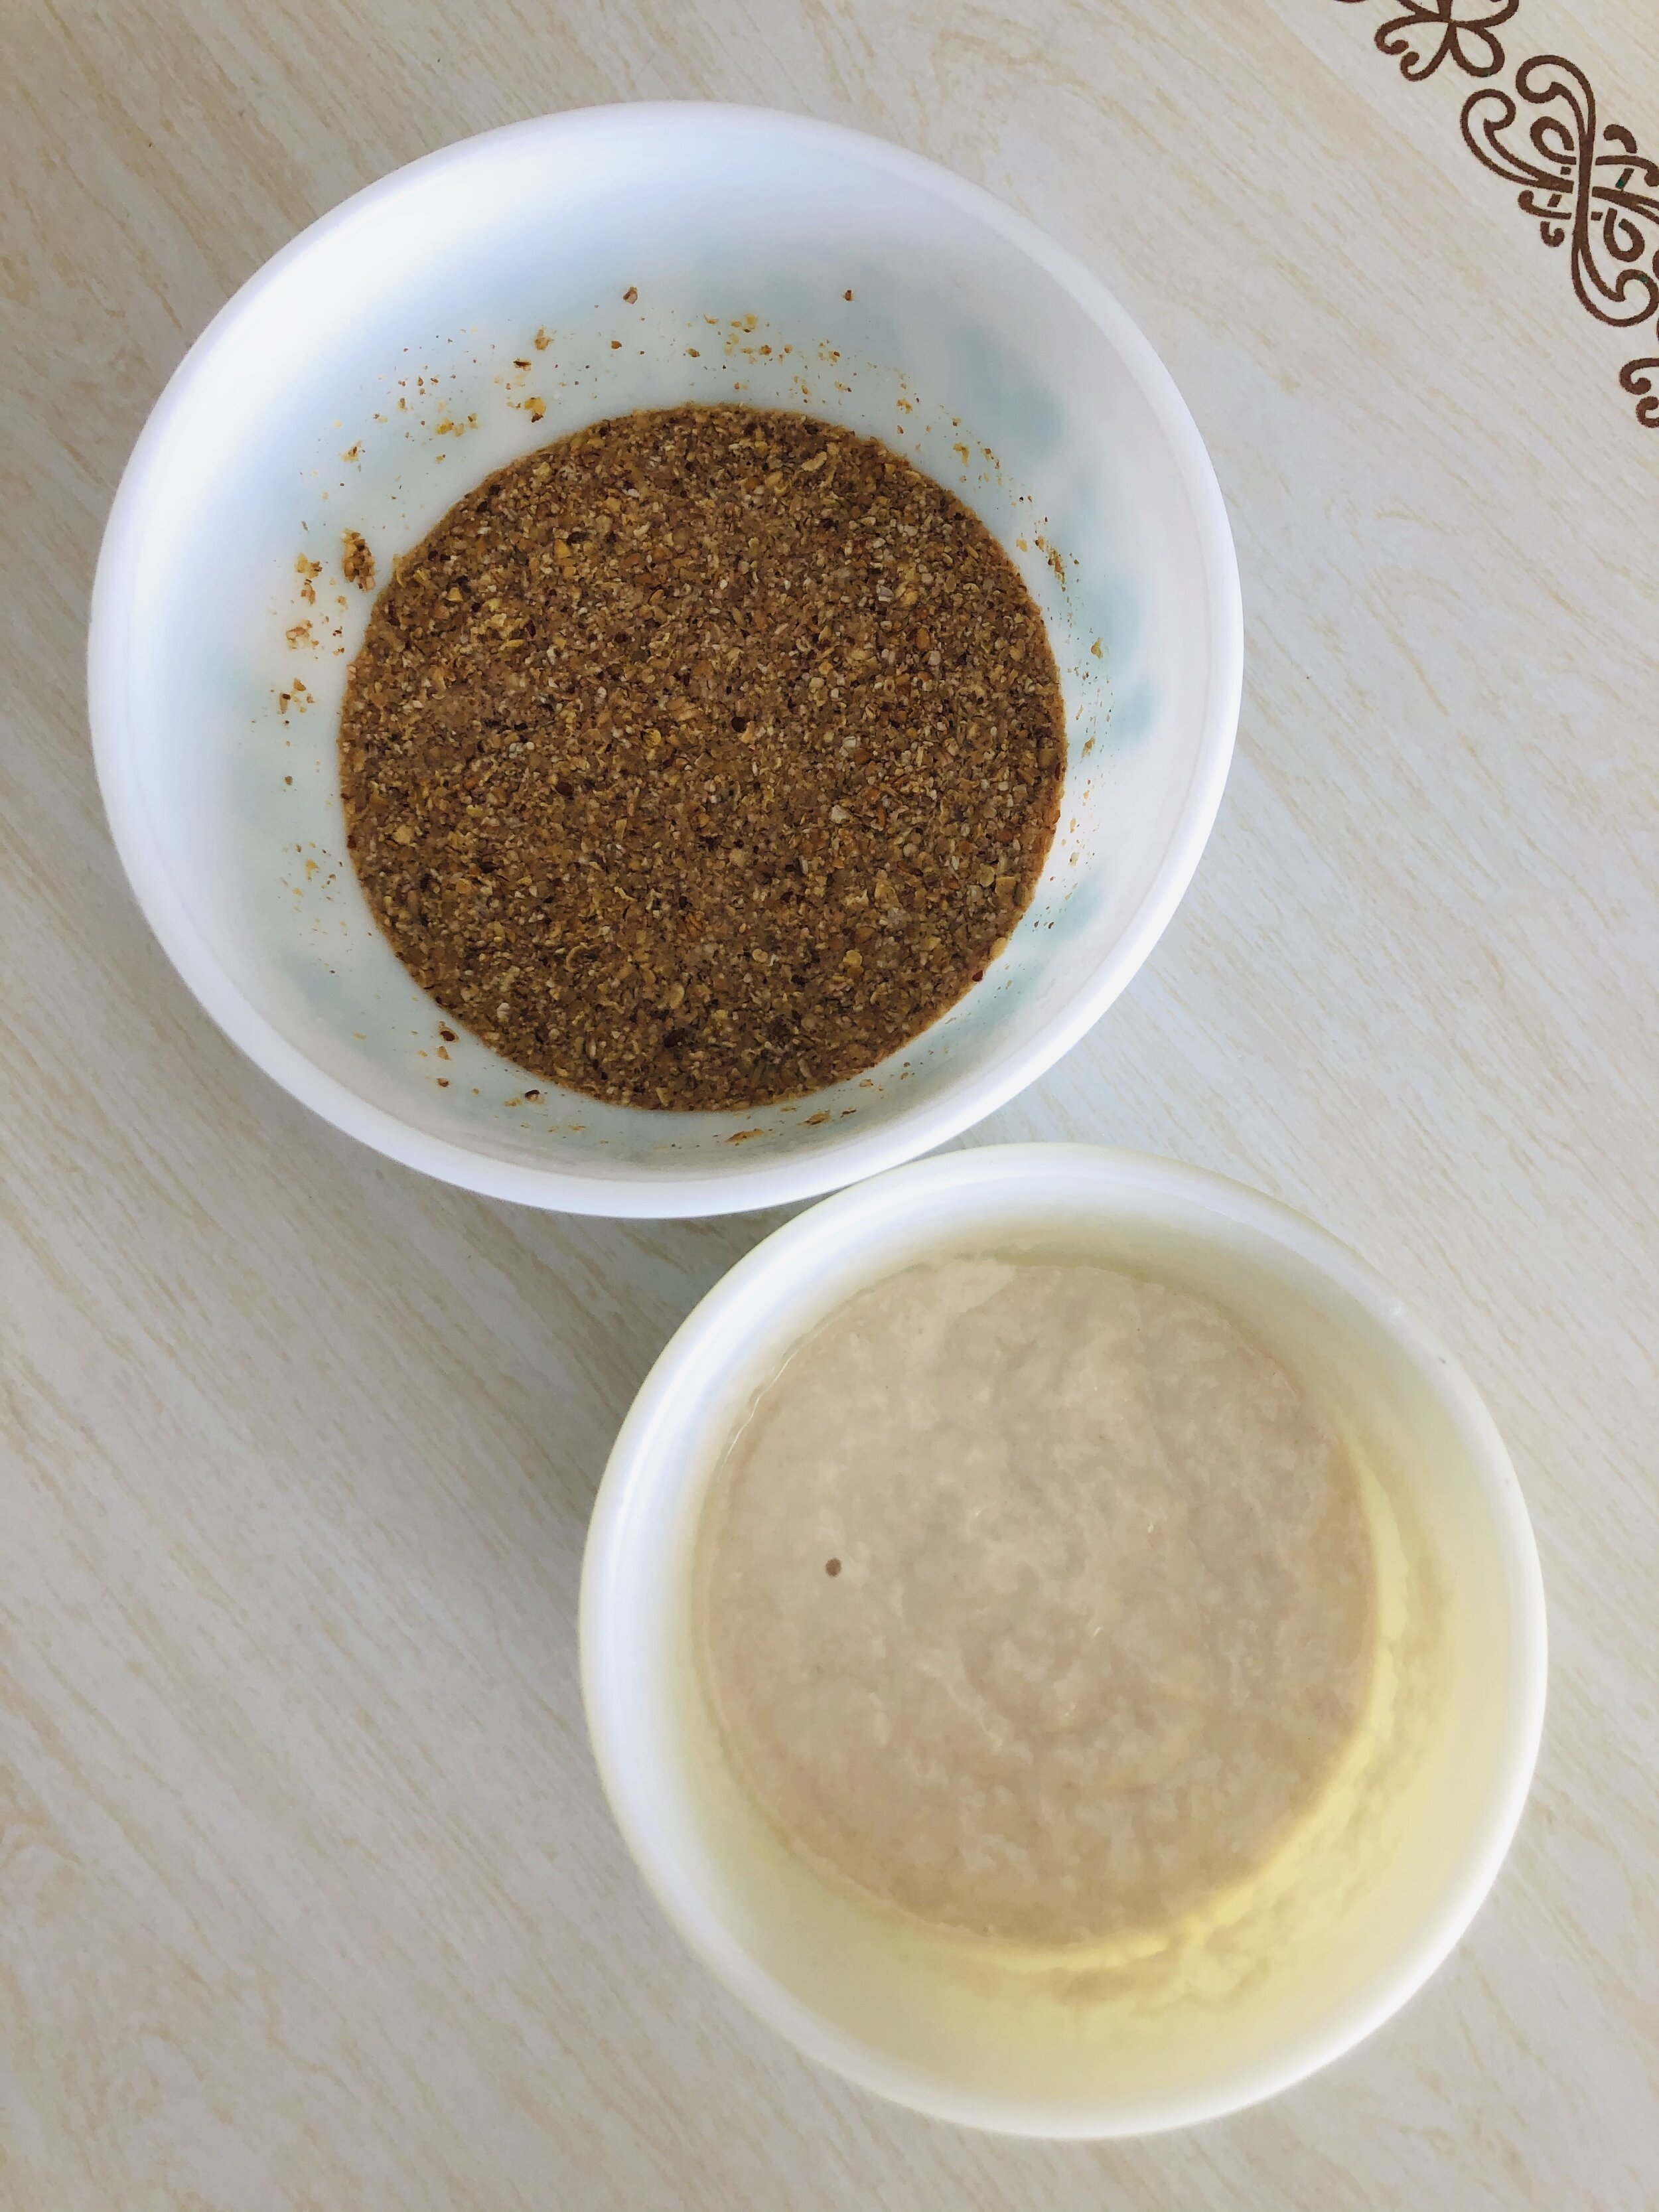
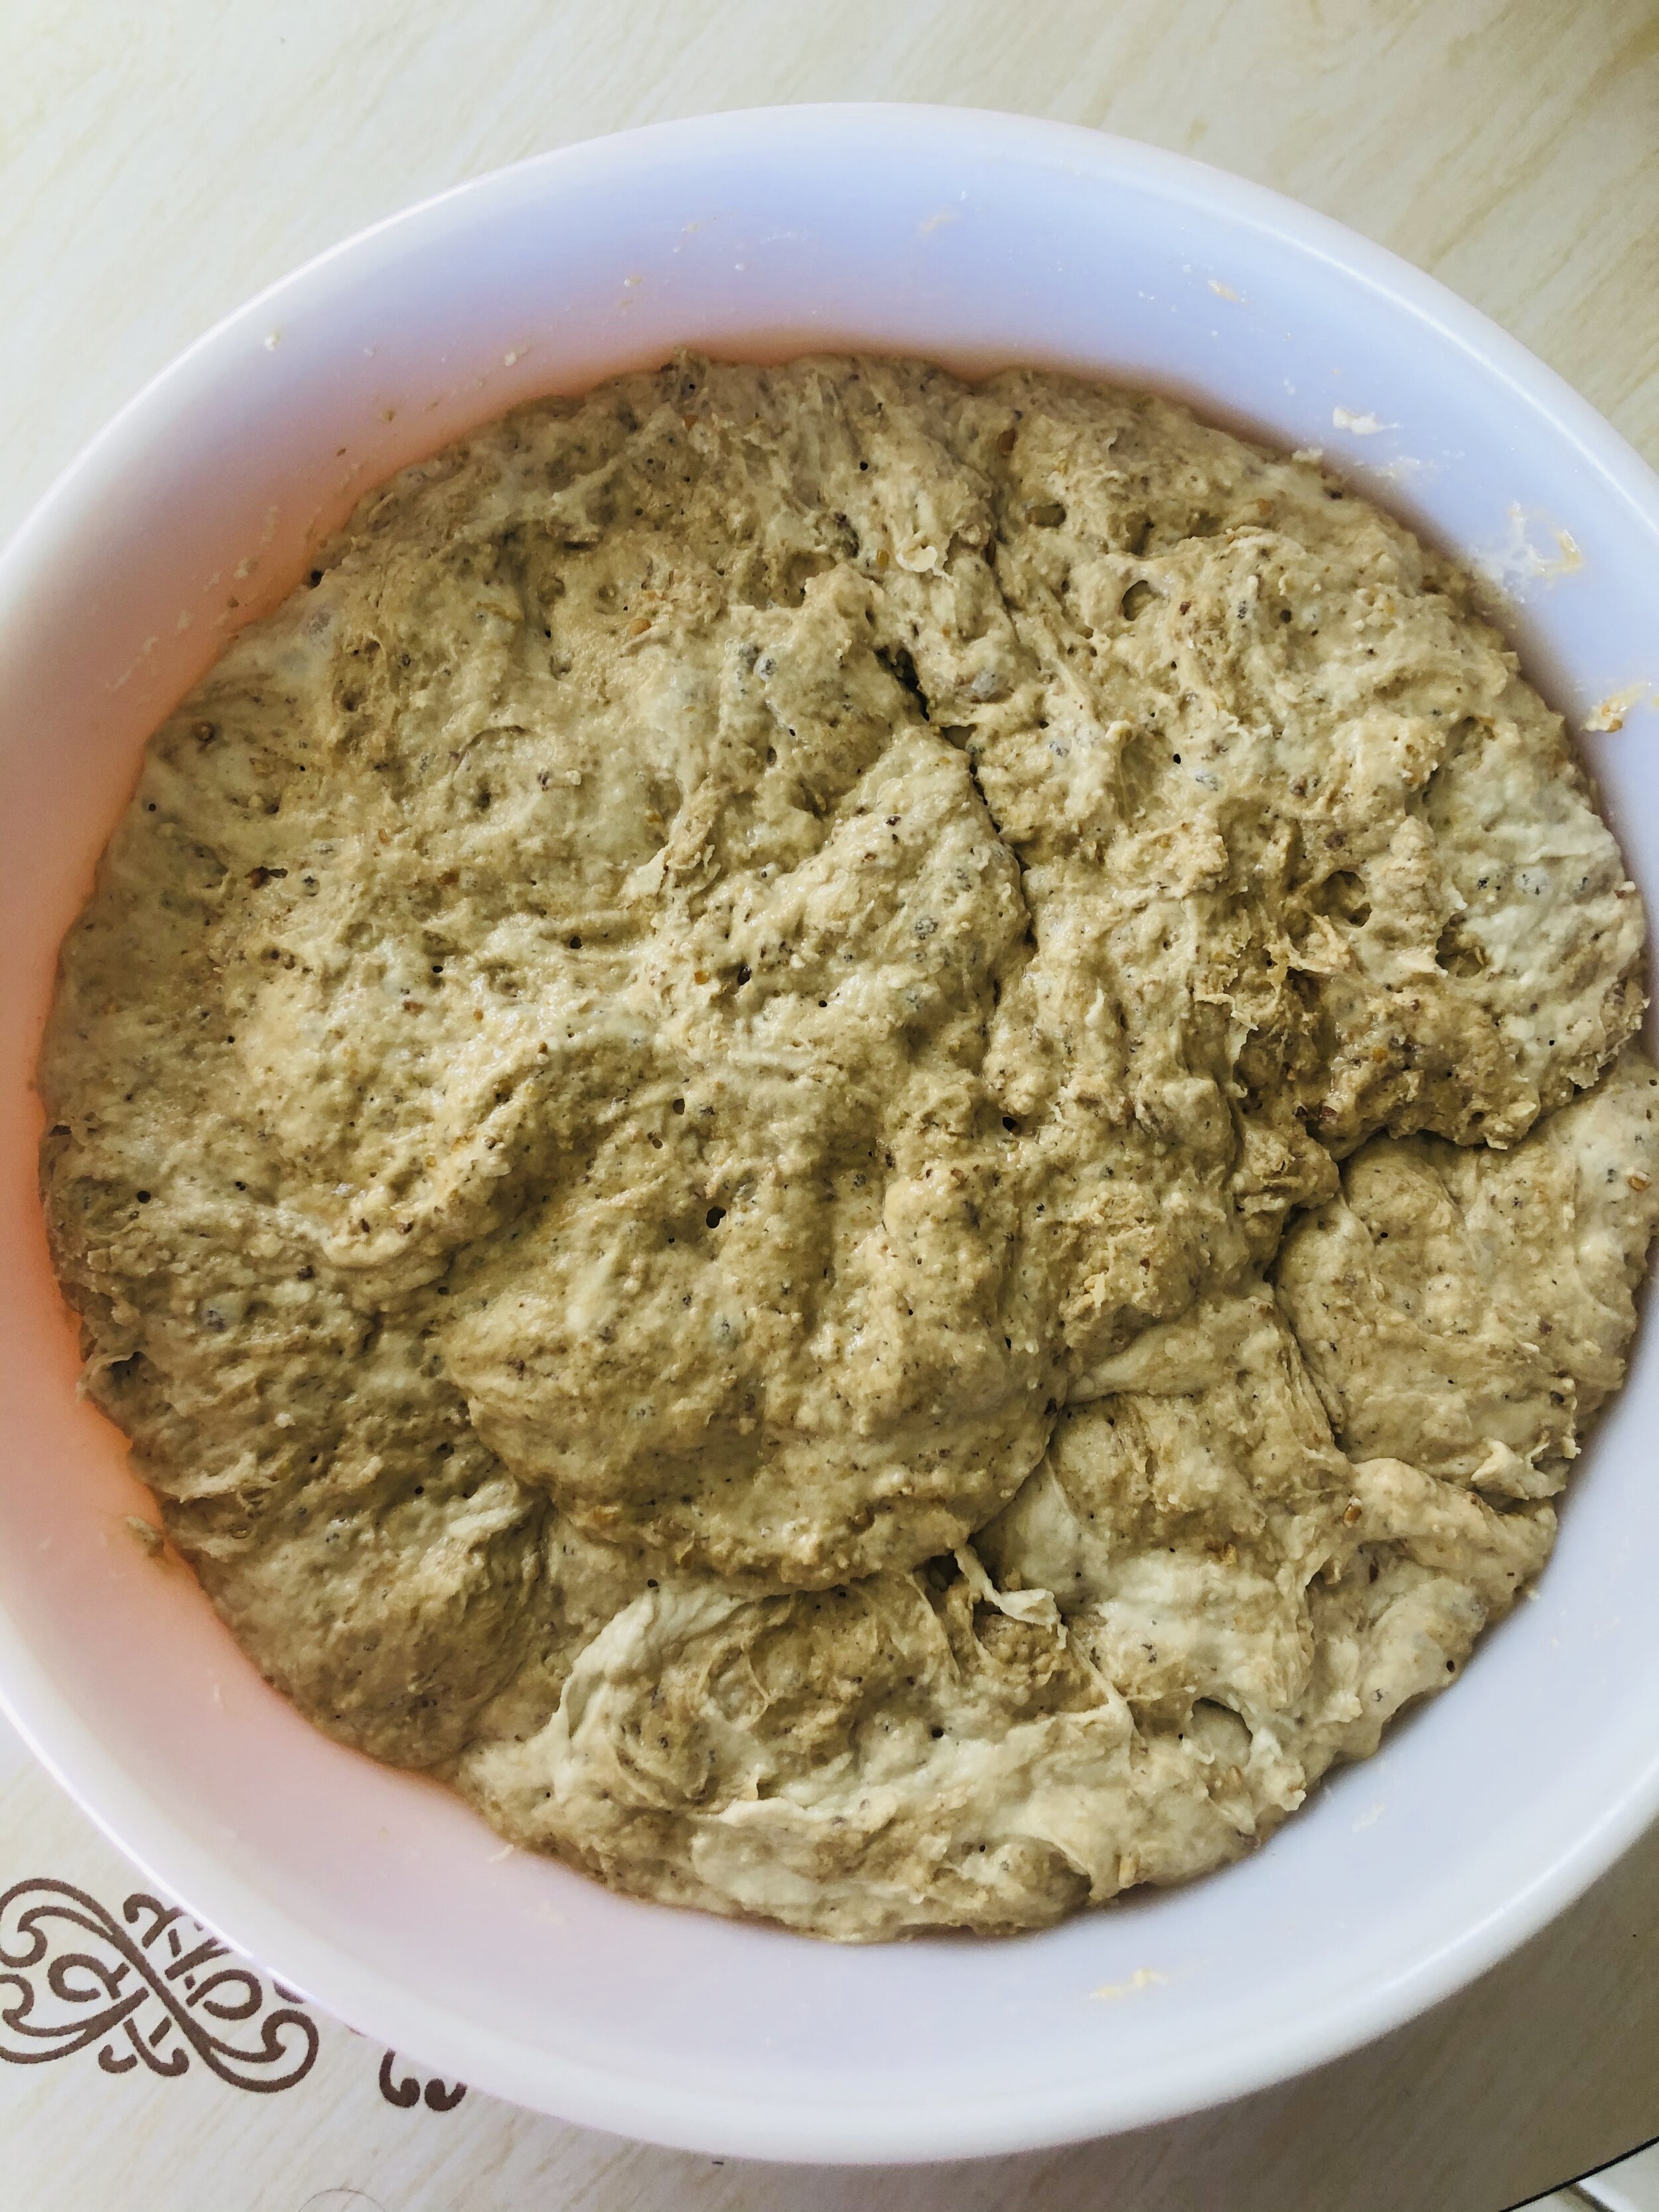
On a personal note, I’ll tell you my starter you see above is a newbie. It’s less than two weeks old and although I see signs of activation, it’s really all about feeding it at this point. I’ve been doing this twice a day now after five days of catching yeast using the wild method above. It only occurred to me to start a new one after soaking my flour mix to make this molasses loaf.

soaked flours.jpg preferment.jpg mixed ferements.jpg first rise.jpg Homemade molasses bread.jpg Sliced molasses bread.jpg

Starter or not, keep baking! I’ve found that making something with your own two hands, is rewarding. Even in failure, the reward is there. Right now it might be the antidote for boredom but as someone that has baked for years for both friends, family, and full crews at sea, warm treats from the oven always delight! I used to joke that I’ve never met a problem that a fresh cookie couldn’t solve and I would say the same goes for a hot loaf of bread! So bake and have fun! If the lockdown life leads to an economic depression, at least you’ll know how to use the flour rations. Ha!

Actually, that’s terrifying Don’t think about that.. Just go pour off the hooch and feed your new pet. We have some baking to do! And as you begin your journey into sourdough, know that you’re are backed by the ultimate bread nerd. Submit your questions in the comments so I can geek out on this one. I’ll do my best to coach you through any problem. Good luck and I look forward to baking with you next month!

April 08, 2020 /Ashley Look
How to feed a senior, Sourdough Starter, hooch, bread baking, Coronalife, coronavirus, lockdown, yeast, wild yeast, support group, recipes, dough, baking, Full Moon Baking Club, flour, molasses, starter, economic depression, rations
Full Moon Baking Club, Recipes
Comment
Conceived: 1/1/16;  Born: 1/21/16

Conceived: 1/1/16;  Born: 1/21/16

The Fermented Loaf

February 17, 2016 by Ashley Look in Recipes

Like any bun in the oven, this baby took time and like any expectant mother, I have dreamed about this moment for months.  Well, really just one month 'cause this is just the beginning of my fermented adventures but there is nothing like observing growth and development happening before your very eyes. When a bread pops out of the oven, it's nothing short of a bundle of joy! Occasionally, I even swaddle it and parade it around the house like it's "show and tell". What can I say? It's a mother's love...

For me, bread equals passion and reminds me that Grain & Grain, my bread baking and spoon carving workshops, will likely exist again sometime in the future because it's hard to put passion to rest.  So, kneadless to say (see what I did there?!), bread and I have a bond that cannot be broken.  True love will pass the test of time and I am learning that time is for the taking, aging is not for the faint of heart, and old is equal to gold.  Fermentation is age-related glory and this little loaf gets a gold star for sure!

For the "how-to" back story I encourage you to start here.  It provides all the details on how to capture wild yeast and is an introduction to the world of sourdough.  Once your starter reaches maturity and the wild bacteria has true leavening potential, you will have bread beyond your wildest dreams.

Prep

  • 1/2 cup flour
  • 1/2 cup warm water
  • 1/4 cup starter (recipe here)

In a large bowl mix the above ingredients making a levain then cover and let sit for an hour or two allowing the yeast to acclimate.

Make

  • 3 cups flour (and then more for dusting as needed)
  • 1/4 tsp. salt
  • 3/4 cup warm water
  • 1/8 cup of molasses (honey or maple syrup also work)

Directions

  1. In the bowl with the starter, add the flour and the salt. (Do not stir).
  2. In a separate bowl combine the water and molasses and stir thoroughly.
  3. Add the water/molasses mixture to the bowl with the flour and mix with a wooden spoon till the dough starts to pull away from the bowl.
  4. As the dough starts to come together, begin to knead it slightly with your hand and encourage it along.
  5. Once you have a rough dough ball formed you can dump it onto a floured surface and continue kneading. (Note: if your dough is stiff and on the dryer side you may not require much surface flour but if it feels wet, more flour is necessary to keep it from sticking to your hands and your counter top).
  6. Knead for a good 10 to 15 minutes to help develop the gluten.
  7. Lightly oil a large bowl and place the dough inside, giving it a little toss to slightly coat all sides. Lay it to rest with the seam side down. Cover it with plastic wrap and leave to rest for 6-8 hours. (The wild yeast is less potent than commercial yeast, so time is truly necessary to allow the dough to double in size. I typically make this dough in the evening so I can let it rest overnight and bake it in the morning).

Bake

  1. After the dough has doubled, remove it from the bowl and knead it again to degas the dough slightly, dusting with flour as necessary.
  2. Shape the dough and place it on an inverted lid of a flat-top dutch oven (something like this). If you don't have this type of dutch oven you can place the dough in a greased bread pan or sheet pan alternatively without a "top".
  3. Let it rise covered for another hour or until it doubles in size.
  4. Preheat your oven to 500 degrees along with the bottom of your dutch oven which in this case will serve as your "top".
  5. When the oven is up to temperature, score your loaf with afew decrative slashes then carefully remove the dutch oven "top" and place it over the dough so the loaf is now inside the dutch oven.
  6. Carefully place the inverted pot into the oven and bake for 30 minutes.
  7. After 30 minutes, reduce the temperature to 450 degrees, remove the "top" and continue baking for more 15 minutes uncovered, or until the internal temperature reaches 190 degrees.
  8. Cool on a rack for an hour before slicing.

*Note: If you are using a bread or sheet pan, you can mimic these results by preheating a baking pan on the lowest oven rack. After you score the bread, place it immediately in the oven and add two inches of water to the baking pan. This will create steam which helps contribute to the crispy crust. Bake for 10 minutes then remove the pan of water and lower the temperature to 375 degrees. Bake for an additional 25-30 minutes or until the internal temperature reaches somewhere between 180-190 degrees.

As a final addition I like to brush the top with butter.  This brings out the sheen in the crust and also adds a little flavor.  I mean, you can't go wrong with butter right?

February 17, 2016 /Ashley Look
how to feed a senior, Sourdough Starter, bread
Recipes
Comment
Signs of fermentation on day 3.

Signs of fermentation on day 3.

Making A Wild Yeast Sourdough Starter

January 08, 2016 by Ashley Look in Recipes

Fermented foods are perfect examples of things getting better with age and since we are really living by the idea that old is gold, 2016 marked the birth date of the house sourdough starter. I have experimented with starters before however this attempt is the first time I have sought to capture wild yeast.  I make no promises but the bubbles above do show promise and assuming I can keep it alive, then we are in for a good year for sure!

Ingredients

  • 1 cup flour
  • 1 cup warm water

Directions

  1. Combine the flour and water in a bowl and mix thoroughly
  2. Cover with a towel or several layers of cheese cloth and leave to rest at room temperature for 24 hours.
  3. After 24 hours check for a few bubbles starting to appear. This is a sign that yeast are becoming active and fermentation is starting.
  4. Keep checking every 12 to 24 hours to ensure that more bubbles are forming and the process is developing nicely.
  5. Once the bowl is full of bubbles it is now time to start "feeding" it daily.

Feeding The Starter

  1. Add 1/2 cup flour and 1/2 cup warm water to a clean bowl.
  2. Add 1/4 cup of starter to the bowl and mix to combine.
  3. Cover with a towel or cheese cloth and let rest for another 24 hours and discard what is left of the old starter.
  4. Do this daily until you notice a predicable rise and fall of the starter sponge which is an indicator that your starter is now mature and can be used as a leavener.
  5. Another trick to test maturity is to drop a teaspoon of the starter into a cup of water and if it floats, it's ready! If it sink, then continue feeding it daily allowing more development to occure.

I am not the biggest fan of tossing out the unused starter so for avid bread bakers out there, I encourage you to incorporate these discards into whatever baking adventures you have in the works.  The daily feeding has really thrust me into my own baking challenge where my head is spinning as to how next I will use this goop. It's kinda fun, a bit like a low maintenance pet, and more than anything, it's encouraging me to make something daily.  

If you have experimented with wild yeast or starters or daily makings of any kind, I would love to hear about them!  I am on the hunt for ideas and inspirations both in the baking world but also in the sense of creating a routine or ritual.  It has been exactly one week into 2016 and although I don't want to put too much pressure on the idea of a resolution, I love the concept of a fresh start.  Starting a starter isn't exactly fresh but it still represents a journey into newness.  This starter might be a complete flop but I am trying to focus more on the act of trying and making an effort rather than any success or accomplishment.  Who's with me?

January 08, 2016 /Ashley Look
how to feed a senior, Wild Yeast, Sourdough Starter, Bread
Recipes
2 Comments
 
Search