Of Grain and Grain  |  Tactile Explorations of Flour and Wood

By Ashley Look

  • Blog
  • Flour
  • Wood
  • Shop
  • Services
  • Events
  • About
  • Contact
  • Search

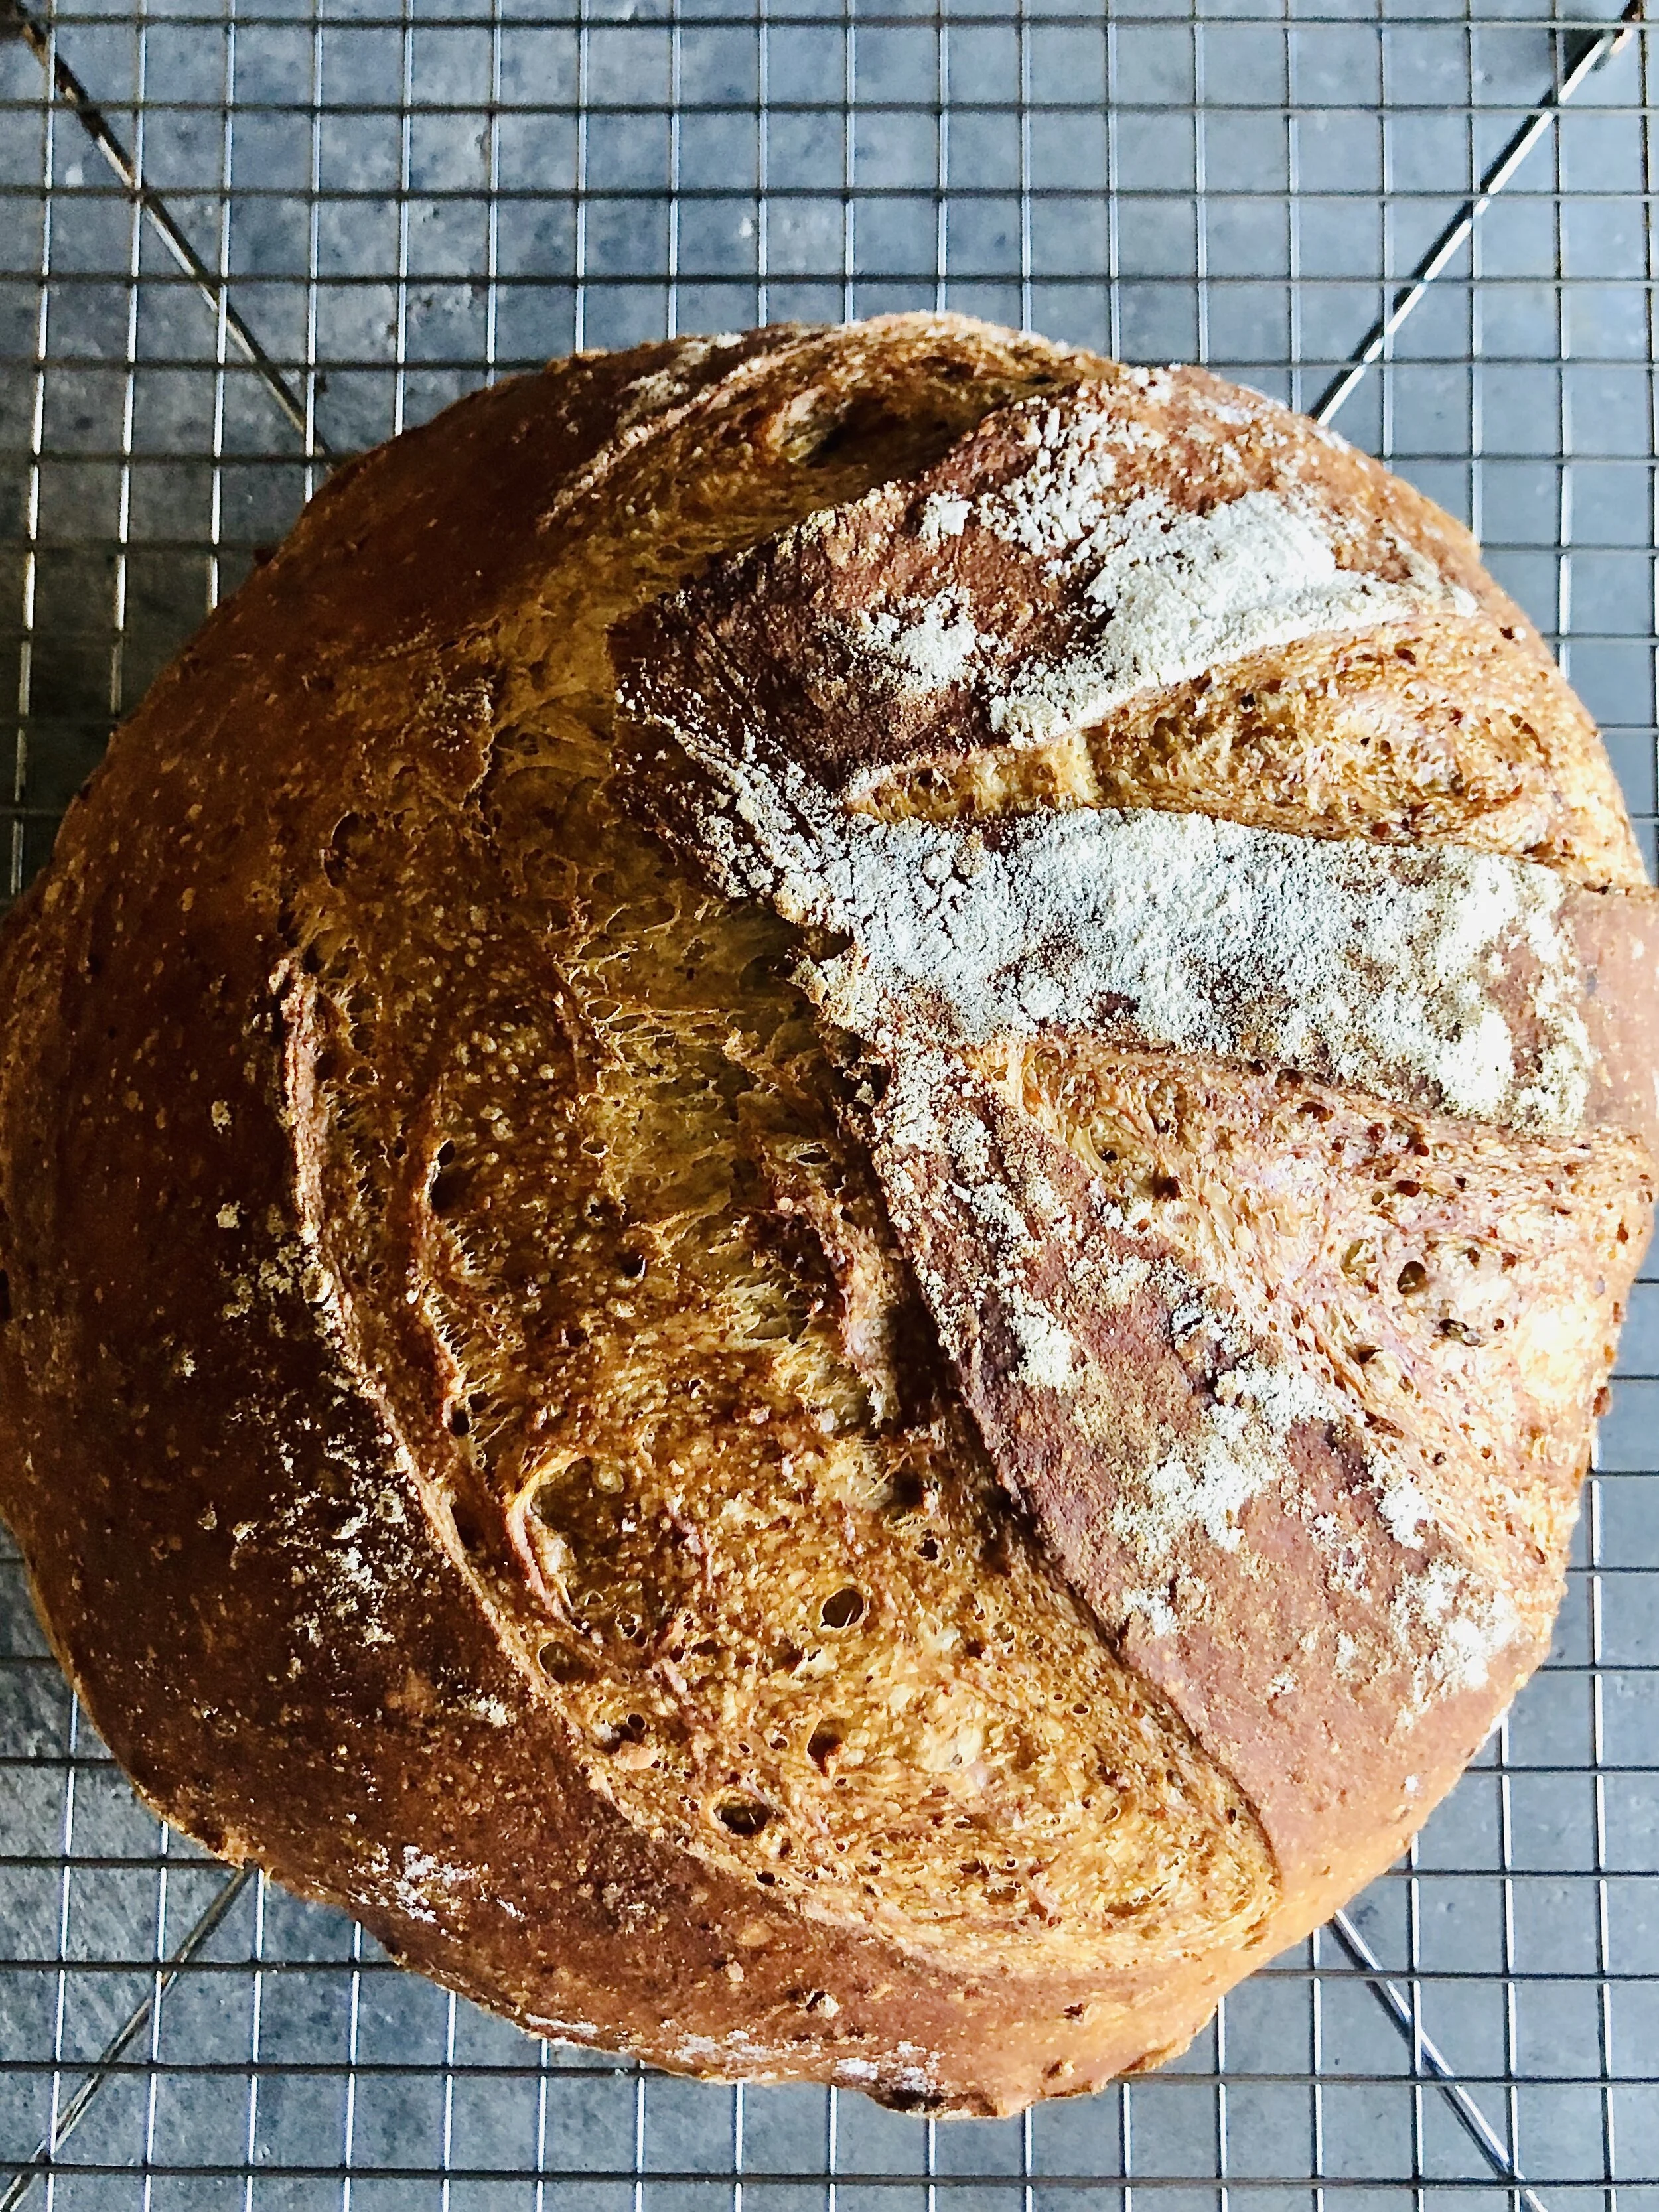
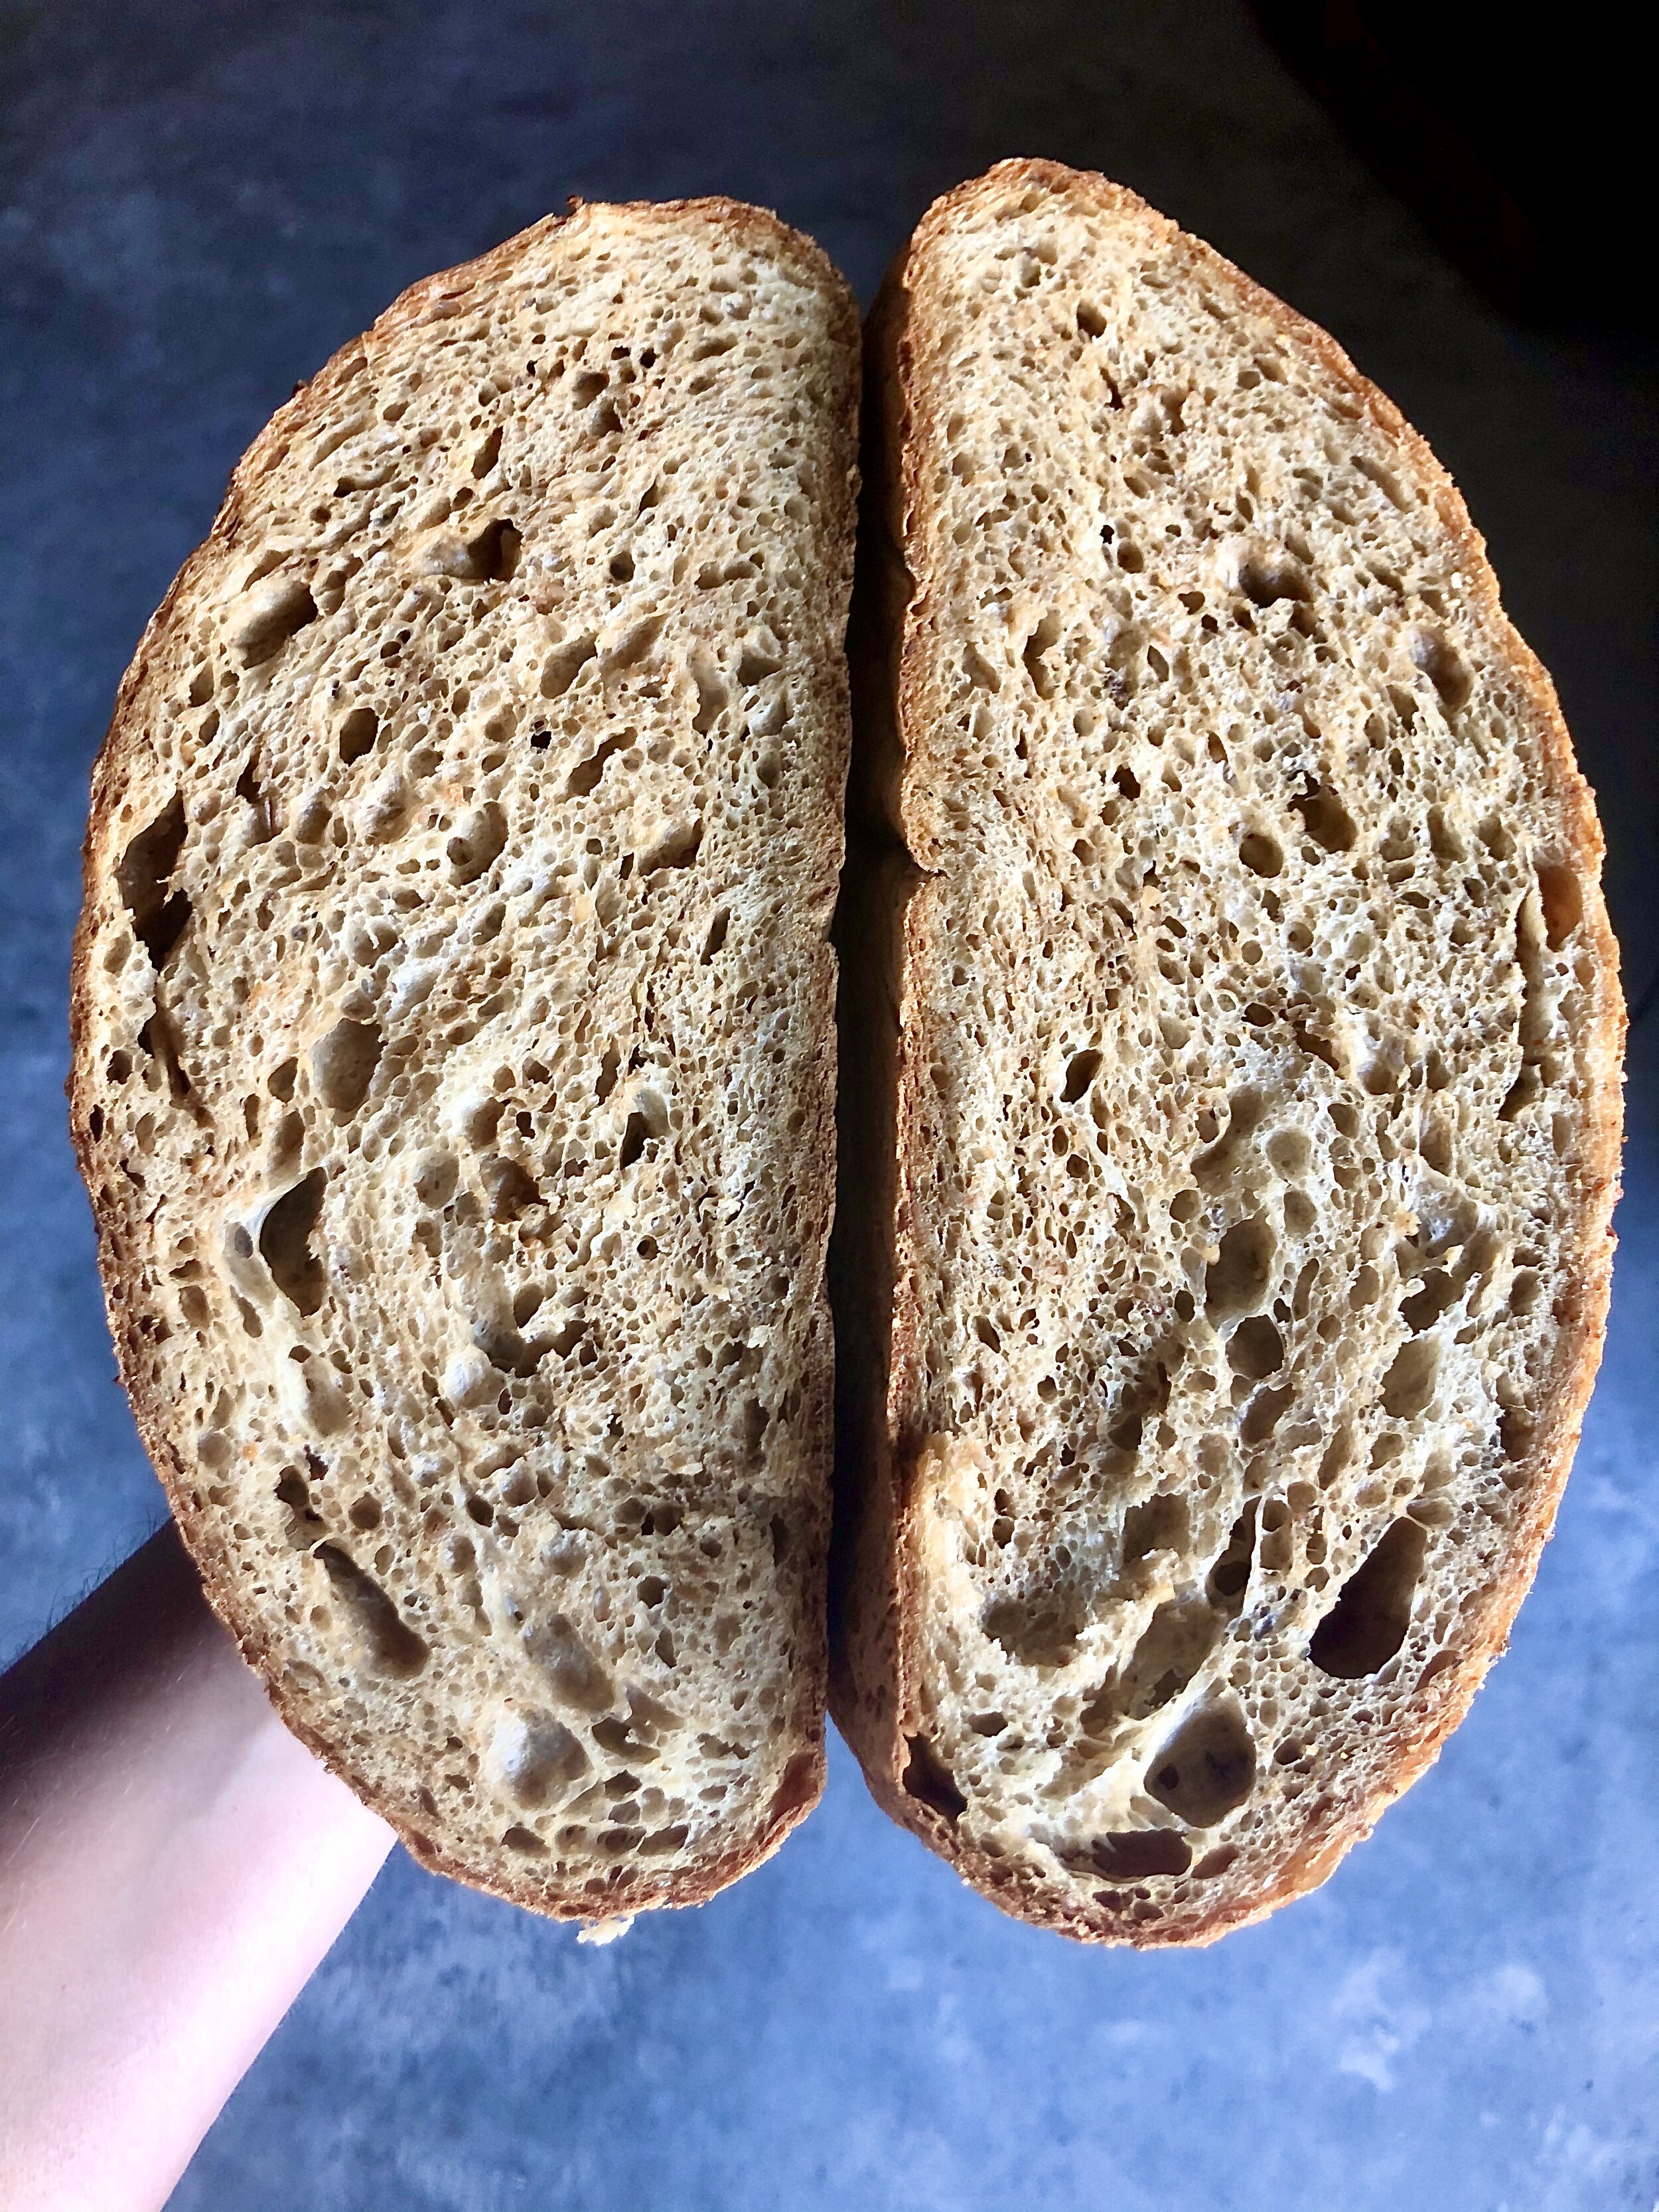
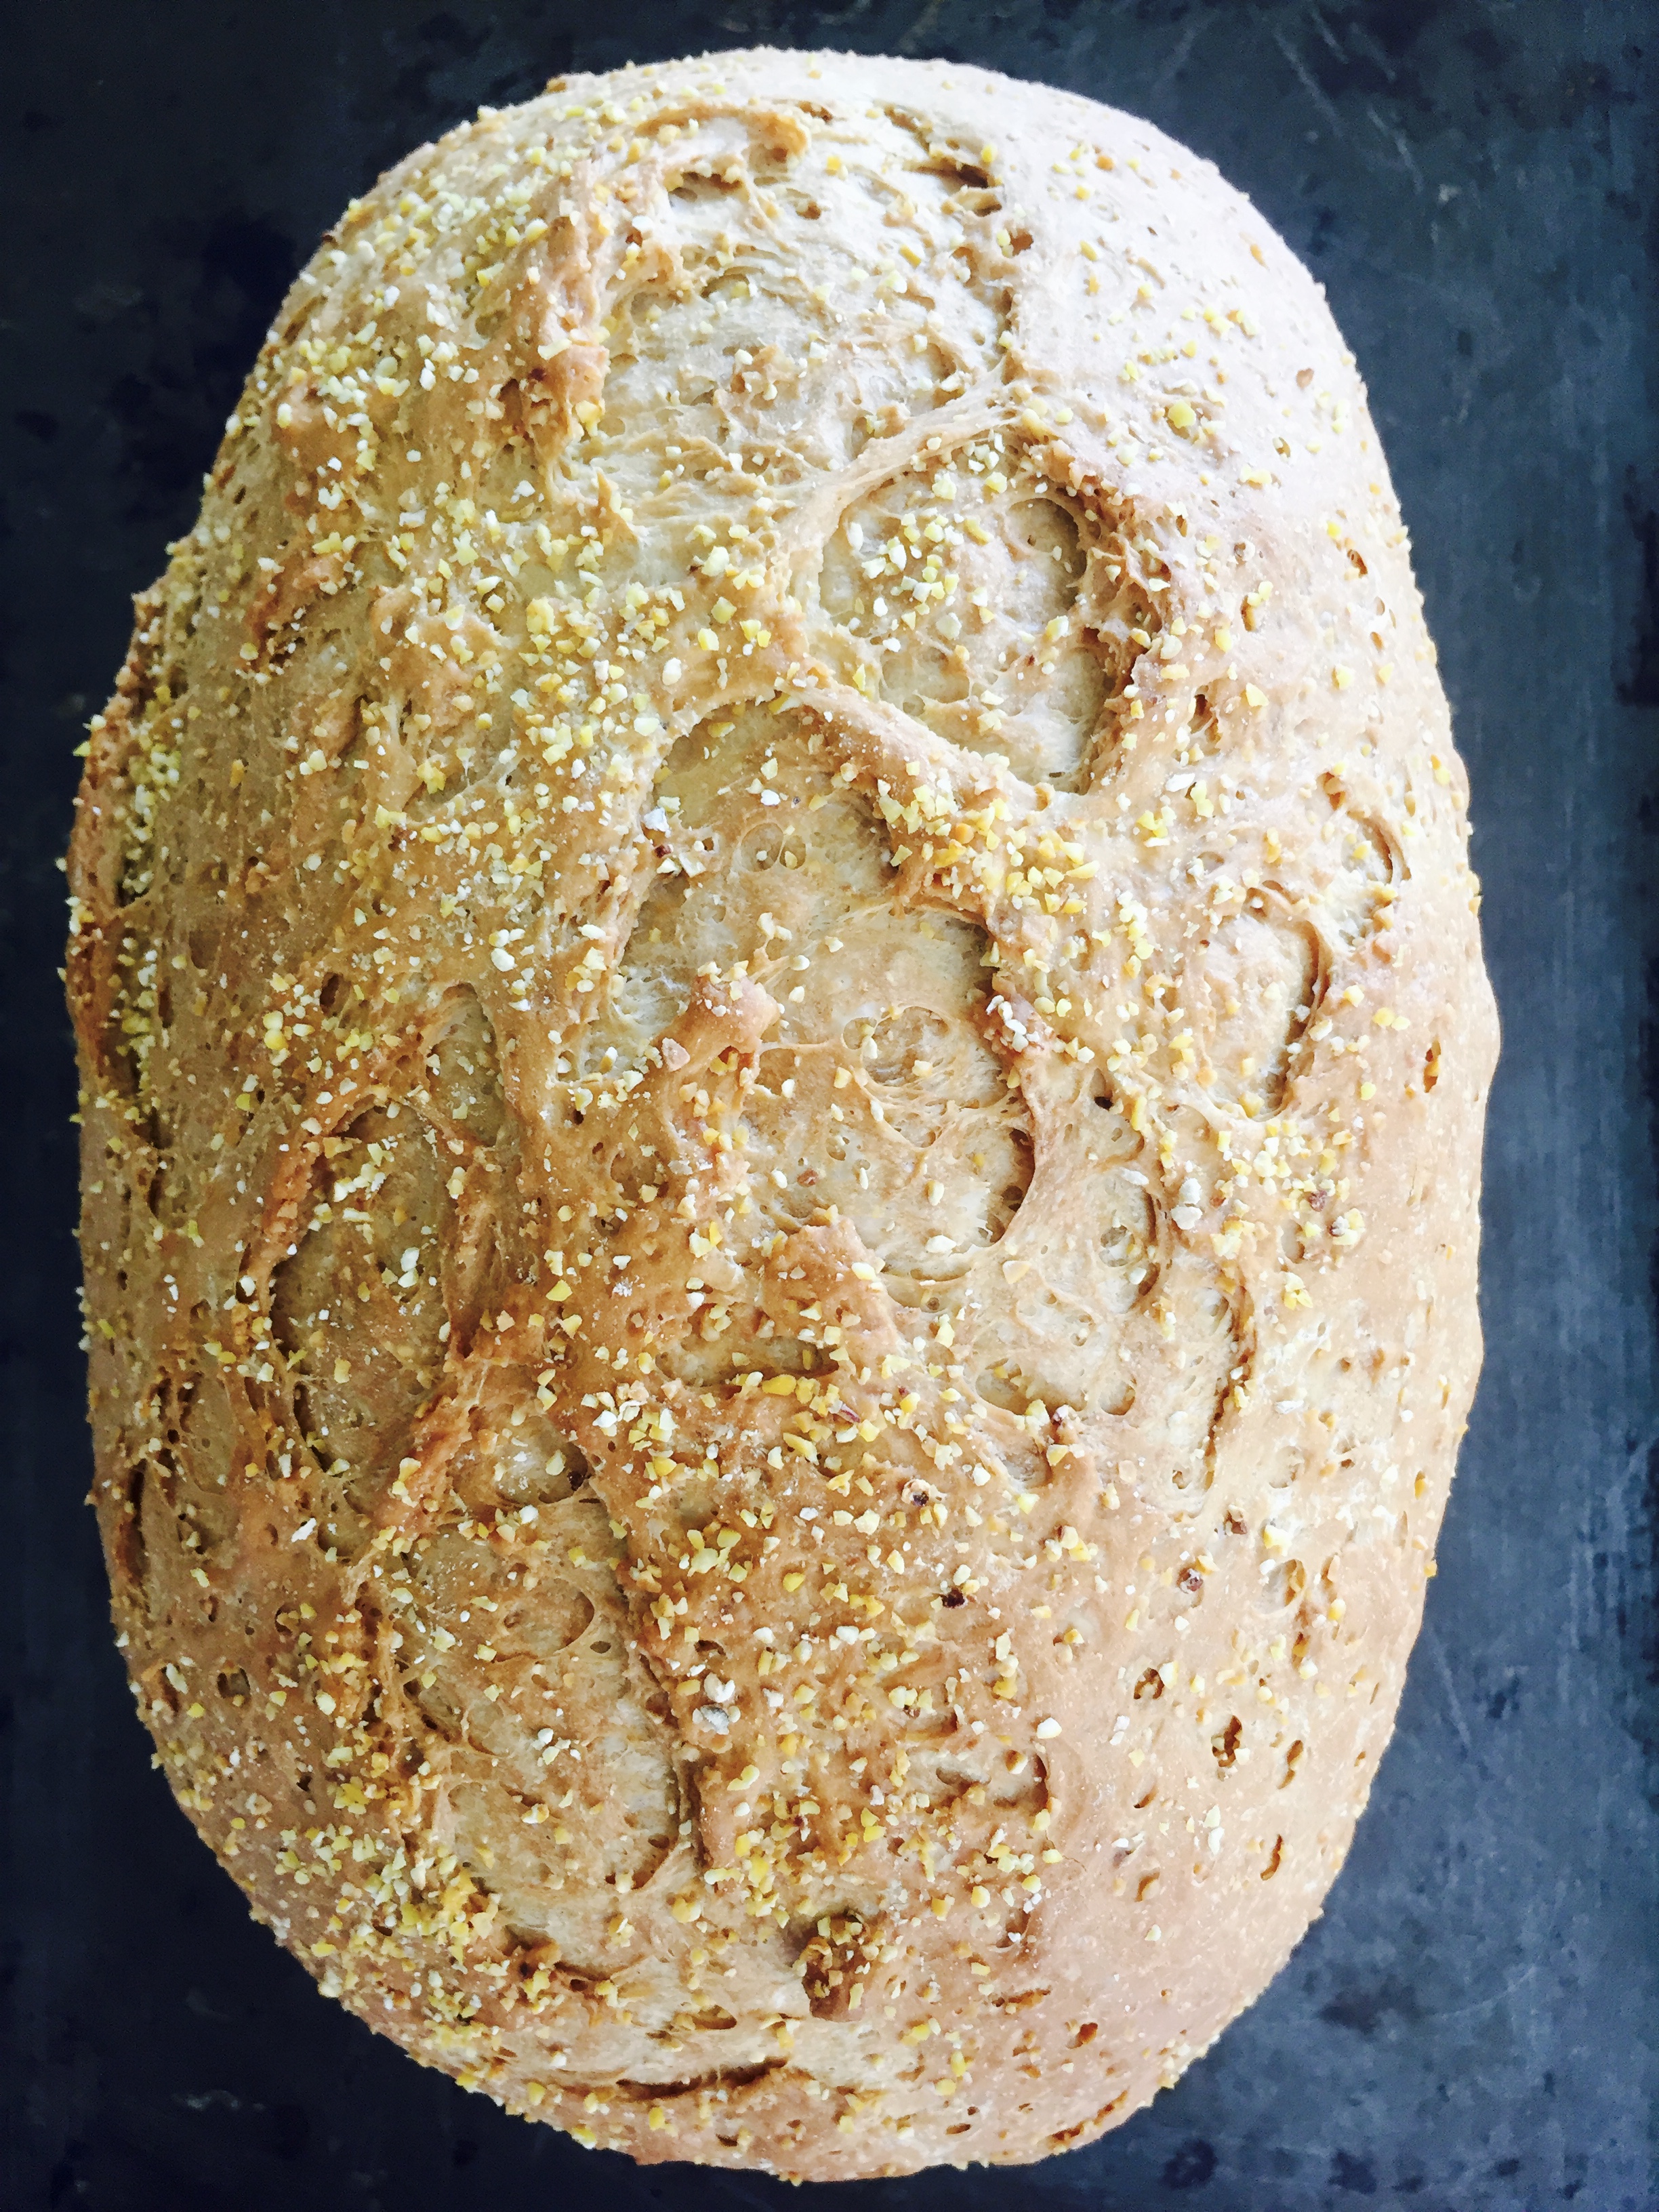
A freshly baked loaf of Molasses and Milk bread.

Bread for the Home

October 23, 2022 by Ashley Look in Breads, Flour

Still got it!

I baked this loaf of bread yesterday. It was my first attempt at bread baking post elbow surgery. Did I use both hands to knead it? Not really… This is a one-handed wonder bread but still, it was good to see not all is lost!


Recipe -ish

Dry Ingredients Combined:

  • 2 cups flour

  • 3/4 tsp yeast

  • 3/4 tsp salt

Wet Ingredients Combined:

  • 1/4 cup molasses

  • 1/4 cup warm milk

  • 1/4 cup warm water

Process:

  1. Place all dry ingredients in a bowl.

  2. Mix wet ingredients together and then add to the bowl.

  3. Combine, form dough, knead…

  4. Cover and rest for 1 hour.

  5. Punch down, knead again, shape, and let rest another hour.

  6. Preheat oven to 400F degrees.

  7. Bake for 30ish minutes.

  8. Enjoy!


This loaf is on the small side cause I needed it to be manageable with one hand. Now, just imagine what you could bake with two!

So, go on…get dirty! Bake this and let me know what you think. You like-y?

October 23, 2022 /Ashley Look
fresh bread, bread baking, molasses, milk, of grain and grain, kneading dough, one-handed baking, yeast, homemade bread, bread for home
Breads, Flour
Comment
Early sourdough fermentation bubbles in my starter.

Early sourdough fermentation bubbles in my starter.

Sourdough Starter Support Group

April 08, 2020 by Ashley Look in Full Moon Baking Club, Recipes

It’s been incredible watching the internet boom with bread baking. The dough life is everywhere and the breads are looking amazing! I’ve been on the bread train for a while now, so when this new wave of bakers emerged, I was caught somewhat off guard. Dare I say, “jealous” you’ve been baking without me? Luckily, FOMO is a pre-coronavirus complex since we’re all stuck at home these days. But dang! You guys with your bread flex right now brings me so much joy. I’ve been seeing so many sourdough starters in my Facebook feed that I figured we needed a support group for all the questions. Seriously though, you guys are champions! I’m loving all the close-ups of fermentation bubbles, and those sexy hooch lines. It’s like the baker’s version of the first day of school and your starter’s already on the honor roll!

I know some of you created a starter because you were running low on yeast. Smart move! Others, feel left behind cause they are completely without. Fortunately, you’re not out of the bread game just yet. You can easily collect wild yeast to make a sourdough starter. Once your starter is active you’re good to go. When it comes to working it into recipes, I typically use about a 1/4 cup per loaf. There’s a ton of information out there about how and when to feed your starter, weighing the flour, blah, blah blah… Personally, I can’t be bothered with the details and save that for the professionals like Sarah Owens and Tara Jensen. They are the darlings of sourdough in my book, so if you wanna dive deep, check them out. Otherwise, if you see a hooch layer forming, it’s time for another feeding.

As for getting back into baking with the Full Moon Baking Club I figure now is as good as any for a reboot! Rather than post a recipe this month, I figured we should just get our starters up to snuff so in a month we can get our bake on. If you have yeast, you can explore the recipes on the Full Moon Baking Club page, or if your starter is ready, you can get experimental and try out the Fermented Loaf recipe.

On a personal note, I’ll tell you my starter you see above is a newbie. It’s less than two weeks old and although I see signs of activation, it’s really all about feeding it at this point. I’ve been doing this twice a day now after five days of catching yeast using the wild method above. It only occurred to me to start a new one after soaking my flour mix to make this molasses loaf.

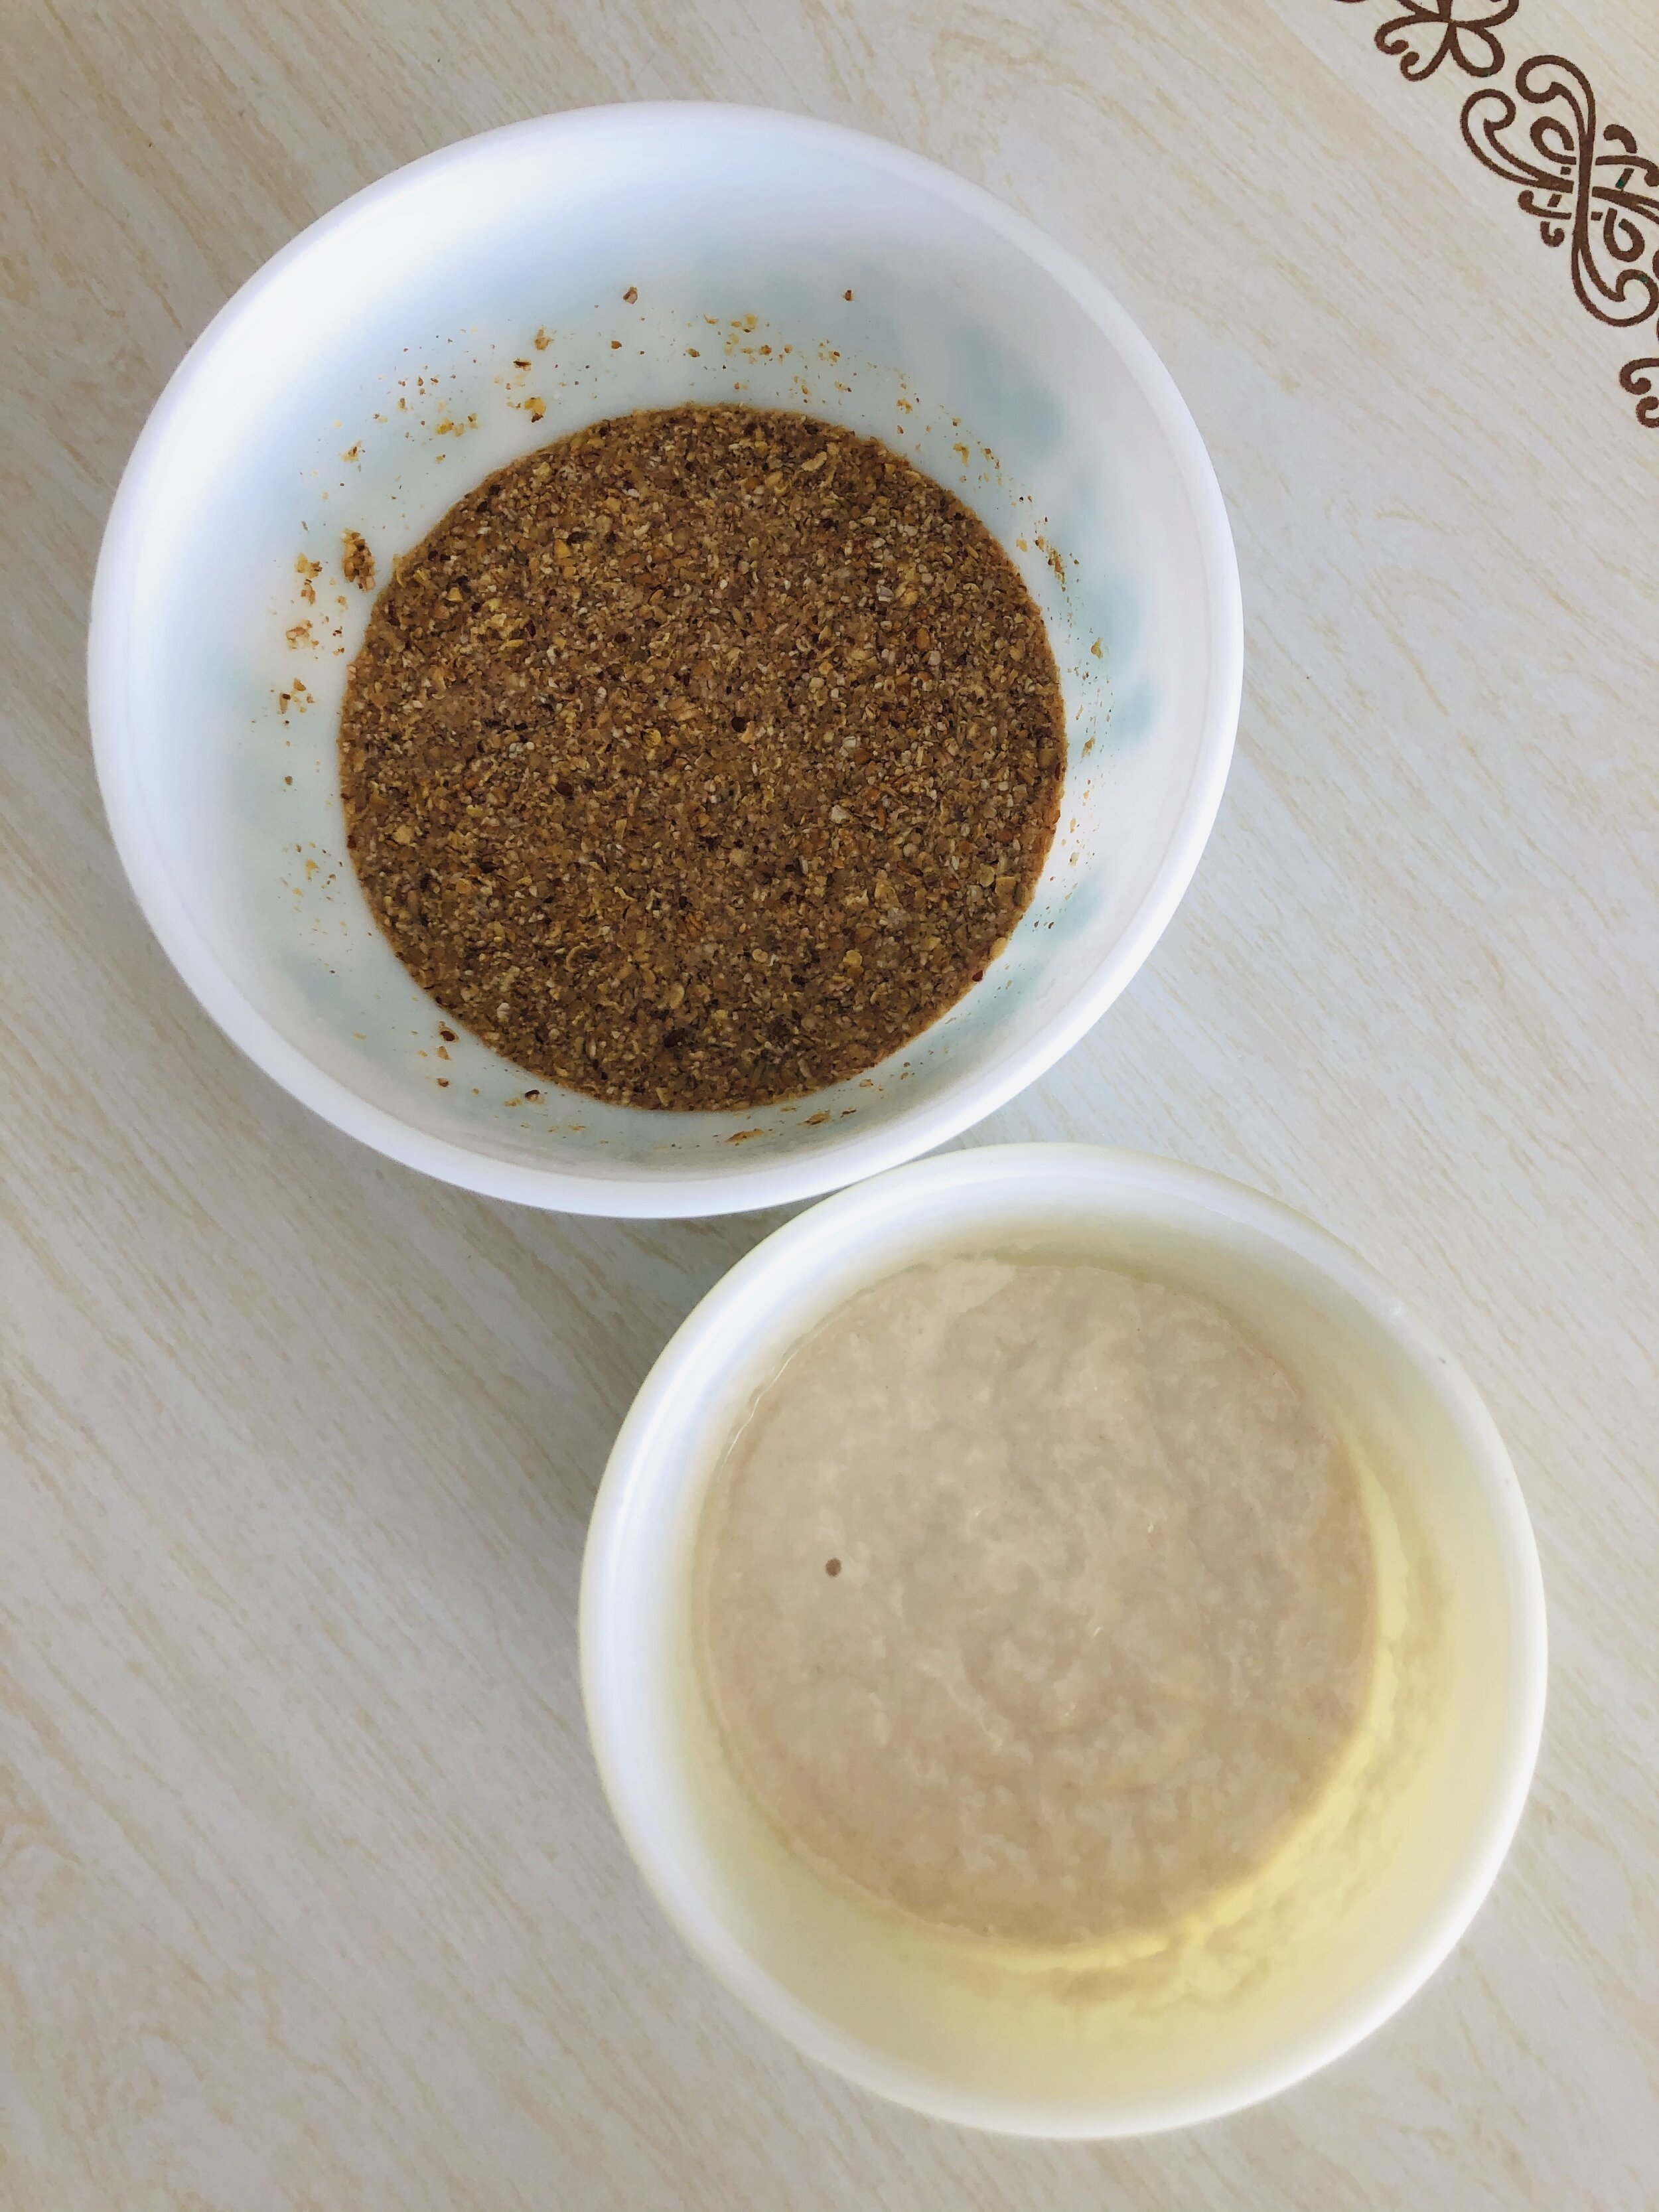
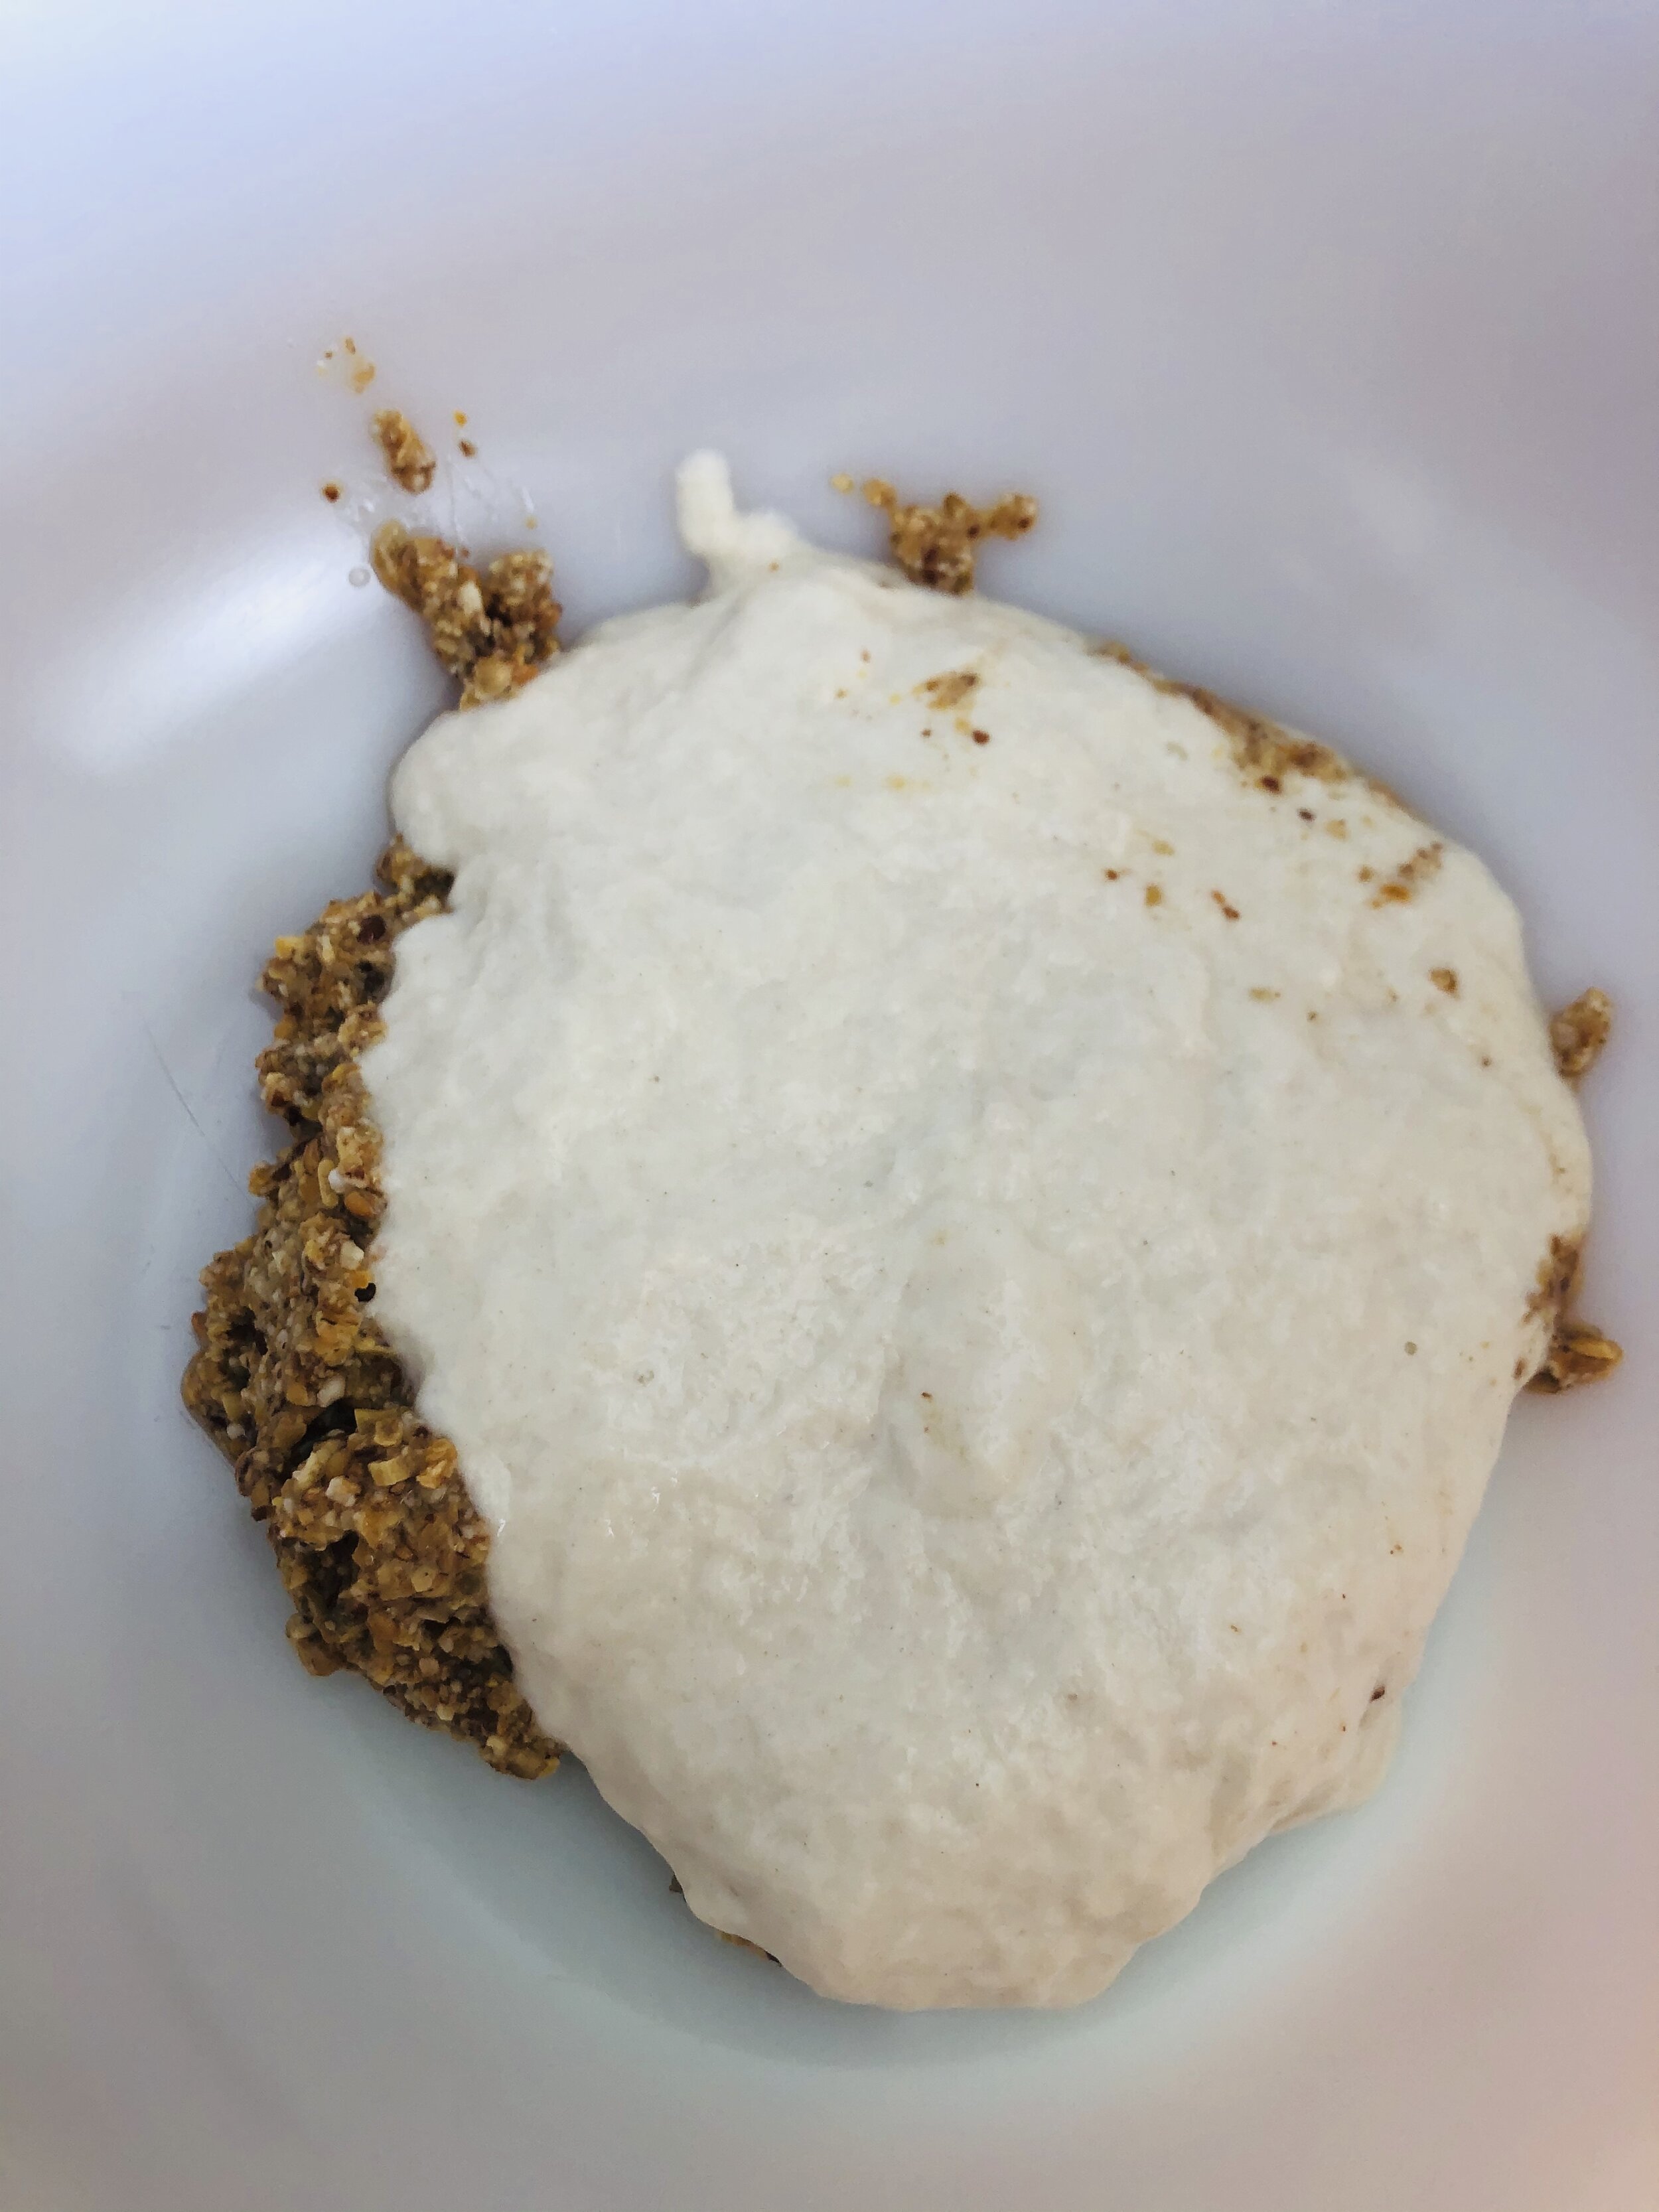
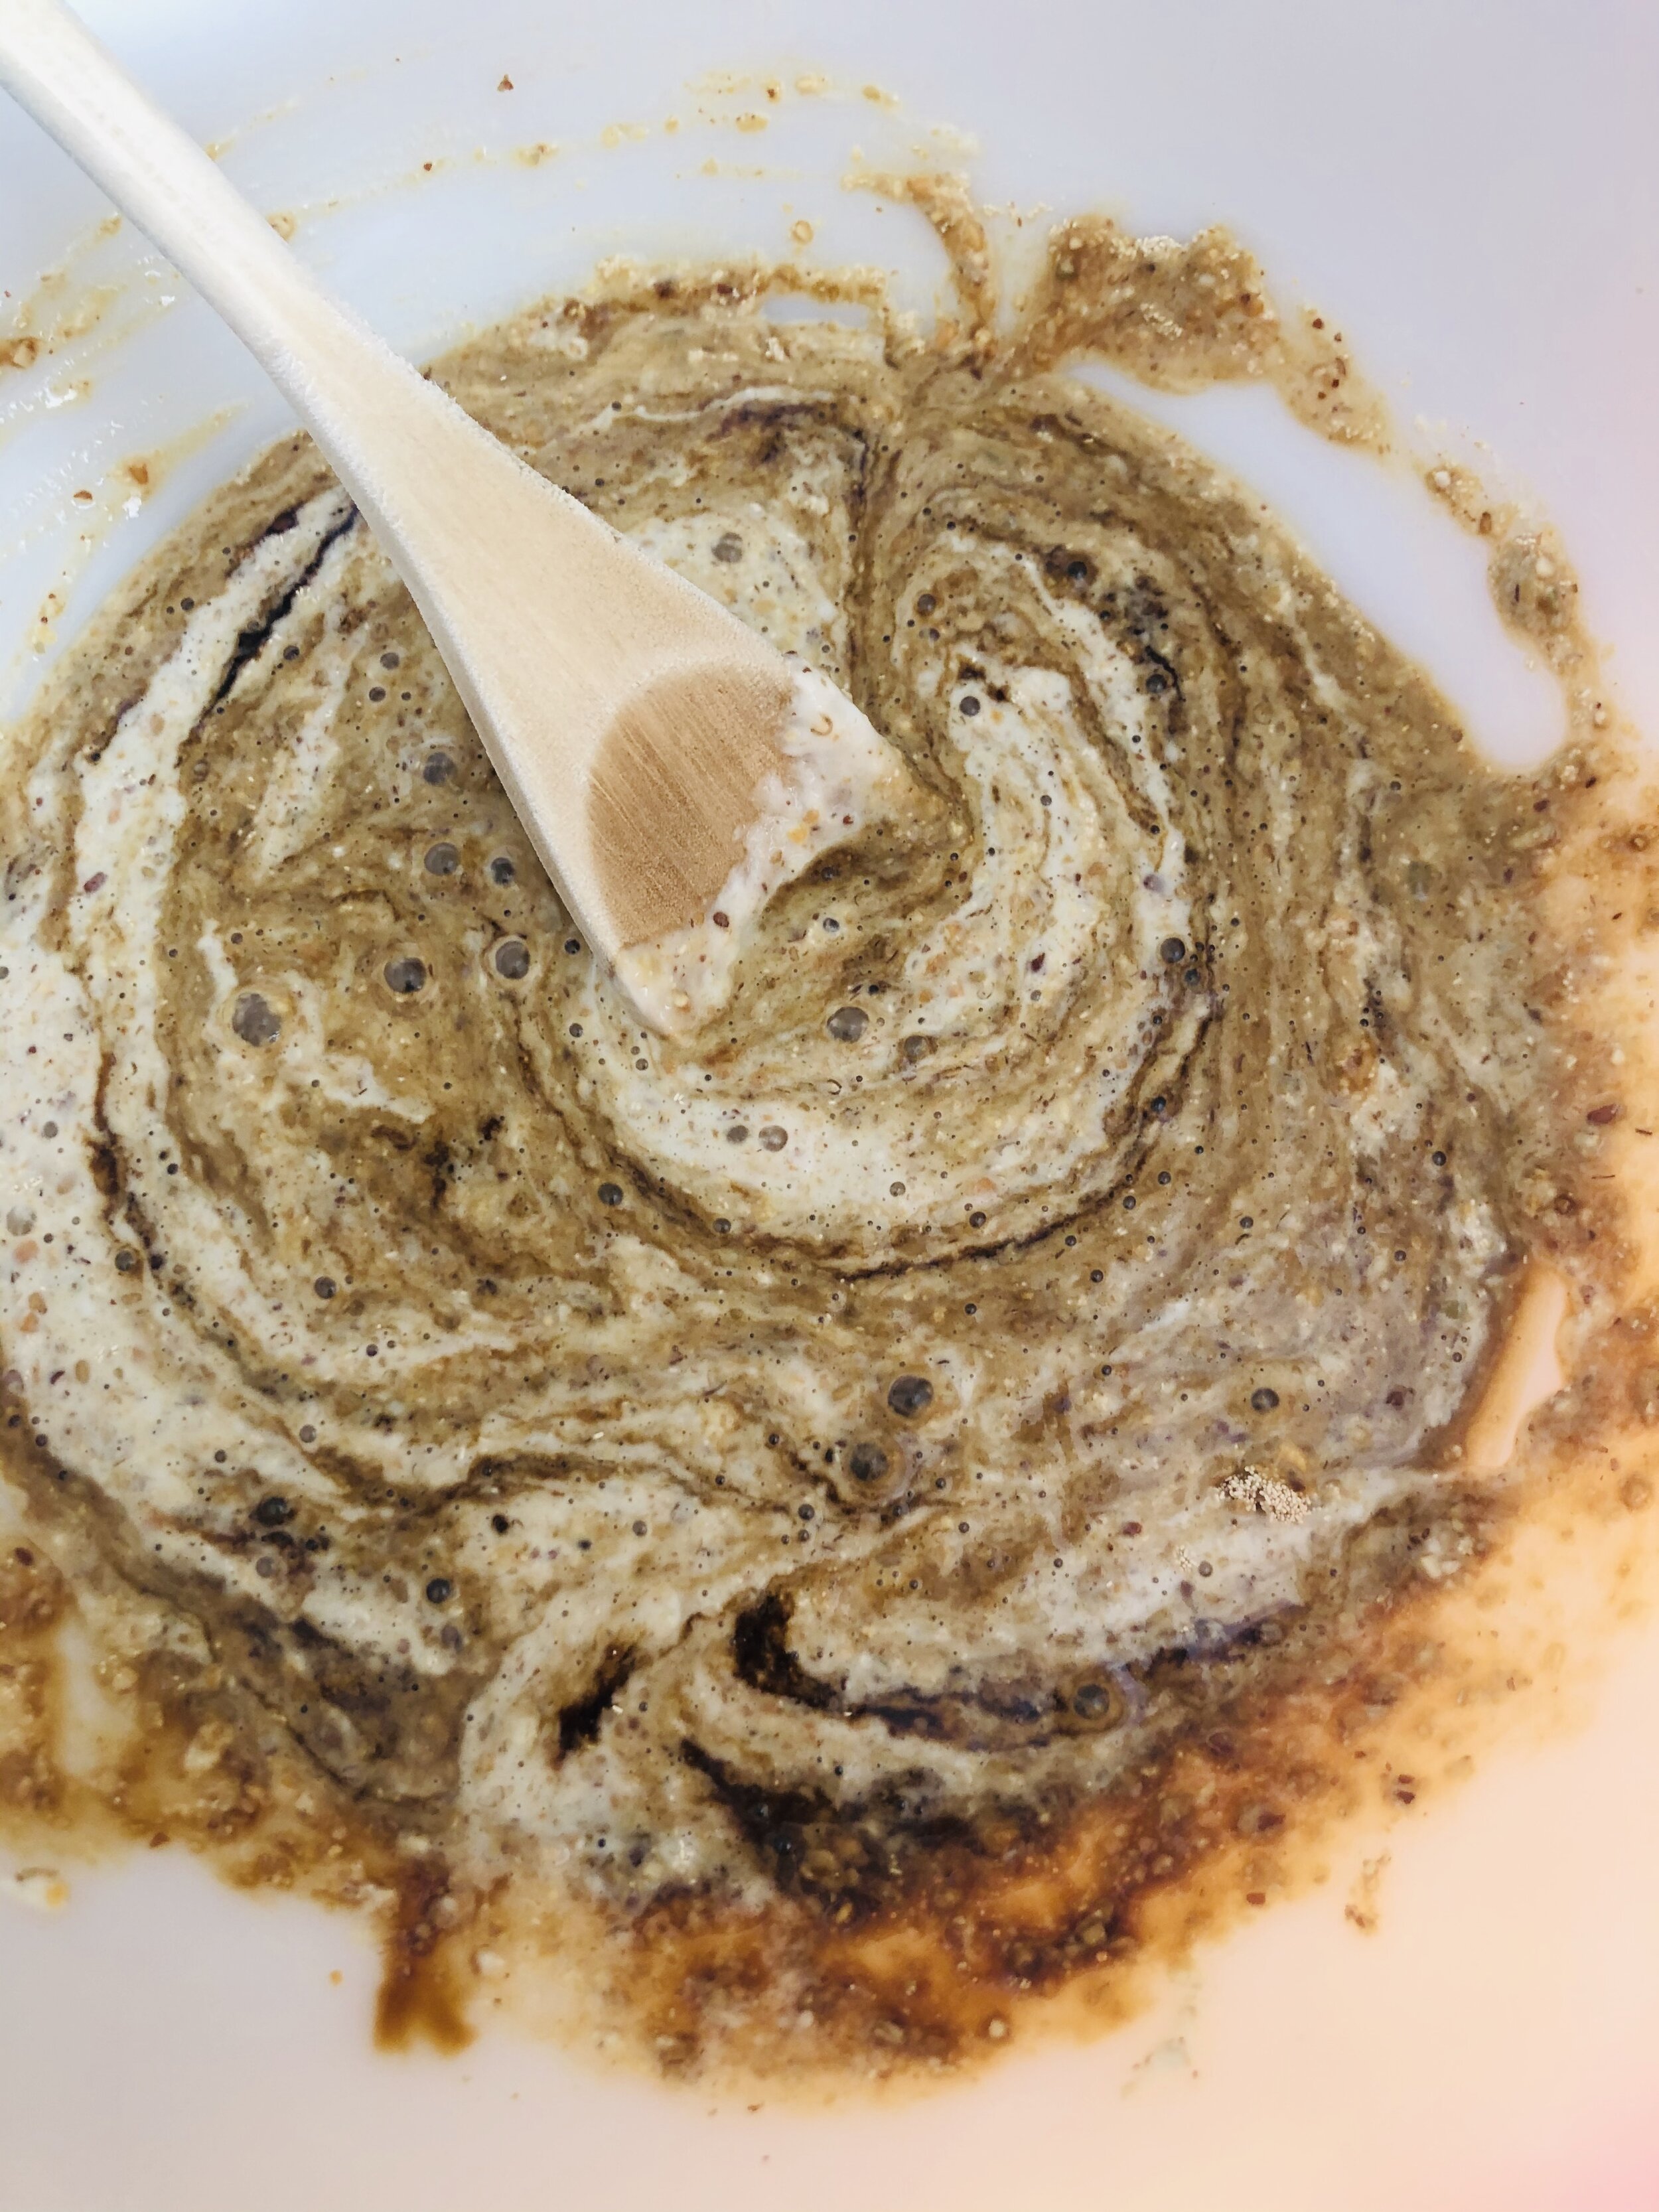
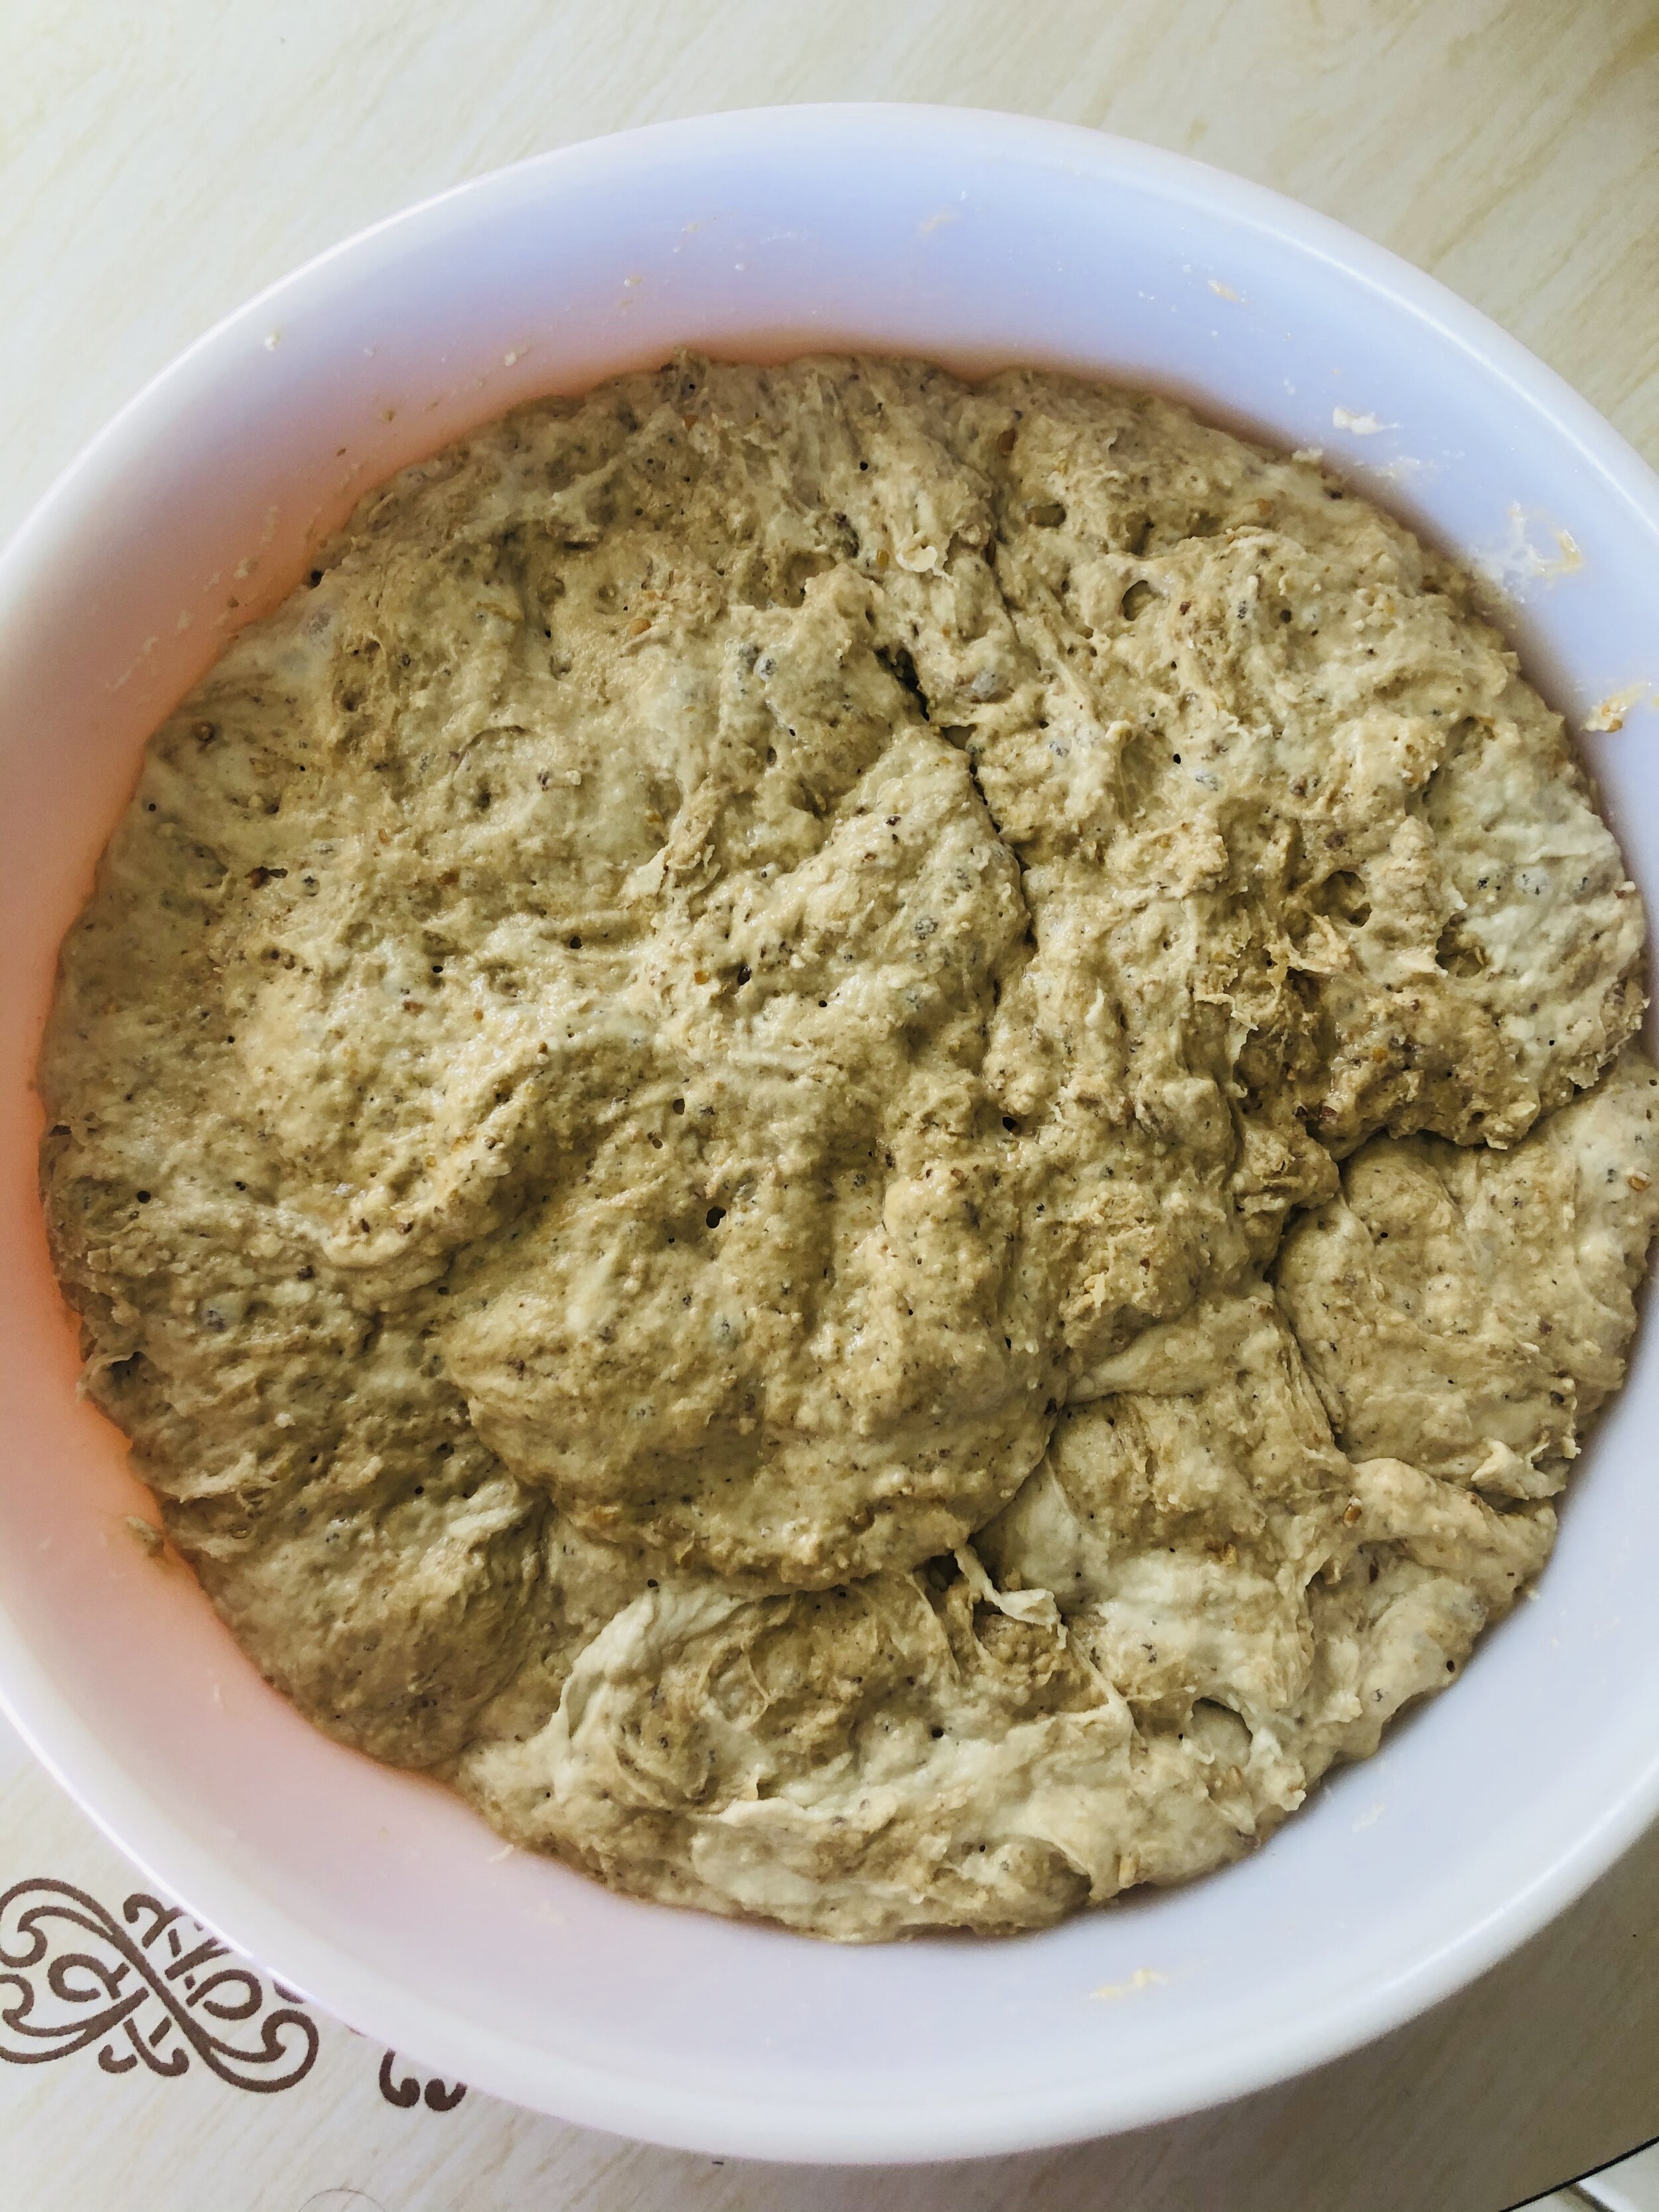
soaked flours.jpg preferment.jpg mixed ferements.jpg first rise.jpg Homemade molasses bread.jpg Sliced molasses bread.jpg

Starter or not, keep baking! I’ve found that making something with your own two hands, is rewarding. Even in failure, the reward is there. Right now it might be the antidote for boredom but as someone that has baked for years for both friends, family, and full crews at sea, warm treats from the oven always delight! I used to joke that I’ve never met a problem that a fresh cookie couldn’t solve and I would say the same goes for a hot loaf of bread! So bake and have fun! If the lockdown life leads to an economic depression, at least you’ll know how to use the flour rations. Ha!

Actually, that’s terrifying Don’t think about that.. Just go pour off the hooch and feed your new pet. We have some baking to do! And as you begin your journey into sourdough, know that you’re are backed by the ultimate bread nerd. Submit your questions in the comments so I can geek out on this one. I’ll do my best to coach you through any problem. Good luck and I look forward to baking with you next month!

April 08, 2020 /Ashley Look
How to feed a senior, Sourdough Starter, hooch, bread baking, Coronalife, coronavirus, lockdown, yeast, wild yeast, support group, recipes, dough, baking, Full Moon Baking Club, flour, molasses, starter, economic depression, rations
Full Moon Baking Club, Recipes
Comment
Homemade sliced Anadama Bread.jpg

August 2019: Anadama Bread

August 15, 2019 by Ashley Look in Full Moon Baking Club, Recipes

Hey Moon Bakers,

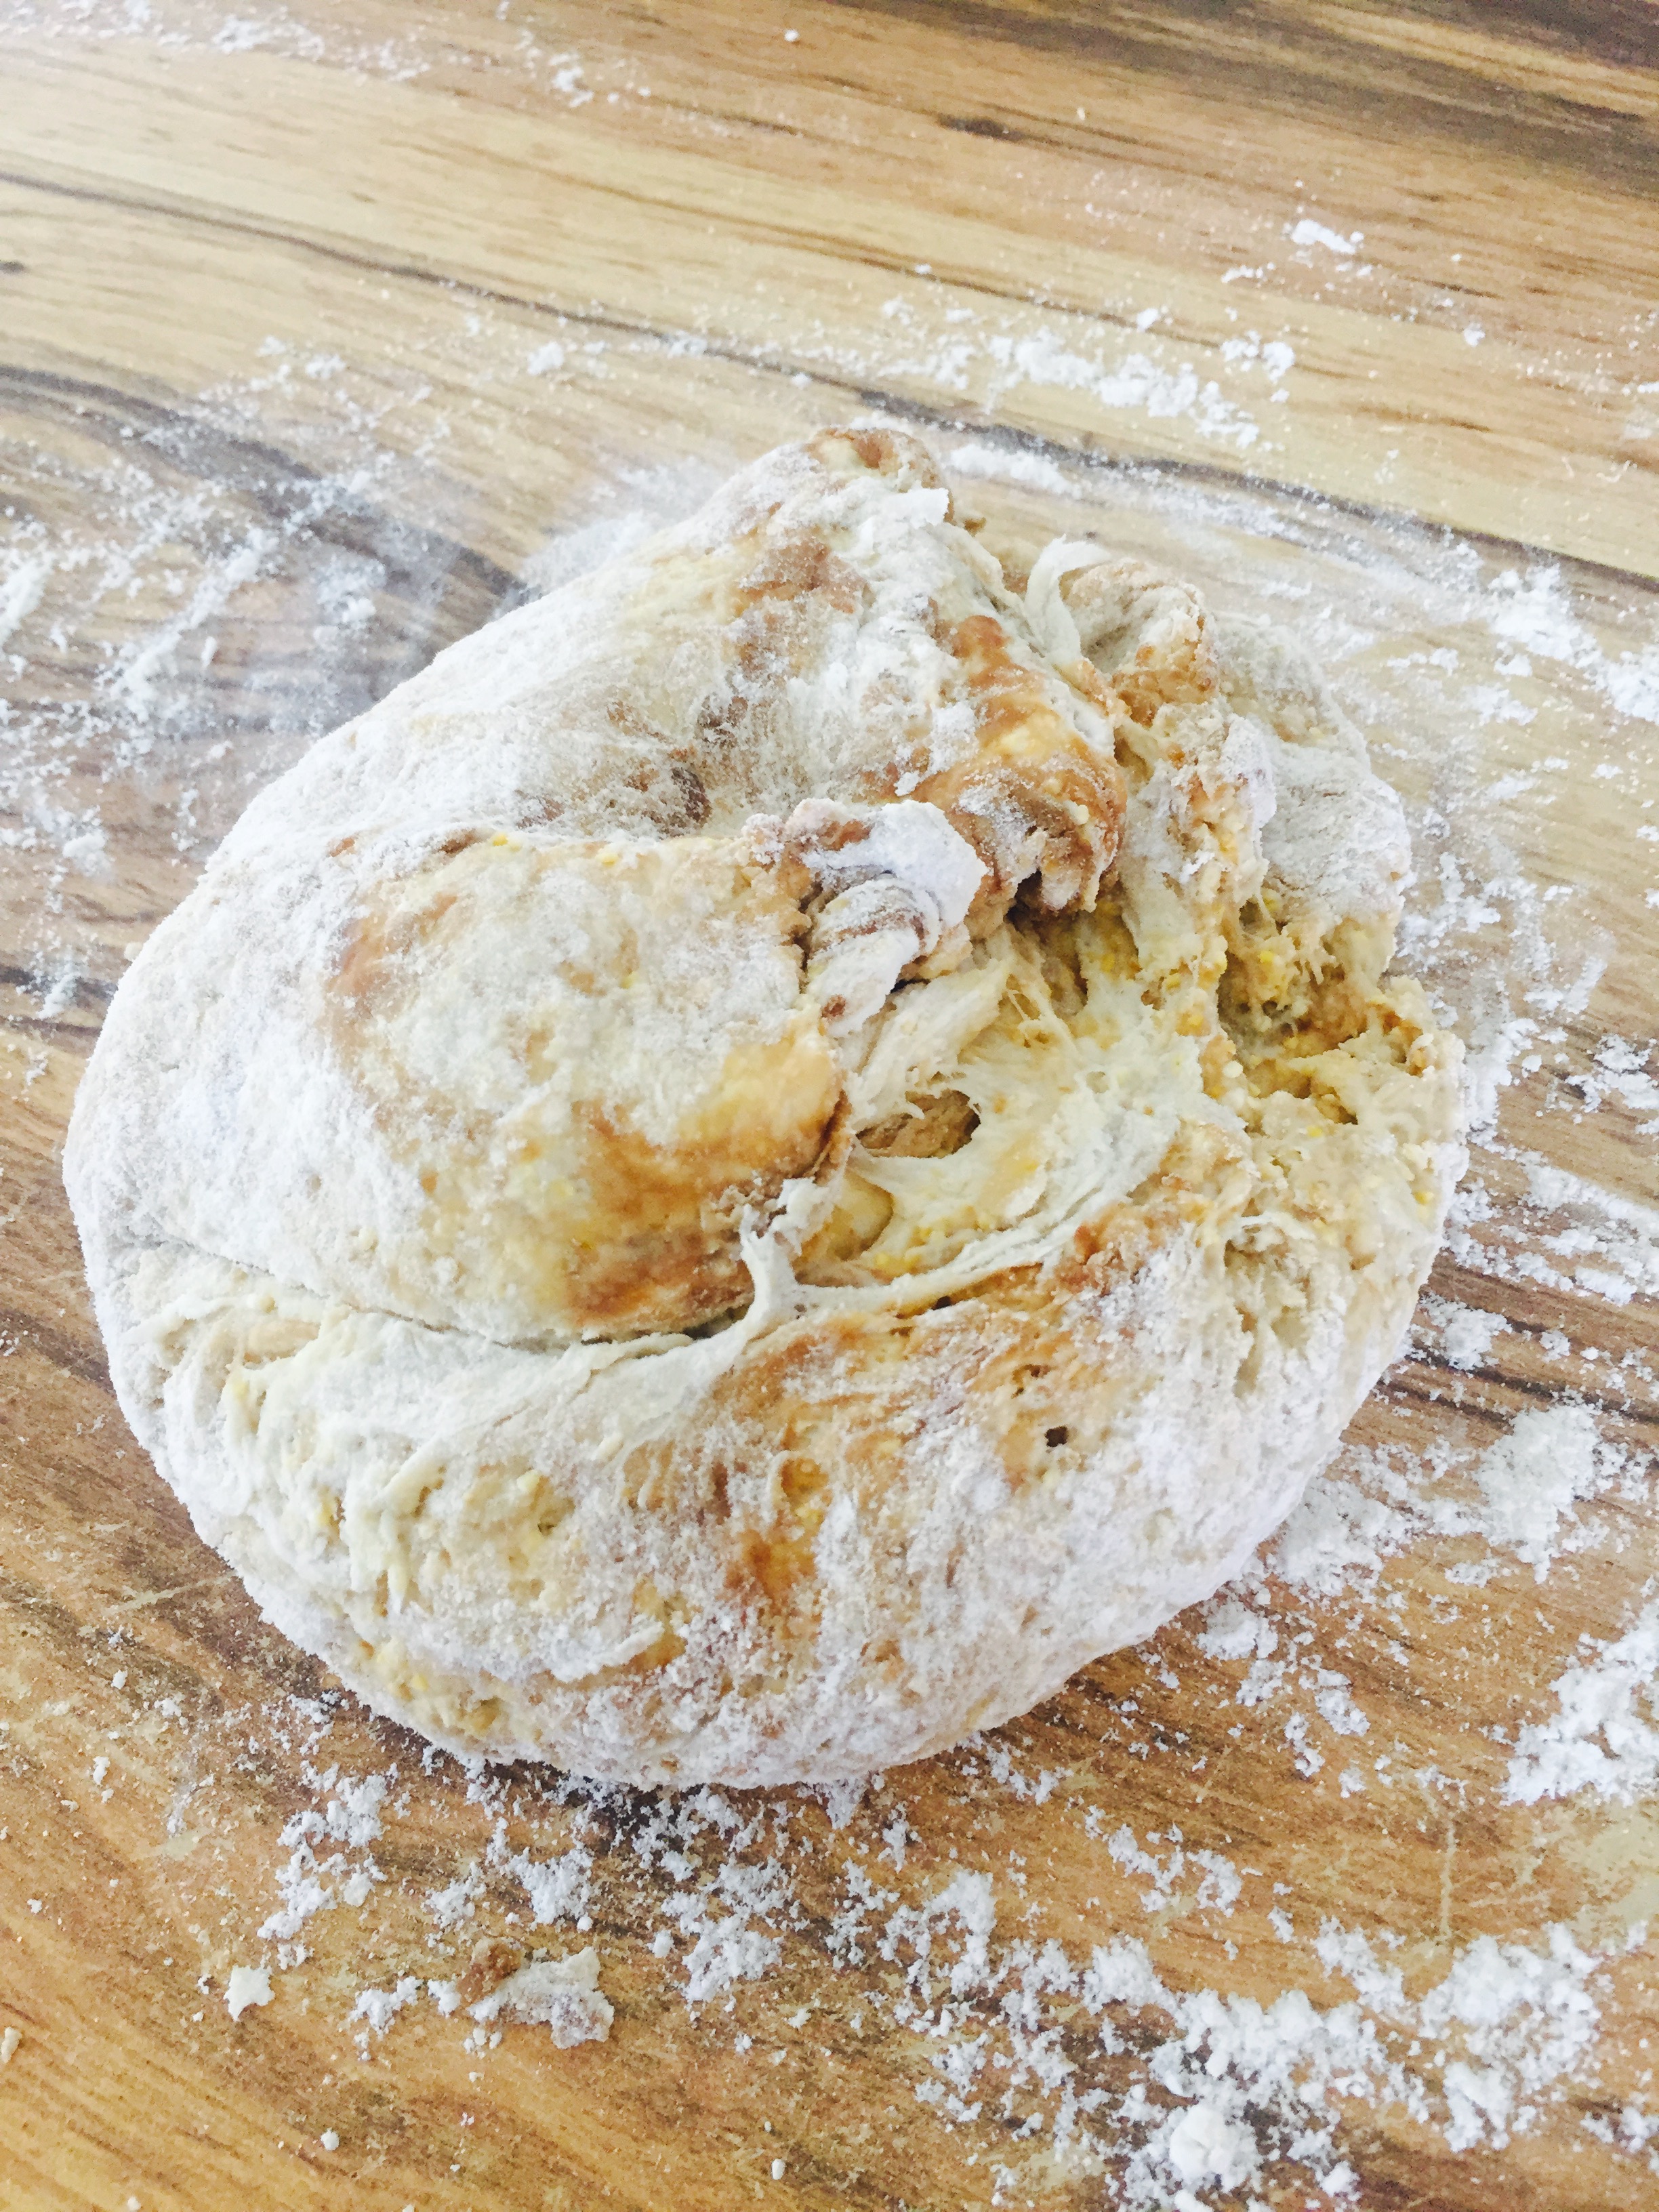
As you read this I’m settling into Rockland, ME with the Sea Education Association where I’m cooking for the crew of the Corwith Cramer for the next couple of months. I’m beyond excited to be back with this organization after a five year caregiving break and I’m equally excited to be back in New England where my bread making journey began. Anadama Bread seems a fitting recipe for adventuring back to the north. It’s legendary in these parts and if you’re curious on why, you can click here. The recipe below is slightly less traditional substituting a couple table spoons of honey for some of the molasses but really, it’s all about course corn meal. By soaking the cornmeal overnight and creating a sponge to help with fermentation, this bread produces a light crumb that’s full of texture. It also makes for quite a large loaf. You’ll have sandwich bread for days so you better plan a picnic and invite some friends!

soaker.jpg starter.jpg sponge.jpg pre mix.jpg mixing dough.jpg dough coming together.jpg covered and at rest.jpg first rise.jpg ready for second kneading.JPG Shaped loaf in pan.JPG Anadama Bread.jpg

Ingredients:

Soaker

  • 1/2 cup coarse corn meal

  • 1/2 cup warm water

Sponge

  • 1 cup flour

  • 1 1/2 tsp active dry yeast

  • 1/2 cup warm water

  • Plus the soaker

Dough

  • 1 1/4cup flour

  • 3/4 tsp salt

  • 2 tbsp honey

  • 1 tbsp molasses

  • 1 tbsp softened butter

Directions:

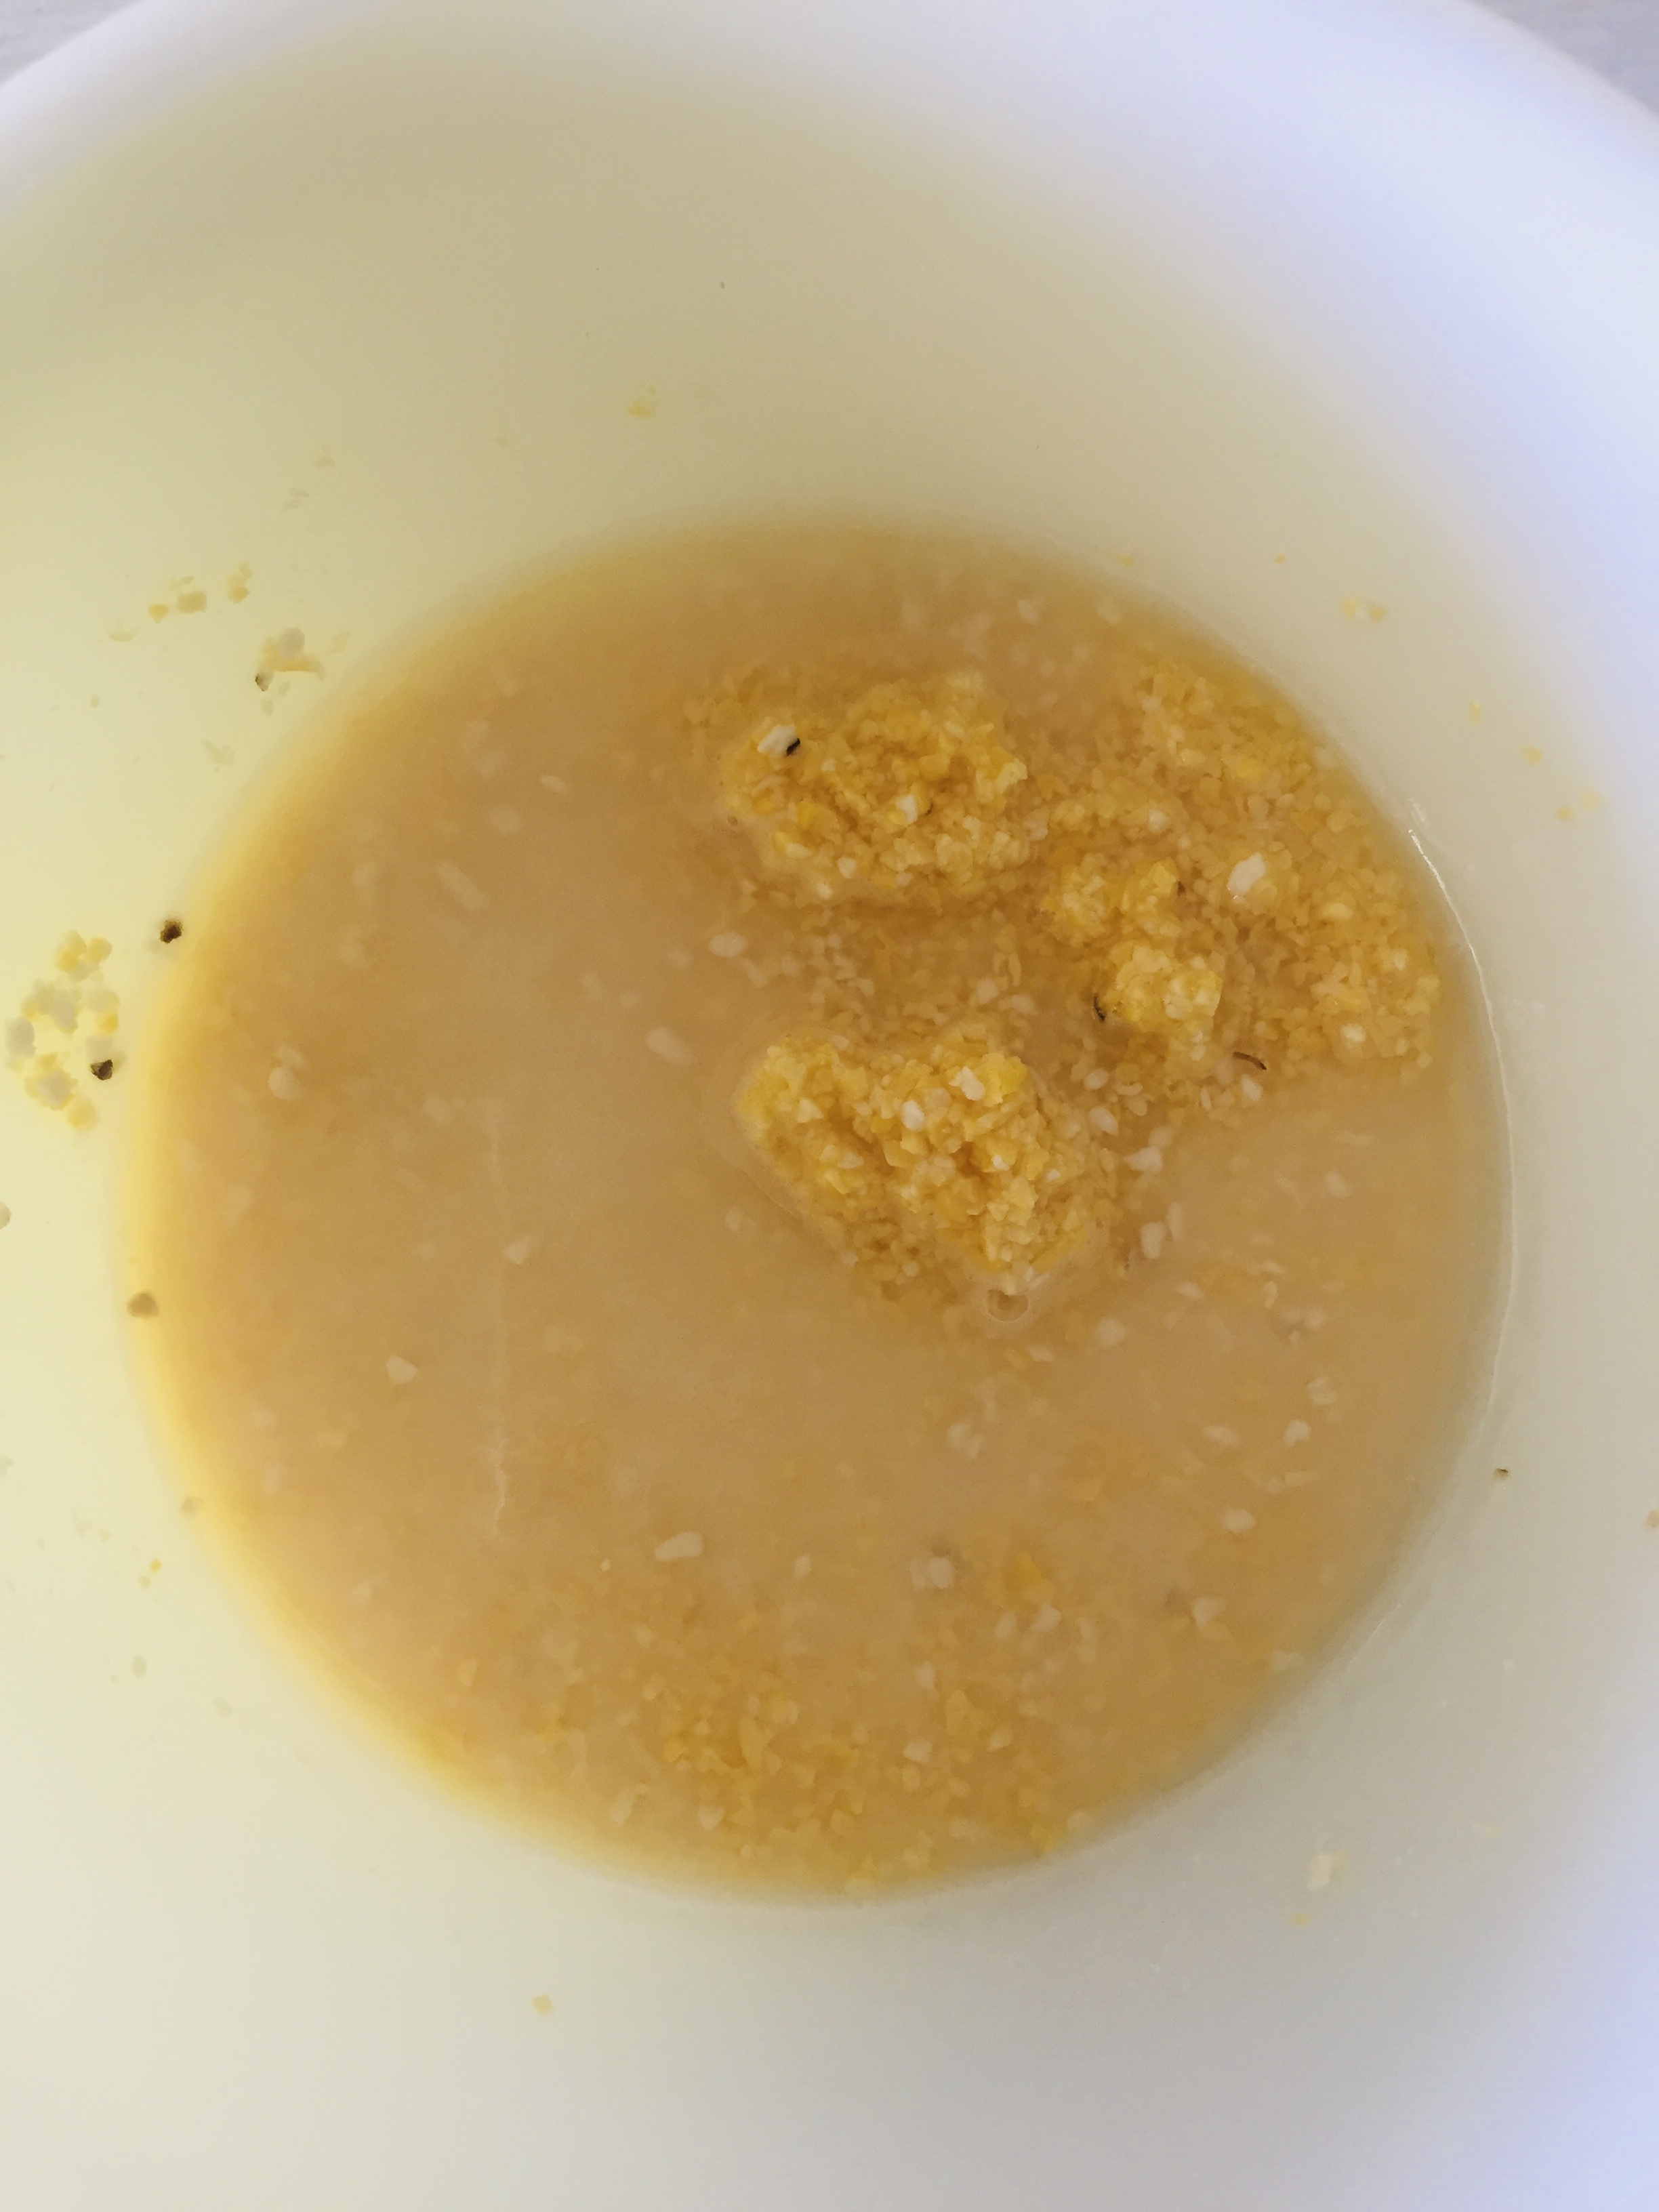
  1. Make the "soaker" by mixing the corn meal and water in a small bowl and rest covered for 6 to 8 hours or overnight.

  2. Transfer the soaker to a large bowl and add all the other "sponge" ingredients and mix well.

  3. Cover with plastic wrap and let rest for an hour or until bubbles begin to form.

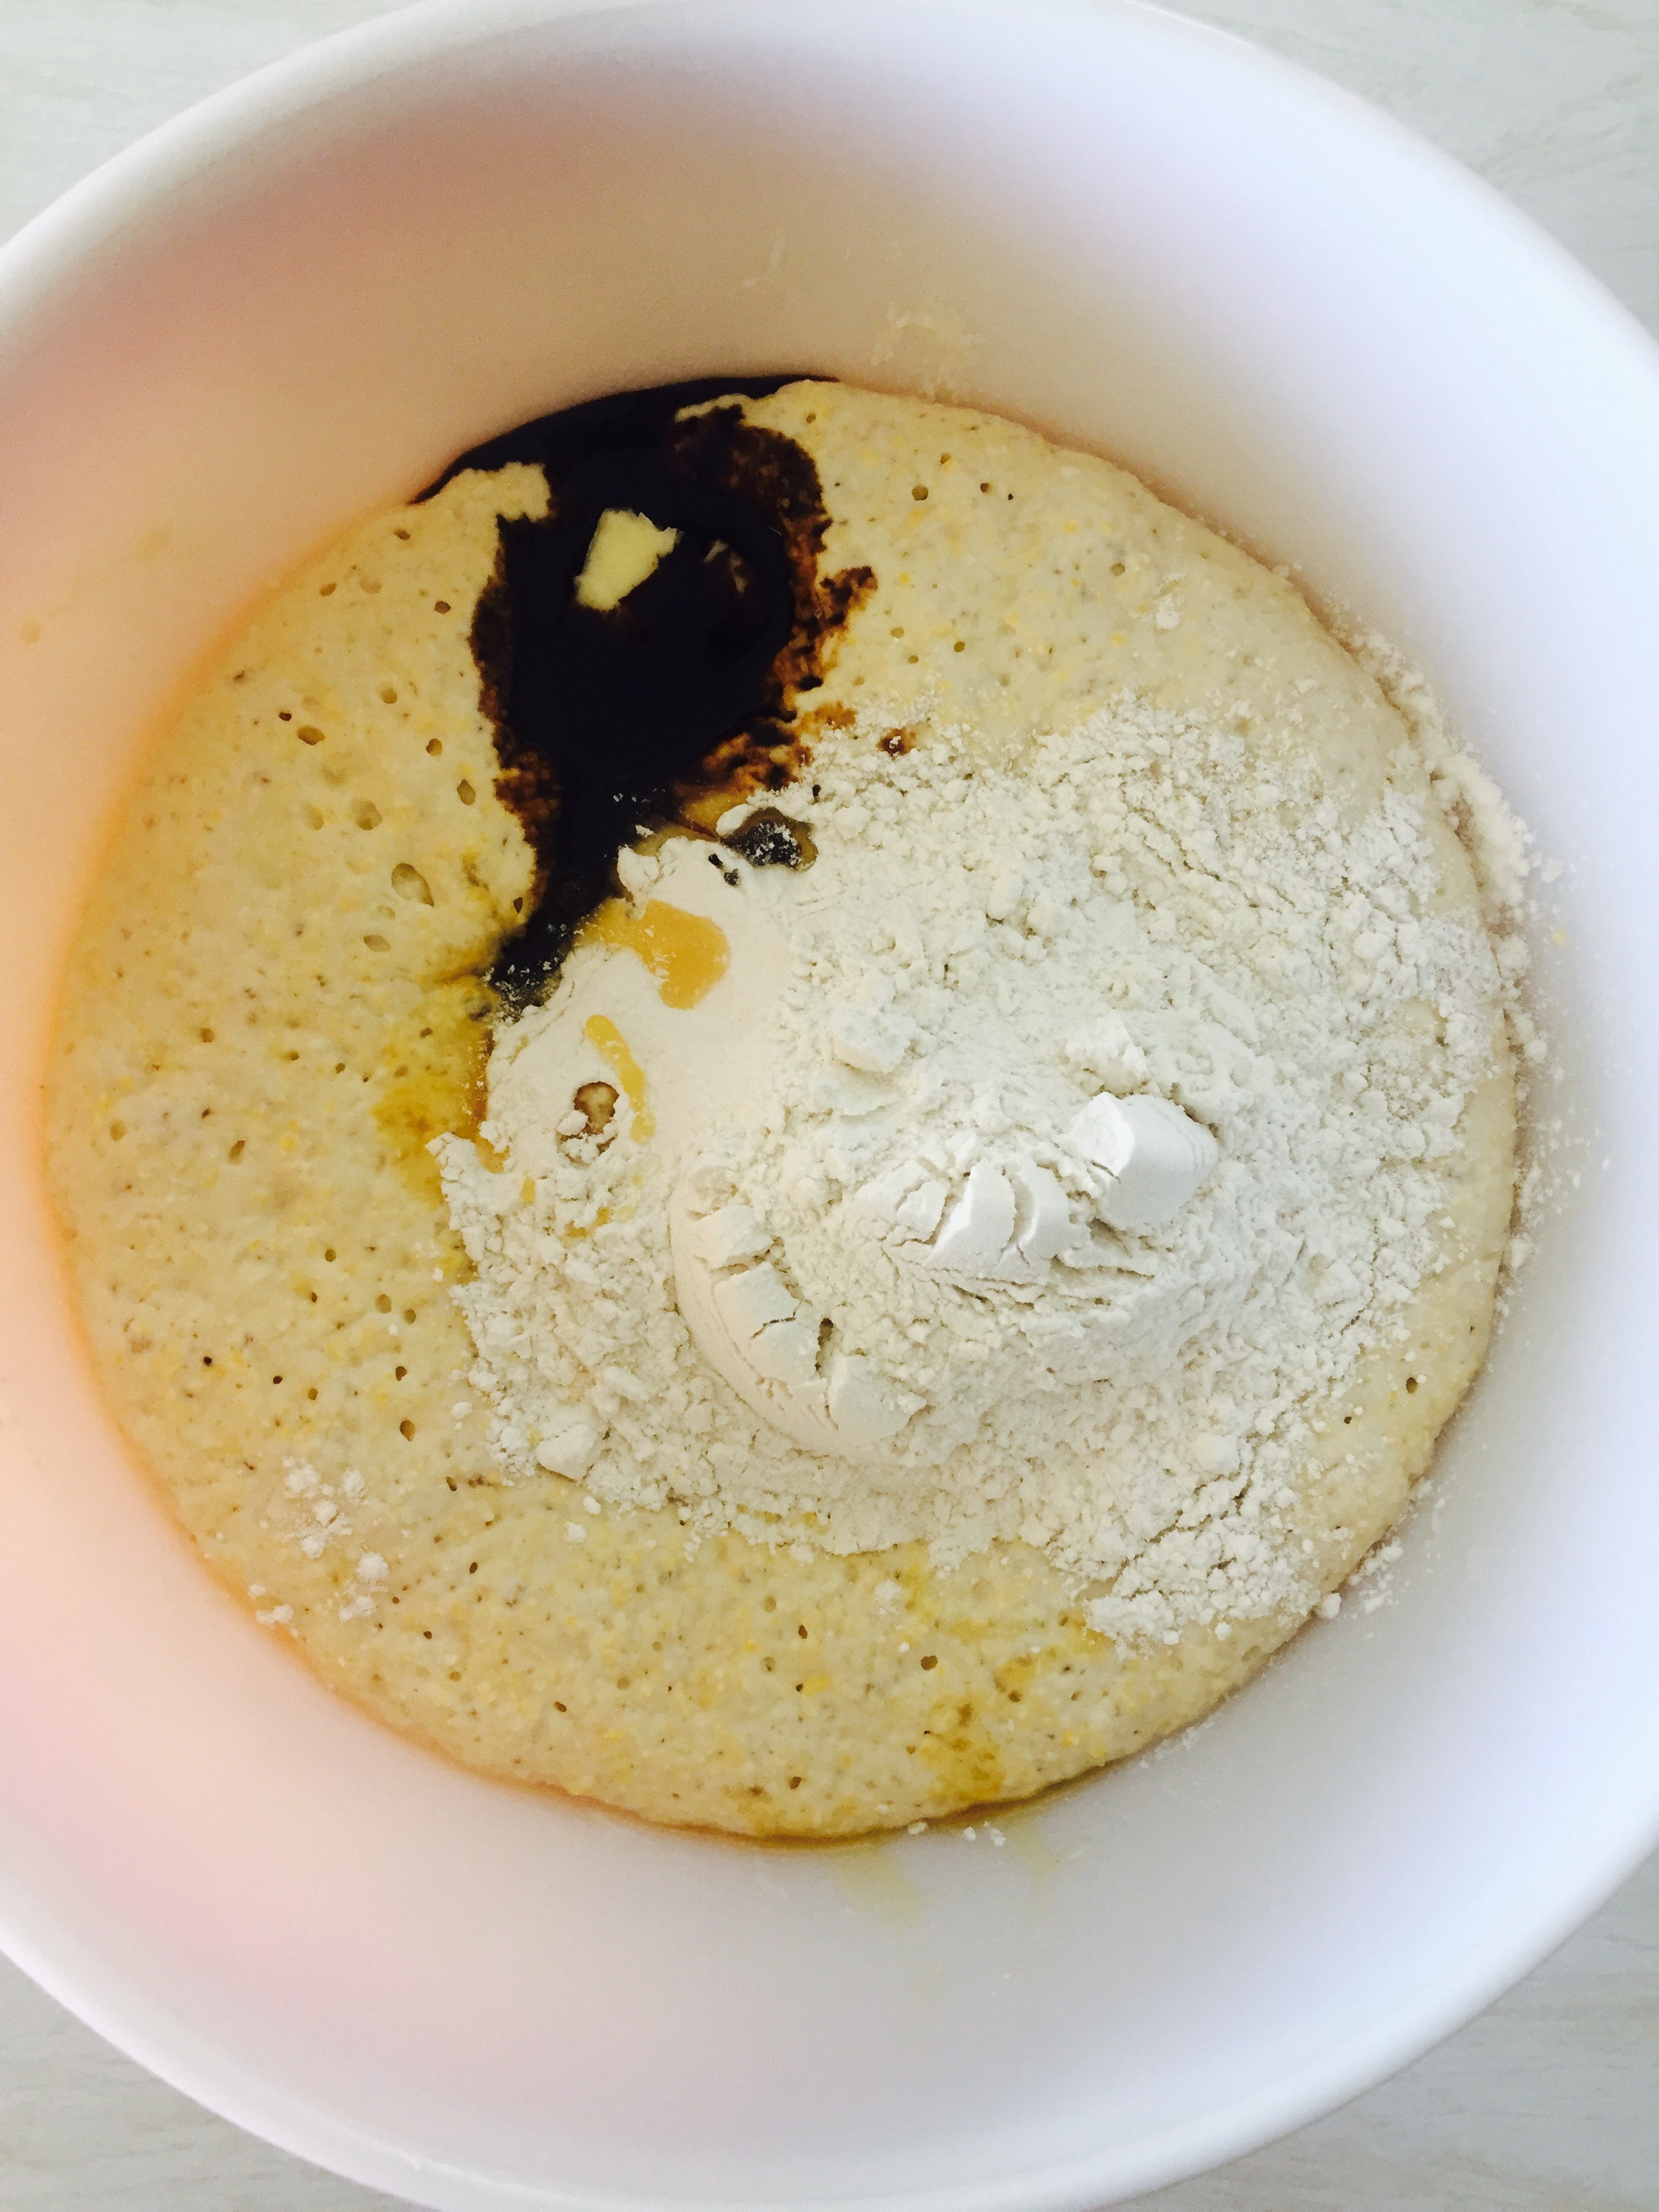
  4. Add all the "dough" ingredients to the sponge and mix to combine.

  5. Work the dough and help it form a rough ball then transfer onto a floured counter top.

  6. Begin to knead the dough adding more flour as necessary to keep the dough from sticking.

  7. Knead consistantly for 15 to 20 minutes until all the ingredients are well combined and the dough is soft and pliable. (This dough has a tendancy to be dense so it's important to knead it thoroughly to produce a light and airy finish.)

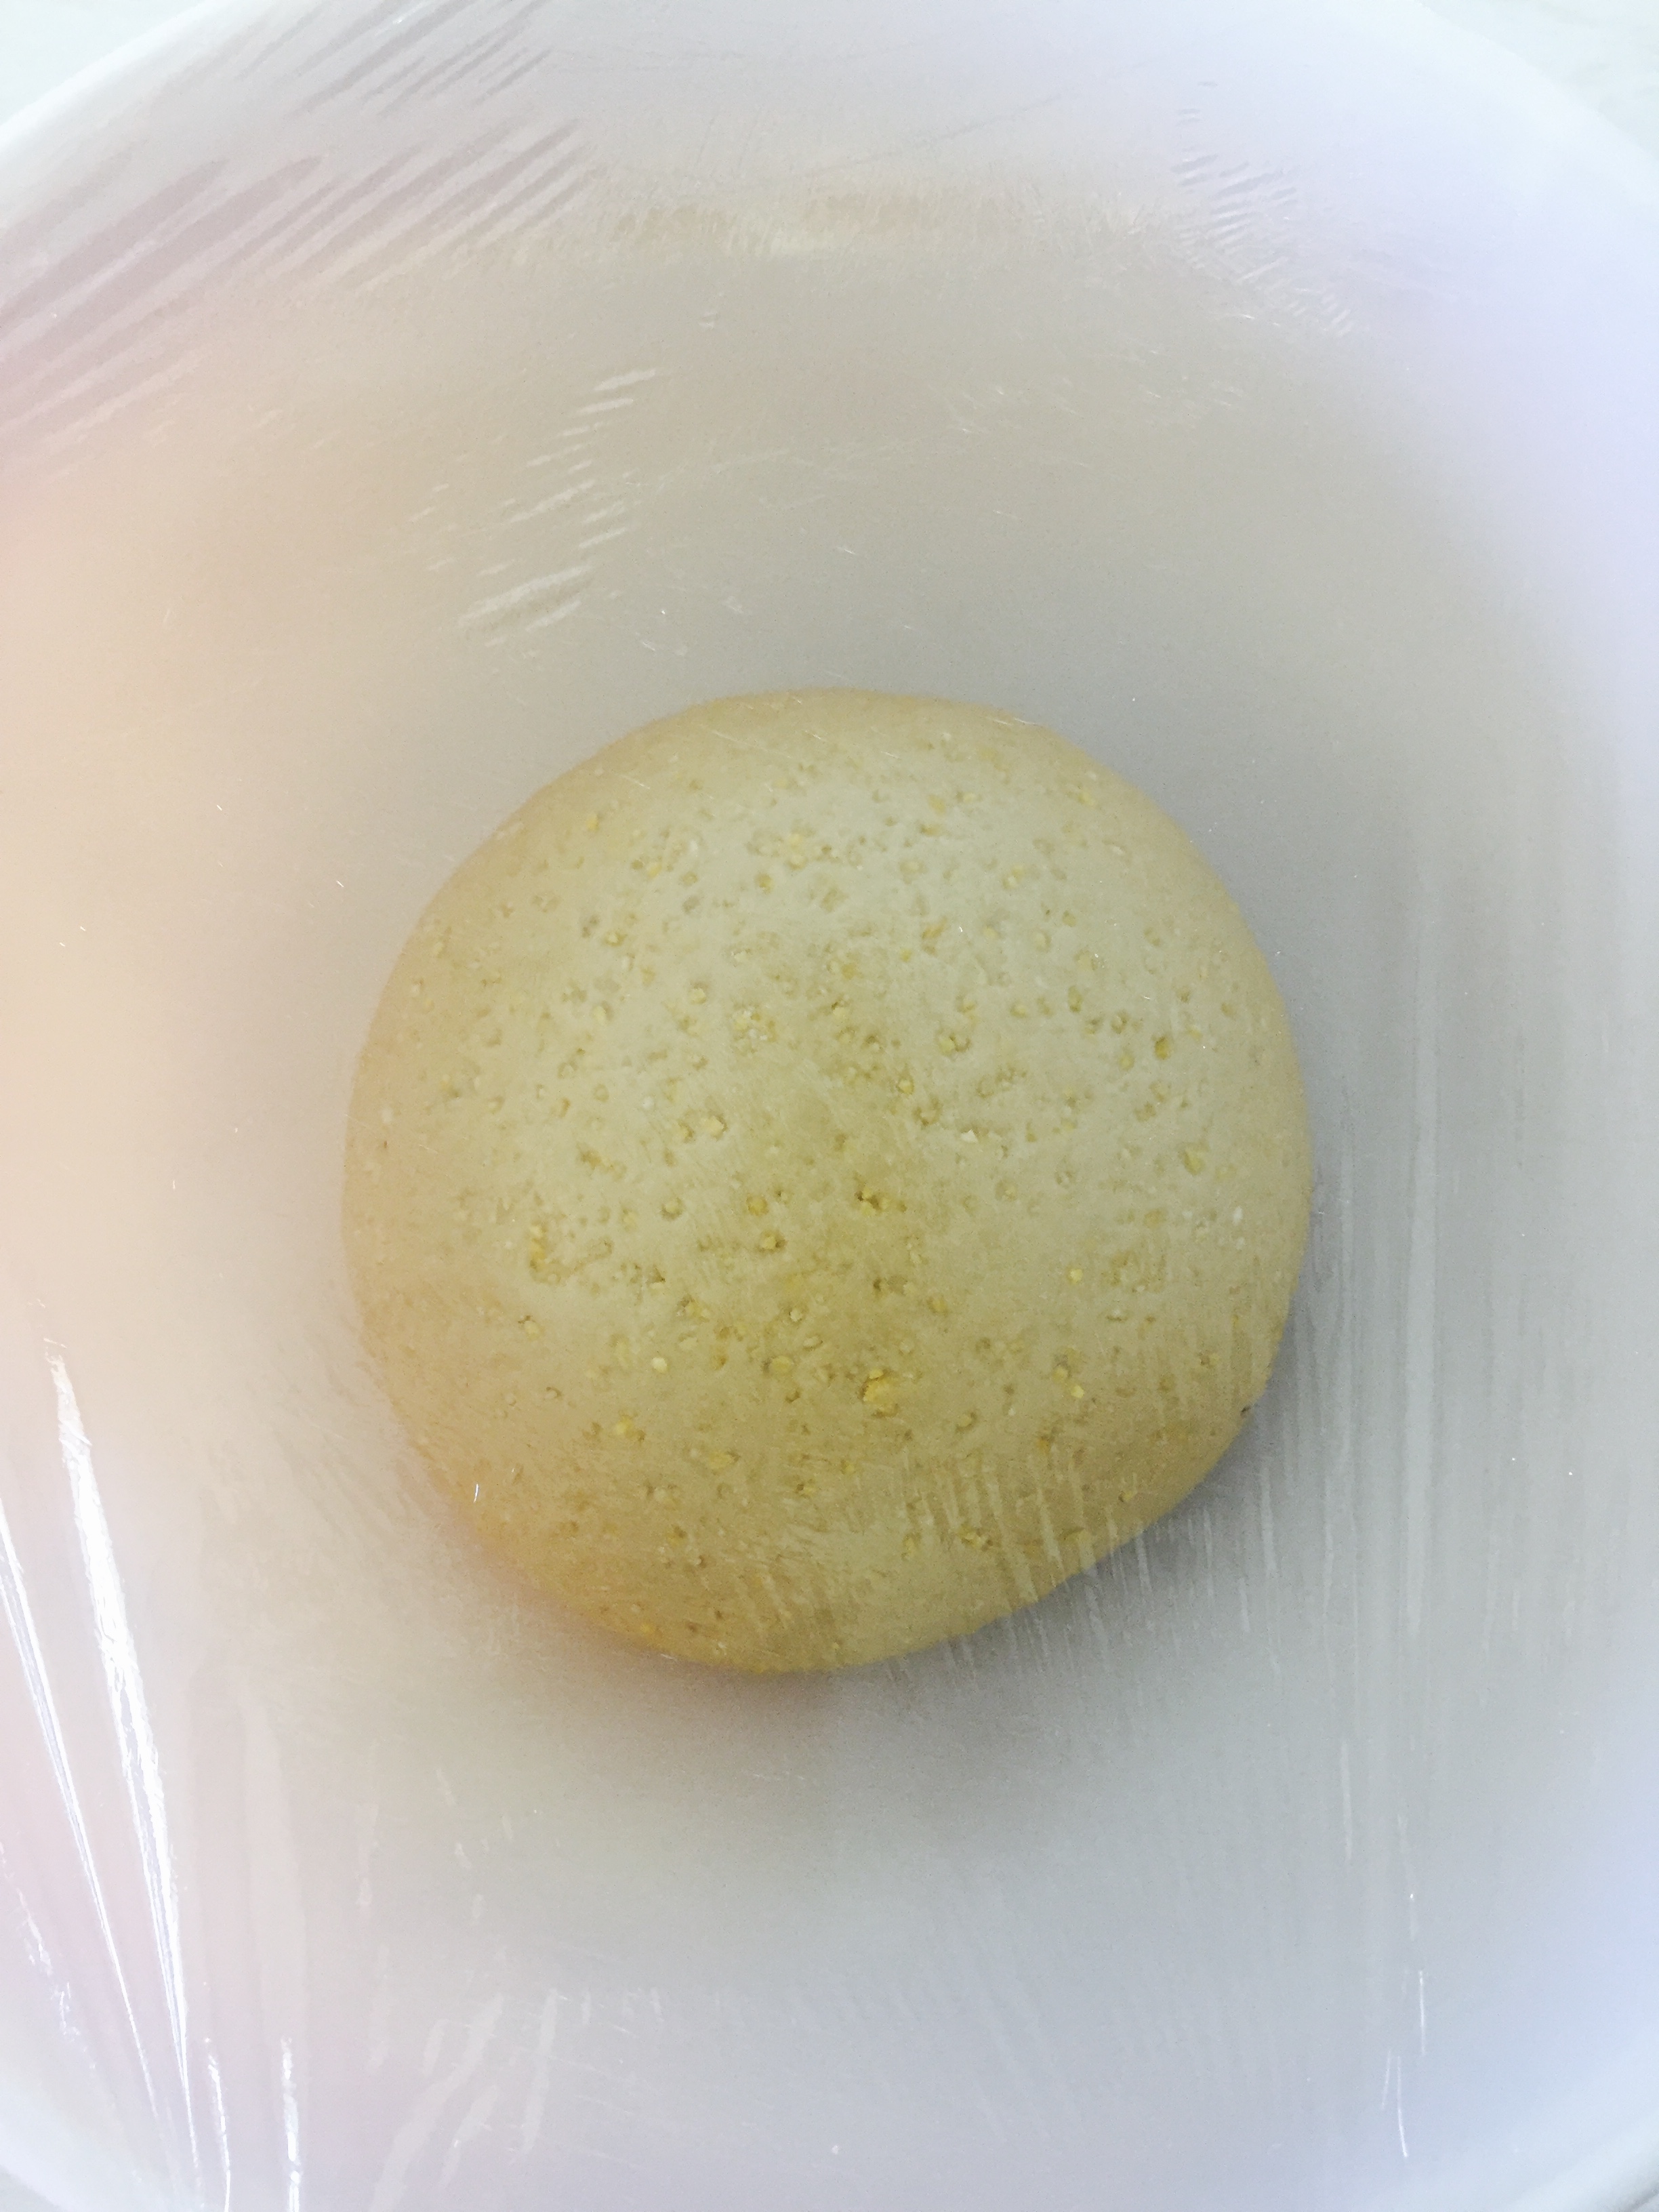
  8. Once the dough is well formed, placed it in large bowl that’s been greased and then cover and let rise at room temperature for 60 to 90 minutes or until double in size.

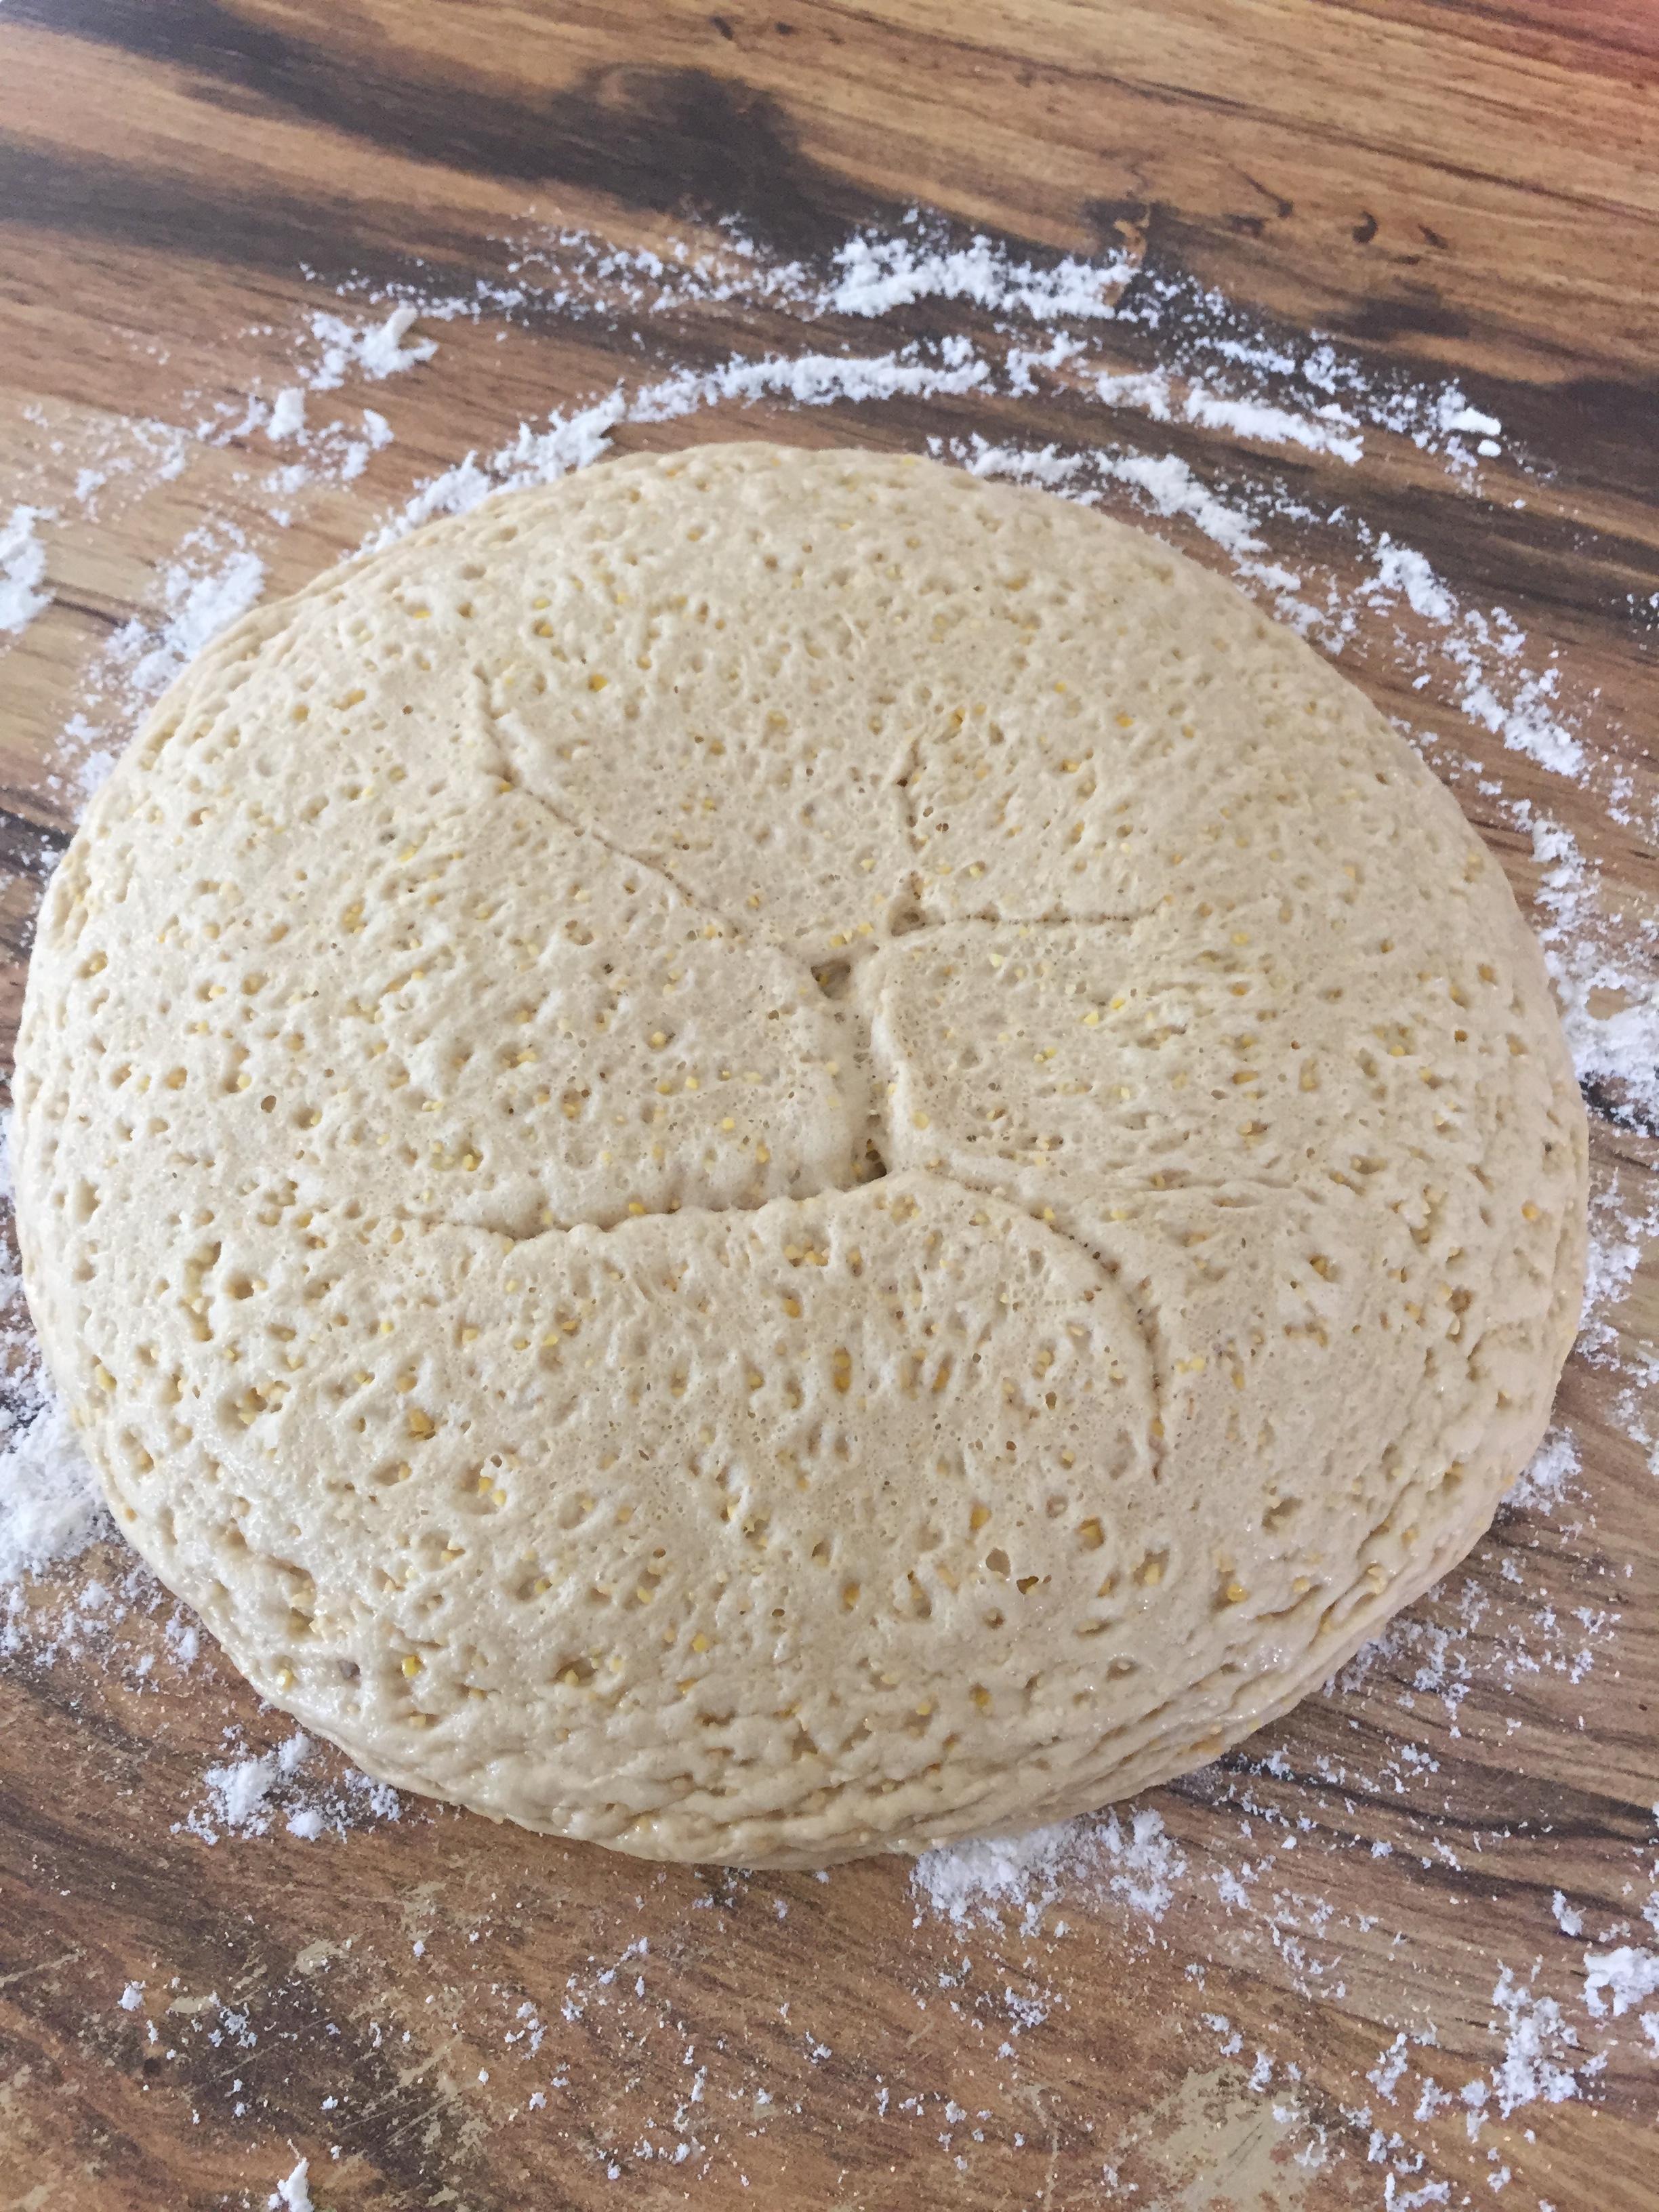
  9. Remove the dough to a counter and reknead adding additional flour if necessary as you degass any trapped air bubbles.

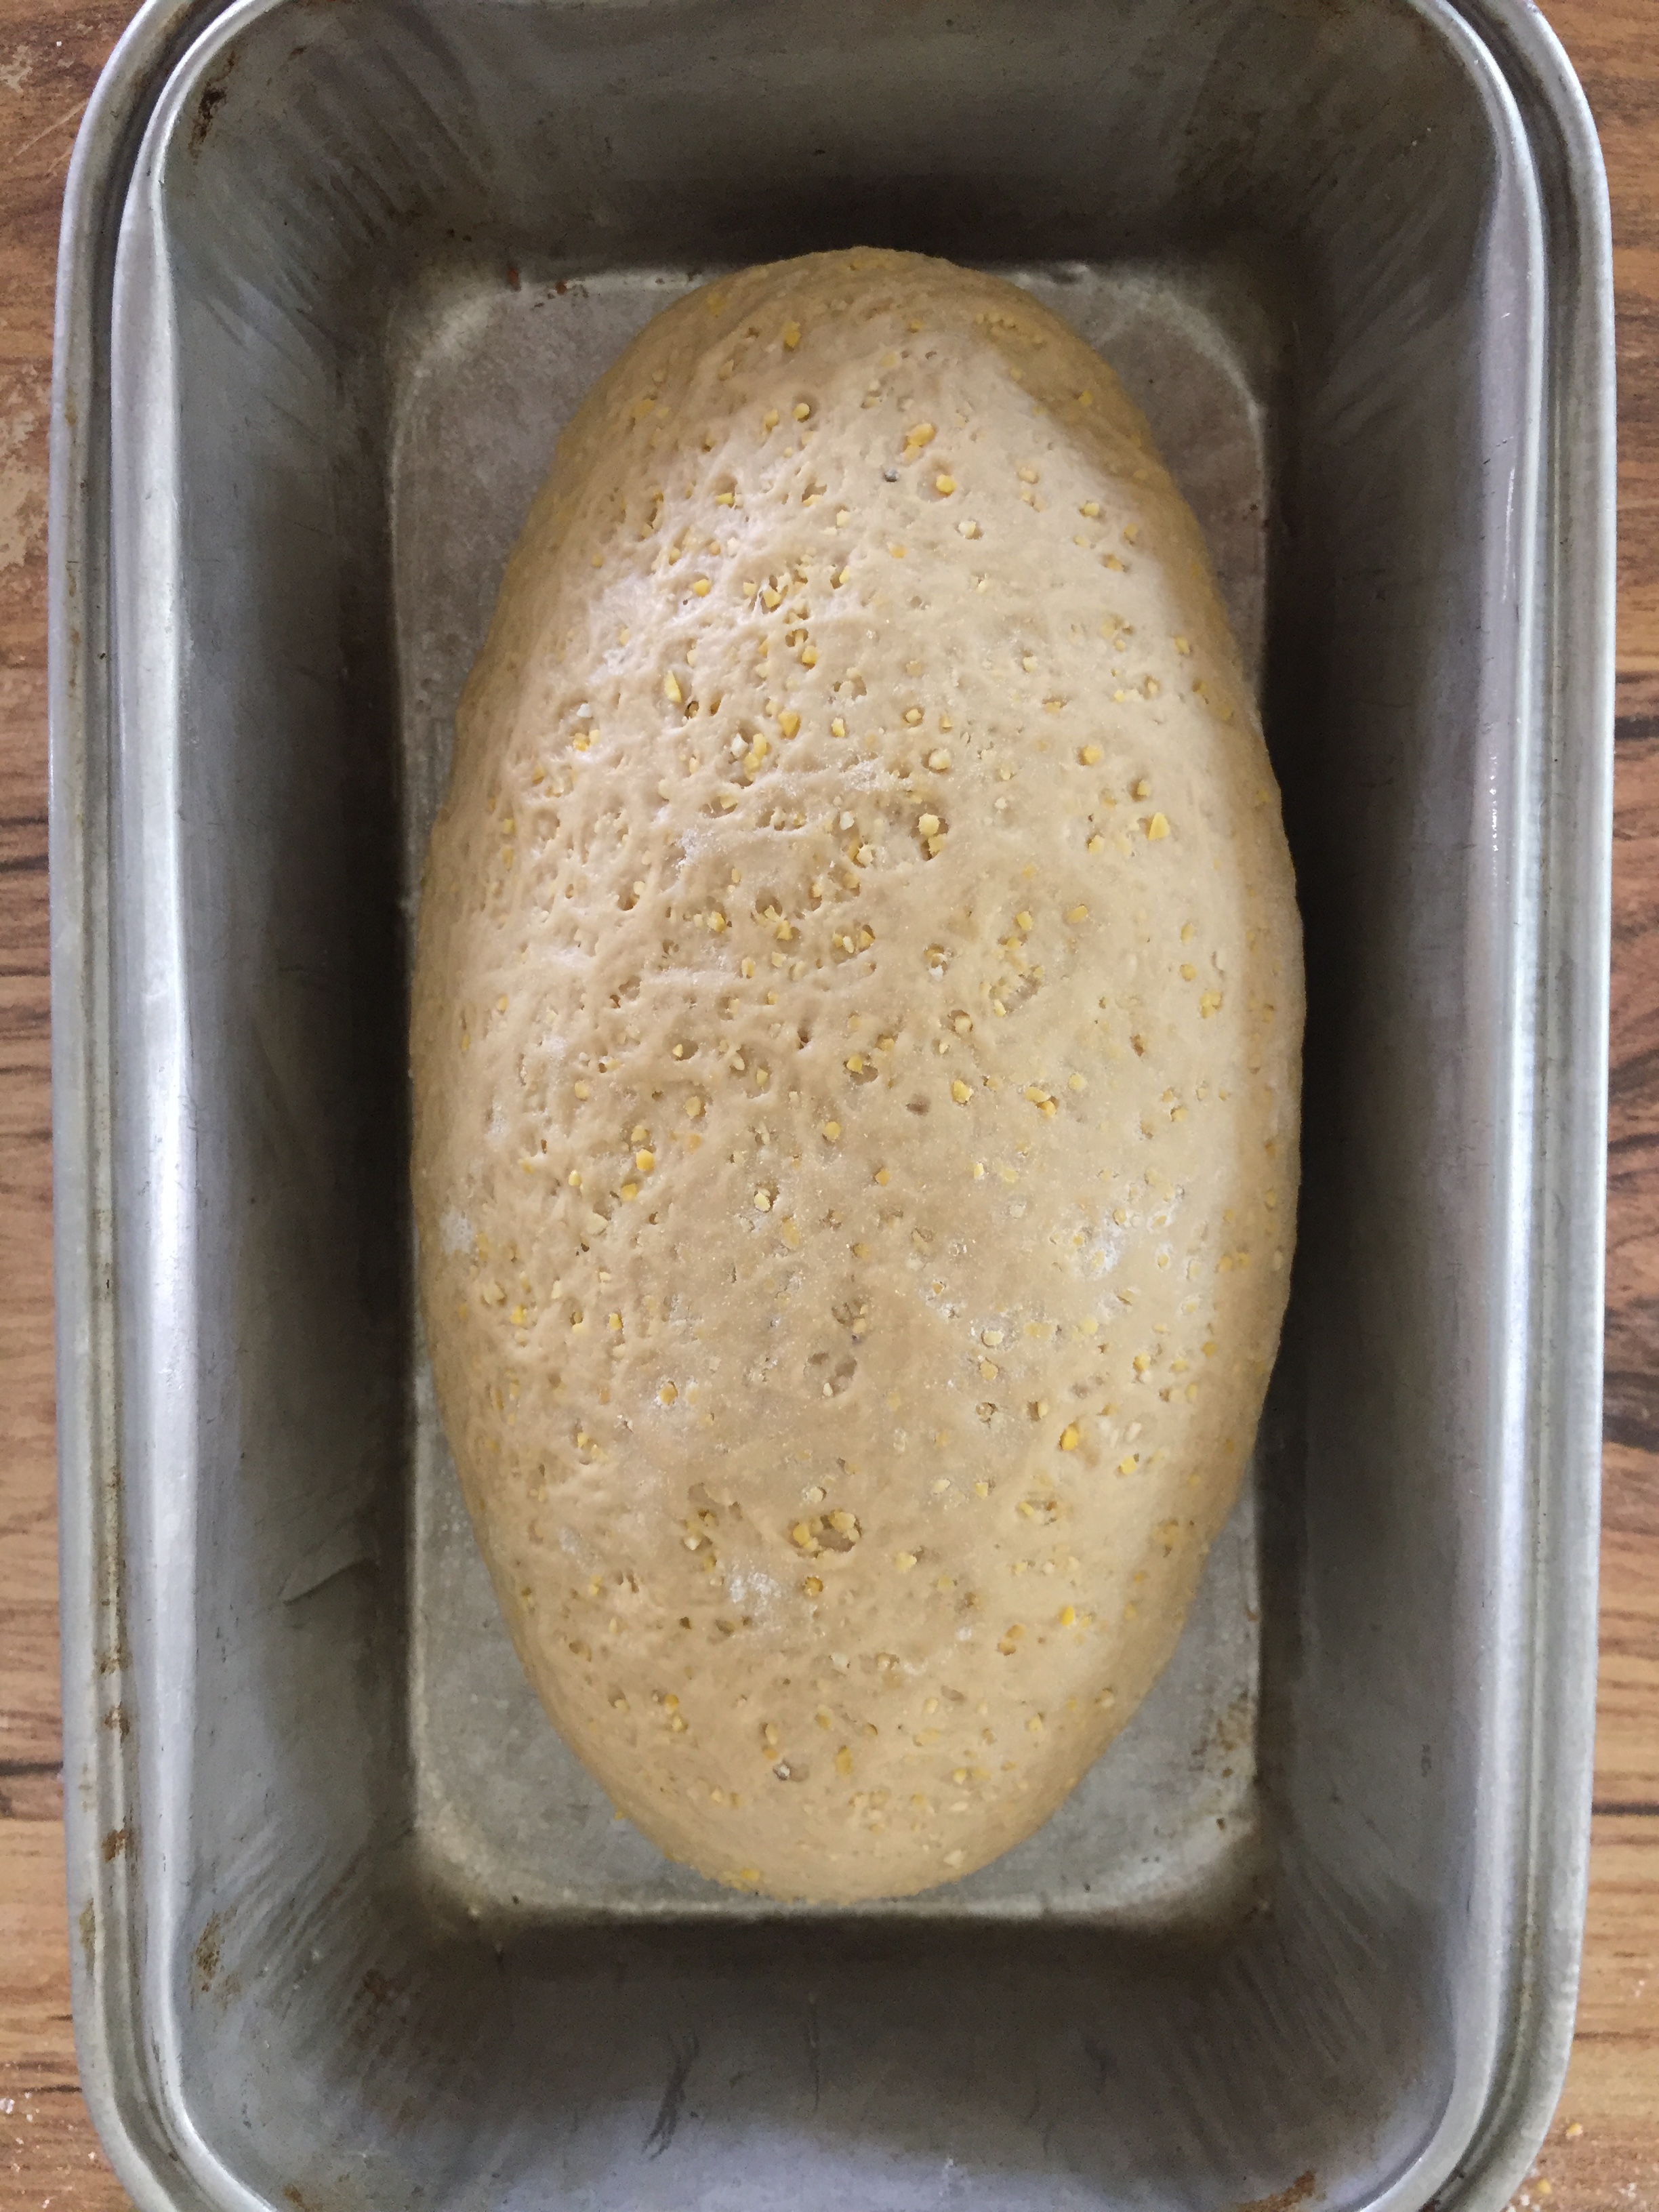
  1. Gently shape the dough into a loaf shape and place into a greased loaf pan and then cover again and let rest for another hour.

  2. Preheat the oven to 350 degrees F.

  3. Once the dough has doubled in size, place it in the oven and bake for 20 minutes.

  4. Rotate the pan and continue baking for another 25 minutes.

  5. Carefully remove the bread from the oven and turn out the loaf onto a wire cooling rack.

  6. Let cool before slicing. (I know this part is hard but the bread is so light and fluffy inside that you risk tearing it if you don't wait.)

sliced in hand.jpg

Do you like Anadama Bread? I’d love to hear your thoughts!

August 15, 2019 /Ashley Look
How to feed a senior, Full Moon Baking Club, Anadama Bread, August 2019, baking bread, bread recipe, breaking bread, Anadama recipe, homemade bread, handmade bread, home kitchen, home baker, monthly baking recipe, full moon ceremony, corn meal, molasses, New England, Maine, Sea Education Association, flour, yeast
Full Moon Baking Club, Recipes
 
Search