Of Grain and Grain  |  Tactile Explorations of Flour and Wood

By Ashley Look

  • Blog
  • Flour
  • Wood
  • Shop
  • Services
  • Events
  • About
  • Contact
  • Search

A freshly baked loaf of Molasses and Milk bread.

Bread for the Home

October 23, 2022 by Ashley Look in Breads, Flour

Still got it!

I baked this loaf of bread yesterday. It was my first attempt at bread baking post elbow surgery. Did I use both hands to knead it? Not really… This is a one-handed wonder bread but still, it was good to see not all is lost!


Recipe -ish

Dry Ingredients Combined:

  • 2 cups flour

  • 3/4 tsp yeast

  • 3/4 tsp salt

Wet Ingredients Combined:

  • 1/4 cup molasses

  • 1/4 cup warm milk

  • 1/4 cup warm water

Process:

  1. Place all dry ingredients in a bowl.

  2. Mix wet ingredients together and then add to the bowl.

  3. Combine, form dough, knead…

  4. Cover and rest for 1 hour.

  5. Punch down, knead again, shape, and let rest another hour.

  6. Preheat oven to 400F degrees.

  7. Bake for 30ish minutes.

  8. Enjoy!


This loaf is on the small side cause I needed it to be manageable with one hand. Now, just imagine what you could bake with two!

So, go on…get dirty! Bake this and let me know what you think. You like-y?

October 23, 2022 /Ashley Look
fresh bread, bread baking, molasses, milk, of grain and grain, kneading dough, one-handed baking, yeast, homemade bread, bread for home
Breads, Flour
Comment
Thick slice of griddled bread topped with plain yogurt, oil massaged kale, and some sliced orange tomatoes, otherwise known as a plate of bread steak.

Thick slice of griddled bread topped with plain yogurt, oil massaged kale, and some sliced orange tomatoes, otherwise known as a plate of bread steak.

Bread Steak (A Simple Meal For Hard Times)

July 27, 2020 by Ashley Look in Recipes

I know what you’re thinking. “Bread Steak? What the heck is Bread Steak?”

Well, it’s basically a thick slice of bread that you griddle, and then top with all the fixin’s. It’s more of a formula than a recipe but nonetheless, it comes in handy. I like to think of it as the poor (wo)man’s gourmet as it has allowed for a taste of the “good life” even during hard times. Ugh… pandemic much? Between lockdowns, curfews, and cases of Covid-19 currently surging, trips to the store are rather infrequent. So, this is one way I stretch a dollar and ingredients…

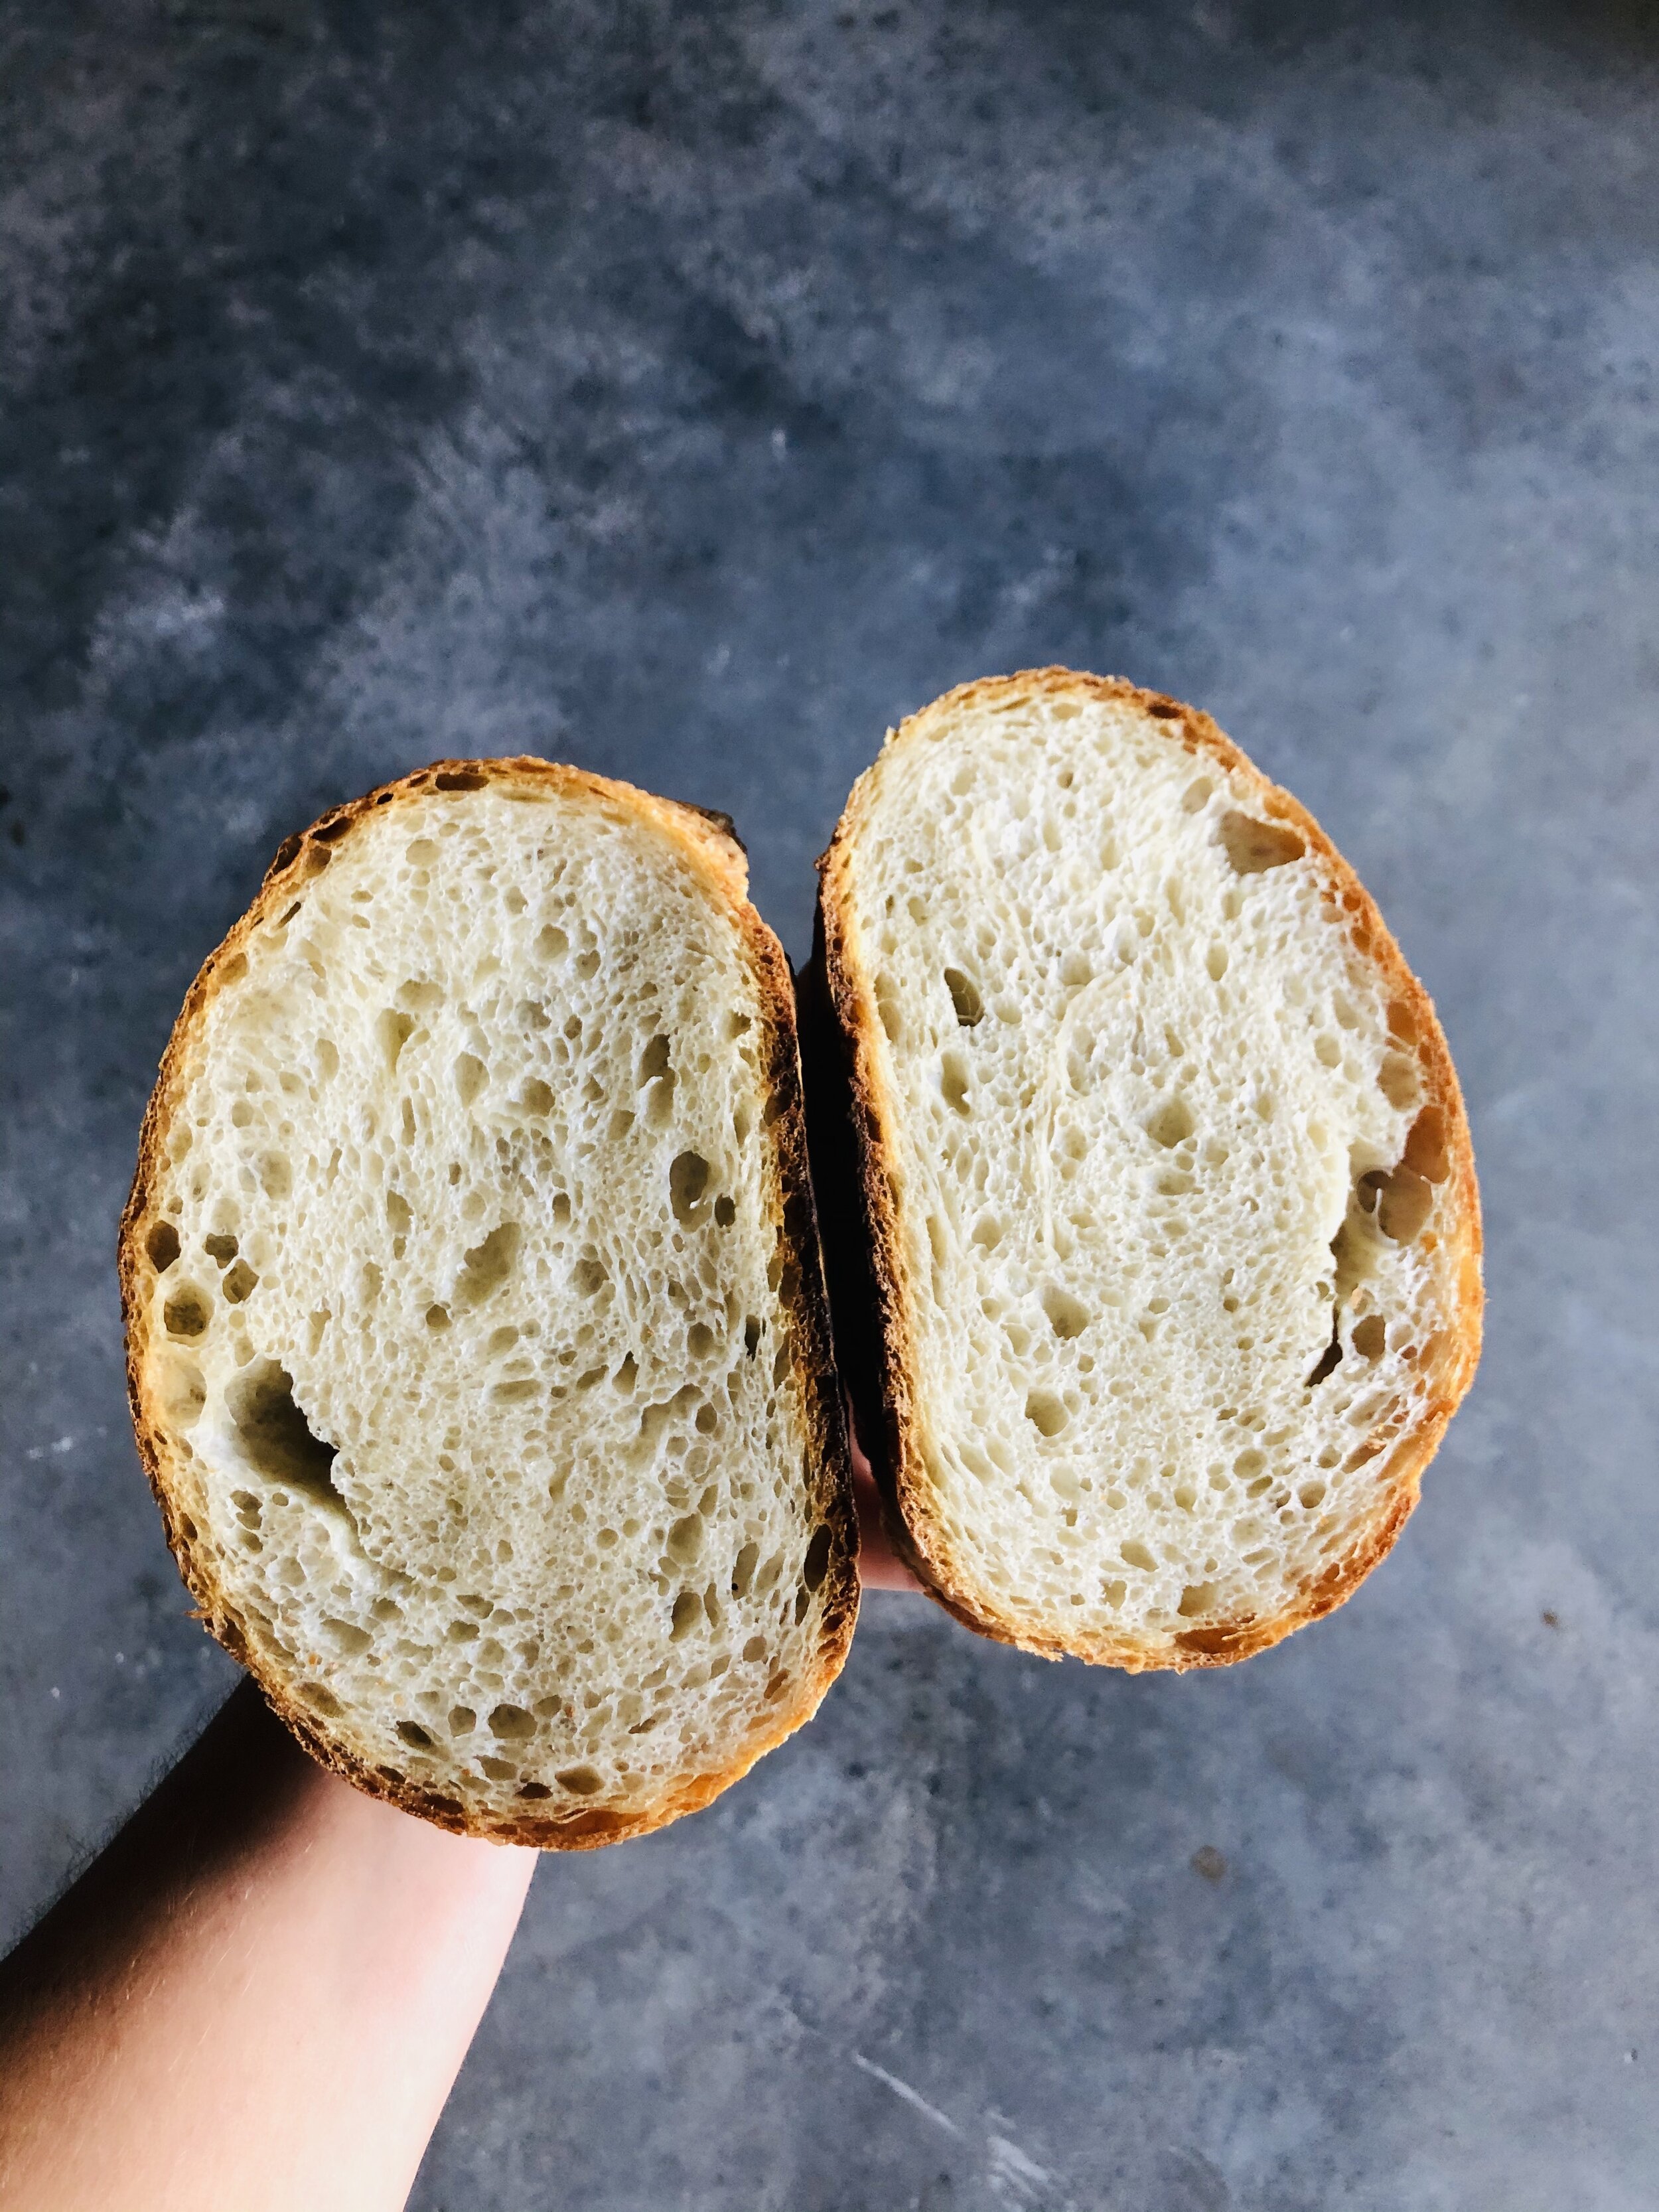
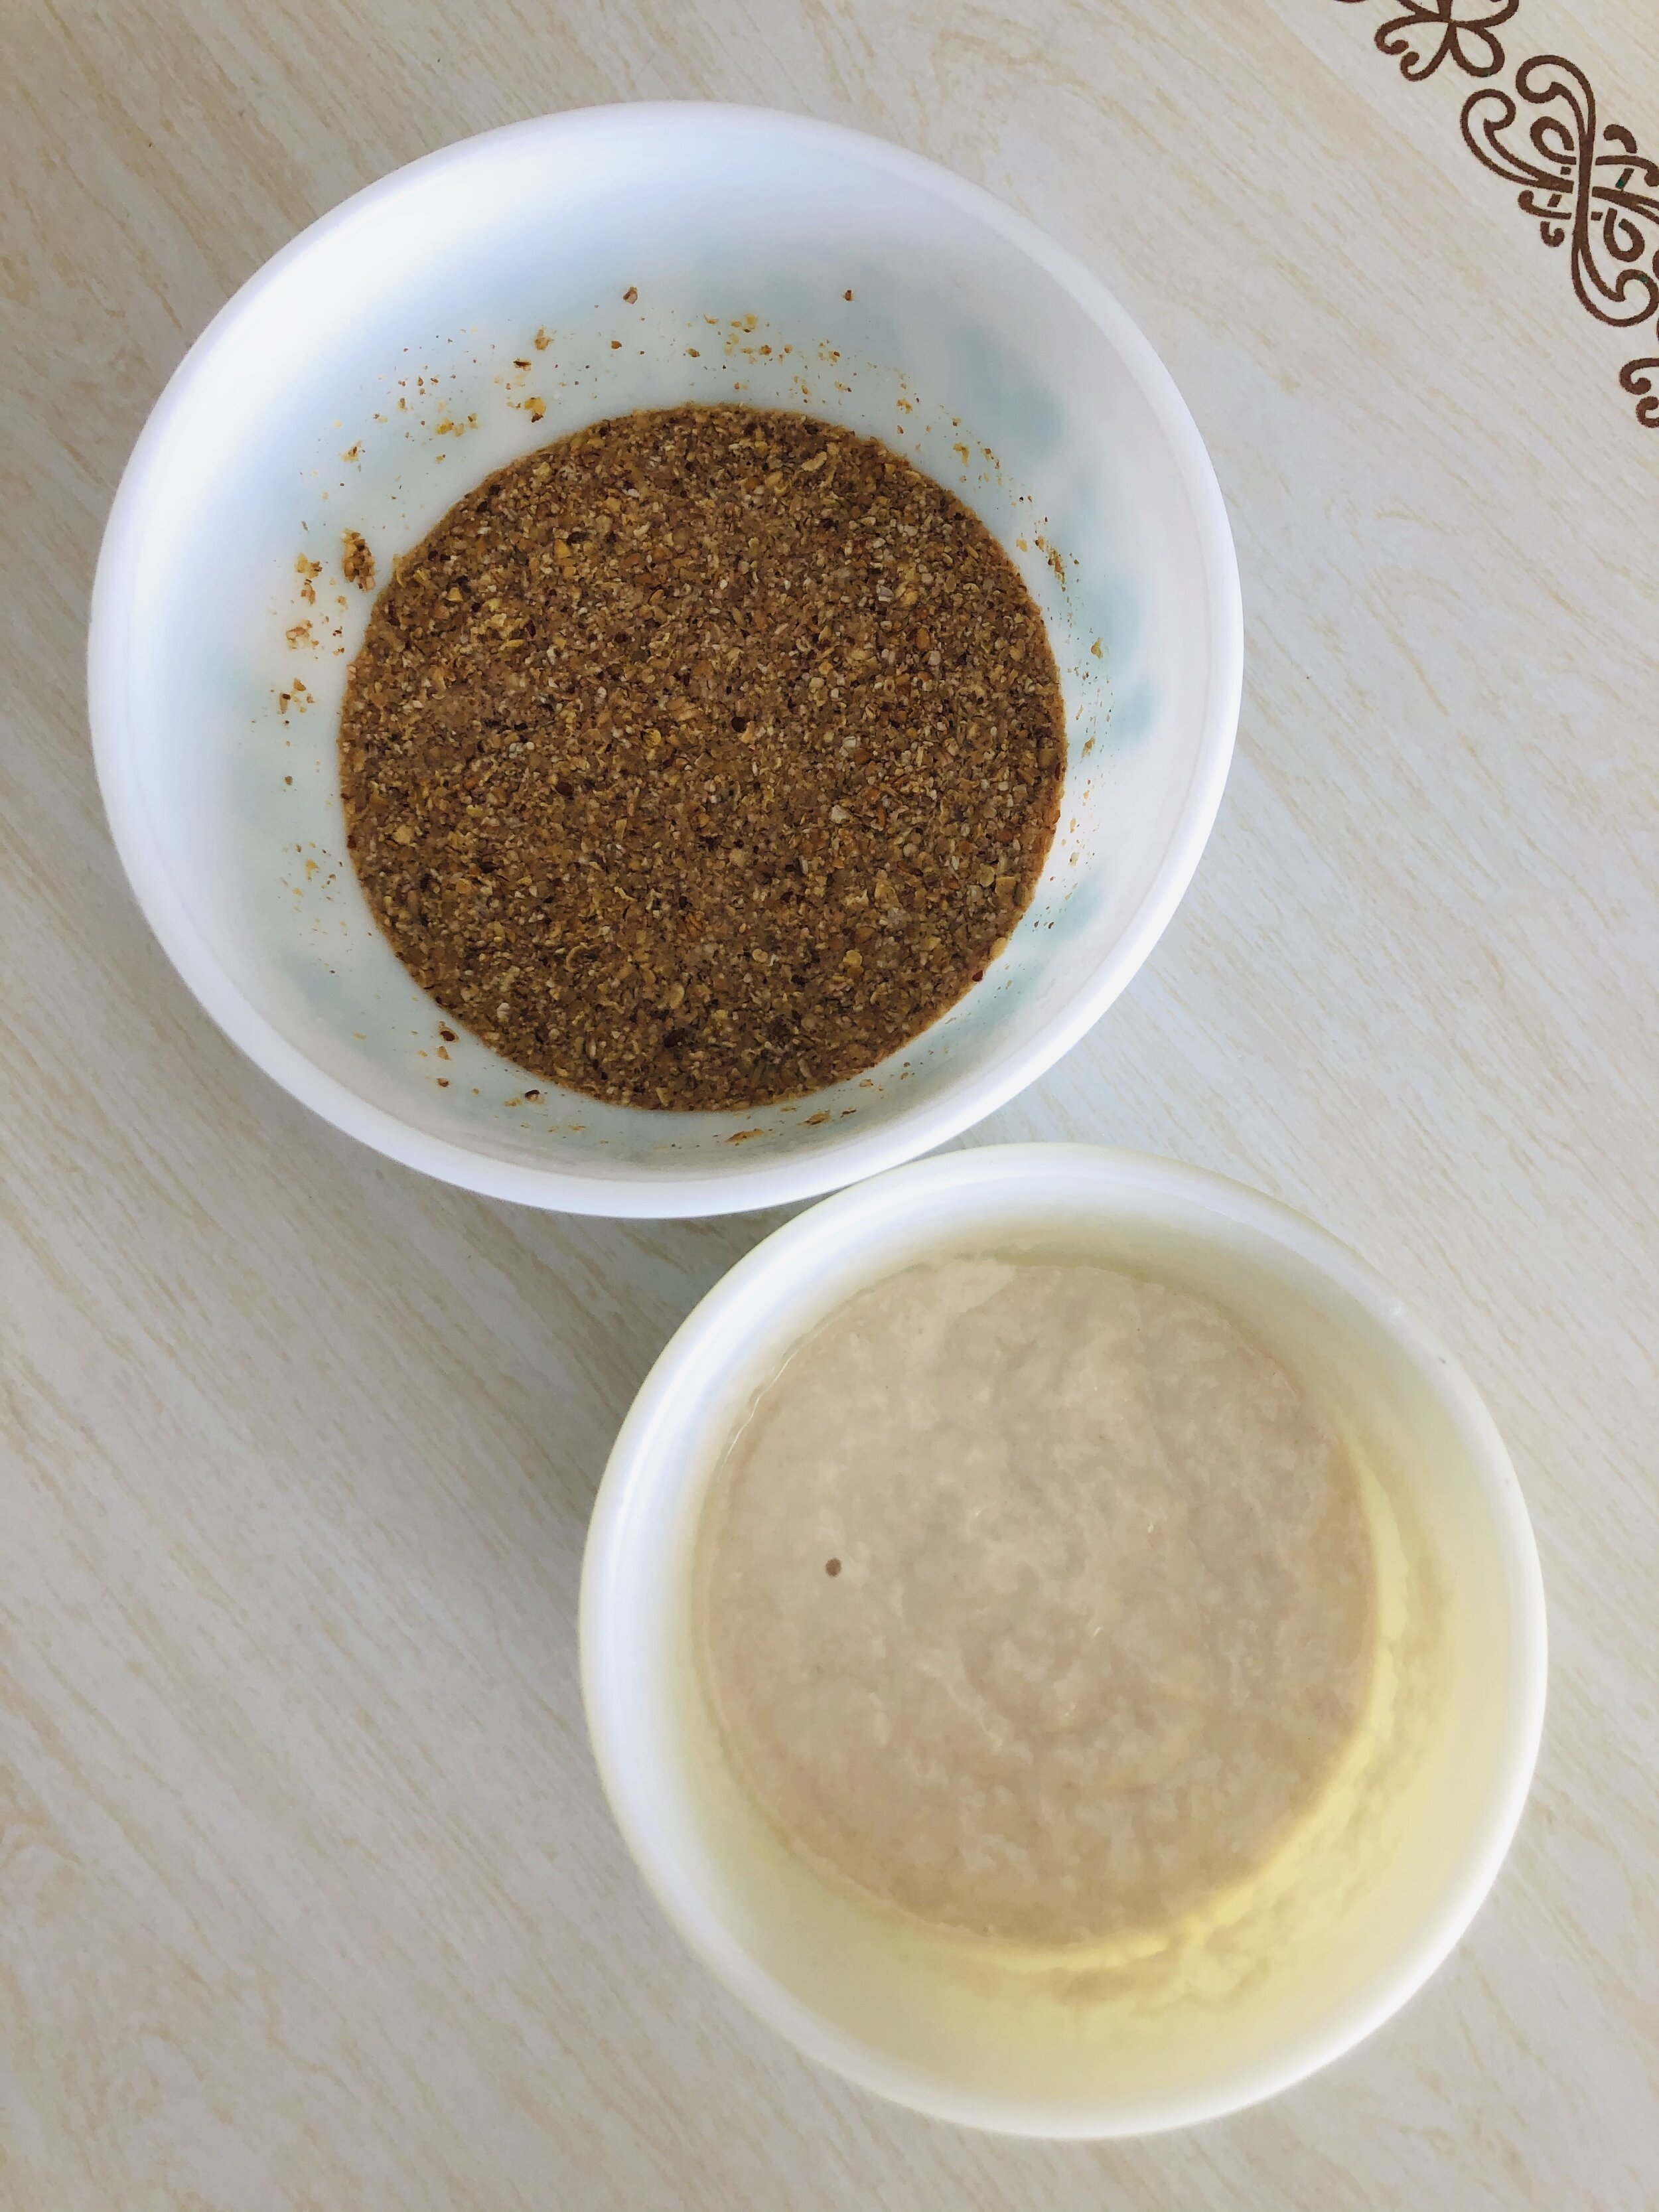
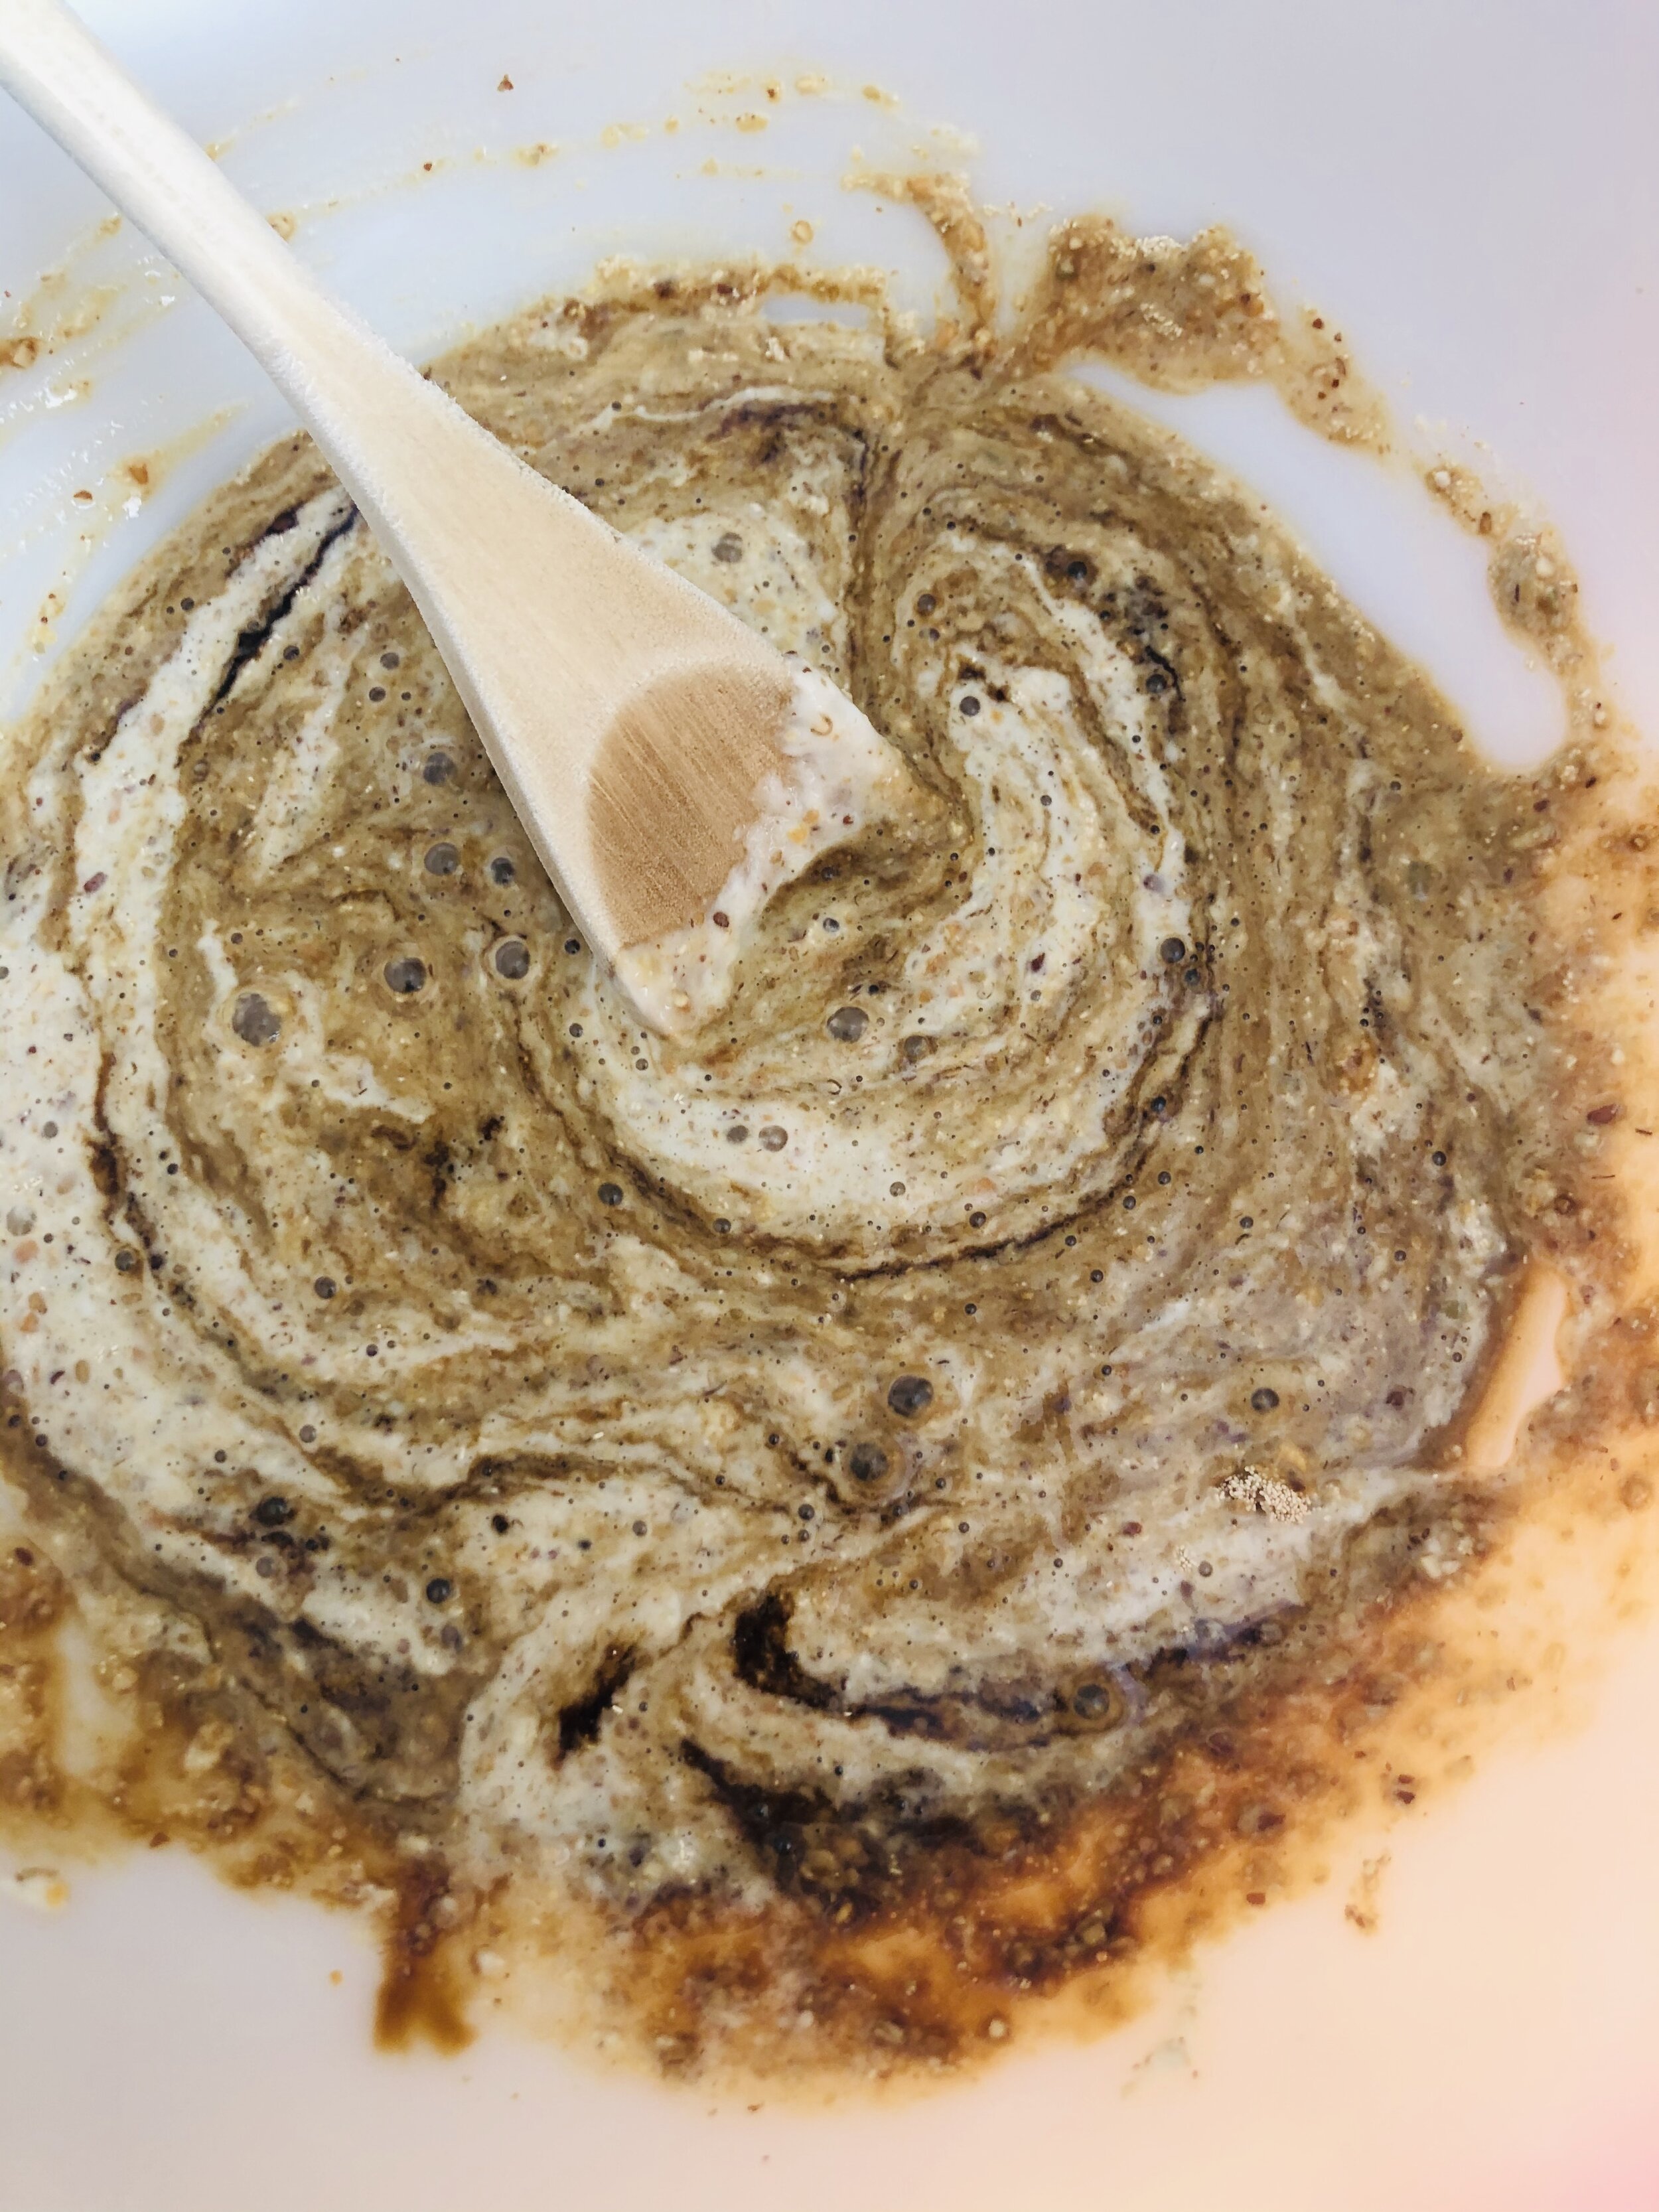
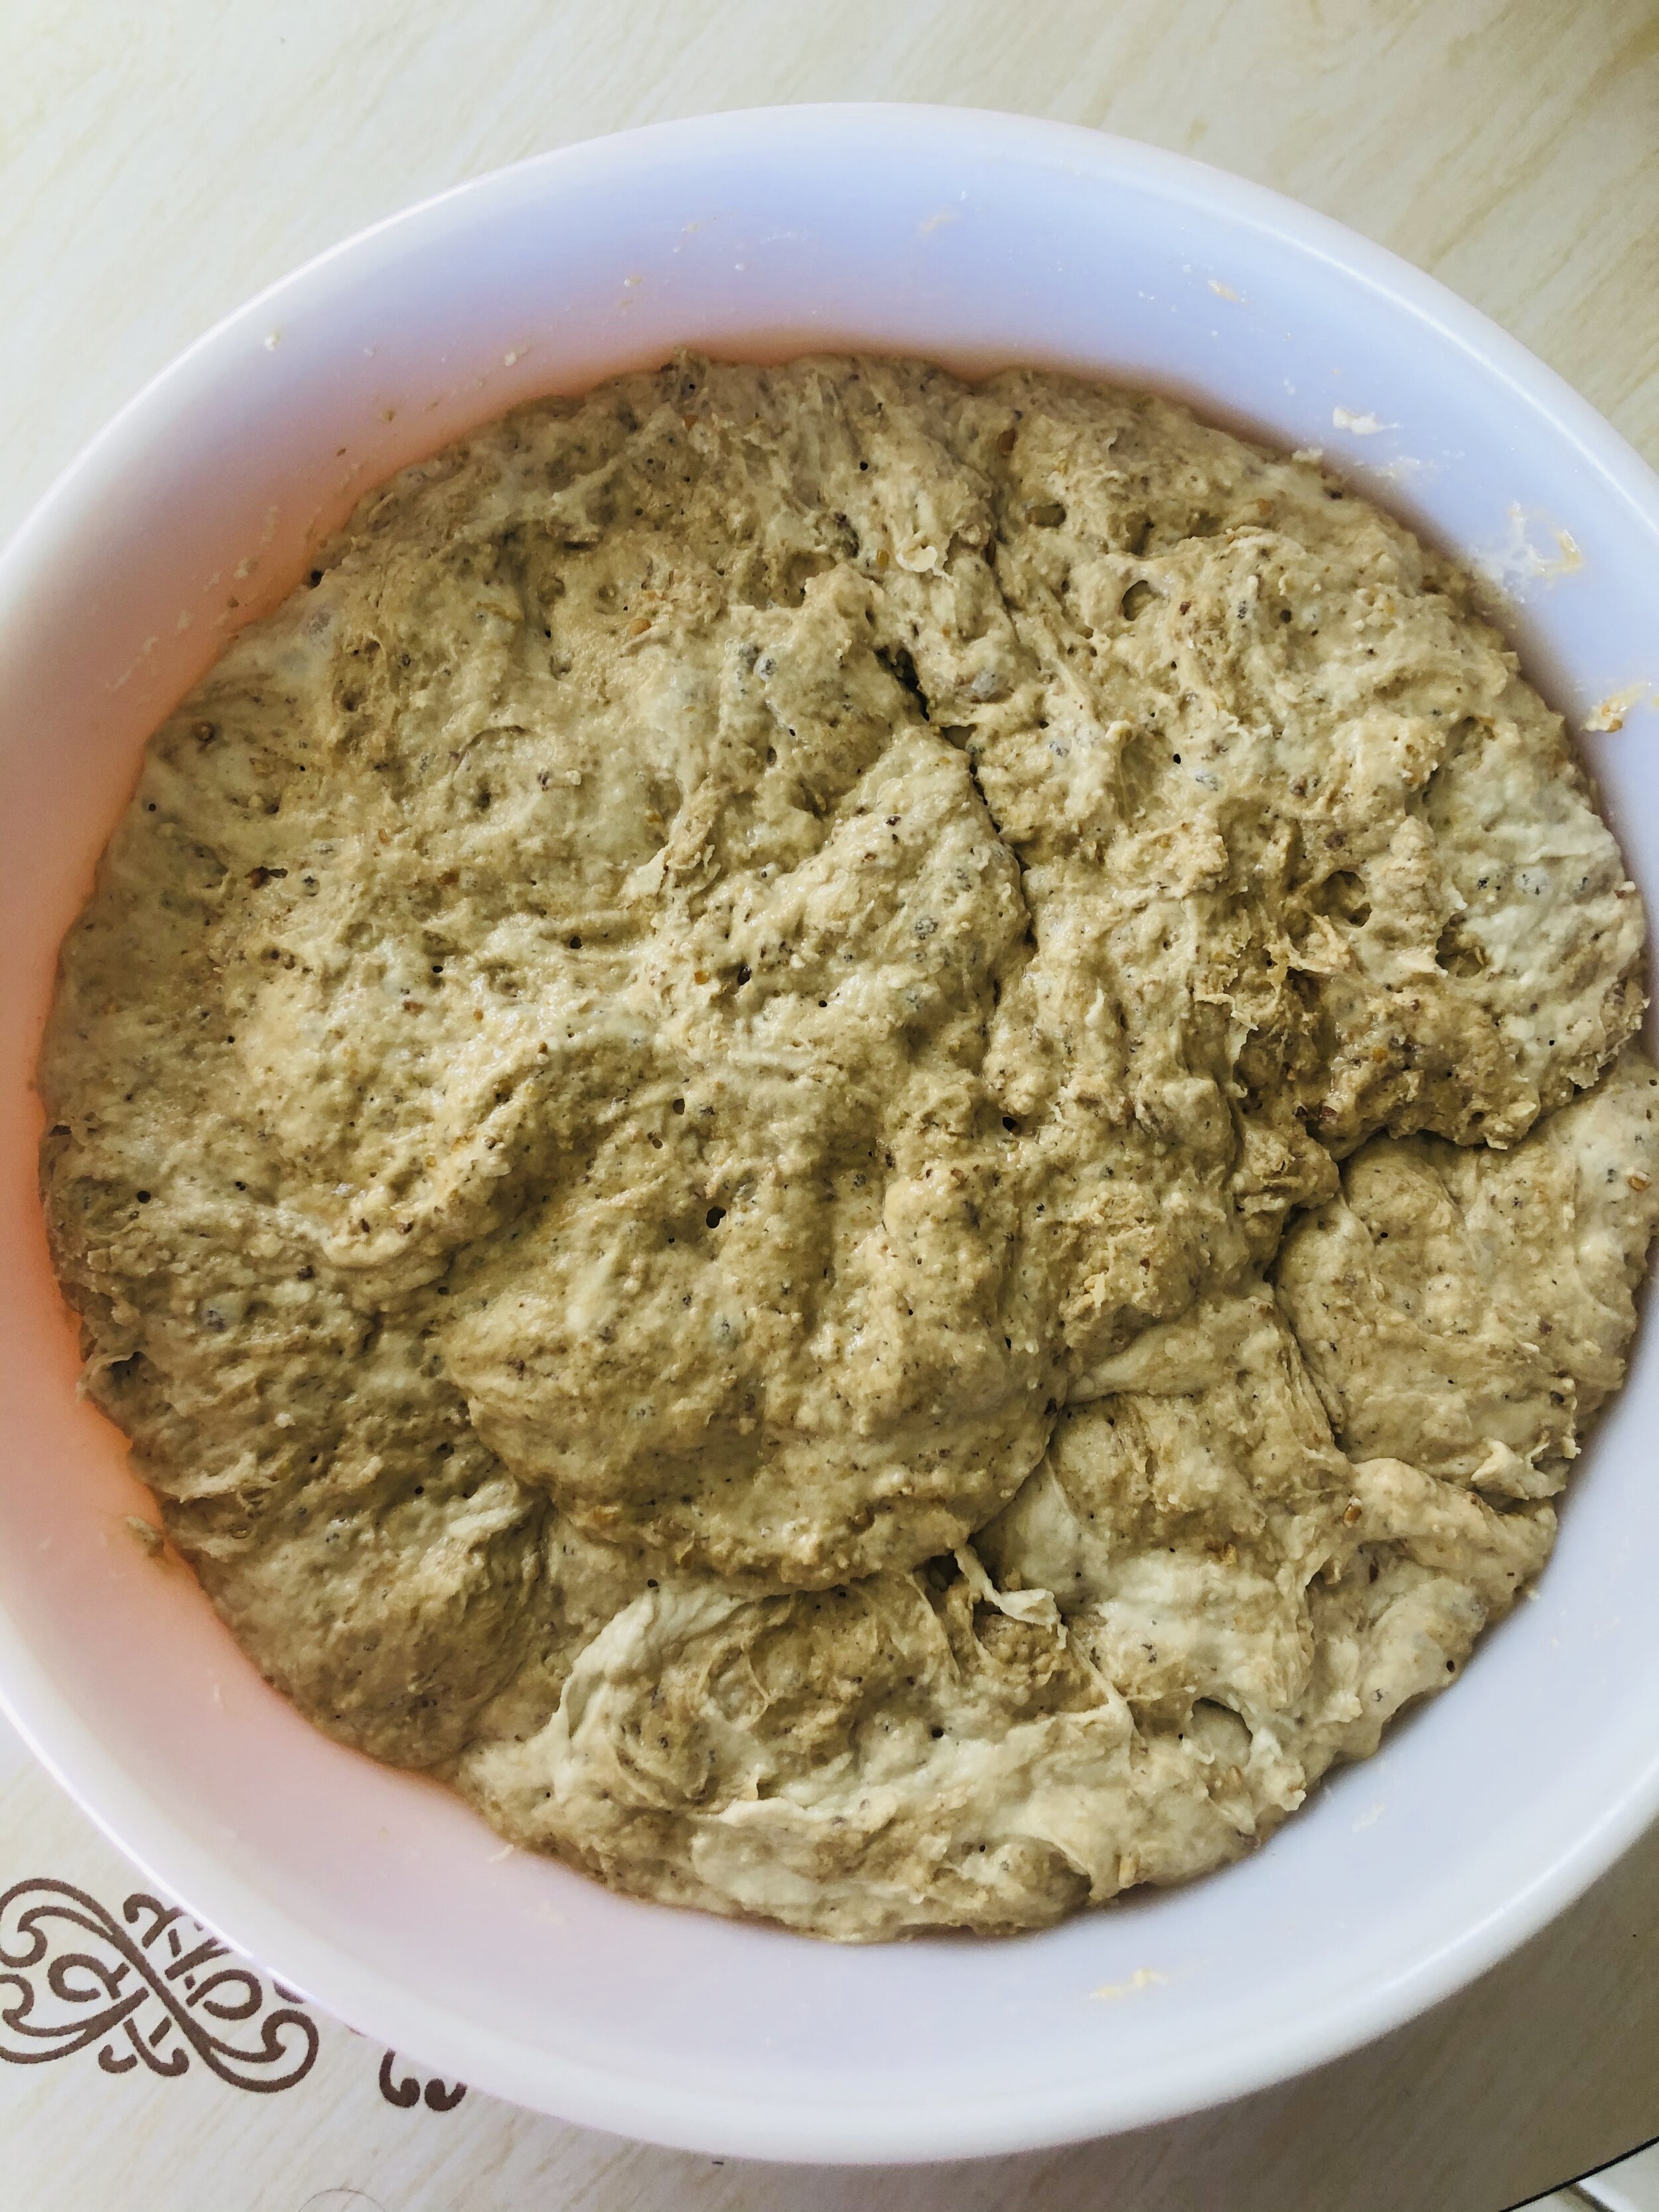
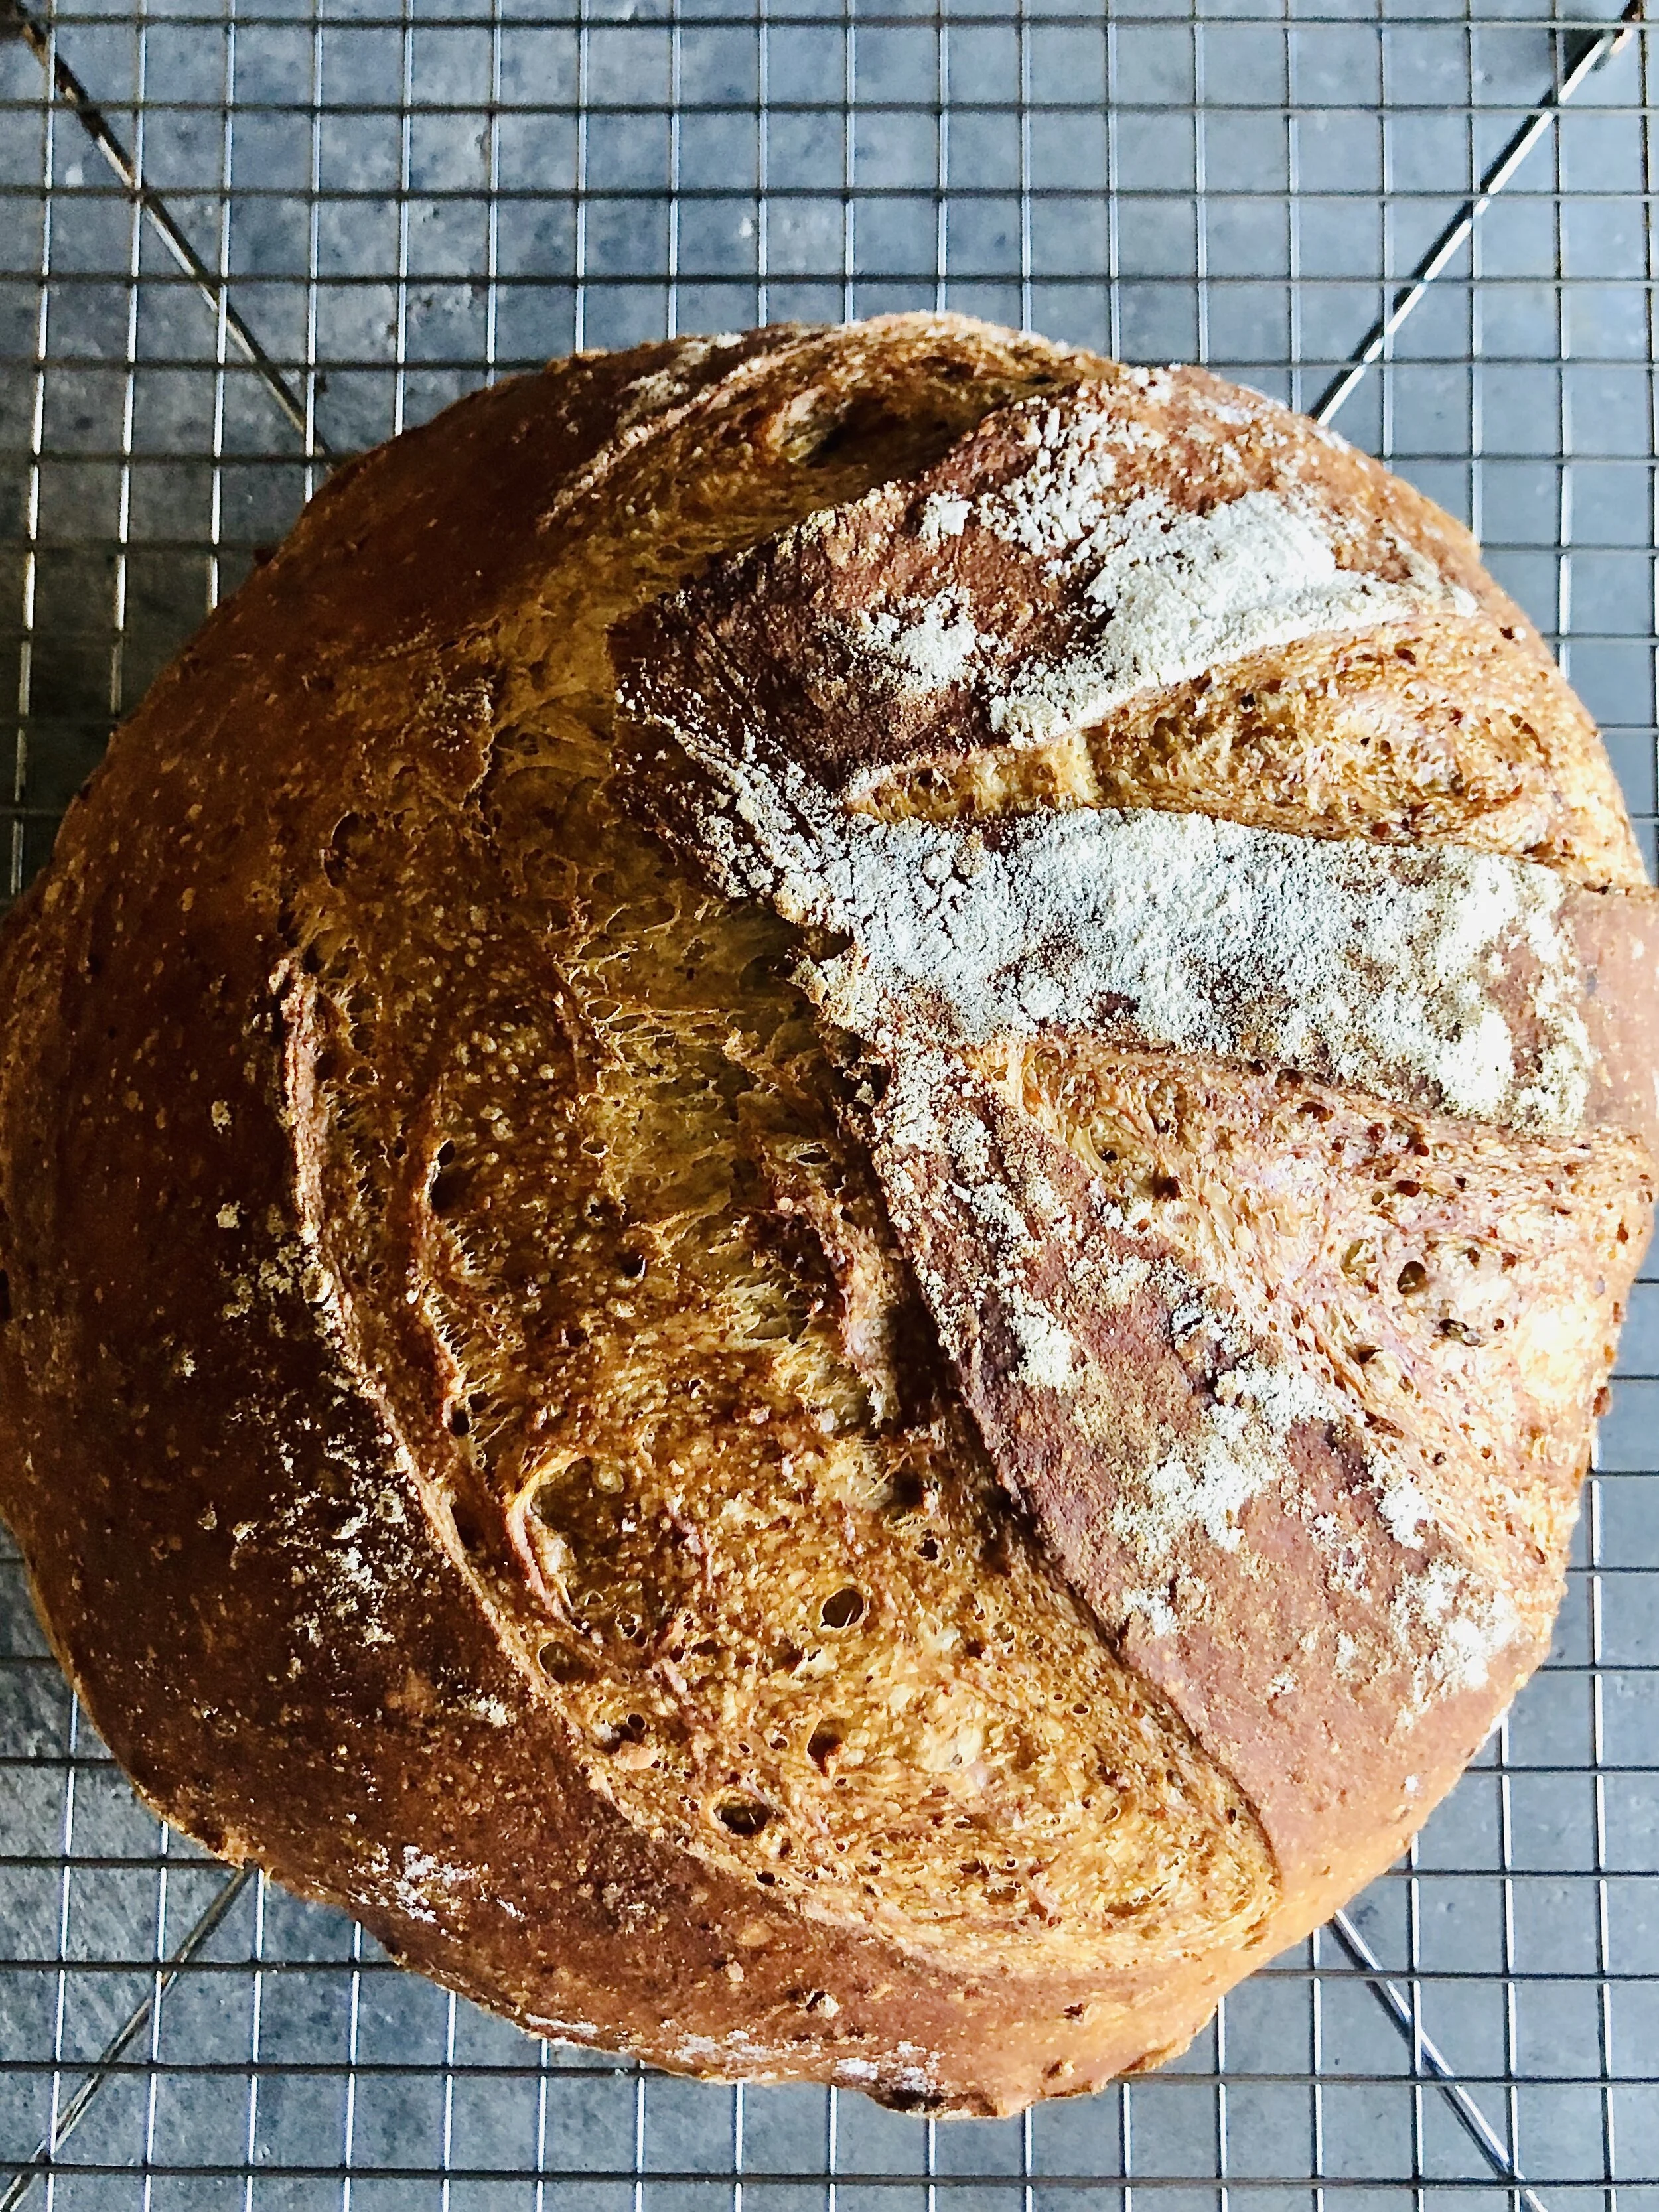
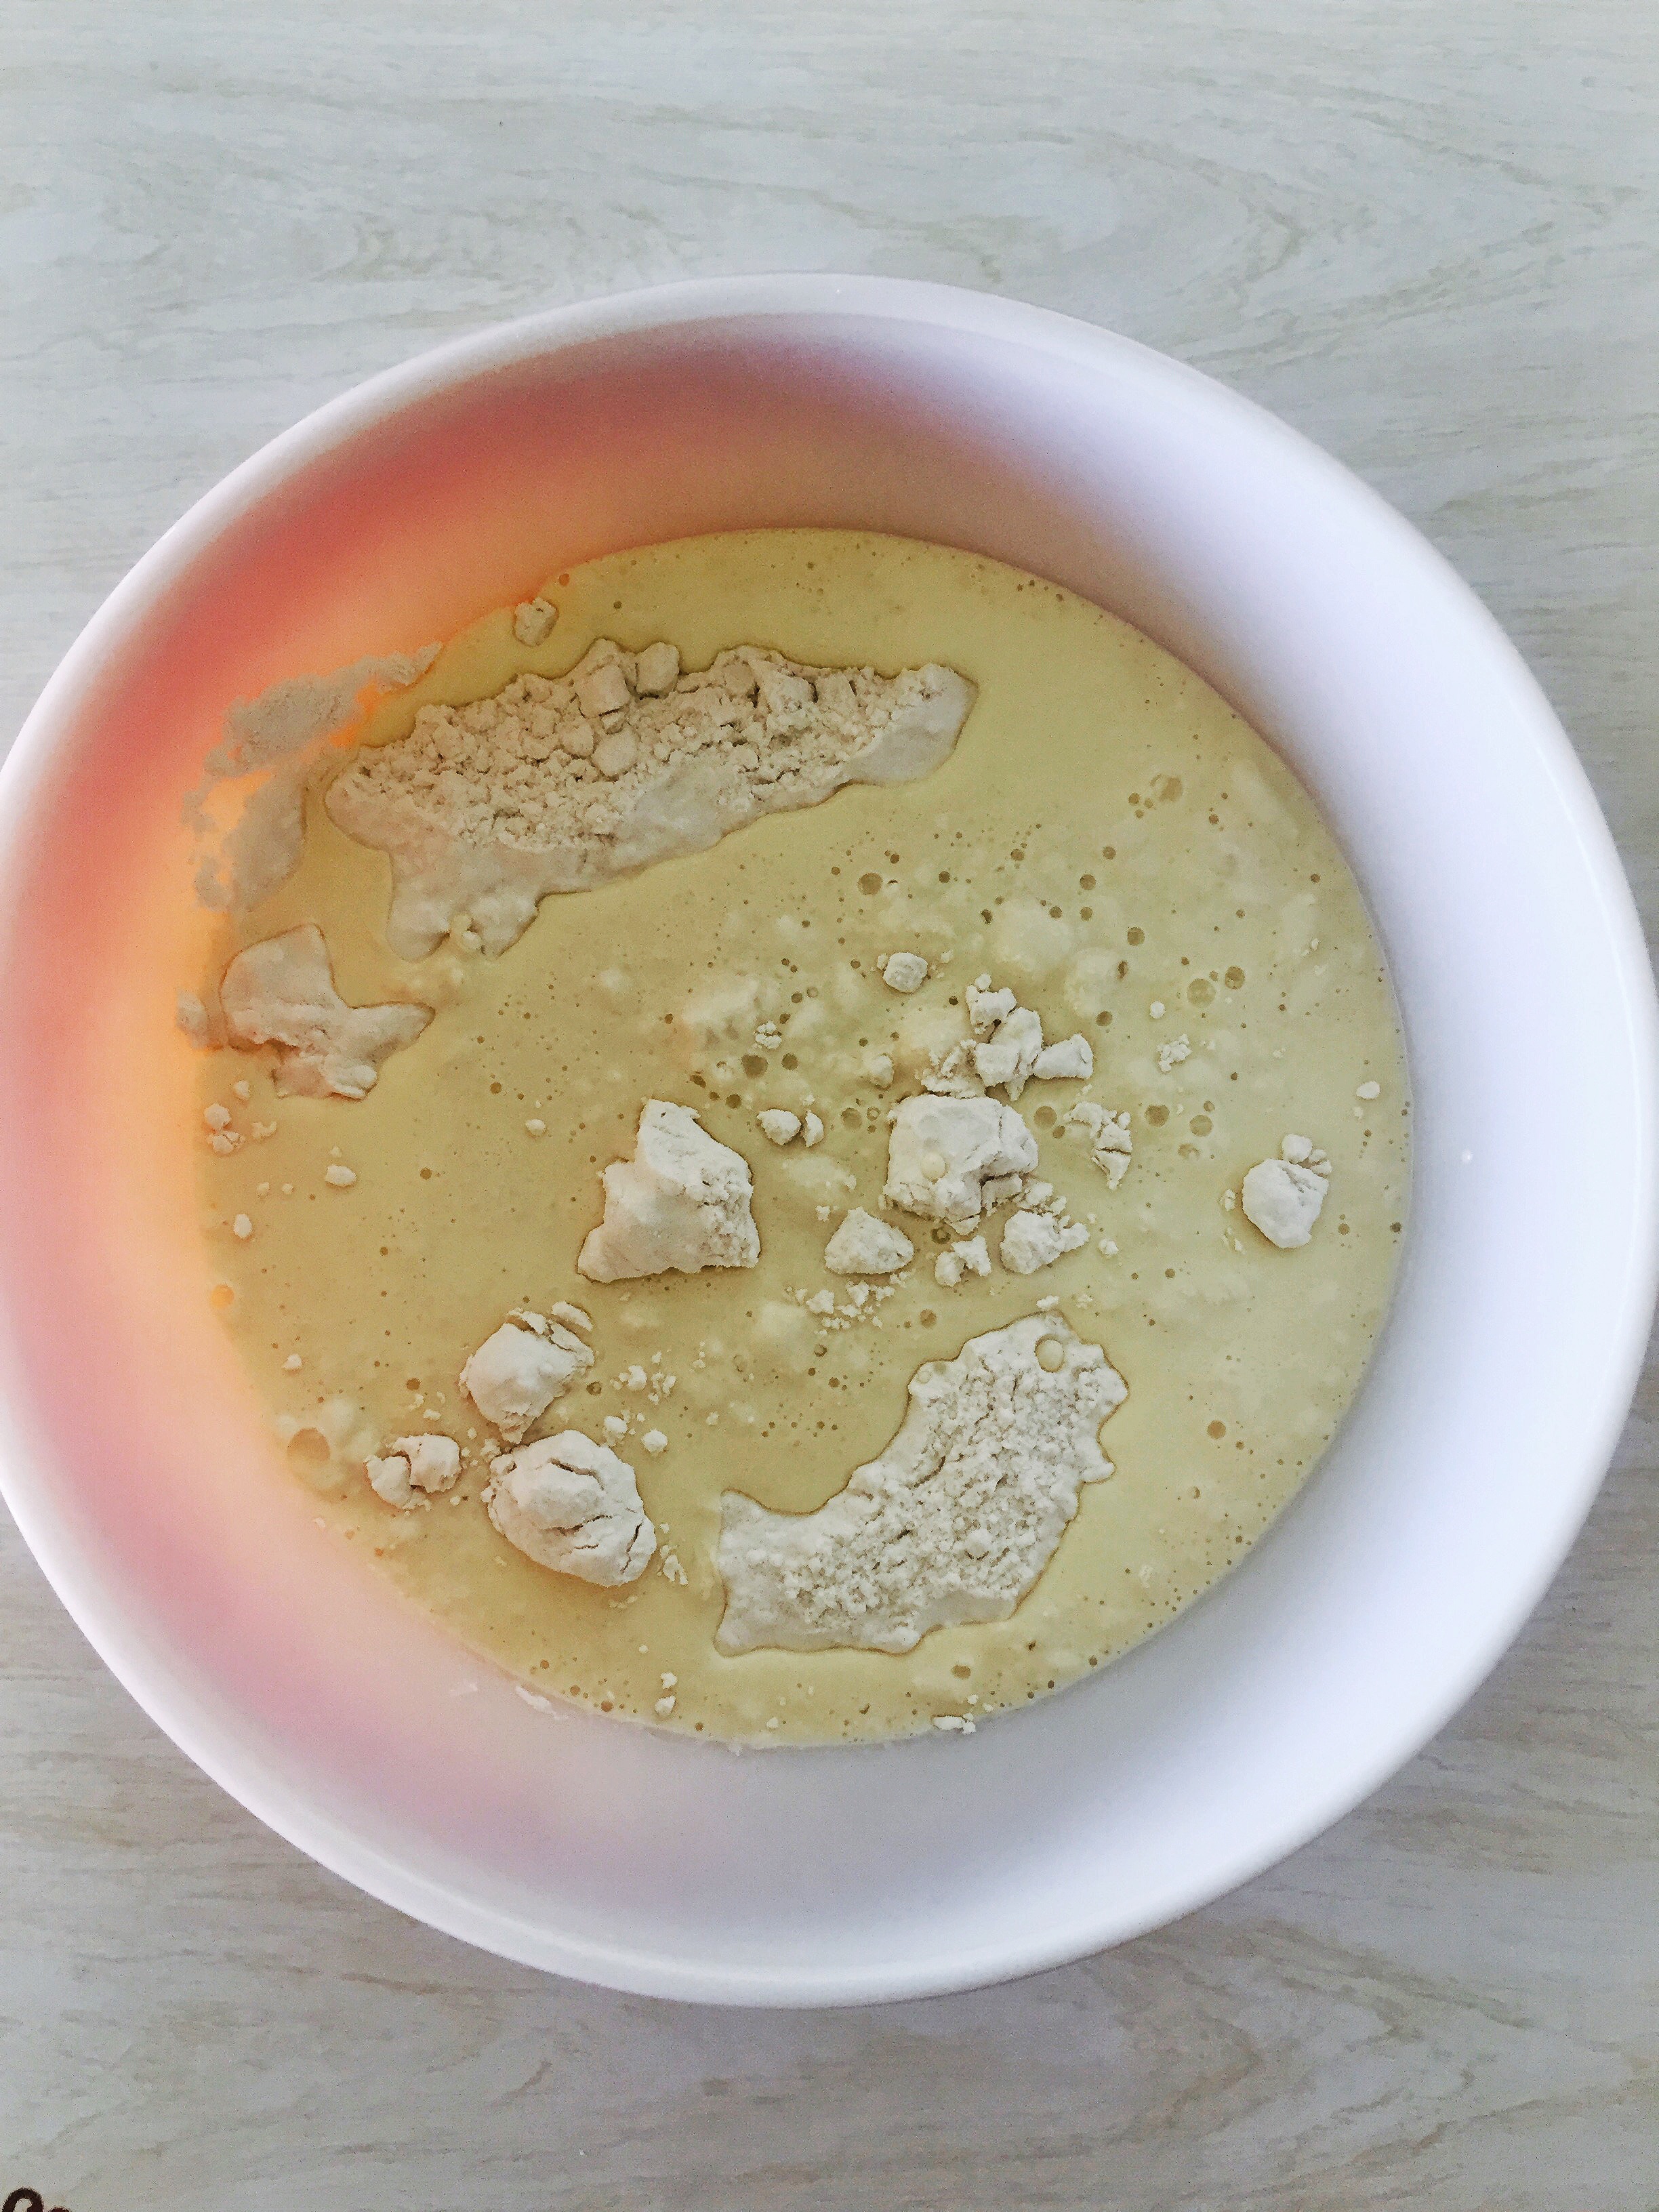
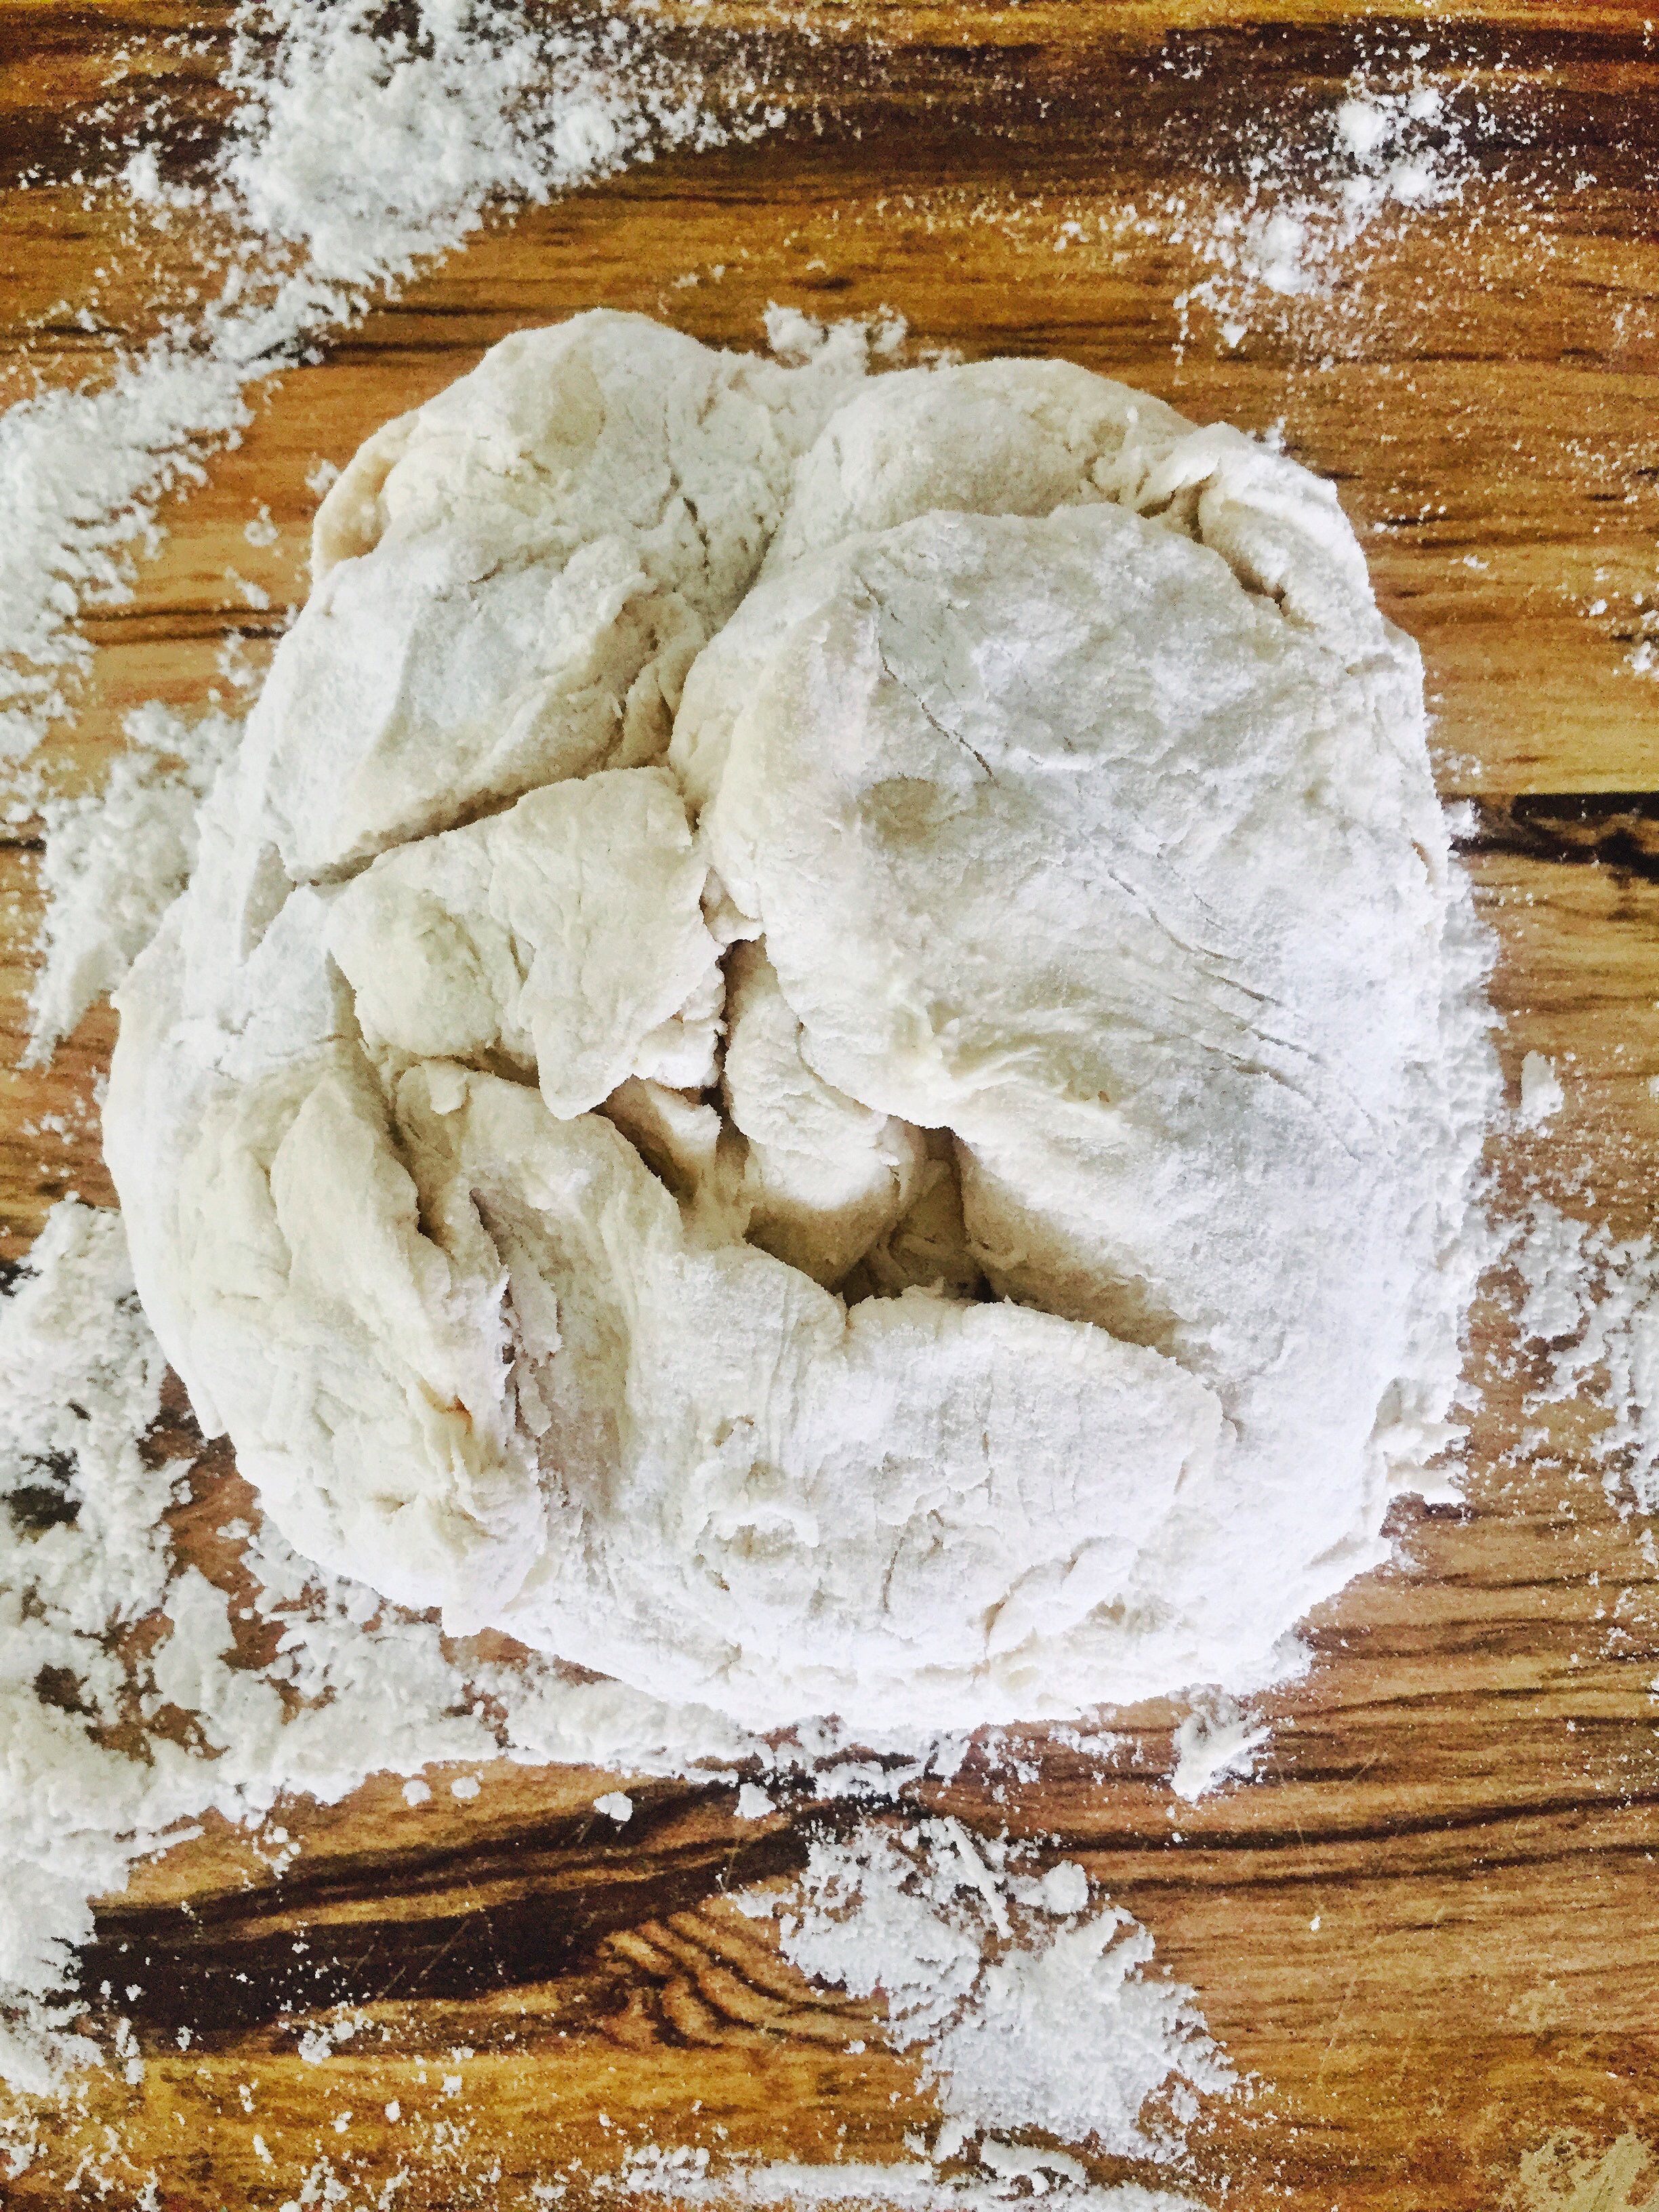
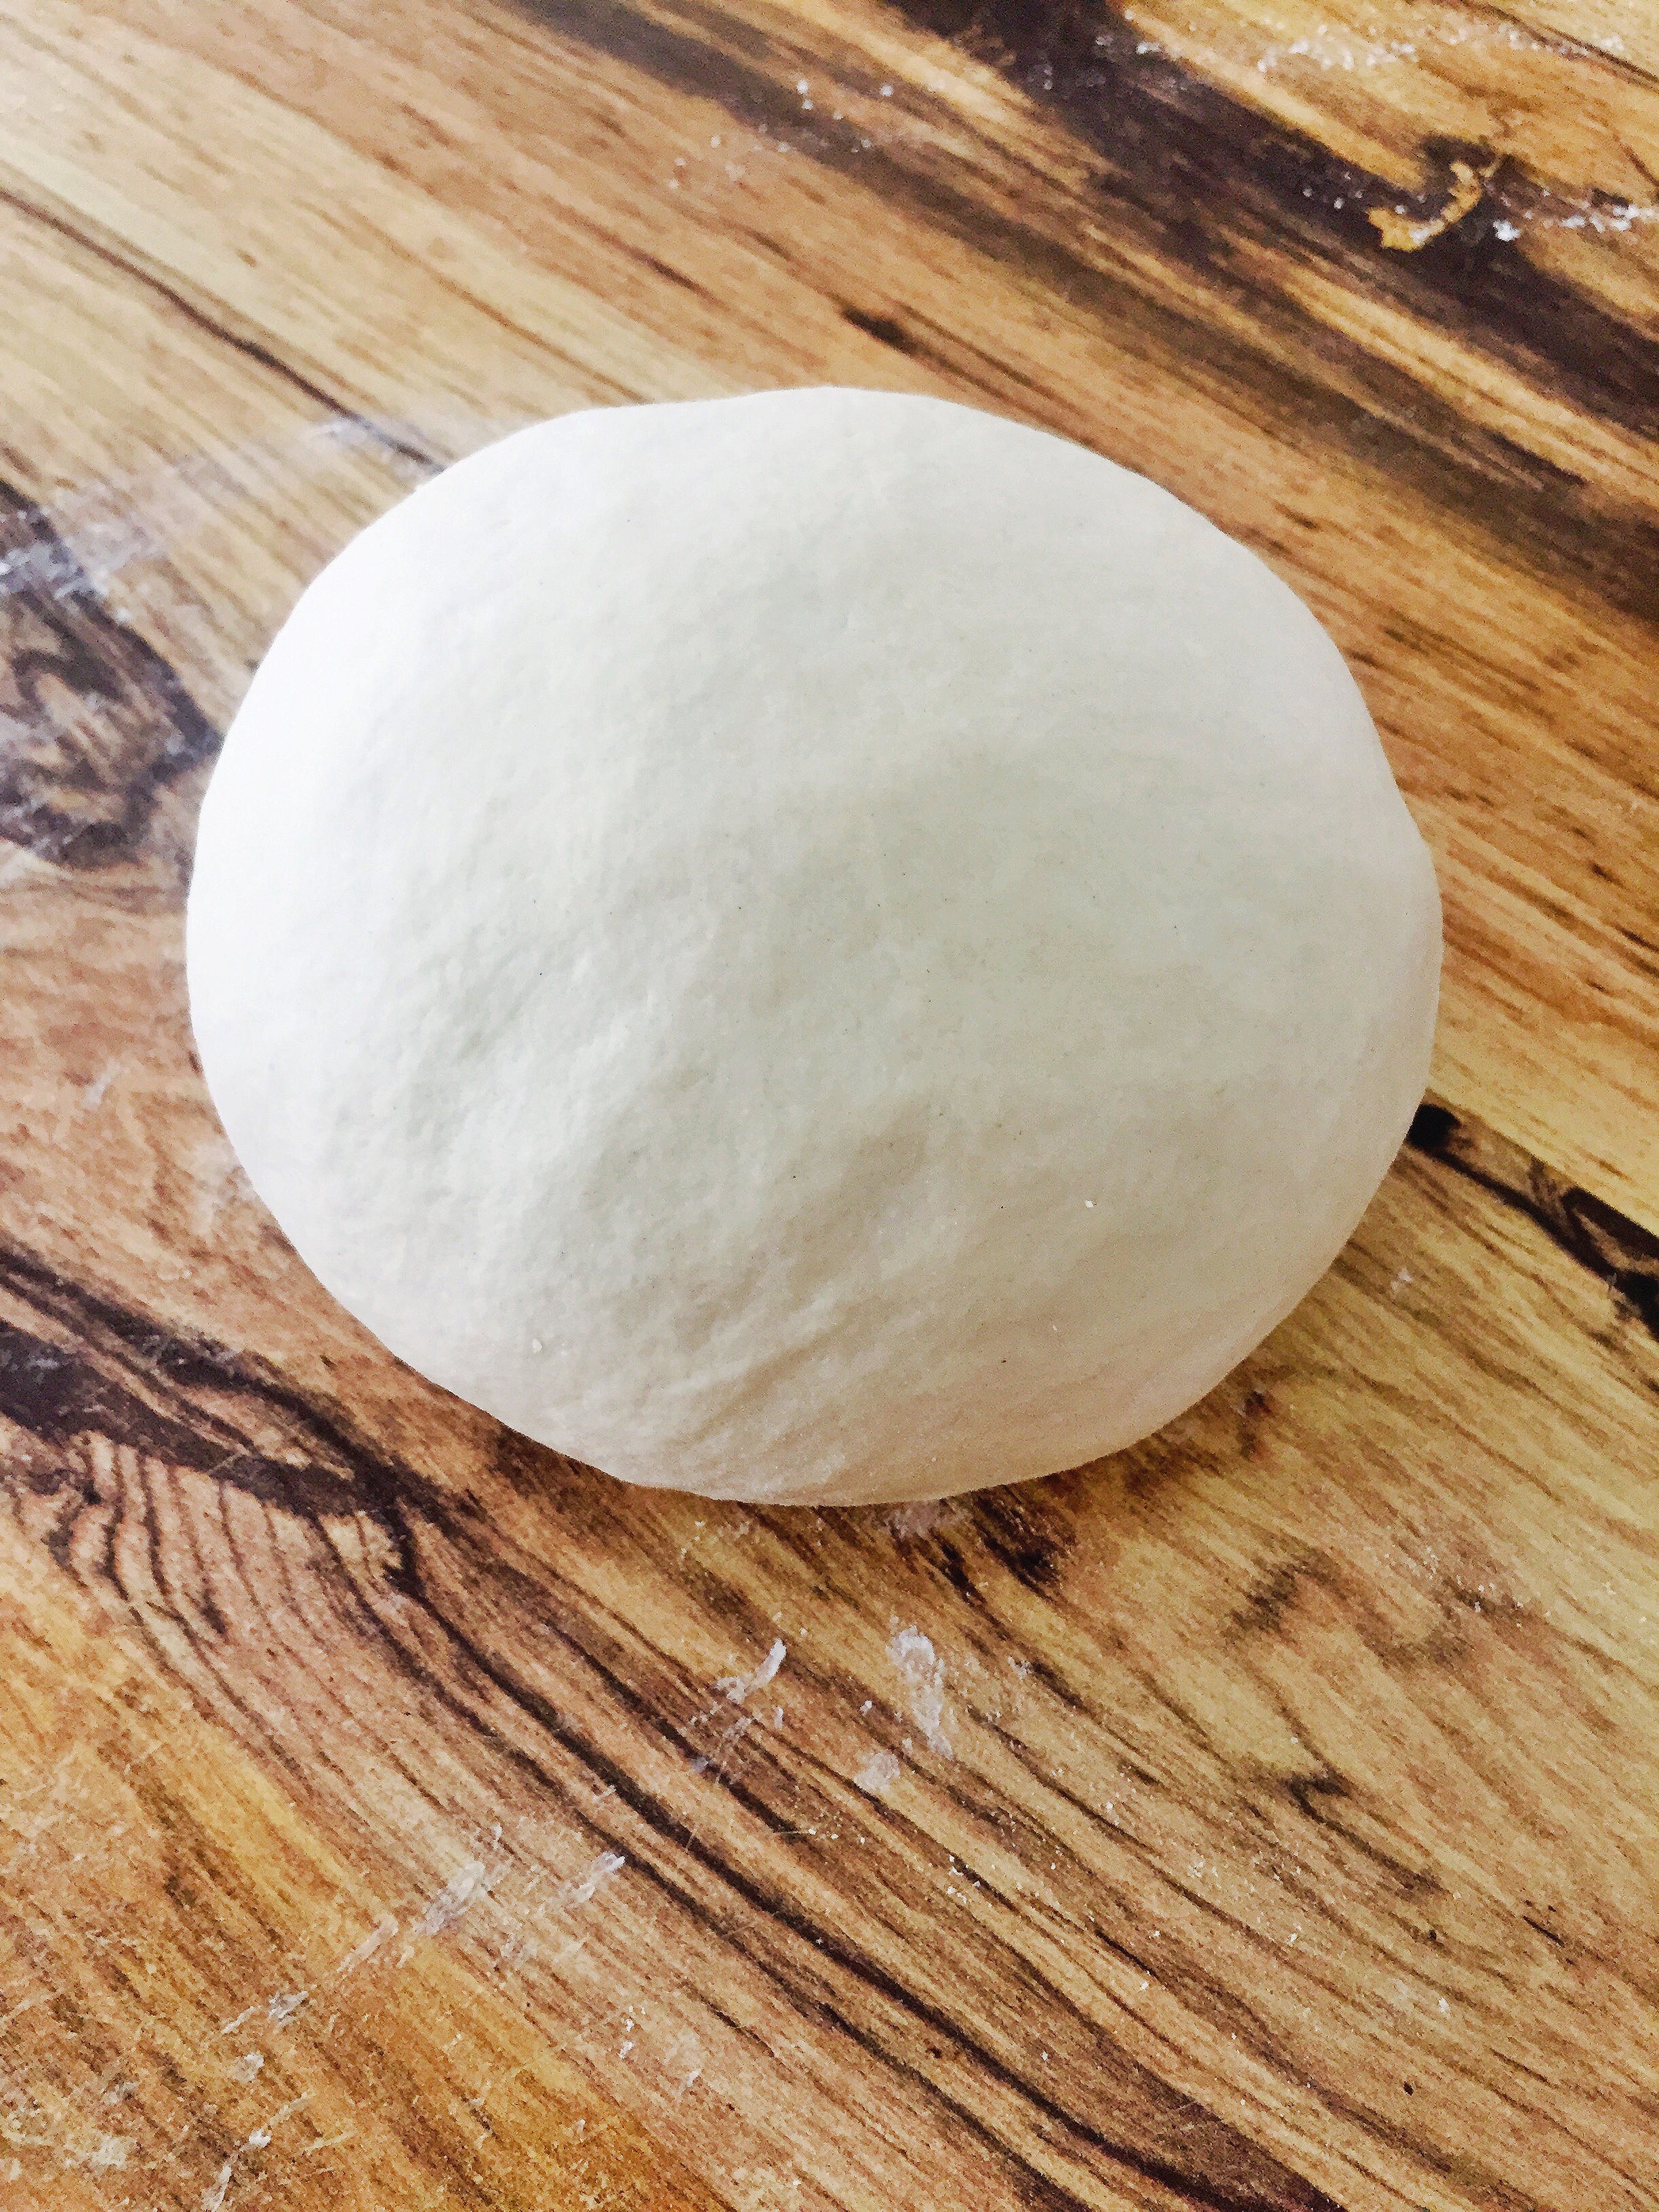
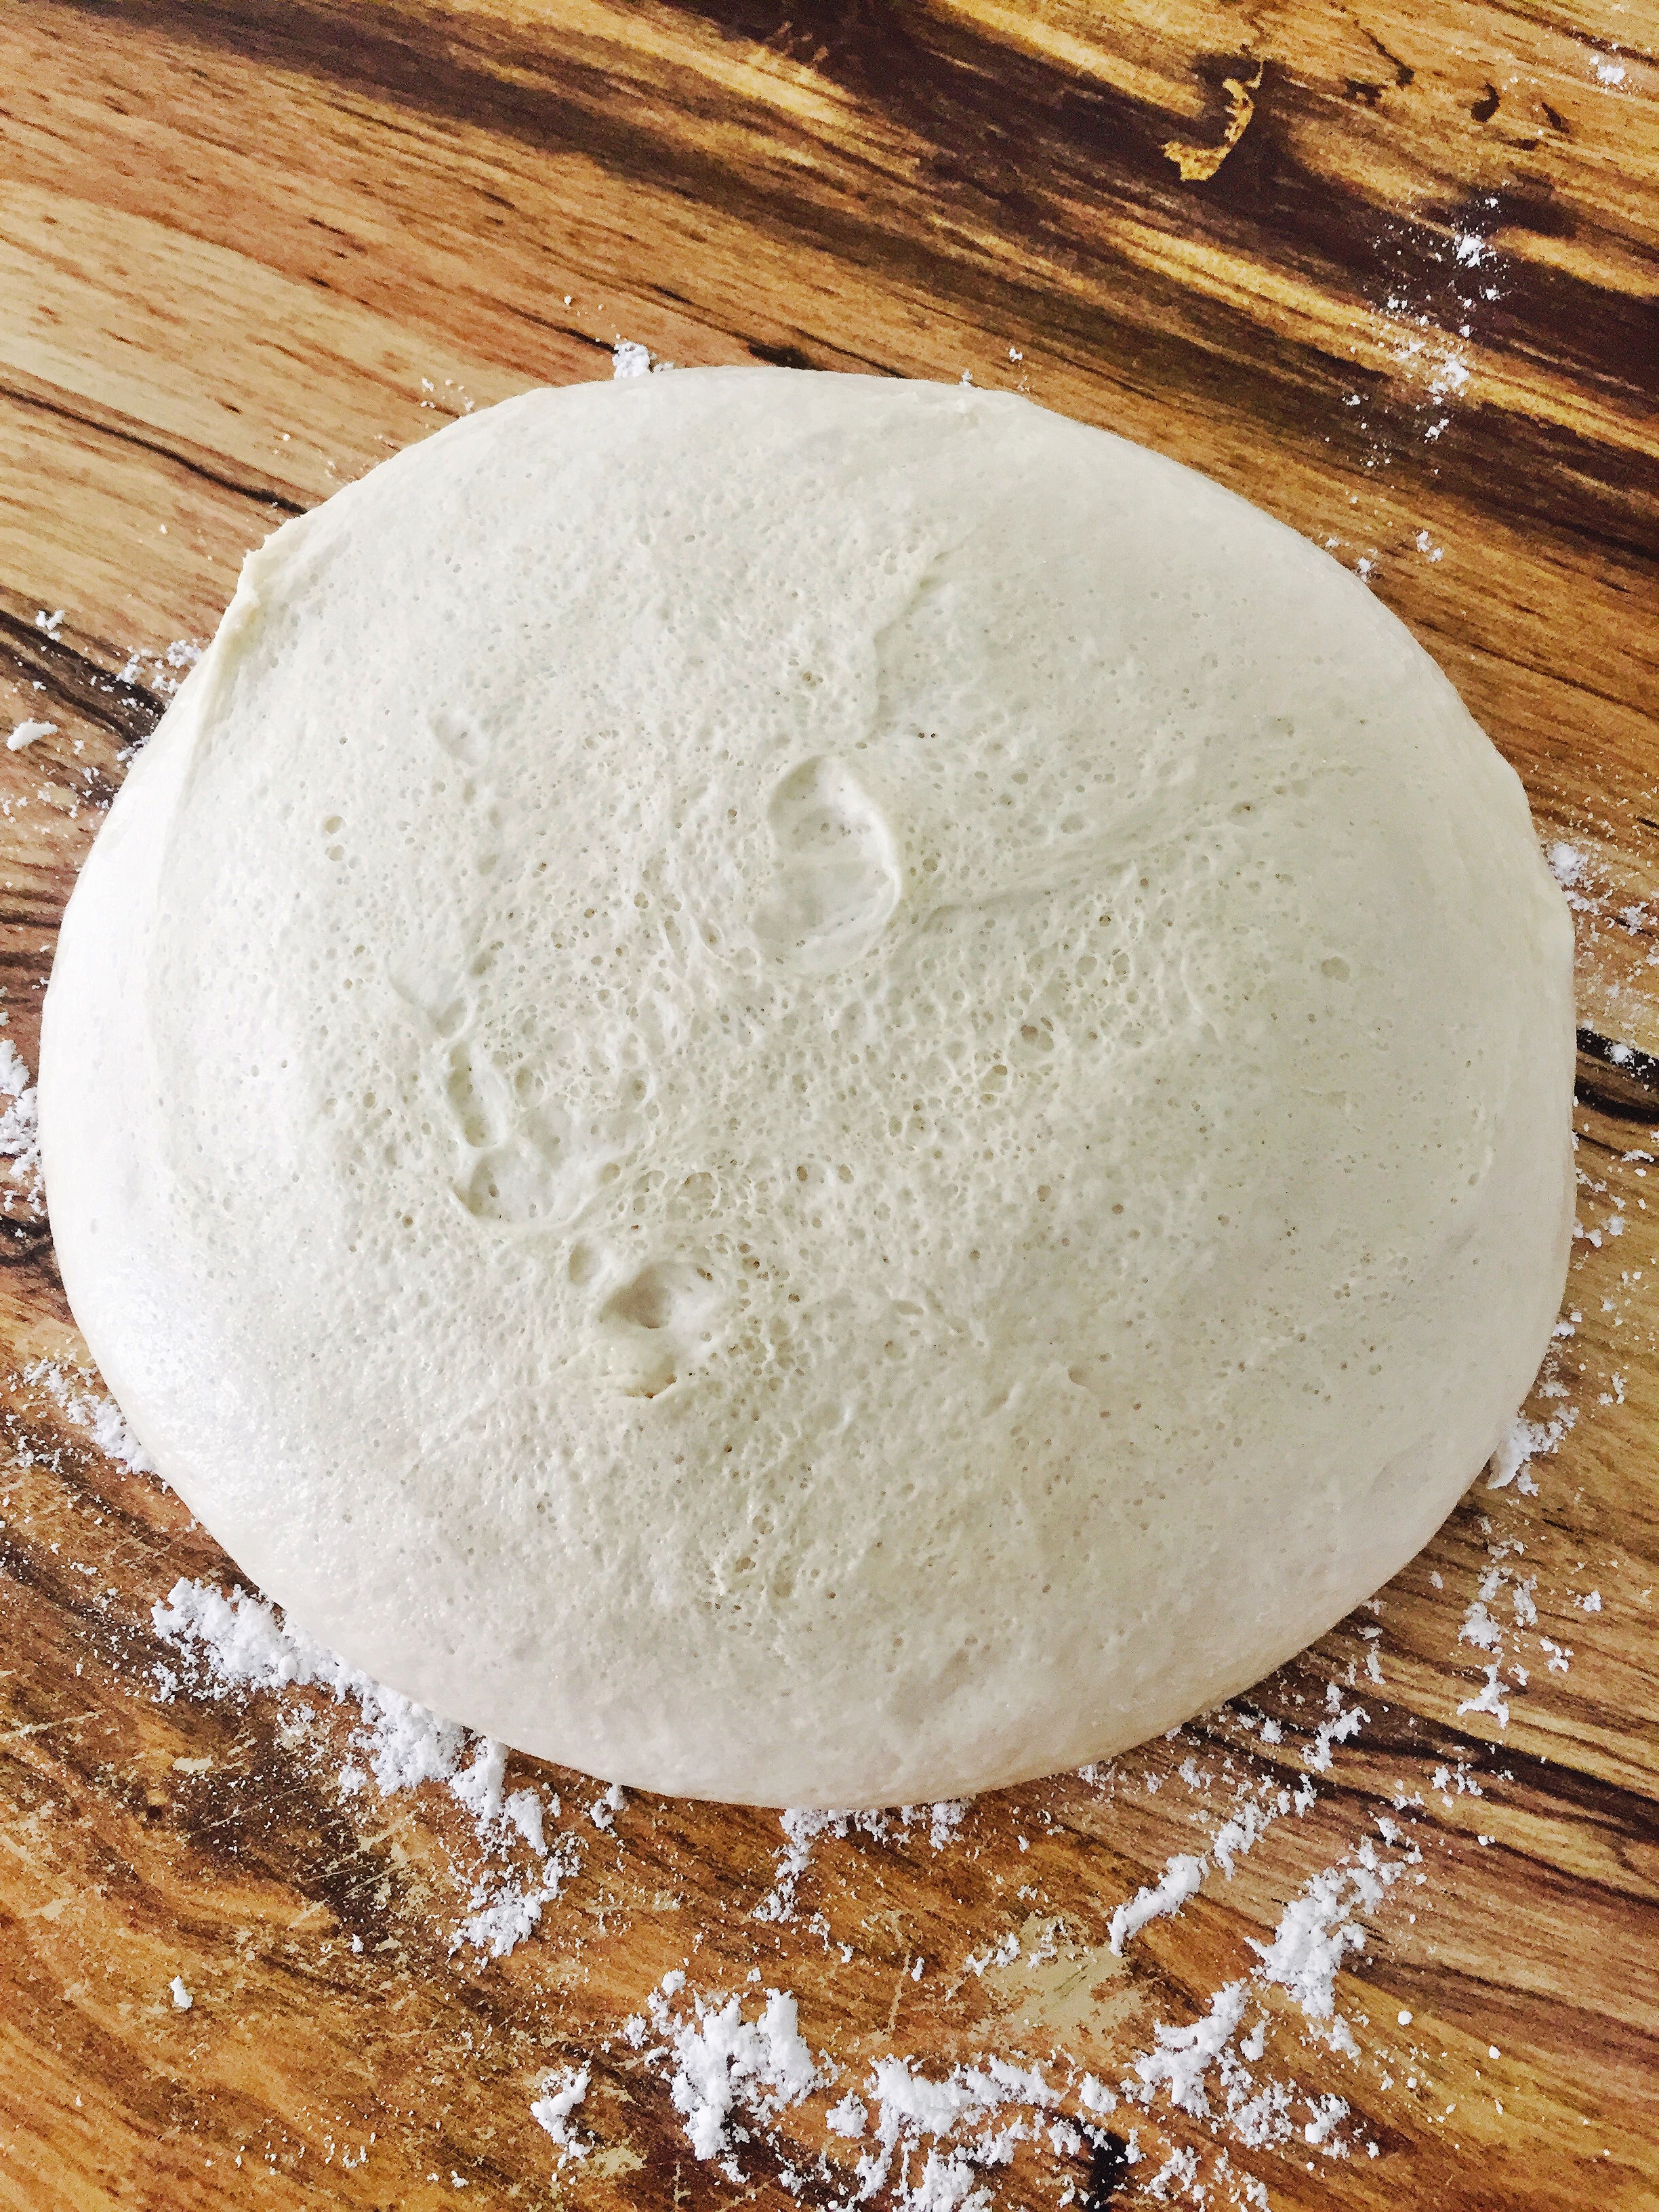
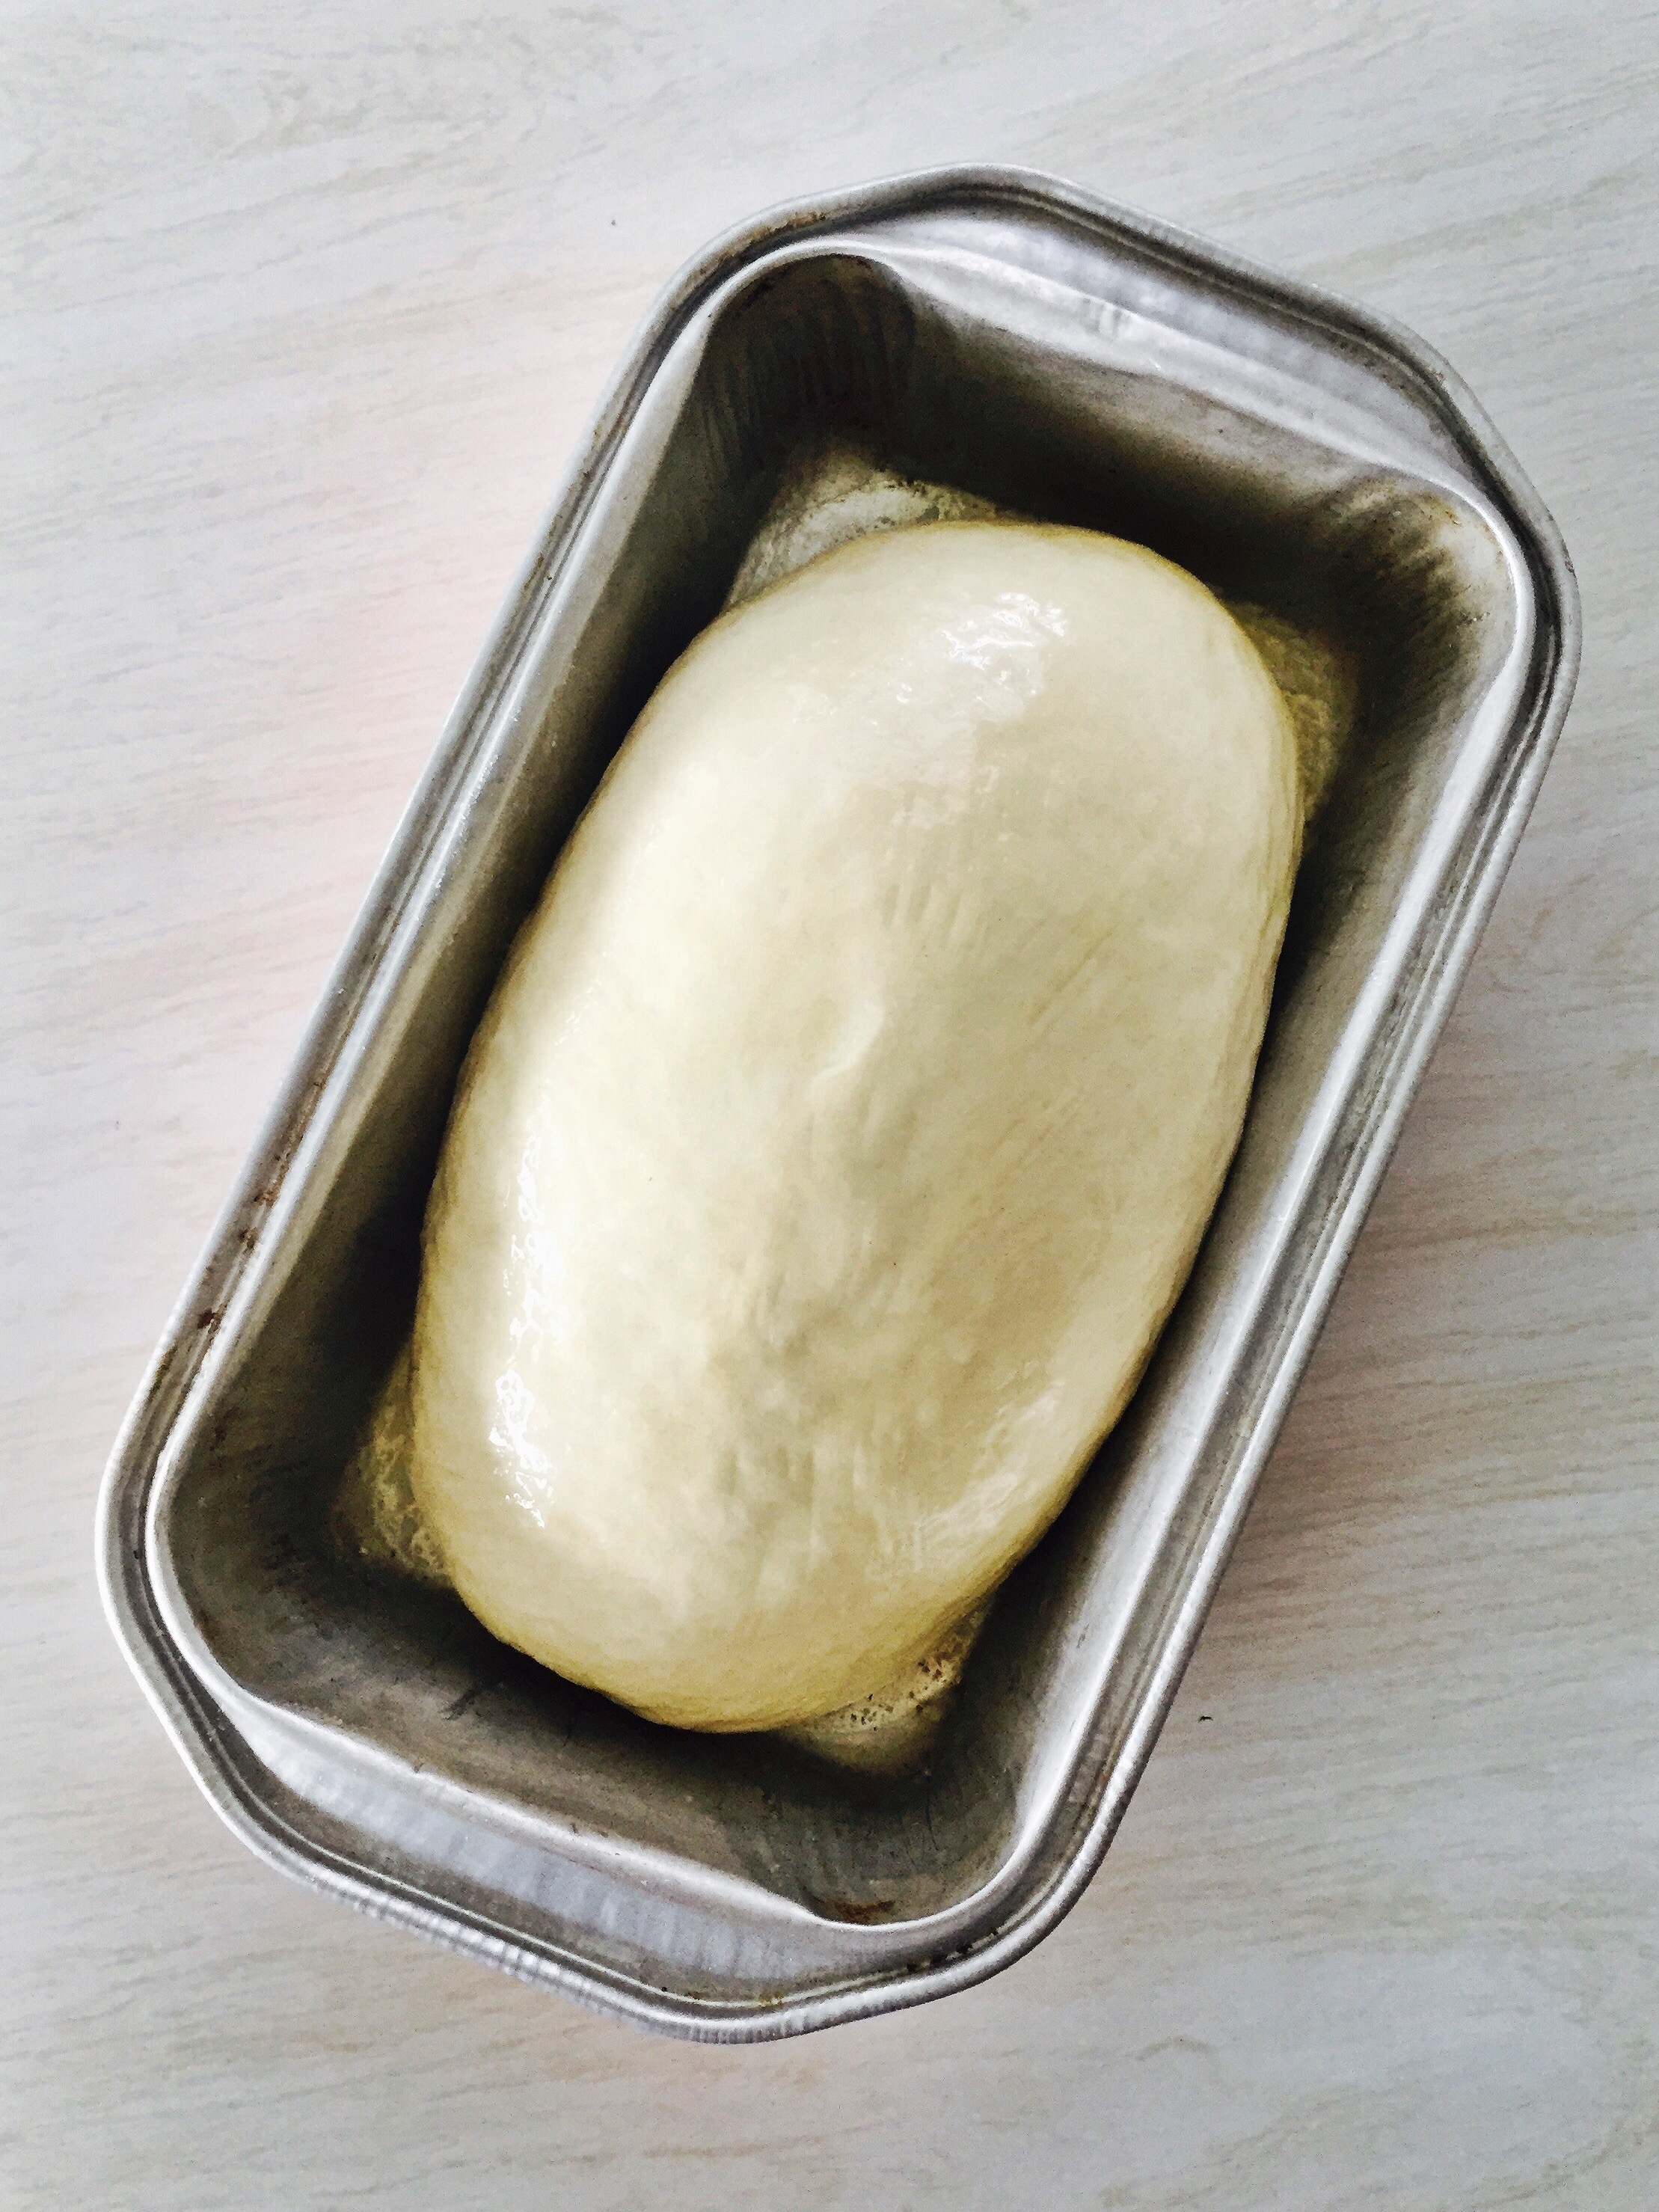
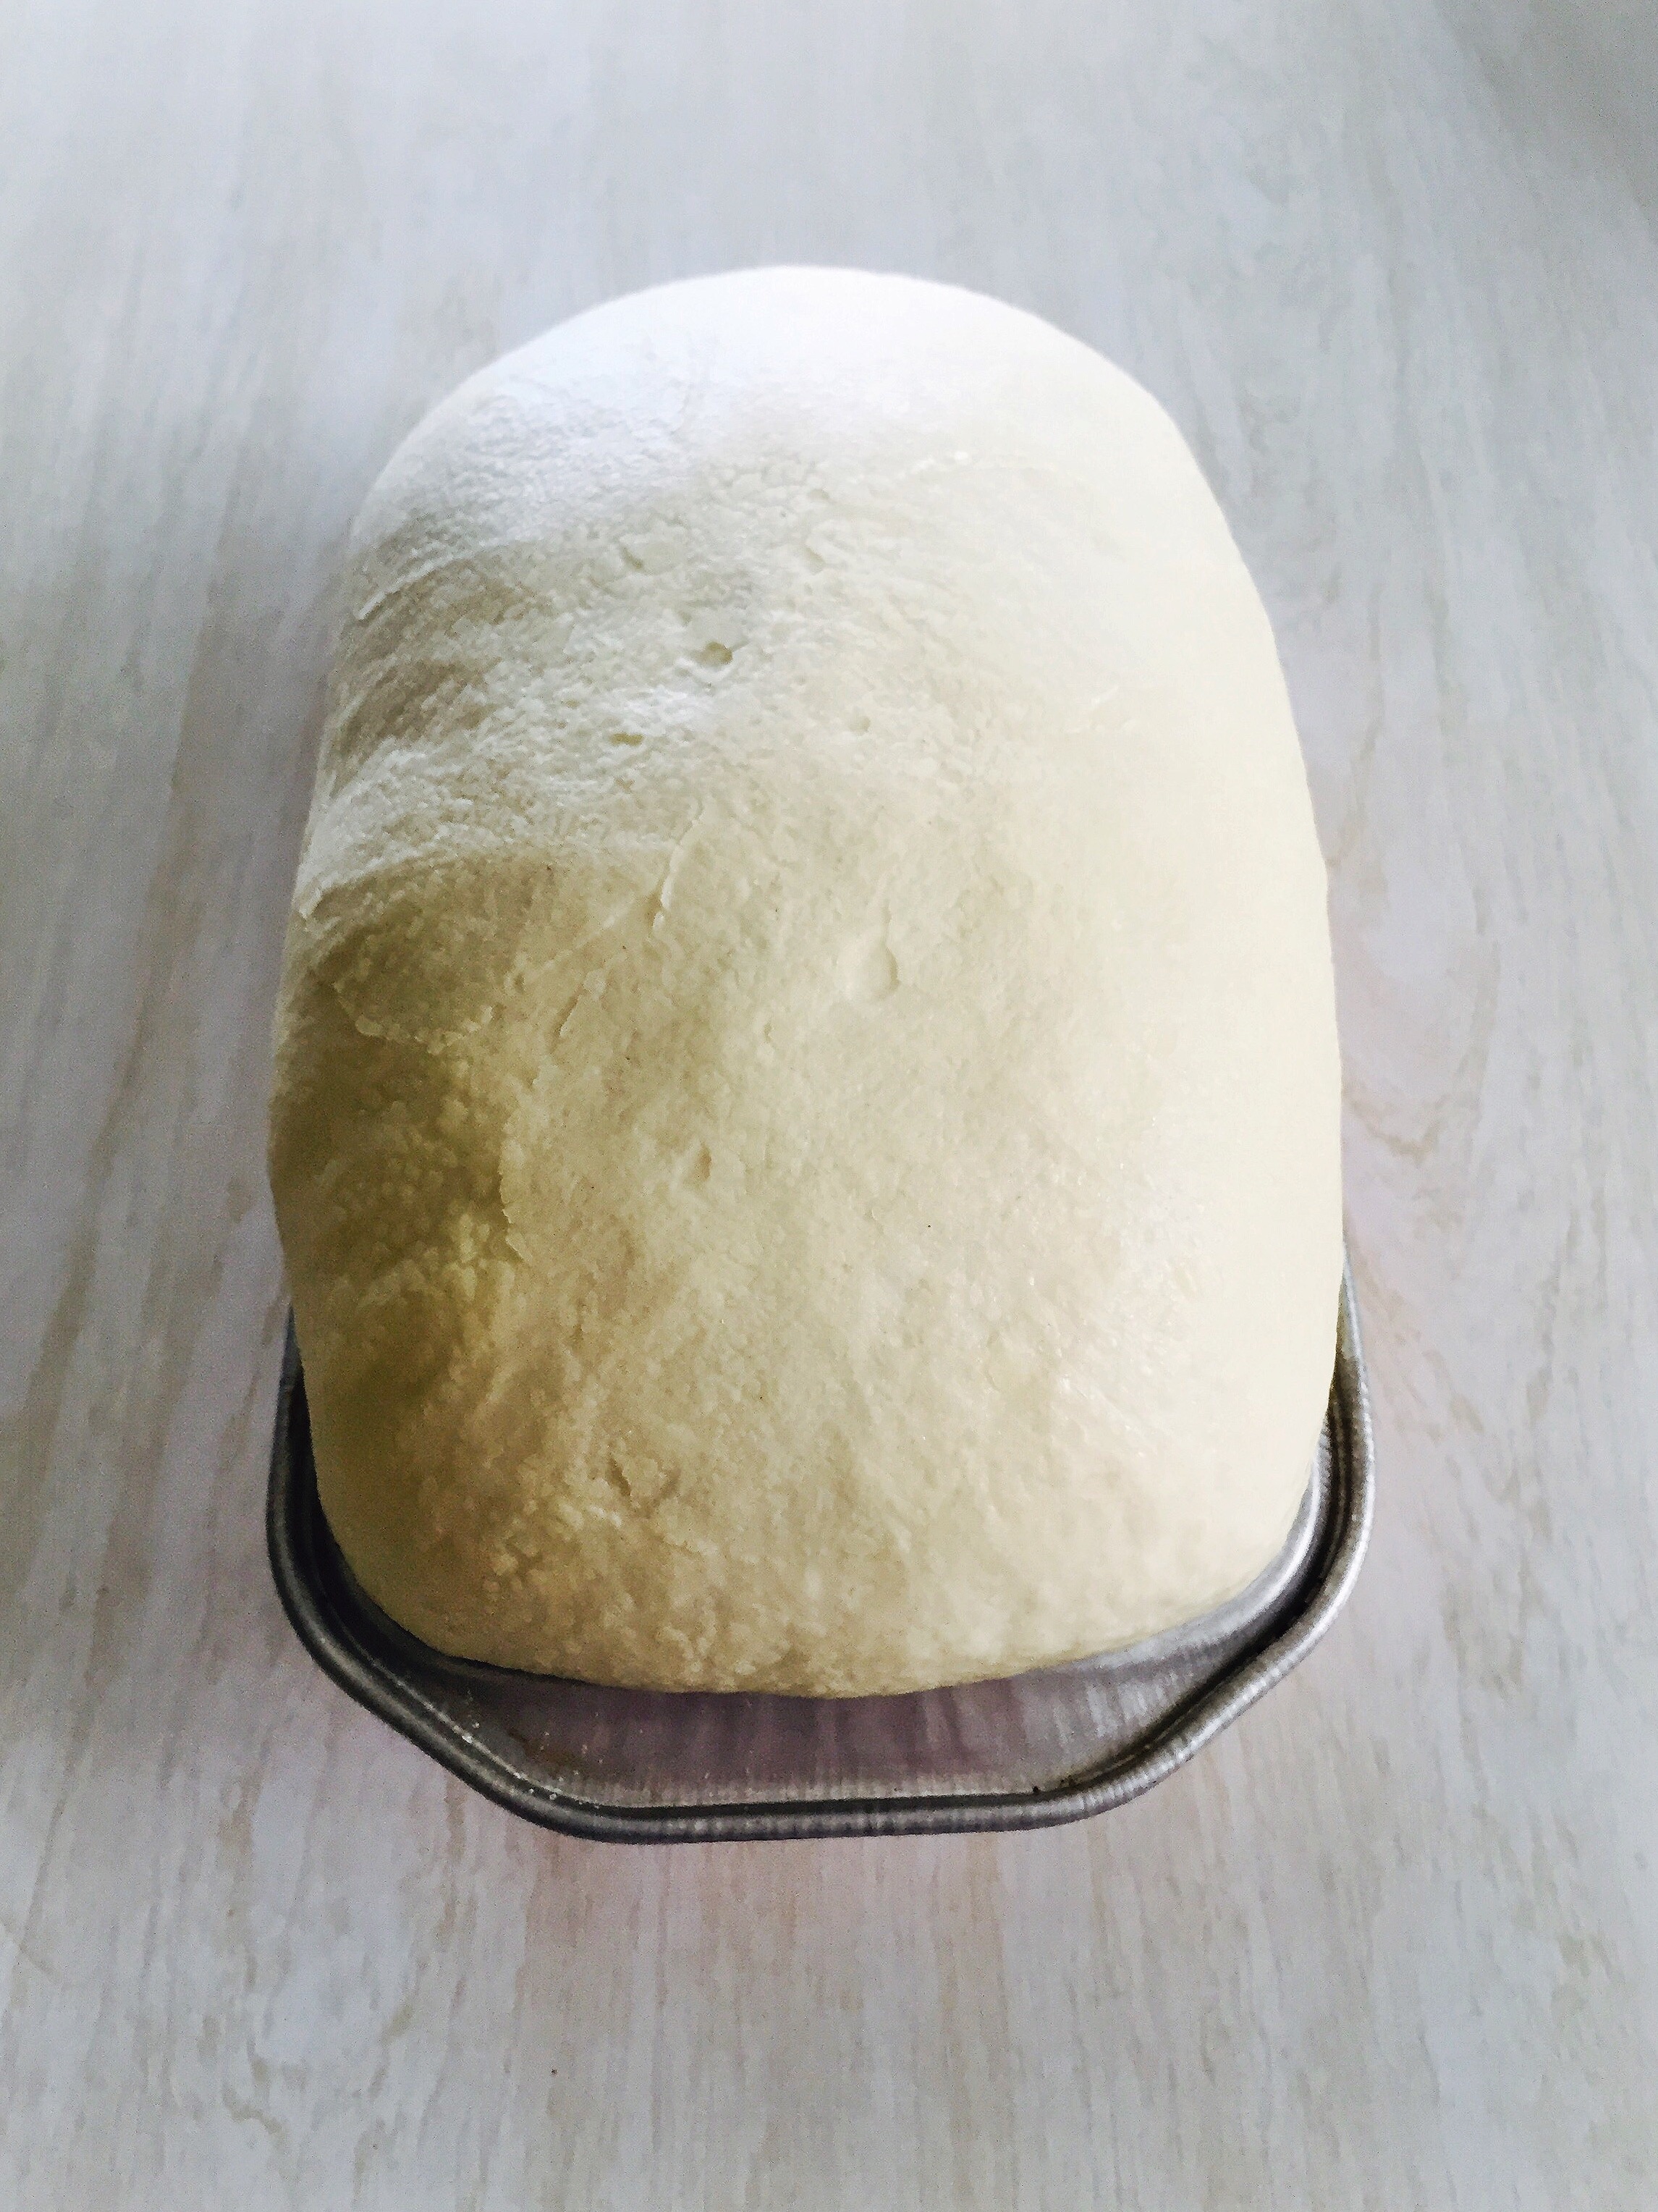
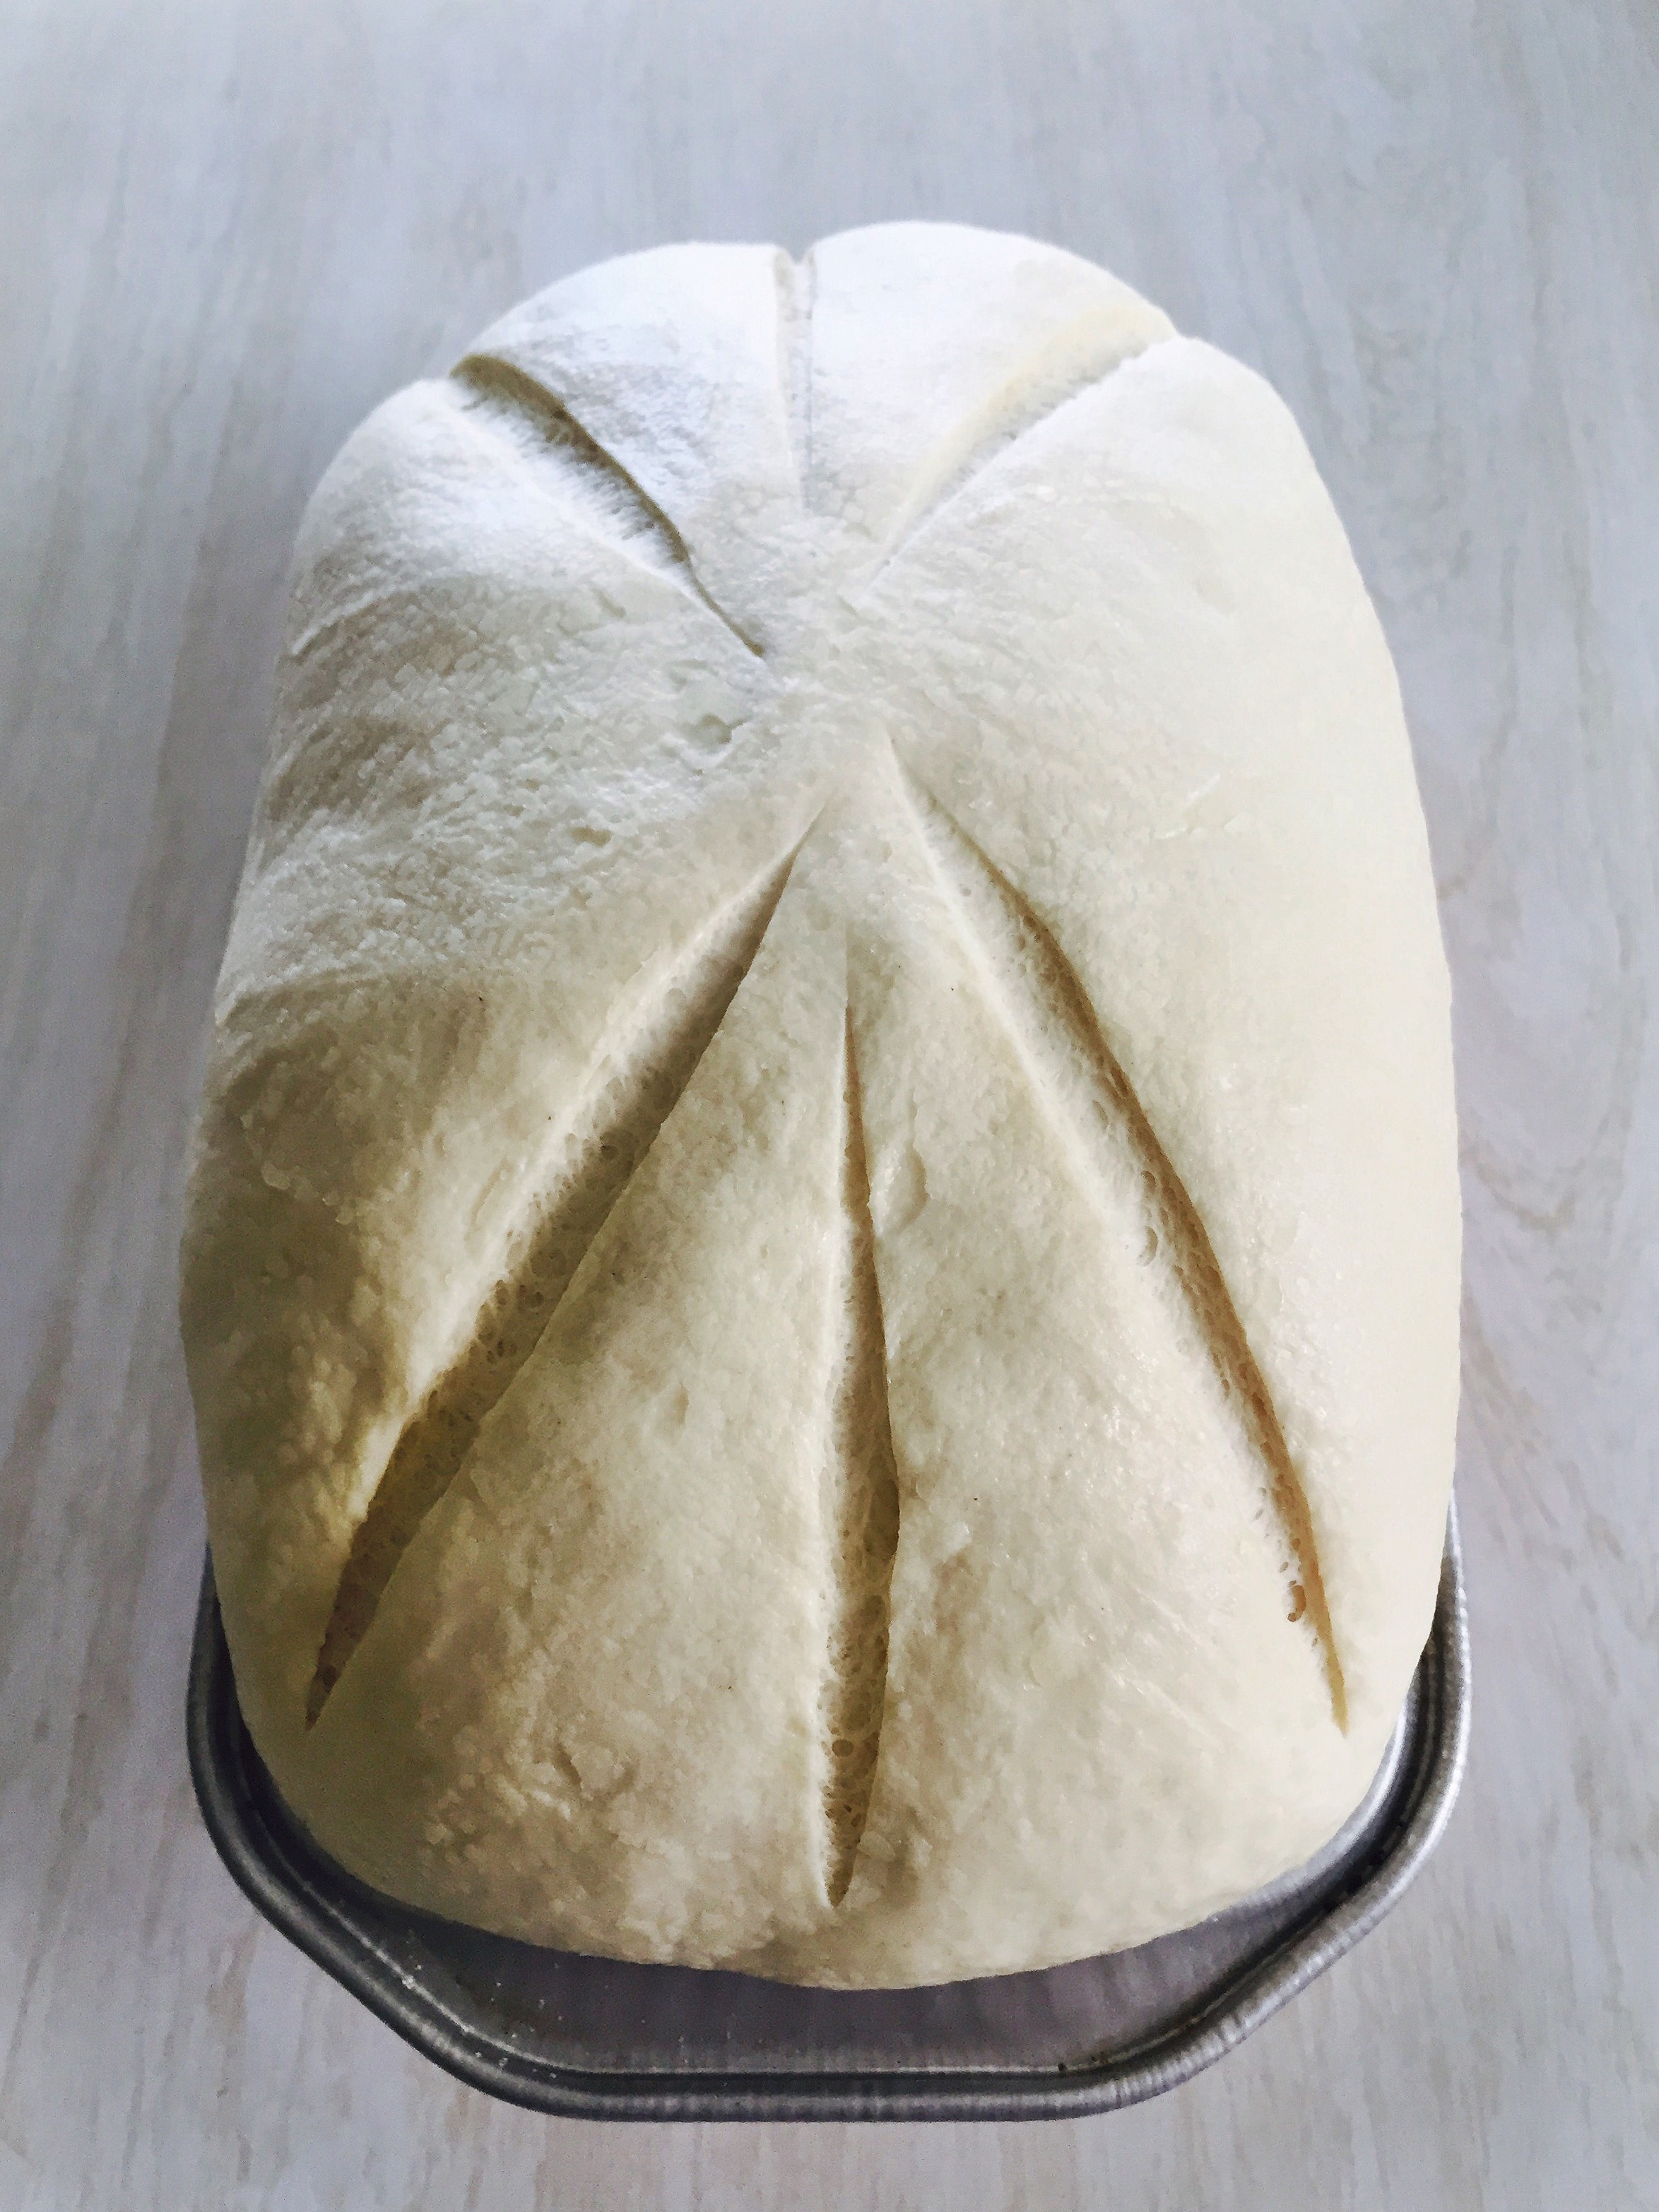
Step 1: Get onboard with baking bread!

For a minute there, baking bread was all the rage. Although it seems to have passed, I would encourage everyone to embrace it as more than a fad. Baking bread is simple and cheap. Sure, there is some technique to get down but that’s just a matter of practice. And assuming we are all still laying low due to the virus, why not use the time as bread boot camp? I equate bread baking to a life skill, on par with things like building a fire or changing a tire… It’s the art of making something work. If you can make bread, you can make toast, or sandwiches, or pizzas, or pretty much anything else utilizing dough. There are endless possibles which is why it should be of no surprise that I’ve decided Bread Steak should be a thing! It’s a riff on classy when you’re feeling financially stretched.

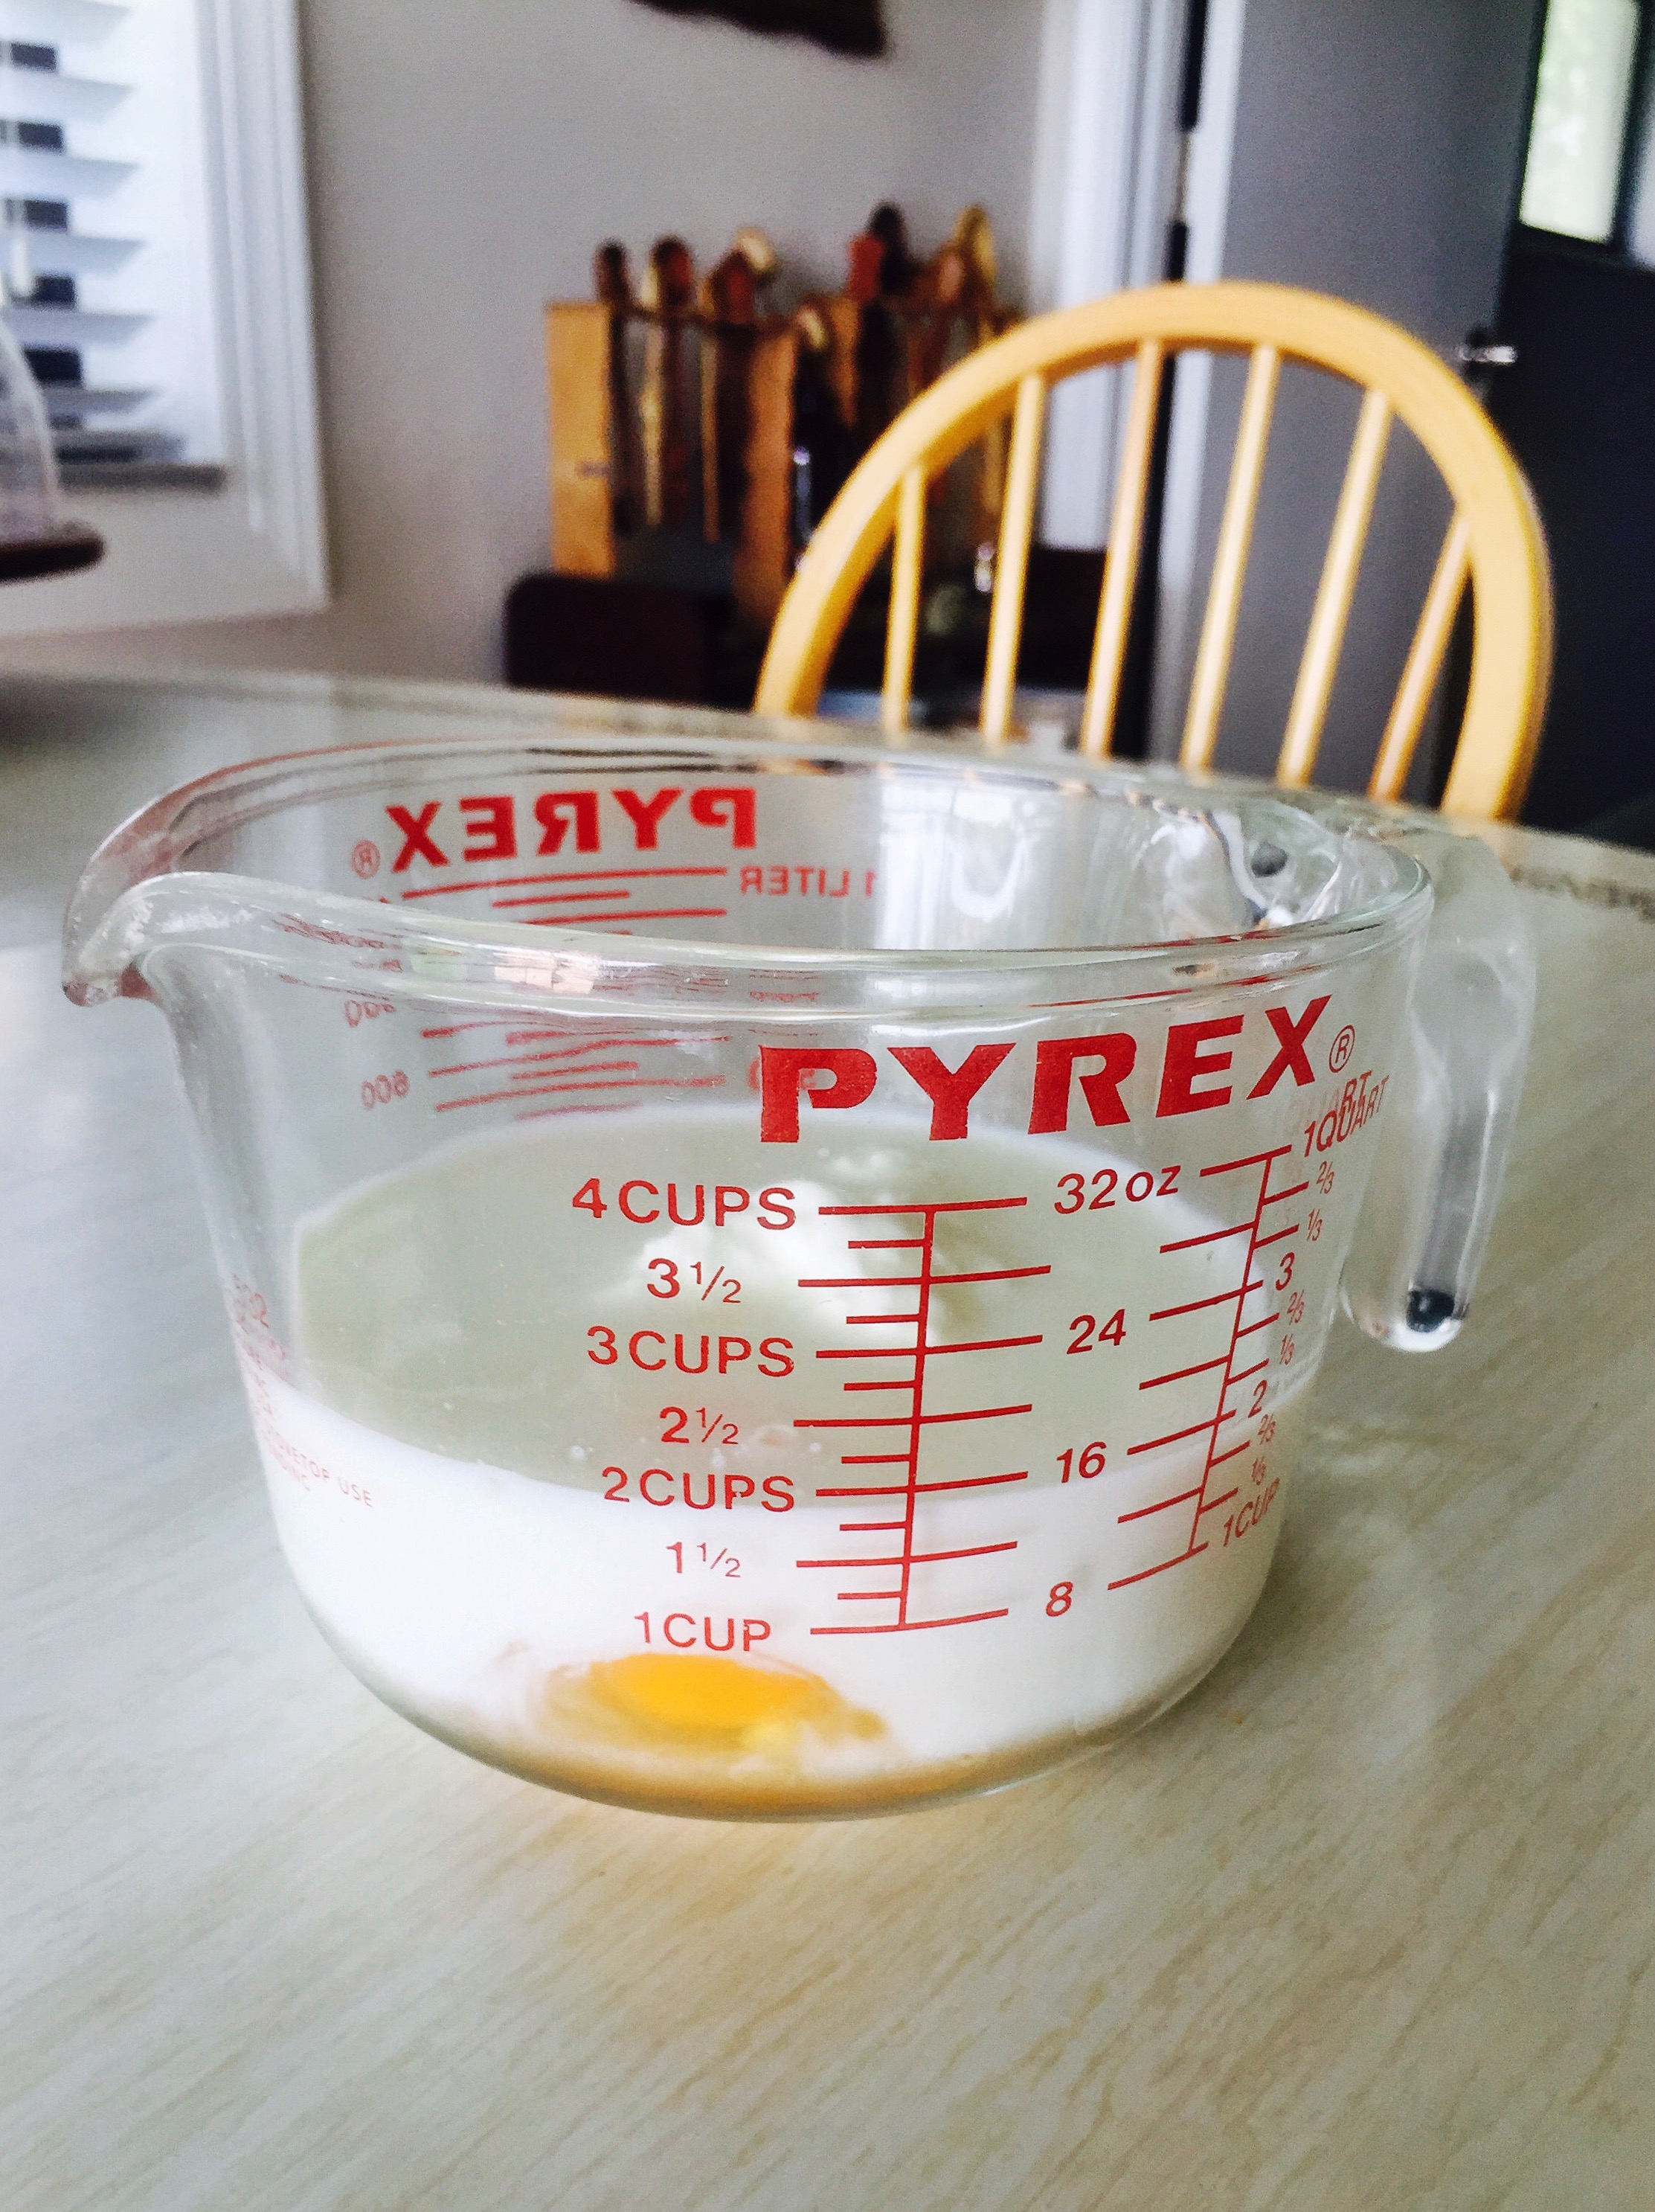
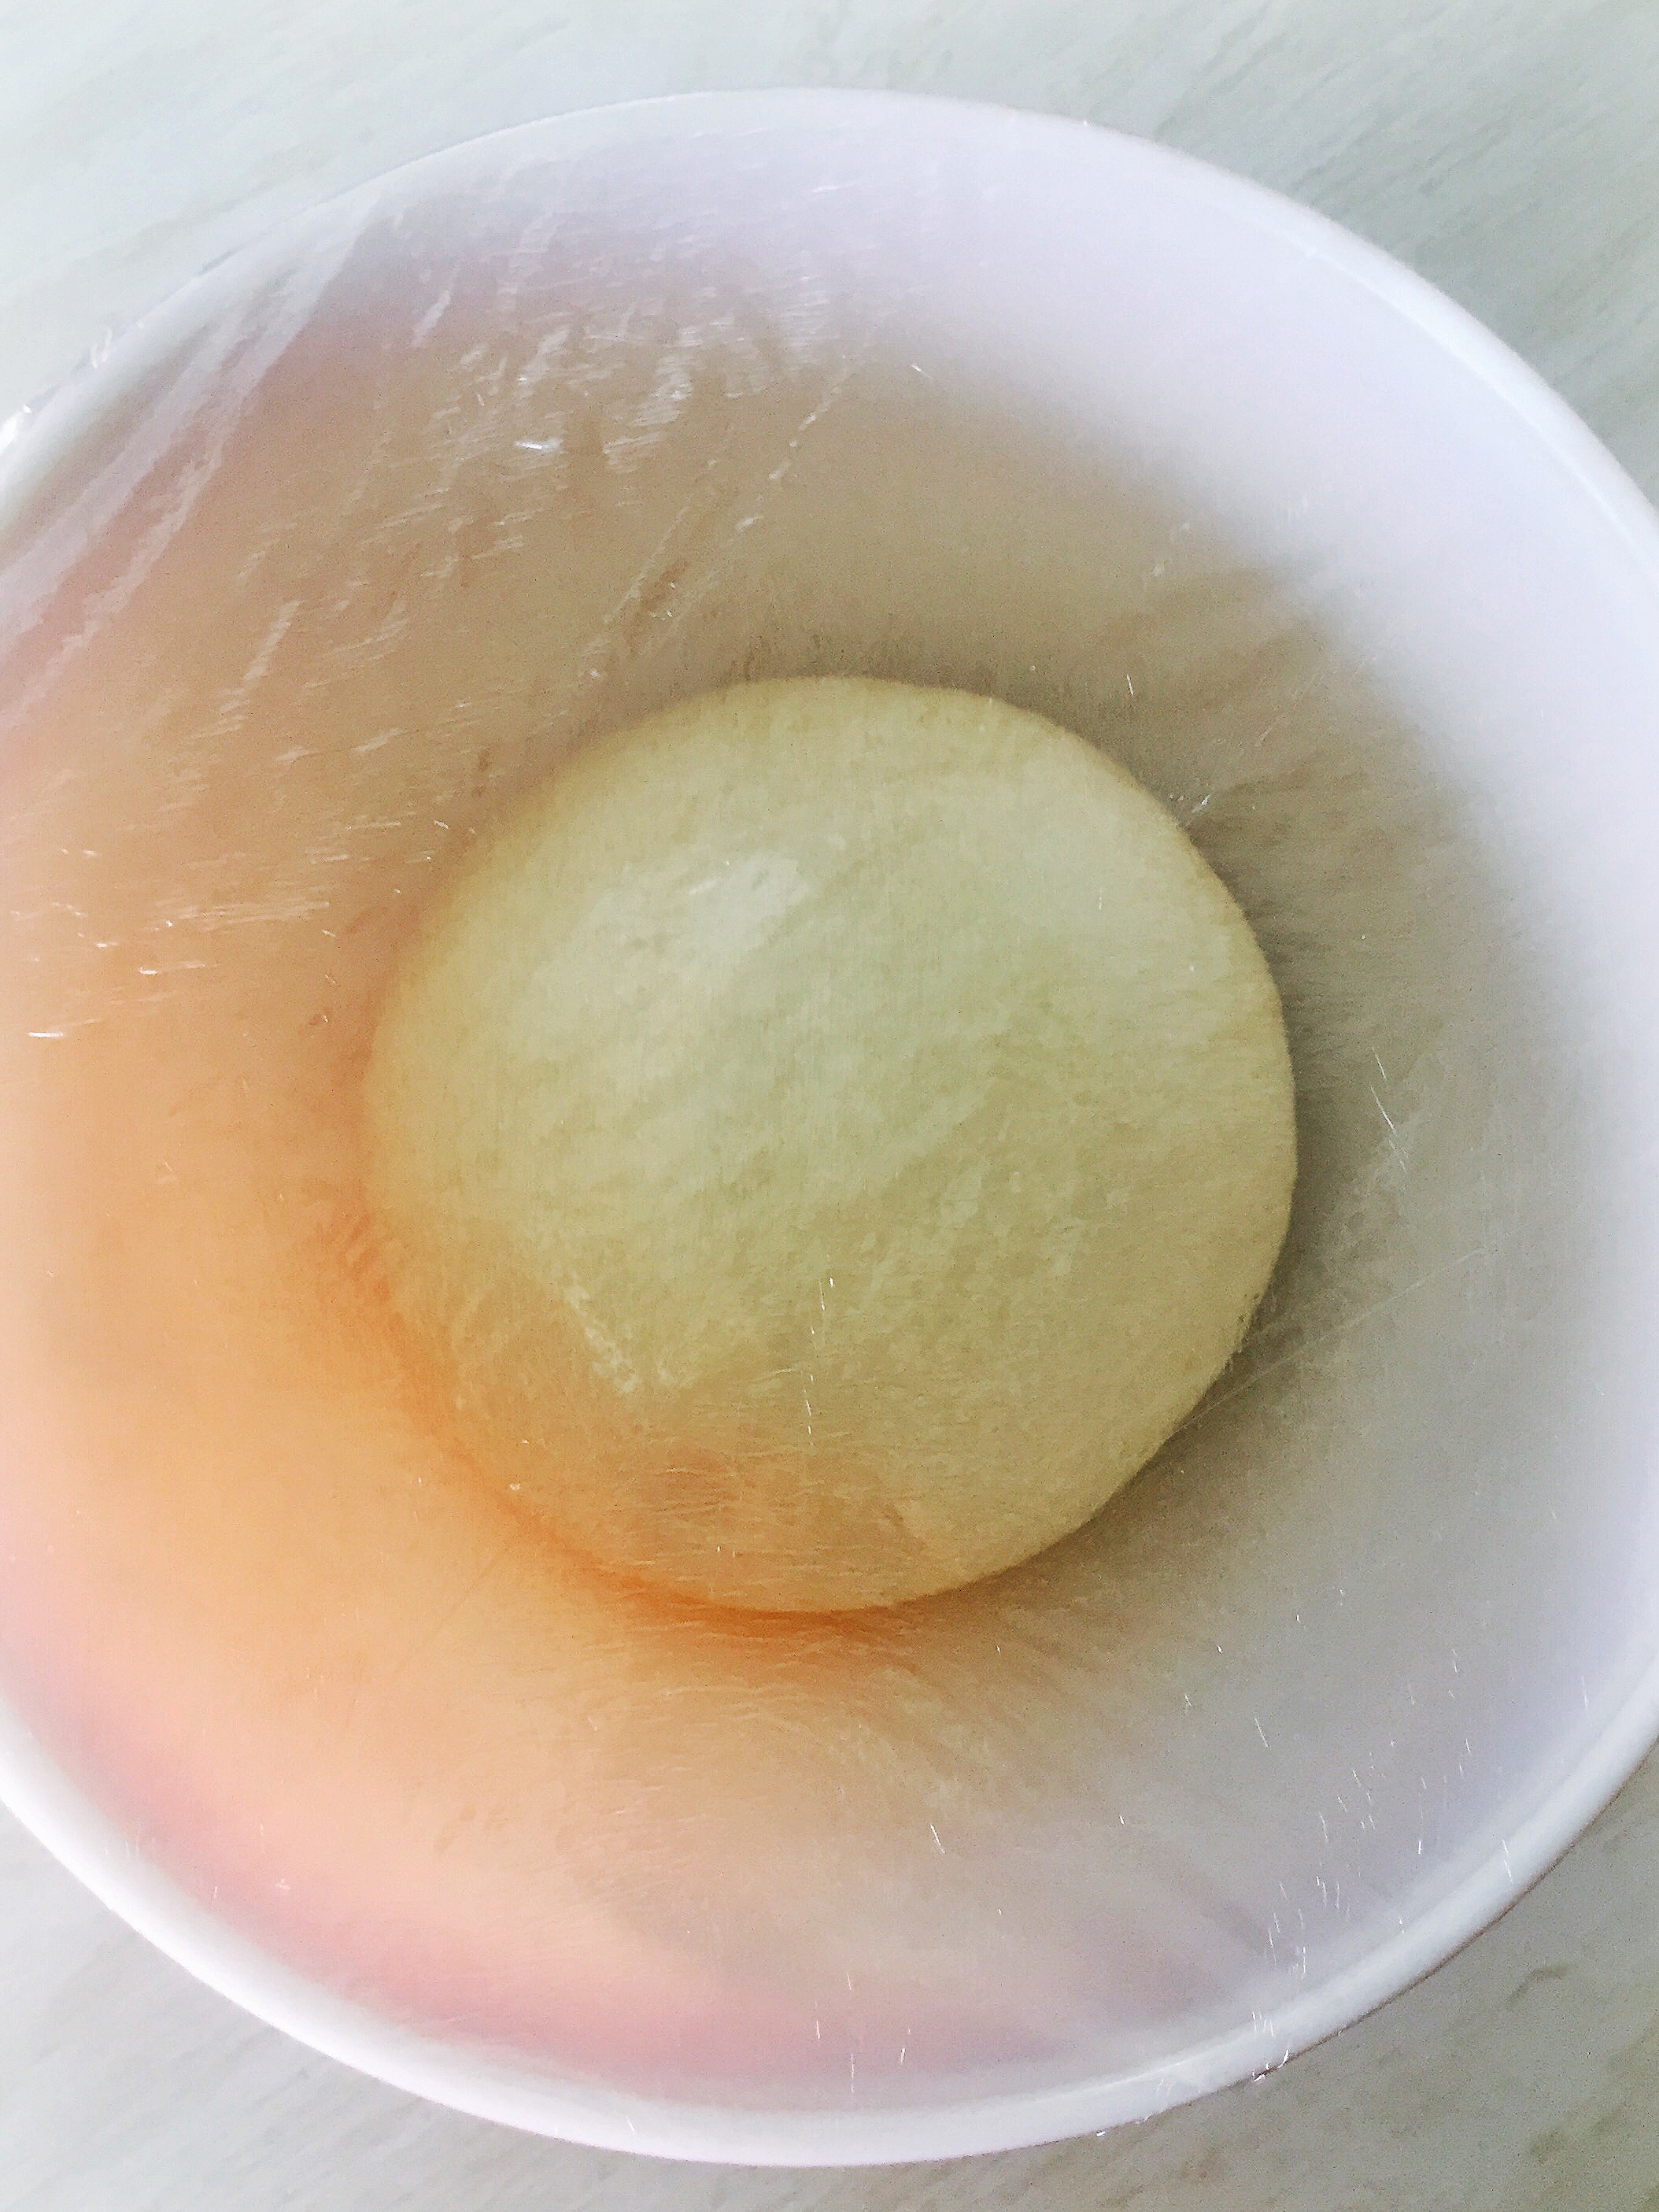
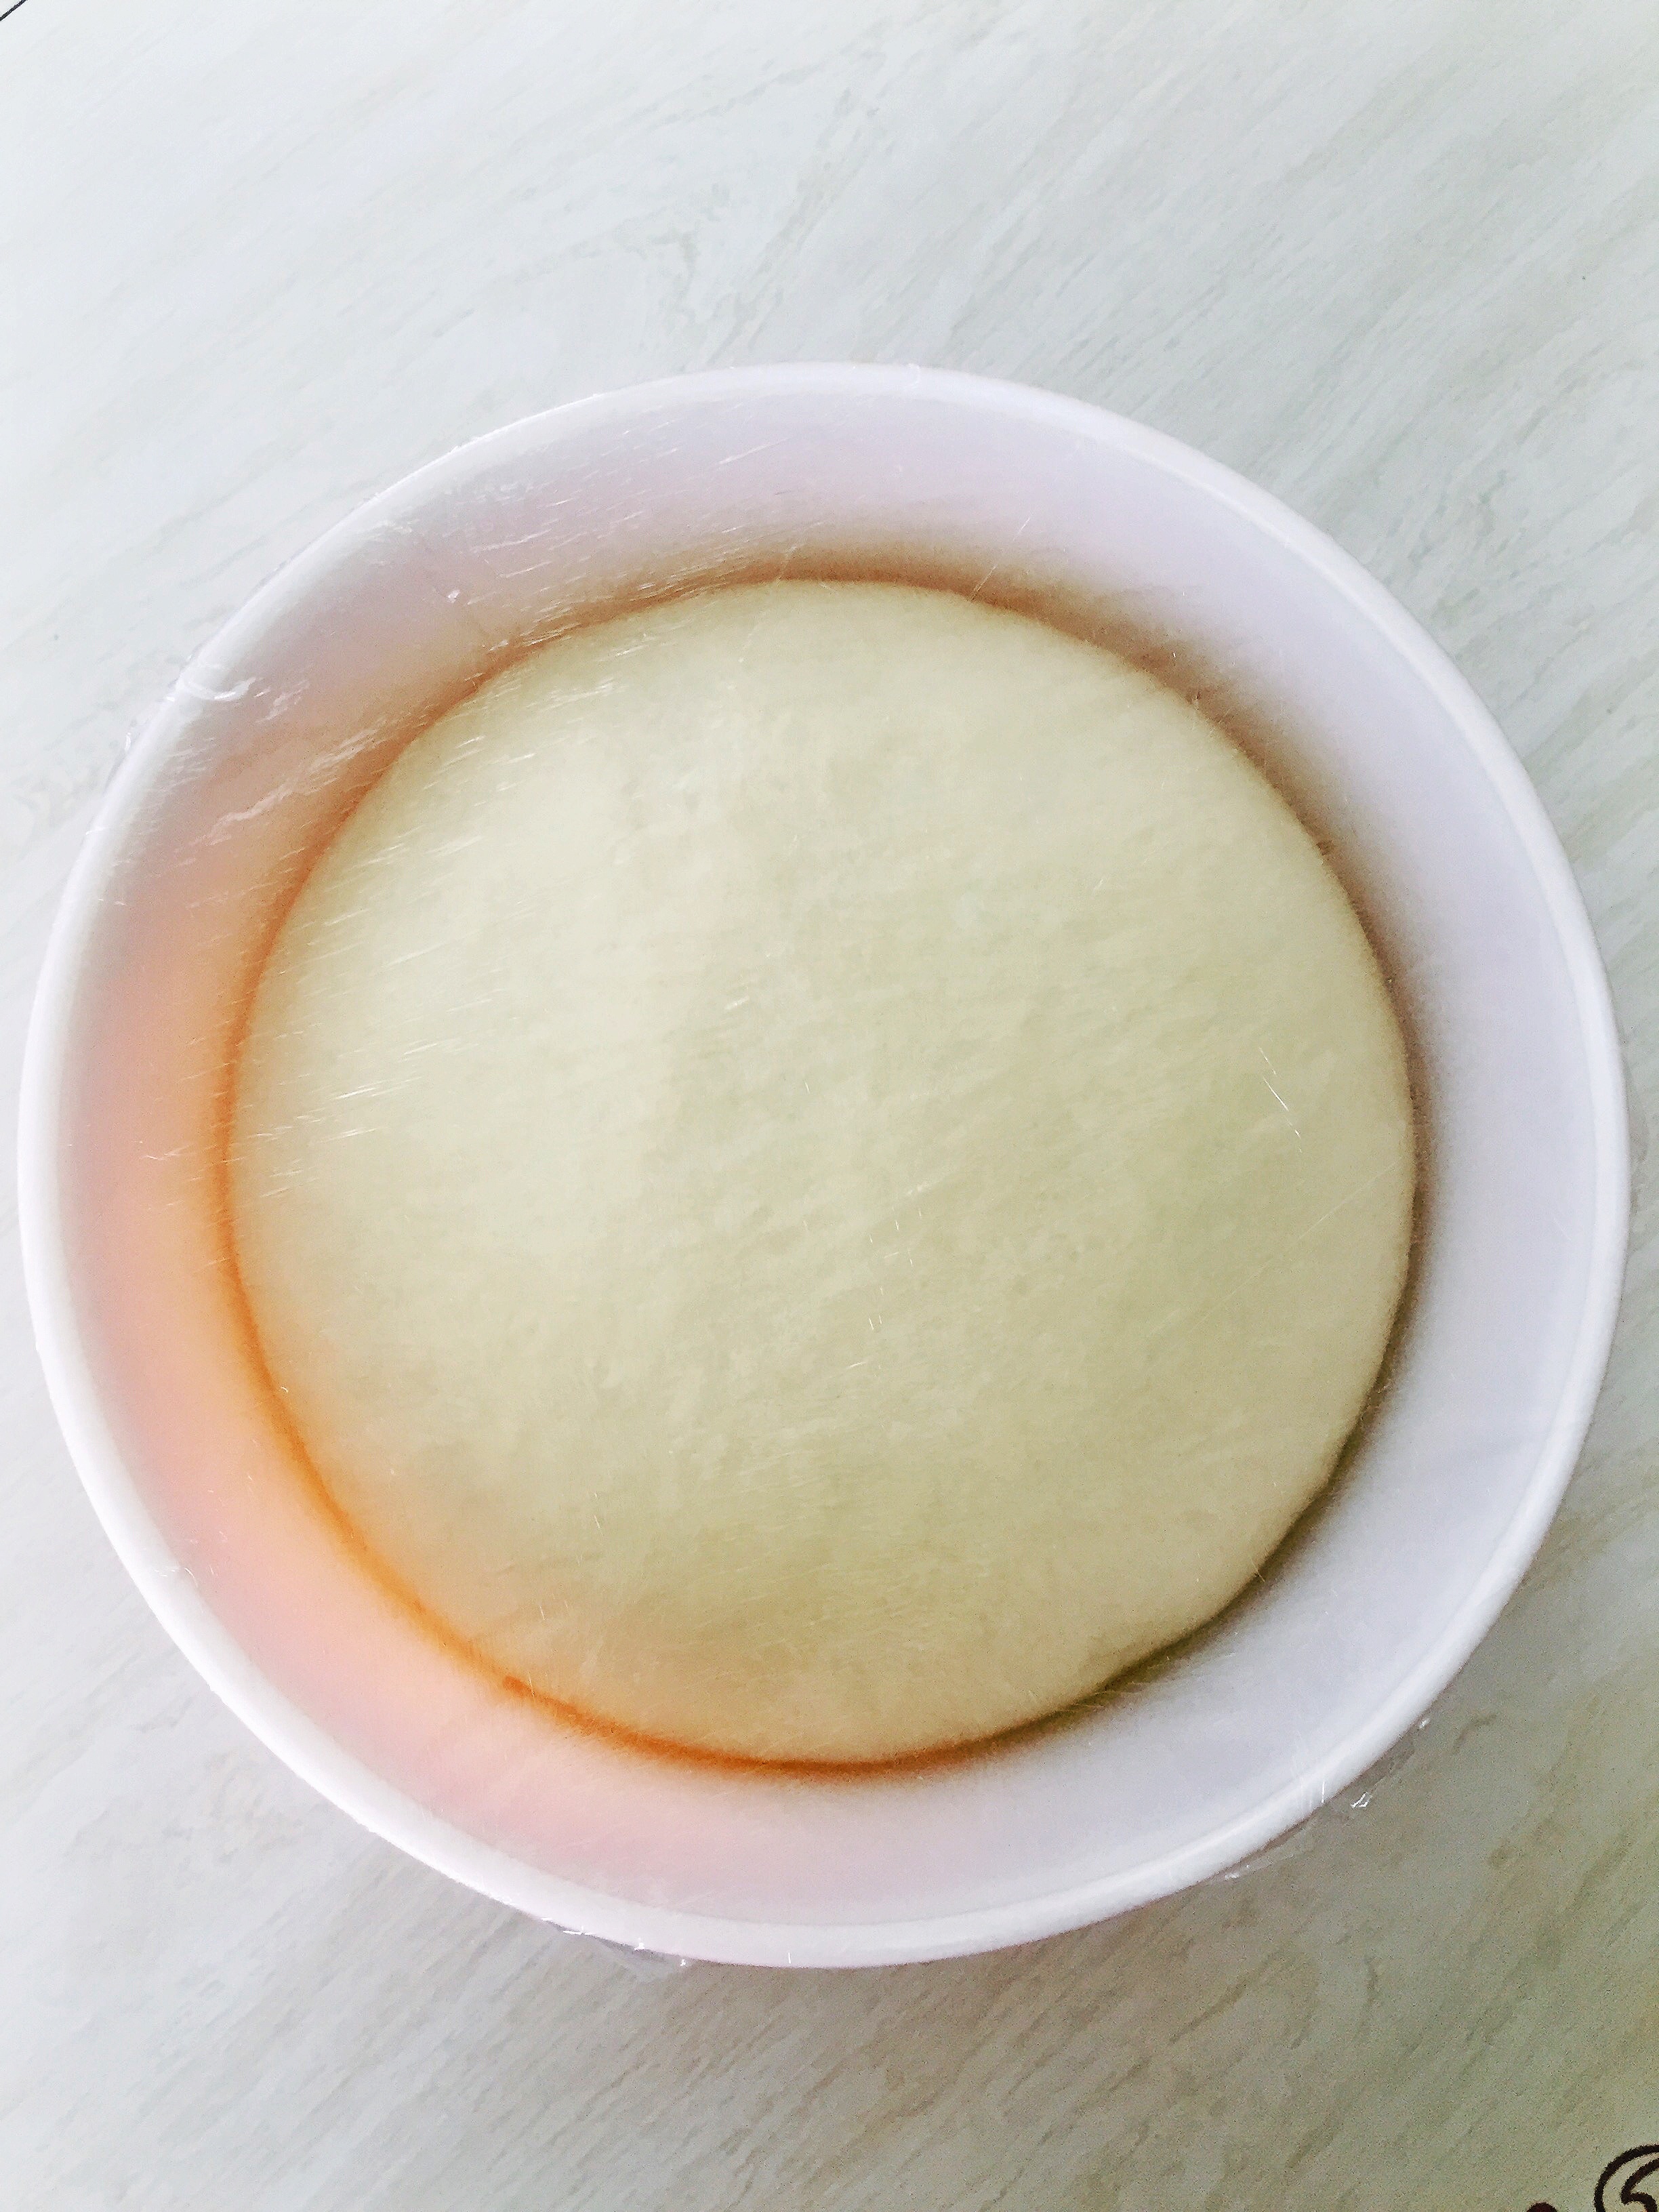
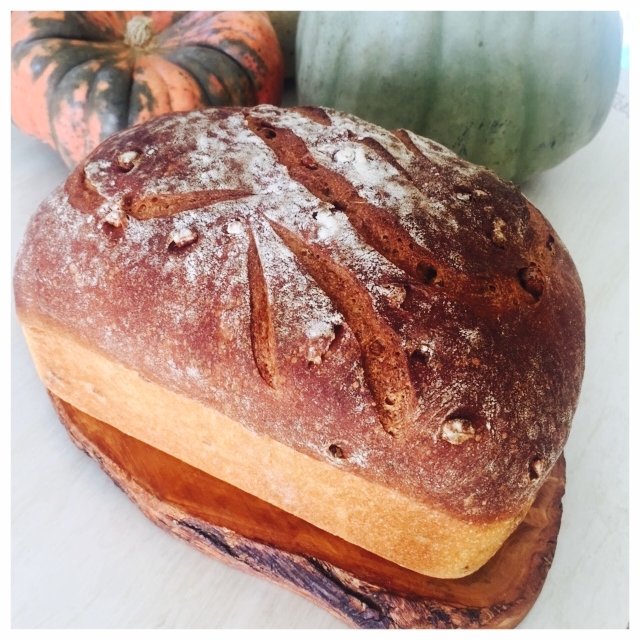
If you need a place to start your own bread journey, consider this basic bread recipe. You can also follow along with the Full Moon Baking Club where each full moon a new baking recipe is released. Long story short, baking bread is cheap and we all should be doing it. It requires the most basic of ingredients and yet once you have them, you can make all kinds of things. Get on it!

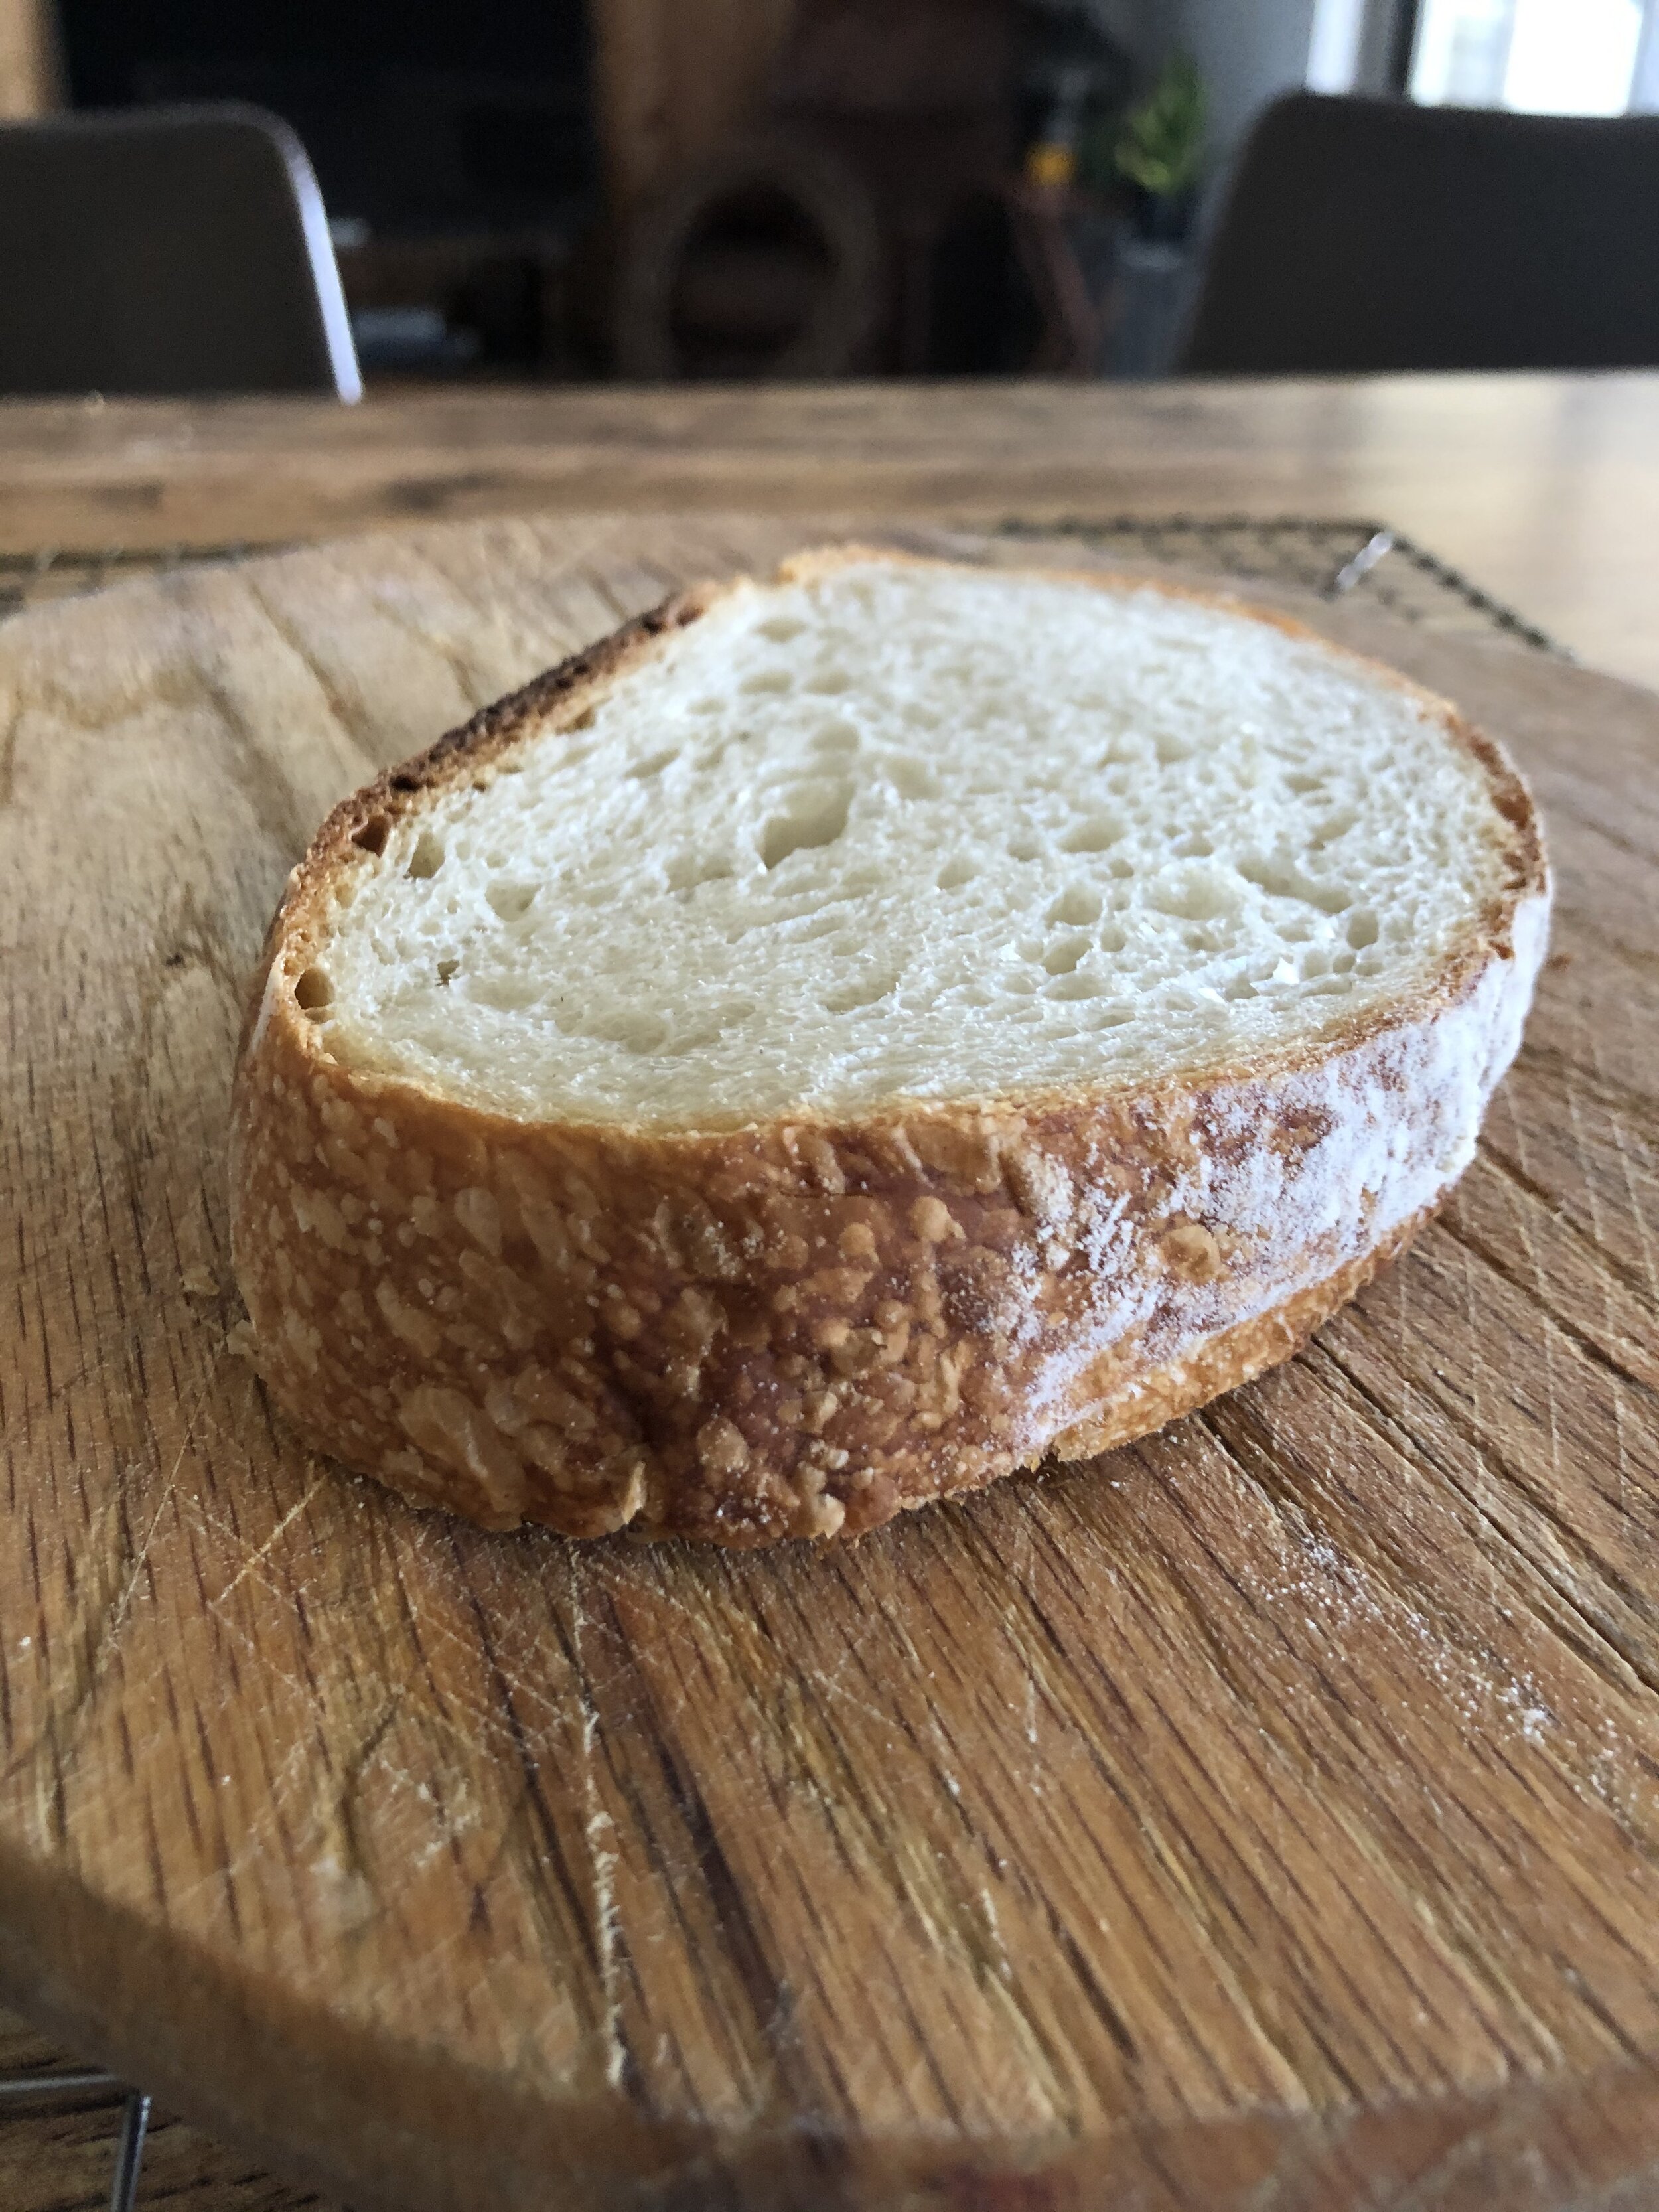
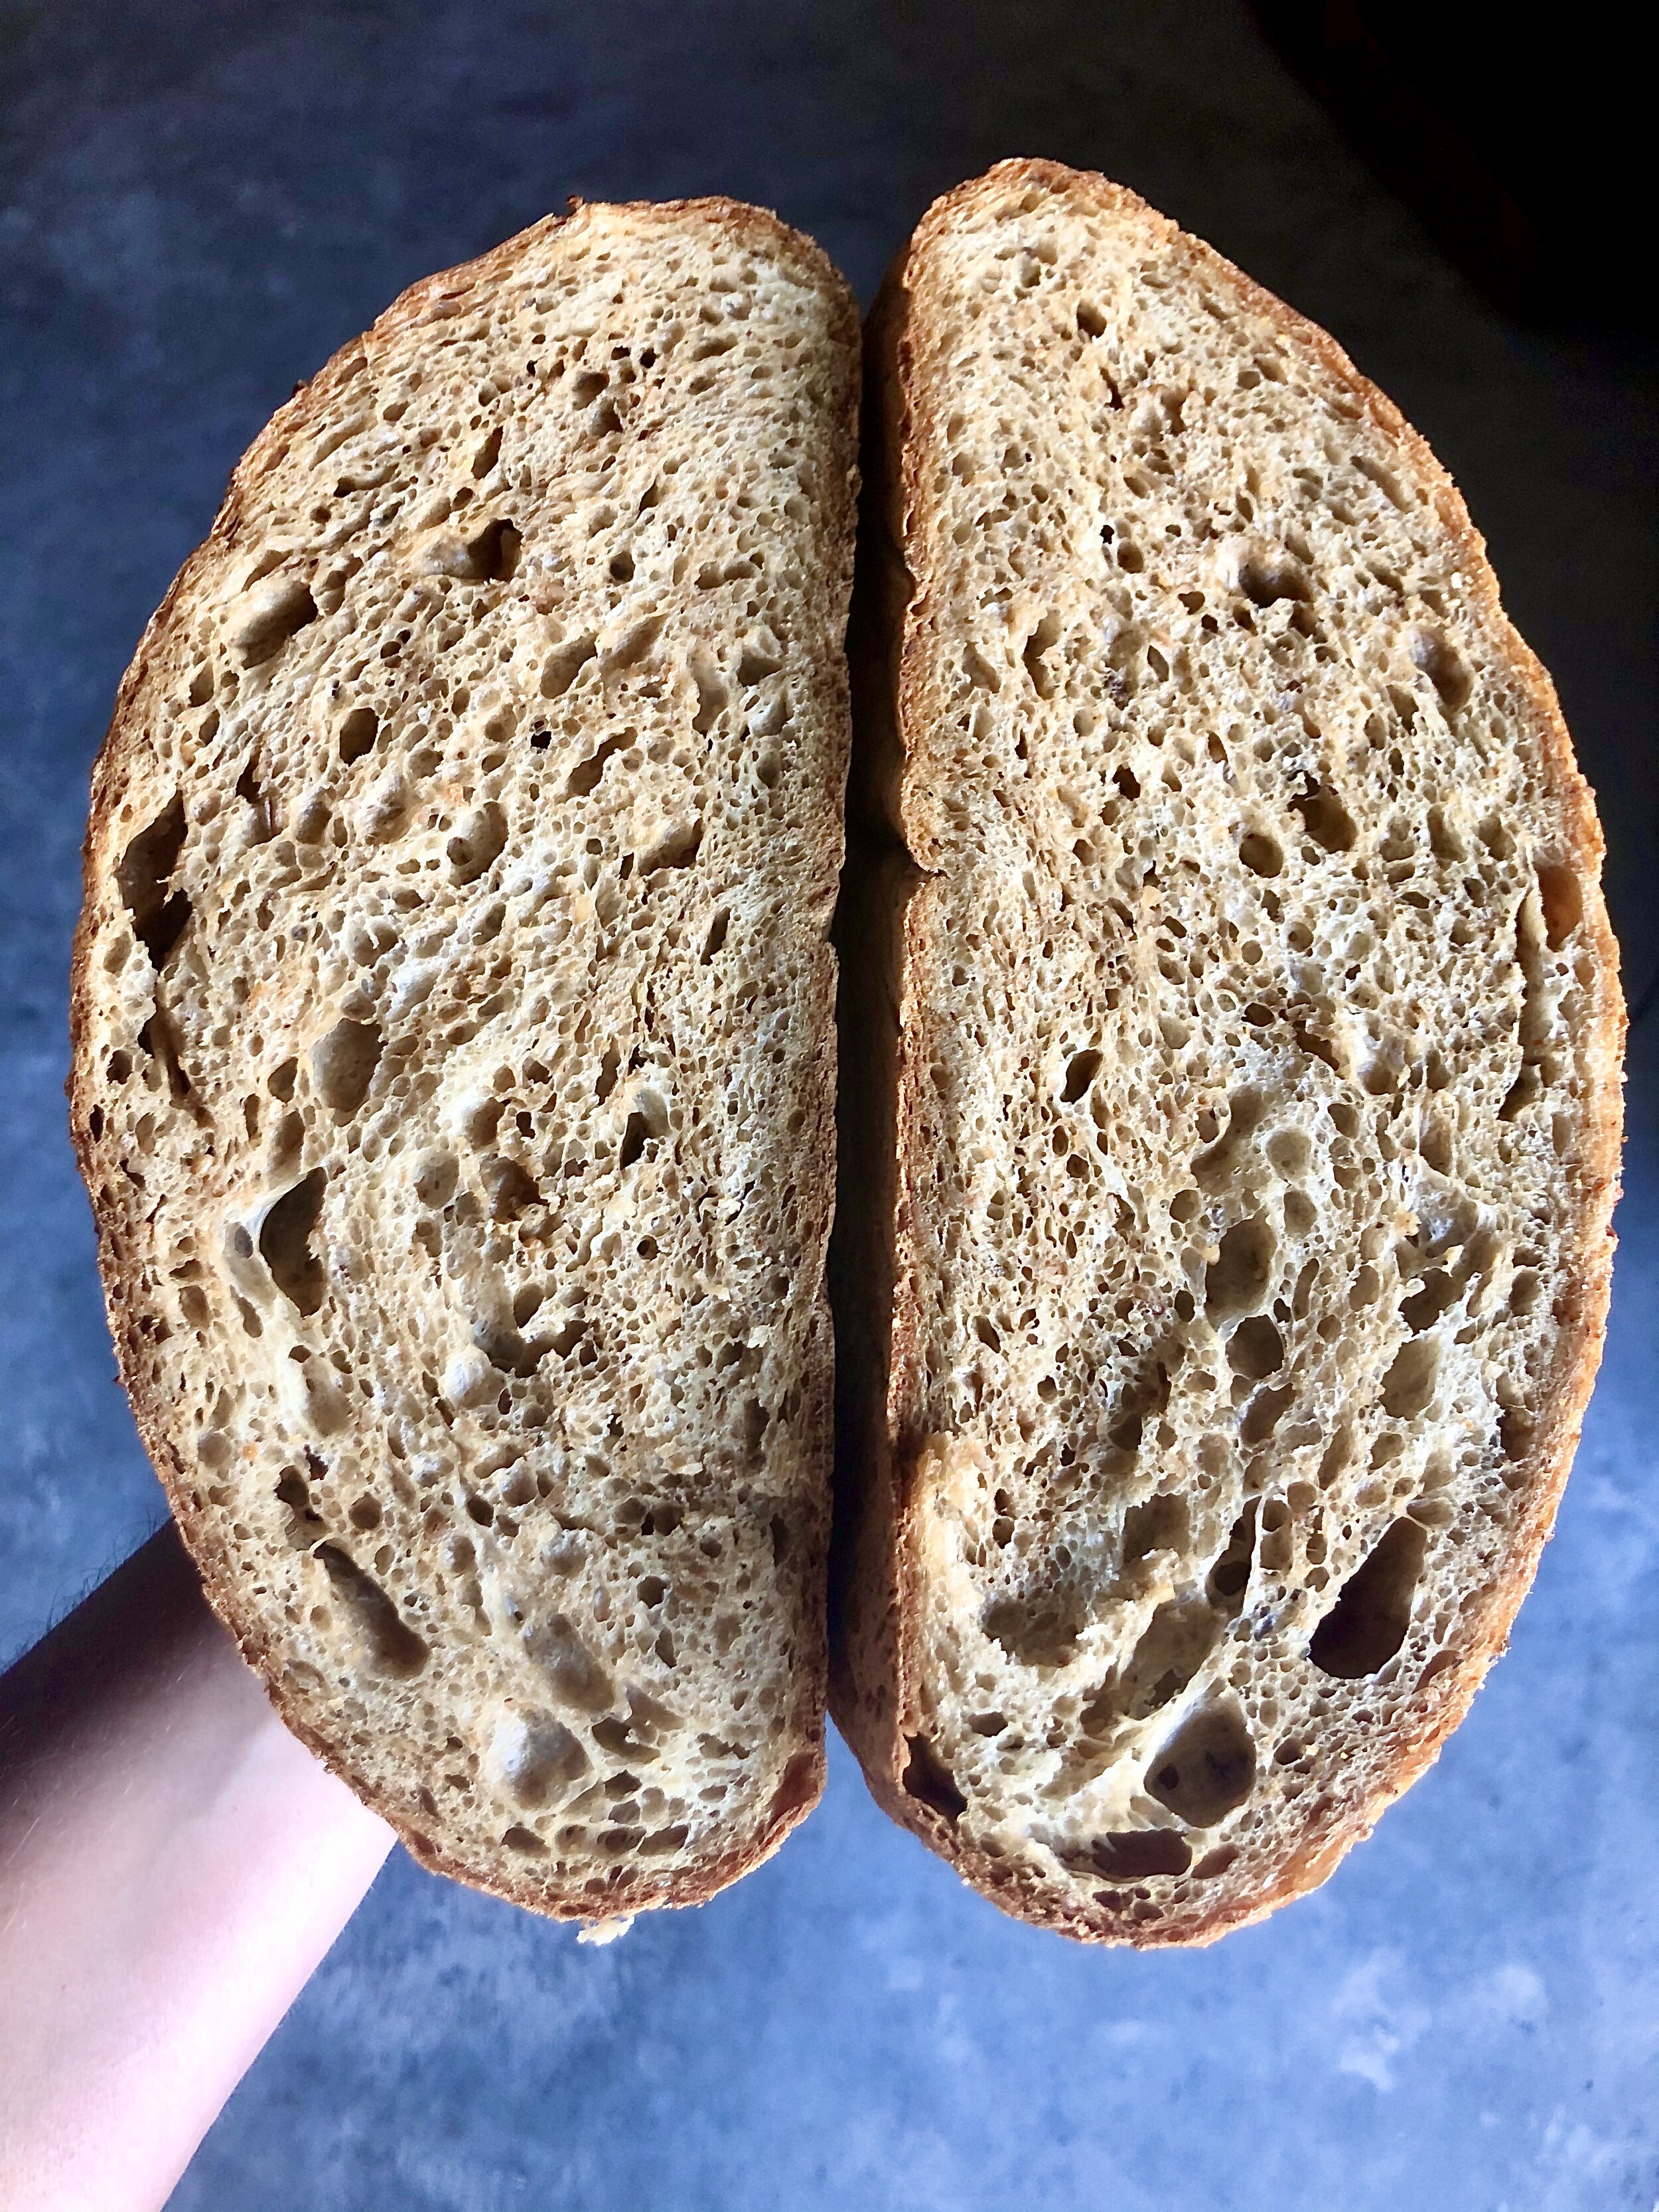
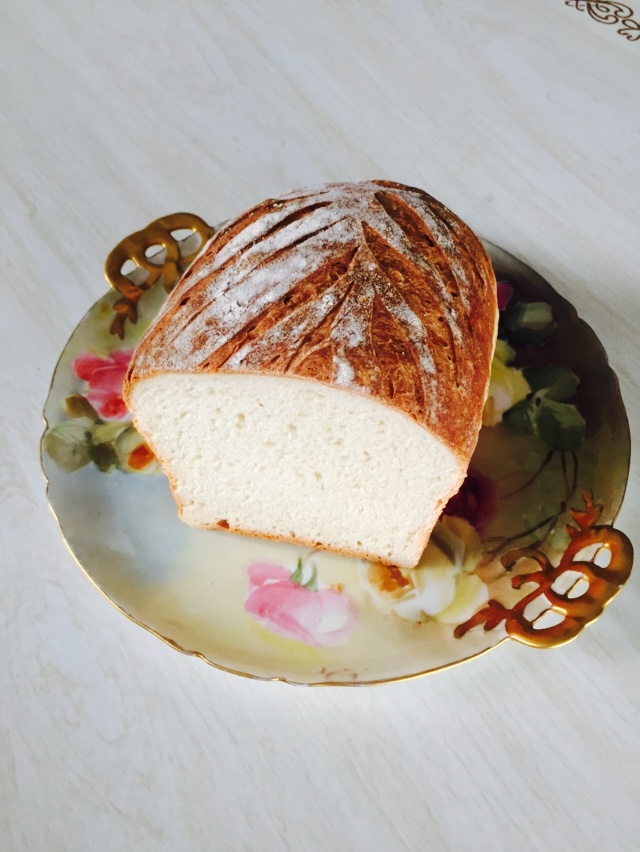
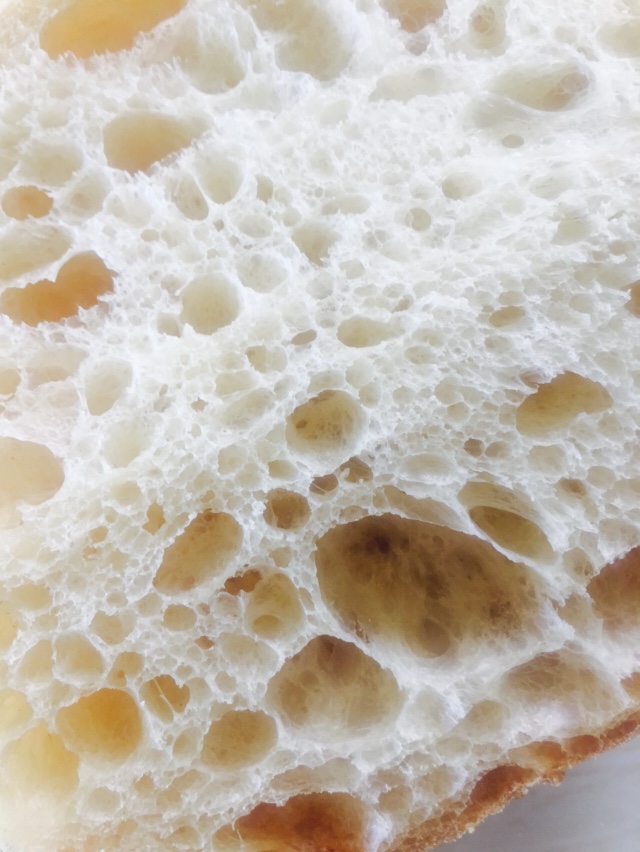
Step 2: Understand the Bread Steak formula.

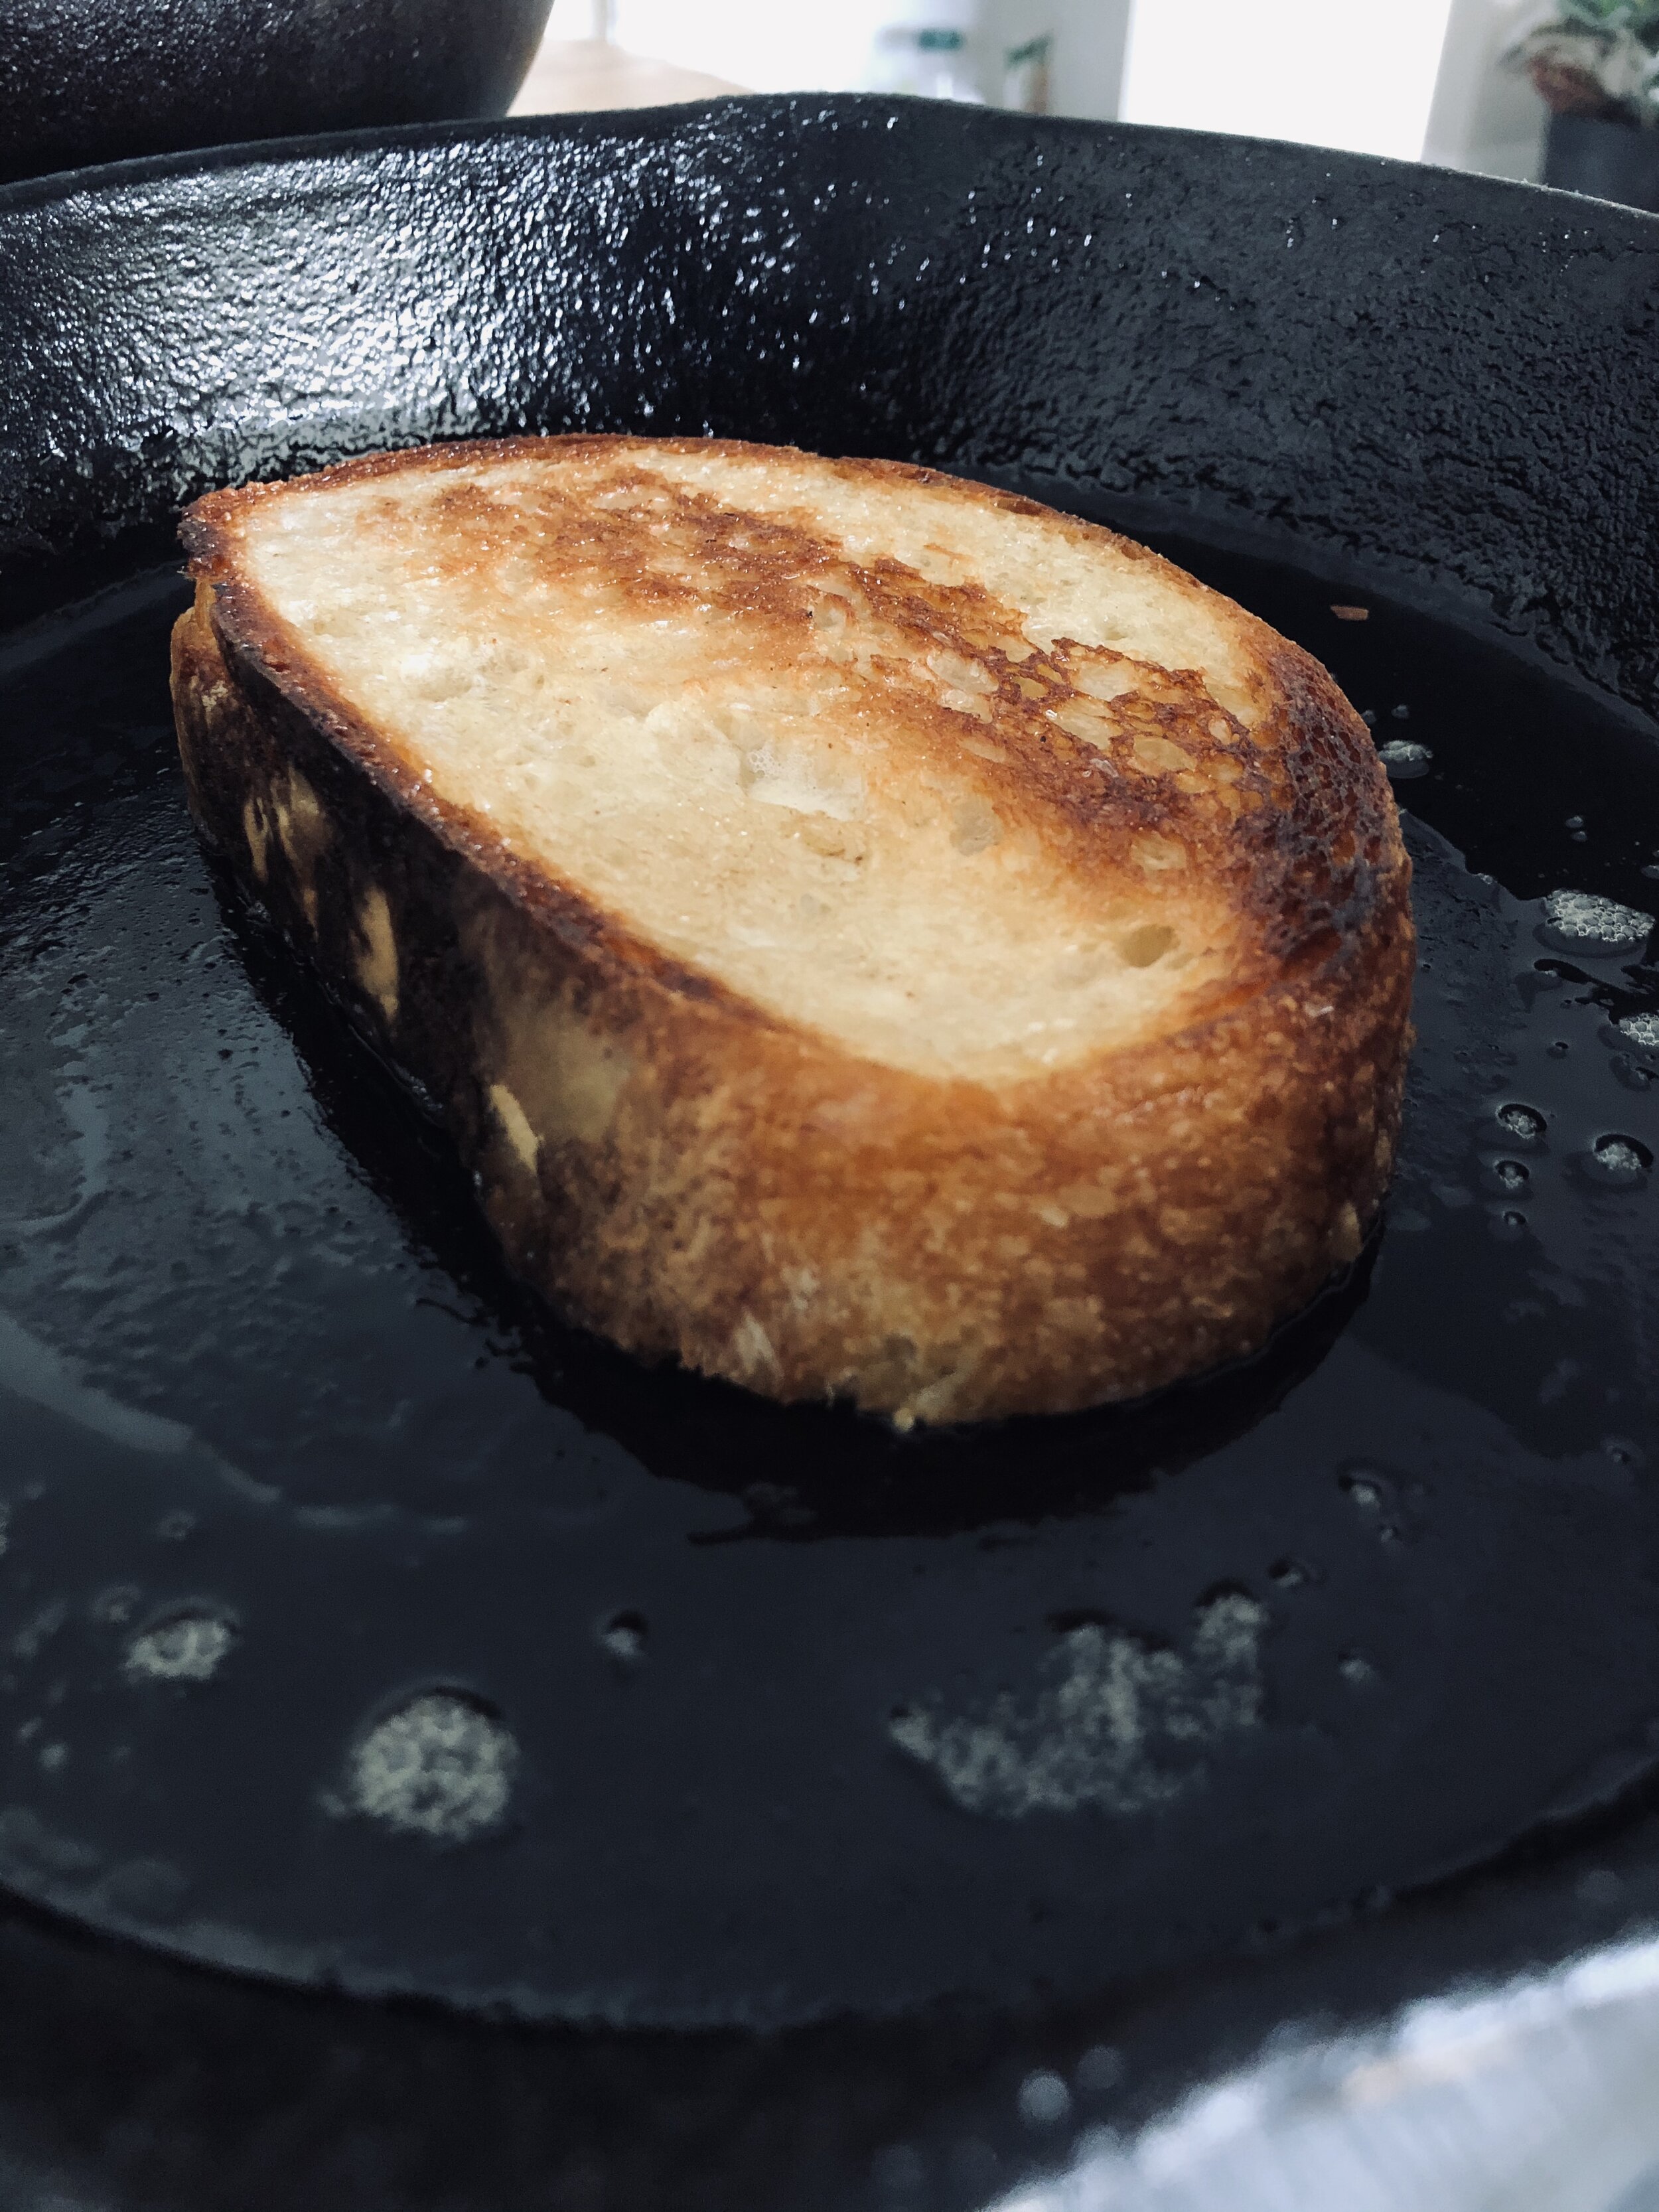
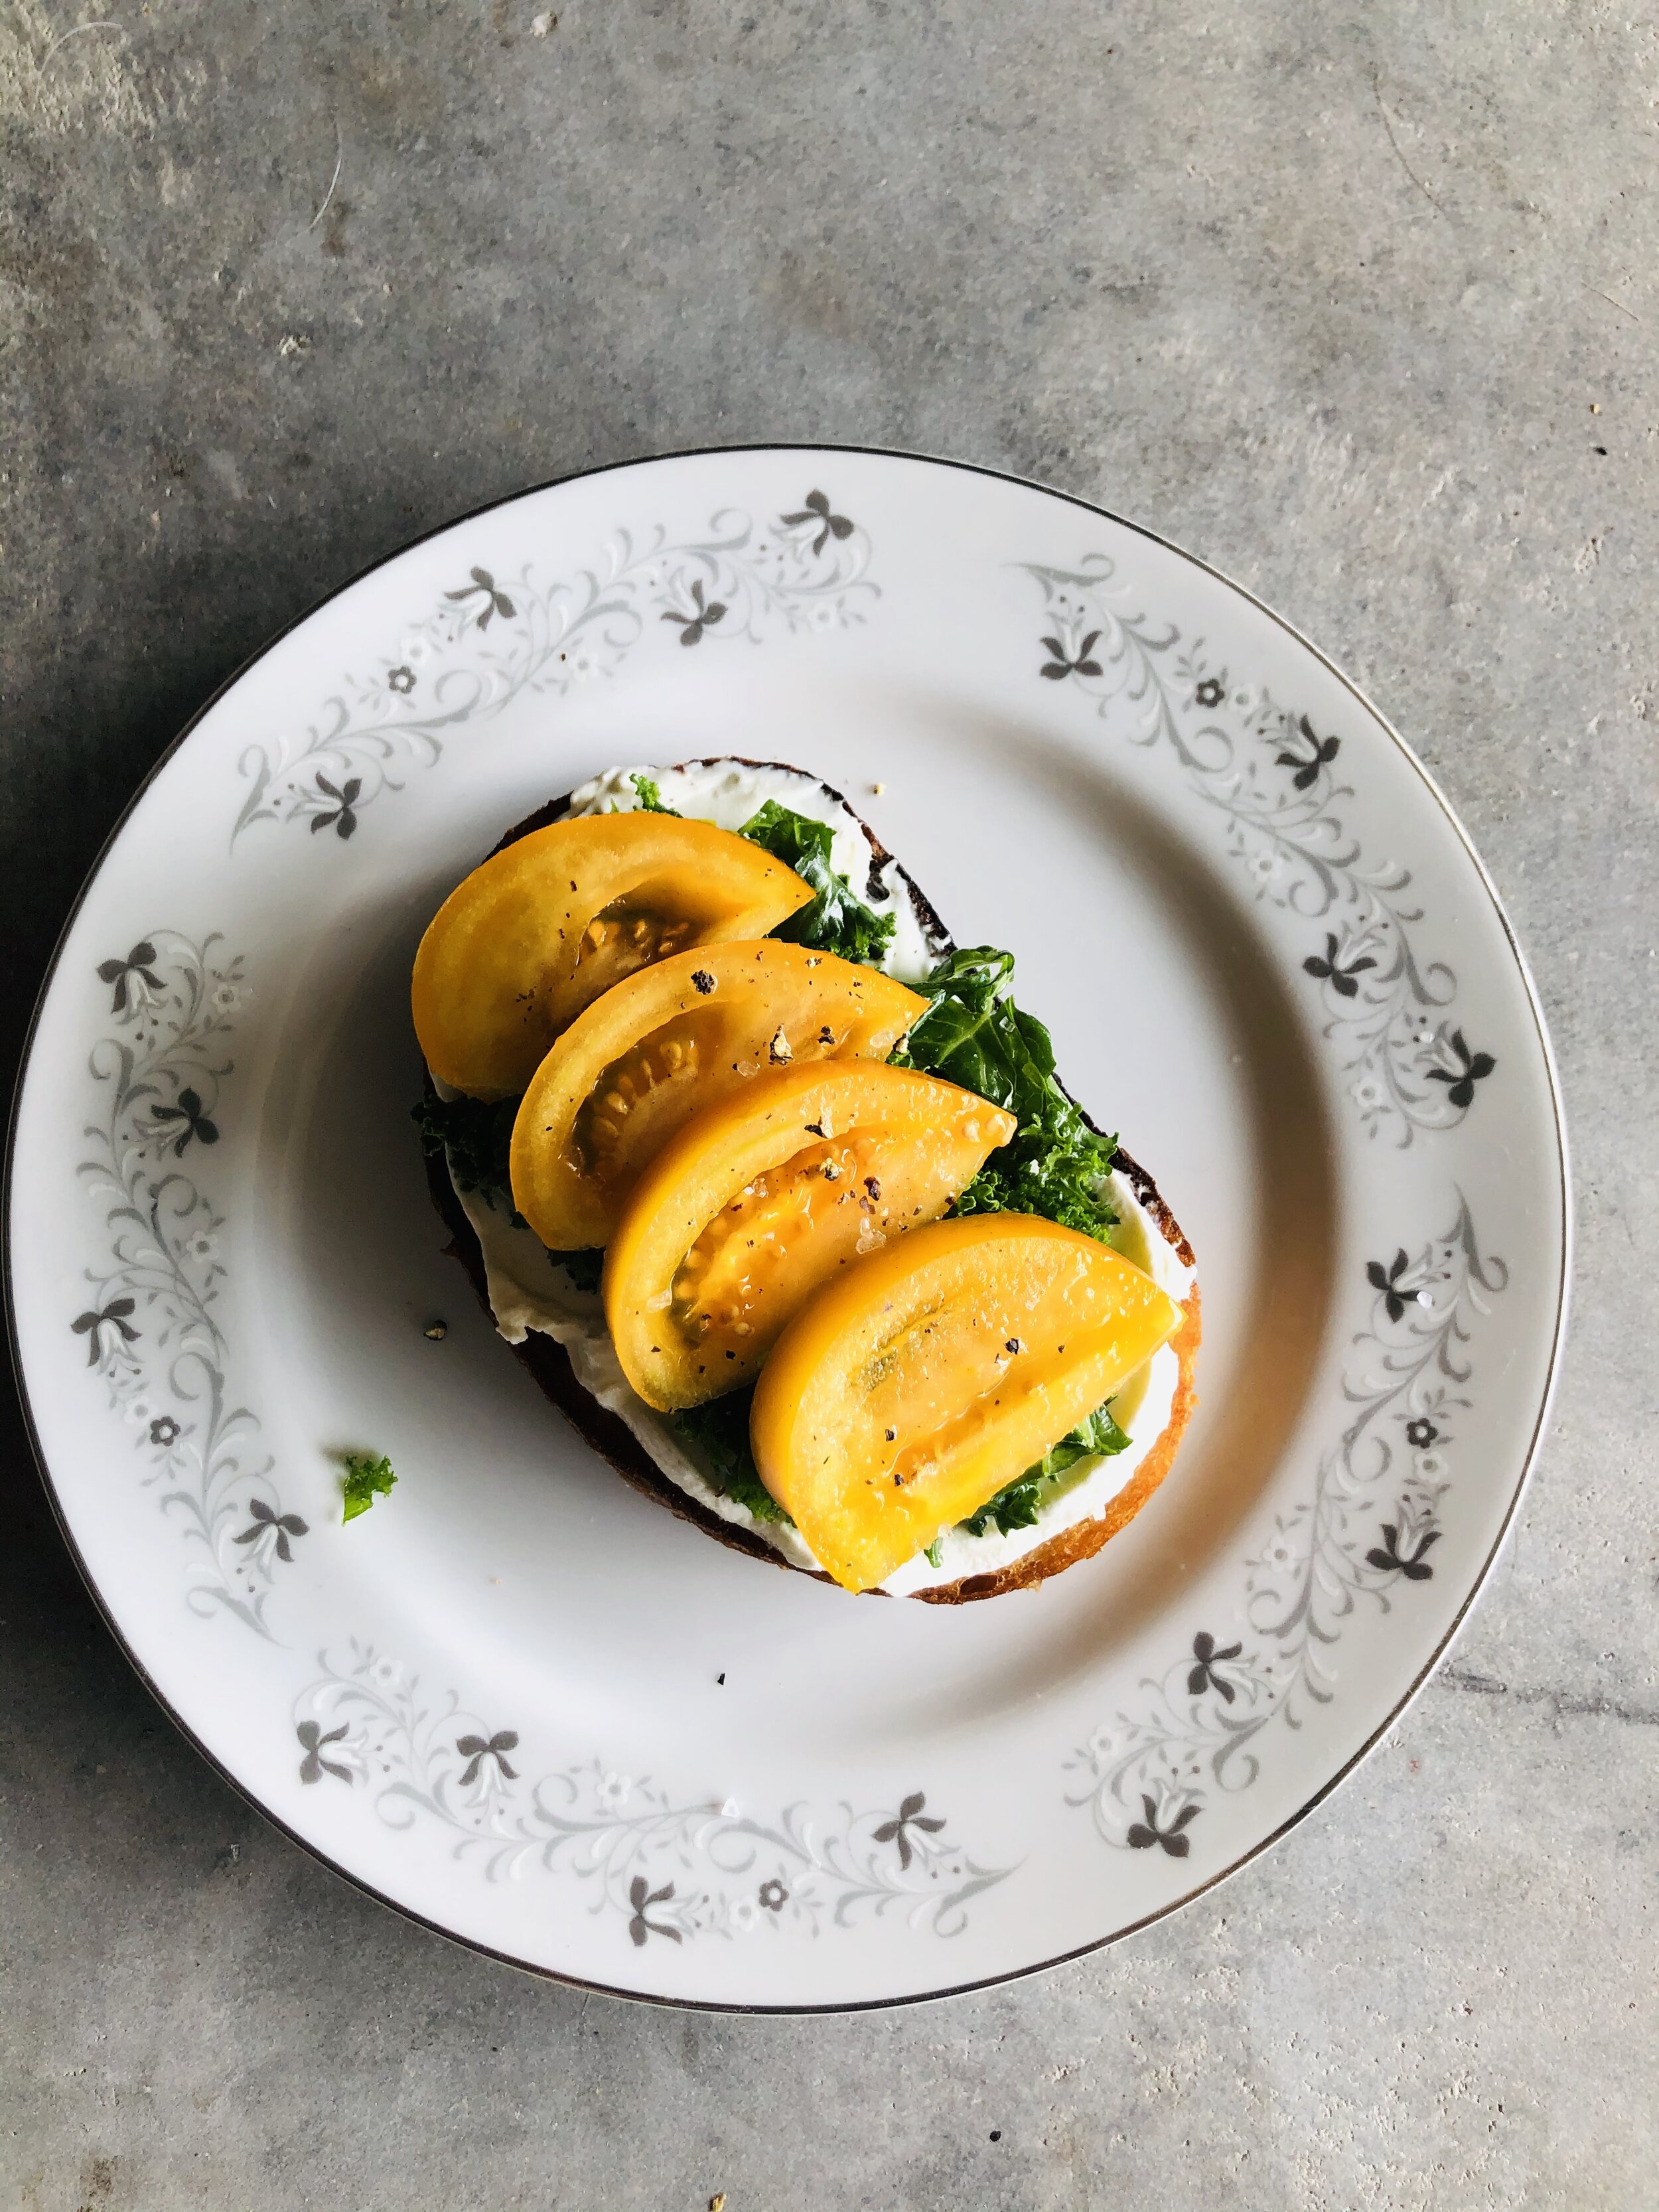
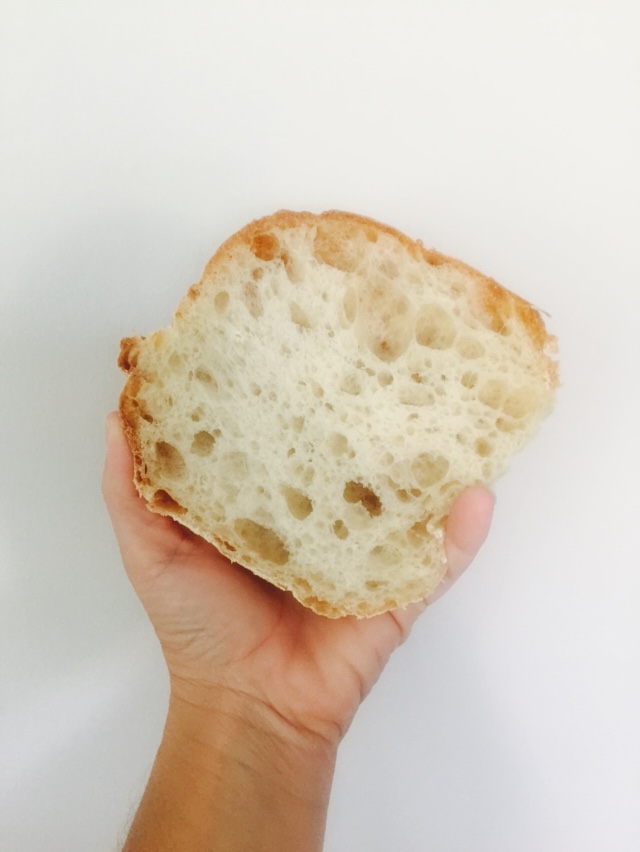
By formula I mean the process rather than ingredients. Whatever you decide about embarking on the quest to bake your own bread, a good slice remains essential to getting your “steak” on. Ideally you will cut yourself a nice fatty that you slather up with butter or mayo and then griddle in a skillet. (Yep! I said mayo as in mayonnaise. It’s a culinary hack for all you grilled cheese makers waiting too long for your butter to soften.) Sear it on both sides like you would a steak, and no; you can’t use a toaster for this. It’s not the same you lazy cheaters!

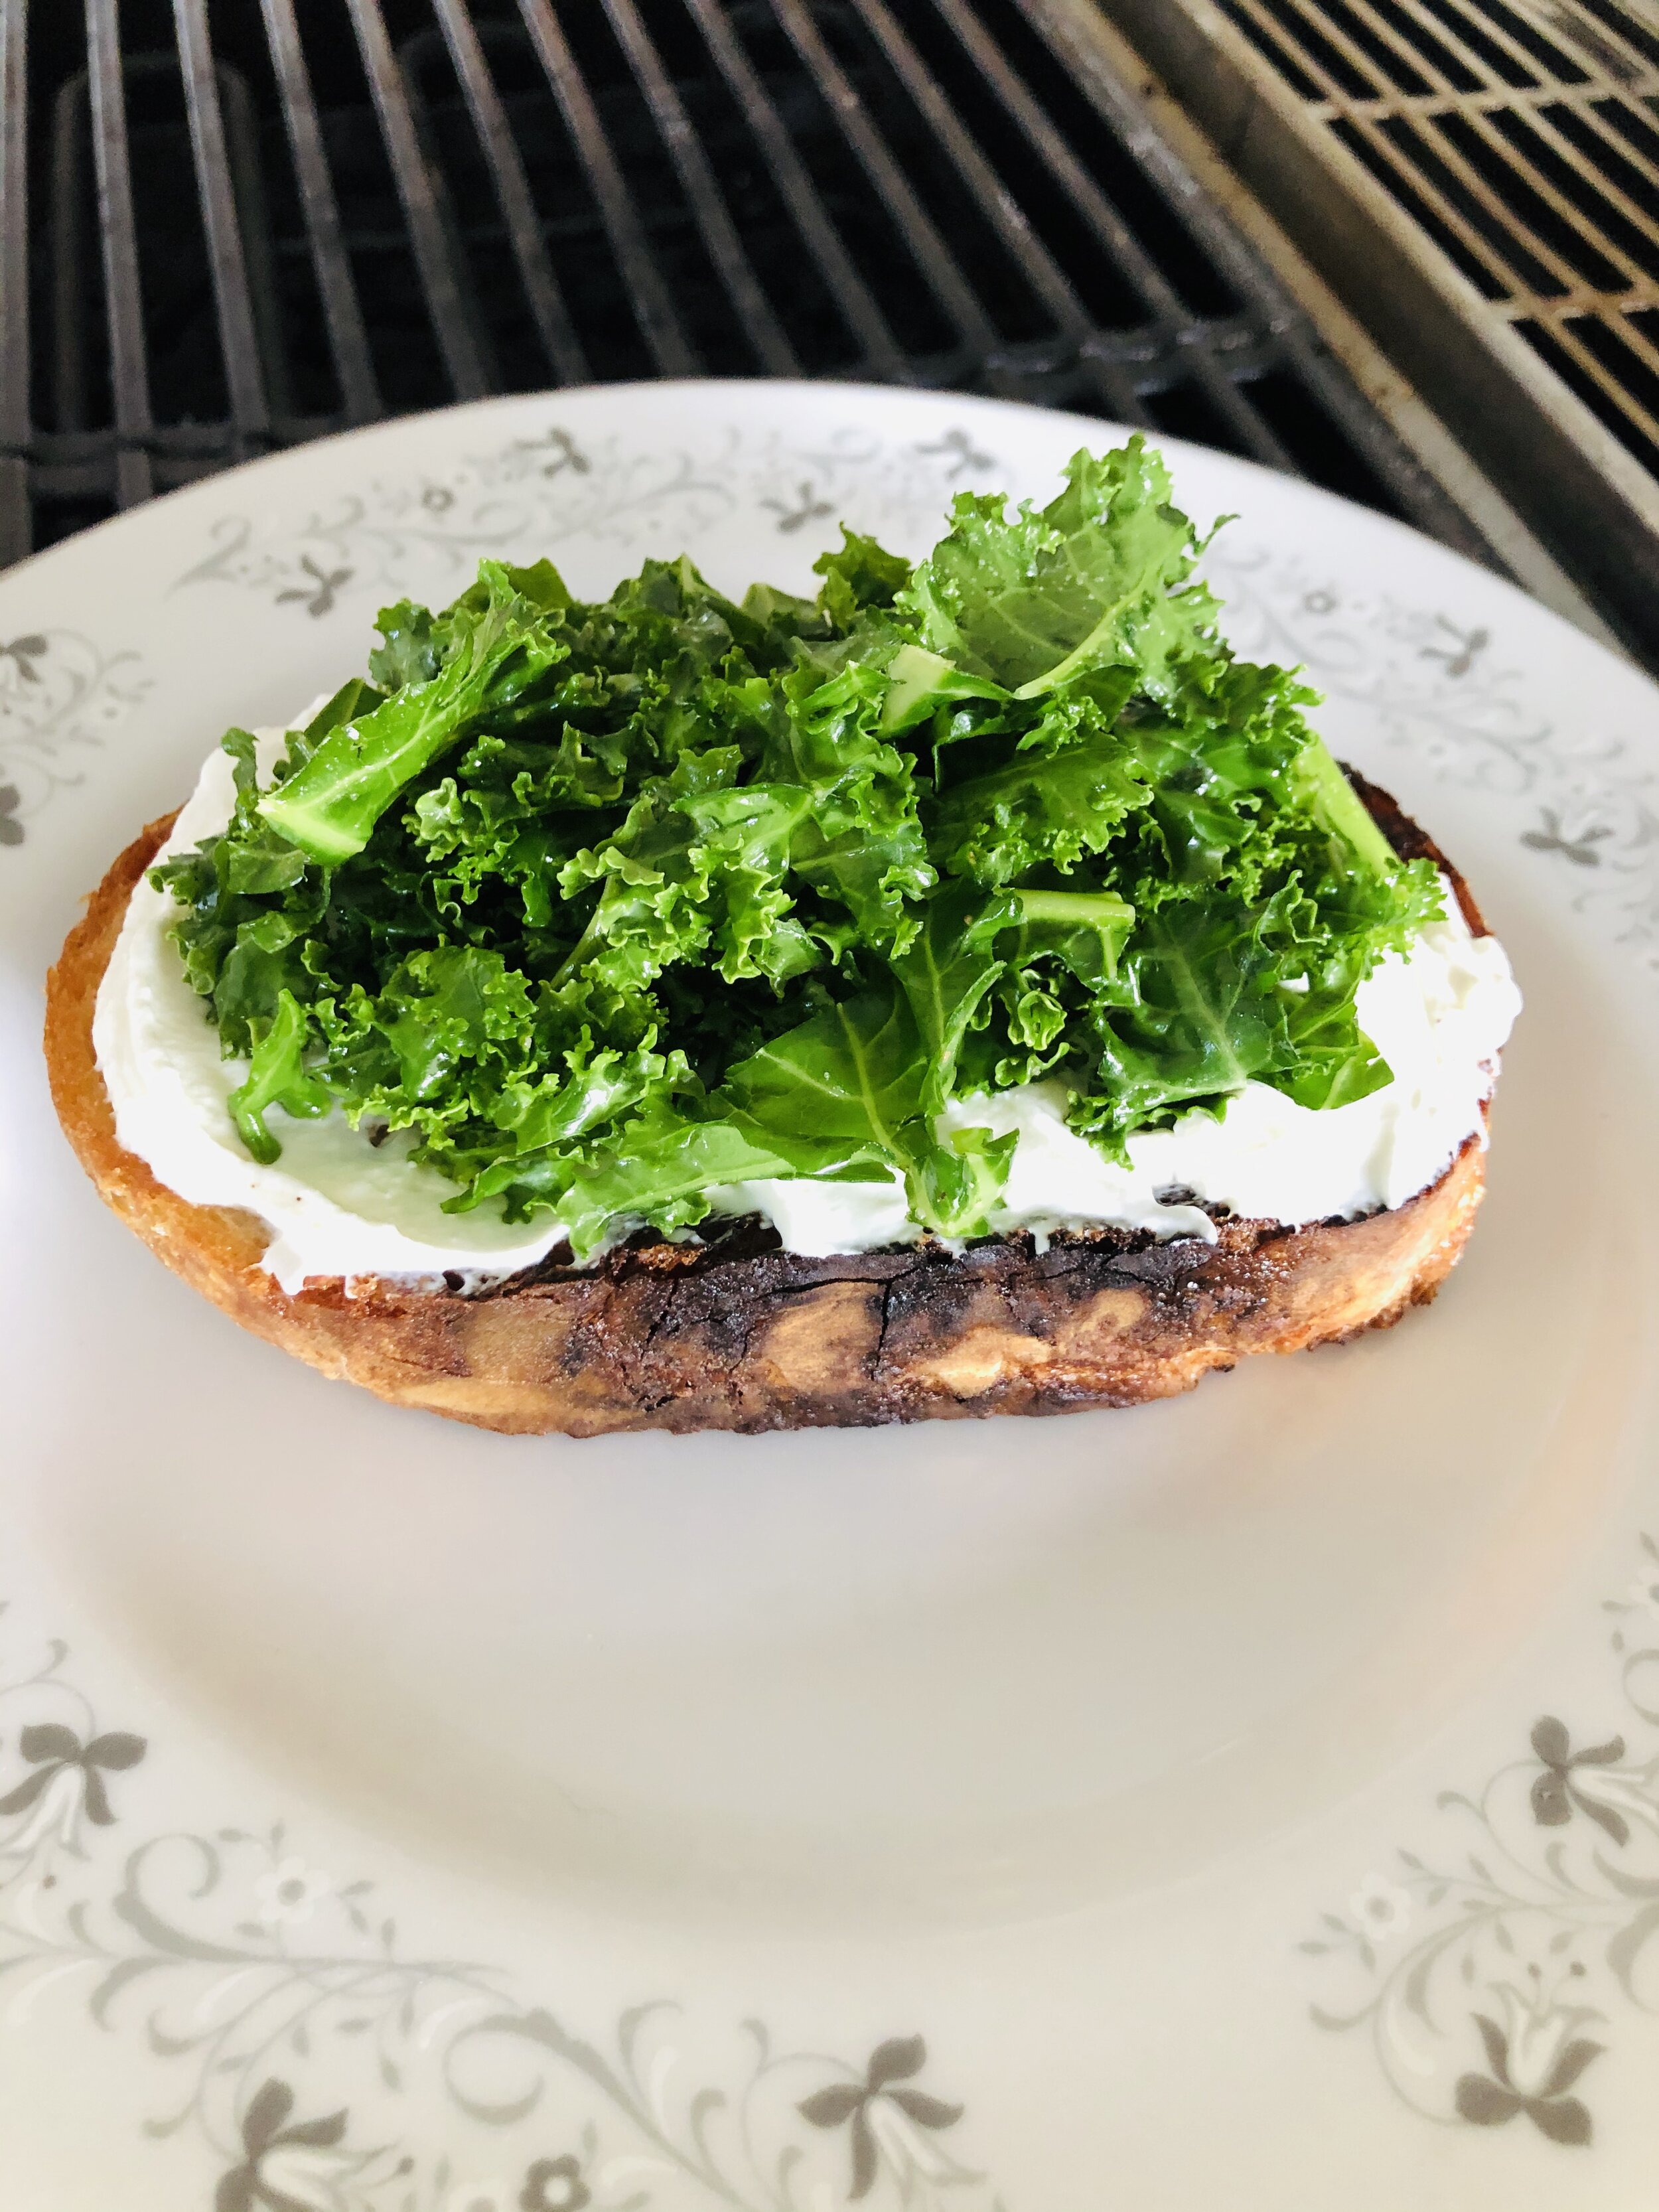
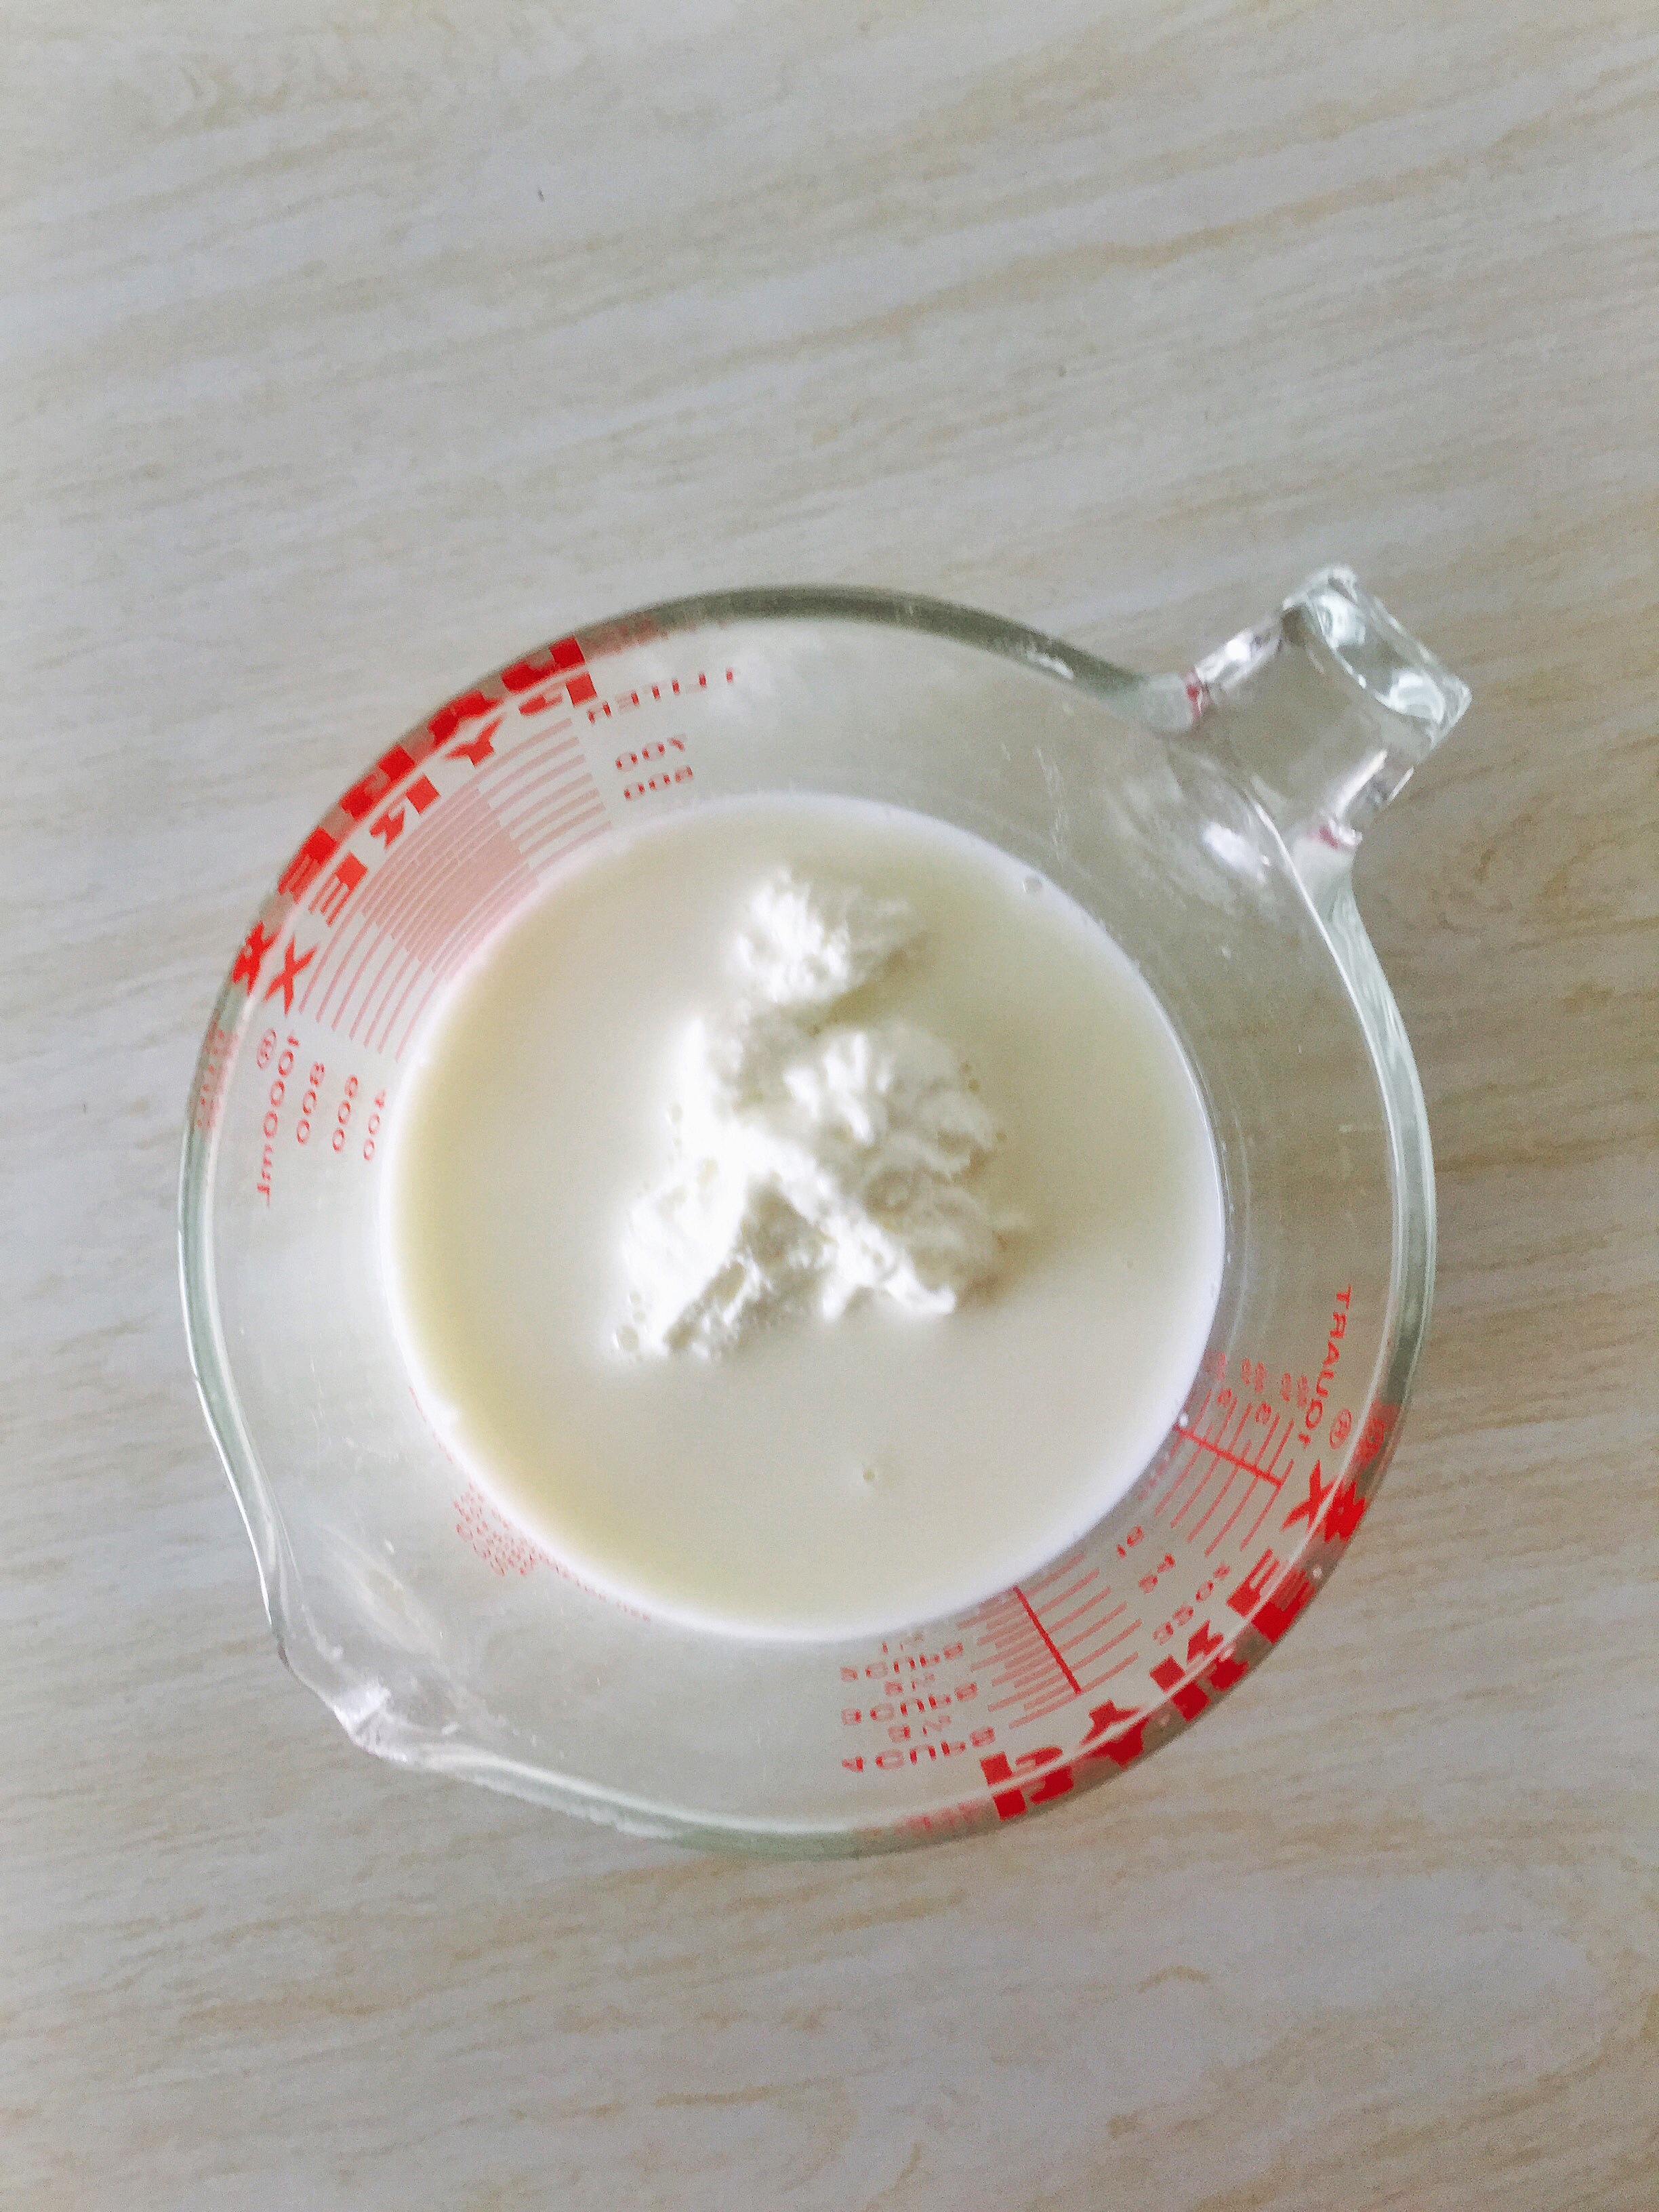
Once the bread is griddled on both sides you can start in with your toppings. I like to add a base layer of some kind of spread that will help cradle the other goodies. Cream cheese and ricotta work well, as does yogurt, nut butters, and hummus. Think of it like the binding agent that’s going to hold everything together. Next, give it some kind of bedding. This could be anything from mixed greens to sauteed onions or mushrooms, or even sliced fruit. Think of it as a layer of bulk that provides nutritional balance to the bread slice. Lastly, add a finishing topping. There are endless possibilities here. The final topping is an element of contrast that helps tie it all together. It might be a poached egg or sliced fruit, cured meat, or perhaps a drizzle of honey with a sprinkle of seeds. Mostly these layers are a matter of composition. The formula, rather than recipe, gives you the freedom to work with what ya got.

Bread + Spread + Bedding + Topping = Bread Steak

Bread.jpg Sliced bread.jpg Griddled Bread.jpg Smothered Bread.jpg Smothered bread with kale.jpg bread steak with yogurt, kale, and tomatoes.jpg

It’s a privilege to be able to race out to the store and grab supplies when necessary. Some of us live in food deserts. Others are fighting the loss of income. Not all of us are in positions to stock-up on items and therefore must be creative with what’s on hand. I know personally that both my pantry and my bank account have been dwindling as years of financial hardships accumulate. I also see the internet continue to entice with it luxuries. Everything from home goods to gourmet fare seem to fly in the face of those struggling; begging us to be impulsive and spend money we don’t have. The good news though is you don’t need a lot of money to feel rich when it comes to your diet. You can find ways to have more with less, without feeling like you’ve sacrificed something. The Bread Steak is my steak. It’s not a fillet or a T-Bone but it’s juicy nonetheless, and there’s nothing better than cutting into it with a fork and knife and knowing it’s a treat. It often falls apart and turns into a mess that spreads all over my plate but that mess brings out my inner bon viviant, reminding me that it’s not what I buy, but what I make with what I have… Such is life?

Bread steak with ricotta, arugula, mushrooms, shallots, goat cheese and thyme.

Bread steak with ricotta, arugula, mushrooms, shallots, goat cheese and thyme.

So, go find your fancy. Search for it in the unexpected and remember that simple pleasures are often hiding behind an elaborate veneer. A decadent steak doesn’t have to be meat. By the way, have you ever looked up the word decadent? It’s not the glory you might think. Anyway, good luck you fine people! Make good food and trust that you can nourish your health on a budget, and liberate yourself from the elitism surrounding our food culture. You got this!

July 27, 2020 /Ashley Look
Bread Steak, bread, sliced bread, food desert, elitism, food budget, financial hardships, bread baking, bread recipe, simple pleasures, pandemic budget, hard times, ways to stretch a dollar, life skills, dough, Full Moon Baking Club, Basic Bread Recipe, poverty, unemployment, lost wages, cheap eats, cheap recipes, foodie, gourmet, cheap food, How To Feed A Senior, griddle
Recipes
Comment
Early sourdough fermentation bubbles in my starter.

Early sourdough fermentation bubbles in my starter.

Sourdough Starter Support Group

April 08, 2020 by Ashley Look in Full Moon Baking Club, Recipes

It’s been incredible watching the internet boom with bread baking. The dough life is everywhere and the breads are looking amazing! I’ve been on the bread train for a while now, so when this new wave of bakers emerged, I was caught somewhat off guard. Dare I say, “jealous” you’ve been baking without me? Luckily, FOMO is a pre-coronavirus complex since we’re all stuck at home these days. But dang! You guys with your bread flex right now brings me so much joy. I’ve been seeing so many sourdough starters in my Facebook feed that I figured we needed a support group for all the questions. Seriously though, you guys are champions! I’m loving all the close-ups of fermentation bubbles, and those sexy hooch lines. It’s like the baker’s version of the first day of school and your starter’s already on the honor roll!

I know some of you created a starter because you were running low on yeast. Smart move! Others, feel left behind cause they are completely without. Fortunately, you’re not out of the bread game just yet. You can easily collect wild yeast to make a sourdough starter. Once your starter is active you’re good to go. When it comes to working it into recipes, I typically use about a 1/4 cup per loaf. There’s a ton of information out there about how and when to feed your starter, weighing the flour, blah, blah blah… Personally, I can’t be bothered with the details and save that for the professionals like Sarah Owens and Tara Jensen. They are the darlings of sourdough in my book, so if you wanna dive deep, check them out. Otherwise, if you see a hooch layer forming, it’s time for another feeding.

As for getting back into baking with the Full Moon Baking Club I figure now is as good as any for a reboot! Rather than post a recipe this month, I figured we should just get our starters up to snuff so in a month we can get our bake on. If you have yeast, you can explore the recipes on the Full Moon Baking Club page, or if your starter is ready, you can get experimental and try out the Fermented Loaf recipe.

On a personal note, I’ll tell you my starter you see above is a newbie. It’s less than two weeks old and although I see signs of activation, it’s really all about feeding it at this point. I’ve been doing this twice a day now after five days of catching yeast using the wild method above. It only occurred to me to start a new one after soaking my flour mix to make this molasses loaf.

soaked flours.jpg preferment.jpg mixed ferements.jpg first rise.jpg Homemade molasses bread.jpg Sliced molasses bread.jpg

Starter or not, keep baking! I’ve found that making something with your own two hands, is rewarding. Even in failure, the reward is there. Right now it might be the antidote for boredom but as someone that has baked for years for both friends, family, and full crews at sea, warm treats from the oven always delight! I used to joke that I’ve never met a problem that a fresh cookie couldn’t solve and I would say the same goes for a hot loaf of bread! So bake and have fun! If the lockdown life leads to an economic depression, at least you’ll know how to use the flour rations. Ha!

Actually, that’s terrifying Don’t think about that.. Just go pour off the hooch and feed your new pet. We have some baking to do! And as you begin your journey into sourdough, know that you’re are backed by the ultimate bread nerd. Submit your questions in the comments so I can geek out on this one. I’ll do my best to coach you through any problem. Good luck and I look forward to baking with you next month!

April 08, 2020 /Ashley Look
How to feed a senior, Sourdough Starter, hooch, bread baking, Coronalife, coronavirus, lockdown, yeast, wild yeast, support group, recipes, dough, baking, Full Moon Baking Club, flour, molasses, starter, economic depression, rations
Full Moon Baking Club, Recipes
Comment
The crusty loaf from the Full Moon Baking Club, July 2019.

The crusty loaf from the Full Moon Baking Club, July 2019.

July 2019: The Crusty Loaf

July 16, 2019 by Ashley Look in Full Moon Baking Club, Recipes

Ok, this post is going to be less about a bread recipe and more about how you can get your home oven to mimic that of a professional bakery. Cause that’s what we all want right? Bread at home that has that magic crust that seems to only come from professionals… No worries. I got you! With just this little tip you can start banging out some crusty loaves.

Make it steamy!

Yep. That is pretty much it. If you want to enhance your bread’s crust game you gotta get things steamy. There is a couple ways you can do this:

  1. Dutch Oven Method

    I use this method a lot cause it’s almost a guaranteed win every single time. Baking bread in a dutch oven allows the moisture from the dough to get trapped while baking, creating that steamy environment that gives you that crispy crust. I bake the dough for about 30 minutes with the lid on and then remove it for the last 15 minutes. I won’t go into too much detail now but if you want to explore this method you can find a recipe with some instructions right here.

  2. Pan With Water Method

    Now, for those of you that don’t have a dutch oven, there is still hope. Crispy crust can easily be achieved by adding a pan with some water in it that you will remove midway through baking. I like to use a baking dish with about an inch of water in it. You don’t want too much water though because you want to easily and safety remove it from the oven come time. I add the pan/dish of water when I preheat the oven so it’s good and steamy by the time I’m ready to start baking. Pretty simple really.

The last thing I’ll say about the crust is to get creative when when you score the top. Scoring is the design you slice into the top and it frequently confused for an important step in the baking process. I’m here to tell, that’s not really the case. Scoring allows for a bit more rise from a dough while baking in the oven but mostly its more personality than anything. You can use a razor blade or serrated knife to add some slash marks just before placing it in the oven and you are good to go. And in case you need some inspiration for this, just check out Sarah C. Owen’s Instagram page for some beautiful ideas. She is a queen when it comes to all things bread and scoring skills are on point!

The Crustin Loaf.jpg Sliced homemade bread.jpg holes in homemade bread.jpg

Ingredients

  • 3 cups flour (plus more for kneading)
  • 1/4 tsp active dry yeast
  • 1 tsp salt
  • 1 tbsp sugar
  • 1 1/2 cups milk

Directions

  1. In a large bowl stir together the dry ingredients.
  2. Then add the milk.
  3. Mix together with a spoon until a sticky dough forms and then cover and let it rest on the counter for 6 to 8 hours. (I know that sounds odd but seriously, just cover and forget about it for the day or overnight.)
  4. After the long rest you'll notice the dough has grown into a a loose blob of dough.
  5. Sprinkle some flour onto your counter and then tip the dough out of the bowl, carefully assisting it as necessary.
  6. Sprinkle a bit more flour on top of the dough and begin to work it with your hands, adding more flour as necessary to keep it from sticking to your hands.
  7. Slowly begin to knead the dough, continueing to add flour as necessary.
  8. Knead for roughly 5 to 10 minutes.
  9. Shape the dough in an oblong loaf and place it into a greased bread pan.
  10. Cover with plastic wrap and let rise for about and hour.
  11. Preheat your oven to 450 degress and place a pan with about an inch of water on a low shelf in your oven.
  12. After the dough has rested for an hour and about doubled in size, remove the wrap and score the top of your loaf and then immediately place it in the hot steamy oven.
  13. Then, immediately turn the oven down to 375 degress and bake for 25 minutes.
  14. After 25 minutes, carefully remove the pan of water and continue to bake for another 15 minutes.
  15. Remove the bread from the oven, release it from the bread pan and let cool on a wire rack.

And just in case you need a new mixing spoon in your life, I just finished this one:

Baker's Spade Baker's Spade
Sold Out
Baker's Spade
$47.00

The Baker’s Spade is a one-of-a-kind mixing spoon with a simple design and subtle wood-burned detailing on the handle.

Ok friends, go bake and let me know how your crust turns out, especially if you use the pan with water method. Happy Full Moon!

July 16, 2019 /Ashley Look
how to feed a senior, Full Moon Baking Club, The Crusty Loaf, bread baking, homemade bread, crispy crust, scoring bread, Dutch Oven, loaf pan, steam oven, flour, salt, yeast, sugar, milk, kneading dough, dough, July 2019
Full Moon Baking Club, Recipes
Comment
The Wholesome Loaf is a bread recipe celebrating the full moon in June by the Full Moon Baking Club.

The Wholesome Loaf is a bread recipe celebrating the full moon in June by the Full Moon Baking Club.

June 2019: The Wholesome Loaf

June 17, 2019 by Ashley Look in Full Moon Baking Club, Recipes

What’s that? It’s June and you want to soak up that summer heat by baking bread in your kitchen? Don’t worry. I got you! The Wholesome Loaf recipe for June’s Full Moon Baking club is bound to have you sweating it out and second guessing why you thought this was a good idea. But I’ll just remind you now. Because it’s good. That’s why! And its even better when you make something to share with others.

This bread recipe combines milk, yogurt, and an egg for a soft, pliable dough, that comes together to fulfill your sandwich making needs. Make it, make some sandwiches, and then head out for a picnic with friends and have fun. If its delicious you’ll me so proud of your achievement. If it’s a disaster you’ll have a great memory of that time you made bread for your friends.

I feel like I always have to remind whoever is reading this that the point of the Full Moon Baking Club is not about the recipe so much as it’s about the moments. We cook all the time but so rarely are we cooking and gathering together. Once a month we deserve a break from the norm for the chance to be amungst friends and connect in a way that honors the fact that we are social beings. And I’m not talking about connecting across screens. Real connections, in person, face to face, and in this case with our mouths stuffed.

Ready, set, bake!

Bread making step 1 milk and yogurt.jpg Bread making step 2 milk yogurt and egg.jpg Bread making step 3.jpg Bread making step 4 mix.jpg Bread making step 5 knead.jpg Bread making step 6 dough.jpg Bread making step 7 dough resting for first rise.jpg Bread making step 8 first rise.jpg Bread making step 9 second kneading.jpg Bread making step 10 shaping dough.jpg Bread making step 11 second rise.jpg Bread making step 10 scoring the dough.jpg

Ingredients

  • 1 cup milk
  • 1/2 cup plain yogurt
  • 1 egg
  • 2 tsp dry active yeast
  • 3 cups flour (+1 more cup for kneading)
  • 1 tsp salt
  • 1 tbsp melted butter

Directions

  1. In a bowl combine the milk, yogurt, and egg and mix well.
  2. Stir in the yeast and let disolve.
  3. In a seperate, large bowl, add the 3 cups of flour and the salt.
  4. Then pour in the wet mixture and stir to combine.
  5. As the dough comes together, gently add extra flour (a little at a time) to help bring the dough together into a workable shape.
  6. Sprinkle some flour onto your counter and then tip the dough out.
  7. Sprinkle a bit more flour on top of the dough and begin to work it with your hands, adding more flour as necessary to keep it from sticking to your hands.
  8. Slowly begin to knead the dough, continueing to add flour as necessary.
  9. Knead for roughly 10 or so minutes allowing the dough to fully form with all the ingredients well combined.
  10. Continue to knead the dough, shaping it into a round ball.
  11. Then place it in a greased bowl and cover with plastic wrap and let rest for an hour or until doubled in size.
  12. After its doubled in size, dump ought the dough on a lightly floured surface and knead again.
  13. Shape the dough in an oblong loaf and place it into a greased bread pan.
  14. Brush the top with melted butter and then and then cover with plastic wrap and let rise for about and hour.
  15. Preheat your oven to 450 degress.
  16. After the dough has rested for an hour and about doubled in size, remove the wrap and score the top of your loaf and then immediately place it in the hot oven.
  17. Then, turn the oven down to 375 degress and bake for 35 minutes.
  18. Carefully remove it from the oven and turn the bread out onto a cooling rack and let rest before cutting into it.
June 17, 2019 /Ashley Look
how to feed a senior, Full Moon Baking Club, bread baking, The Wholesome Loaf, June 2019, dough, milk, yogurt, egg, flour, yeast, sandwiches, kneading dough, baking, first rise, second rise, proofing, picnic, breaking bread, community gathering, community building, social beings, real connections, in person, face to face, gathering together
Full Moon Baking Club, Recipes
Comment
Full Moon Baking Club’s October 2018 bread: Squash + Maple + Walnut Loaf

Full Moon Baking Club’s October 2018 bread: Squash + Maple + Walnut Loaf

October 2018: Squash + Maple + Walnut Loaf

November 23, 2018 by Ashley Look in Full Moon Baking Club, Recipes

Sorry for the delay! It took a whole month for me to get this posted here but I promise to do better moving forward. My goal is to have the recipe posted before the coming new moon, giving ample time for all to get their bake on! It also gives me a deadline to work towards. The Full Moon Baking Club is part baking creativity and part time tracking. It’s all in effort to account for the slipping of time. And slip it does!!! Most days I have no idea where time goes but at least this monthly infusion of bread baking will hold a mirror up to the hours.

I also want to thank those of you that joined me. I loved seeing your breads and breaking them with you!

IMG_8692.JPG IMG_8696.JPG IMG_8697.JPG IMG_8698.JPG

Ingredients

  • 1 cup squash puree (I used roasted buttercup squash but can pumpkin can replace fresh squash.)
  • 1/3 cup maple syrup
  • 2 tsp. active dry yeast
  • 4 cups flour (and more for dusting)
  • 1/2 tsp. salt
  • 1 cup warm water
  • 1/2 cup chopped walnuts

Directions

  1. In a large bowl, mix together the squash, maple syrup, and yeast.
  2. Add the flour, salt, water and walnuts.
  3. Mix to combine so the dough starts to come together.
  4. Turn out onto a floured surface and knead the dough untils its smooth and well formed (Could take 10 or so minutes.)
  5. Place the dough in an oiled bowl, cover and let rise for 1 hour.
  6. After the first rise, knead the dough again on a floured surface and then place it into an oiled loaf pan.
  7. Cover and let rise for another hour.
  8. Preheat oven to 375 degrees F
  9. Bake for 35-45 minutes and then cool on a wire rack.
Freshly baked and sliced Squash + Maple + Walnut Loaf from the 2018 October launch of the Full Moon Baking Club.

Freshly baked and sliced Squash + Maple + Walnut Loaf from the 2018 October launch of the Full Moon Baking Club.

Disclaimer:

Here’s the thing about homemade bread… It’s great fresh from the oven. Seriously, nothing compares. But later in the week it tends to lose its appeal. The hack for that is heat! You can wrap it in foil with a sprinkle of water and the heat plus moisture will help revive that freshness. Or you can do what I typically do which is make lots of grilled cheese type sandwiches, panzanella salads, and eggs-in-a-hole. There’s nothing like a hot skillet to bring dead bread back to life!

See you soon!

PS- If you are playing Winter Squash Bingo then I feel it’s important to share I used this recipe for #how2ButtercupSquash. ;)

November 23, 2018 /Ashley Look
how to feed a senior, Full Moon Baking Club, October 2018, Squash Maple Walnut Loaf, bread baking, breaking bread, buttercup squash, Winter Squash Bingo, #how2ButtercupSquash, new moon, bread recipe, where time goes
Full Moon Baking Club, Recipes
Comment
 
Search