September 2019: Basic Baguette Bread Recipe
Baguettes can be tricky but I’m here to tell you to forget goals of perfection and just get on with yo’ baking selves. There is no reason to let authenticity keep you from making things. I believe it’s far better to fumble through something with decent success than to avoid it all together and be dependent. Perfection often stands in the way of progress. Just try and and you’ll find yourself well on the way to becoming a more competent human. Yes, still far from perfect but more capable and self-reliant which seems like a good first step toward reducing your personal footprint and living a more sustainable lifestyle.
You’re shocked right? Who knew you could get so eco-friendly from baking baguette? Hey, you gotta start somewhere. And if you’re not convinced on the lifestyle, maybe you’ll be inspired by convenience. The great things about have baguettes in your life (besides crostinis) is the easy in feeding a crowd. I got two words for you: Sub and Sandwiches…

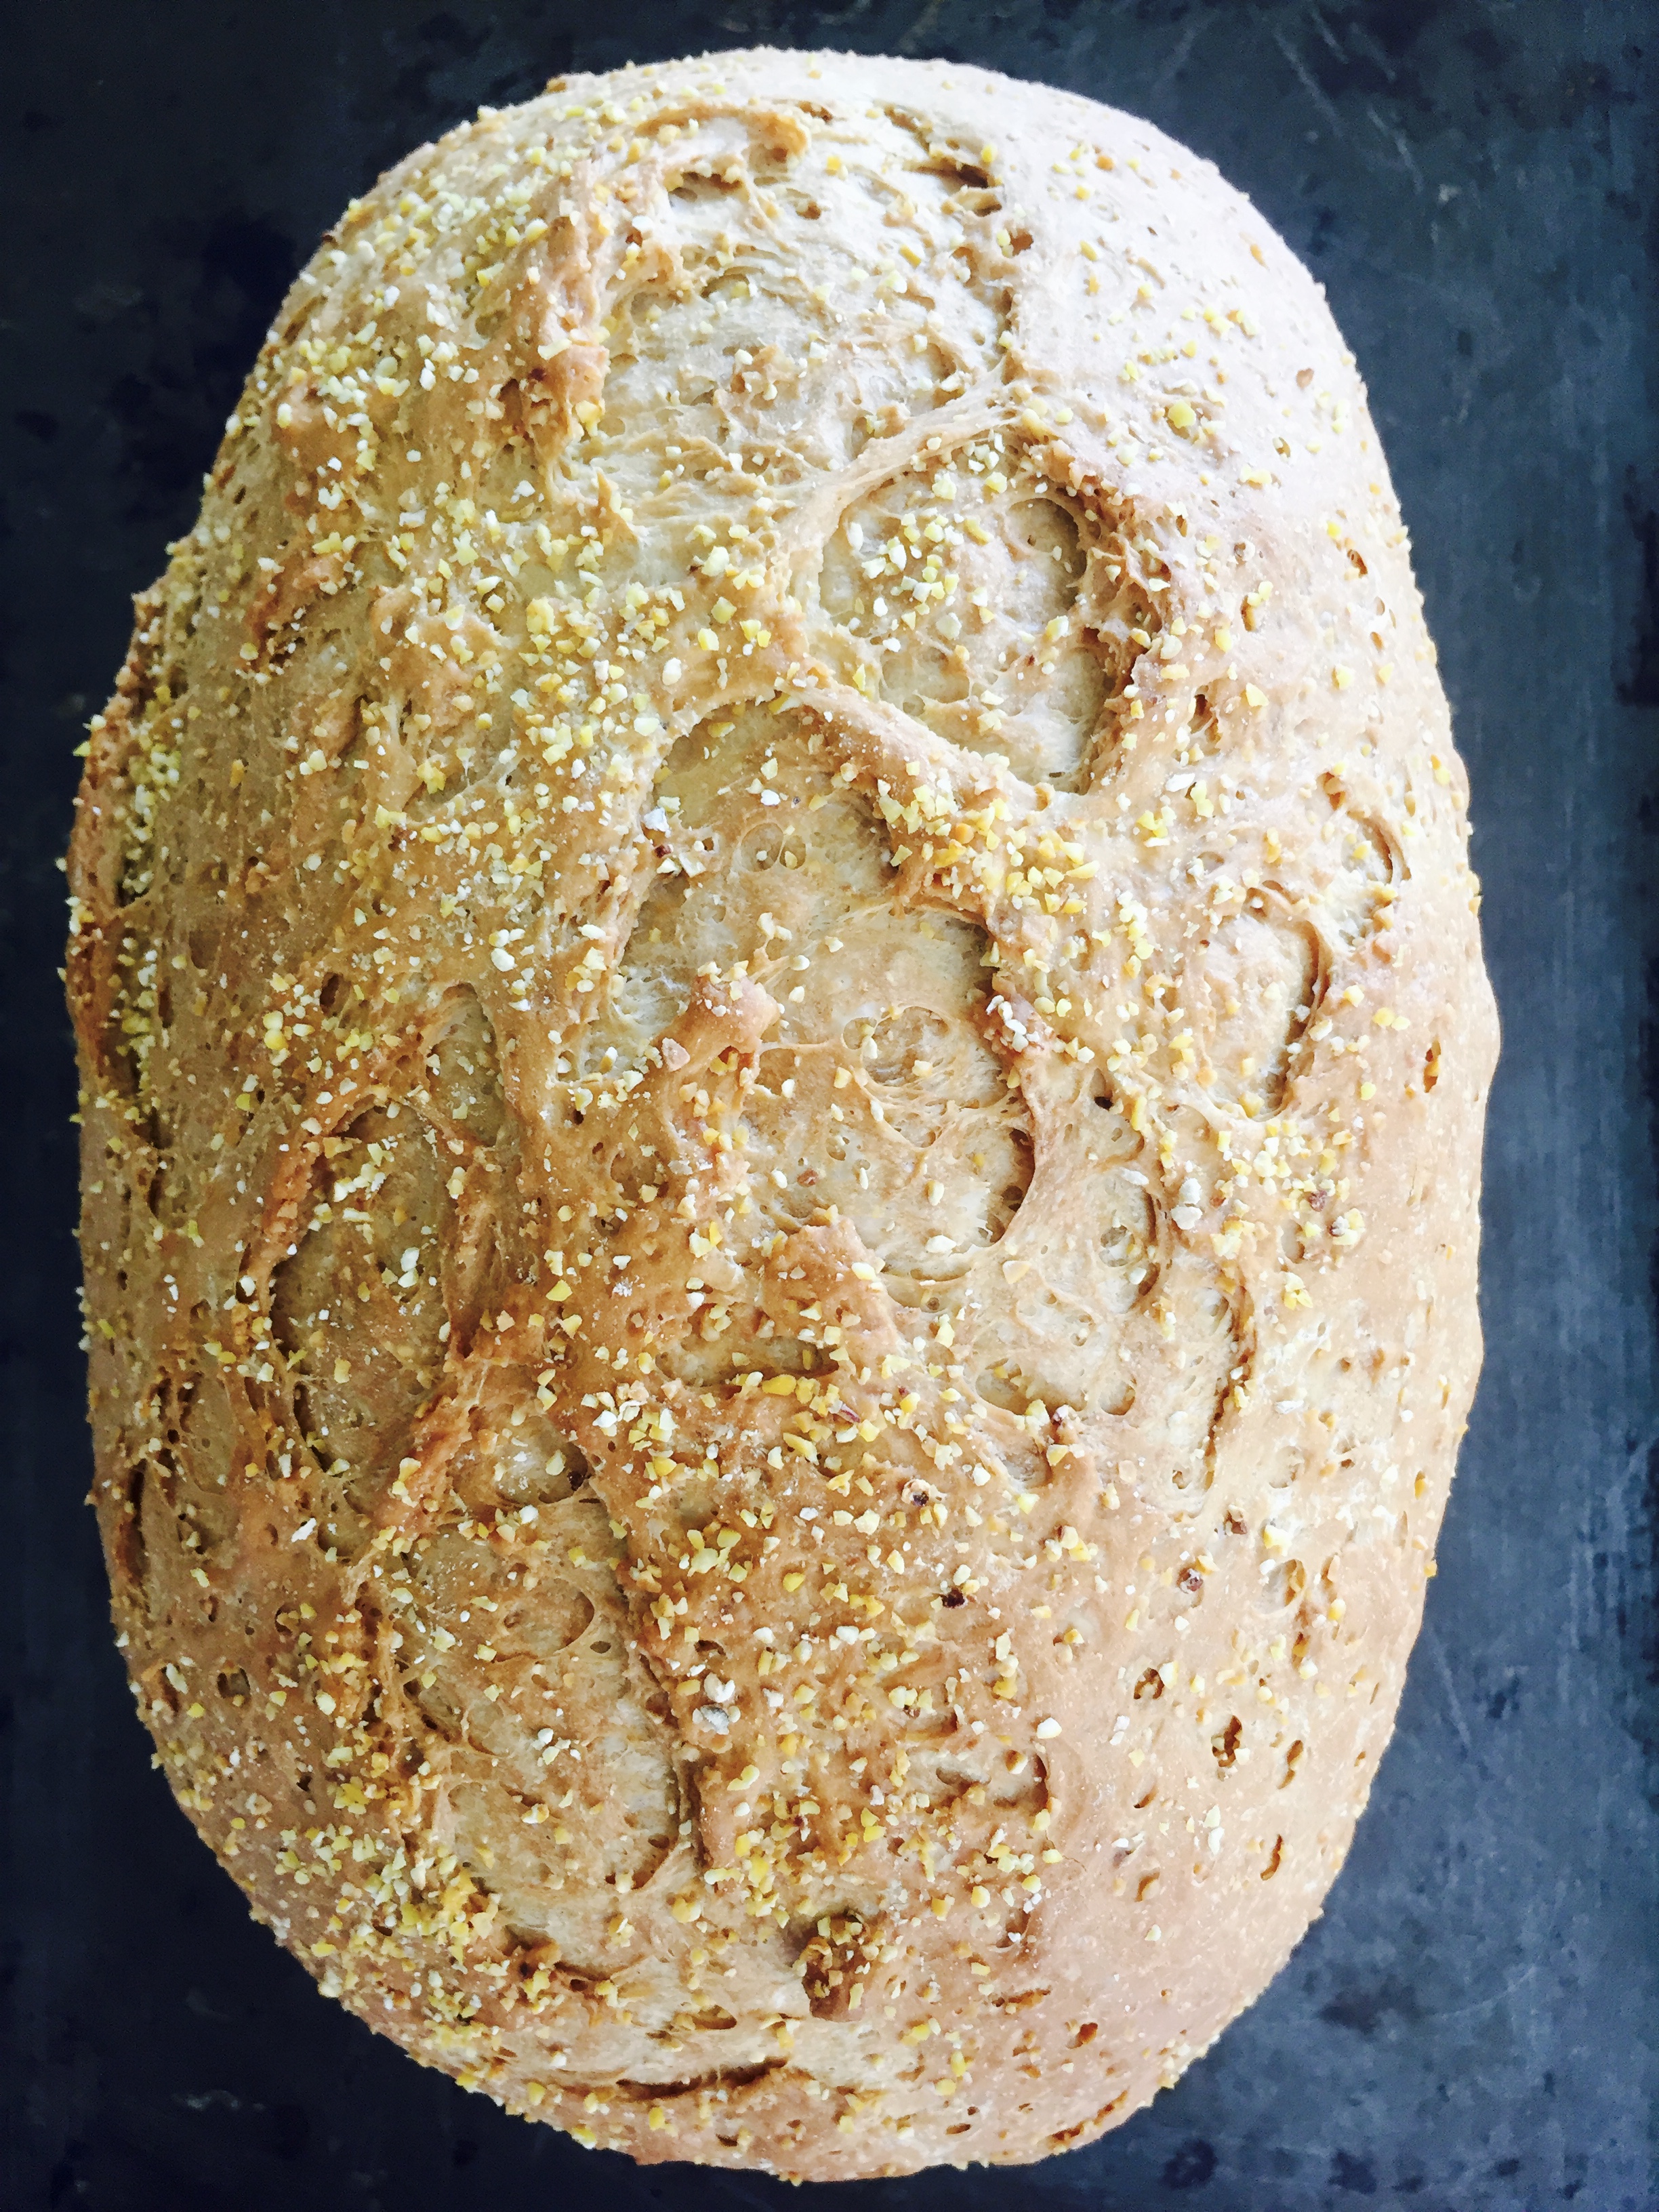
This baguette recipe was perfect for shaping long, beautiful loaves.
Ingredients:
- 3 cups flour (extra for dusting your surface and as necessary)
- 1/4 tsp. active dry yeast
- 1 tsp. salt
- 1 1/2 cups warm water
Directions:
Phase 1
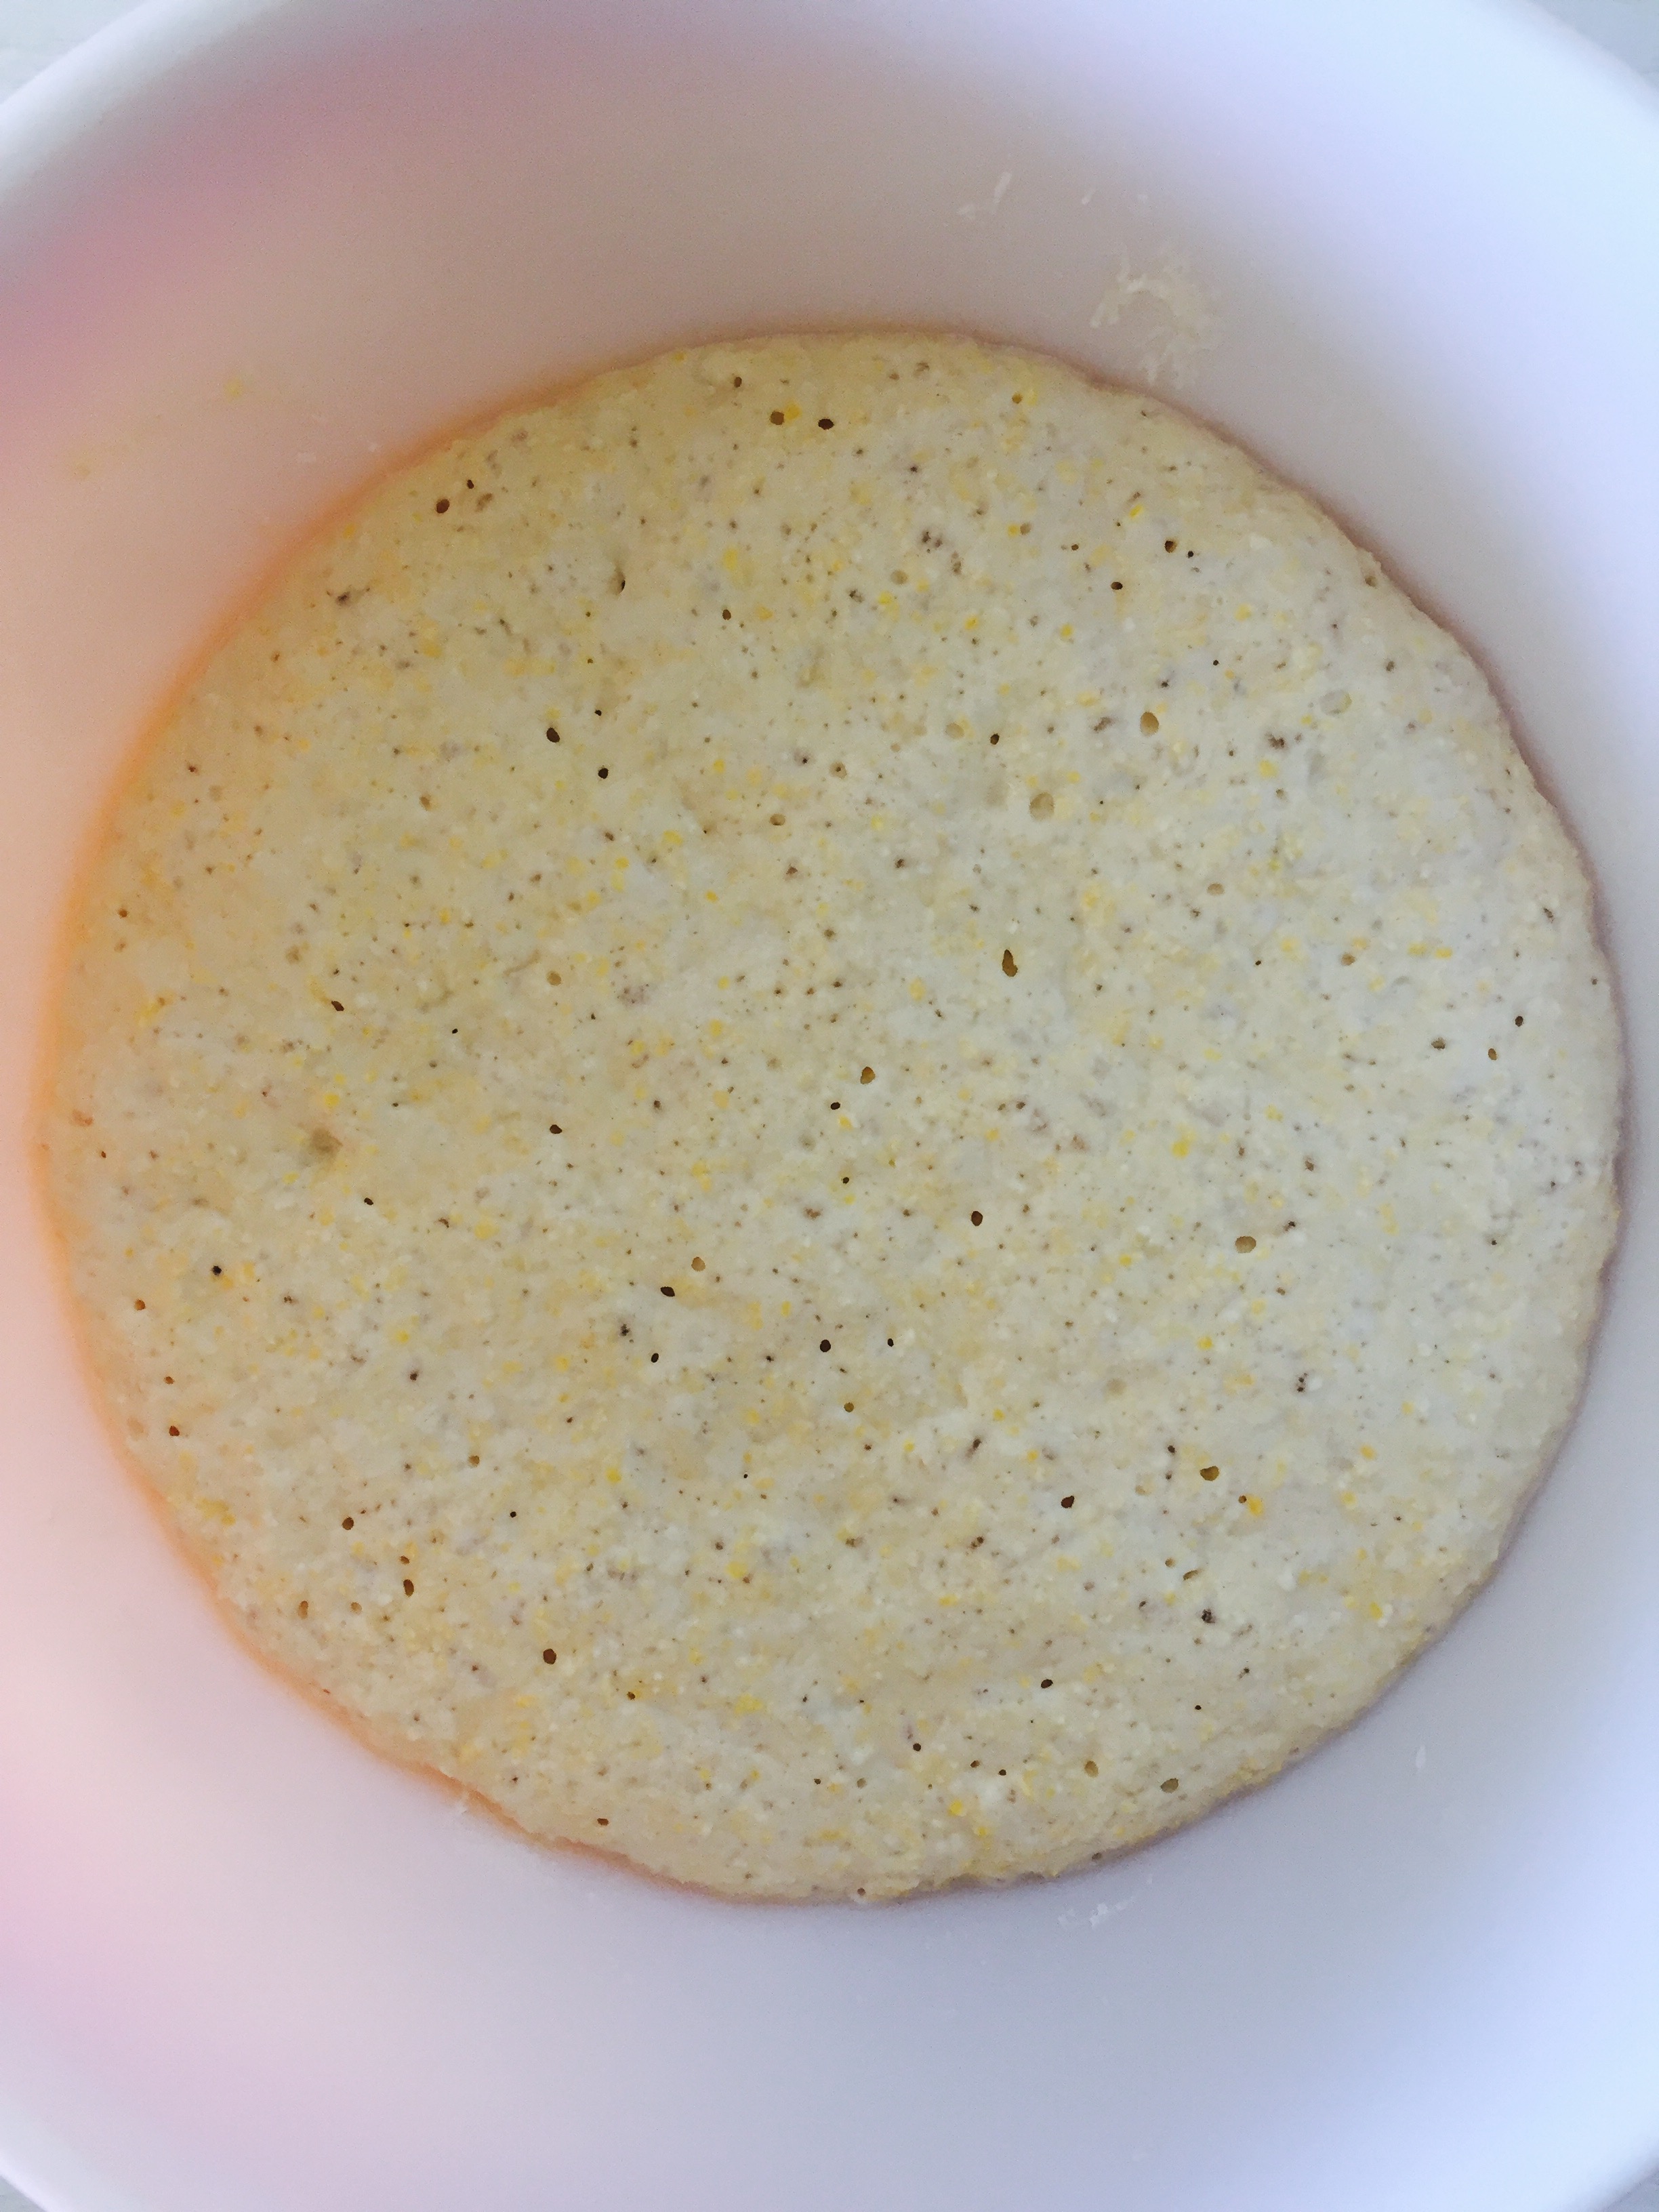
- In a large bowl mix the flour, salt, and yeast together.
- Add the warm water and mix to form a shaggy dough ball.
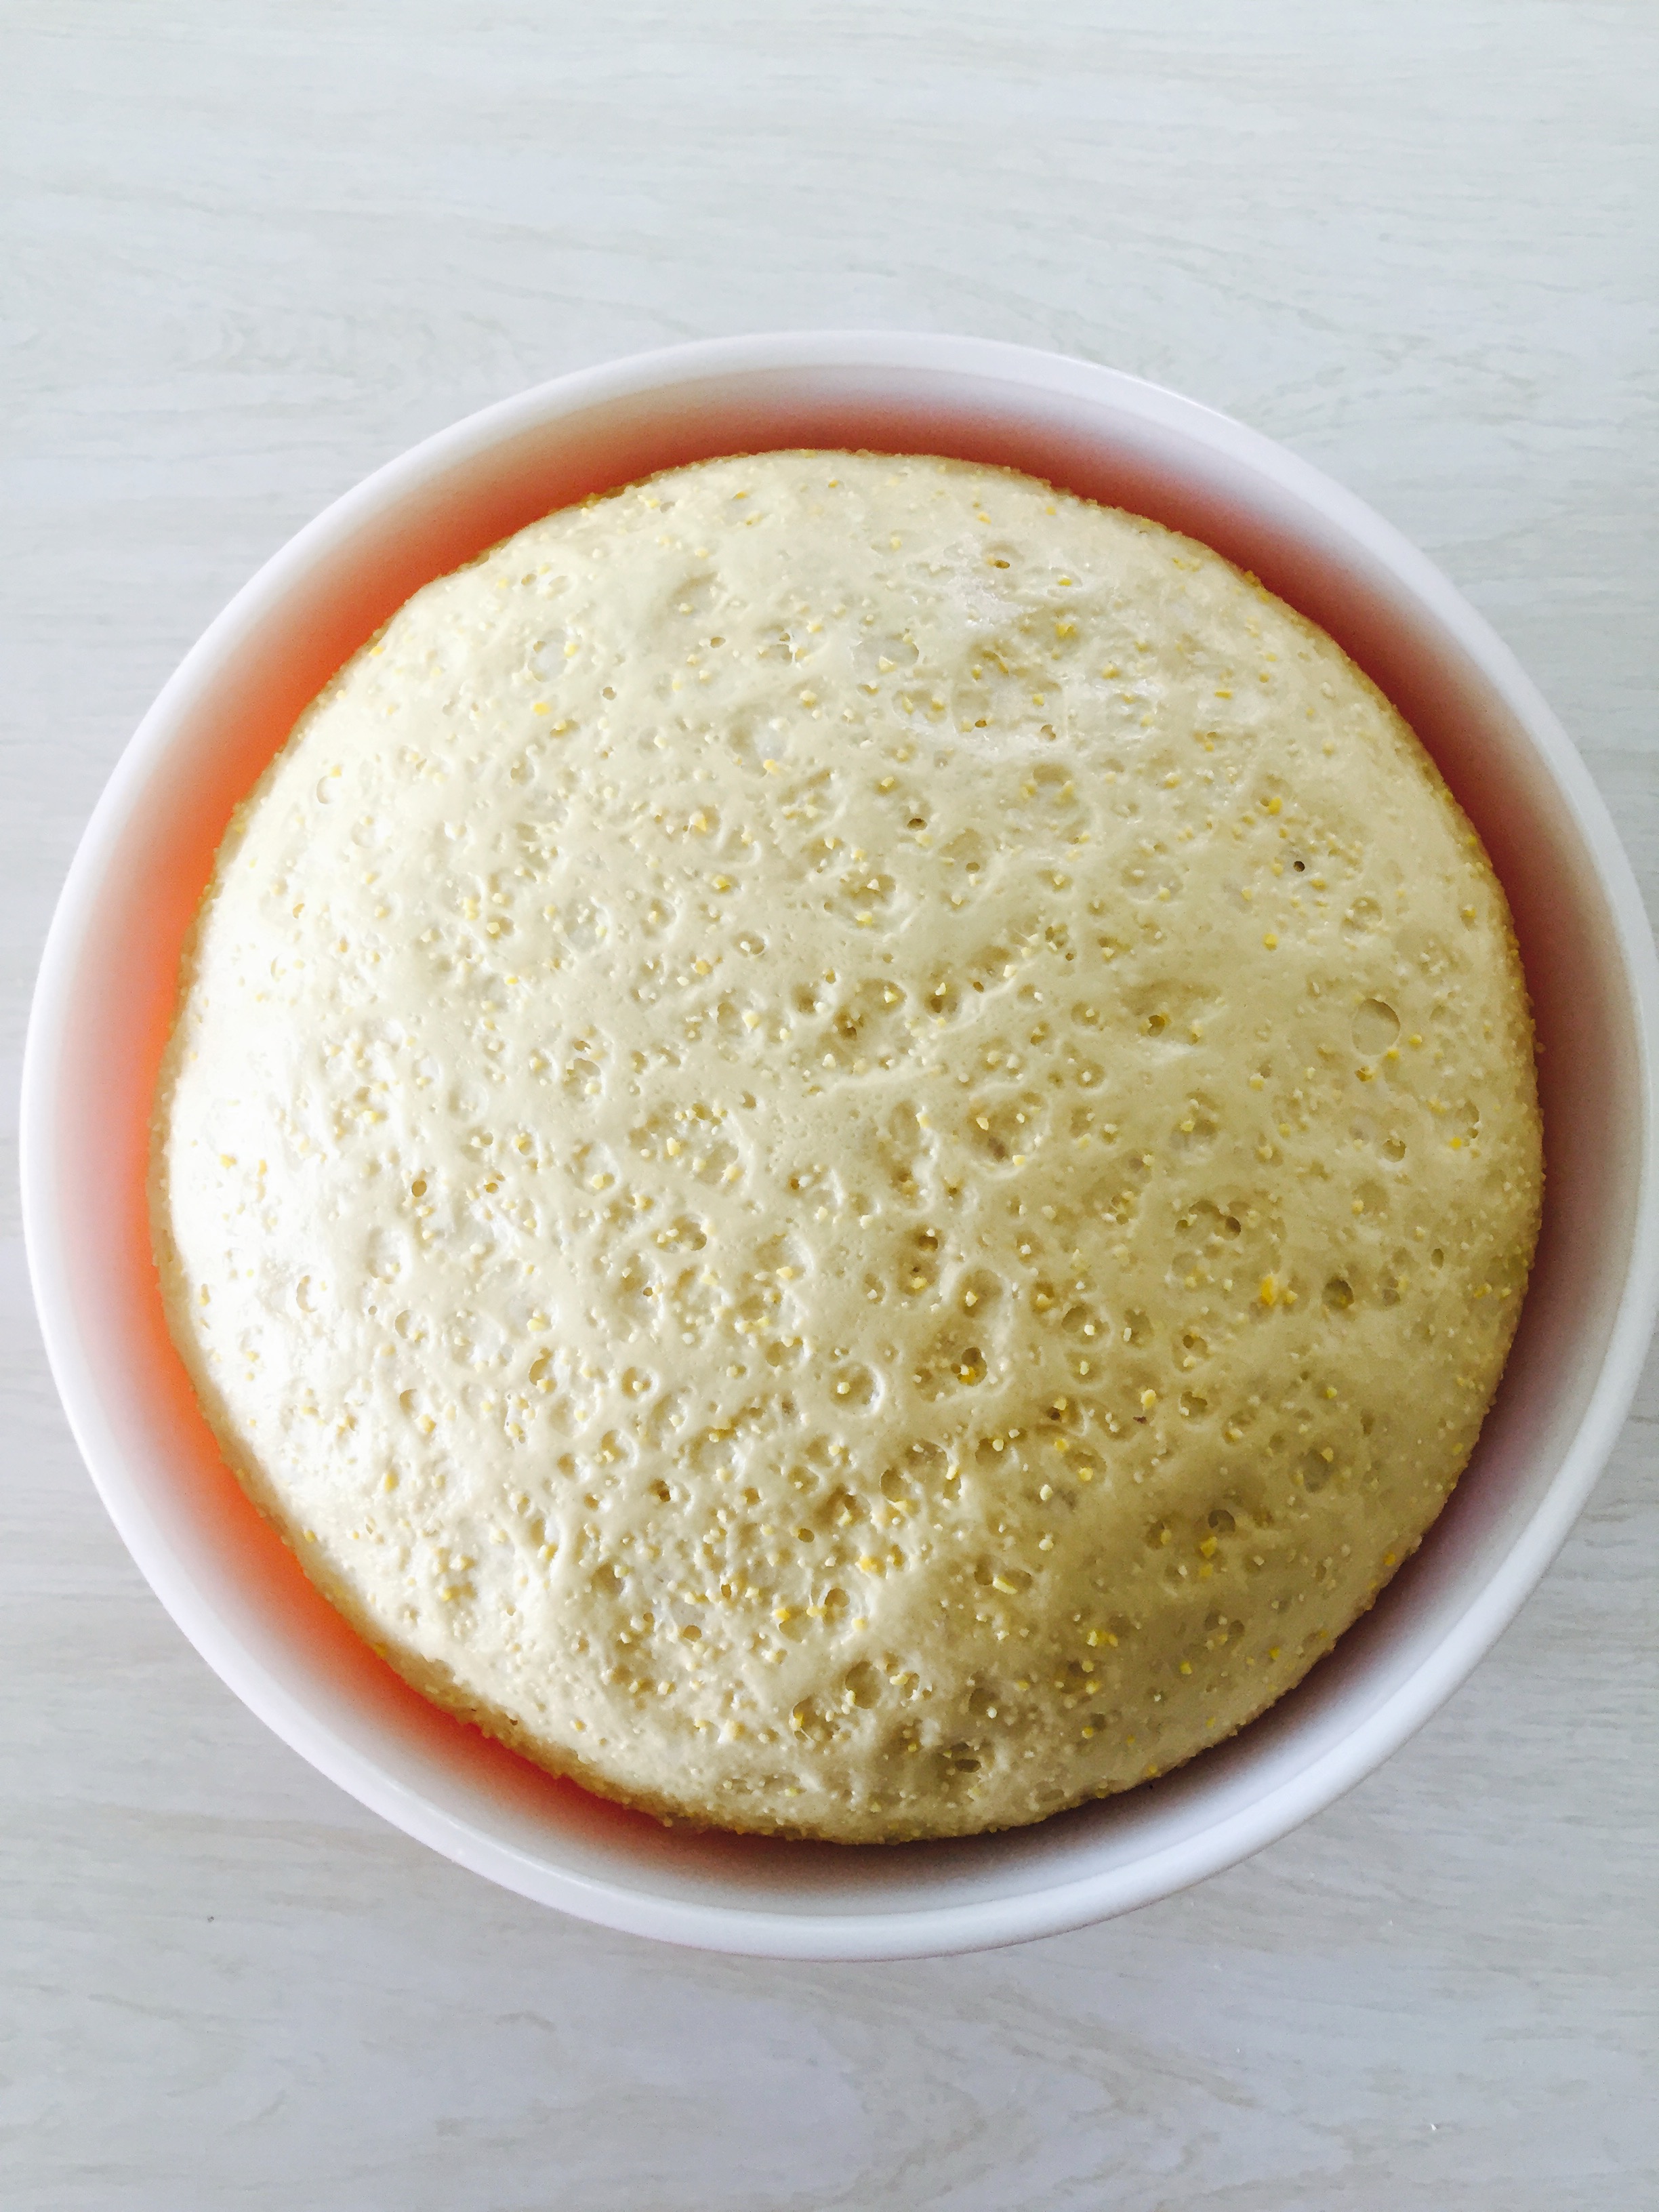
- Cover with plastic wrap and let rest 8 to 12 hours or overnight in a cool environment like a basement. (You can place it in your fridge, but remove it and let it come to room temperature for a few hours before starting the next phase.)
Phase 2
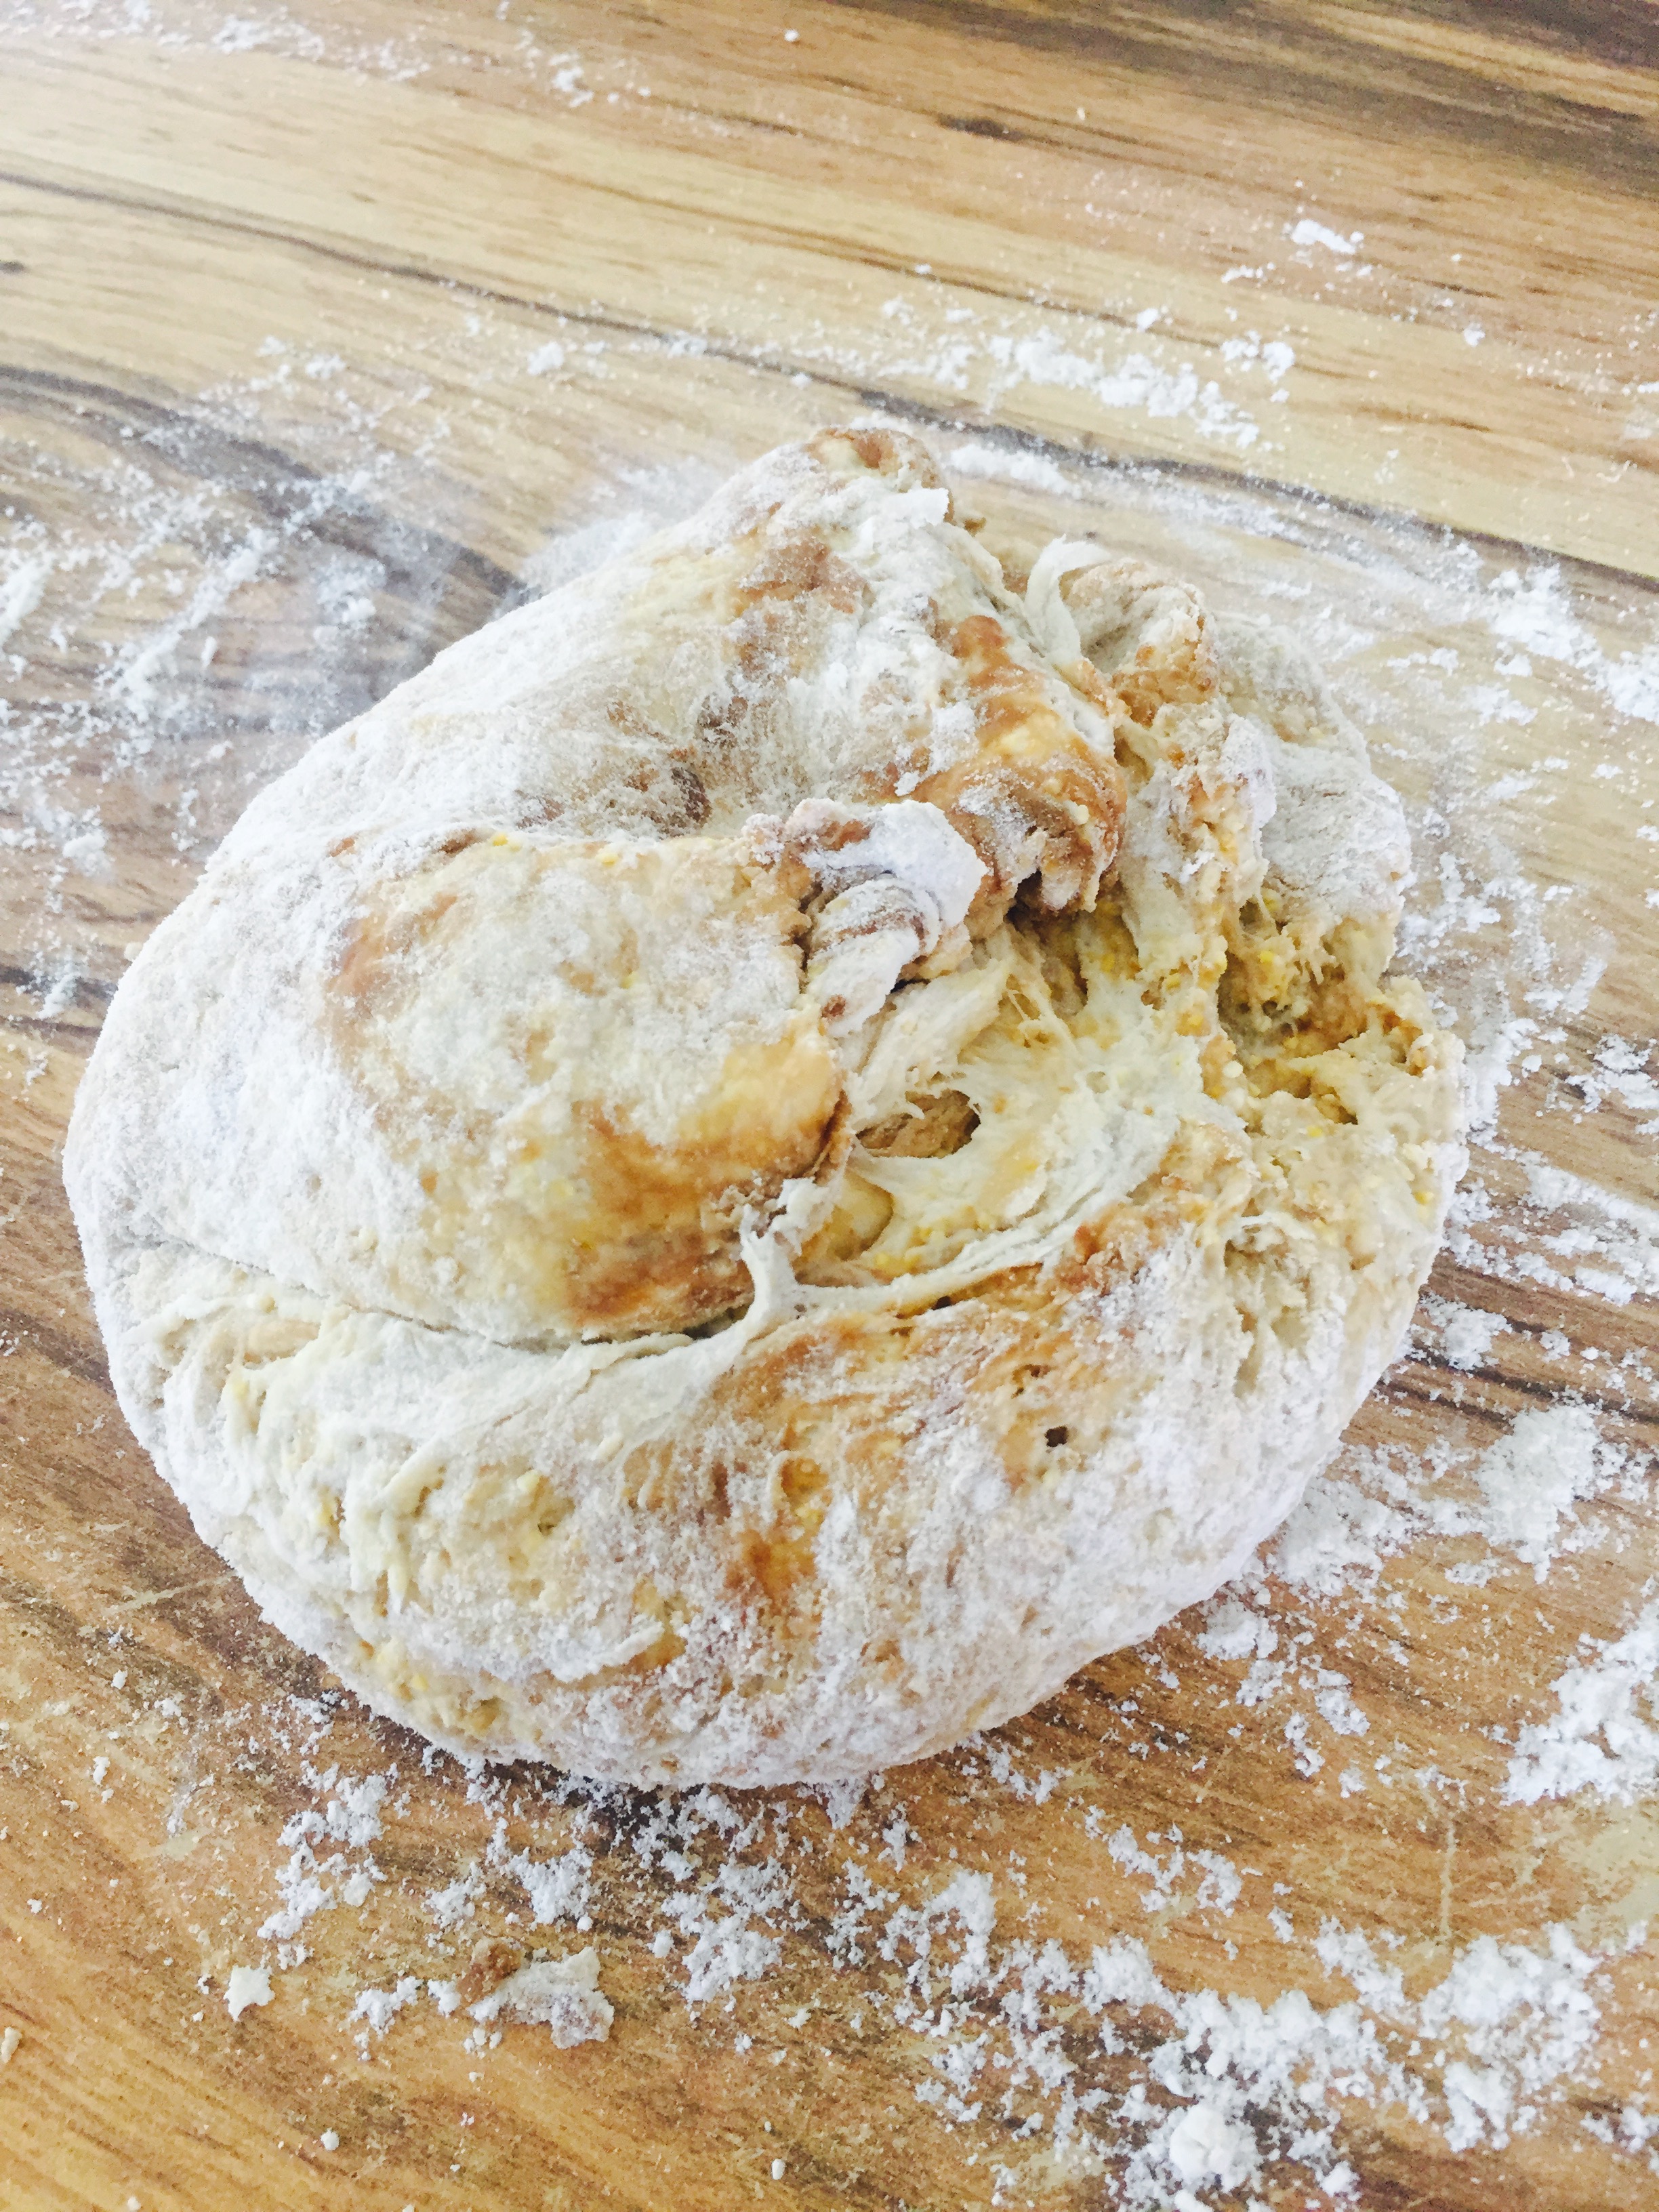
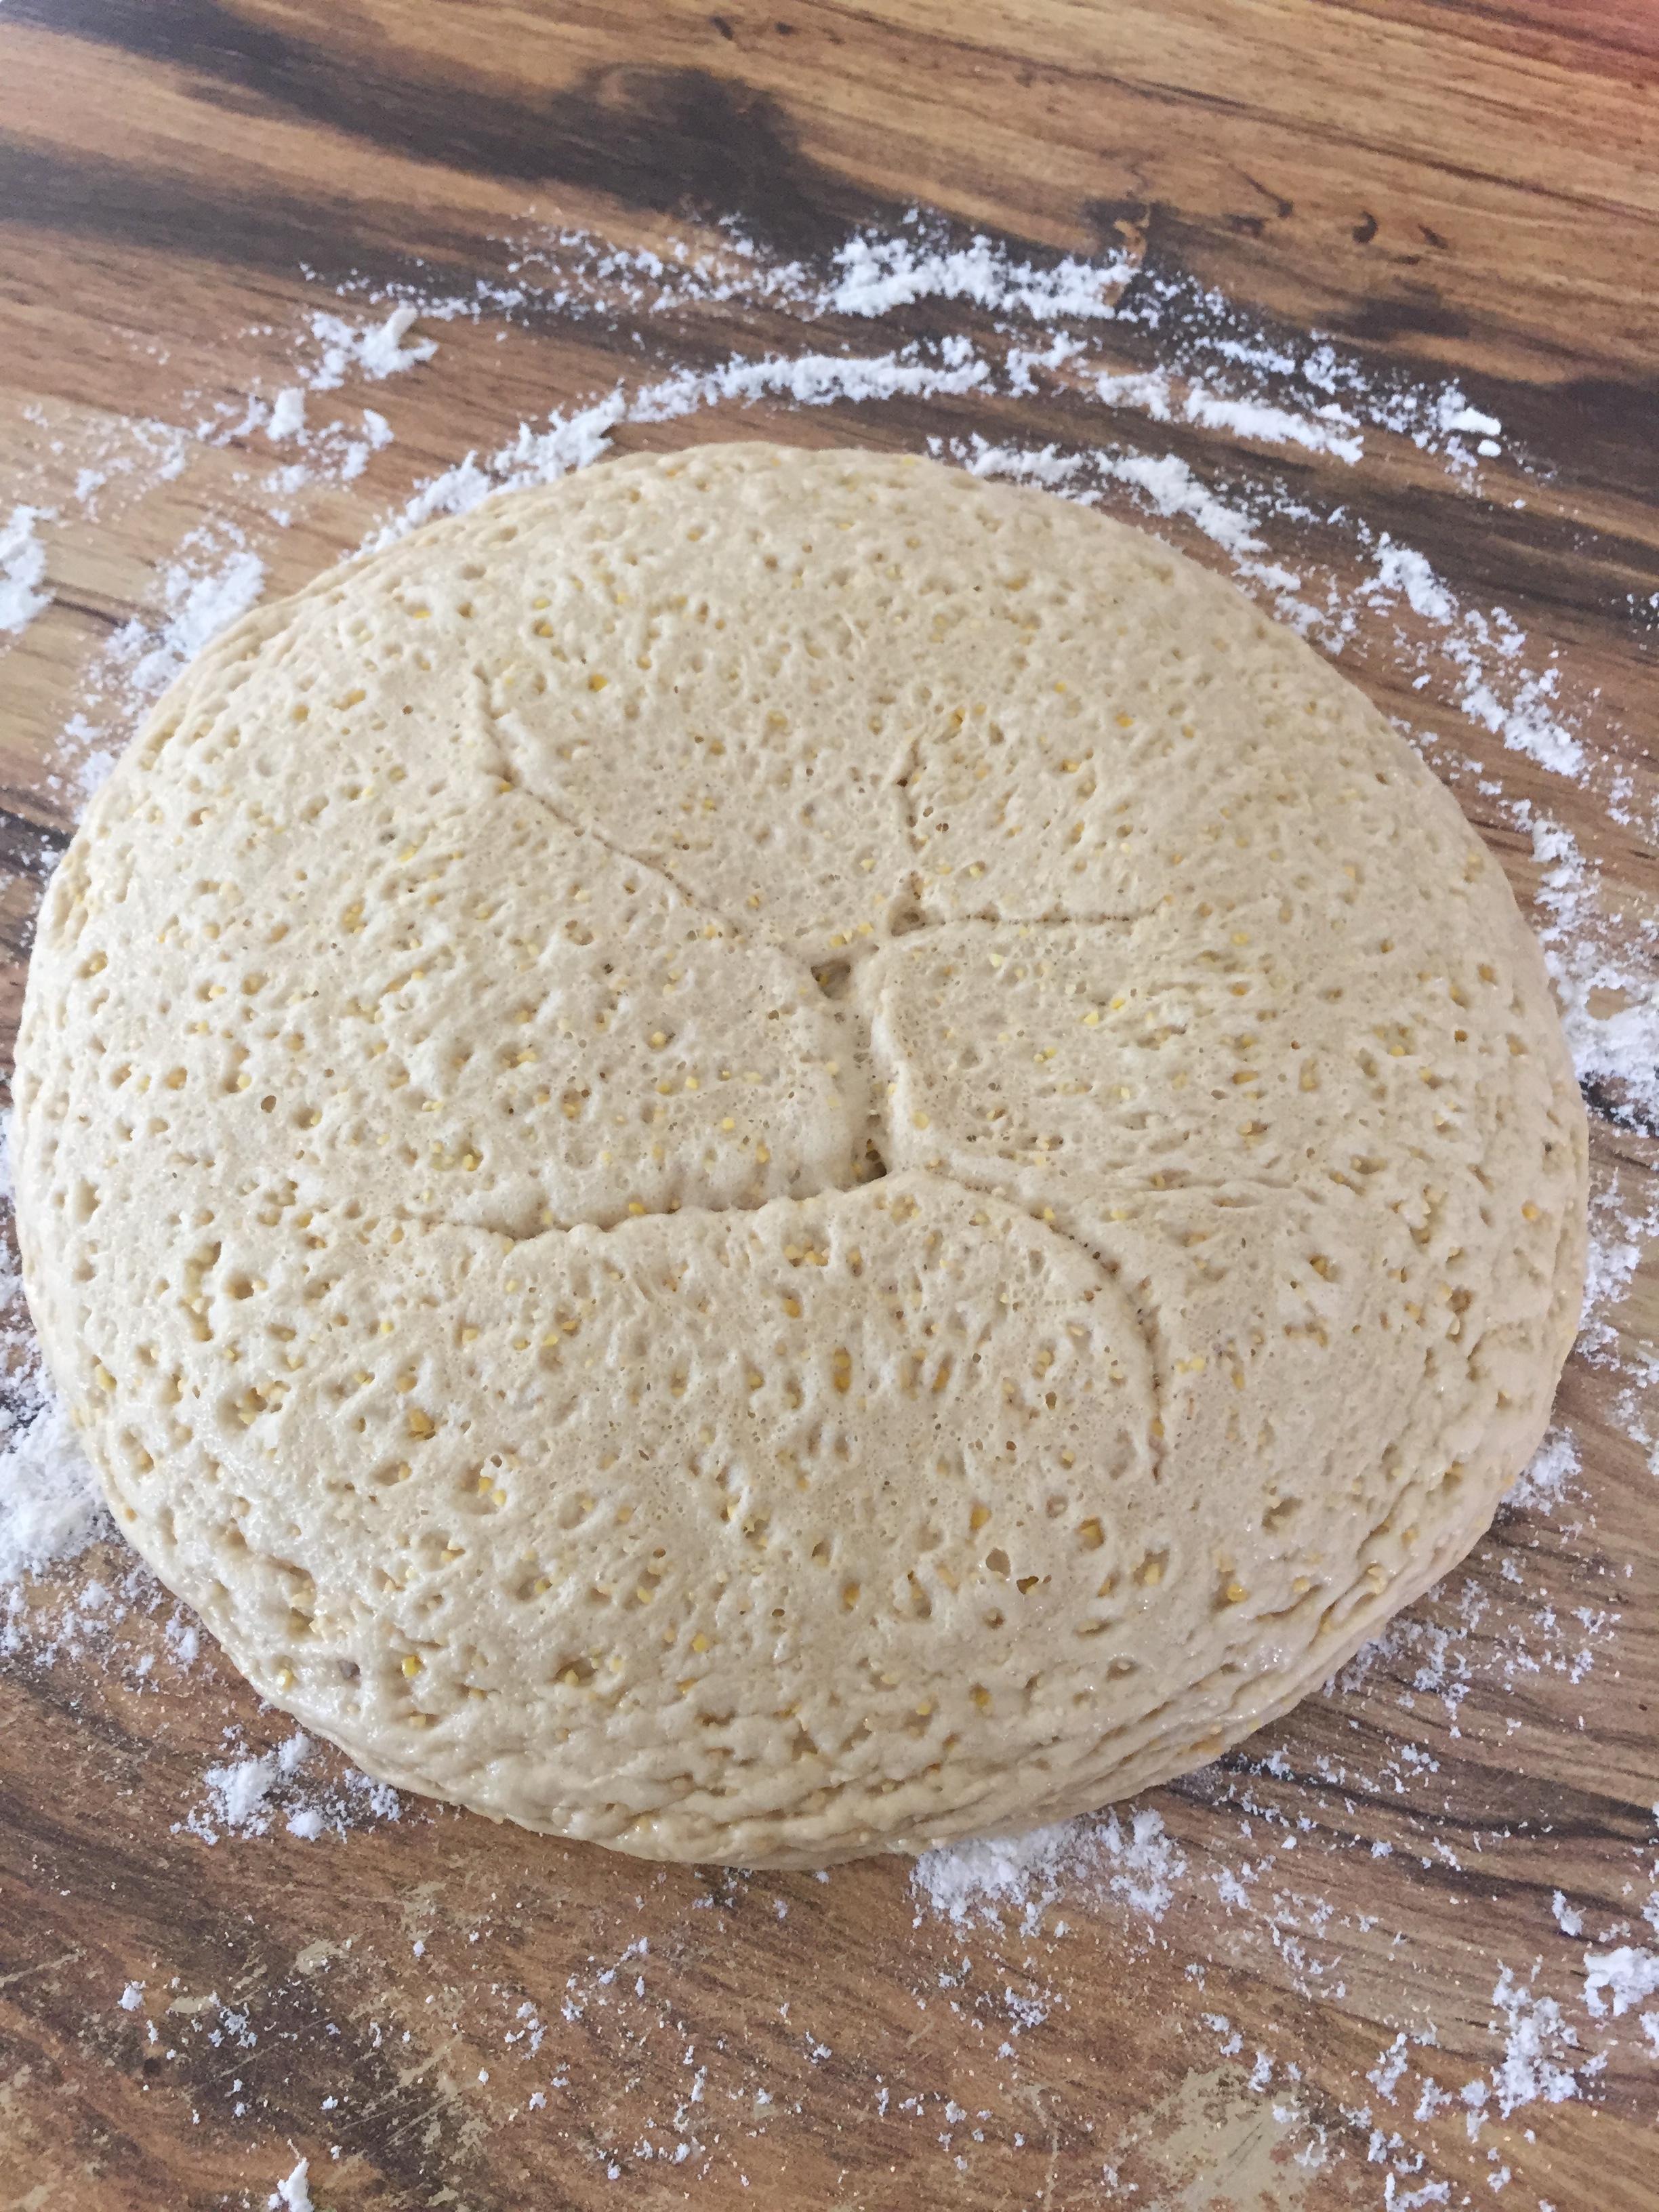
- Remove the plastic wrap and carefully dump the dough out onto a floured surface.
- Divide the dough in half and gently work one piece at a time into a long 16 inch length baguette loaf. (For shaping tips click here.
- Place on an oiled baking sheet and cover with plastic wrap and let rise for about 30 minutes.
- Repeat the process with the second piece of dough.
Phase 3
- Place a small bread pan with an inch of water in the oven and preheat it to 450 degrees F. (The pan of water will help create a crispy crust that you want for the exterior of your baguettes. You can read about creating crispy crusts at home by clicking here.)
- When the oven is ready, remove the plastic wrap, score the tops of your baguettes and place the baking sheet with the loaves in the oven and bake for 15 minutes.
- After 15 minutes, carefully remove the pan of water from the oven and continue baking for another 10 to 15 more minutes until the crust is a golden brown.
- Carefully remove the baguettes from the baking sheet and let them cool on a wire rack before cutting into them.
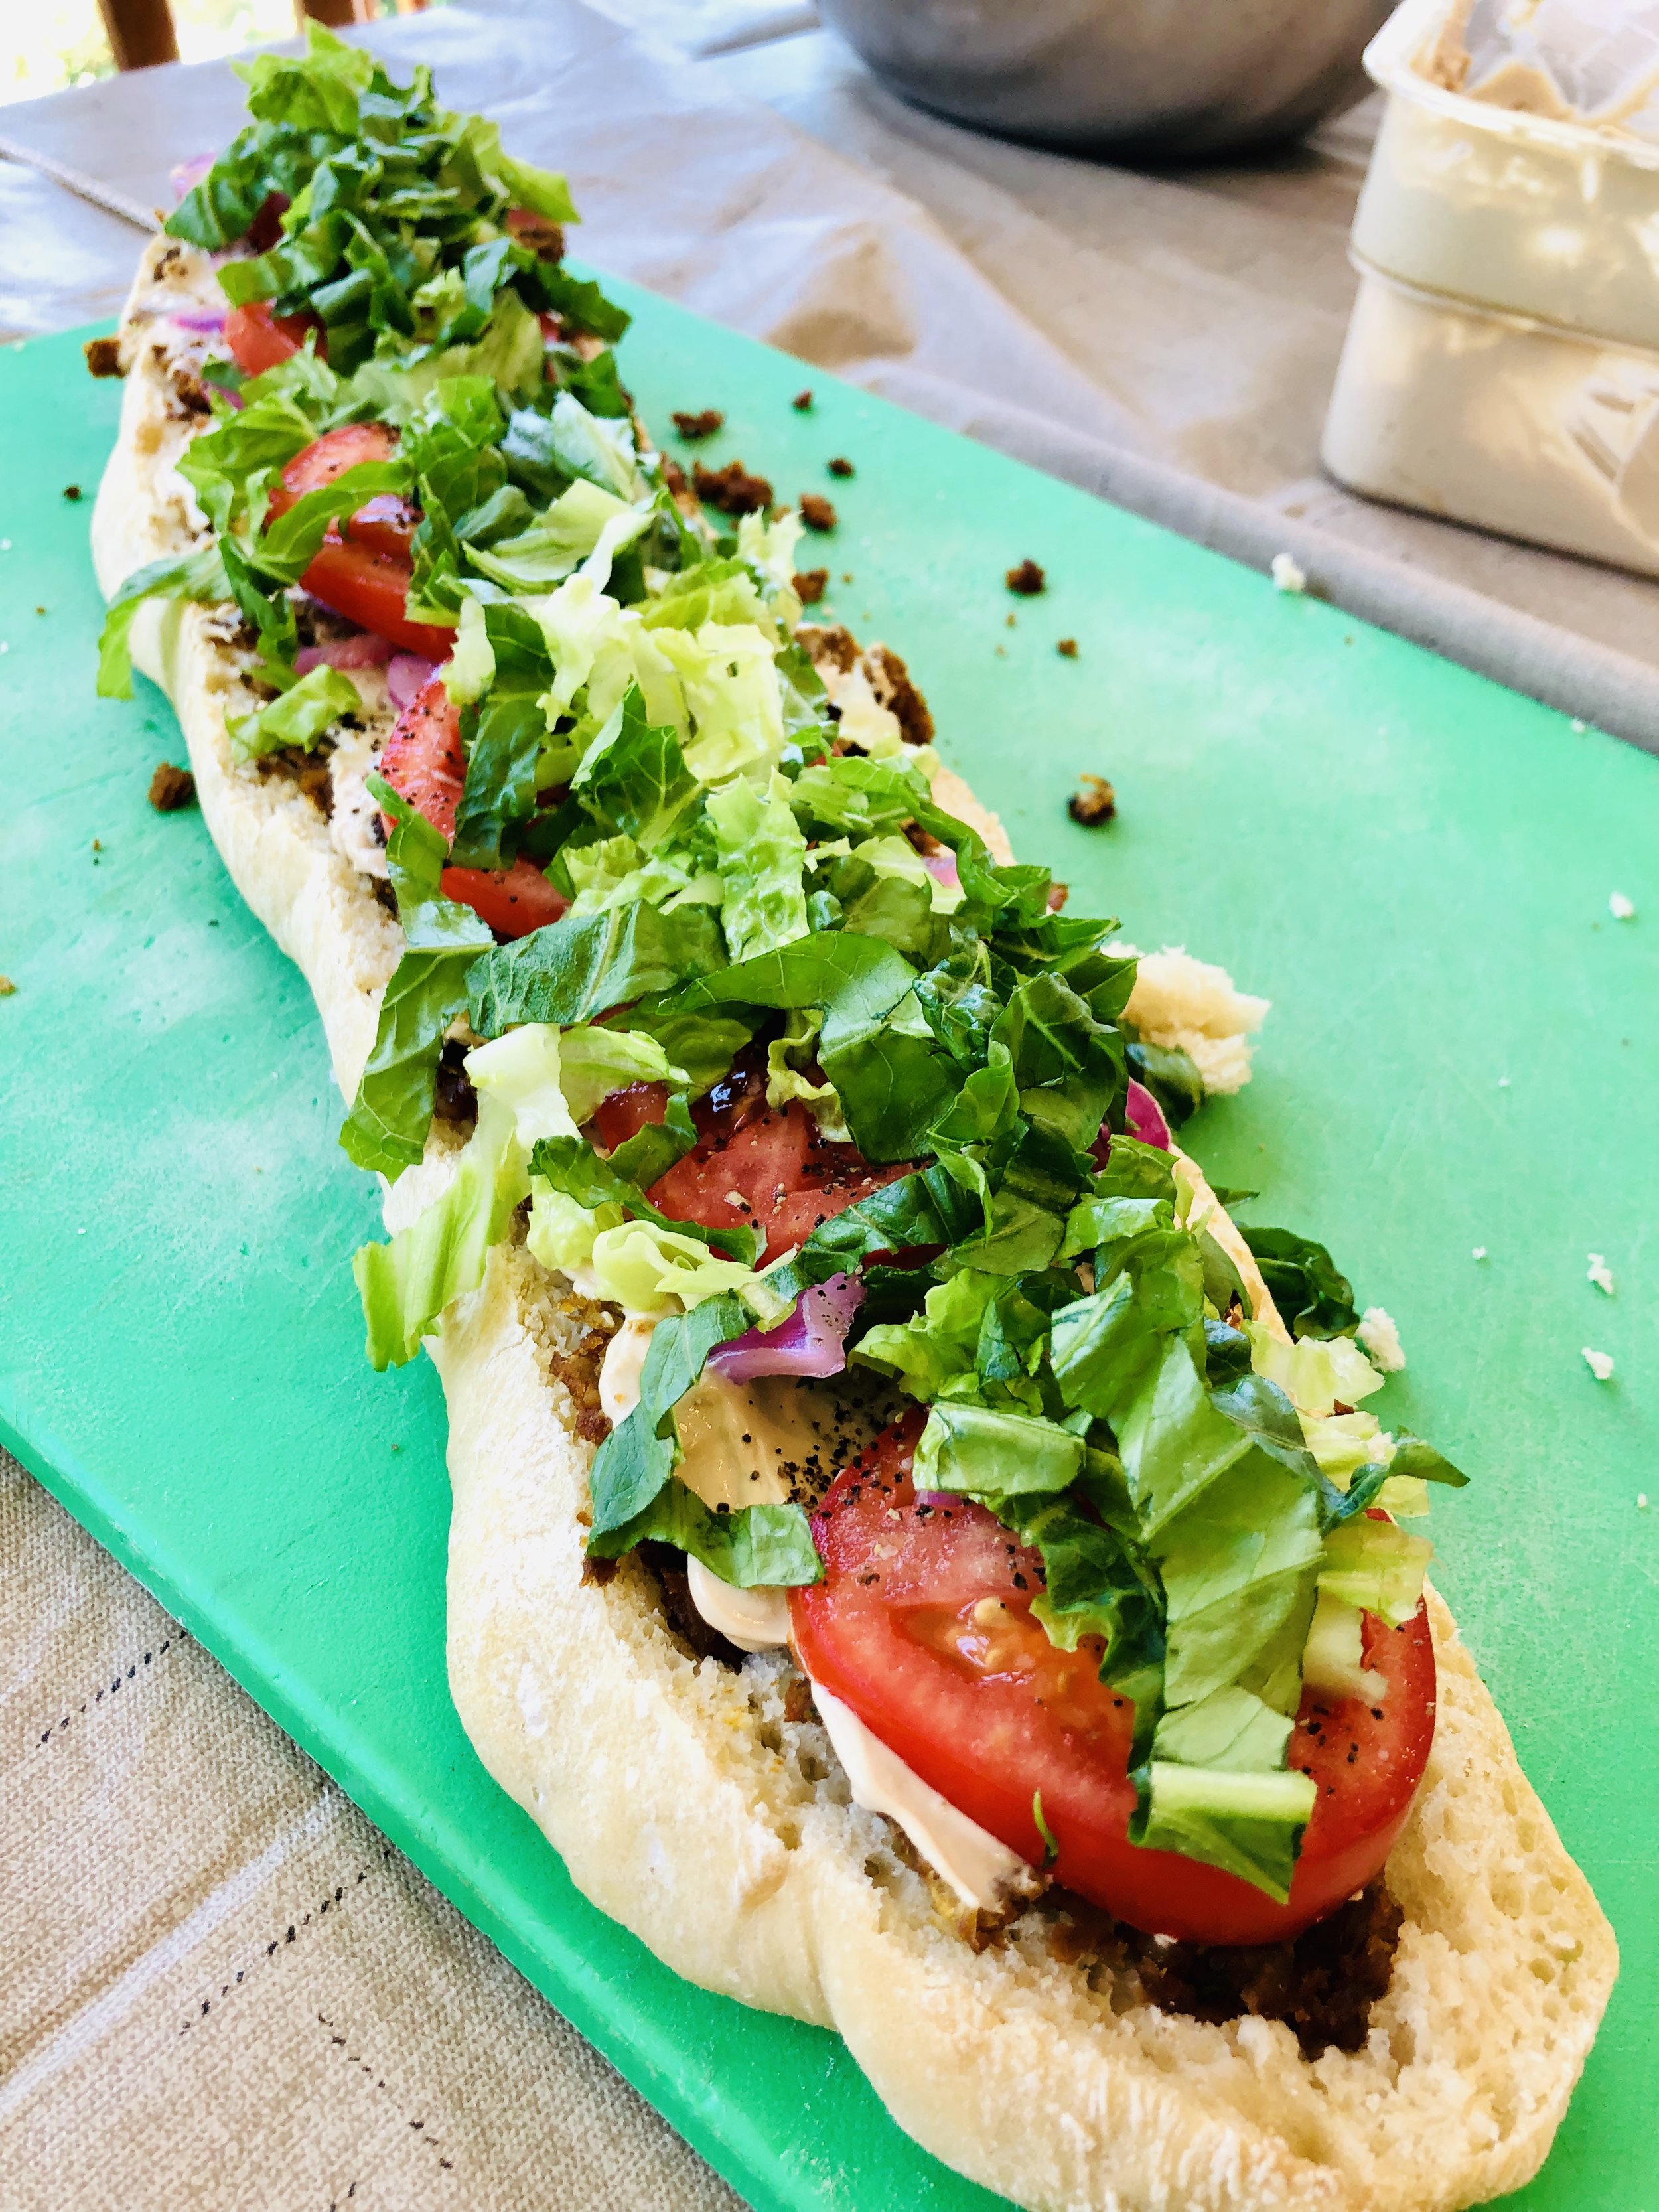
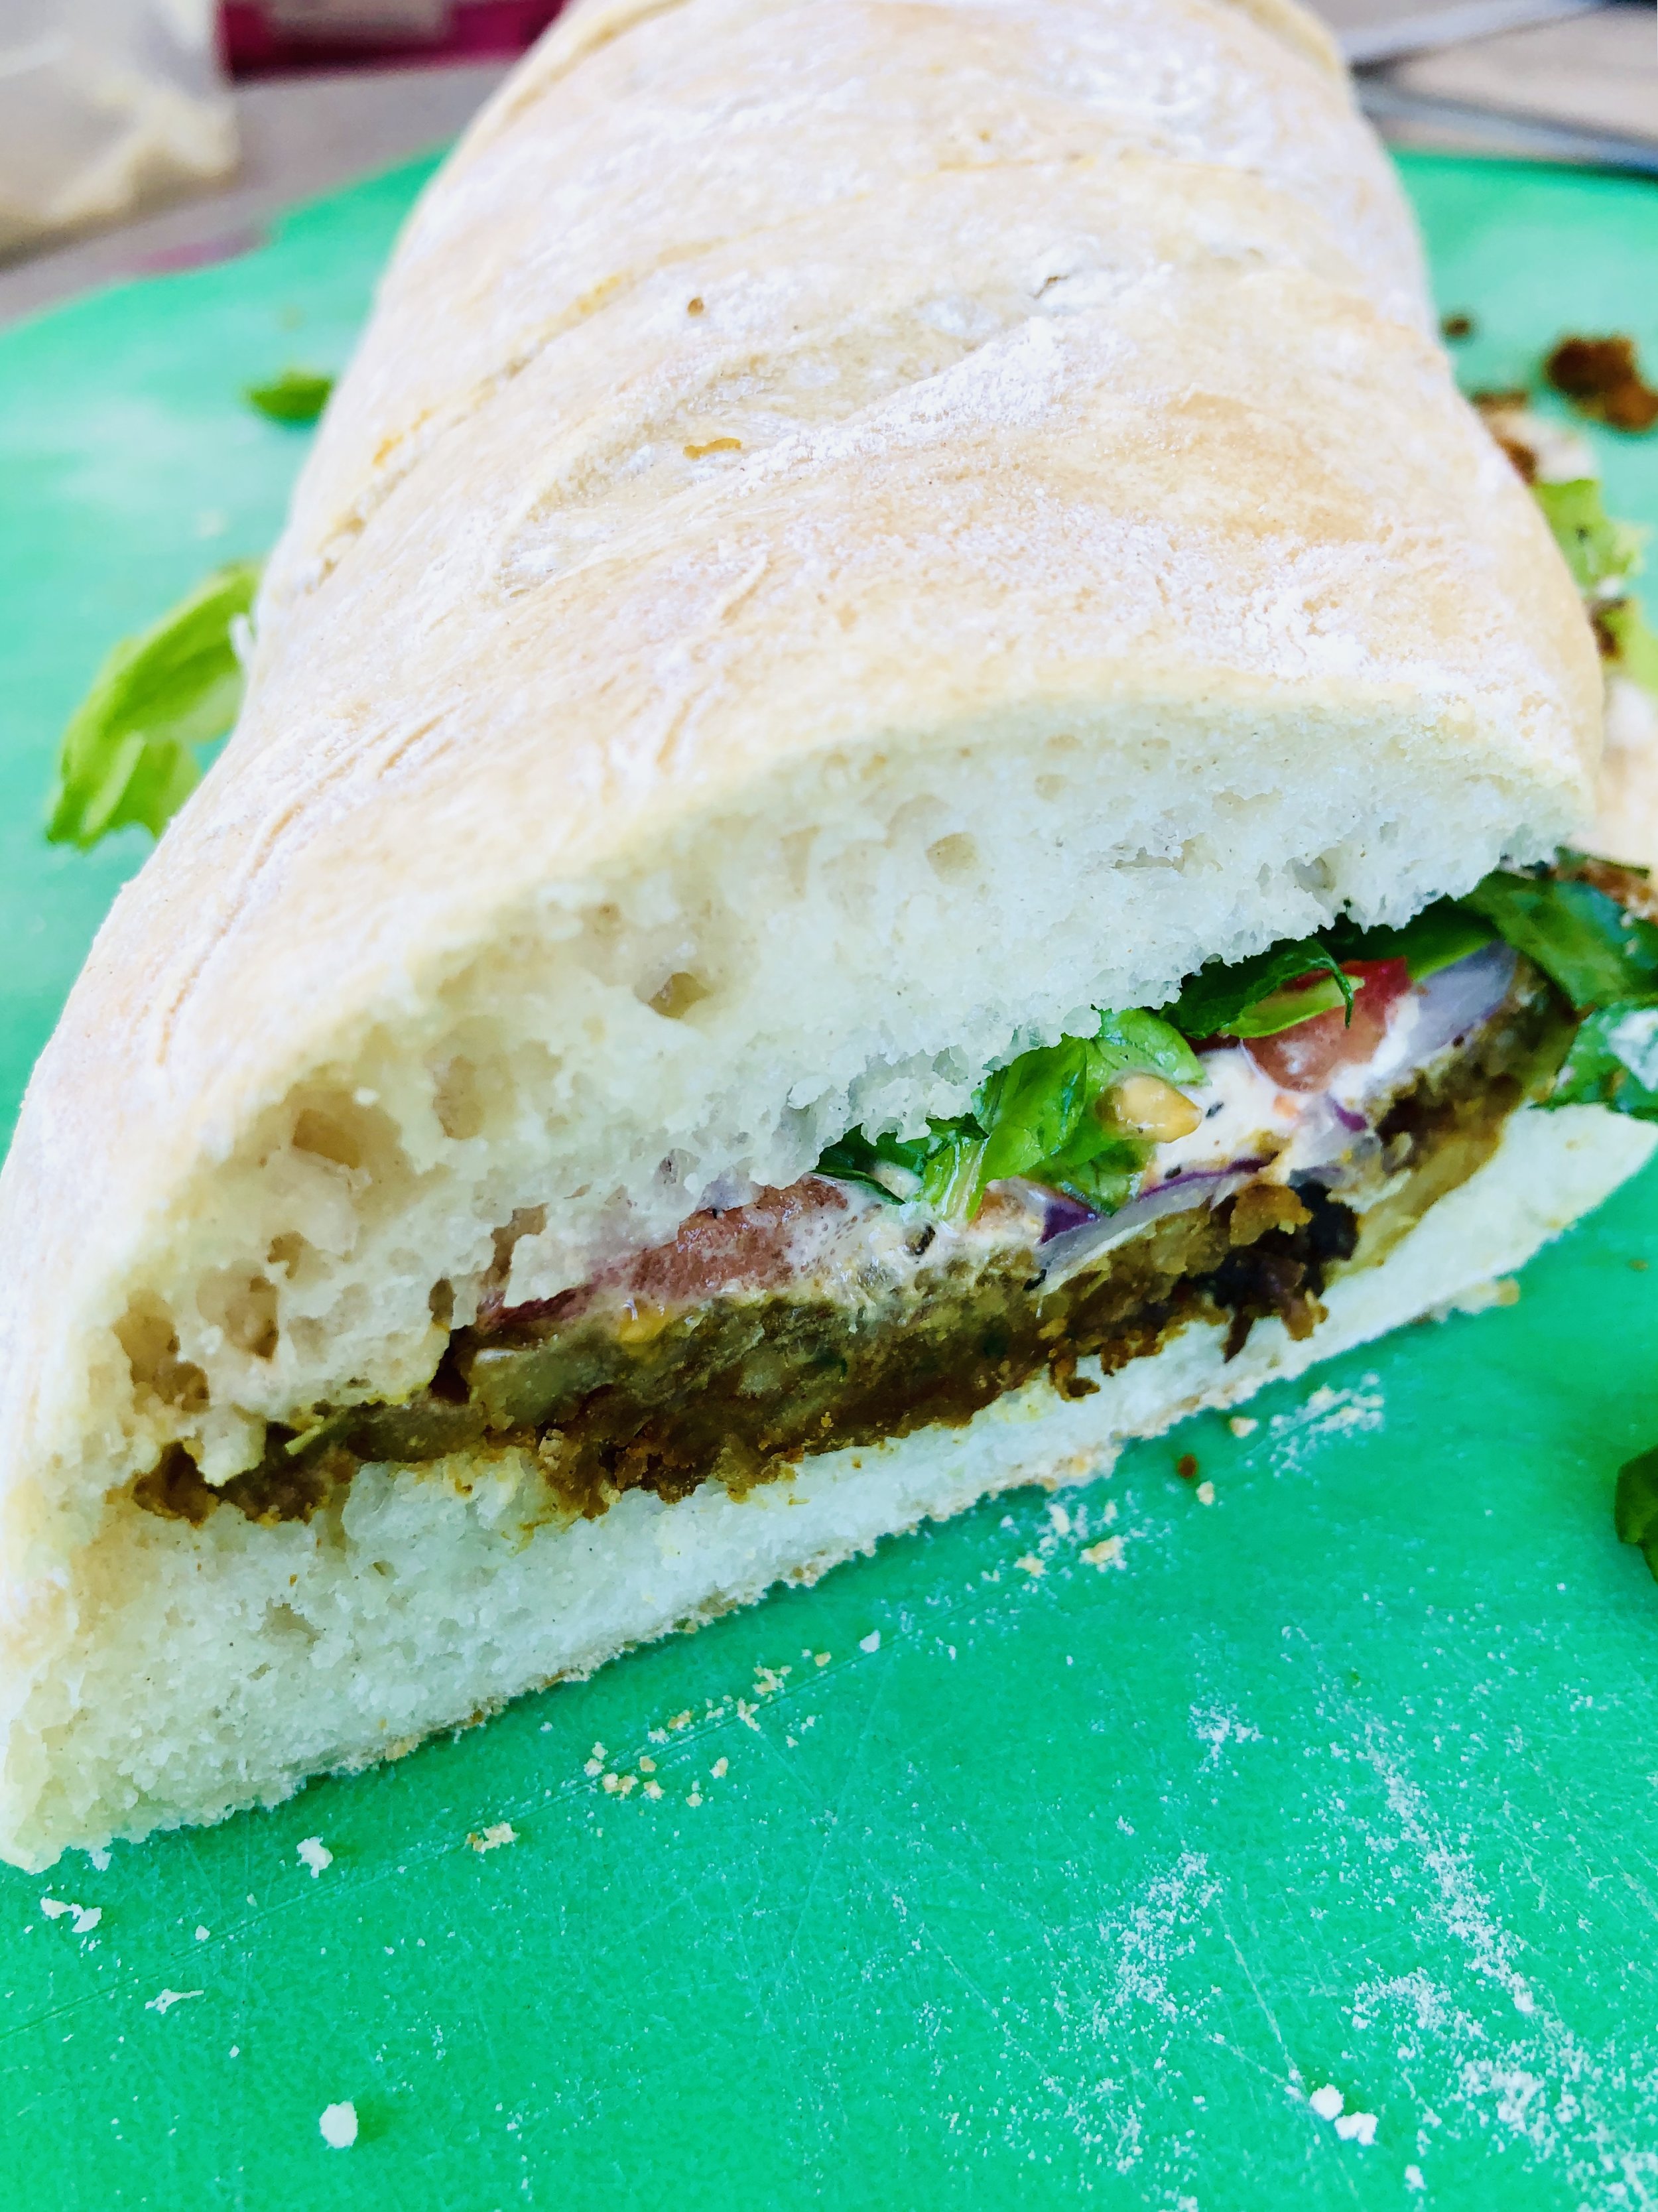
And now that you have your baguettes you can make epic sub sandwiches! Perhaps it was grow-up experiencing Subway’s party sub at childhood birthday parties but I’ve forever thought the execution wicked long sandwiches was brilliant for crowd feeding. Just cut it lengthwise and top it with the goody of your choice and then slice and serve to the masses. It’s seriously easy. I made this falafel version for a group of 25 starving sailors the other day and rejoiced in the easy labor of it all. Would I make 25 individual sandwiches for them? Heck no! Ain’t nobody got time for that! Work smarter not harder folks… You need this recipe in your back pocket.
Enjoy the full moon! Its the weekend. Go bake!