December 2020: Honey Bread Recipe
Hey Full Moon Bakers!
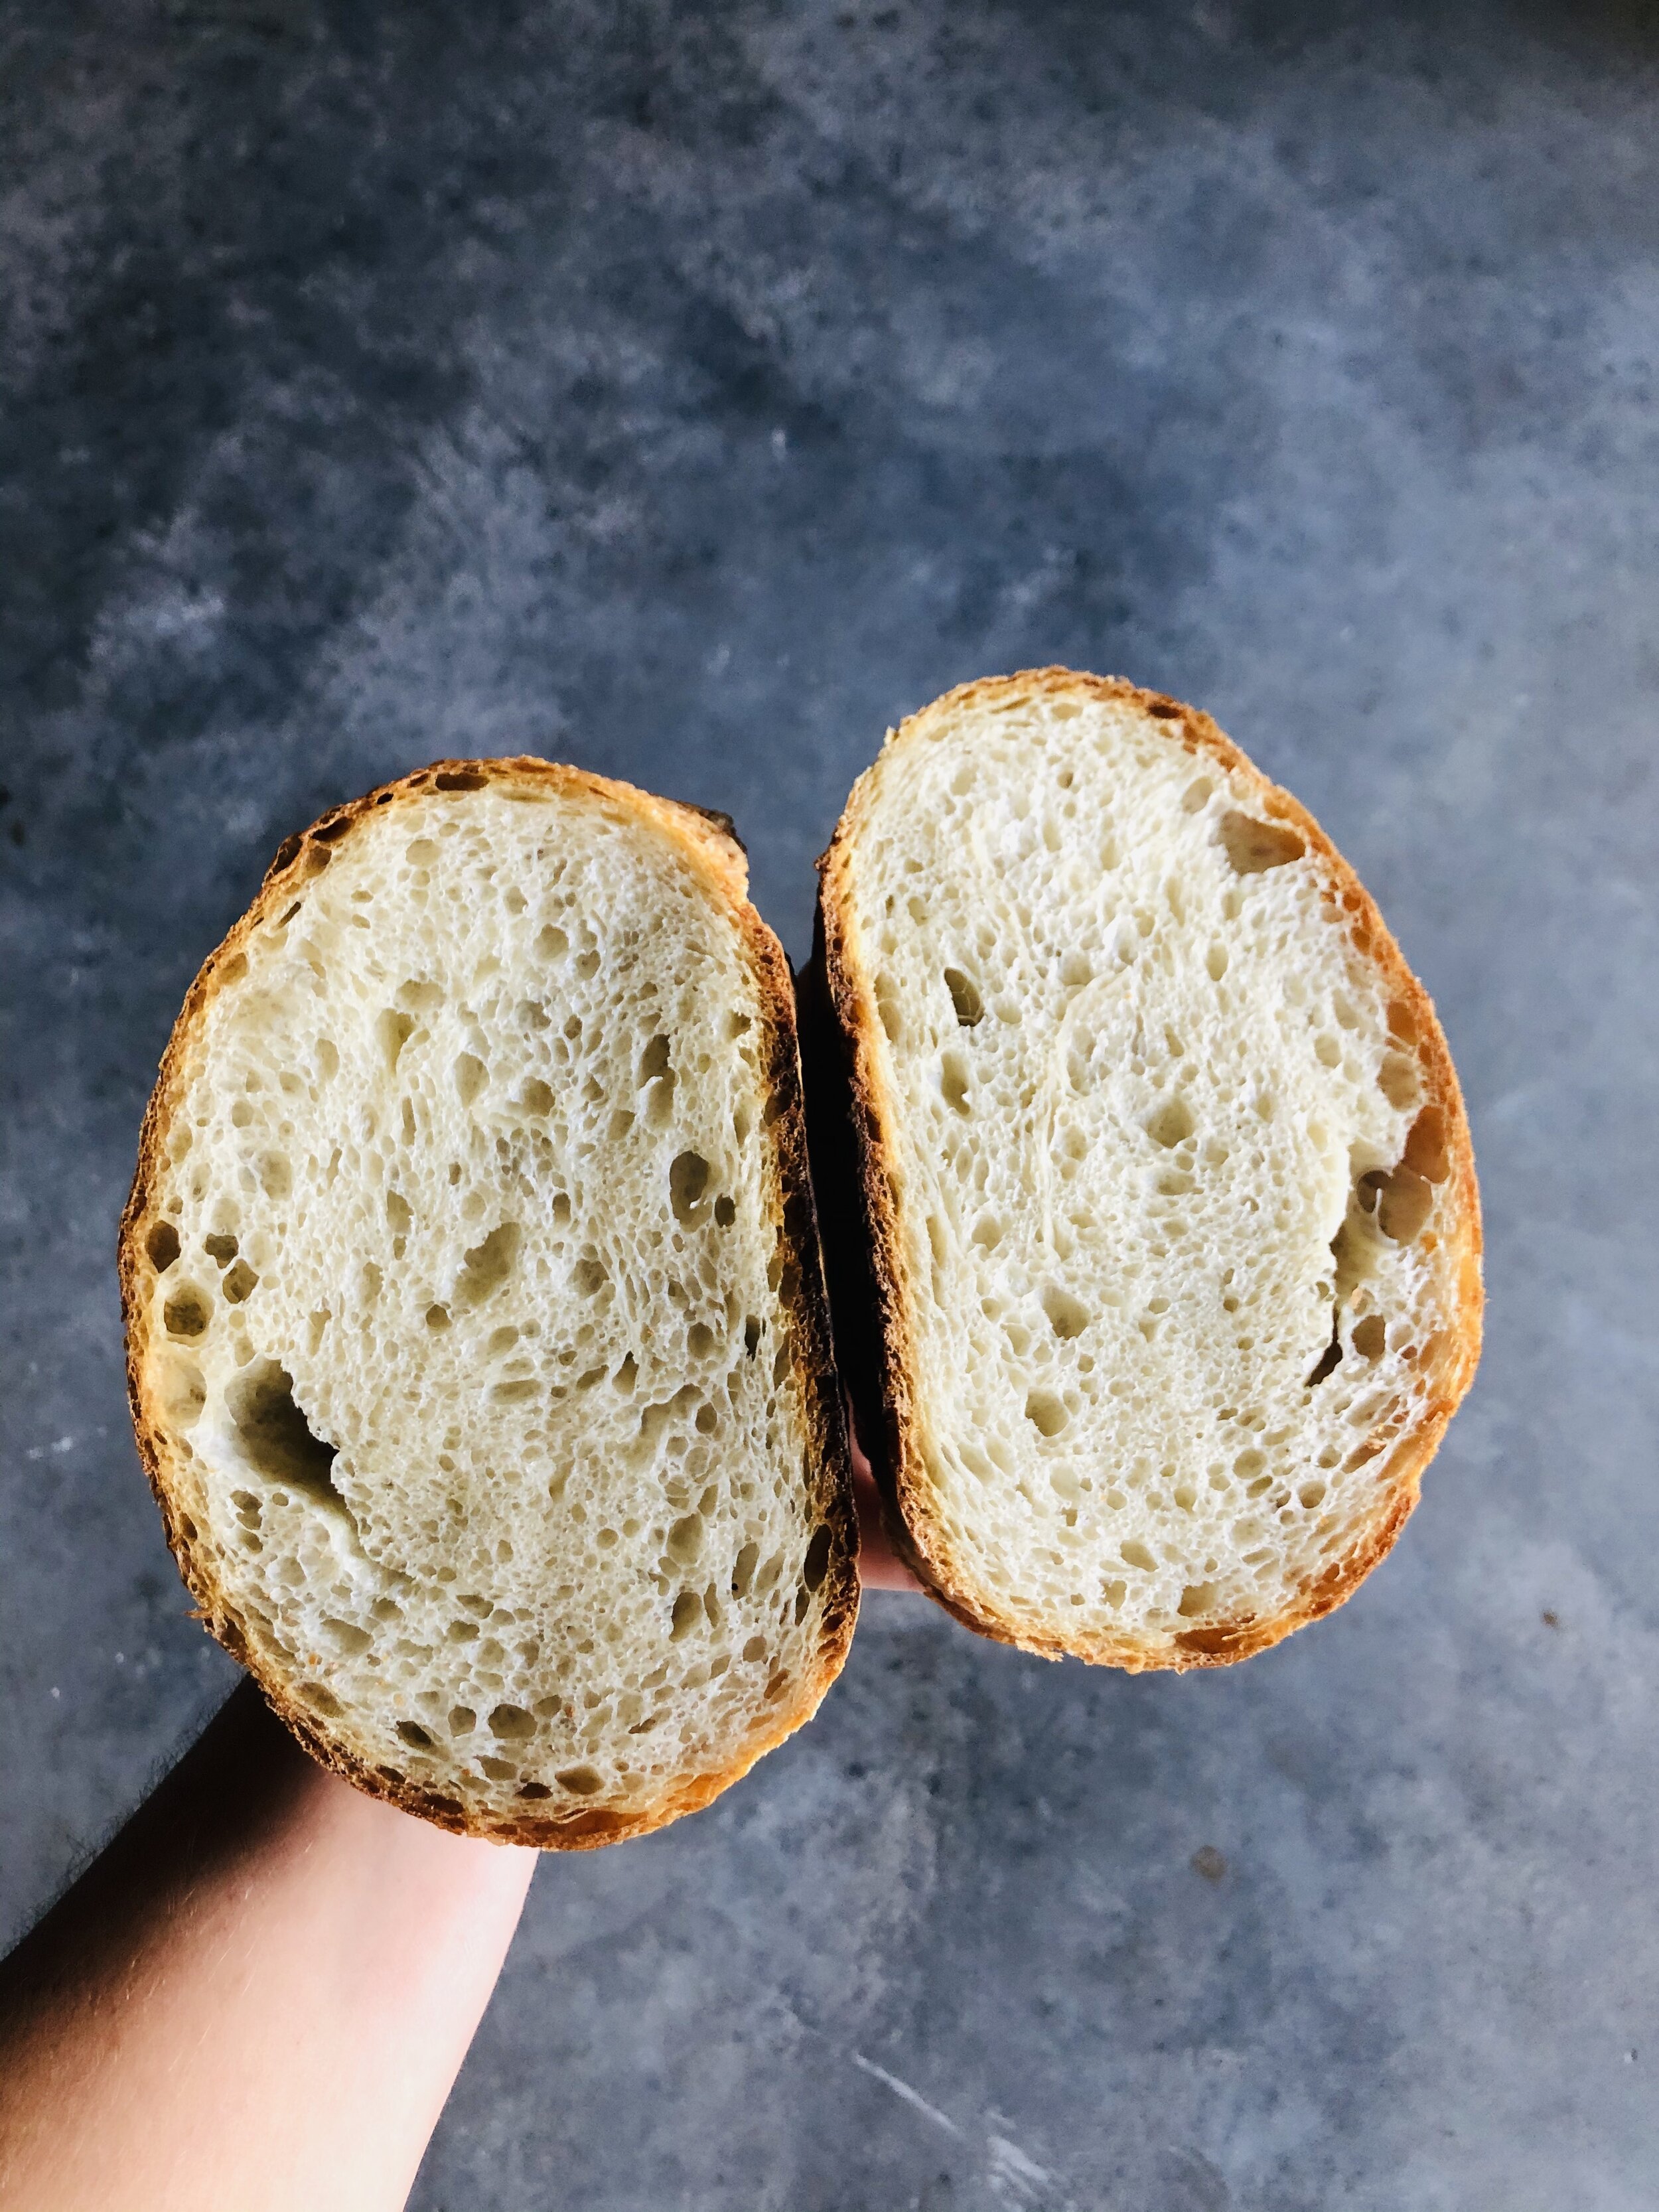
The year is just about over and we are closing out 2020 on a full moon! Something about that seems about right given all that’s happened this year. It’s been a rough one but as it comes to a close I think we are overdue for a touch of sweetness. Lets keep it simple with this Honey Bread Recipe. It’s a two-day process that includes an overnight rise that bakes-up into a loaf that is soft and on the inside with a crunchy outer crust. I know you are exhausted which is why you shouldn’t be afraid of this two-day baking process. As strange as it may sound, the “two-day” is the lazy way! I’m a lazy baker and can’t be bothered to supervise dough. This recipe allows we to through it together with minimal effort and come back to it when I’m in the mood.

Ingredients
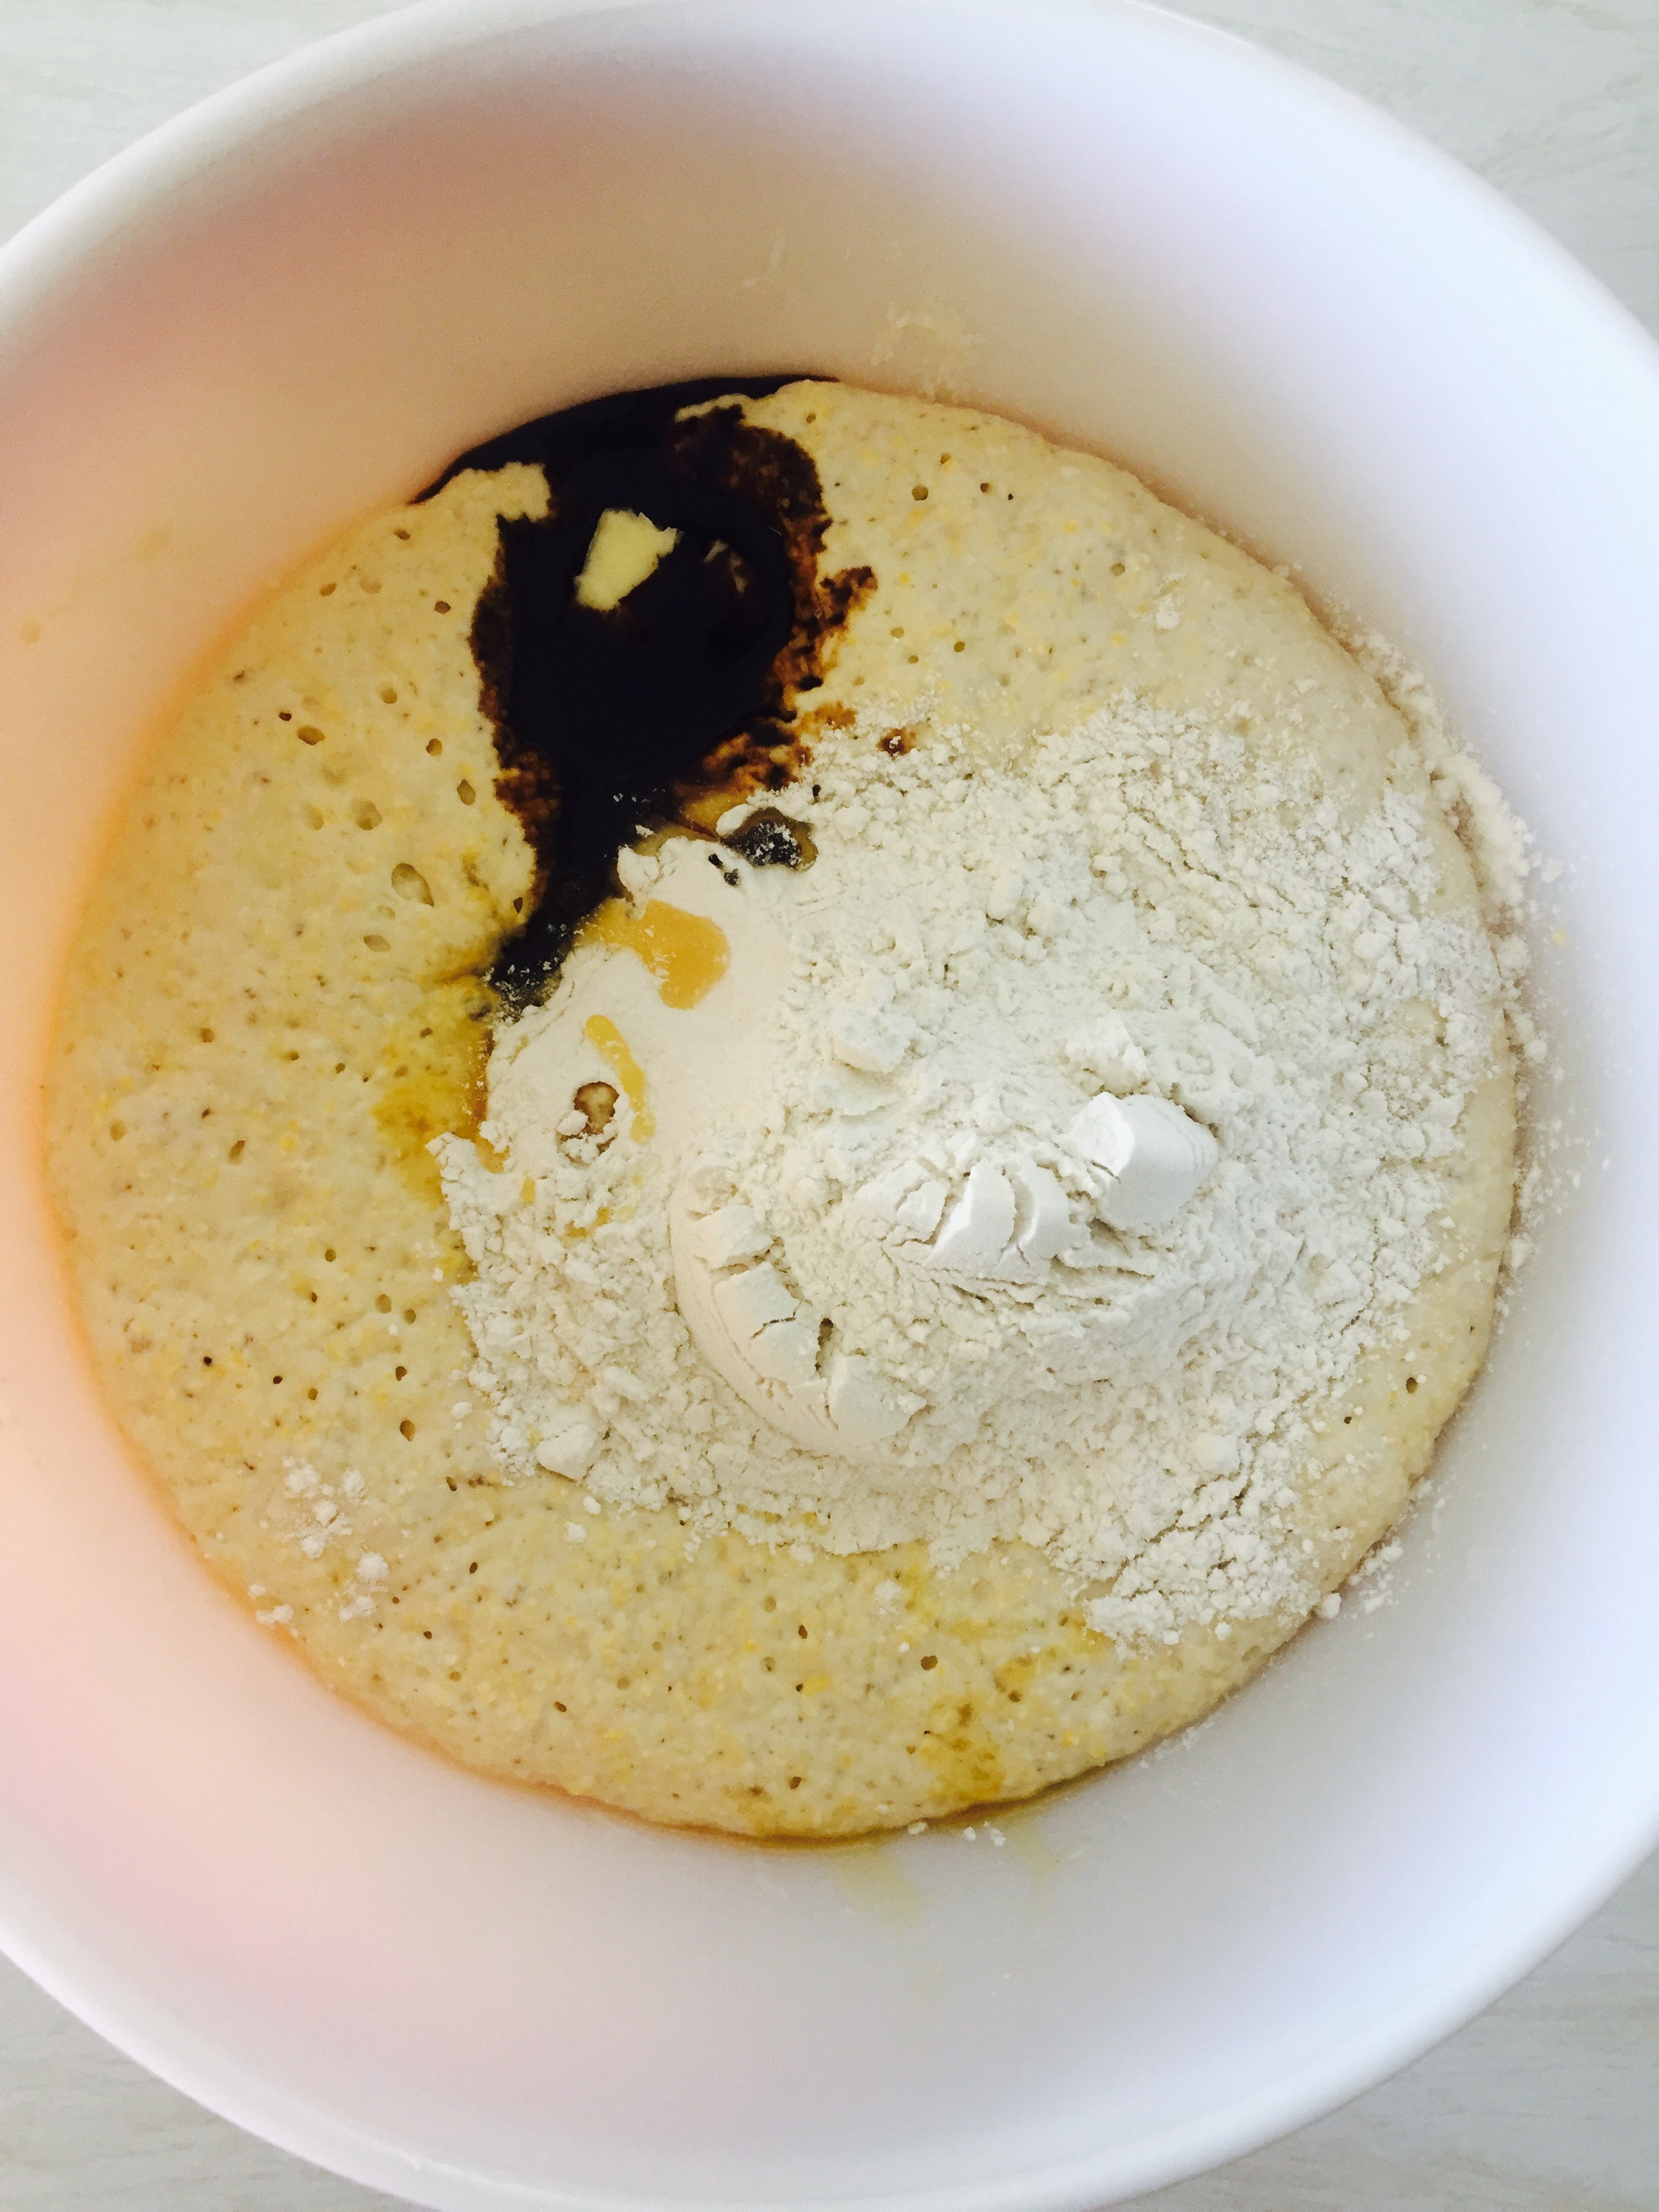
- 3 cups flour
- 1 tsp salt
- 1/4 tsp active dry yeast
- 1 1/4 cup warm water
- 1/4 honey
Directions
Day 1:
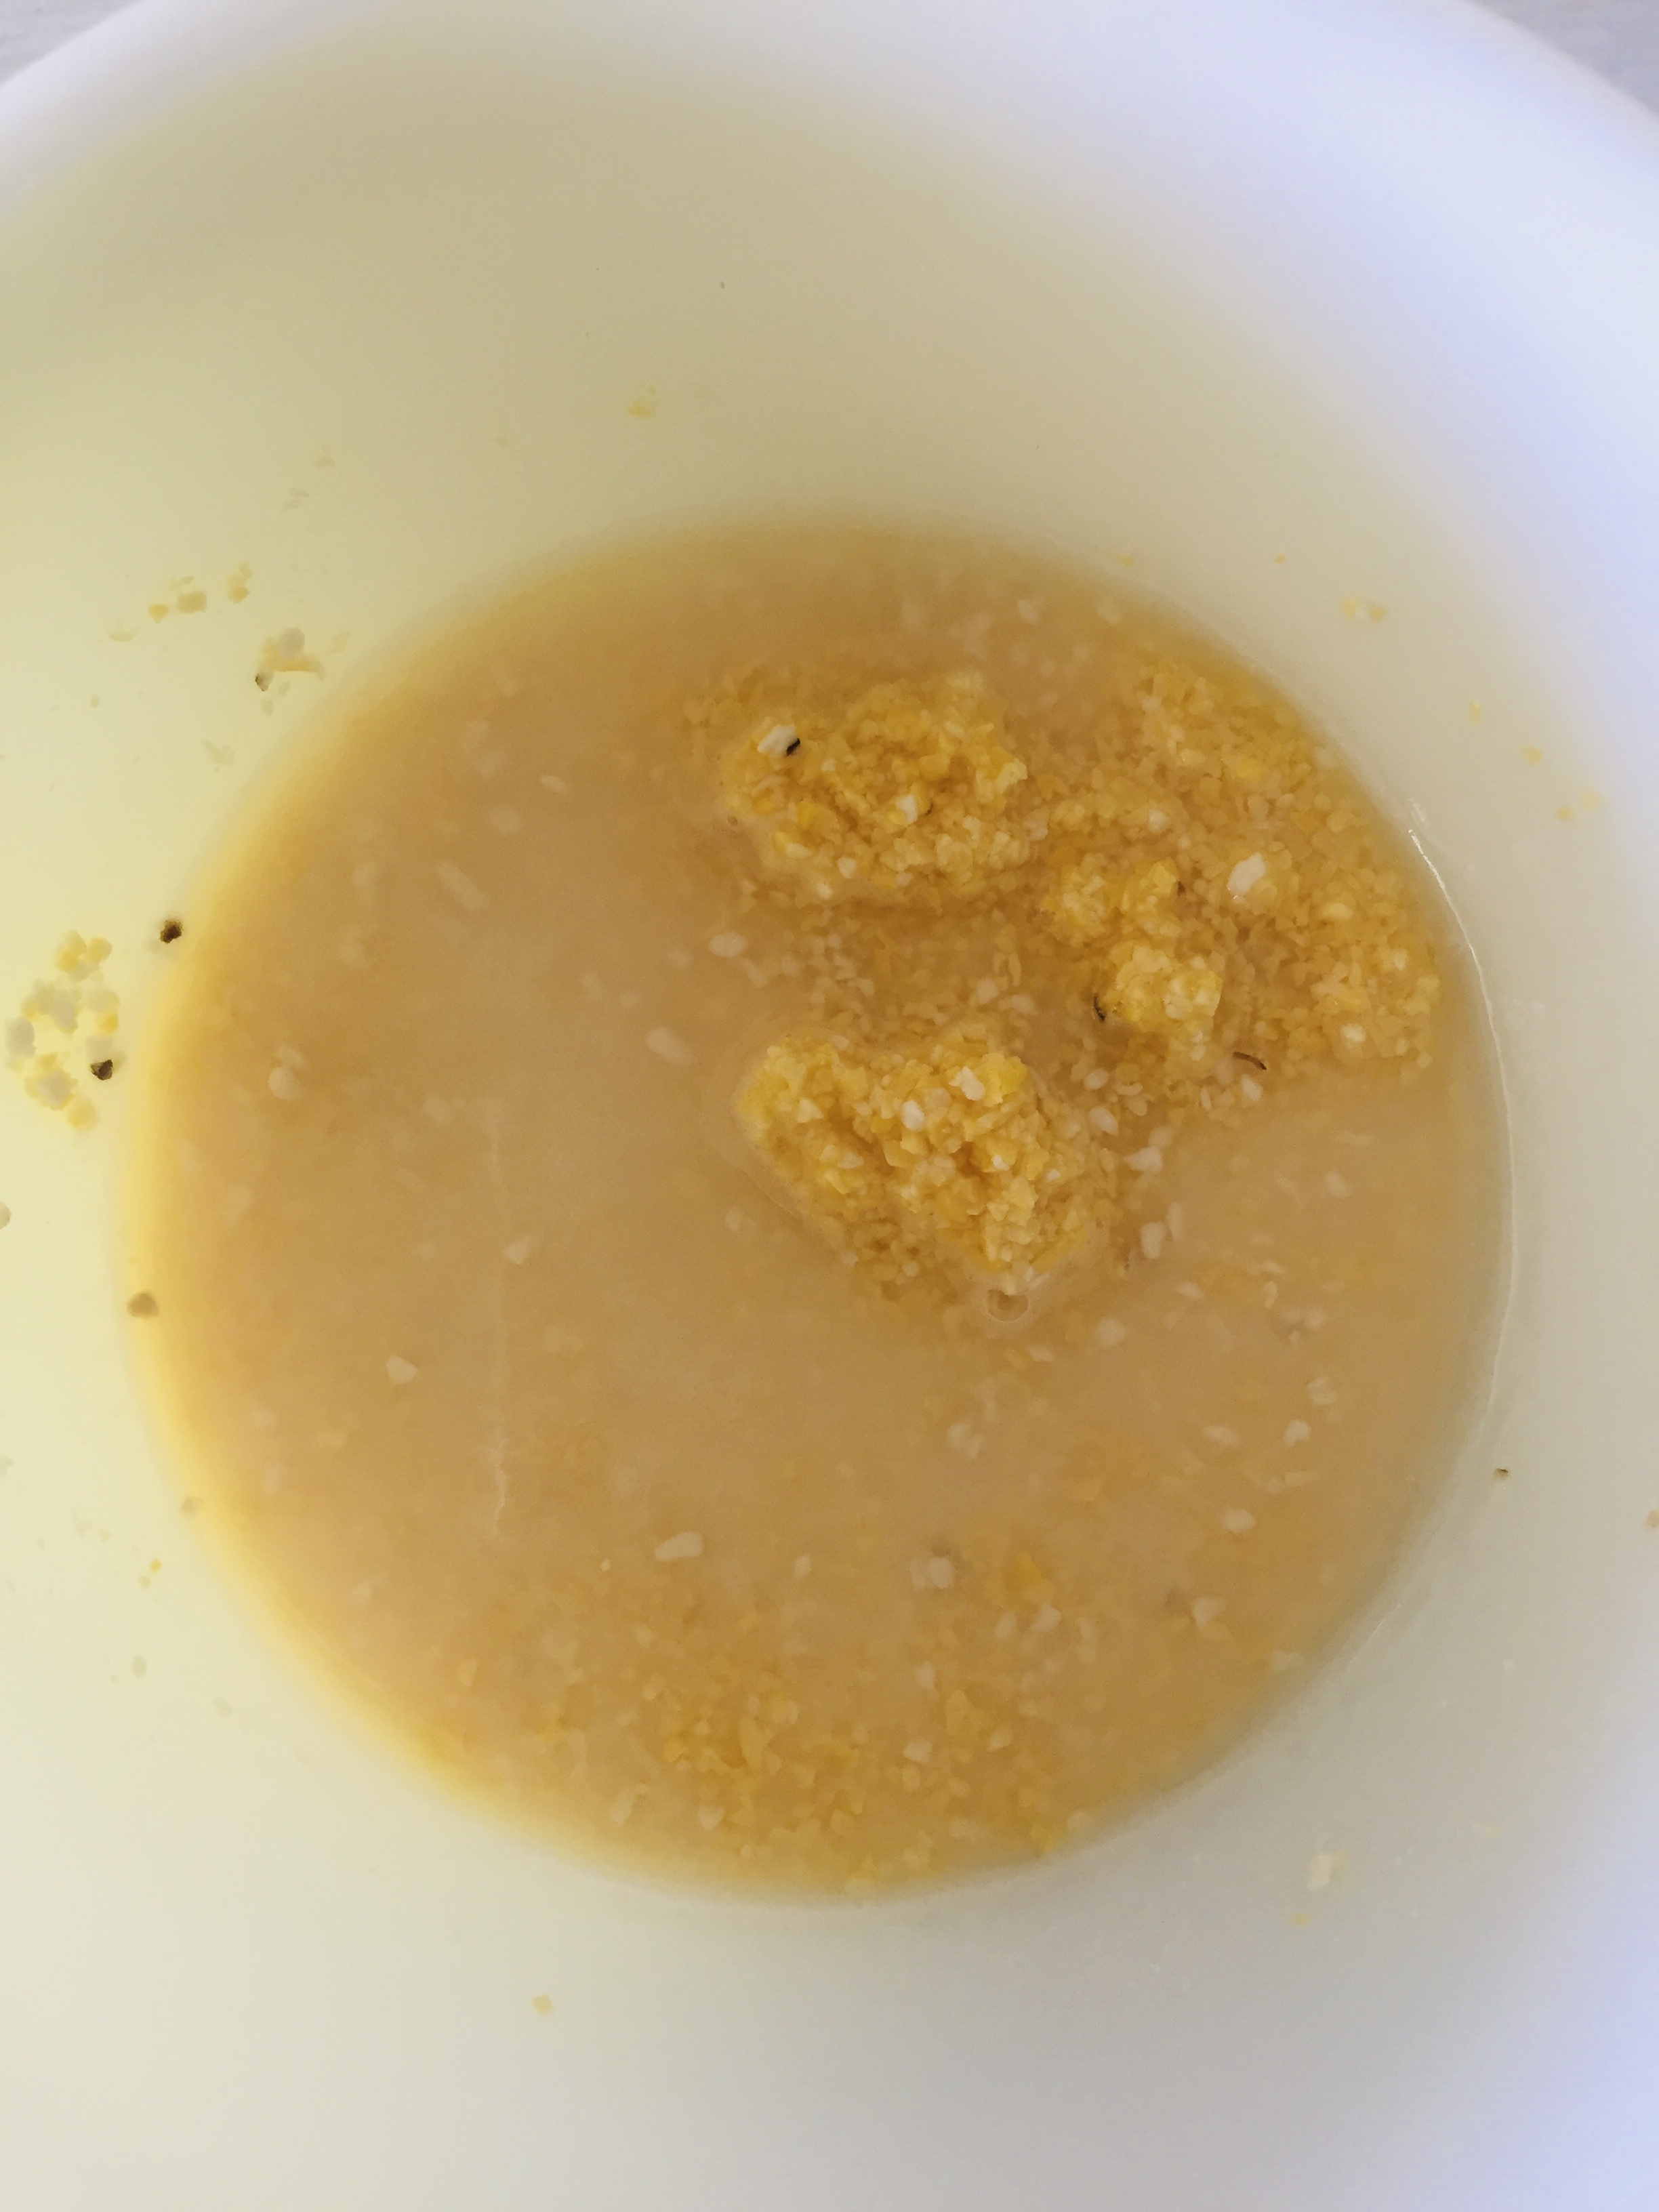
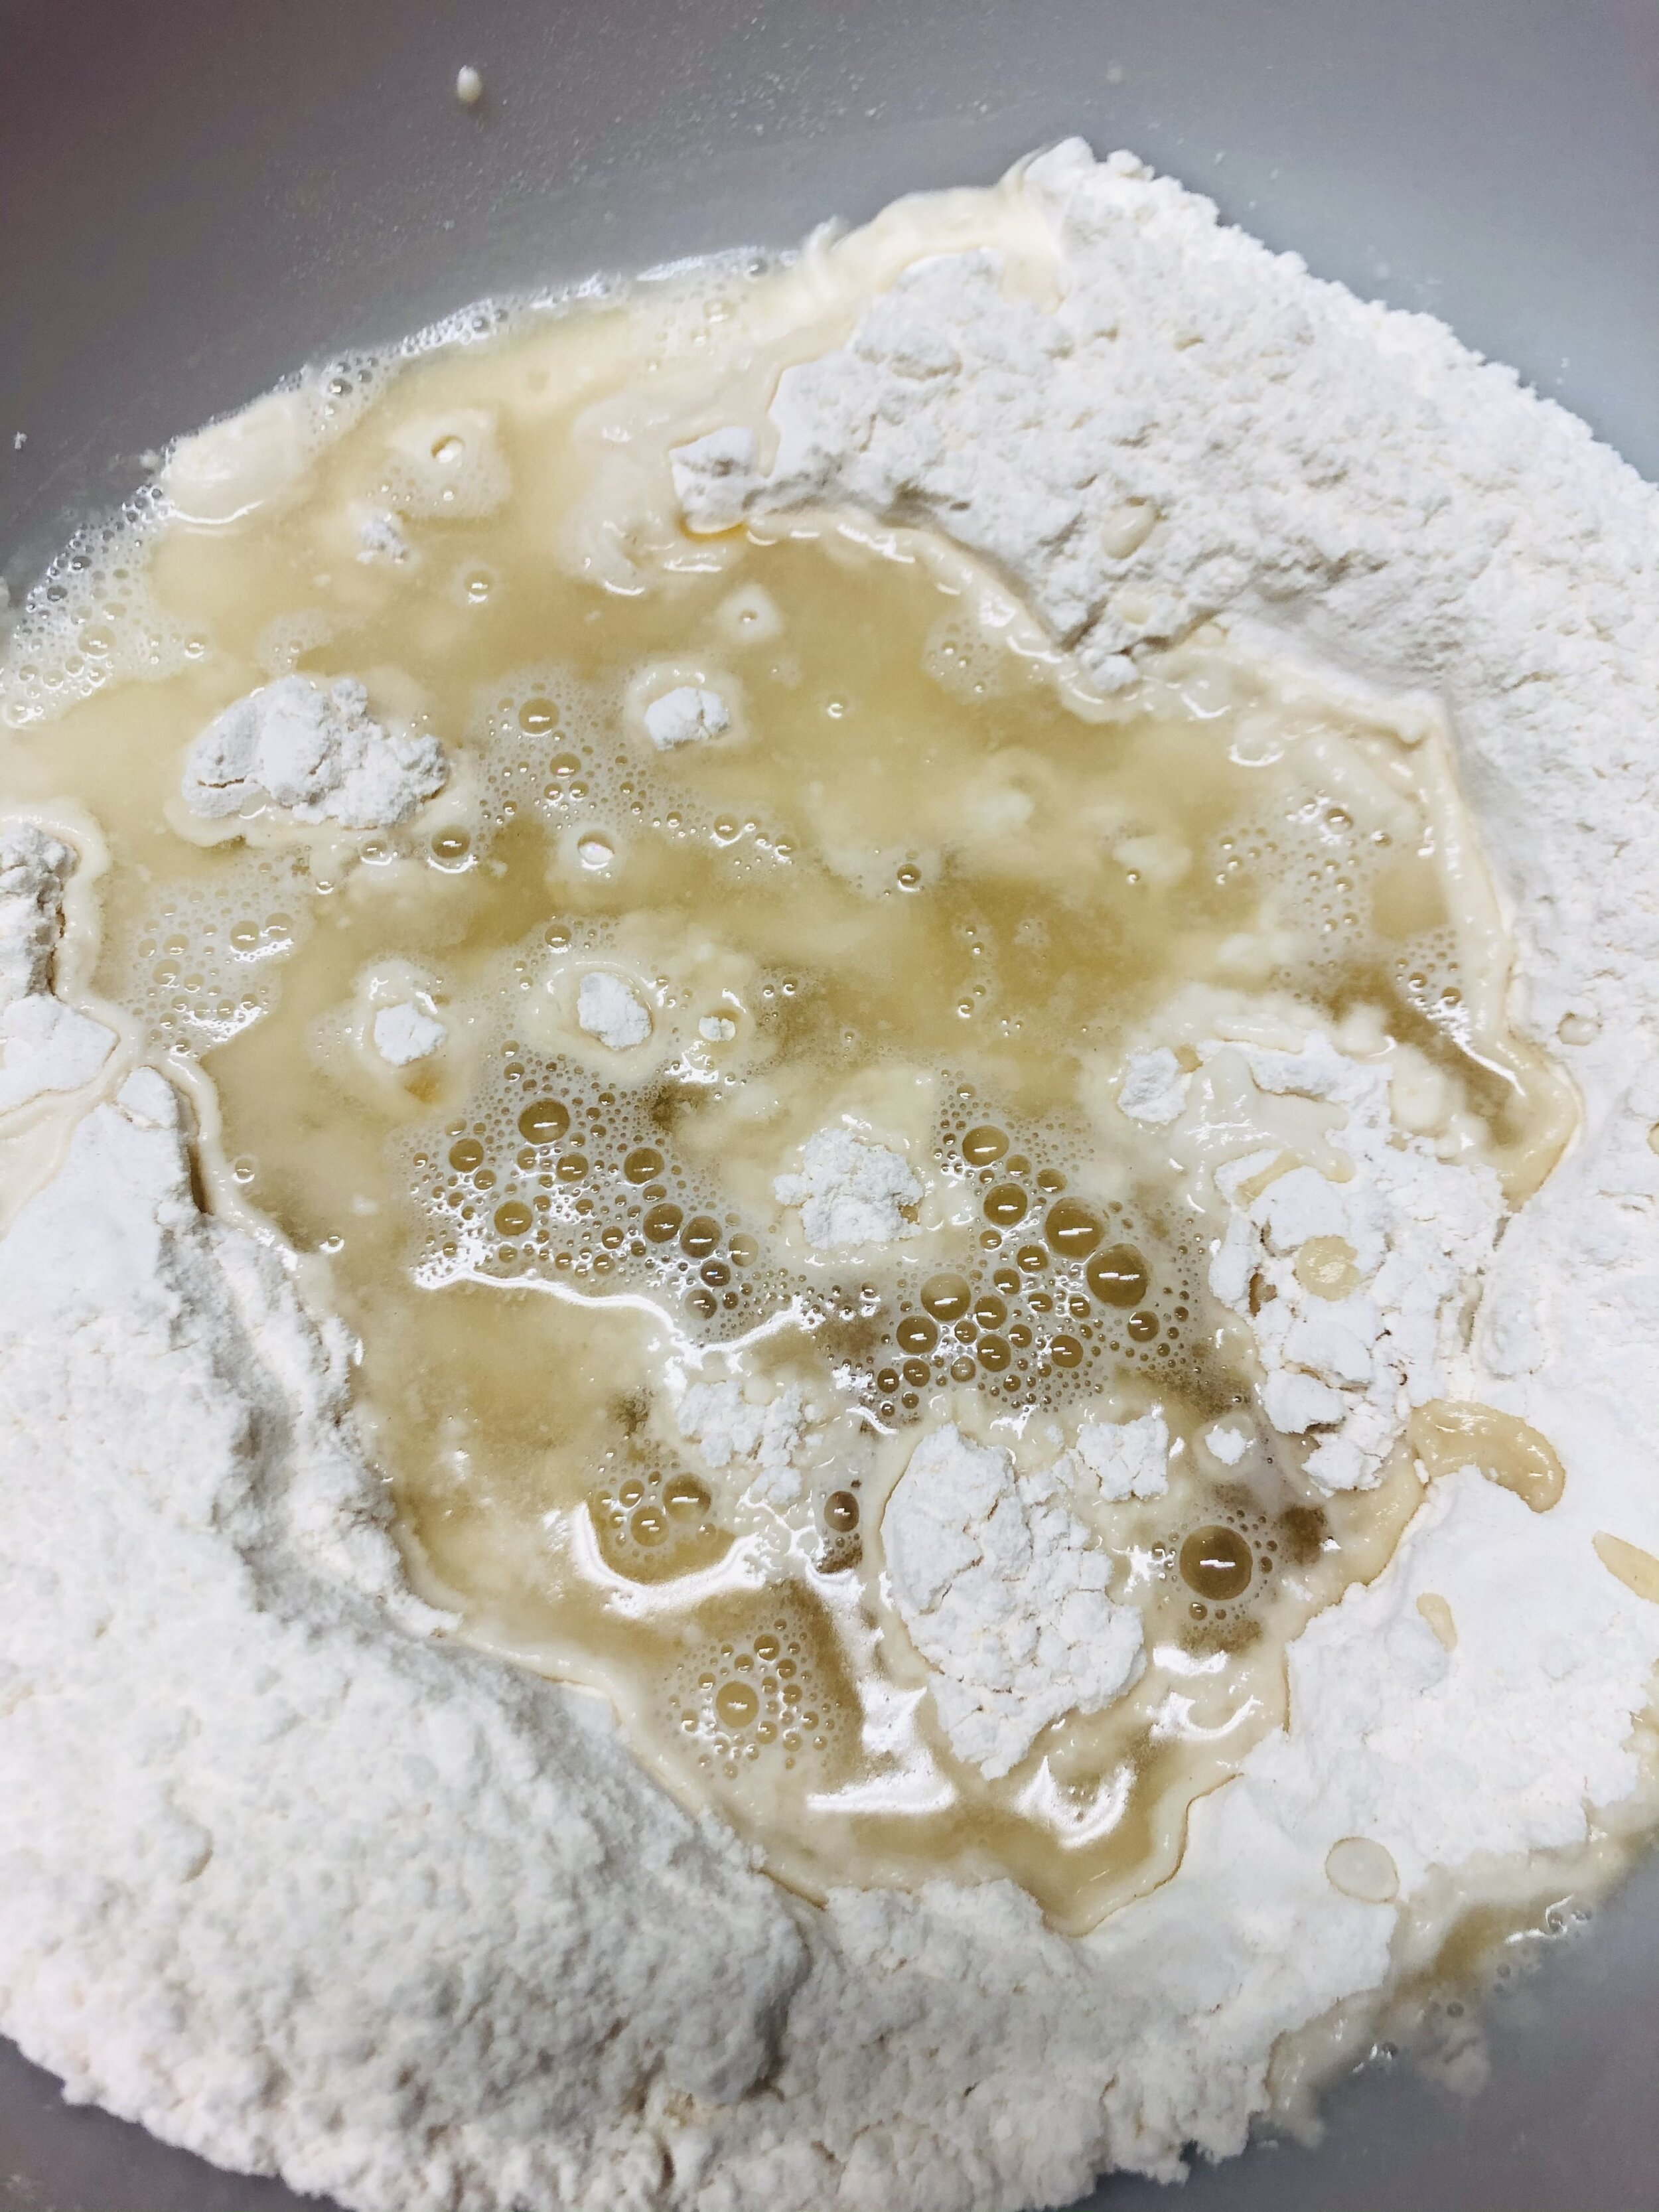
- In a large bowl mix the flour, salt, and yeast.
- In a large measuring glass (or bowl), combine the warm water and the honey and stir to combine so that the honey is well blended.
- Pour the liquid into the flour bowl.
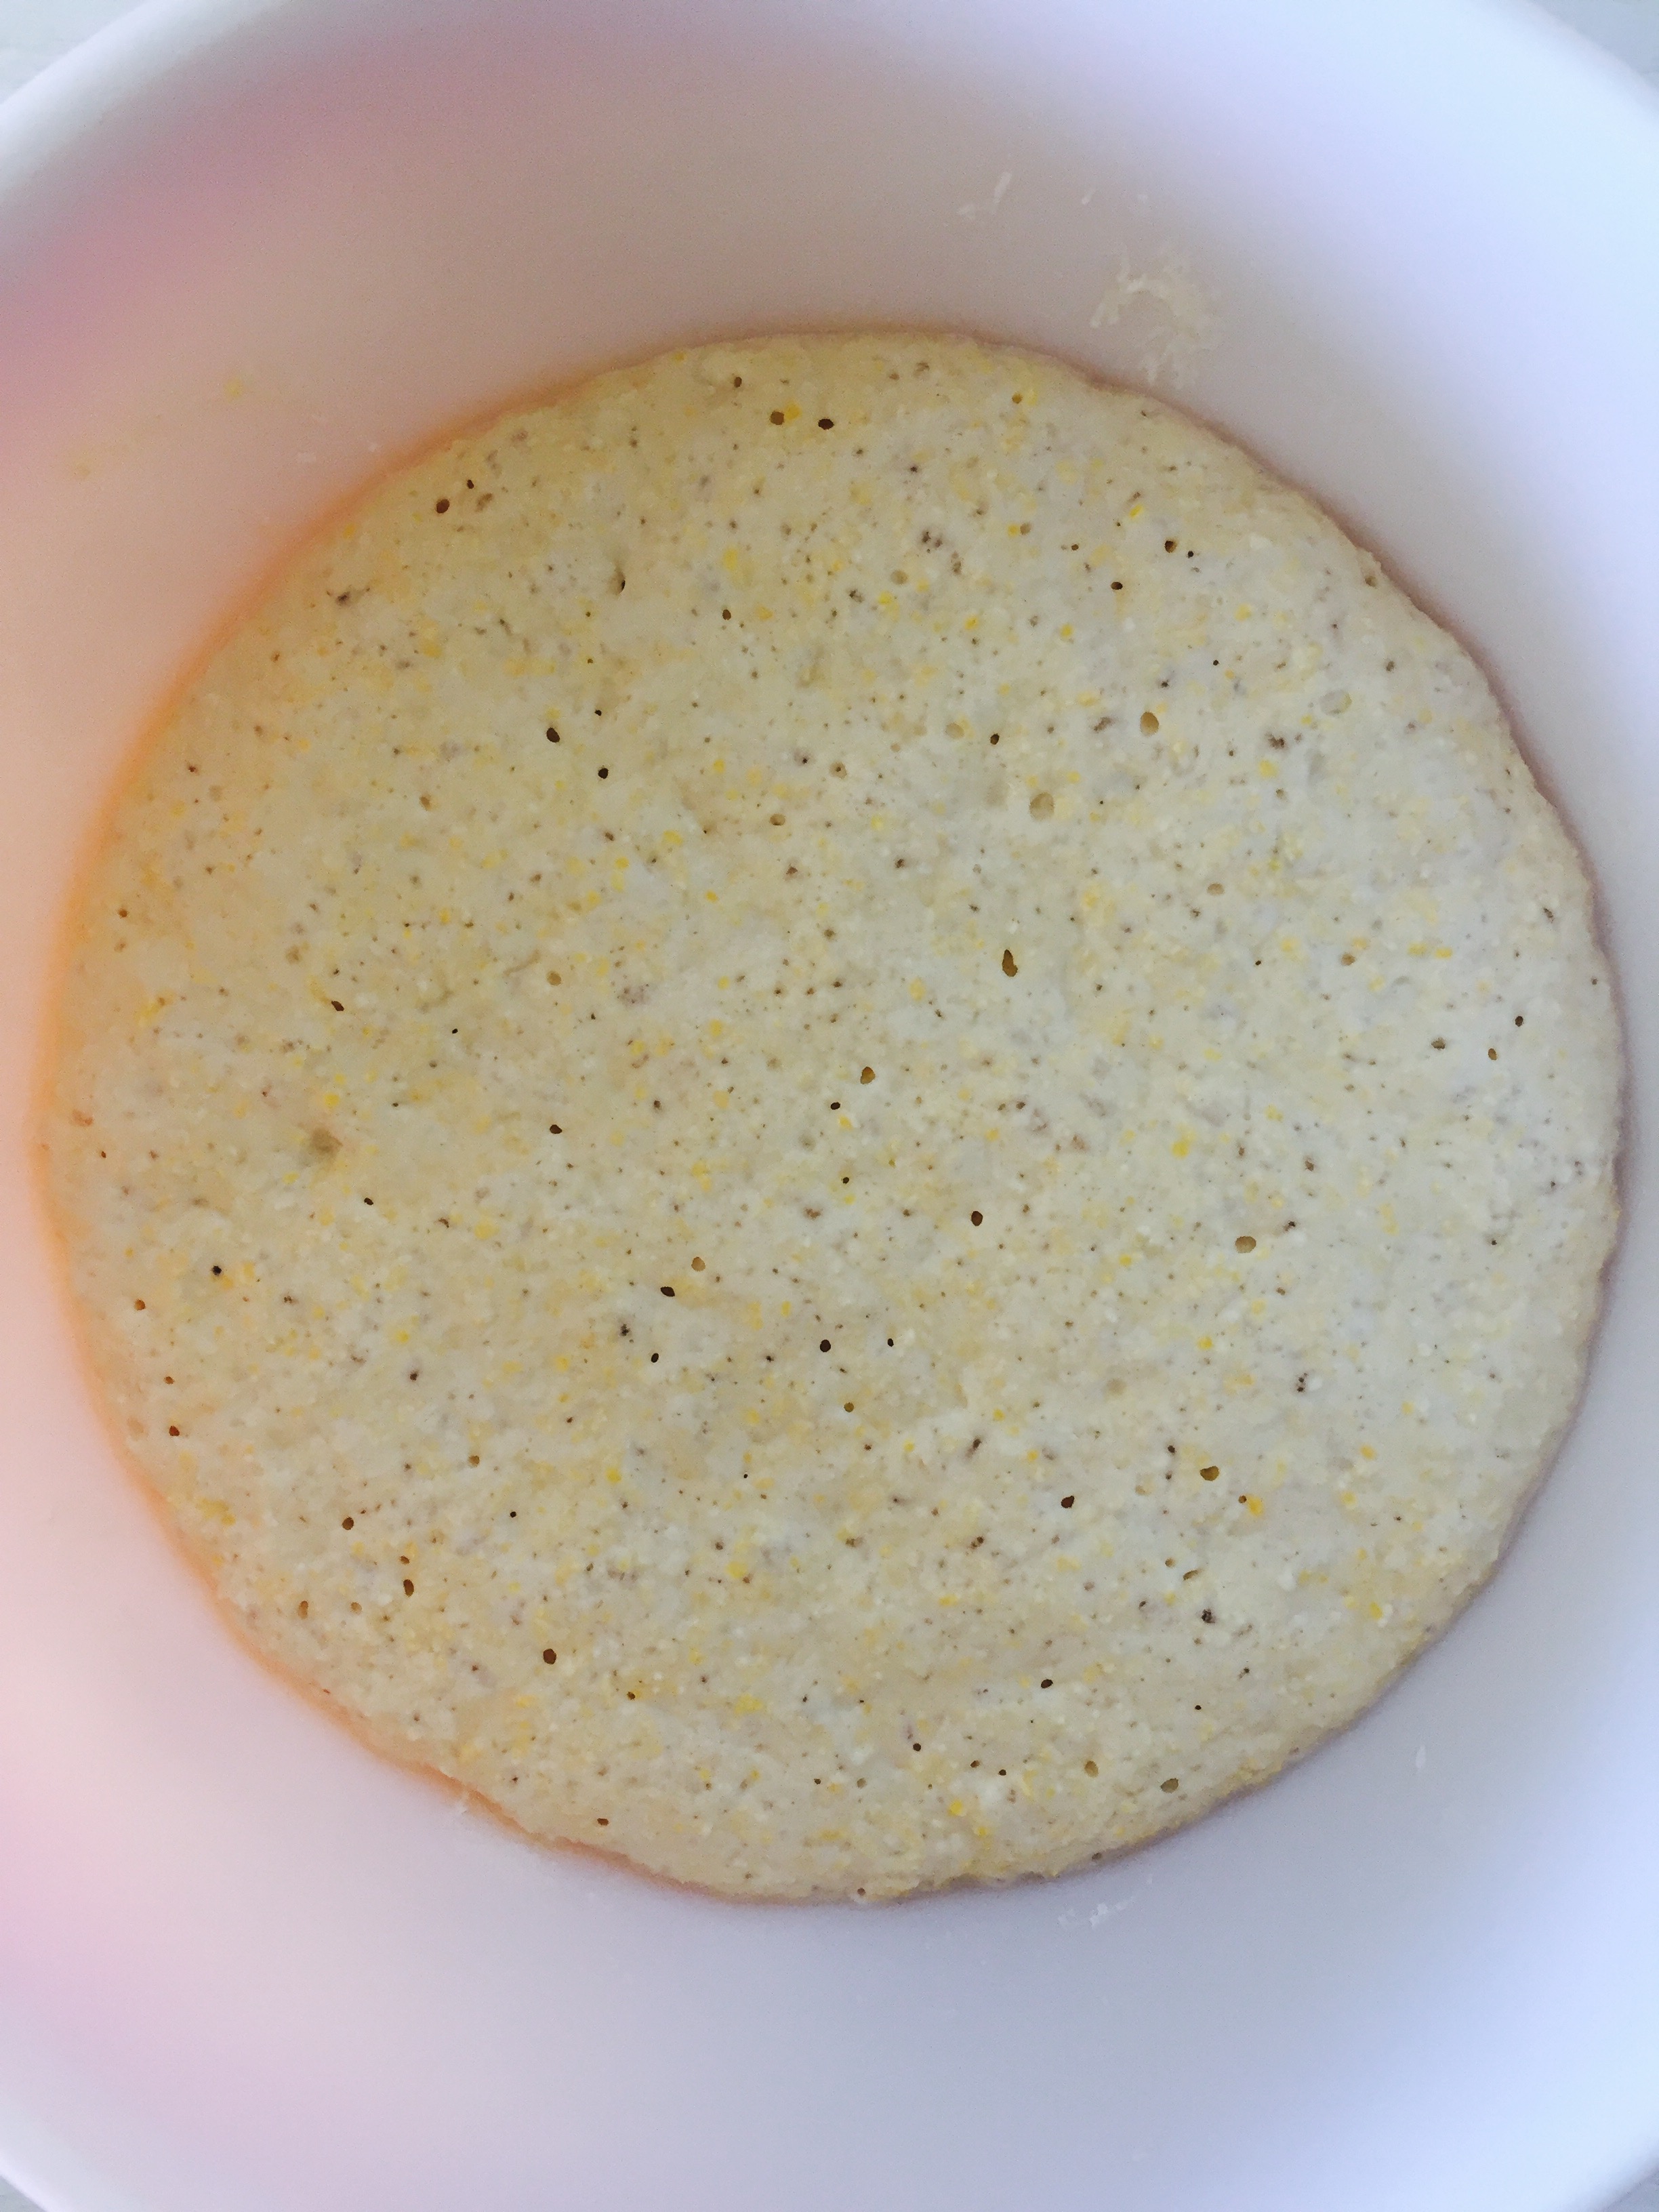
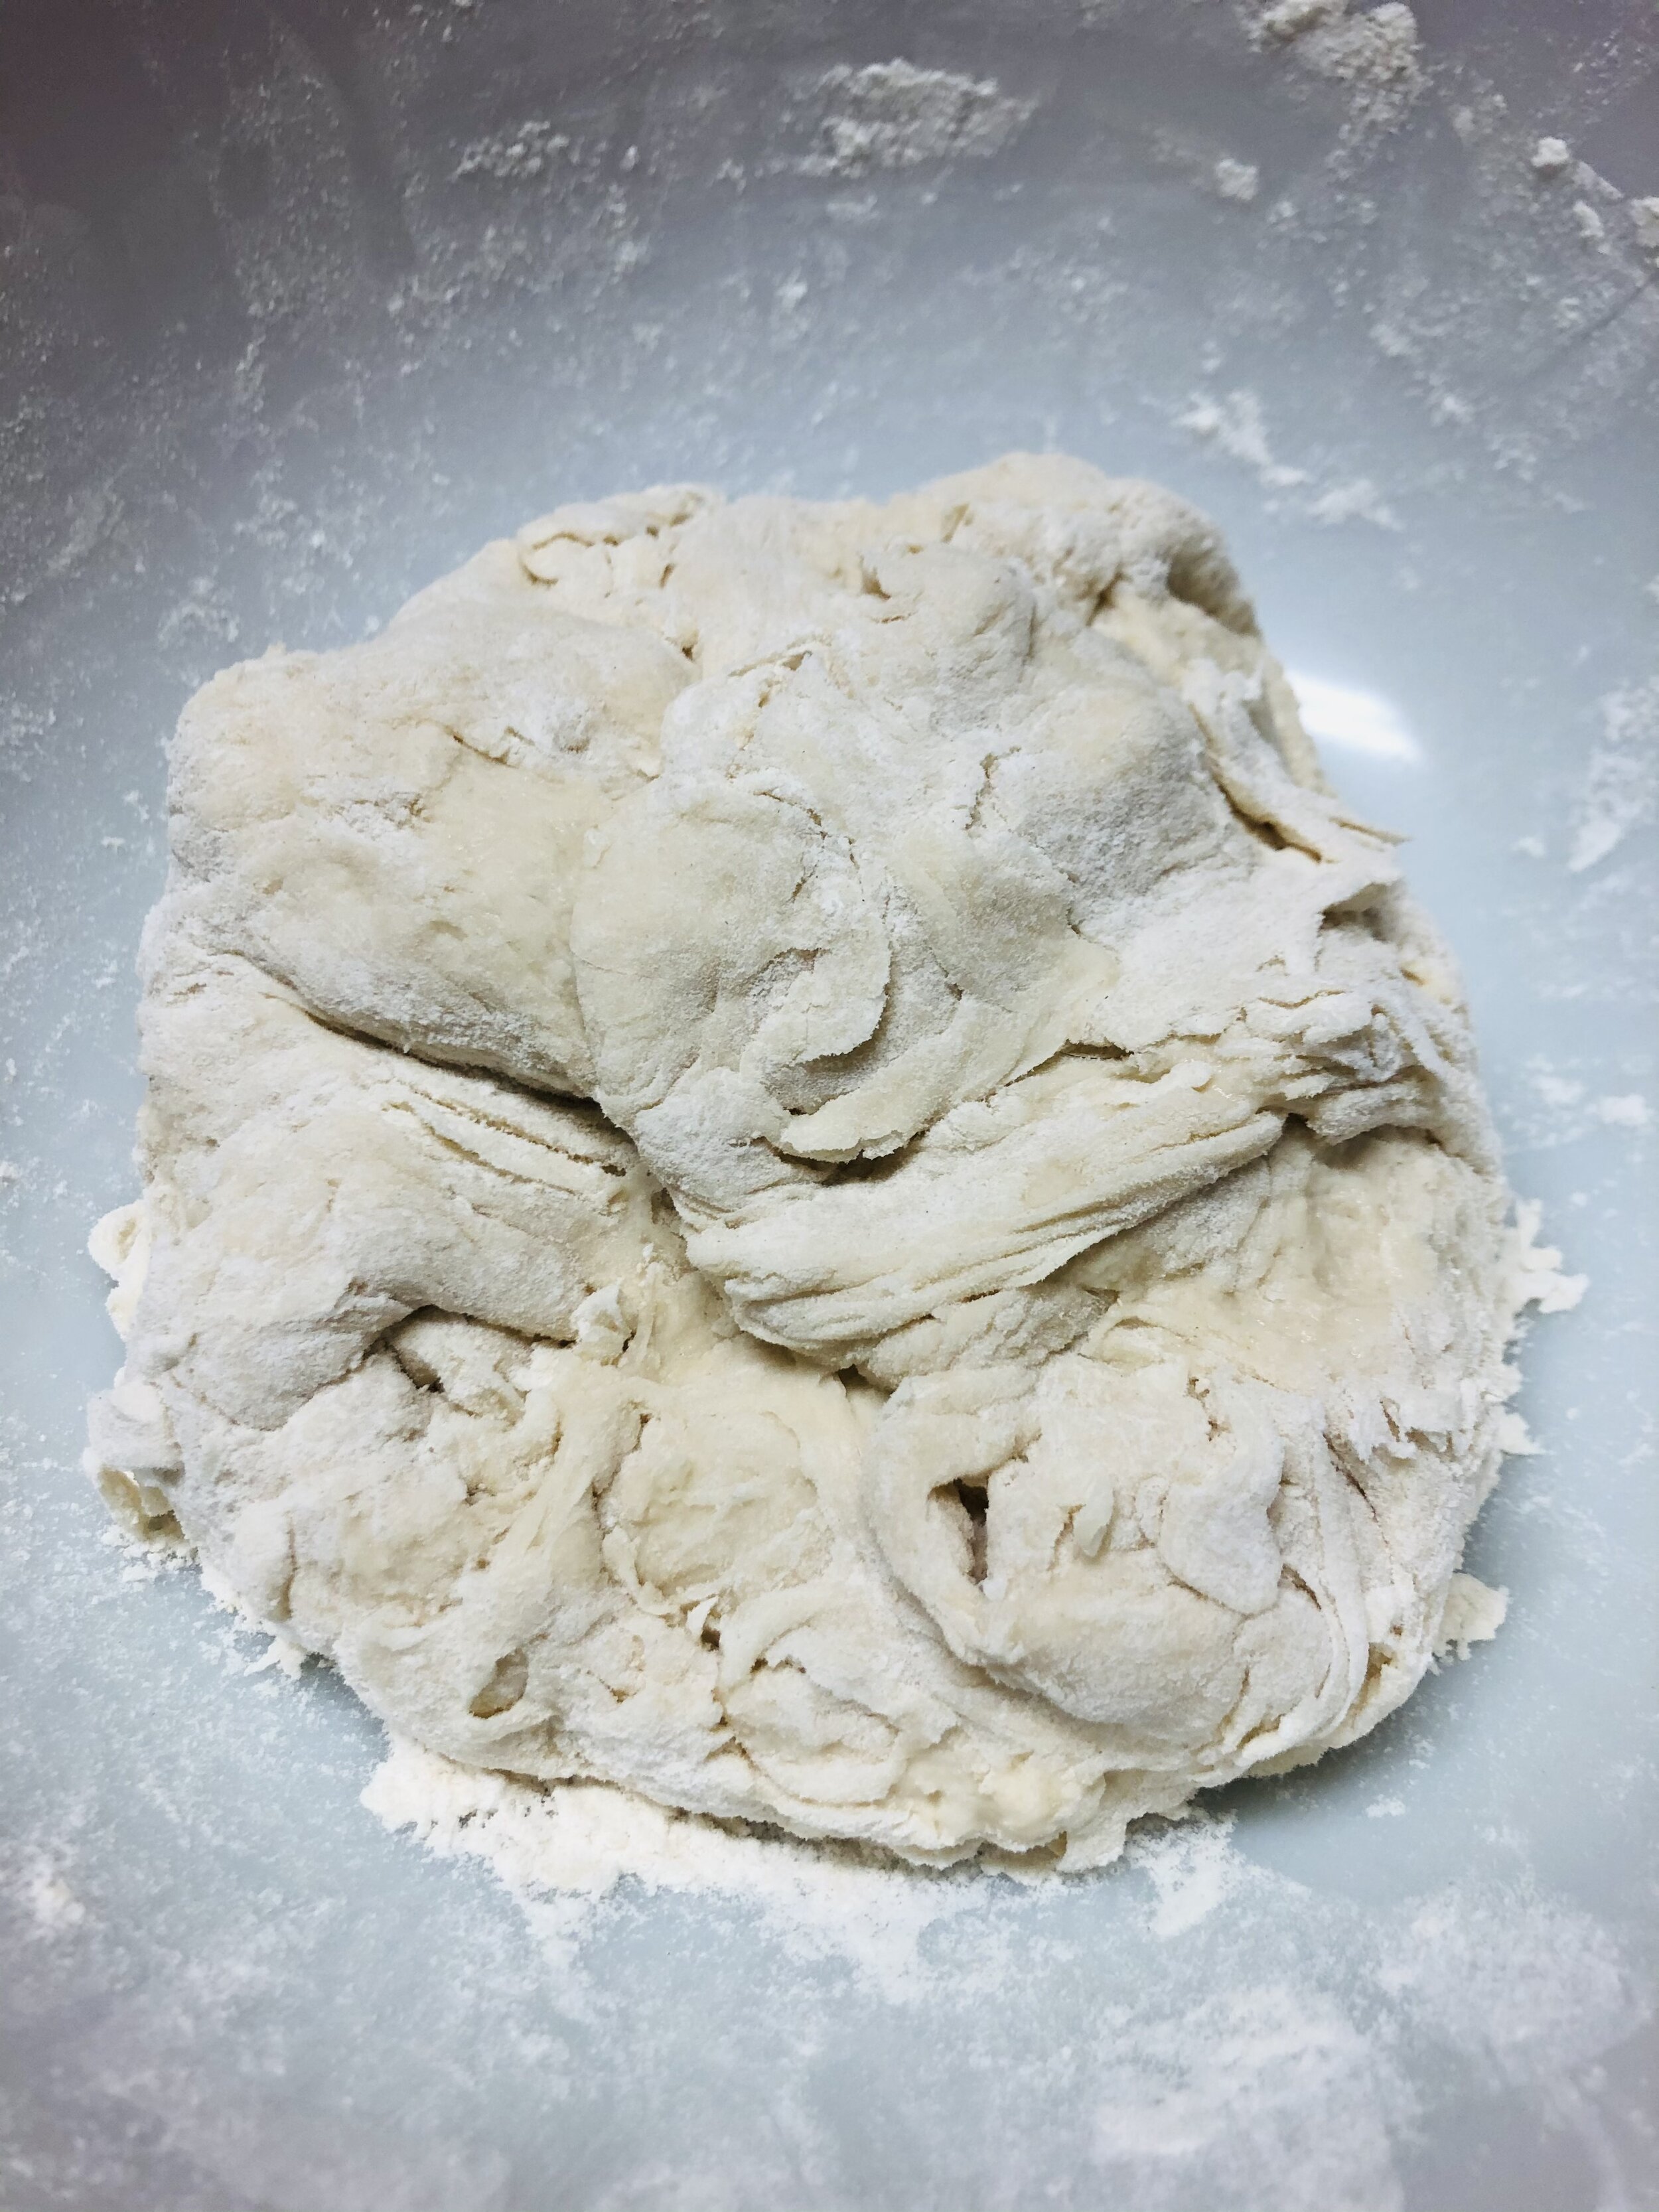
- Combine, incorporating the wet and dry ingredients until a sticky dough ball forms. It doesn't need to be perfect but you want most the dry ingredients integrated so there's no flour left sitting in the bowl.
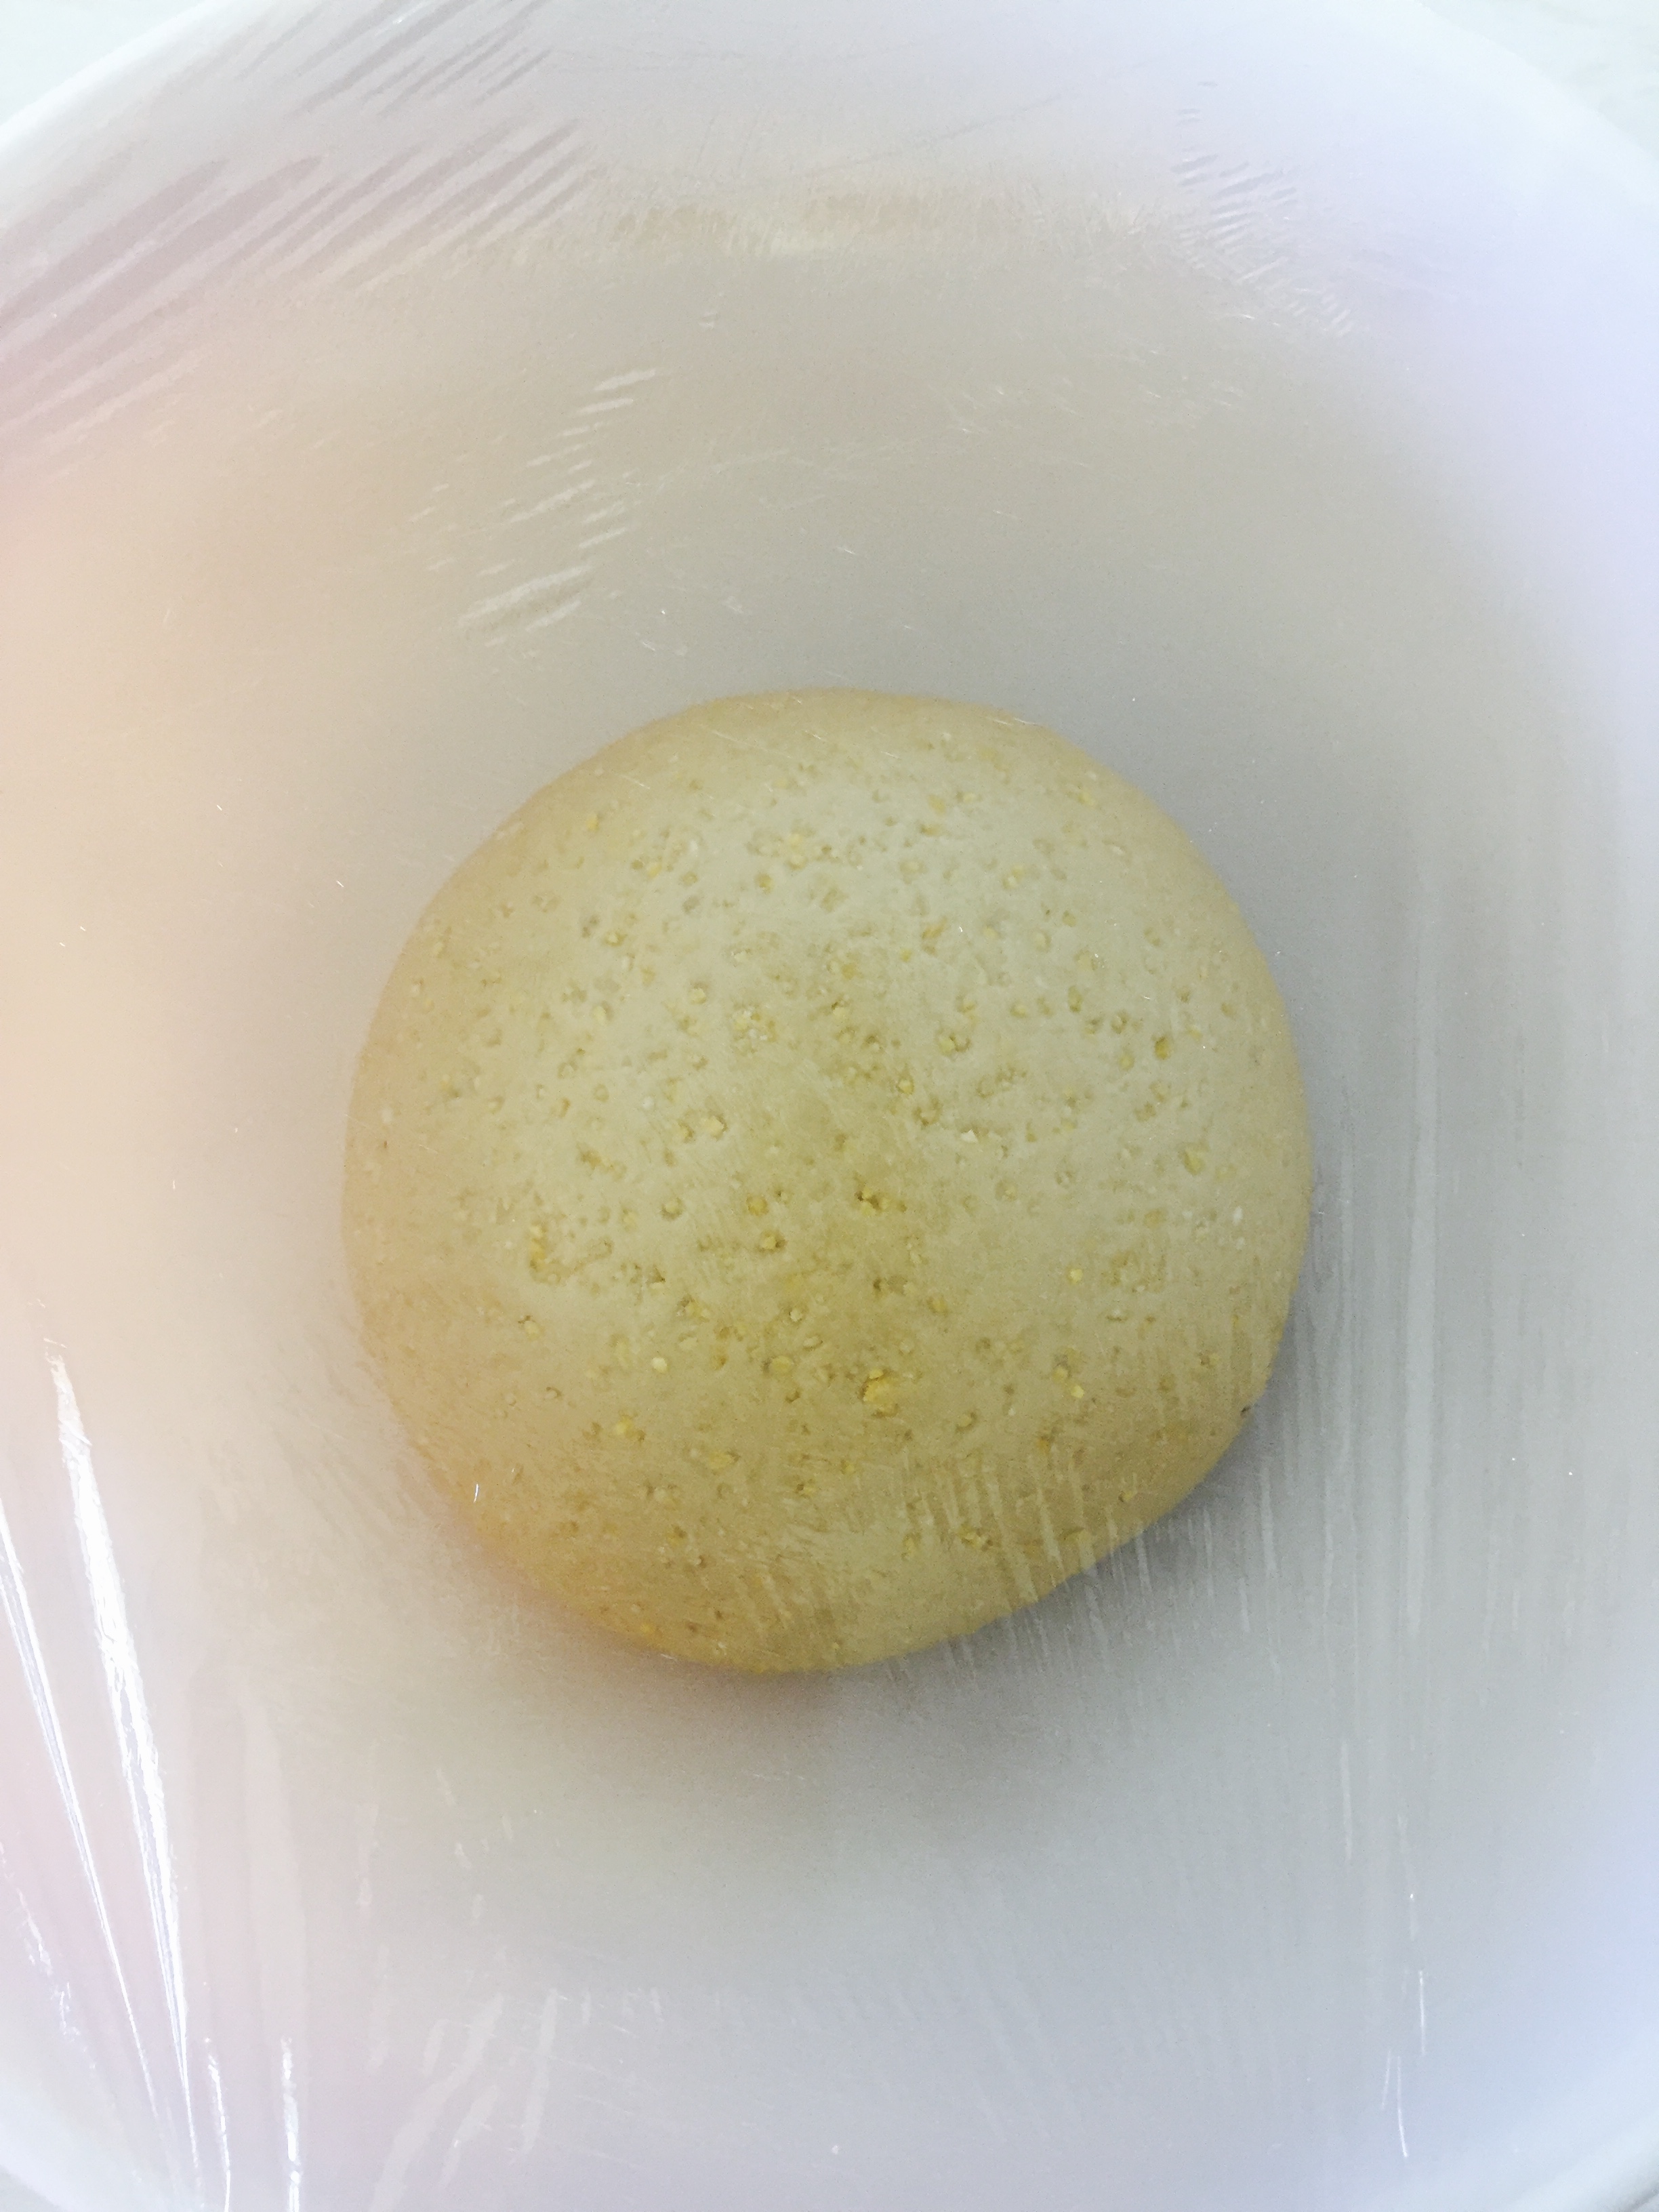
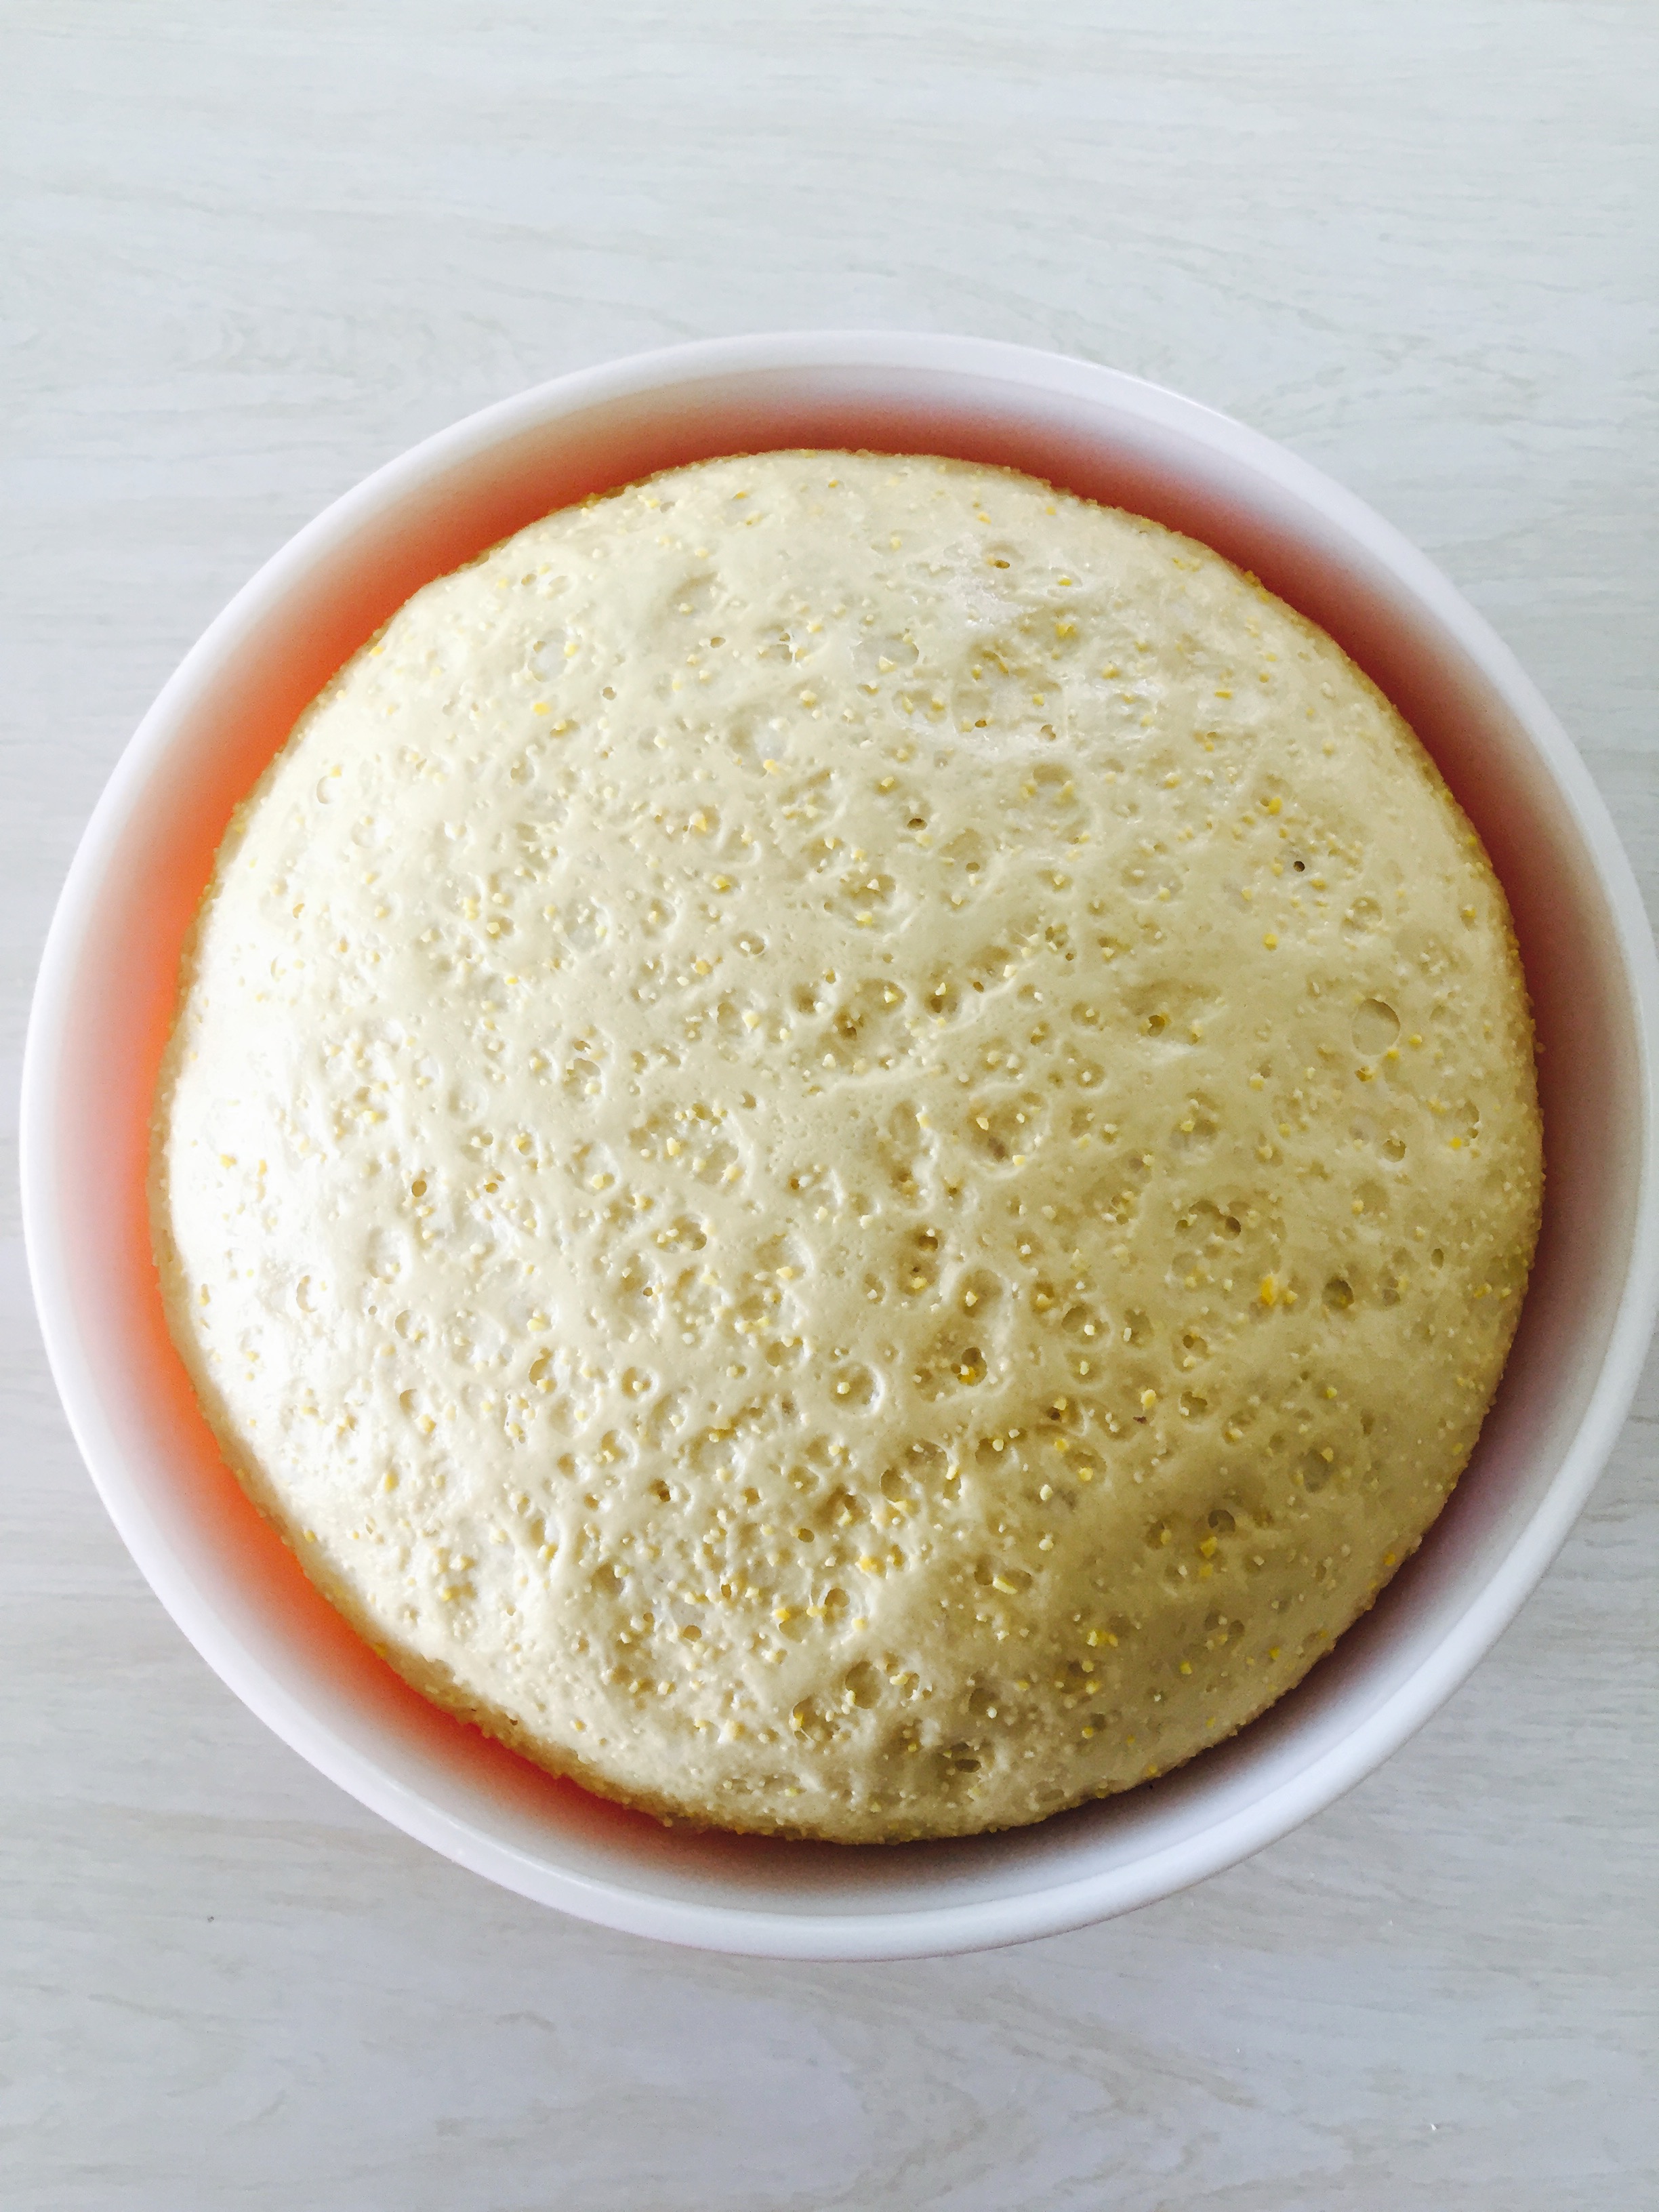
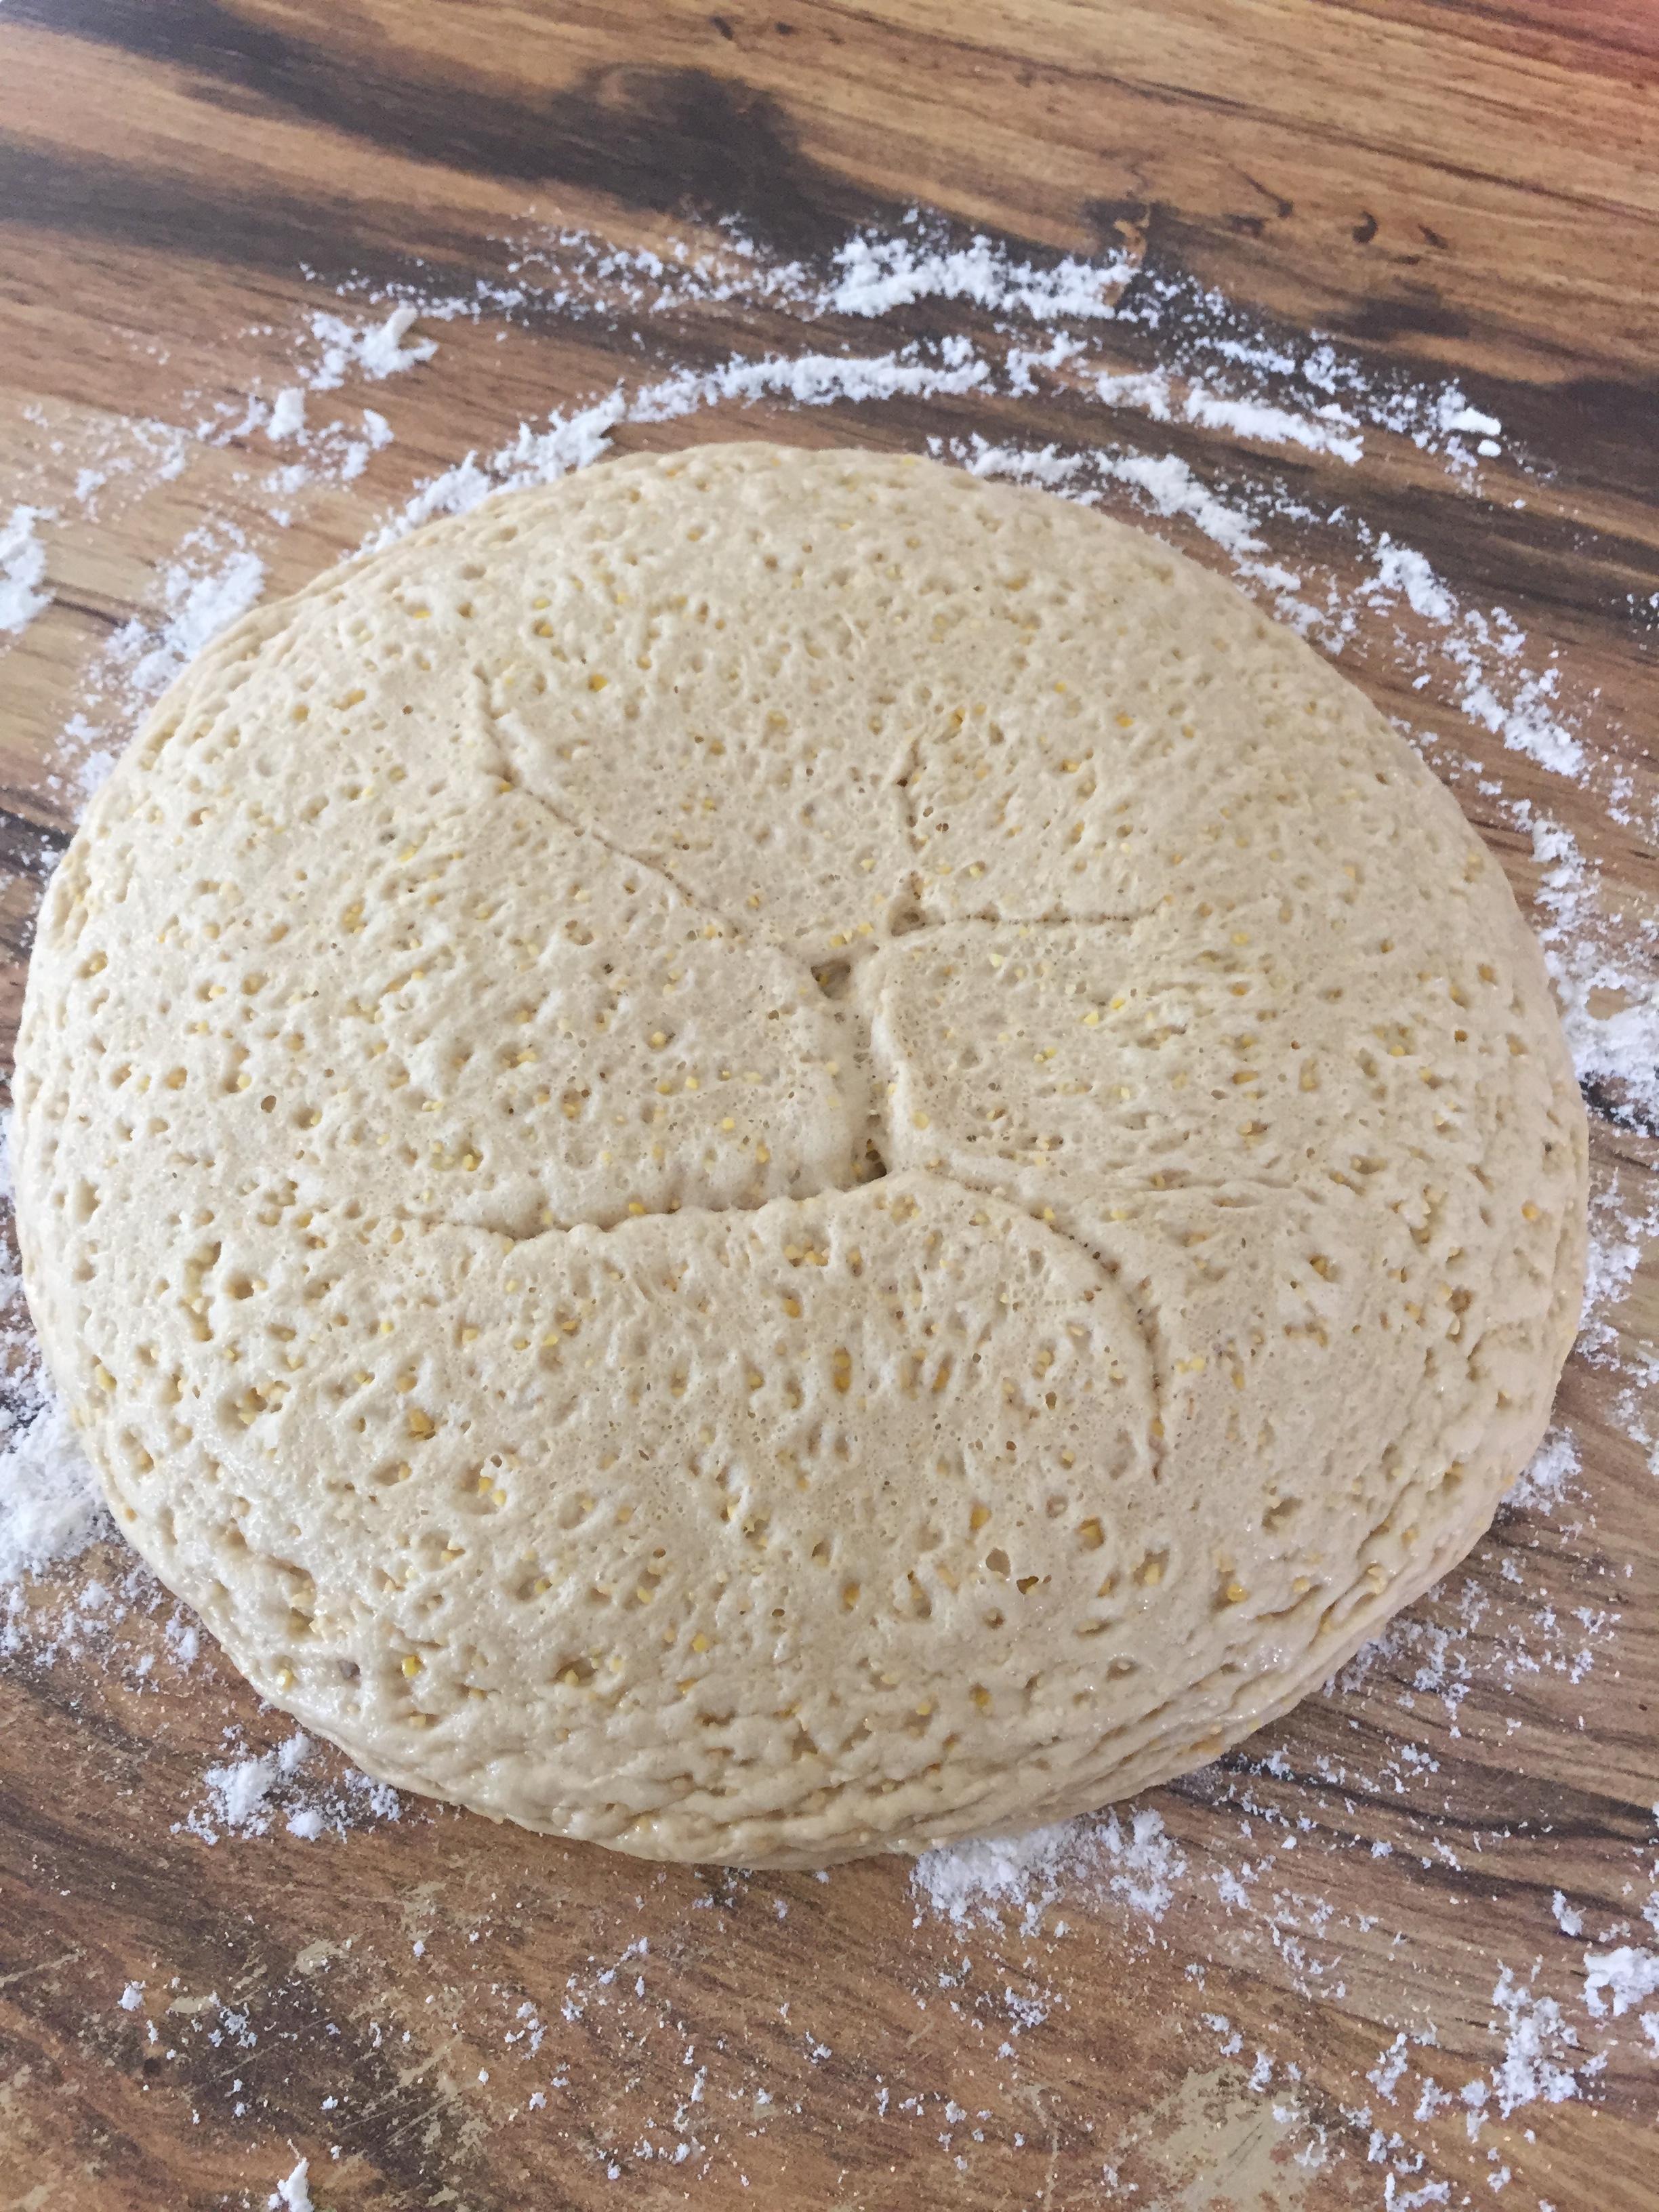
- Cover and let rest for 6-10 hours, untl the dough has become pillowy and doubled in size.
Day 2
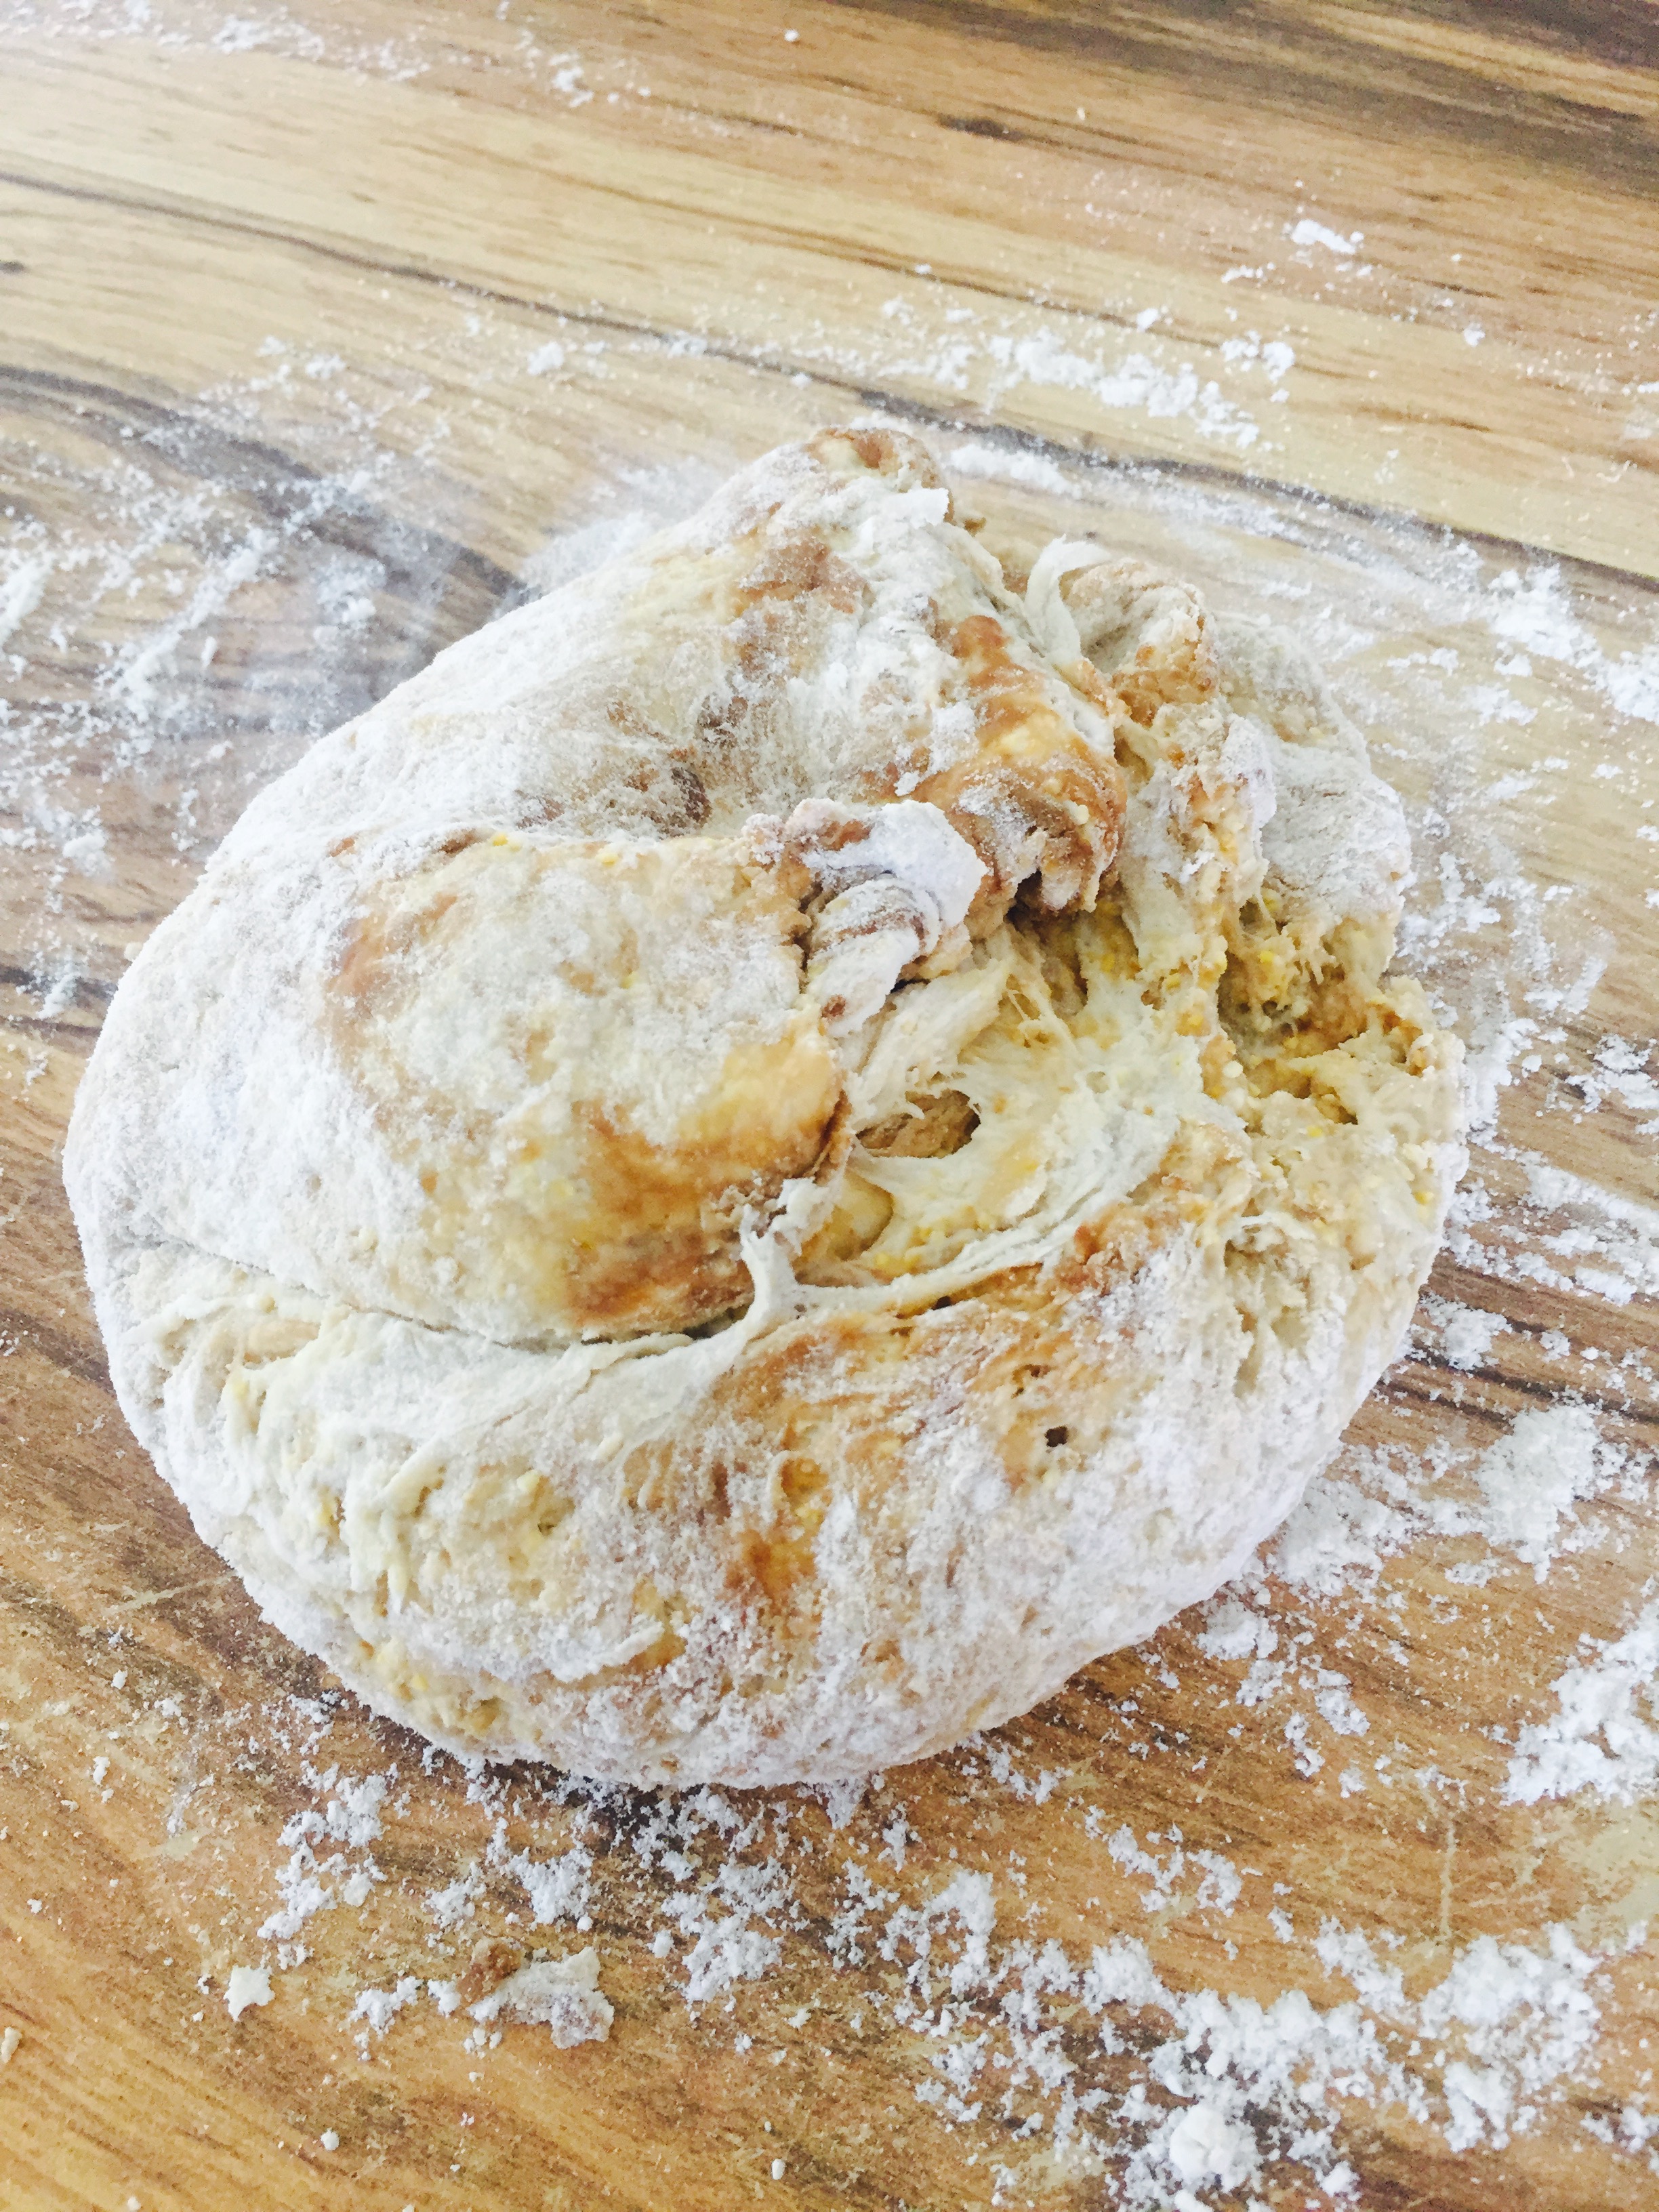
- Uncover the dough and with a wet hand, gently scoop around the edges, lifting from the sides and folding the dough onto itself. (watch video here). This will release the dough from the edges.
- On a lightly floured surface, plop your dough out and gently stretch it out on the counter.
- Using the criss cross technique (watch my video here), gently shape your dough being careful not to degas the air bubbles.
- Place the shaped dough on a piece of parchment paper and place into a bowl or pie pan to rest for an hour, covered.
- Put a dutch oven with the lid in the oven and preheat to 450 degrees F.
- When the oven is ready and the dough has rested, remove the cover and score the top of the dough.
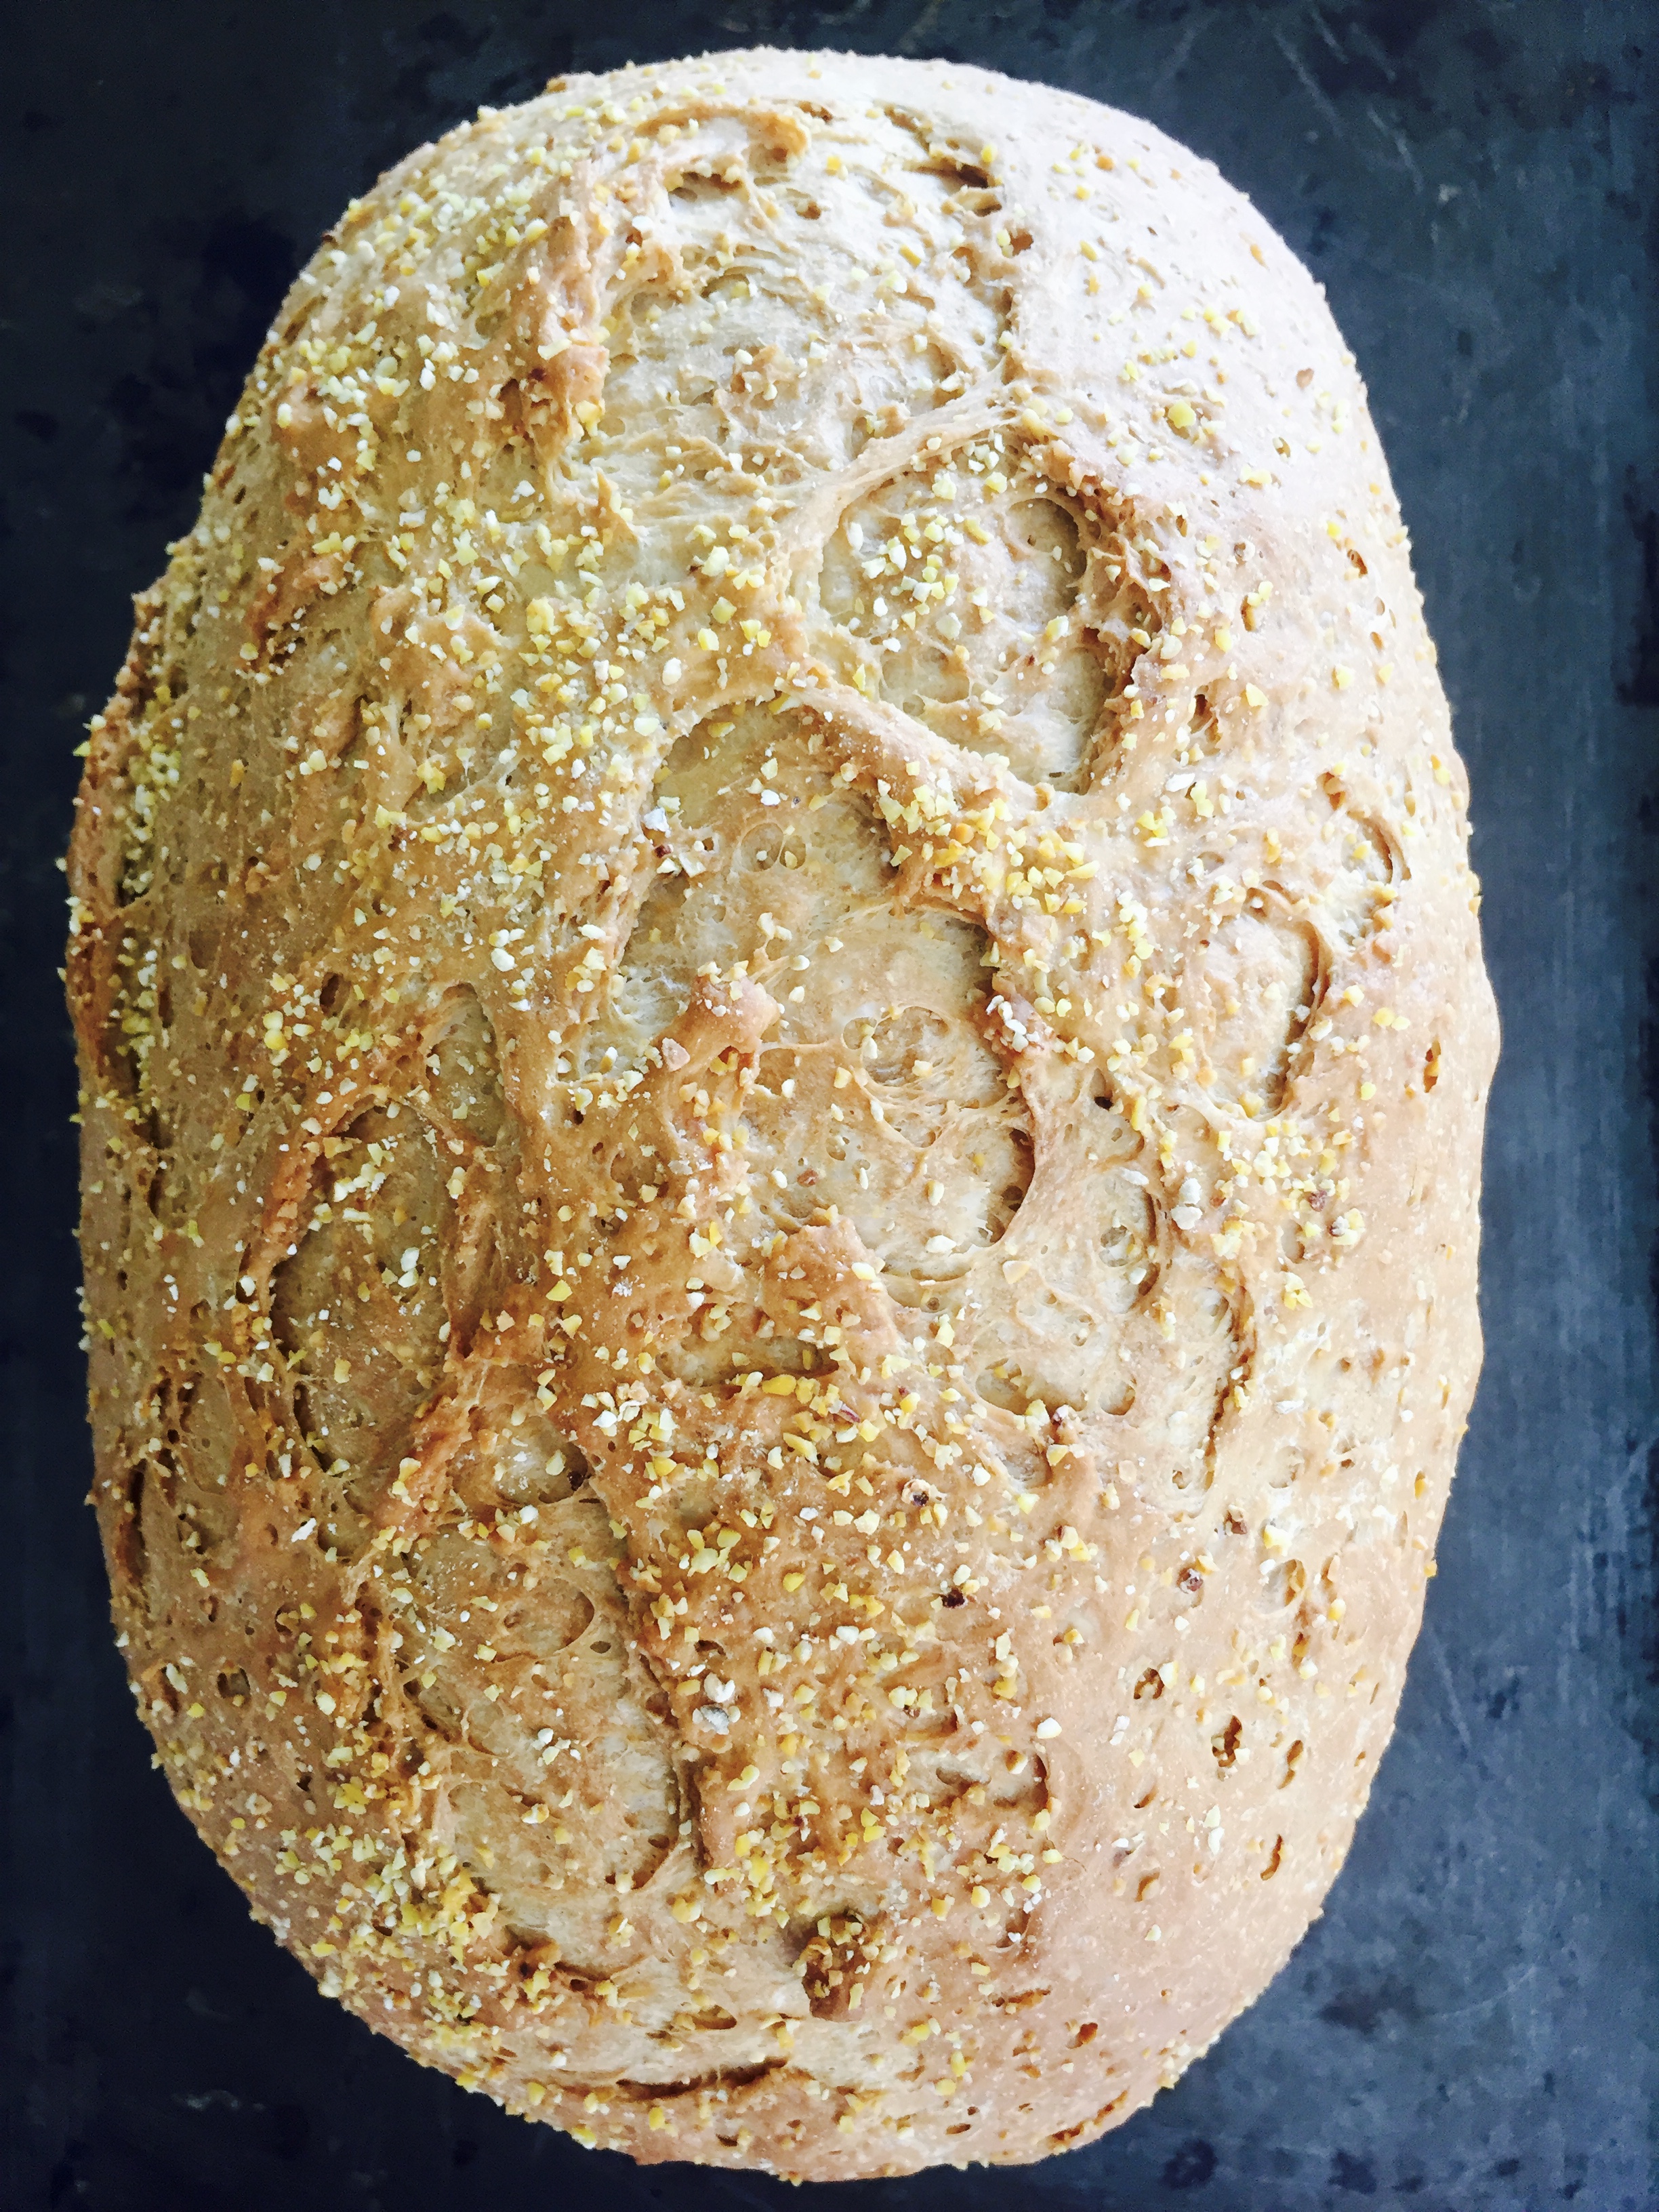
- Carefully remove the dutch oven and transfer the parchment paper with the dough into the dutch oven, cover with the lid and return it to the oven and bake for 30 minutes.
- After 30 minutes, remove the lid and bake for another 15 minutes at 415 degrees F.
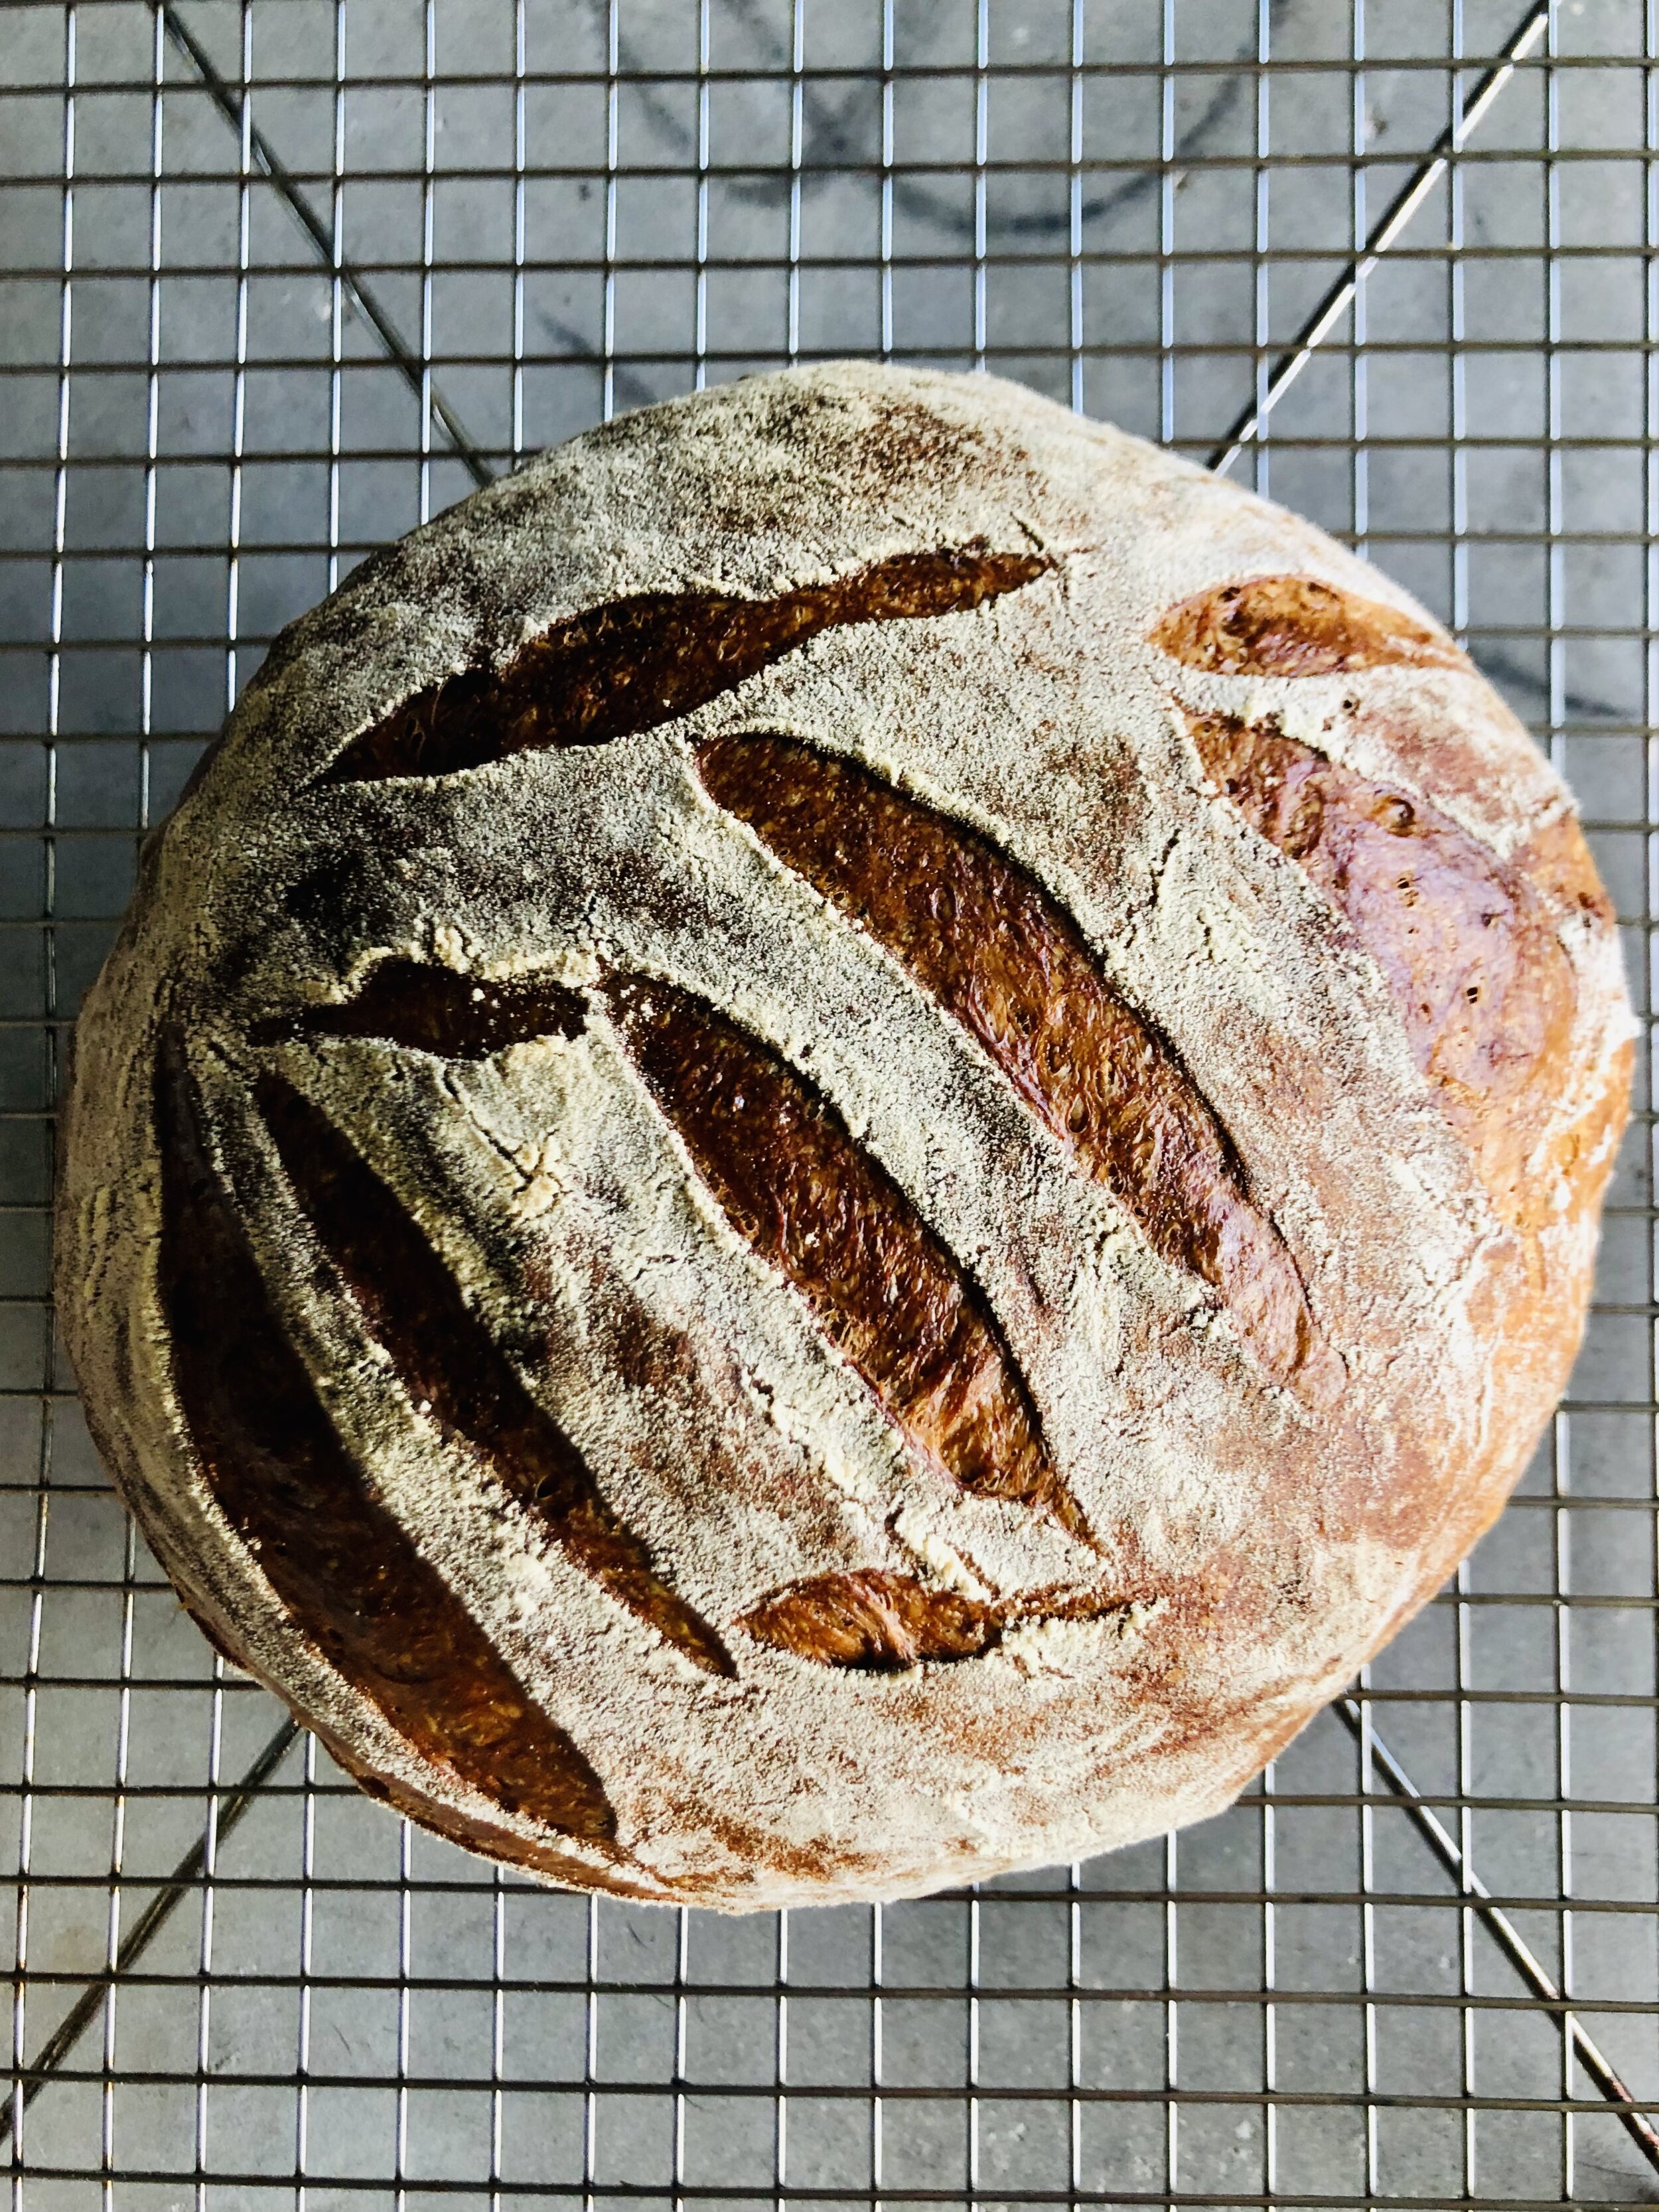
- Then remove the dutch oven and carefully transfer the bread to a wire rack and let cool.

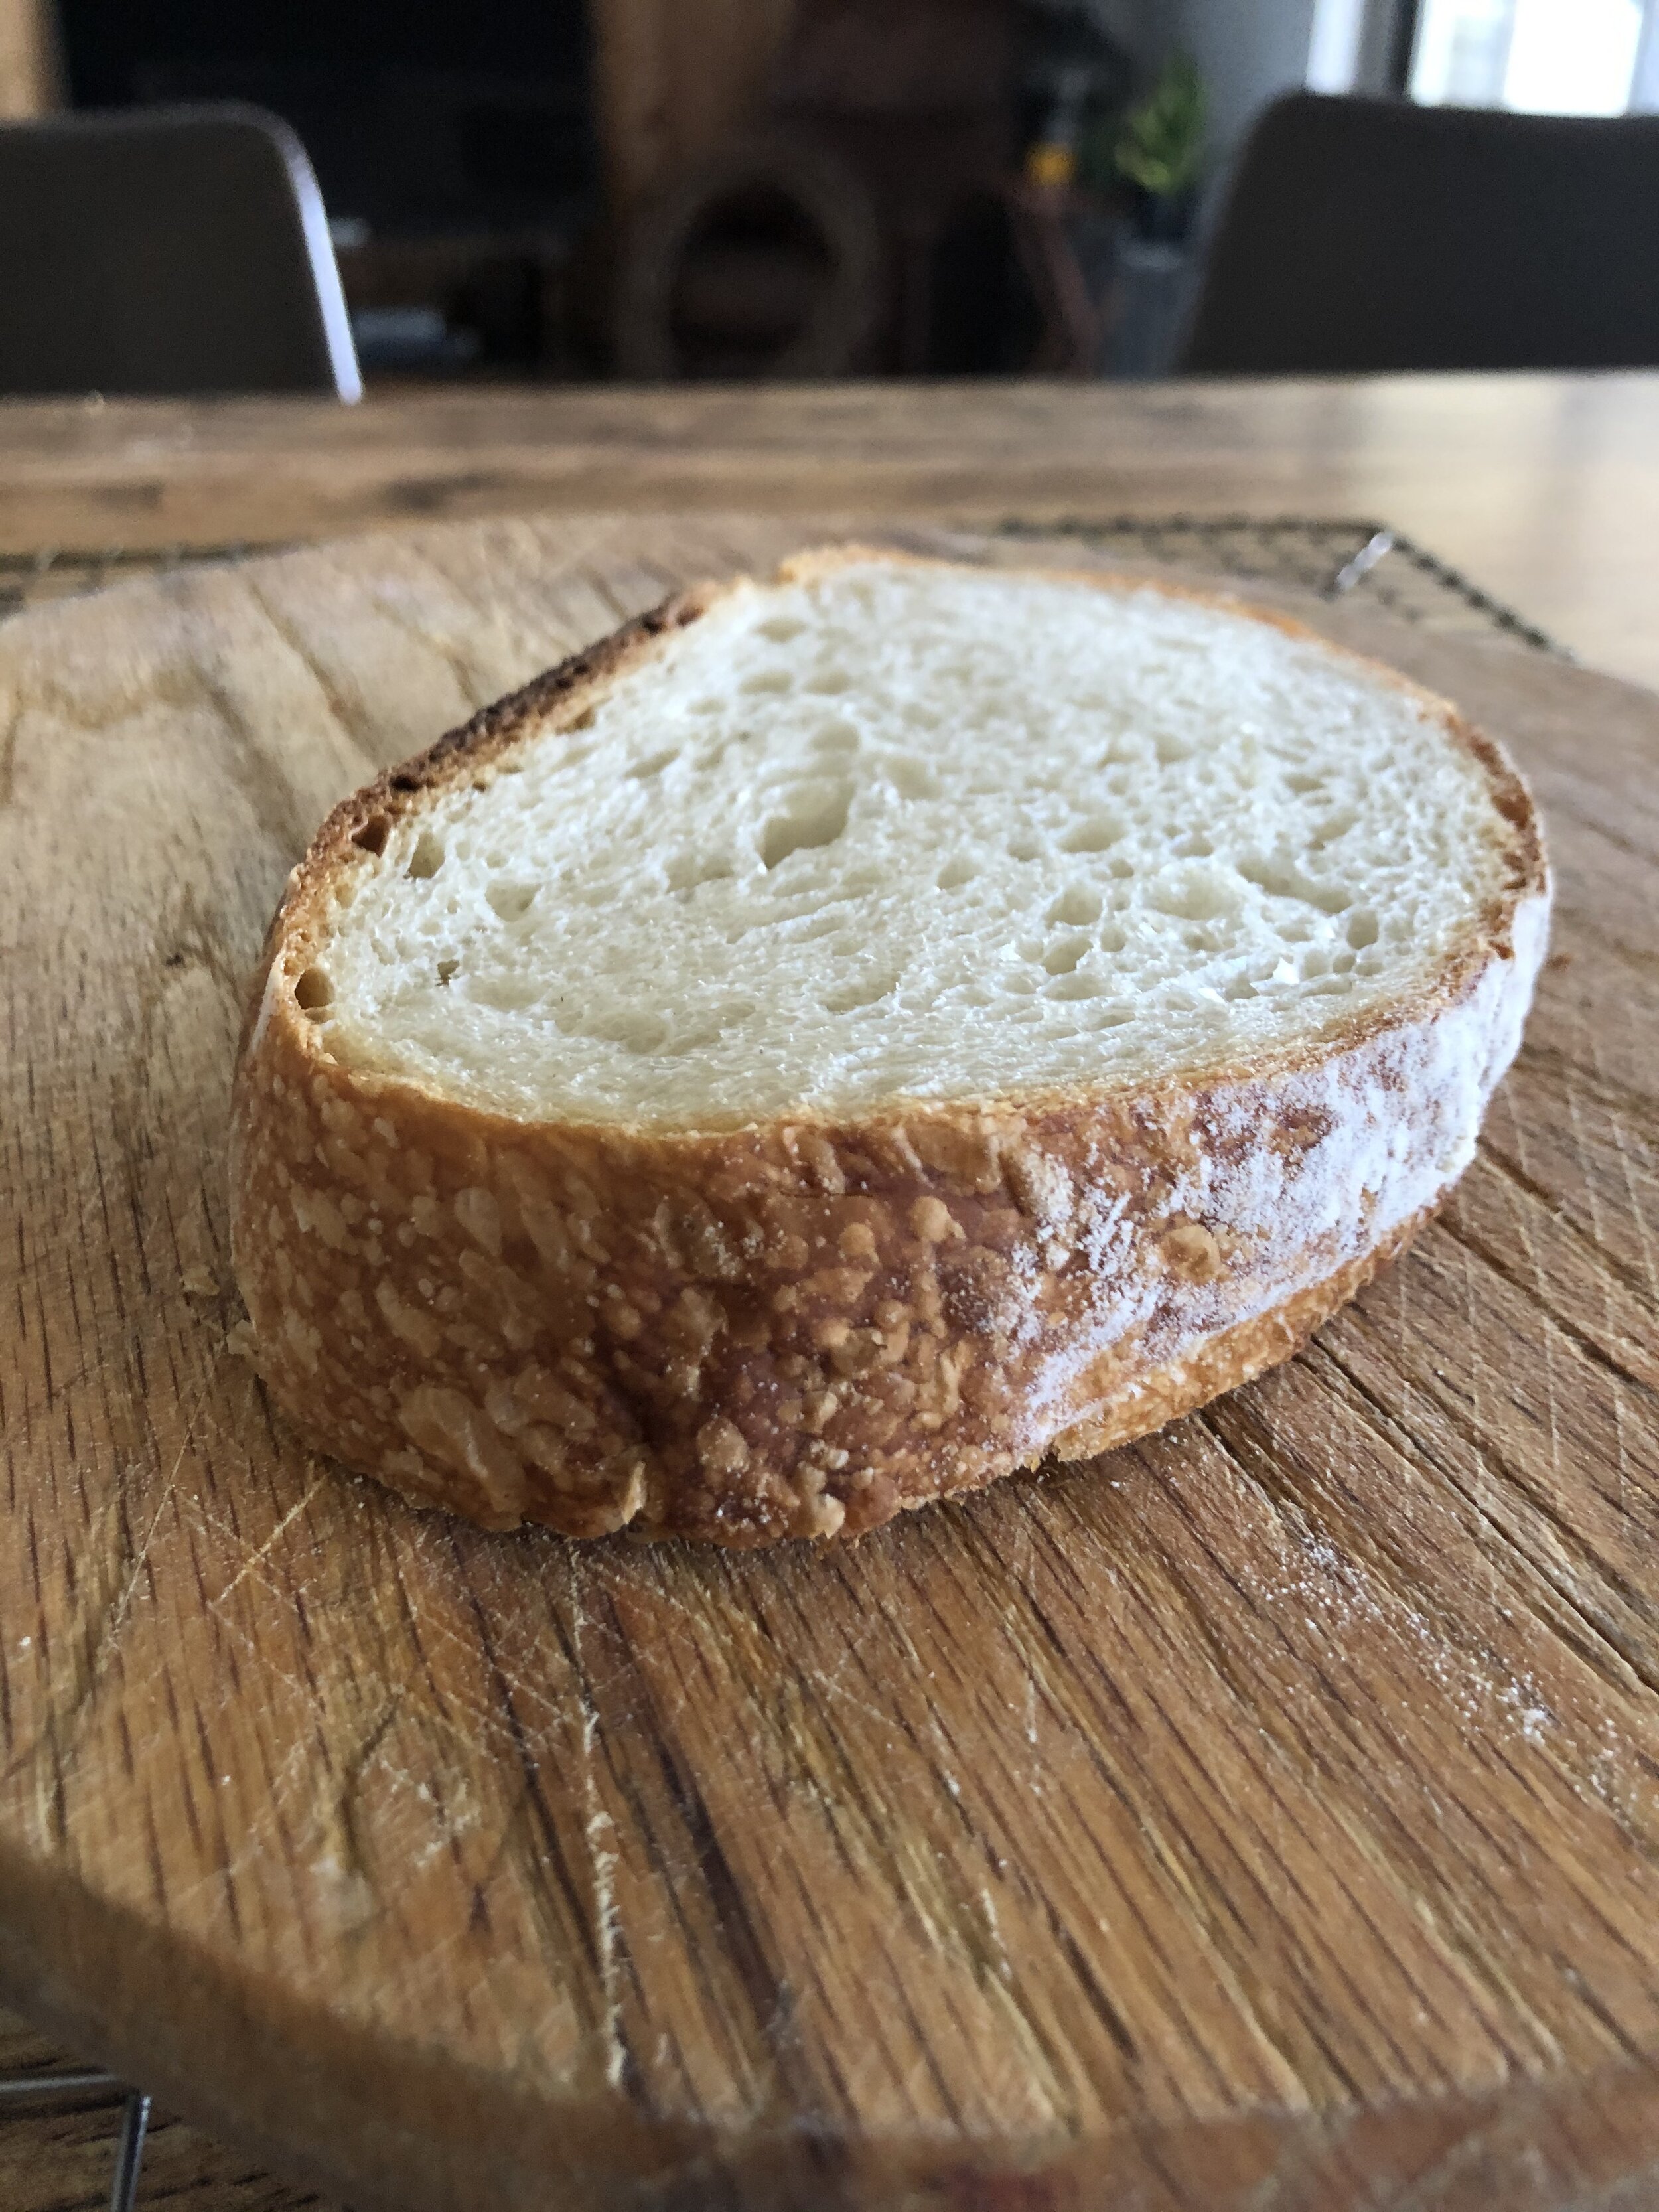
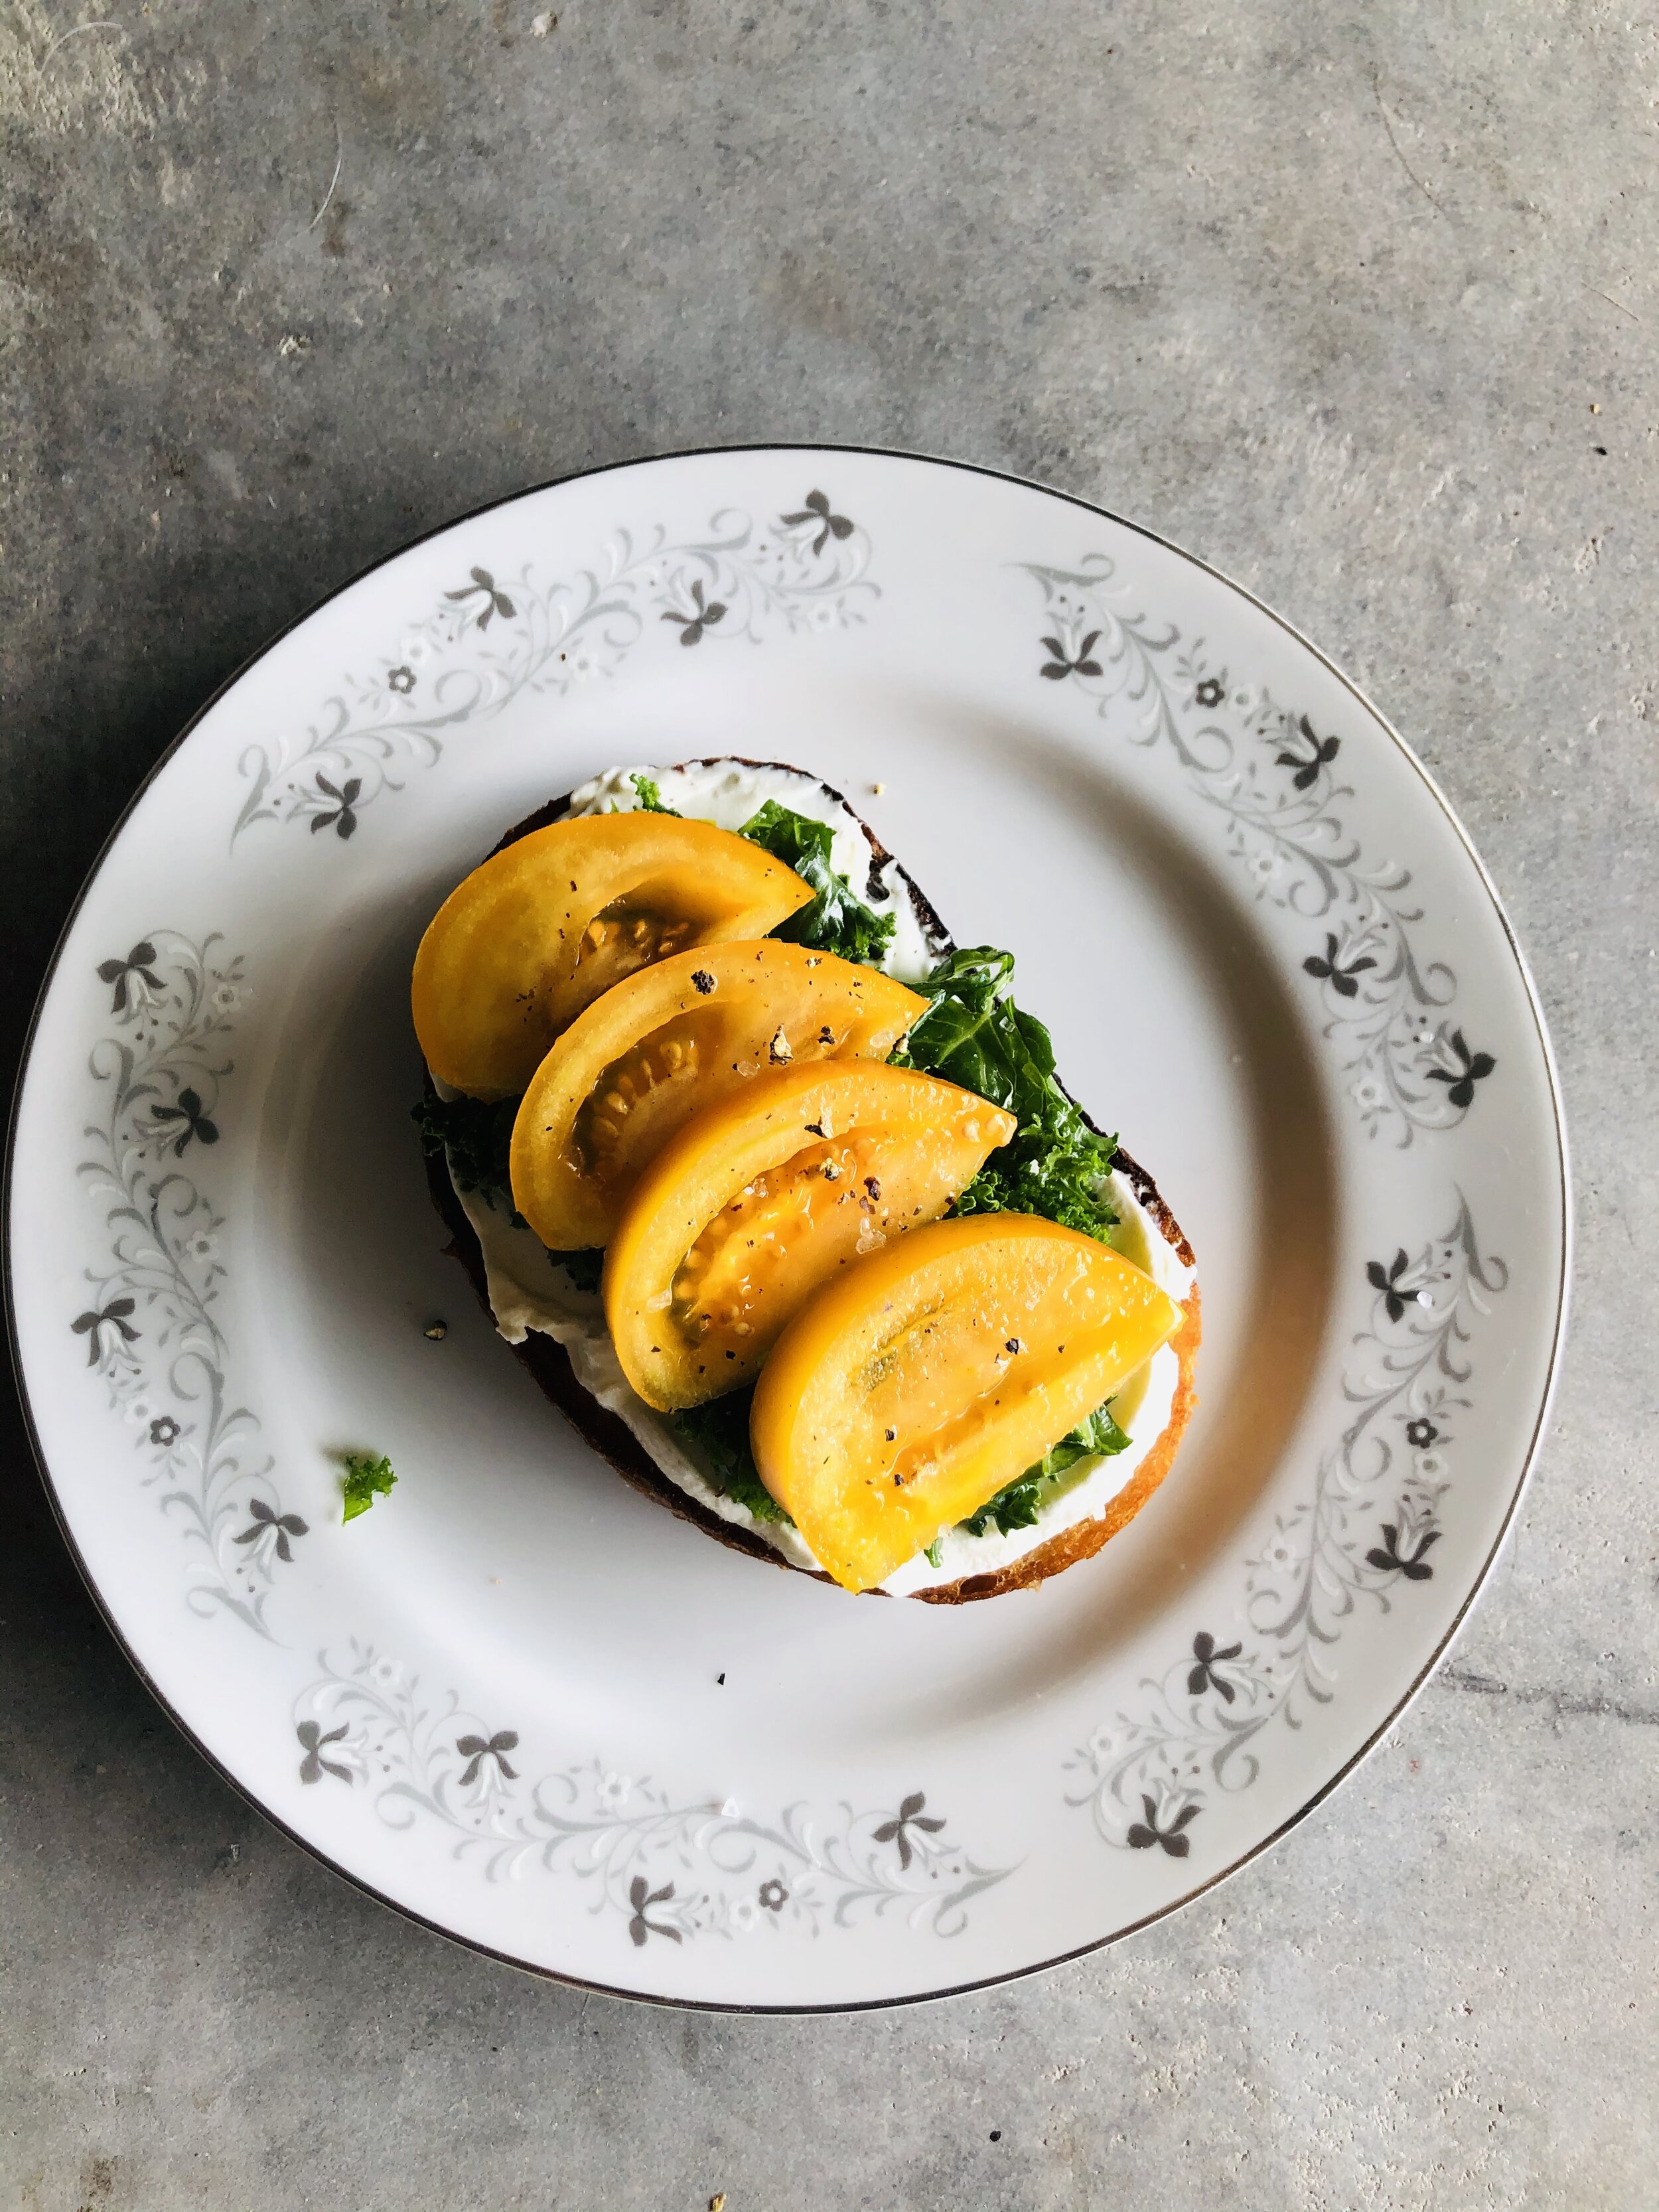
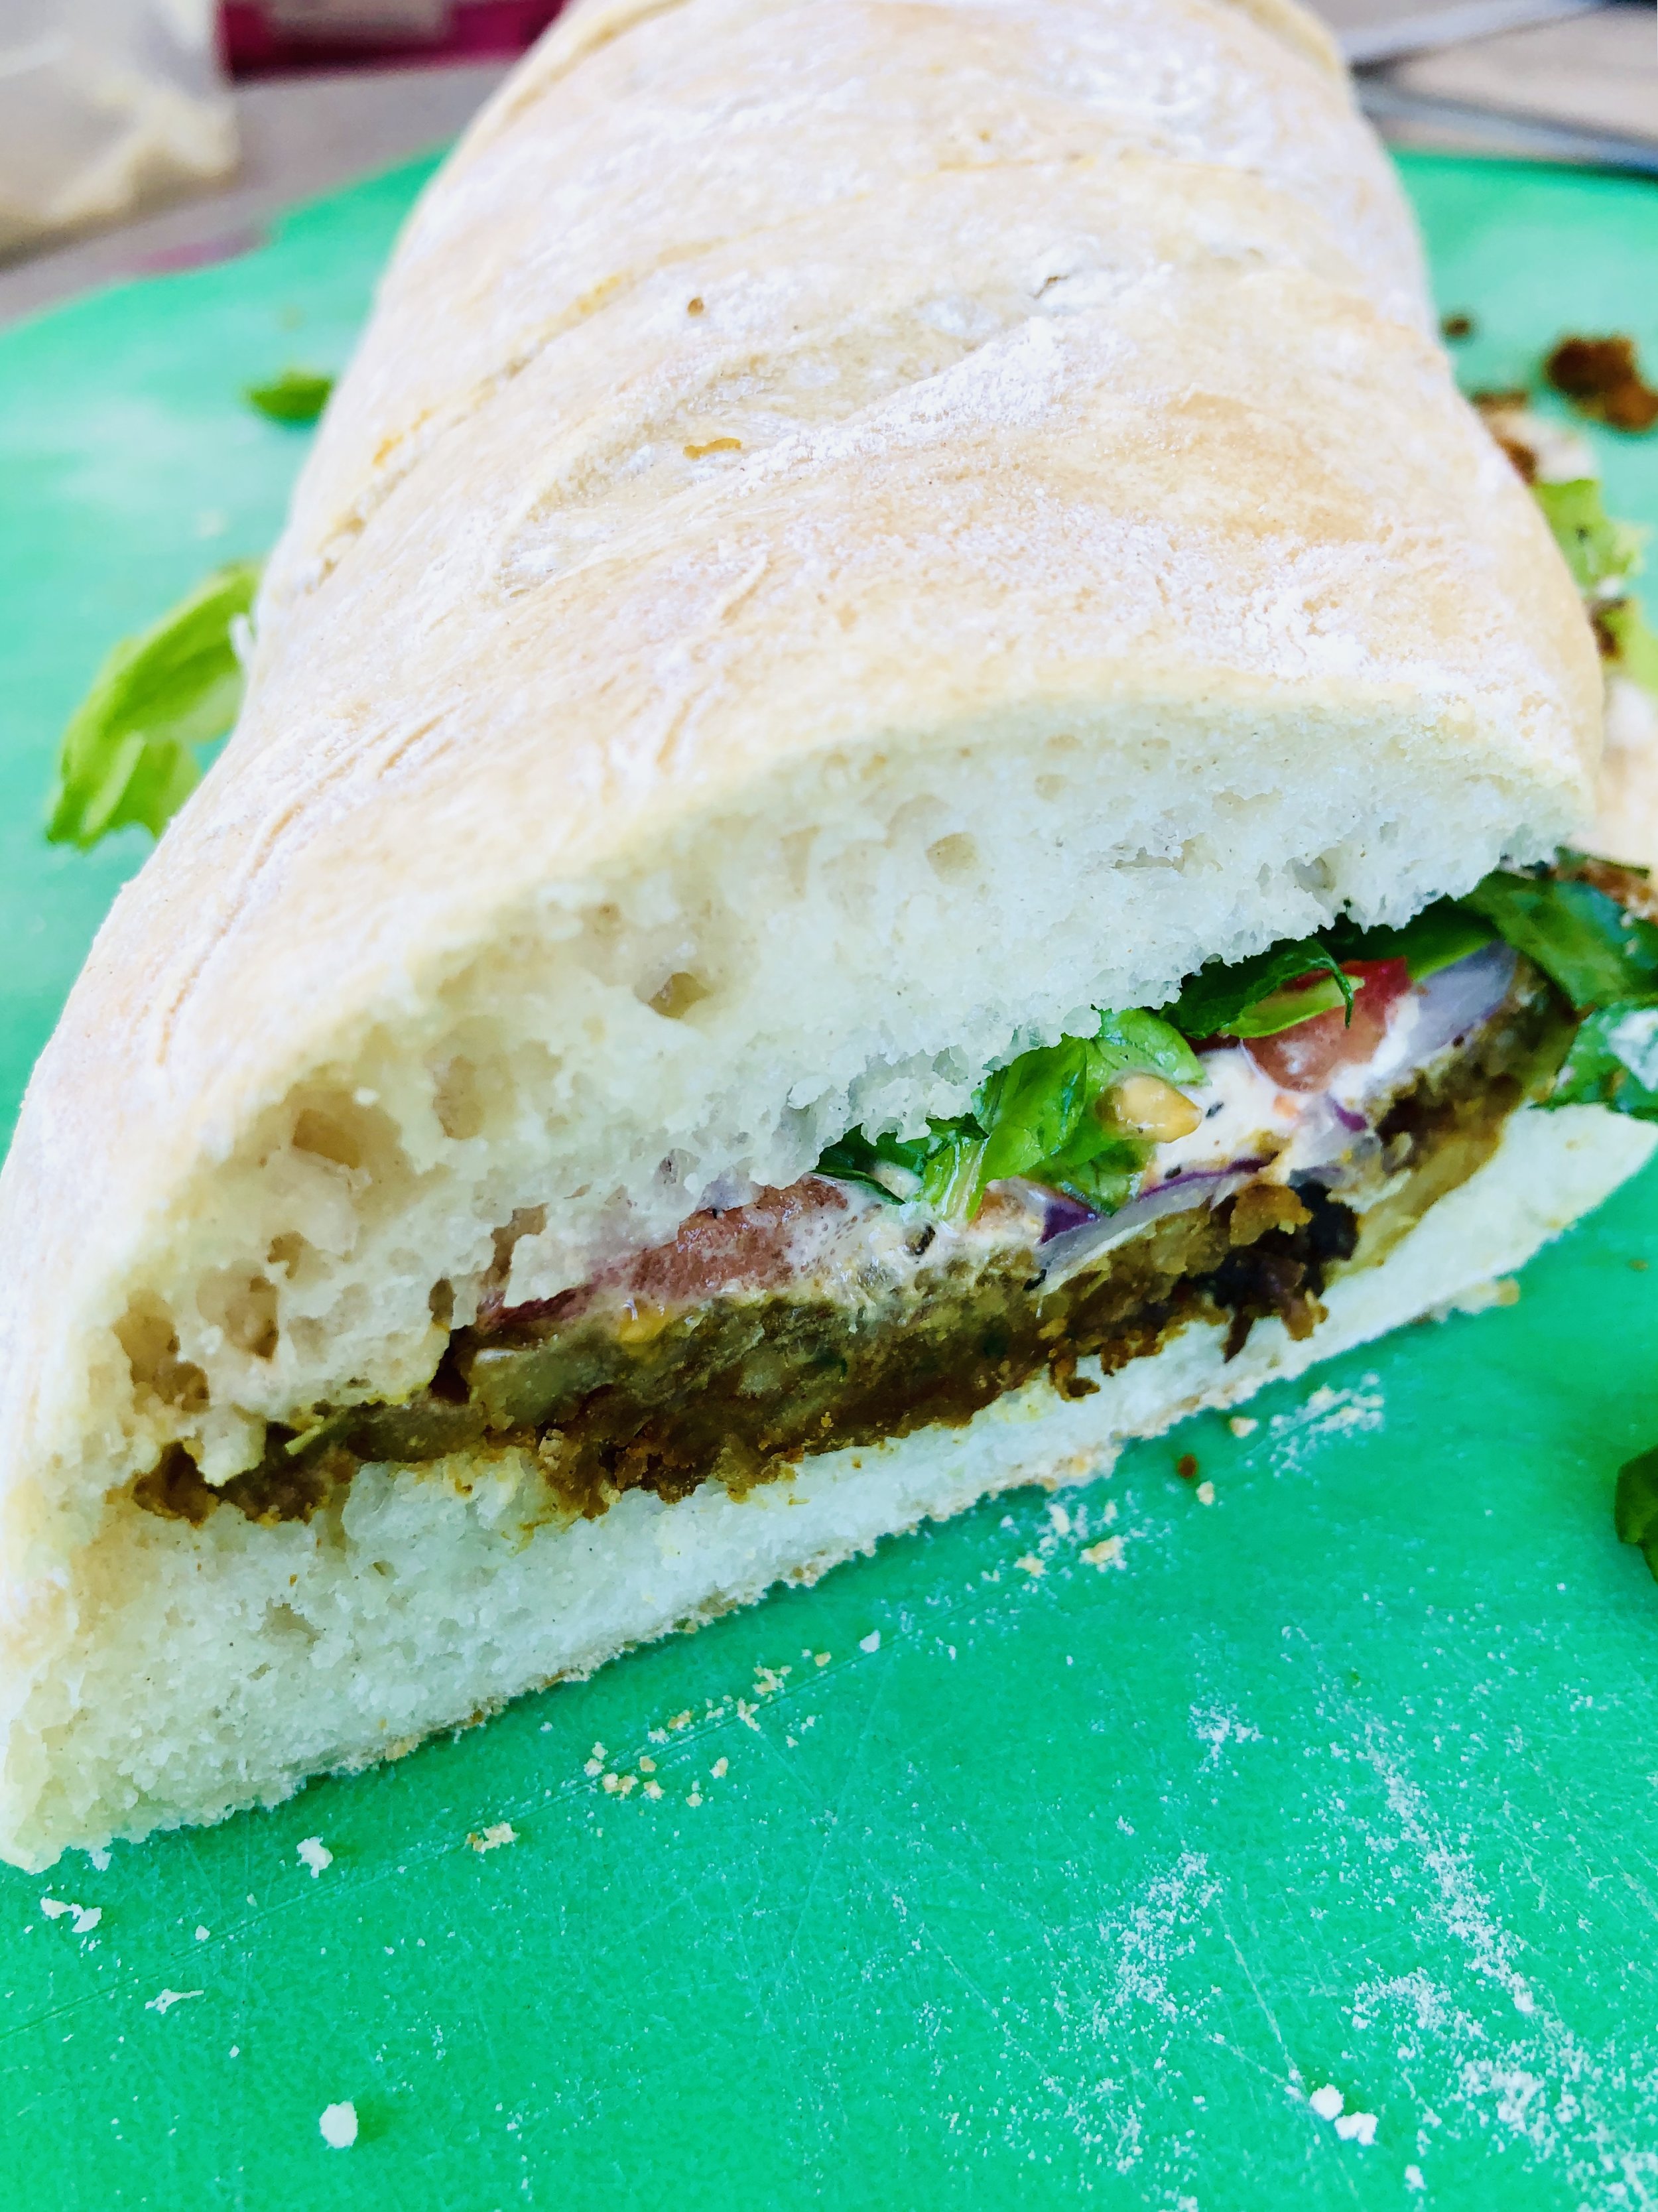
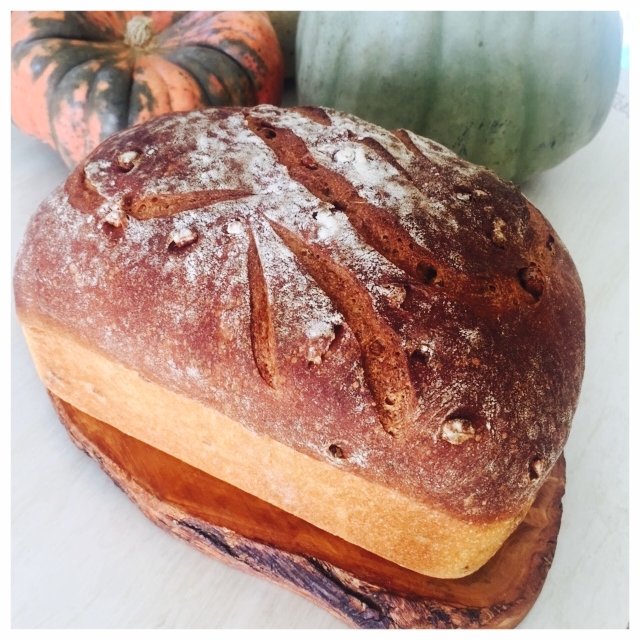
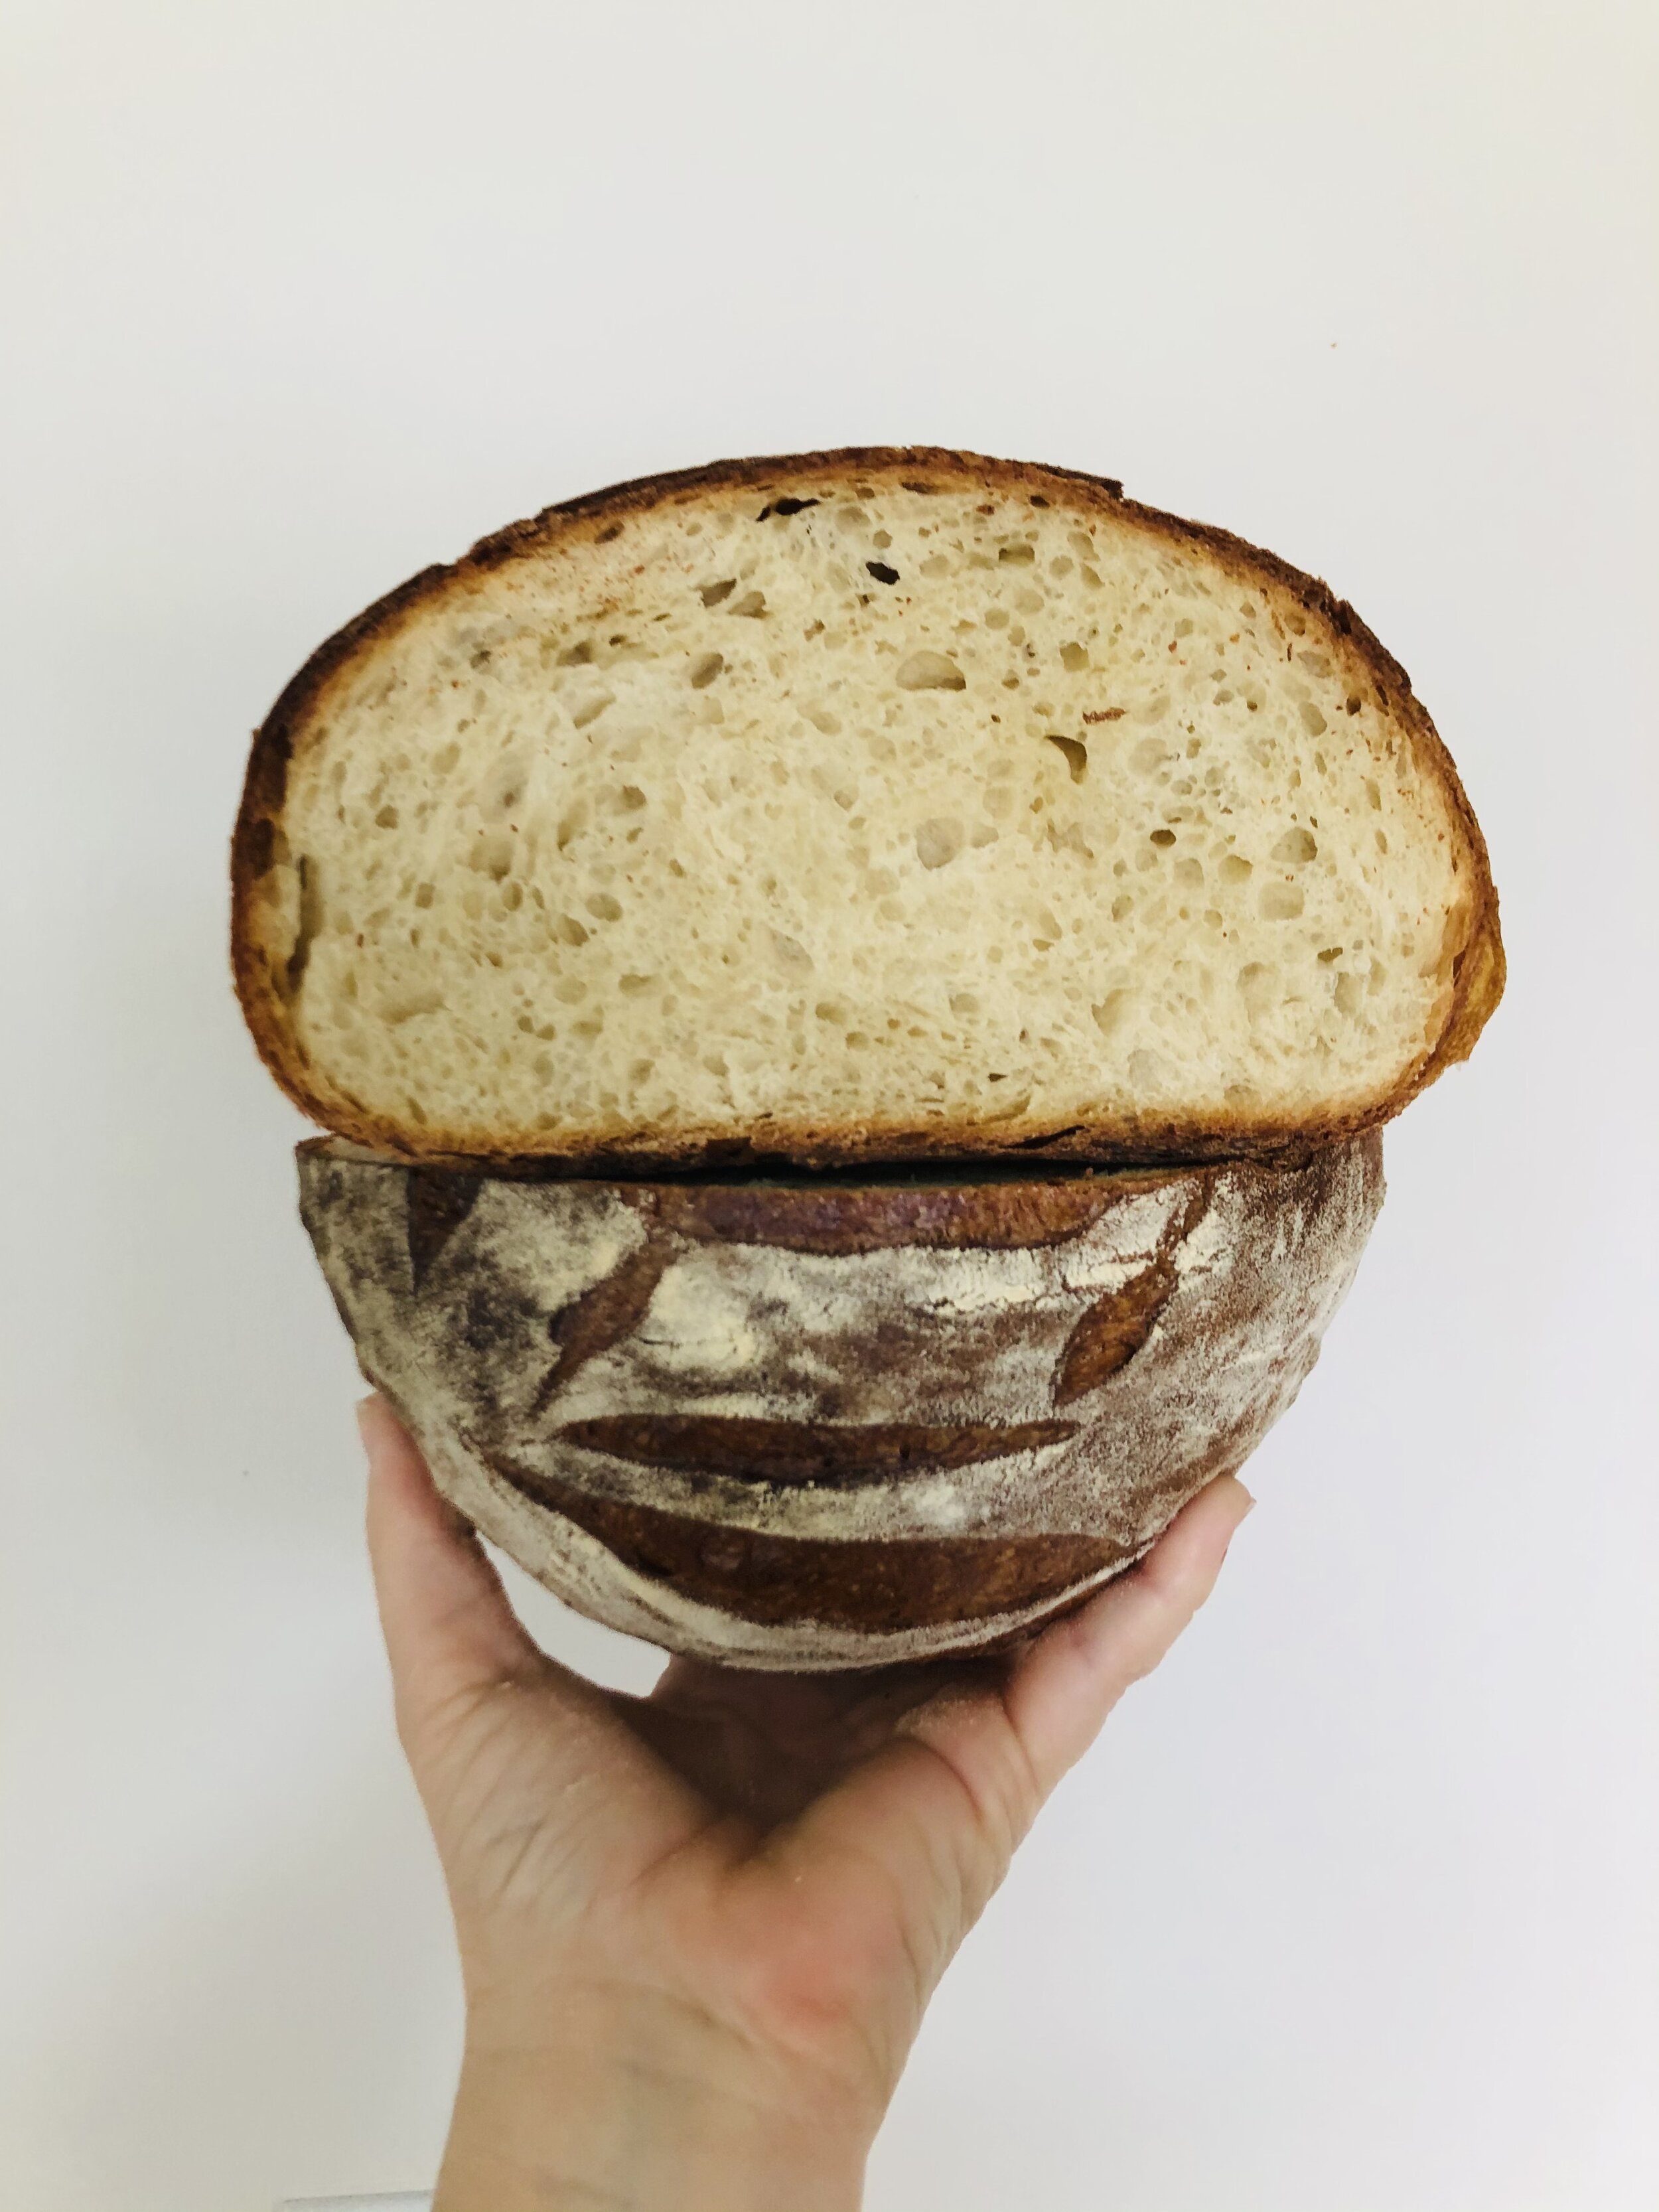
Freshly baked Honey Bread.
So long 2020! You won’t be missed!