Bread for the Home
Still got it!
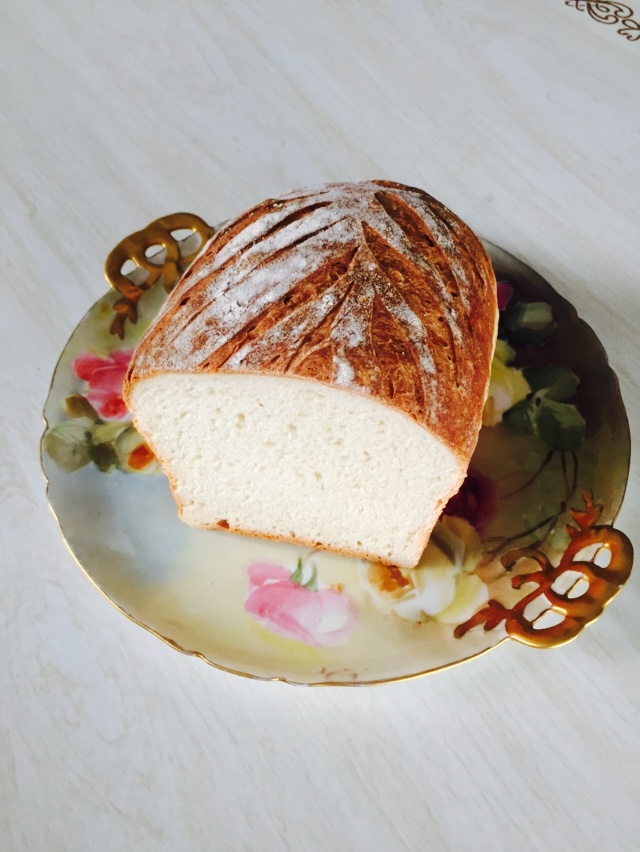
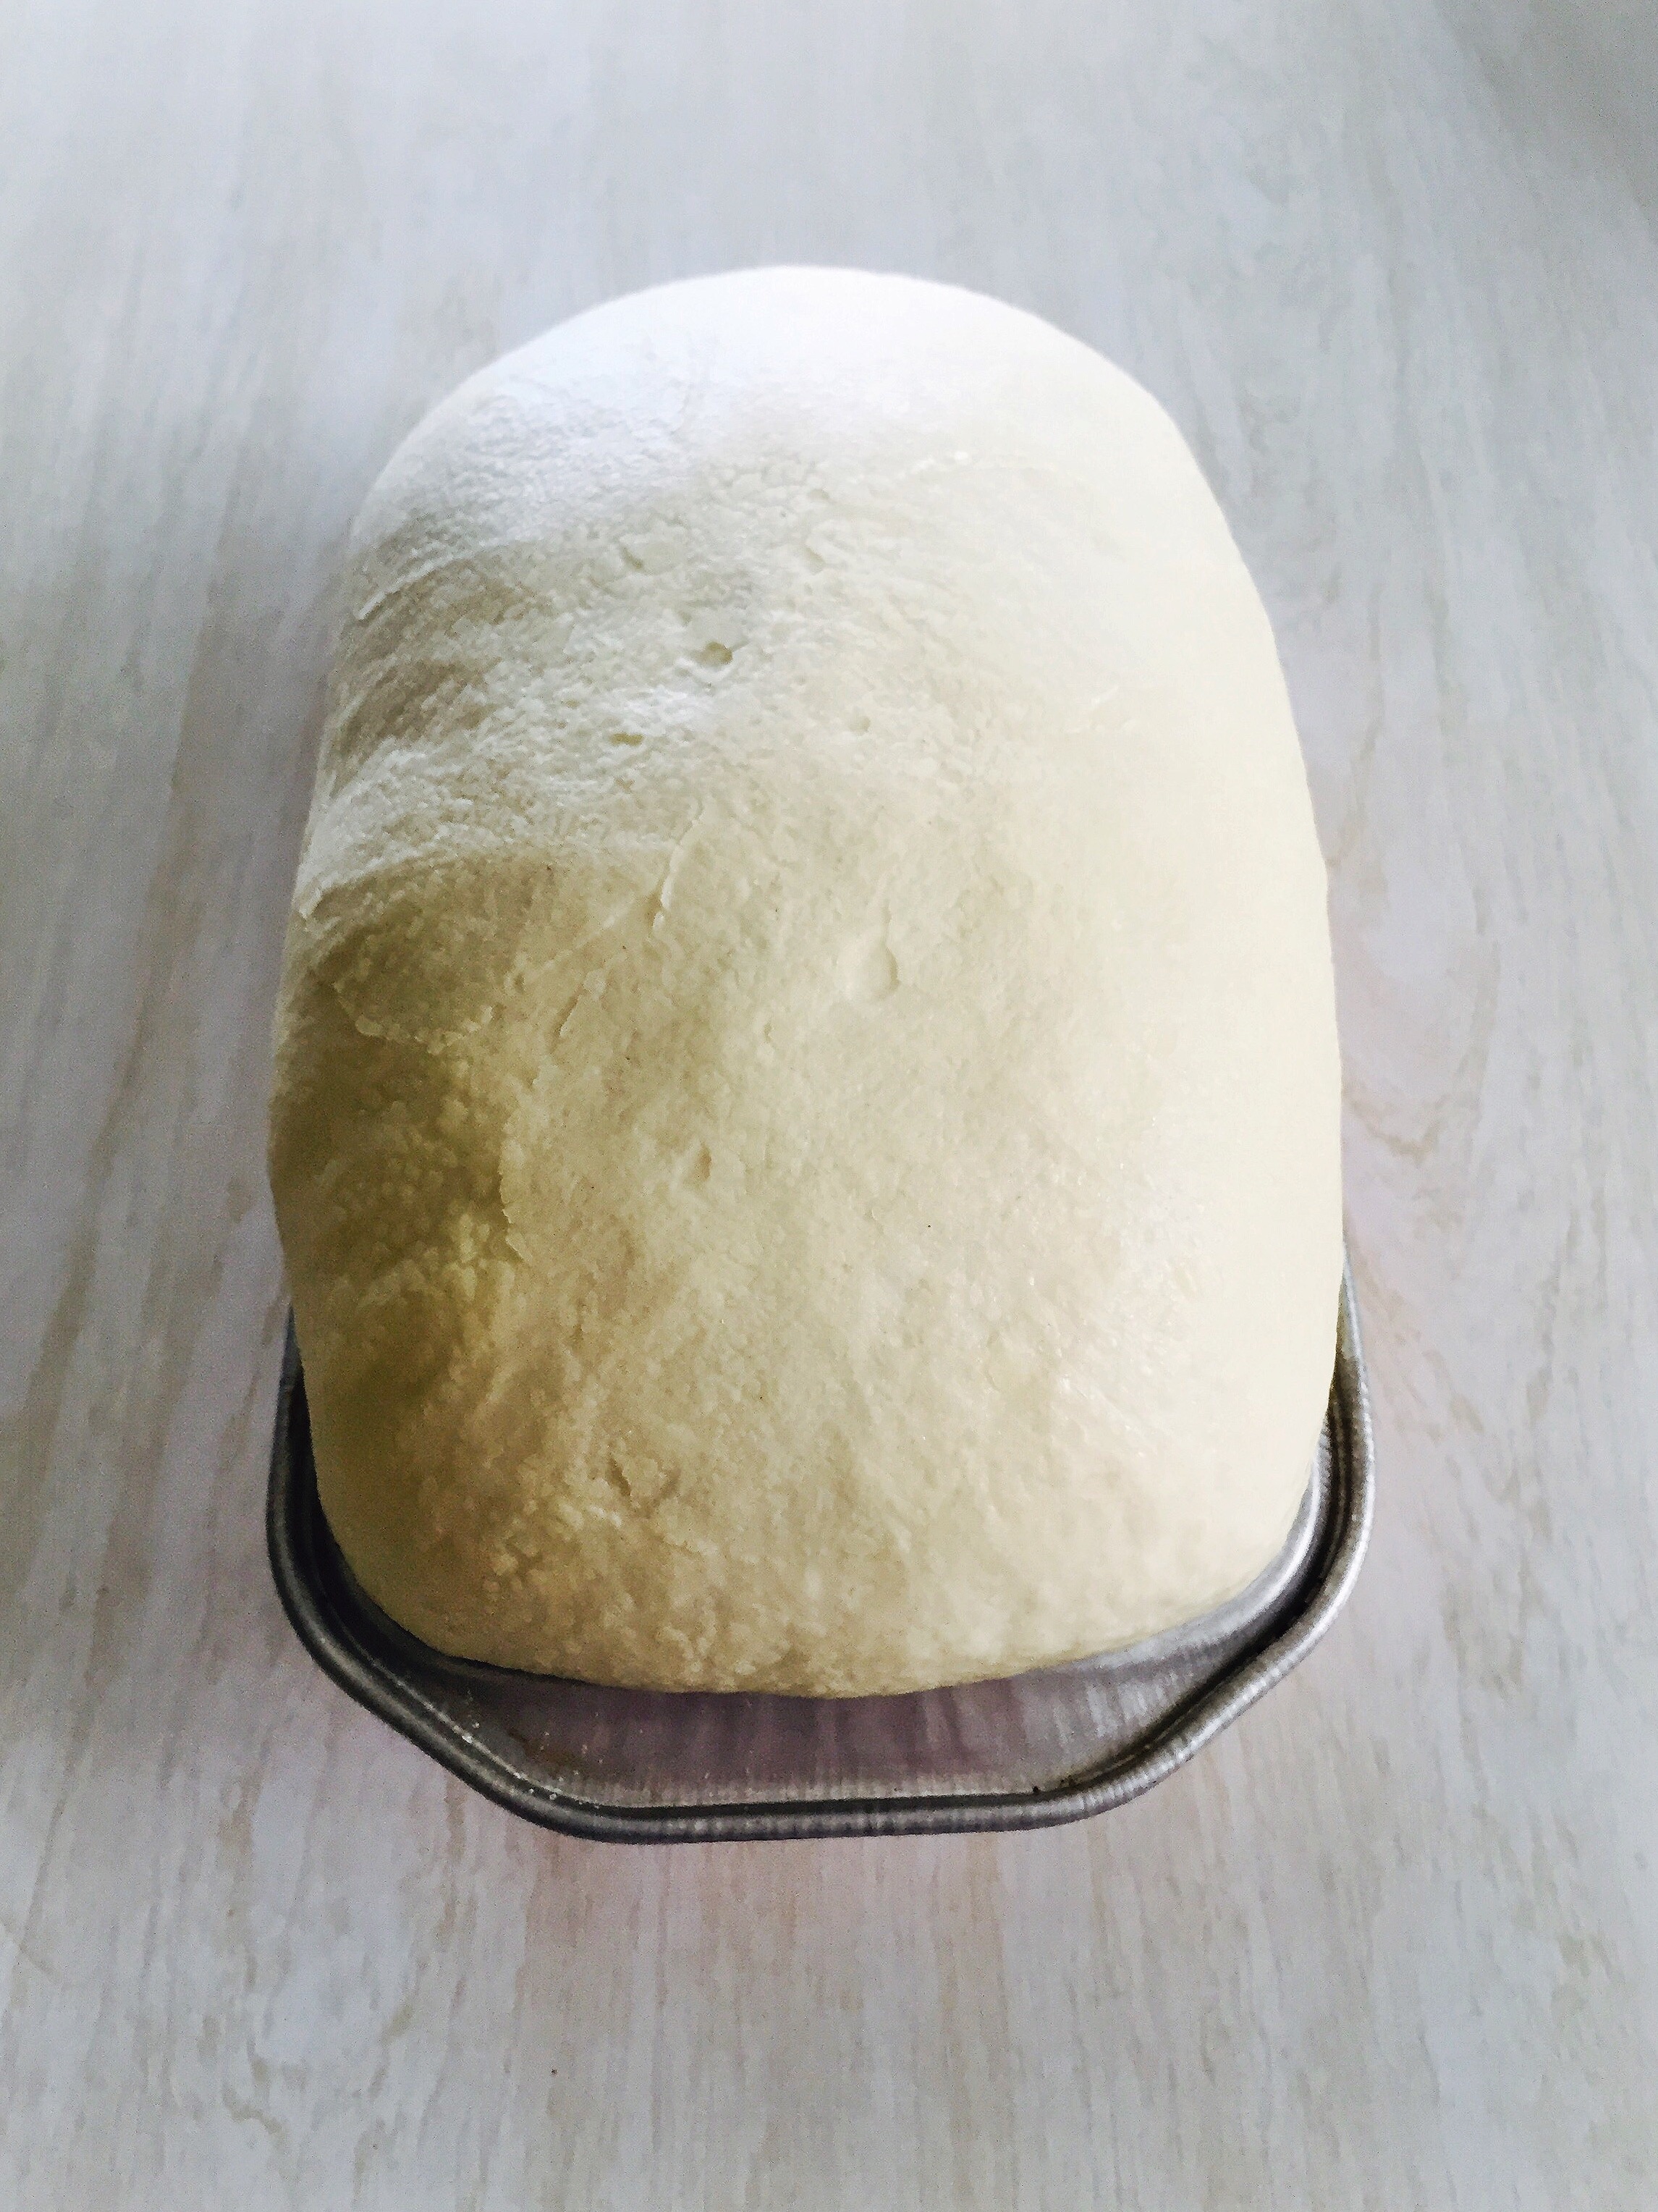
I baked this loaf of bread yesterday. It was my first attempt at bread baking post elbow surgery. Did I use both hands to knead it? Not really… This is a one-handed wonder bread but still, it was good to see not all is lost!
Recipe -ish
Dry Ingredients Combined:
2 cups flour
3/4 tsp yeast
3/4 tsp salt
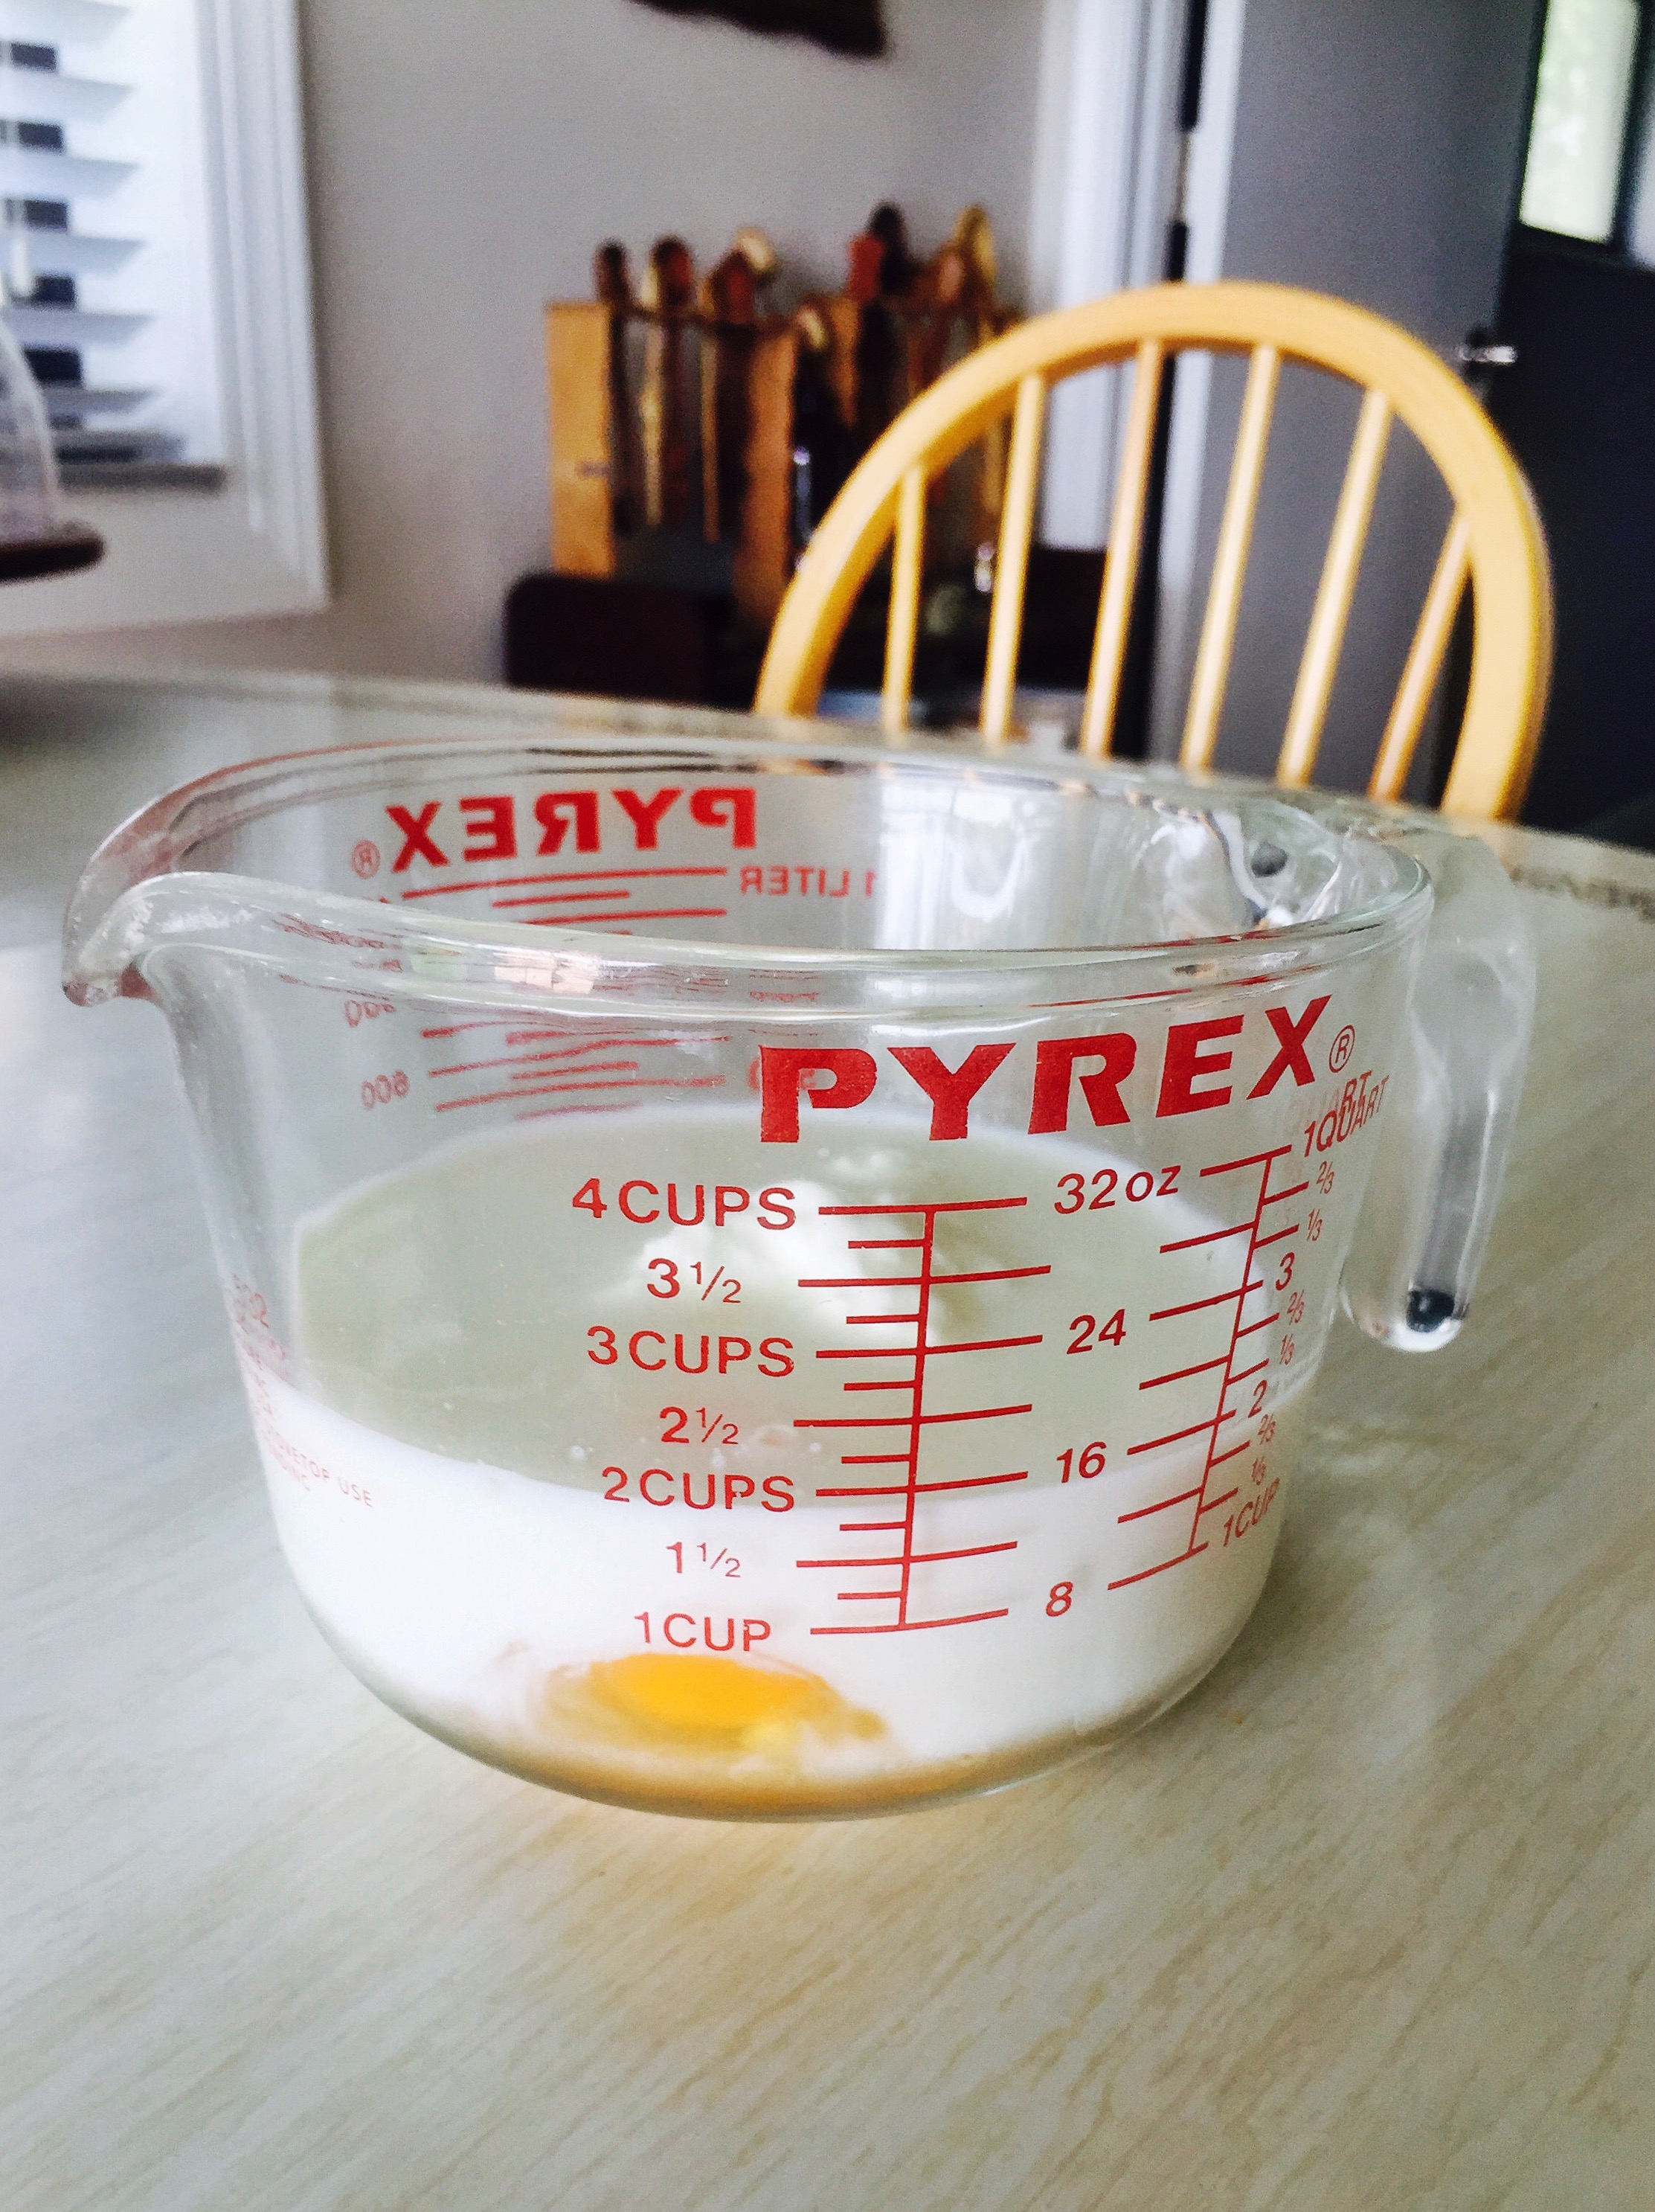
Wet Ingredients Combined:
1/4 cup molasses
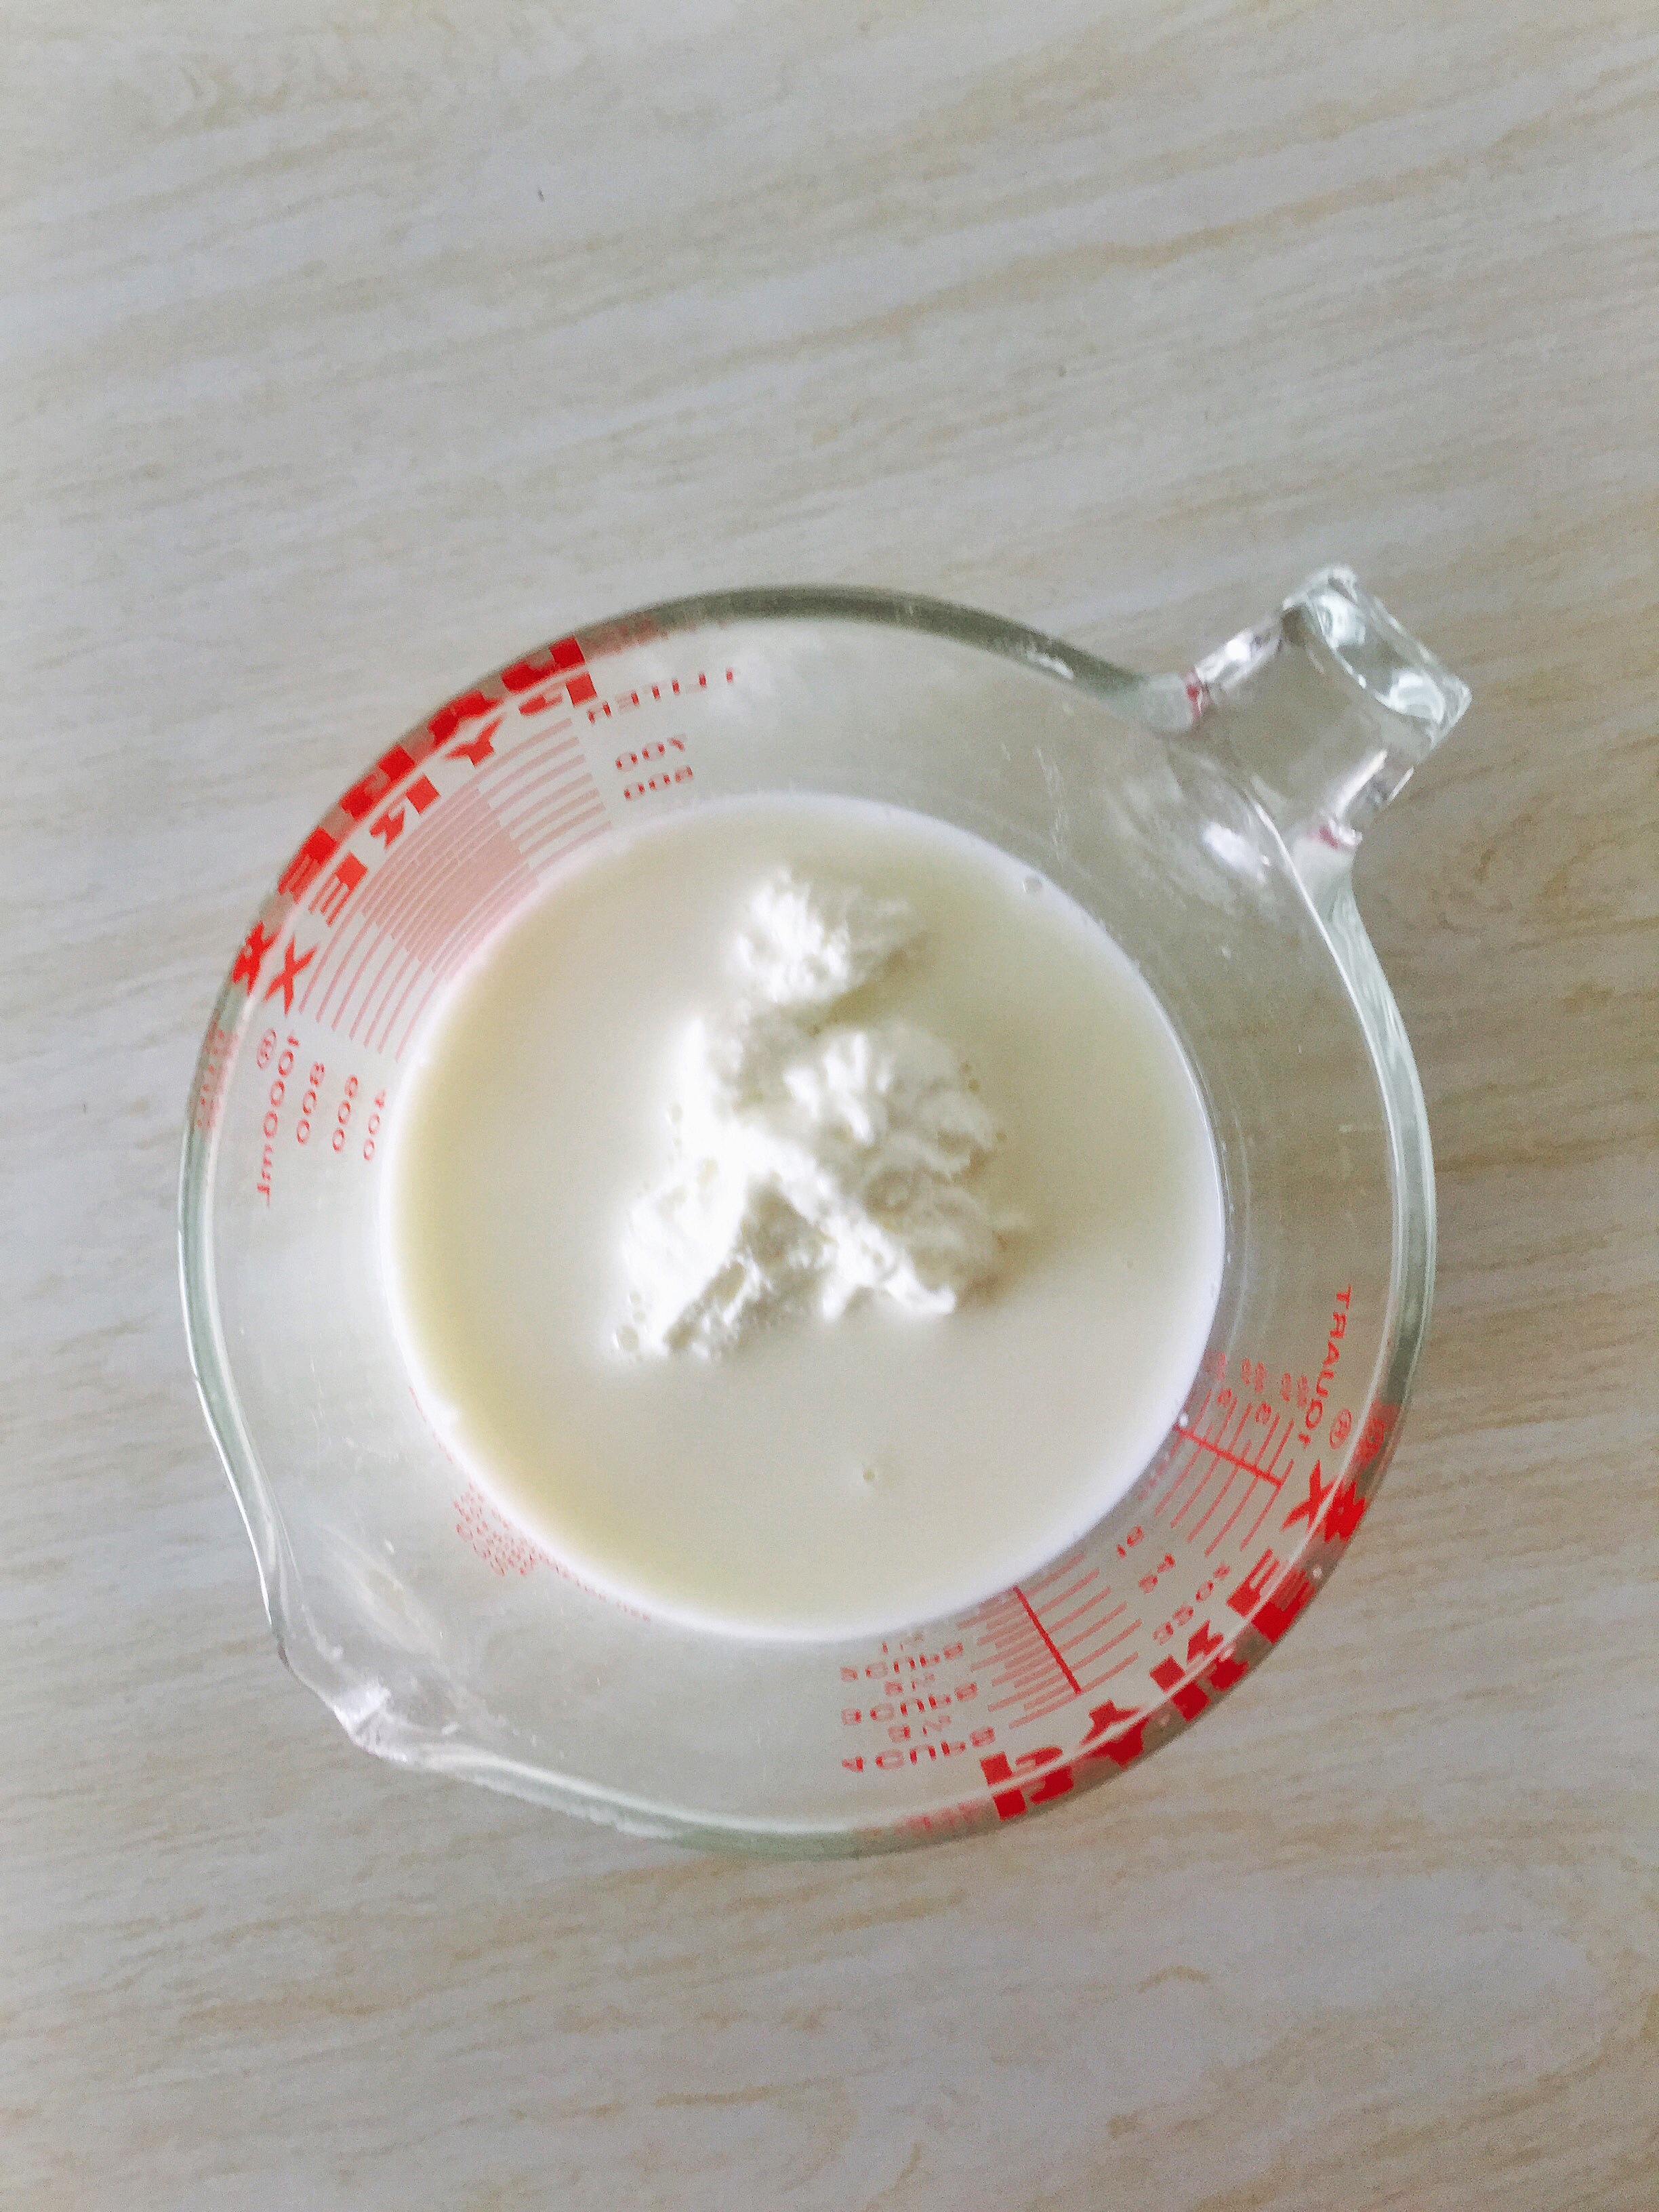
1/4 cup warm milk
1/4 cup warm water
Process:
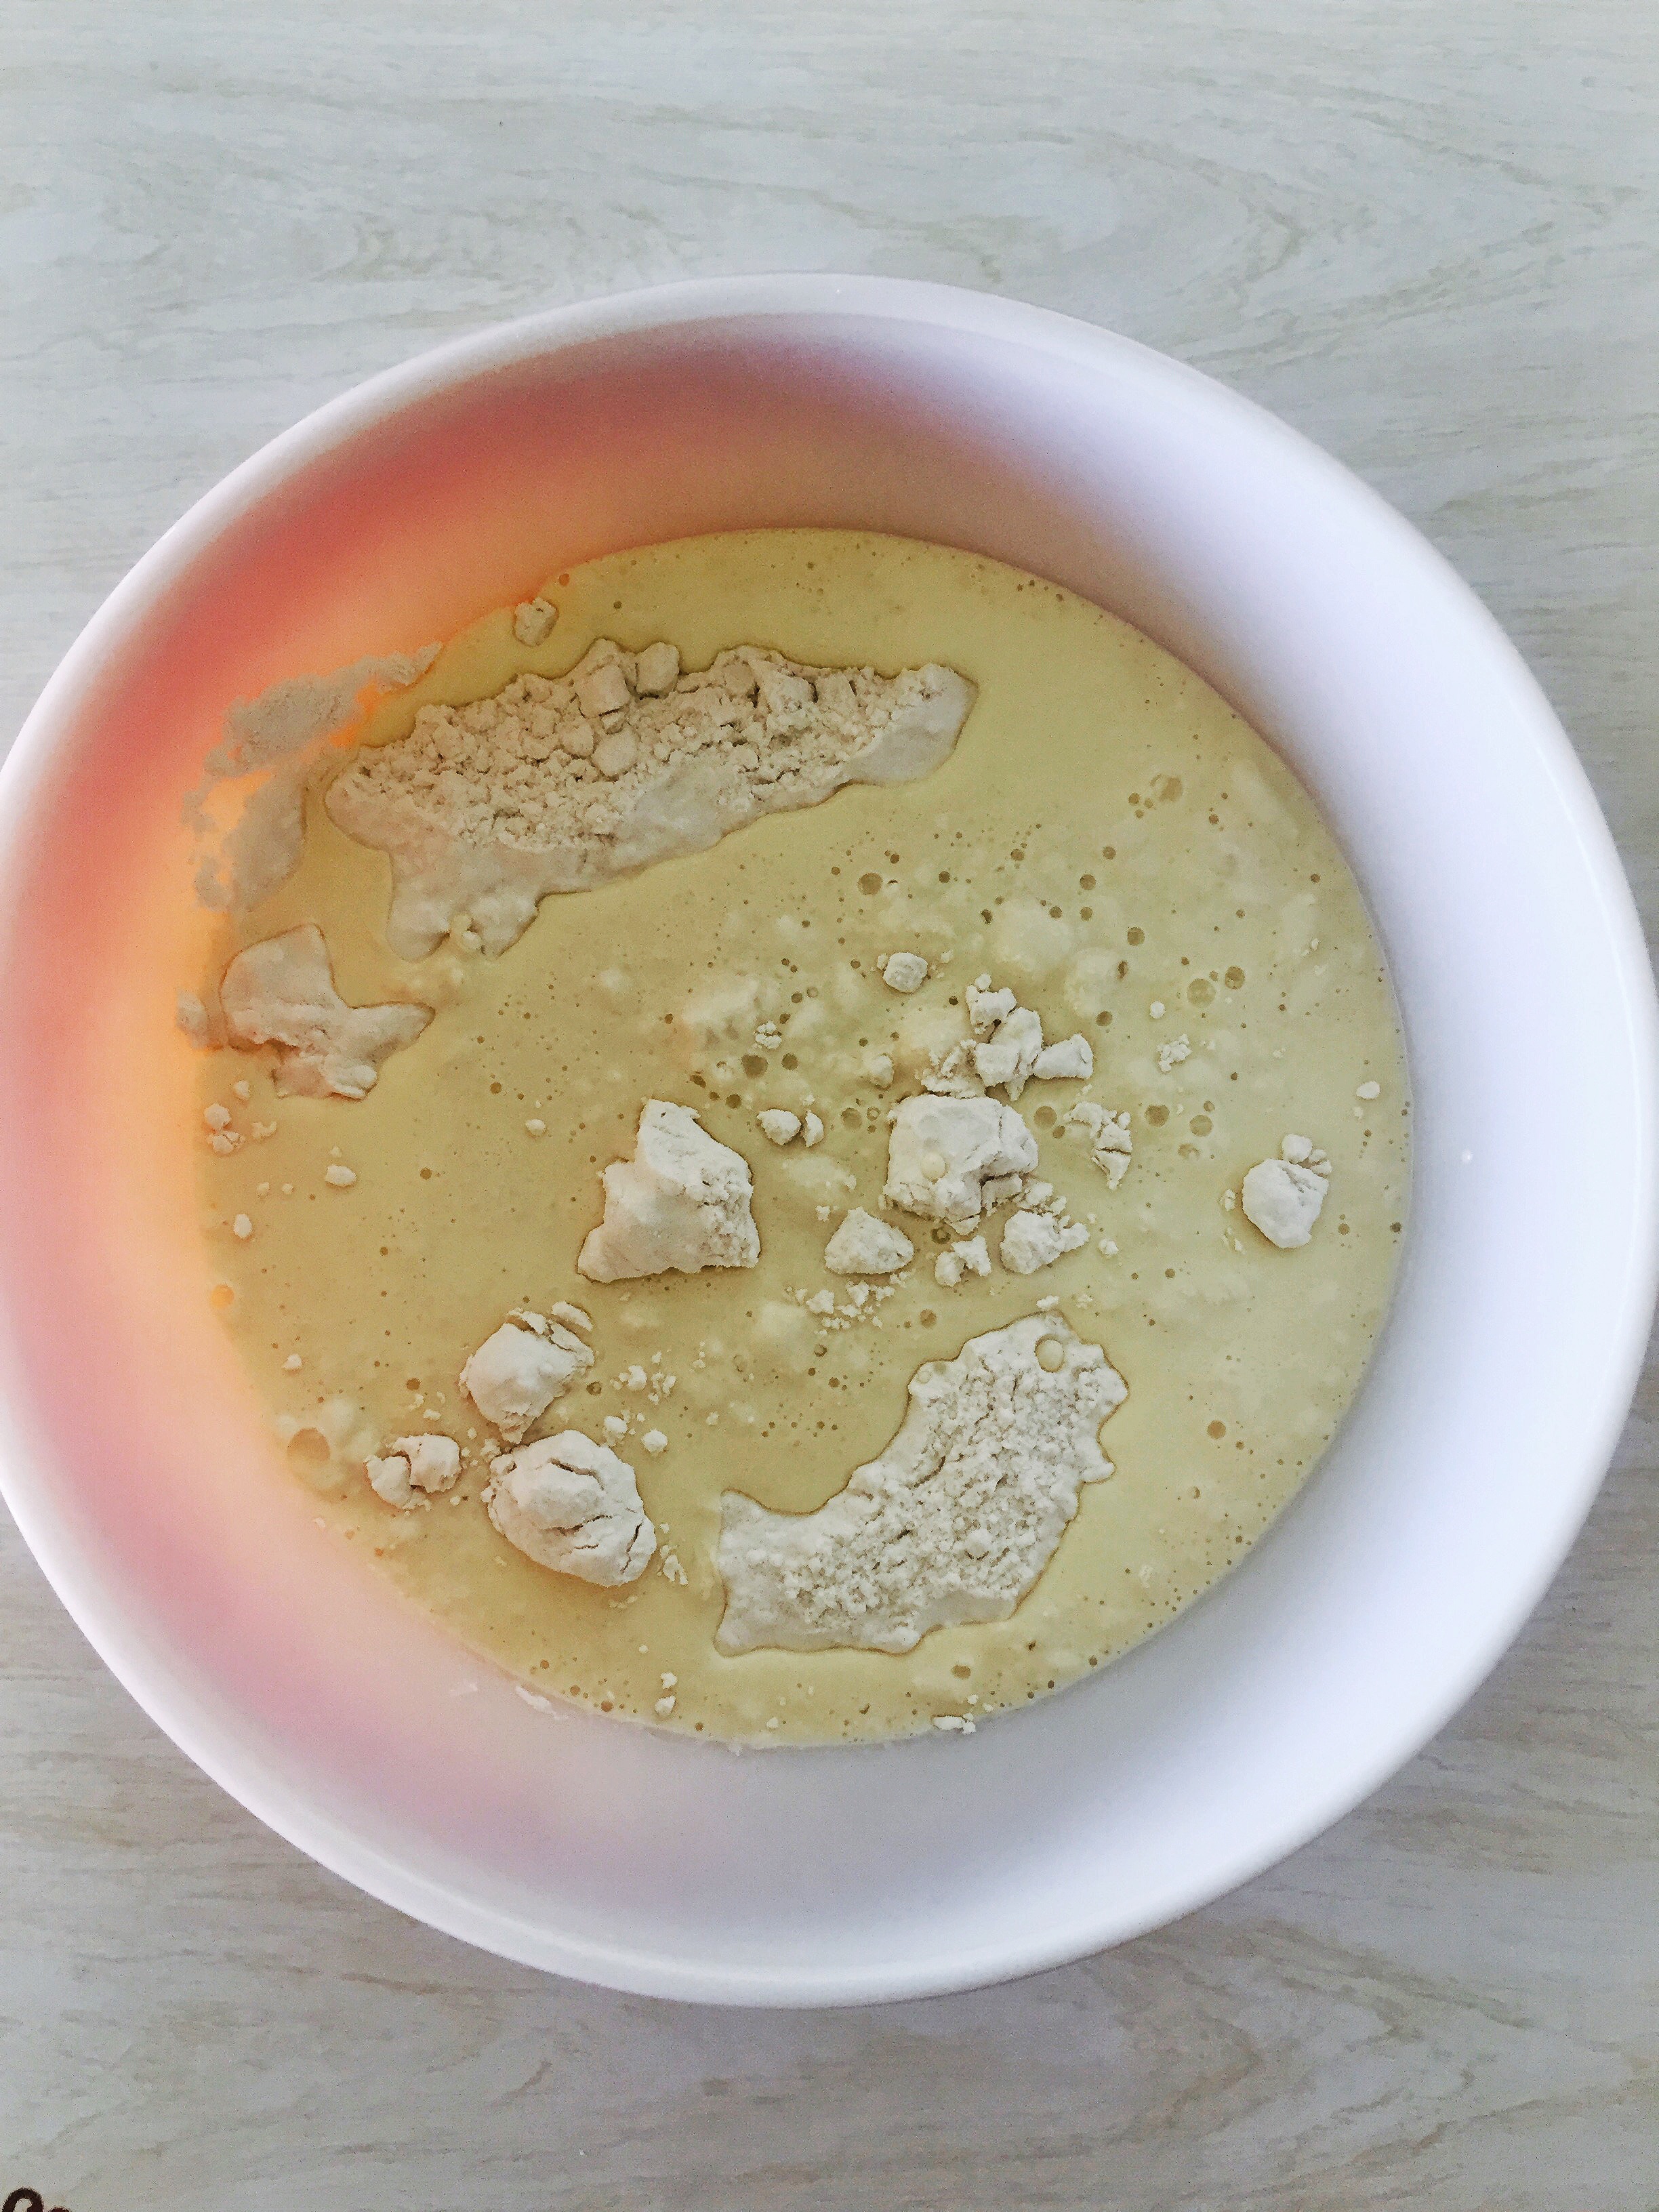
Place all dry ingredients in a bowl.
Mix wet ingredients together and then add to the bowl.
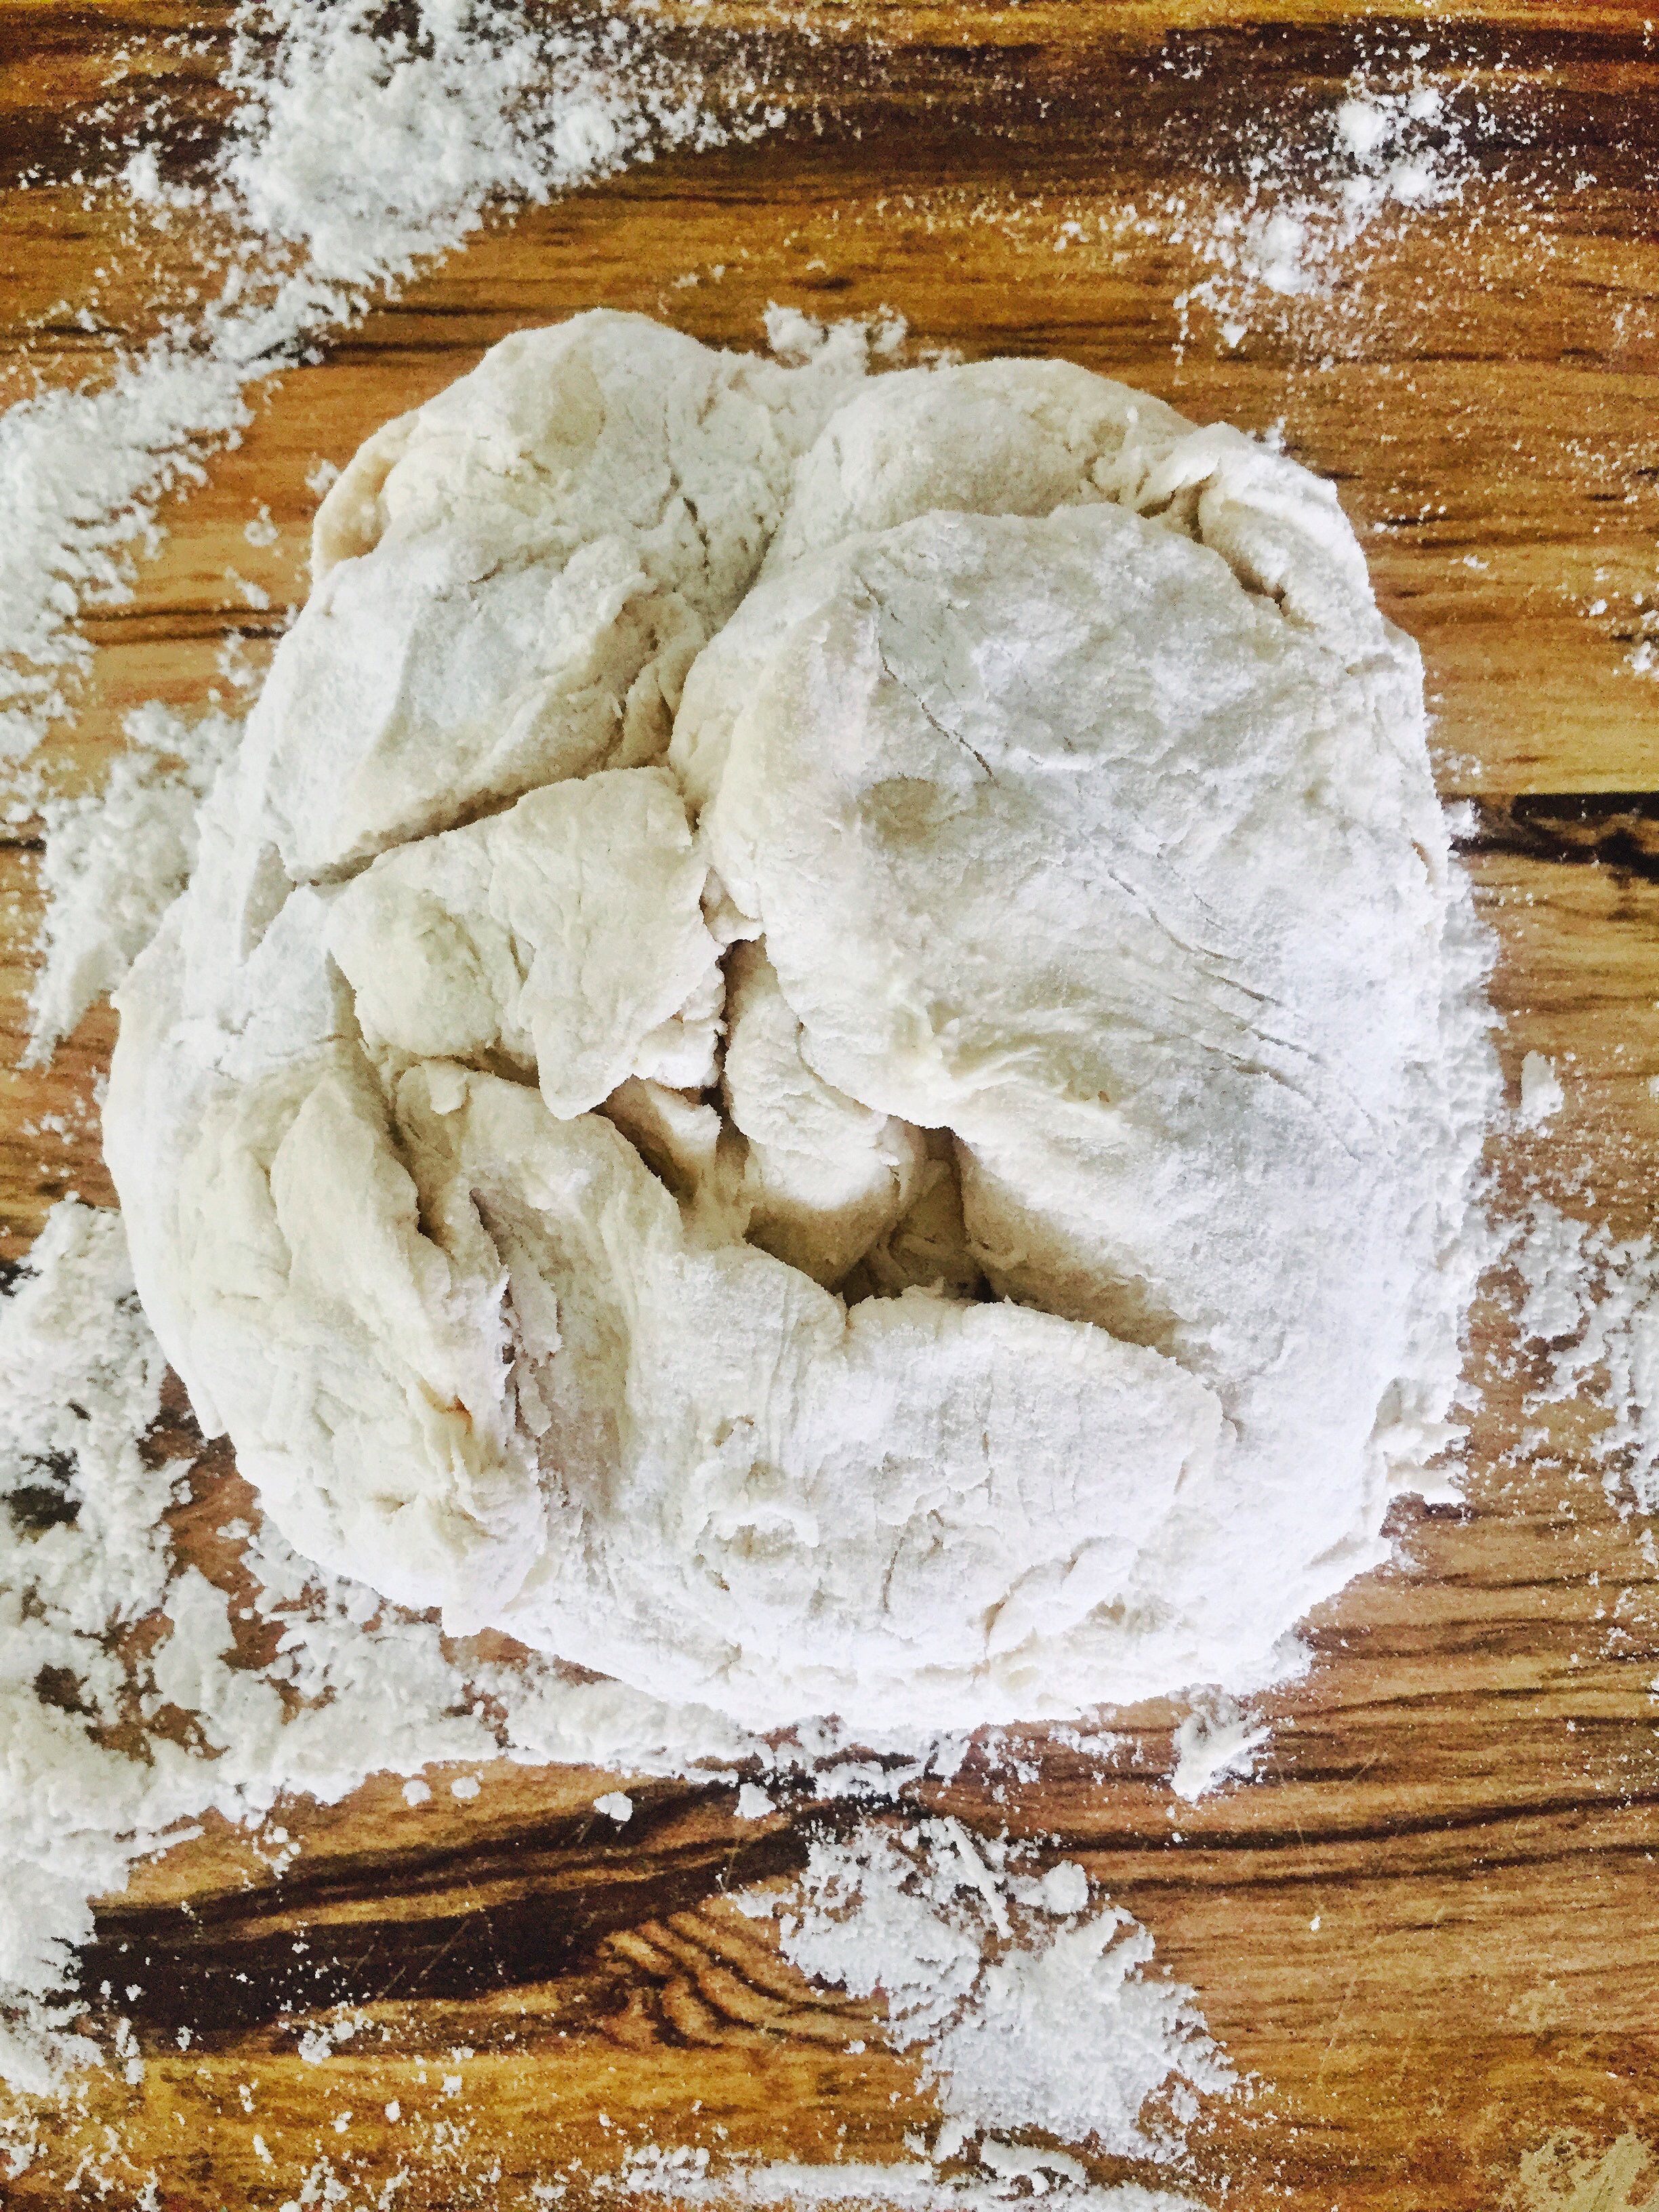
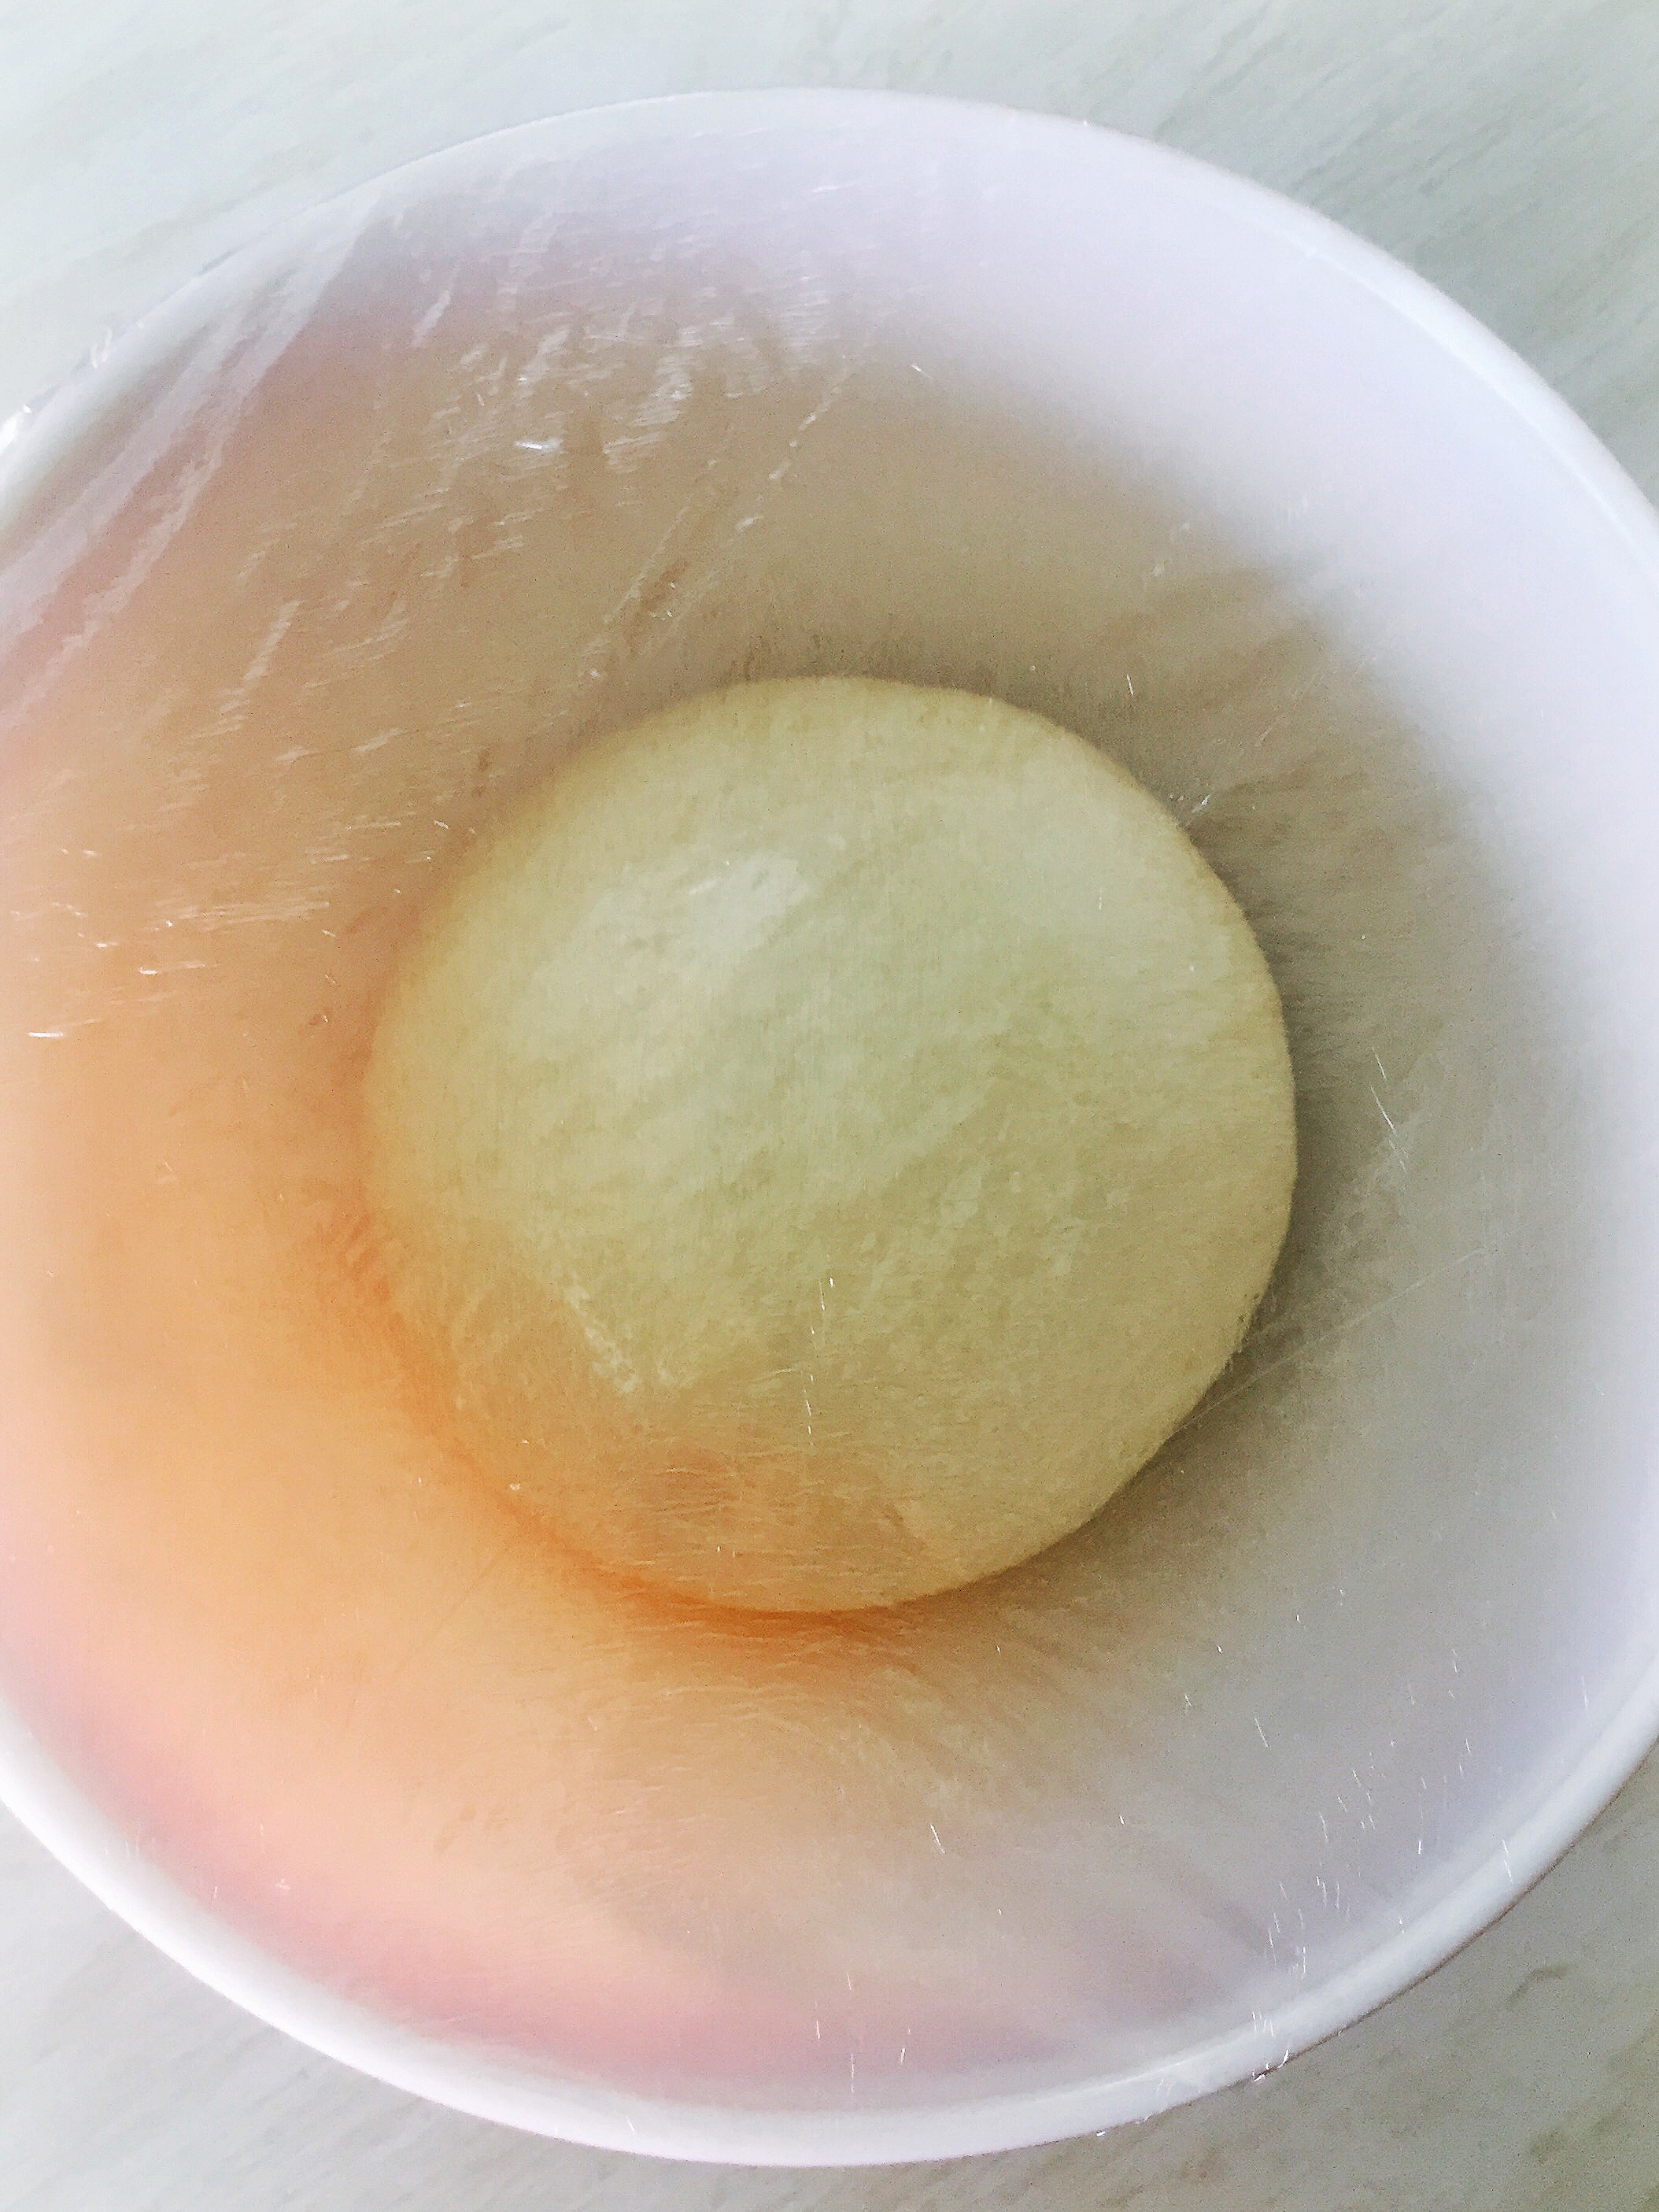
Combine, form dough, knead…
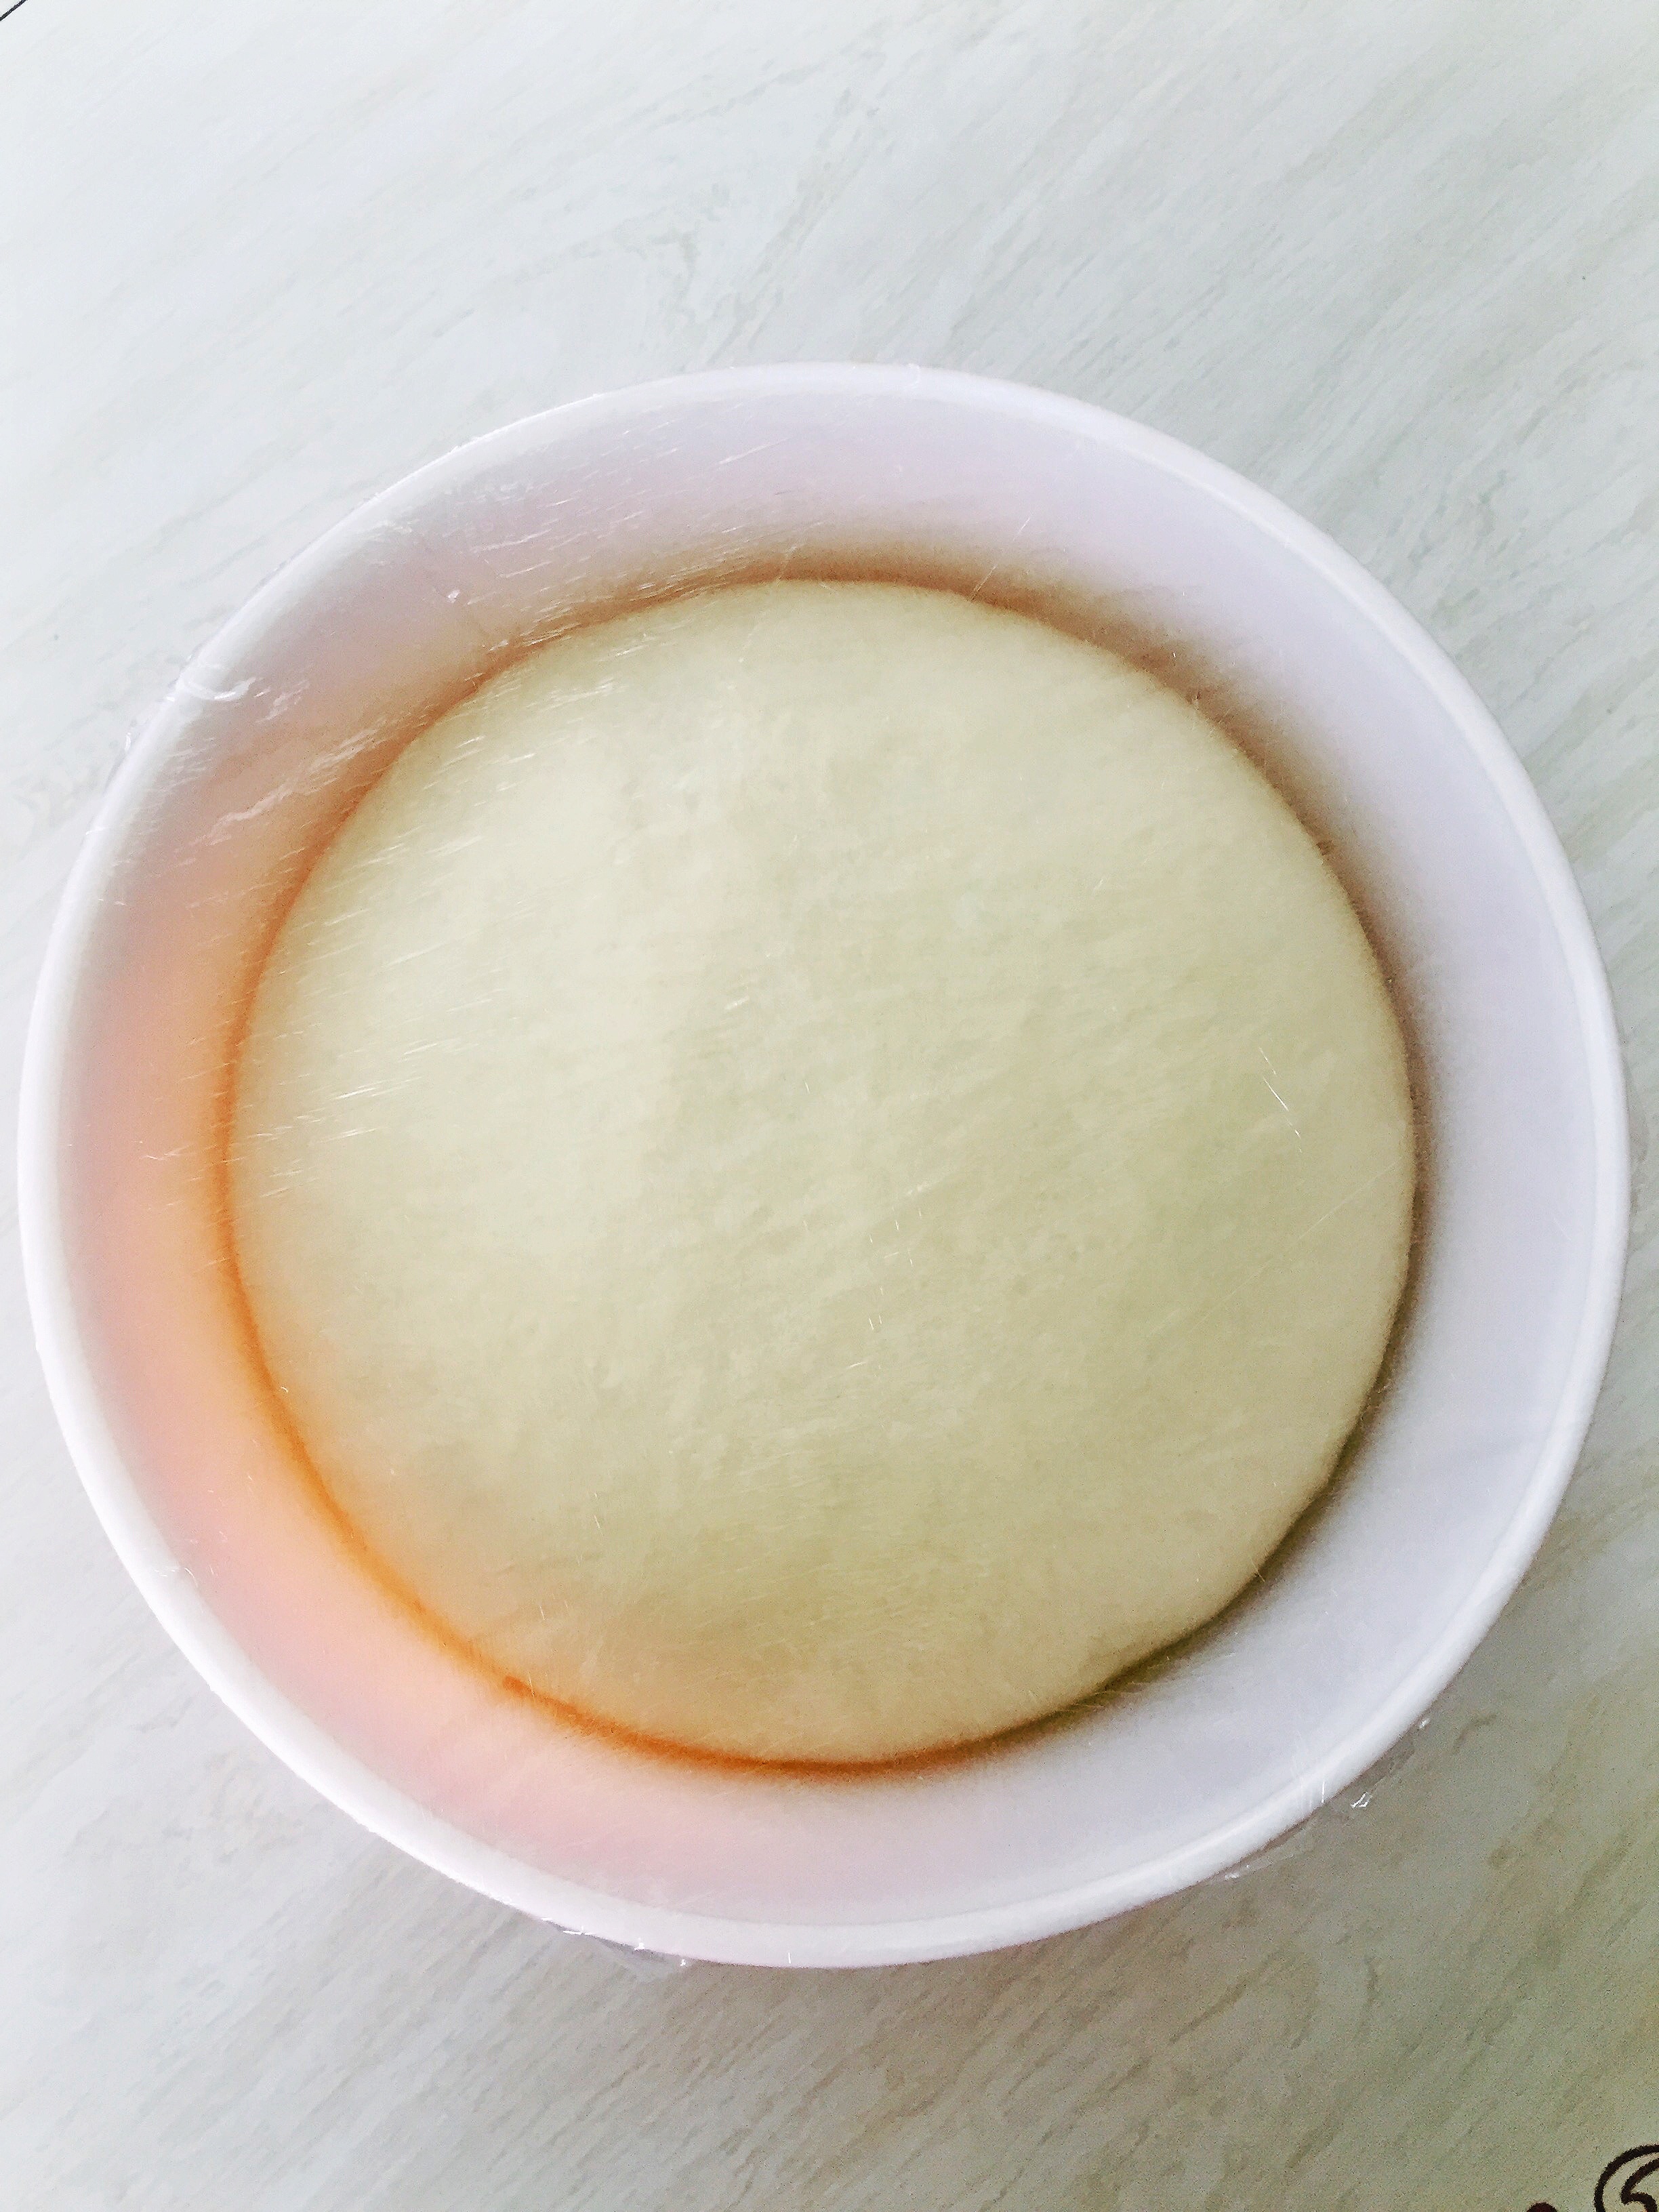
Cover and rest for 1 hour.
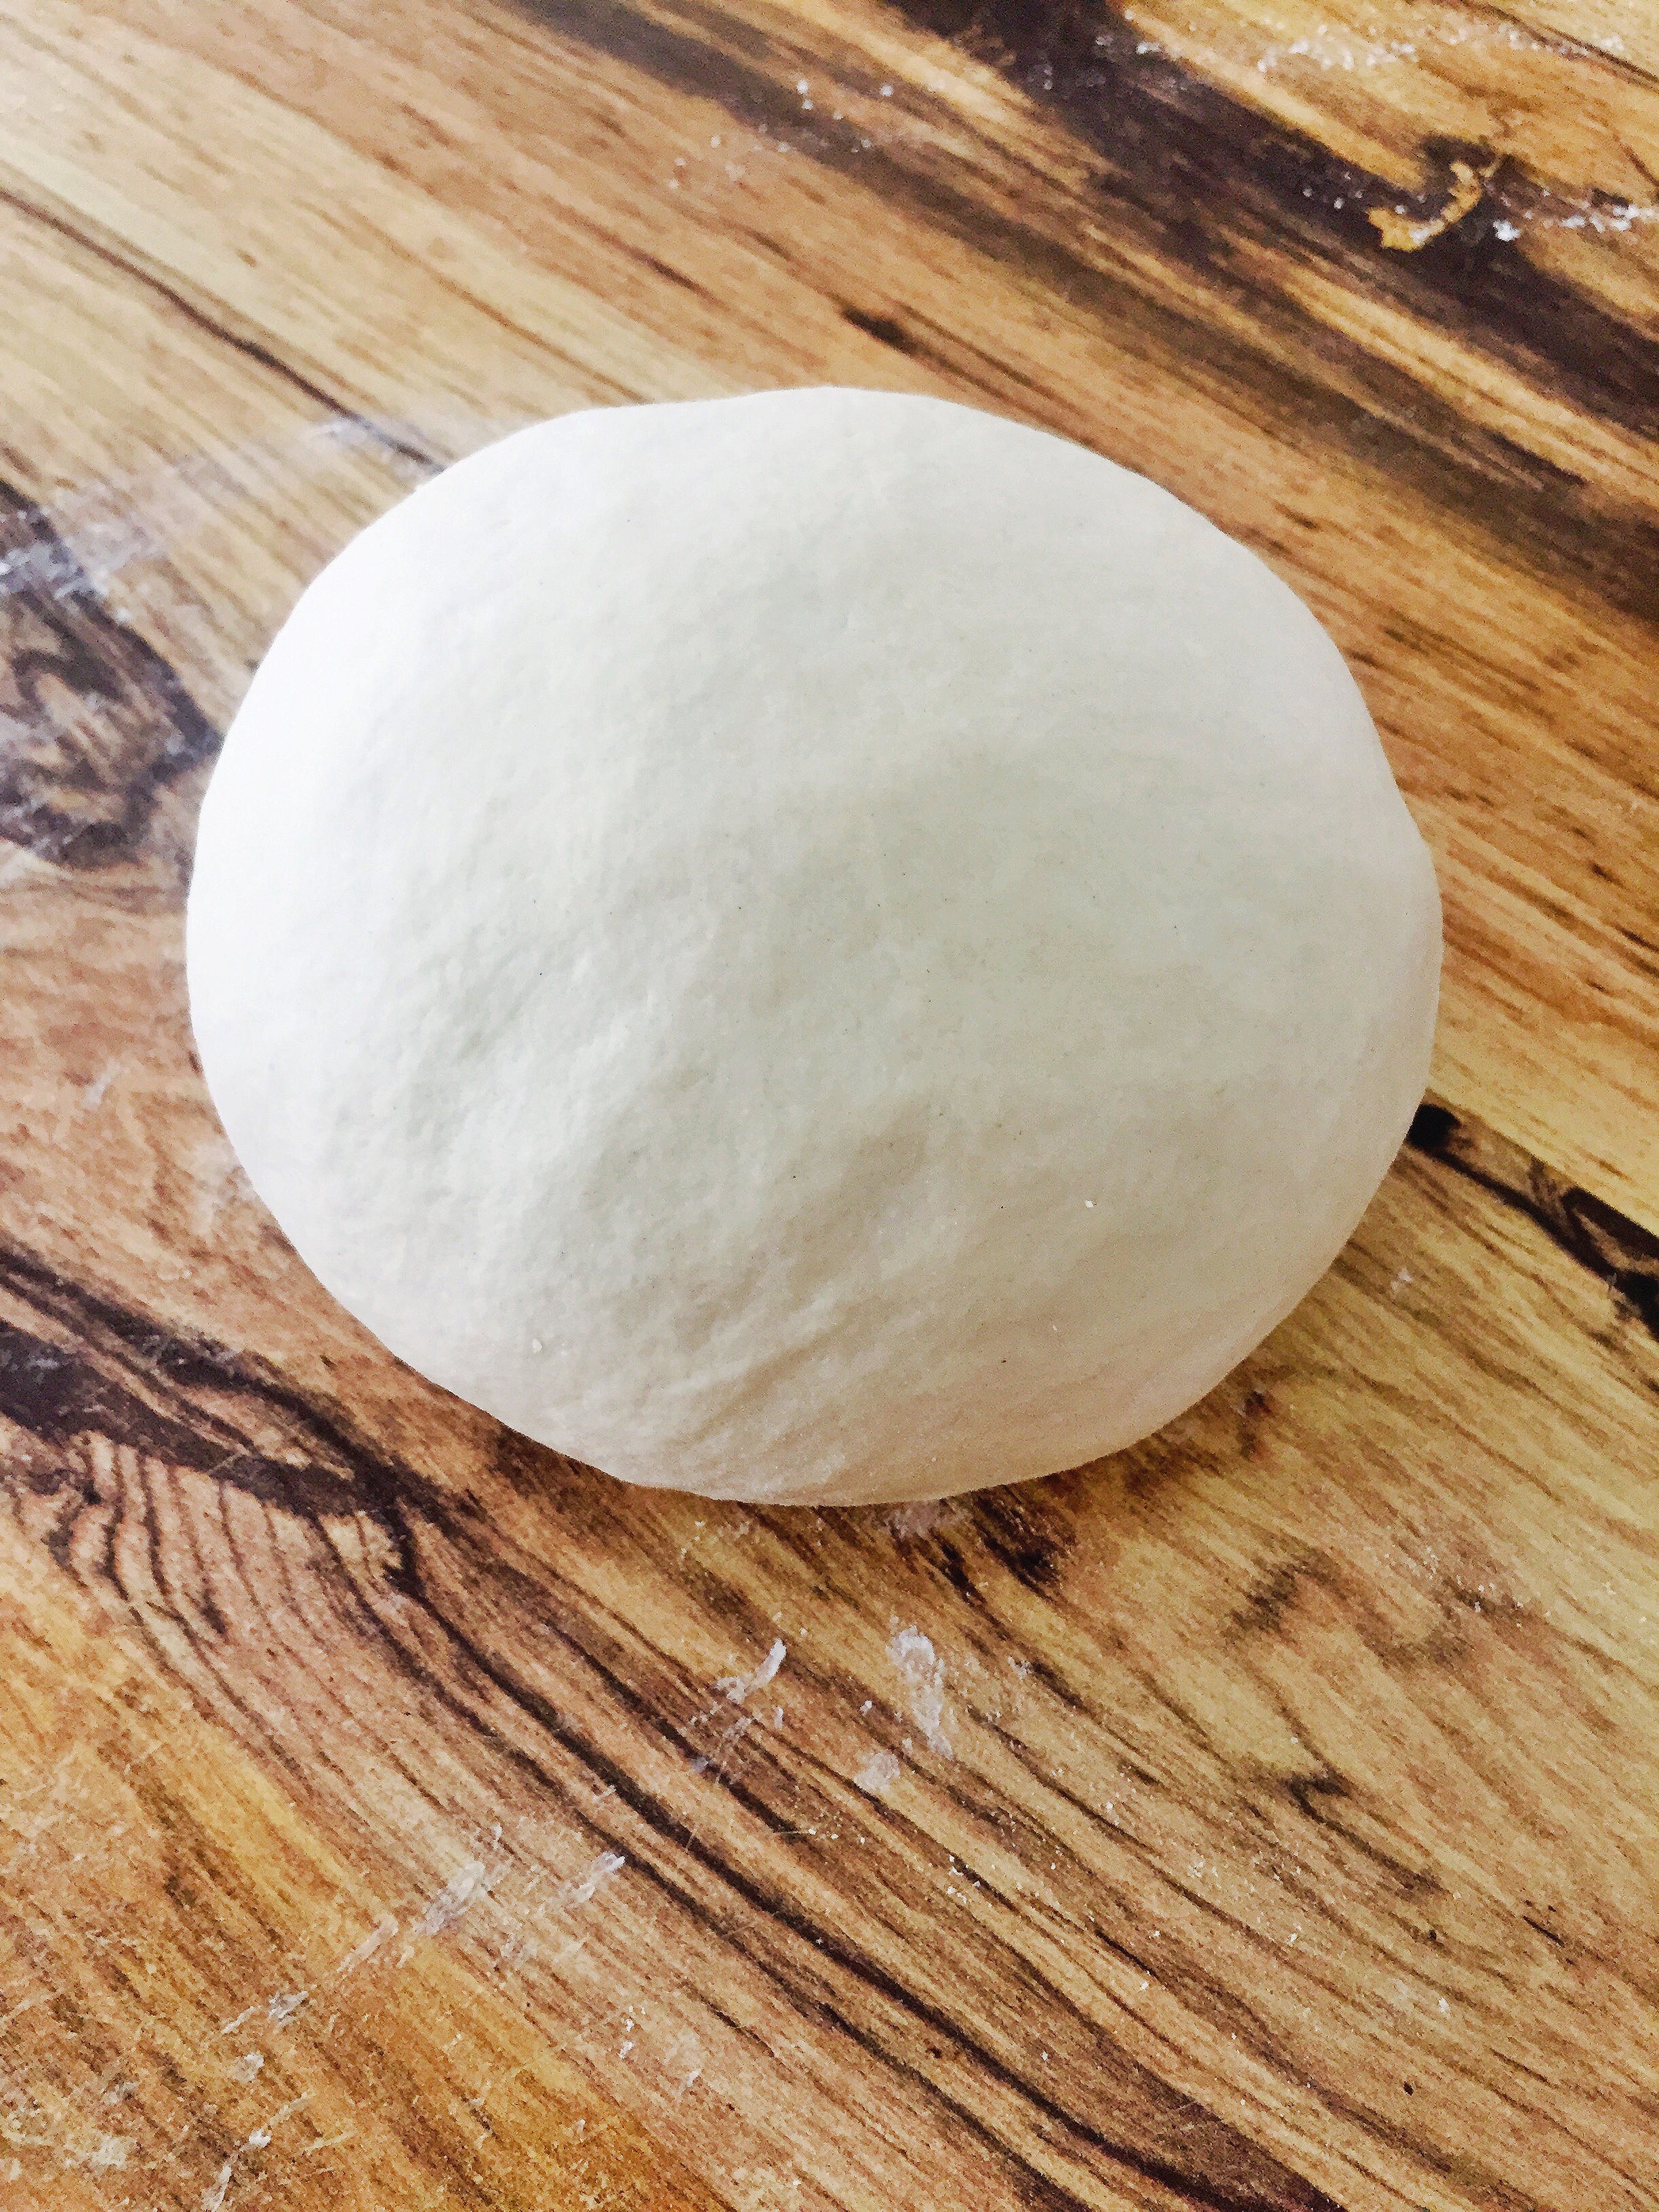
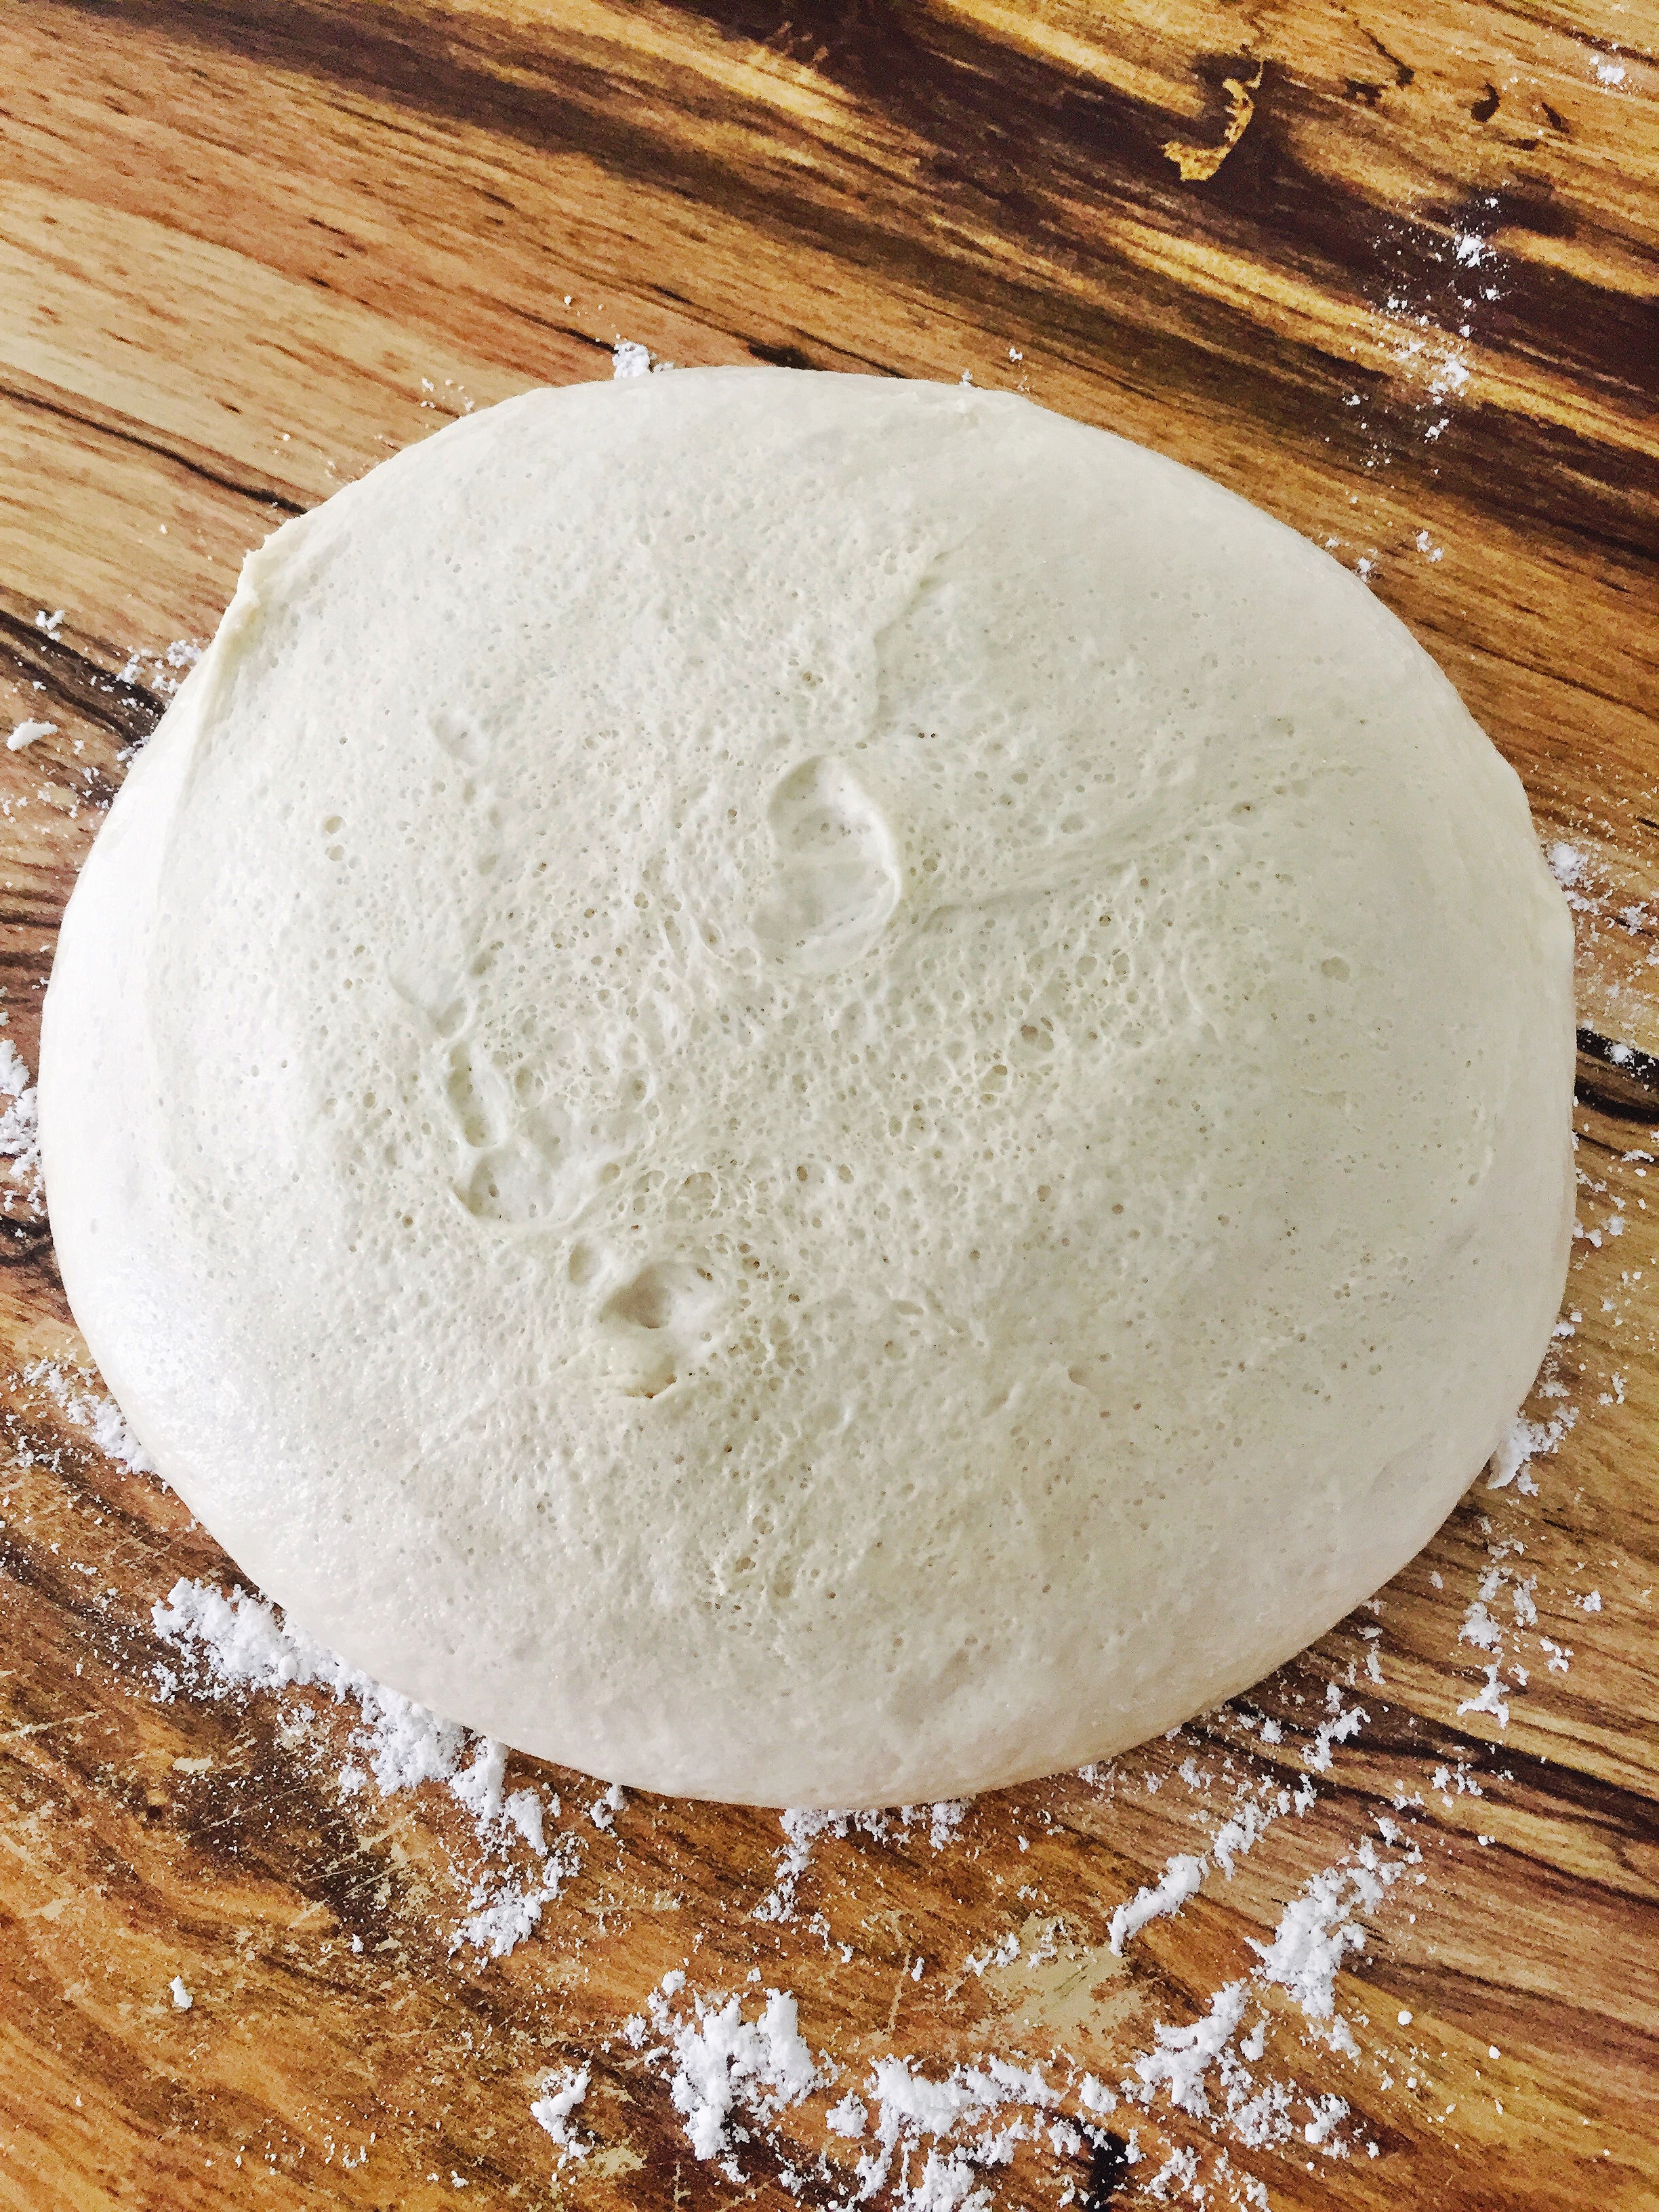
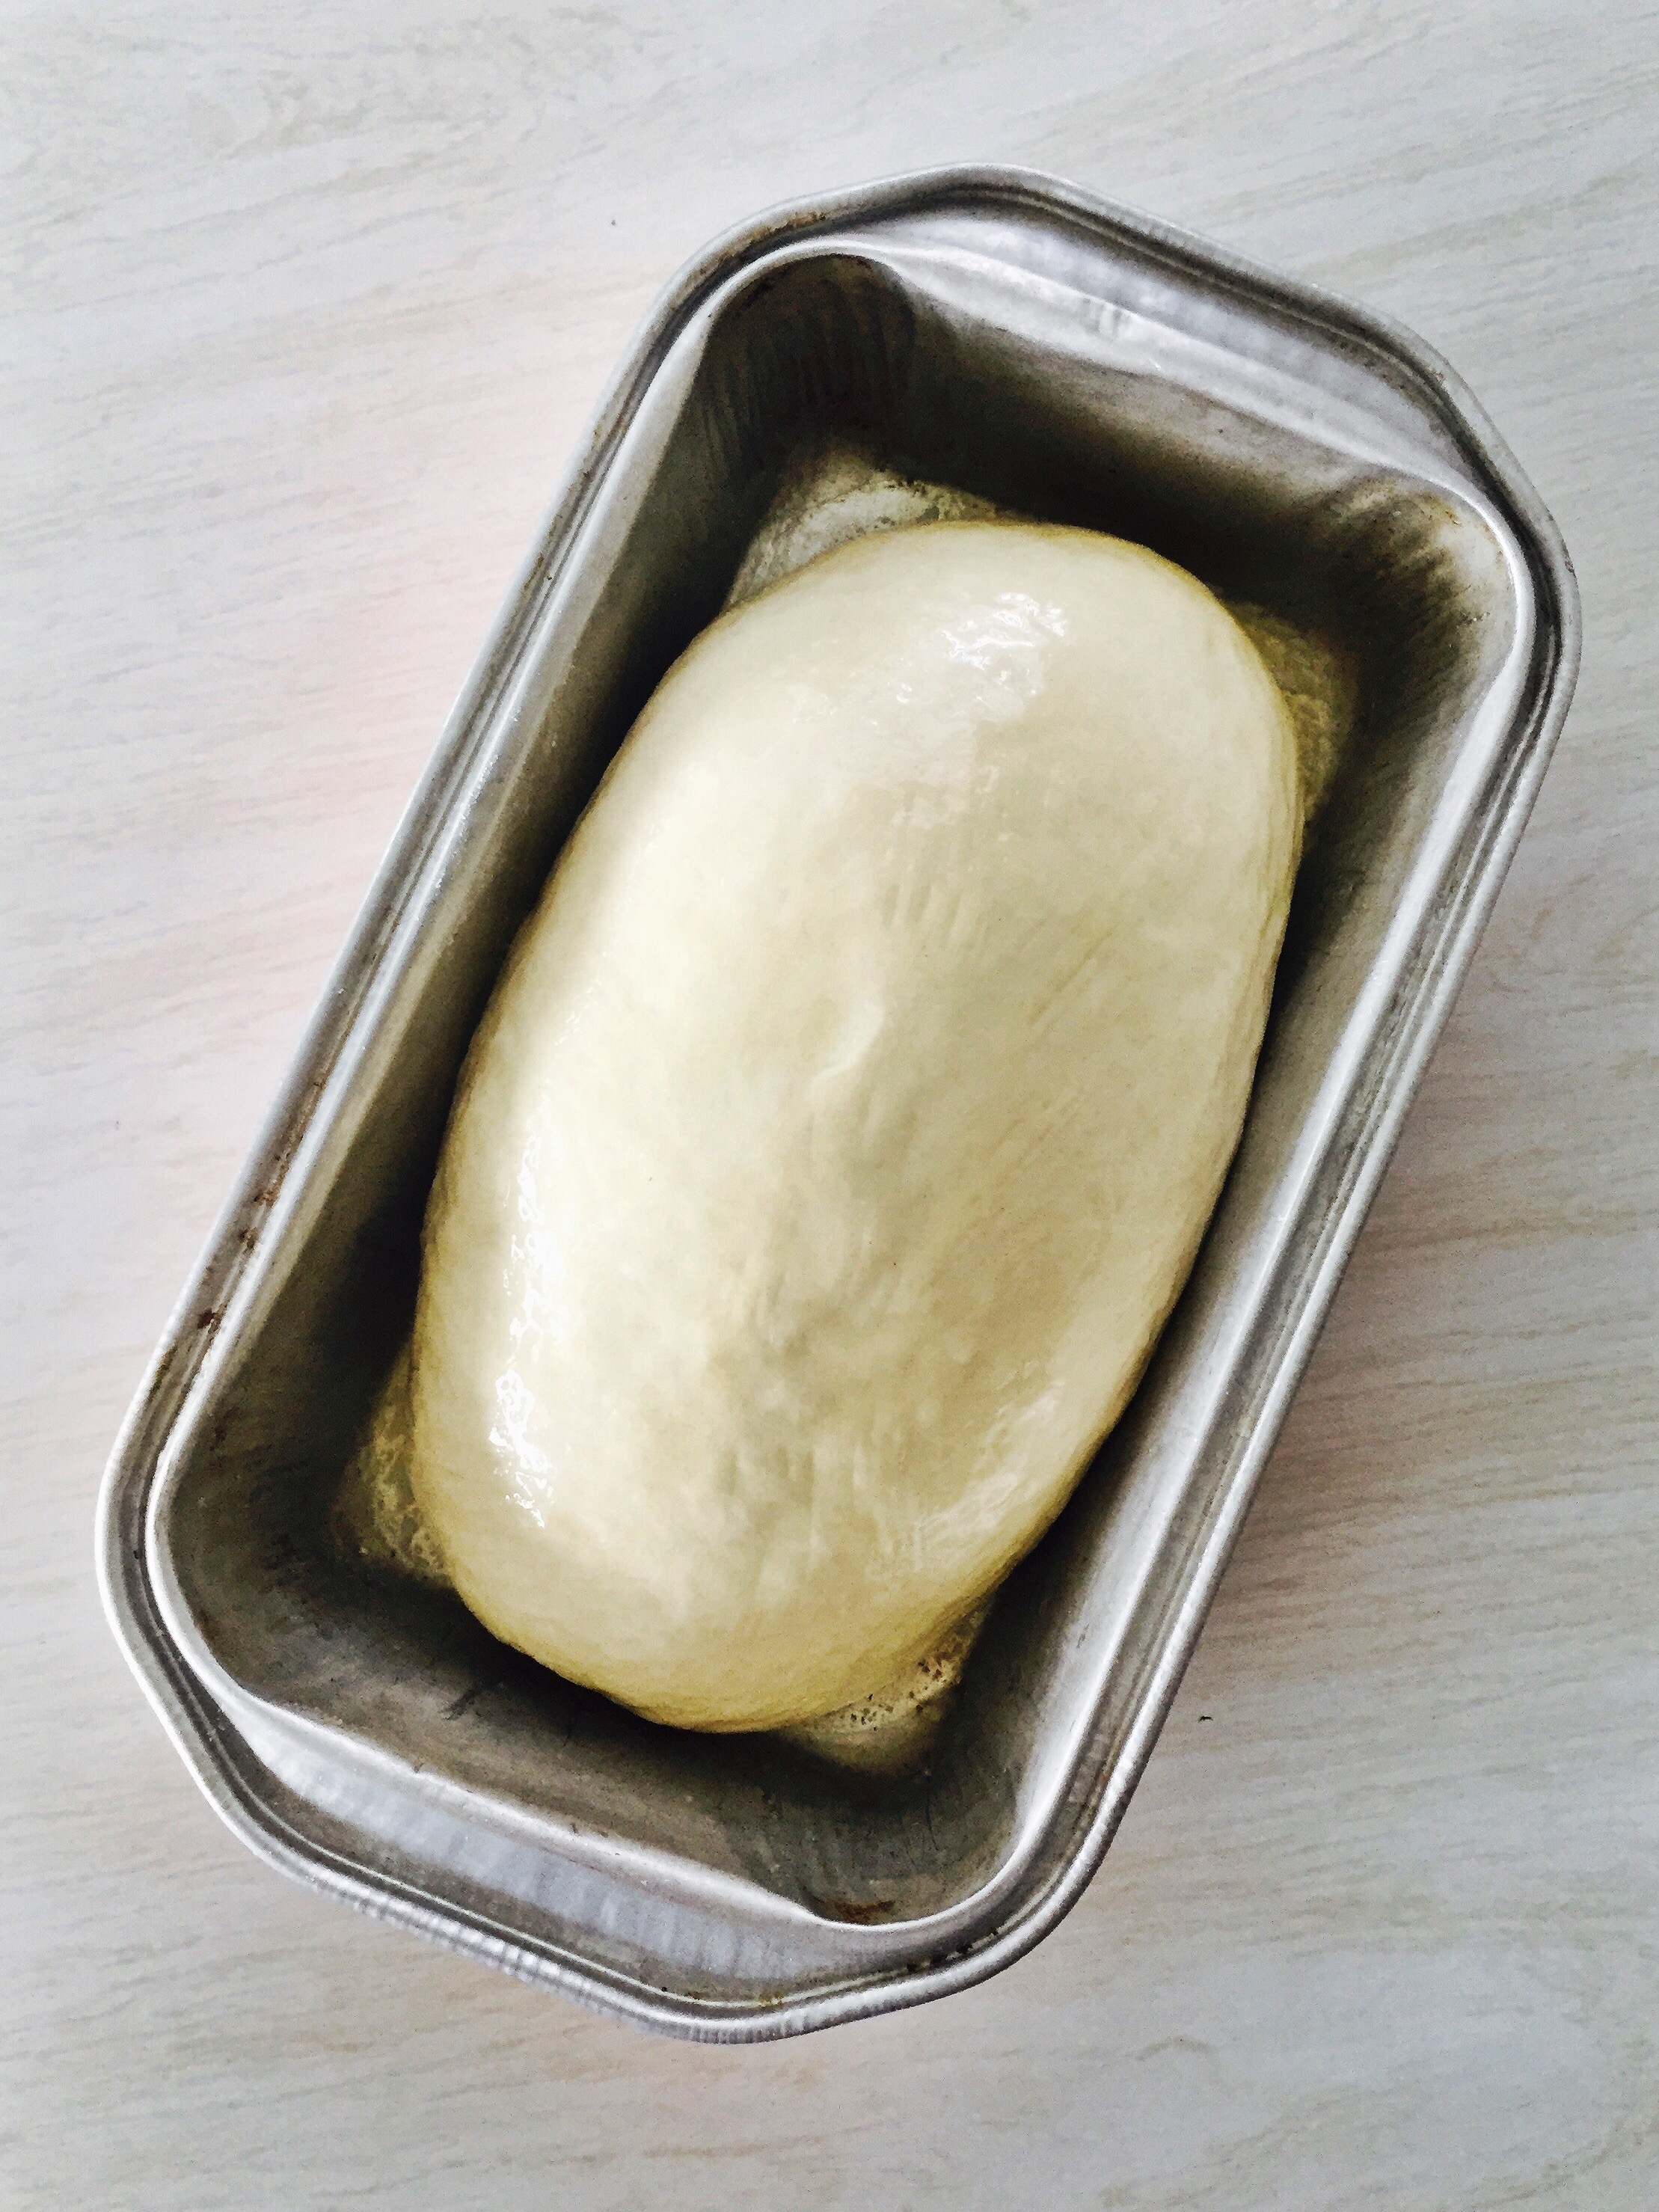
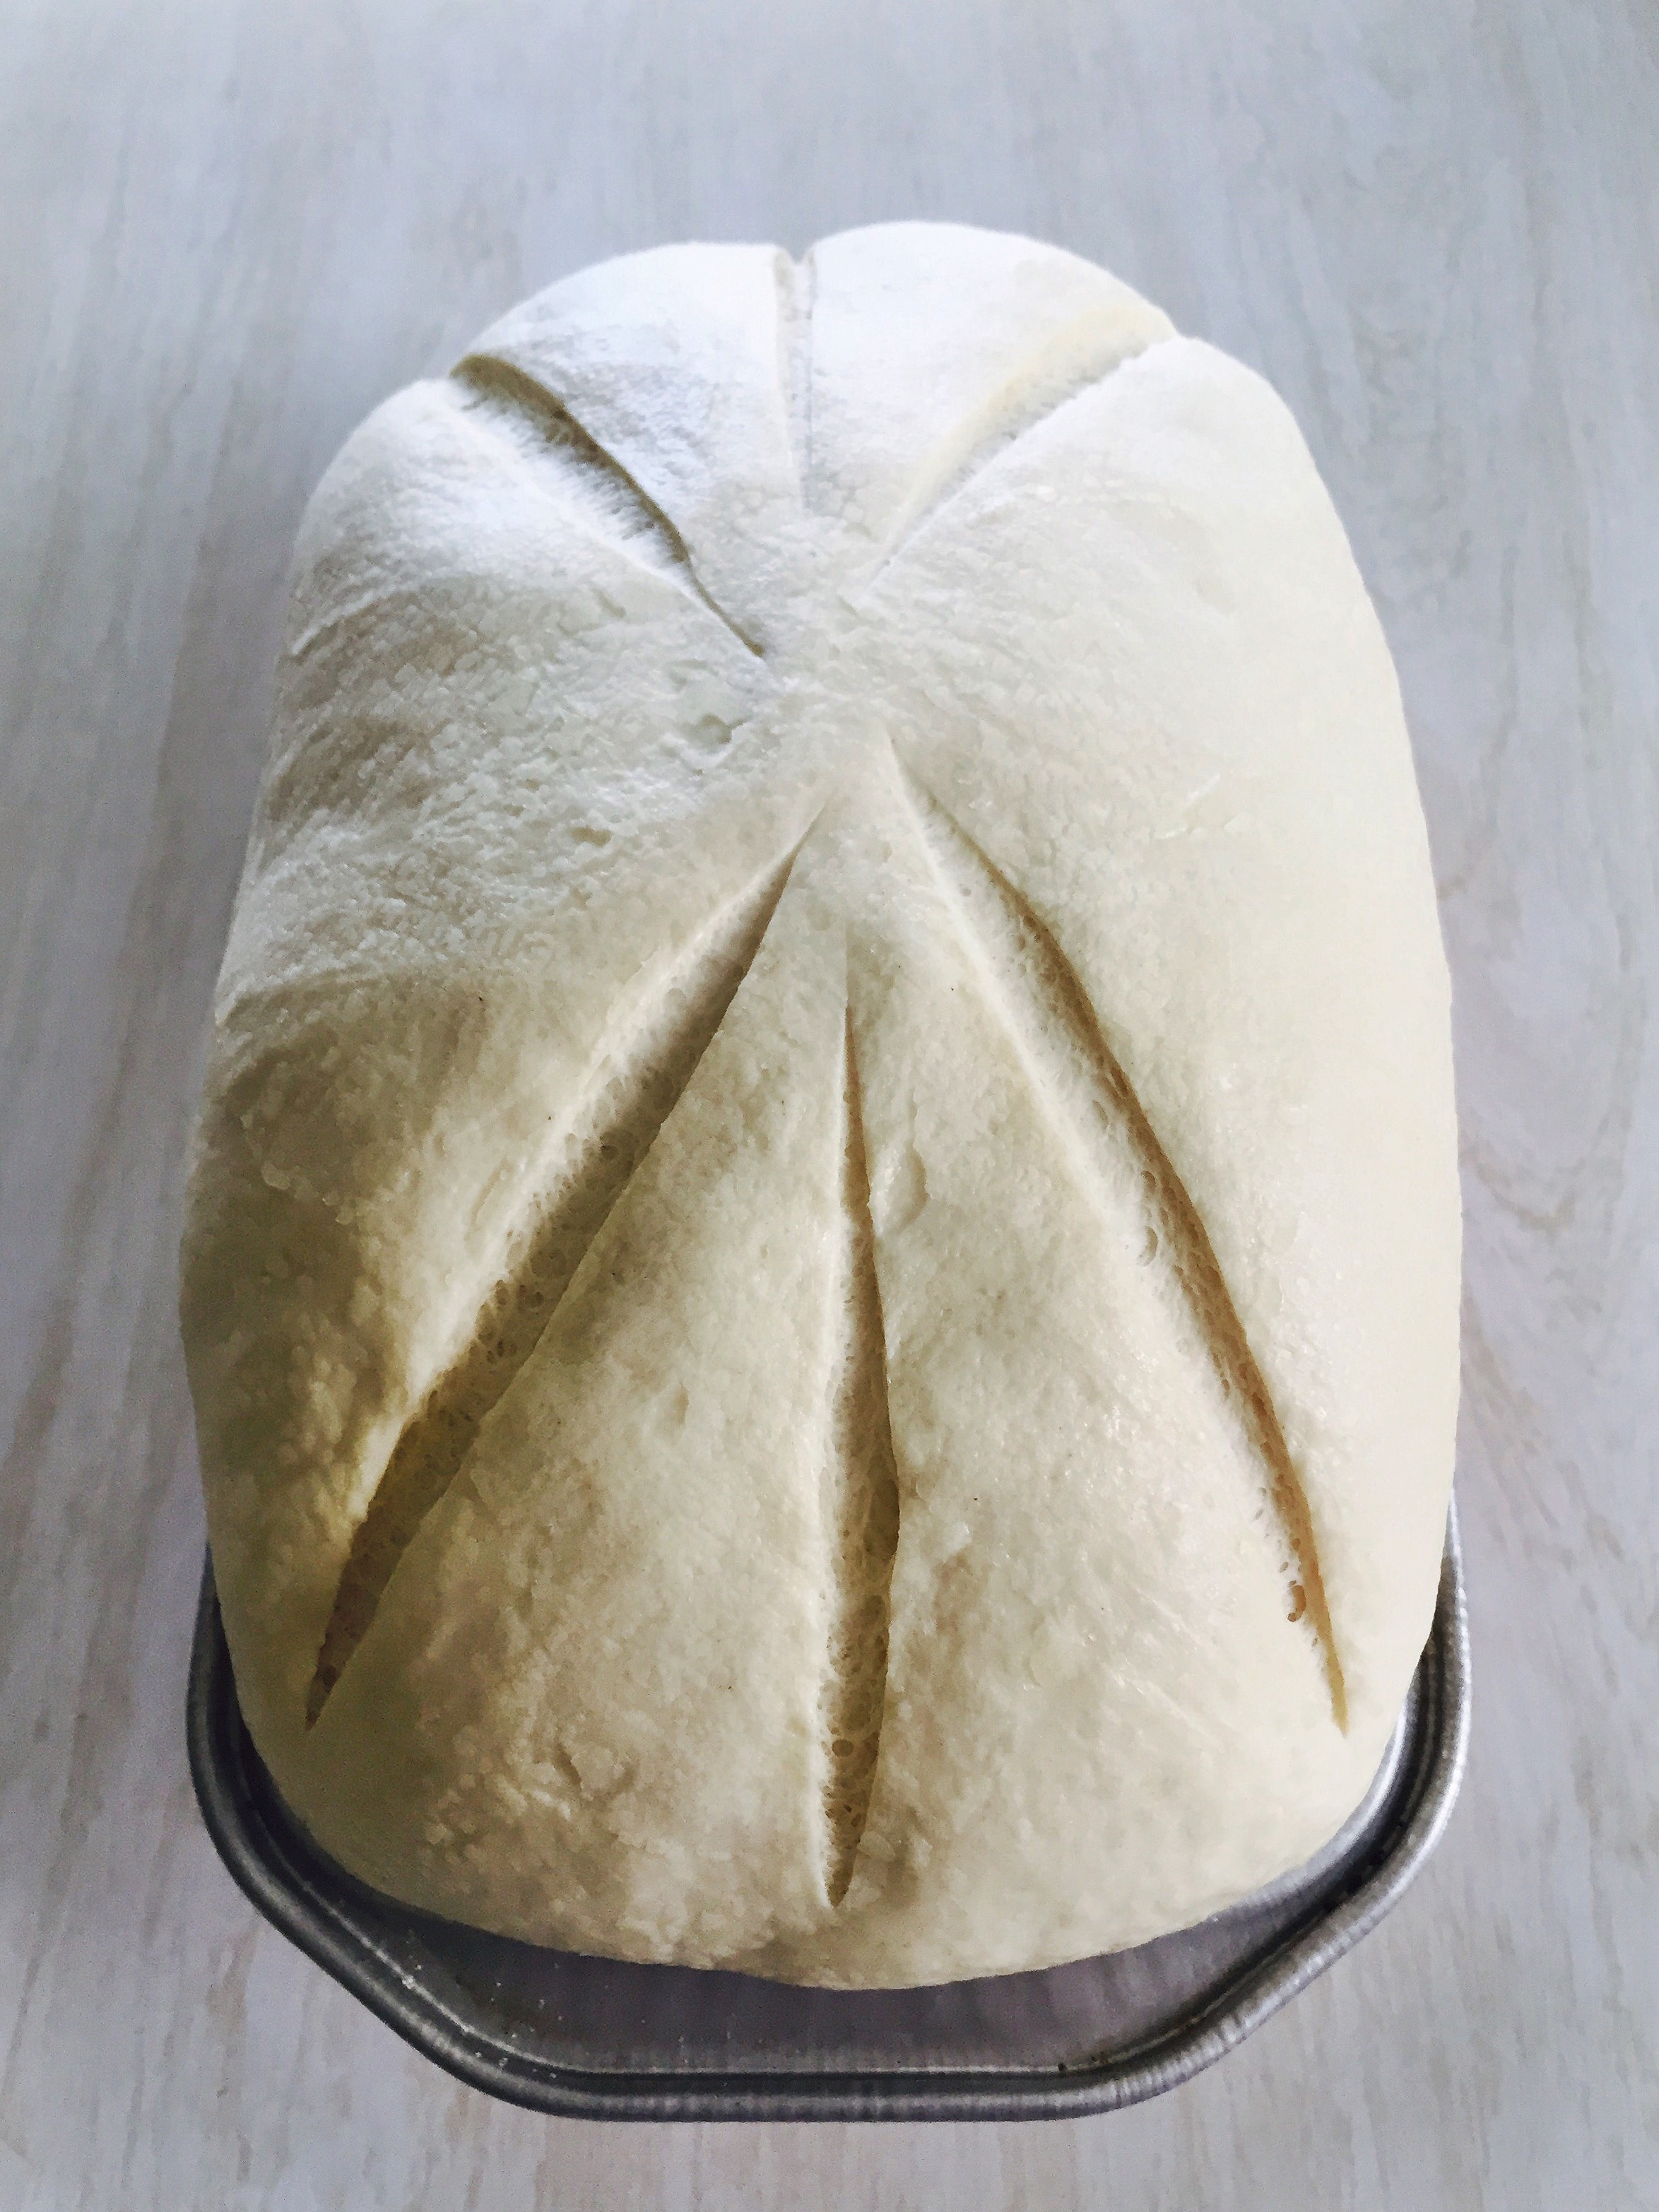
Punch down, knead again, shape, and let rest another hour.
Preheat oven to 400F degrees.
Bake for 30ish minutes.
Enjoy!
This loaf is on the small side cause I needed it to be manageable with one hand. Now, just imagine what you could bake with two!
So, go on…get dirty! Bake this and let me know what you think. You like-y?