Of Grain and Grain  |  Tactile Explorations of Flour and Wood

By Ashley Look

  • Blog
  • Flour
  • Wood
  • Shop
  • Services
  • Events
  • About
  • Contact
  • Search
Seed bread recipe from the Full Moon Baking Club, just in time for Spring gatherings.

Seed bread recipe from the Full Moon Baking Club, just in time for Spring gatherings.

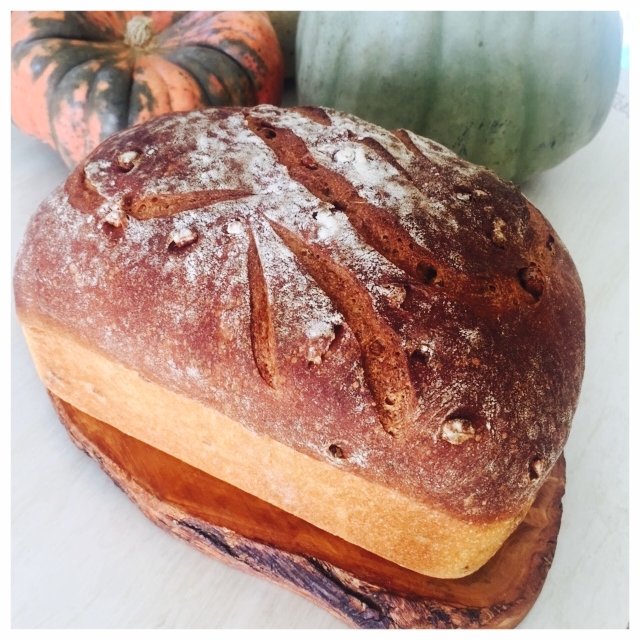
April 2019: Seed Bread Recipe

April 19, 2019 by Ashley Look in Full Moon Baking Club, Recipes

For the April 2019 Full Moon bread I can’t think of anything more appropriate than recipe that includes seeds. We are officially in the season of Spring and maintaining with that earthy alignment, seeds seem like a must! Now is the time of year we get back to our gardens and nurture beginnings. No matter if you are embarking on a new phase of life (hashtag me) or a legit garden landscape, seeds are the homies of the season. And if you are someone that wants to adopt a homemade bread practice, well my friend… you have joined at the right time!

Baking culture has unfortunately intimidated the newbies, keeping many would be bread bakers away from the craft. All the more reason for you to hike up your sleeves and shove that elitism right back to were it came from. Anyone with an oven can bake bread and as I explained in last month’s post, basic bread baking is accessible to all. Don’t fear the mess! That’s the meditation of having a bread practice. When you allow yourself to delve into the tactile art of dough, you forfeit your control and learn to work with what’s at hand. Literally. Cause this stuff will stick to your hands until you connect the relationship between wet and dry ingredients. Think back to your childhood when making mud patties where all the rage. Those were fun times until our parent got their say. Well, bread making is mud patty version for adulting. Age has most likely moved us away from play but according to research, play is an important part of development. And since we never truly stop developing, play should not be exclusive to children. If anything, we grown-ups need more exploratory activities to challenge ours brains and remind us that there is more to the world than what we currently know. And the more we learn to engage with the world around us, the better we feel navigating foreign territory. Longs story short, bread yo! Consider it a playground for curiosity that produces better and better results as you gain familiarity.

So, back to the seeds… Aside from the obvious spring seeds blah, blah, this recipe will get your hands into the mix with the chance to really feel your way through the process. Like, really feel the dough and connect with that wet/dry relationship so that the concept starts to click. I’m also going to walk you through an overnight rise so you can familiarize yourself with the convenience of making bread on your own clock. Speaking of clocks, this is the part where I remind you that you do not need to bake bread on the Full Moon. The point of the club is to make a bread this moon cycle and call all your peops over for some sharing. You gotta make bread in order to break bread and whether you see this as a religious/Eucharist offering or just a standard good time among friends, we have reached a point in which opportunities for togetherness are few and far between, so lets make some bread. It doesn’t have to be this one. It doesn’t even have to be good. The point is you yourself are giving reason to gather and from there we can embark on strengthening our relationships and build better communities. Lofty goal? Sure. But we gotta figure out way to push back again all the hate and as Brene Brown says in her book Braving The Wilderness, “People are hard to hate close-up. Move in.” Granted, that is often easier said than done but that’s why you start with friends and create a reason to gather. Bread is the impetus. It’s the commonality amid our diversity and a chance to find connection with a stranger. Baby steps my friends… Just play around with the new… Just plant a seed and I promise you that growth will follow.

“People are hard to hate close-up. Move in.”
— Brene Brown
Step 1.jpg Step 2.JPG Step 3.jpg Step 4.jpg Step 5.jpg Step 6.jpg Step 7.jpg Step 8.jpg Step 9.jpg Step 10.jpg Homeade Bread with Seeds.jpg

Ingredients & Supplies

  • 3 cups flour
  • 1 tsp salt
  • 1/4 tsp active dry yeast
  • 1 1/2 cup warm water
  • 1/4 cup seeds (sesame, poppy, flax, etc.)
  • Plastic wrap
  • Parchment paper
  • Dutch Oven

Directions

Phase 1

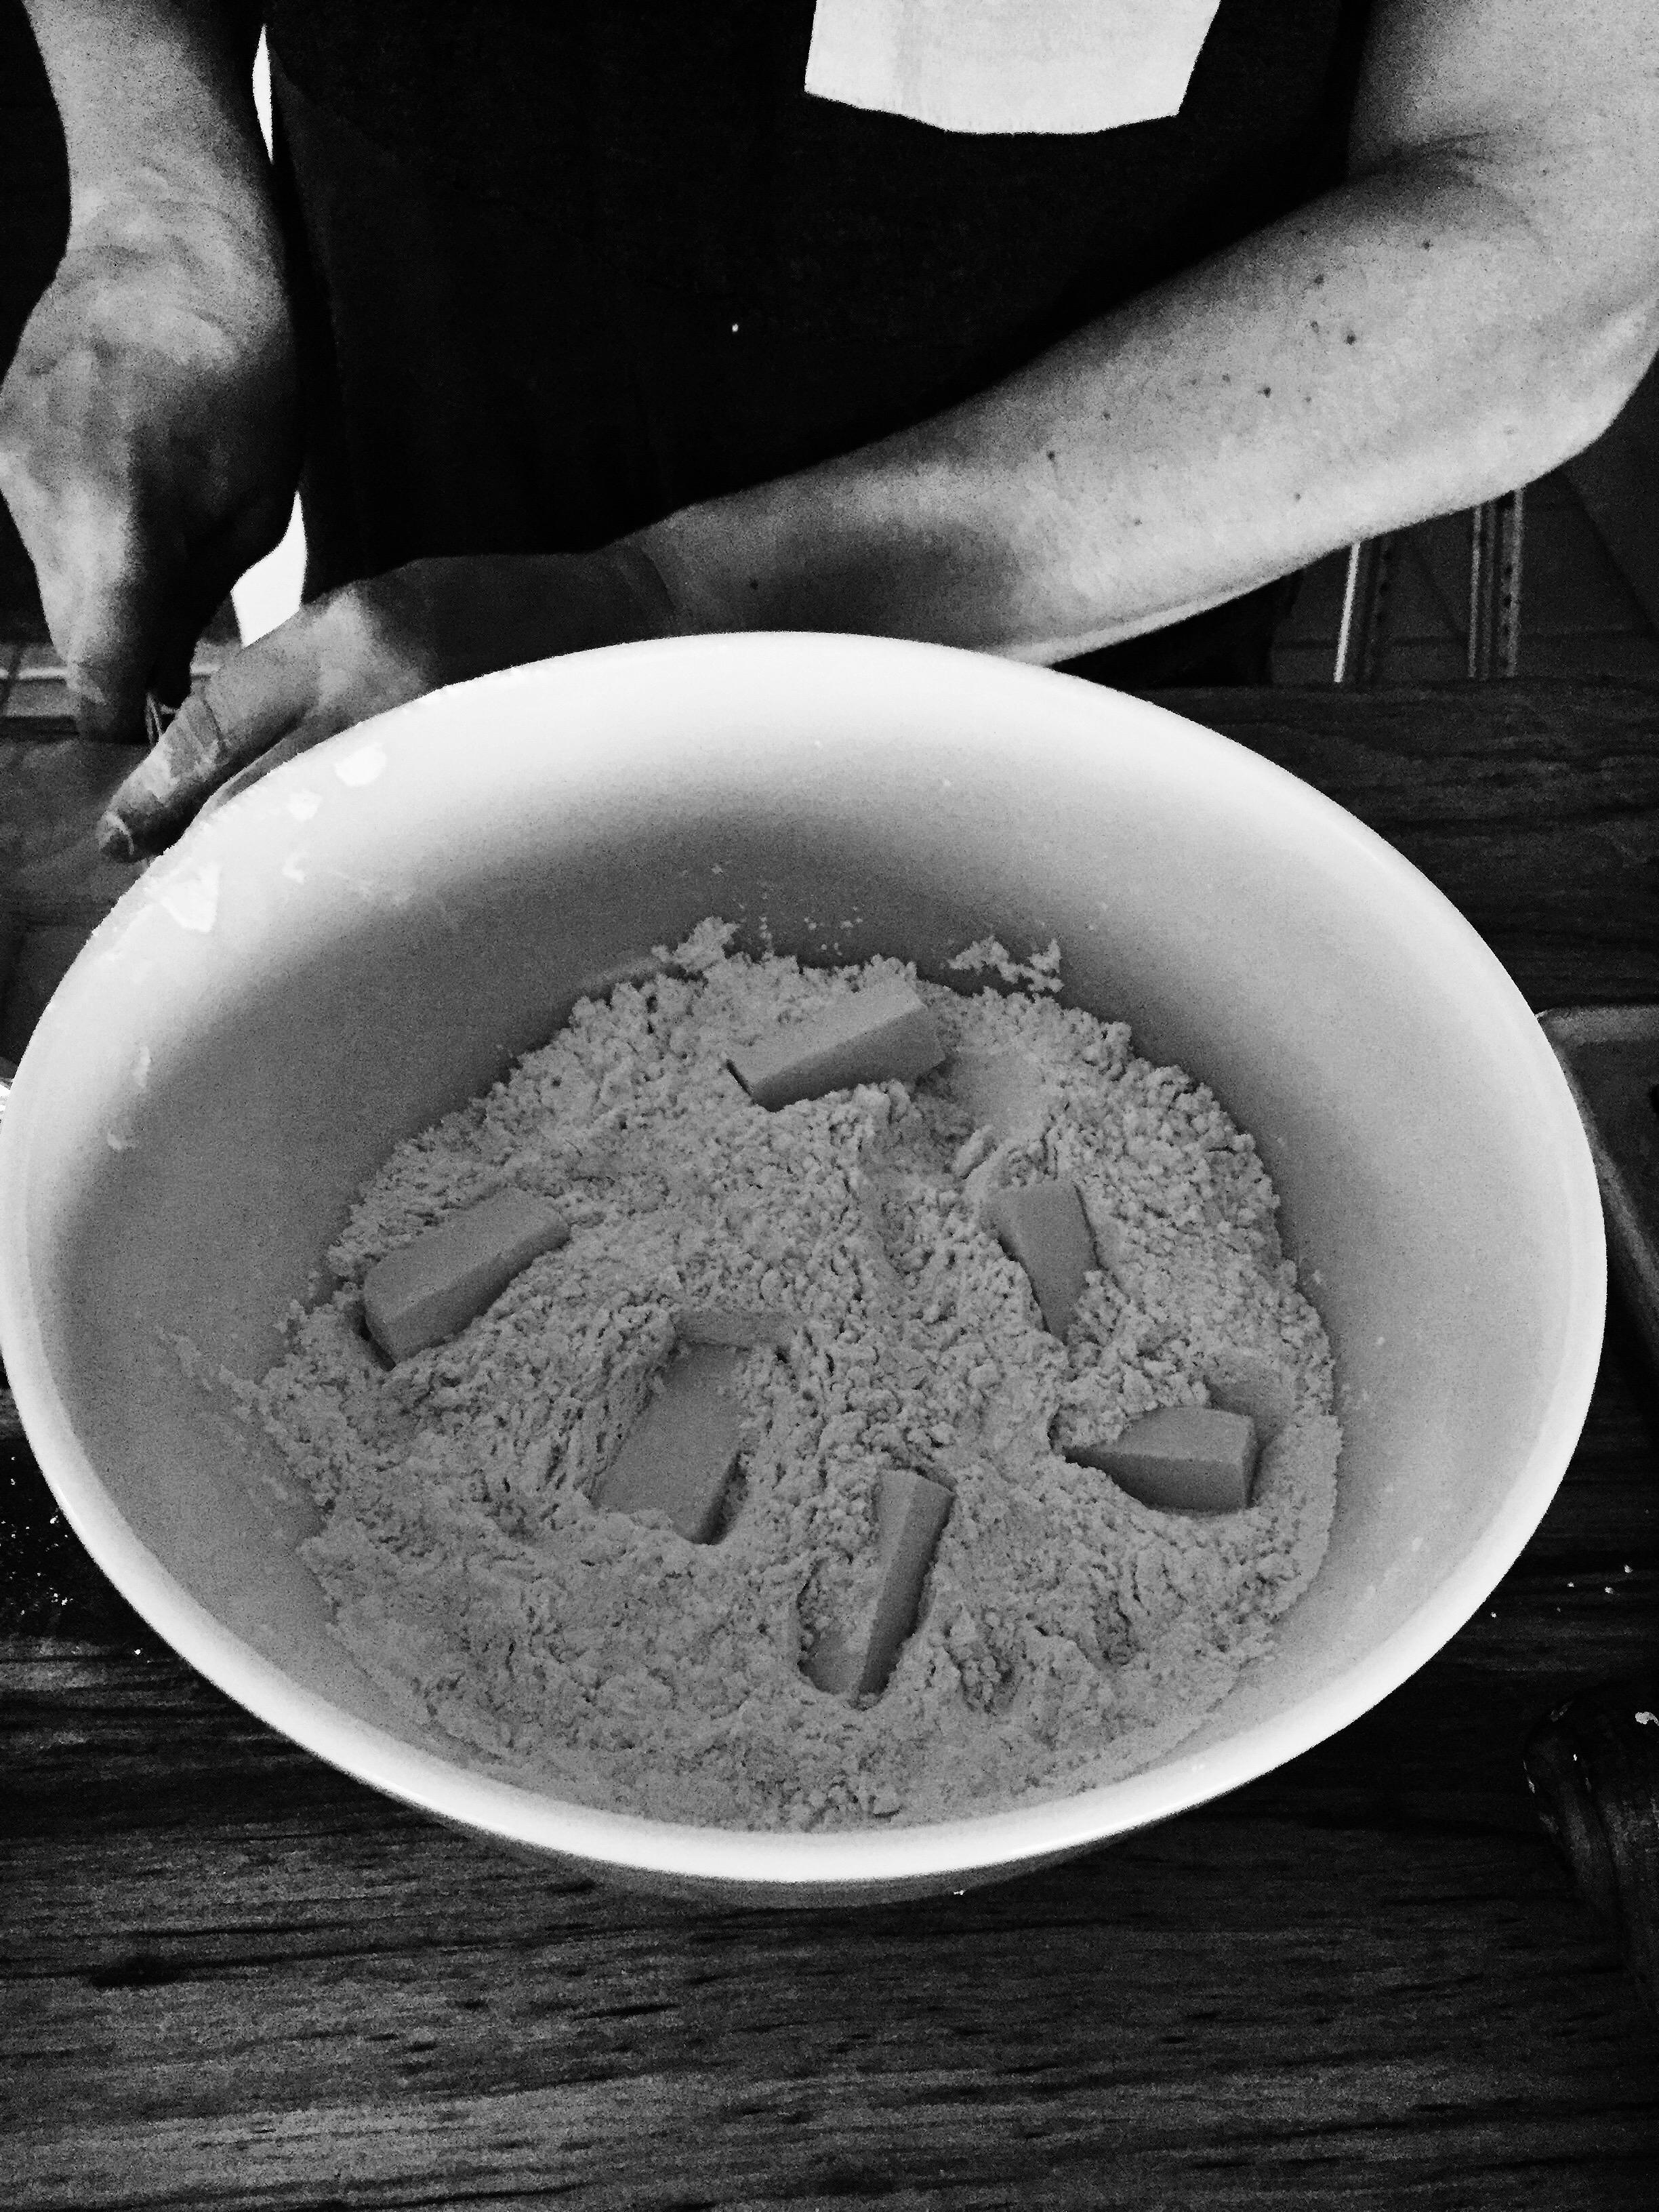
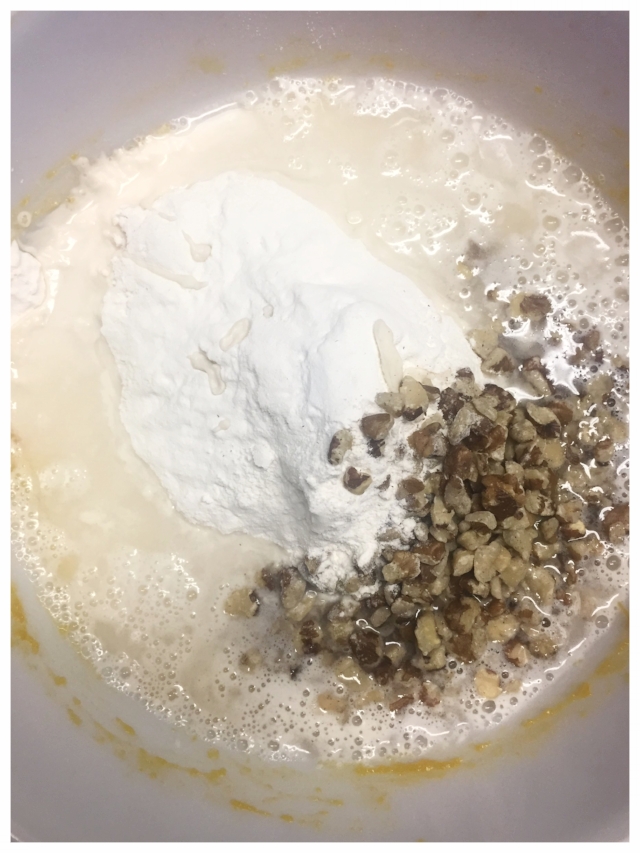
  1. In a large bowl mix the flour, salt, and yeast together.
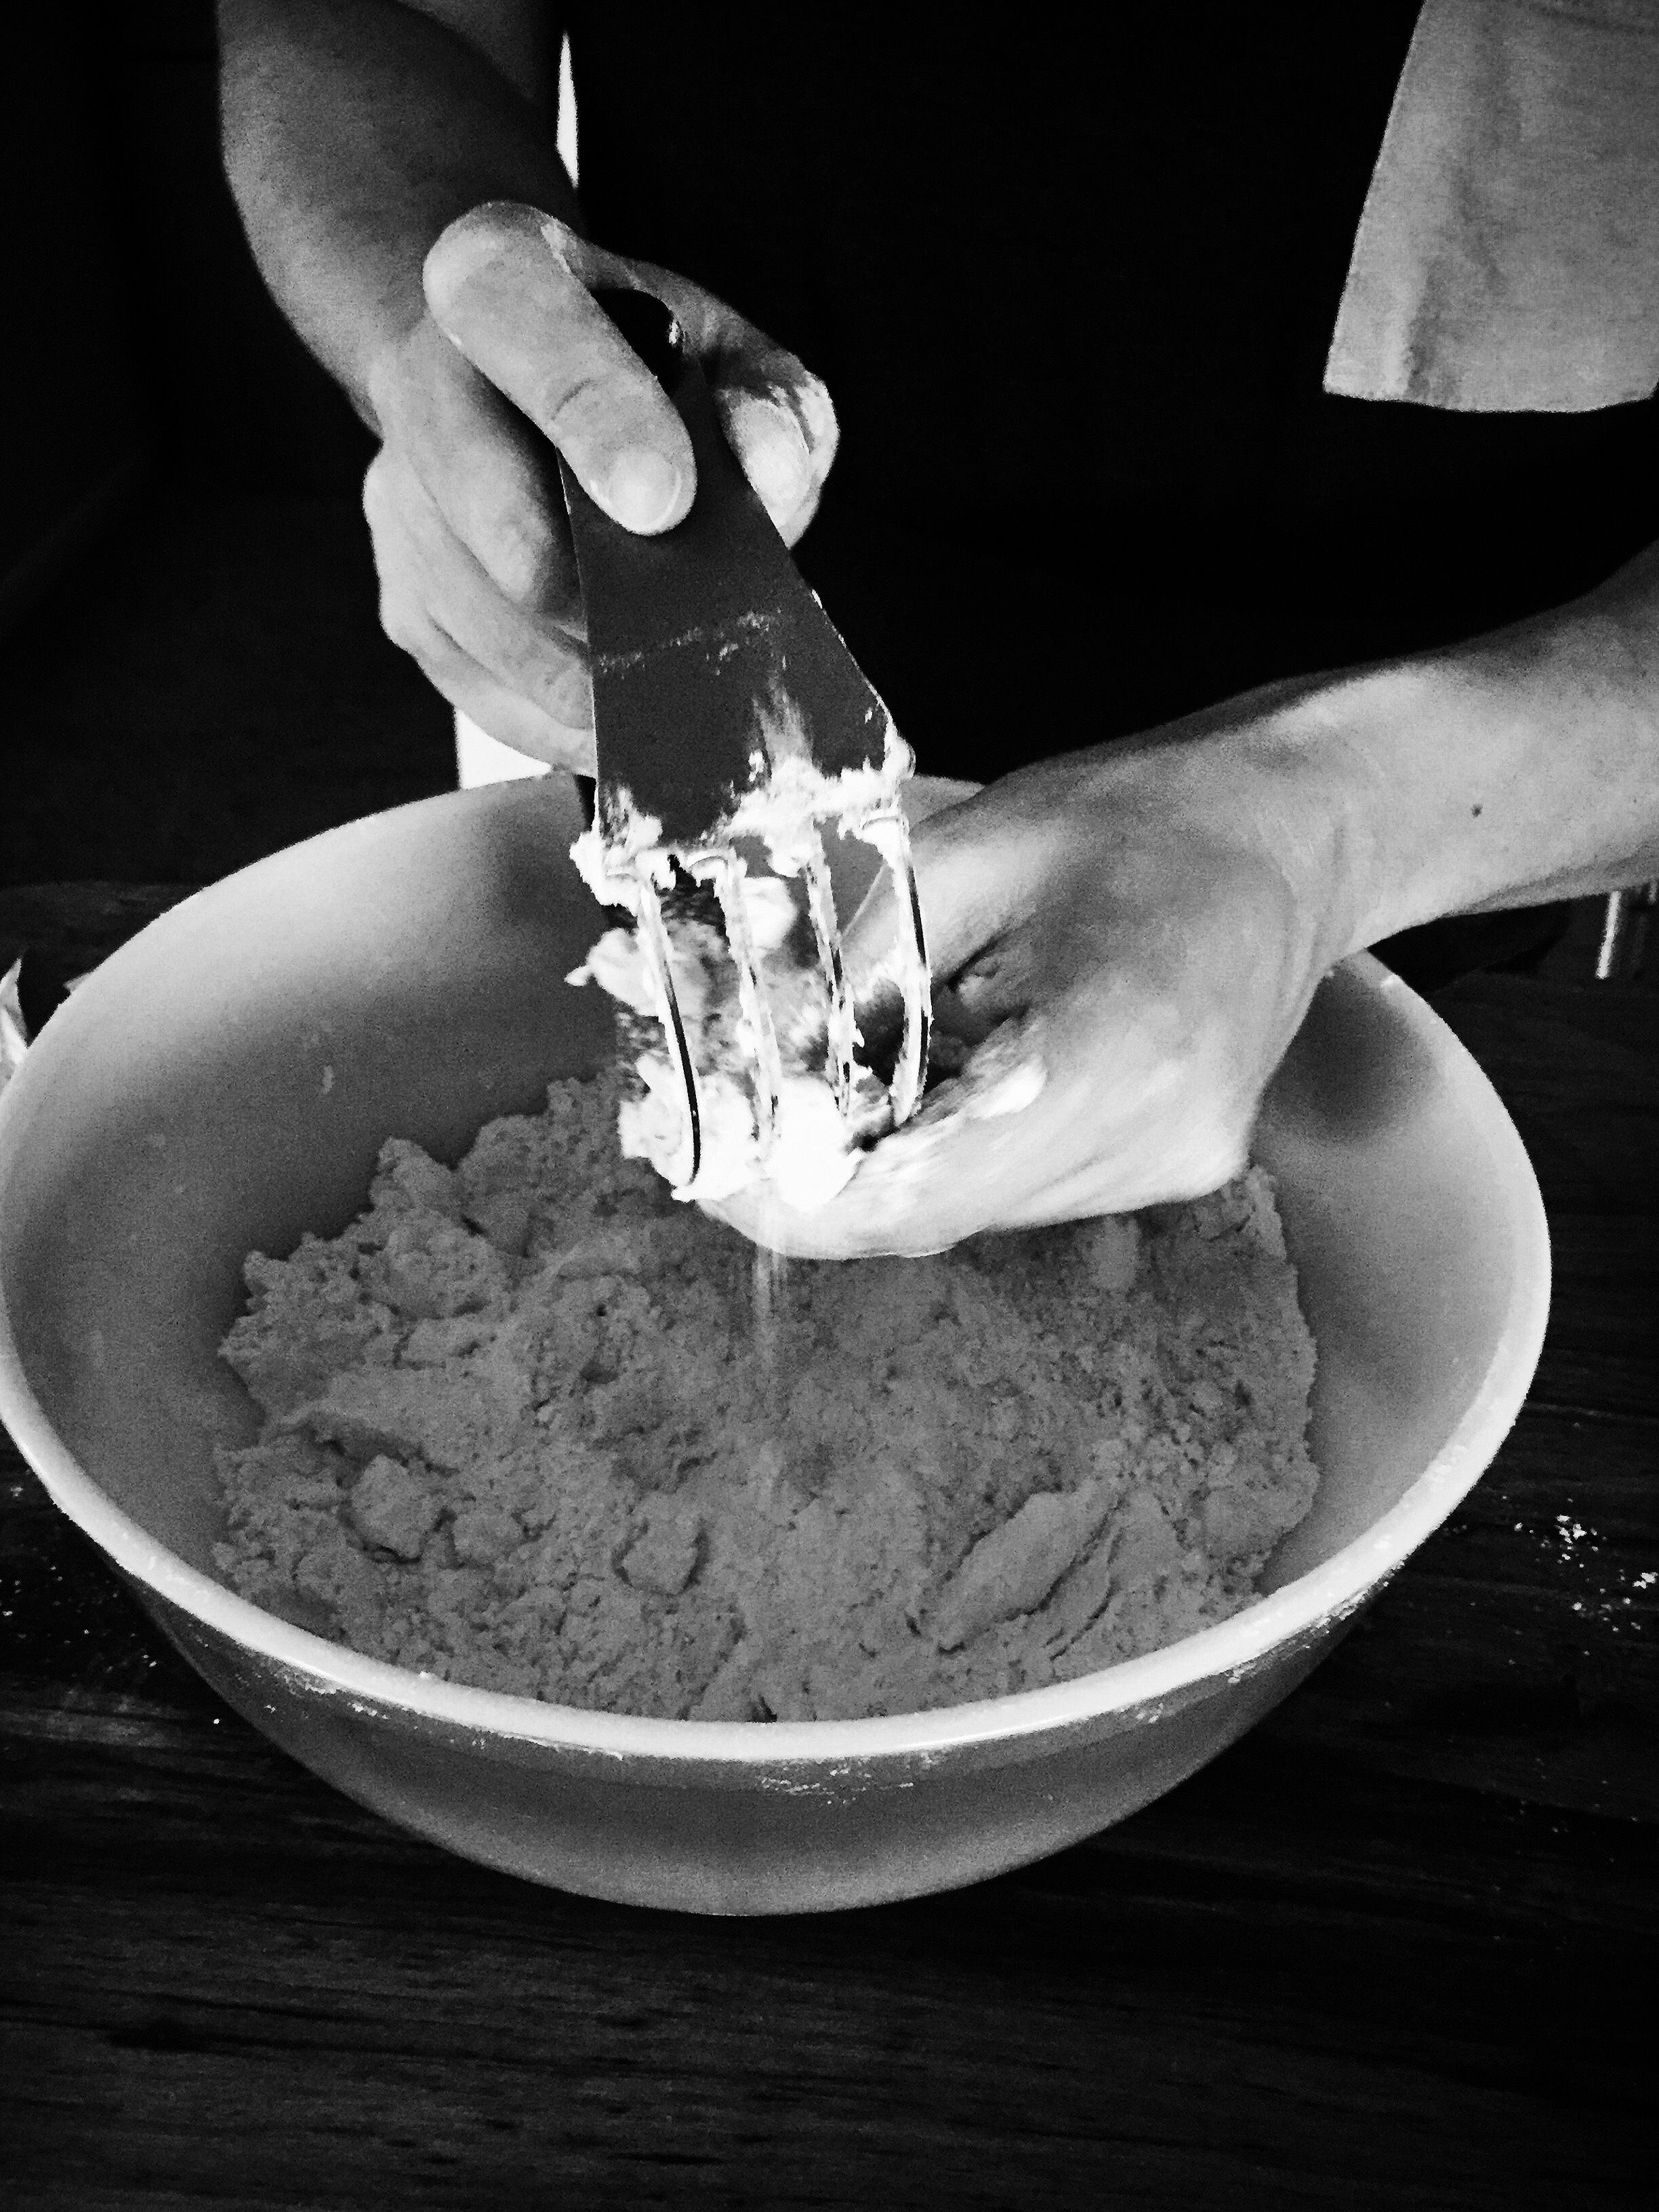
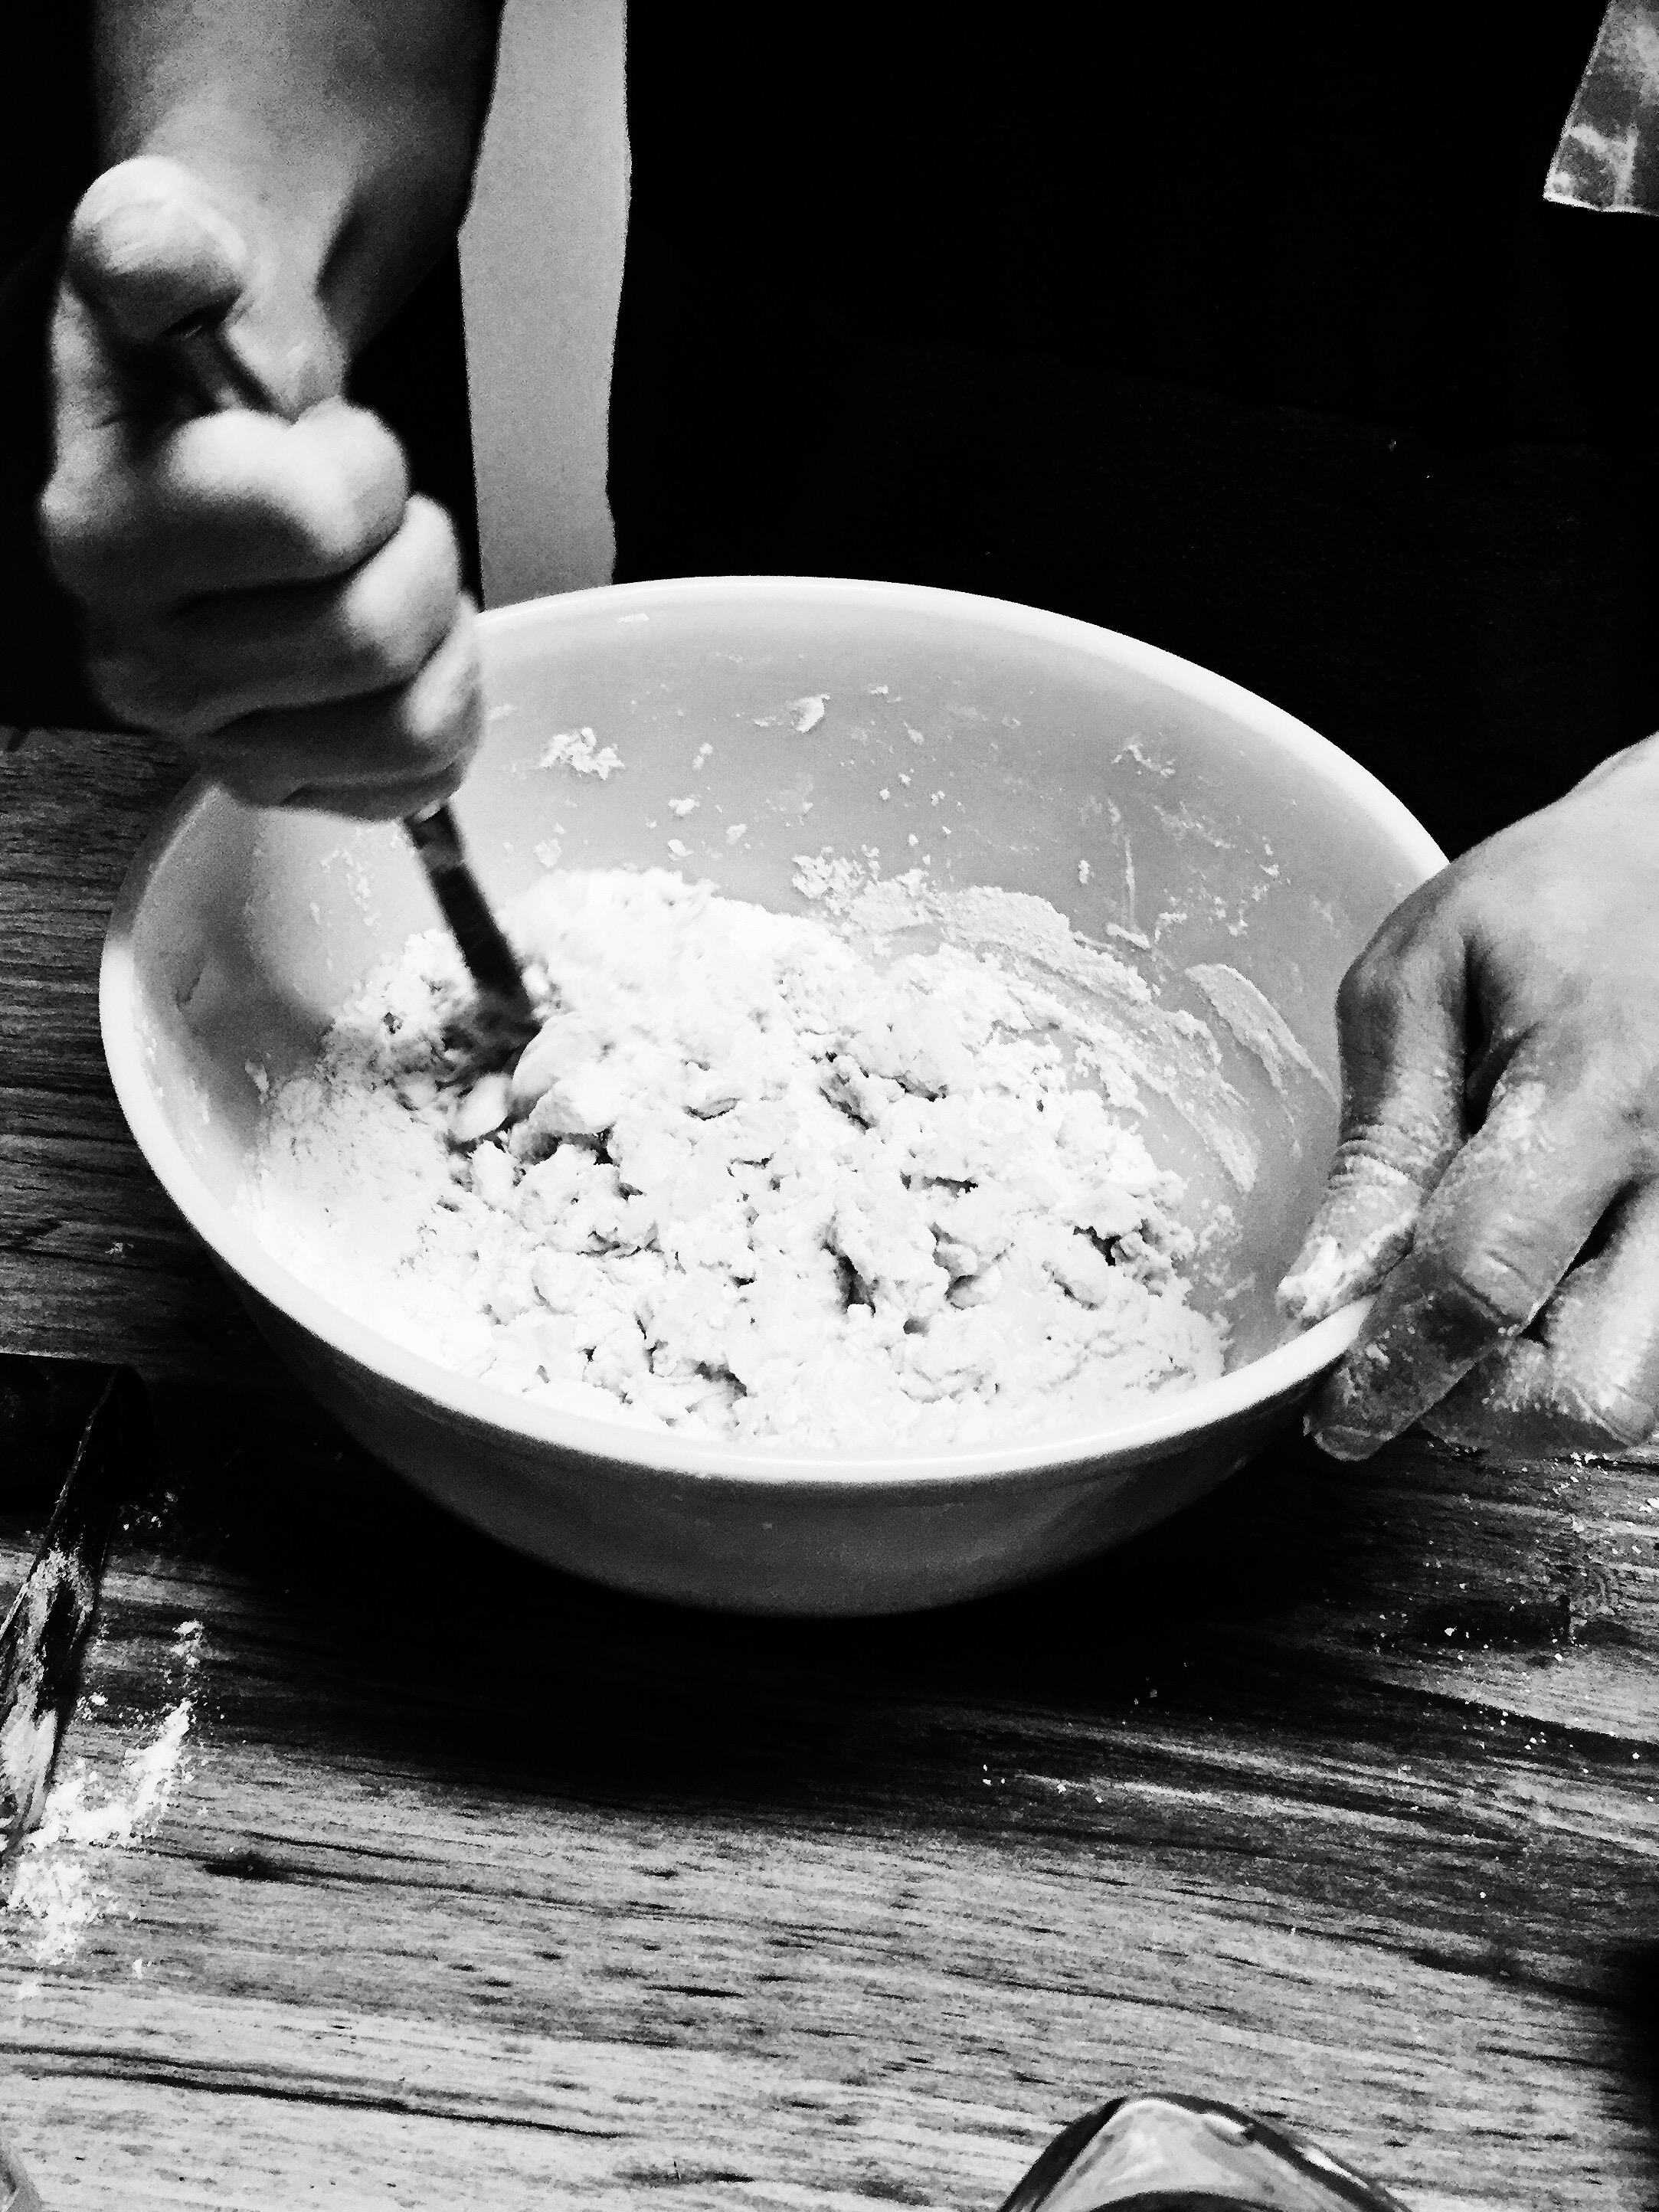
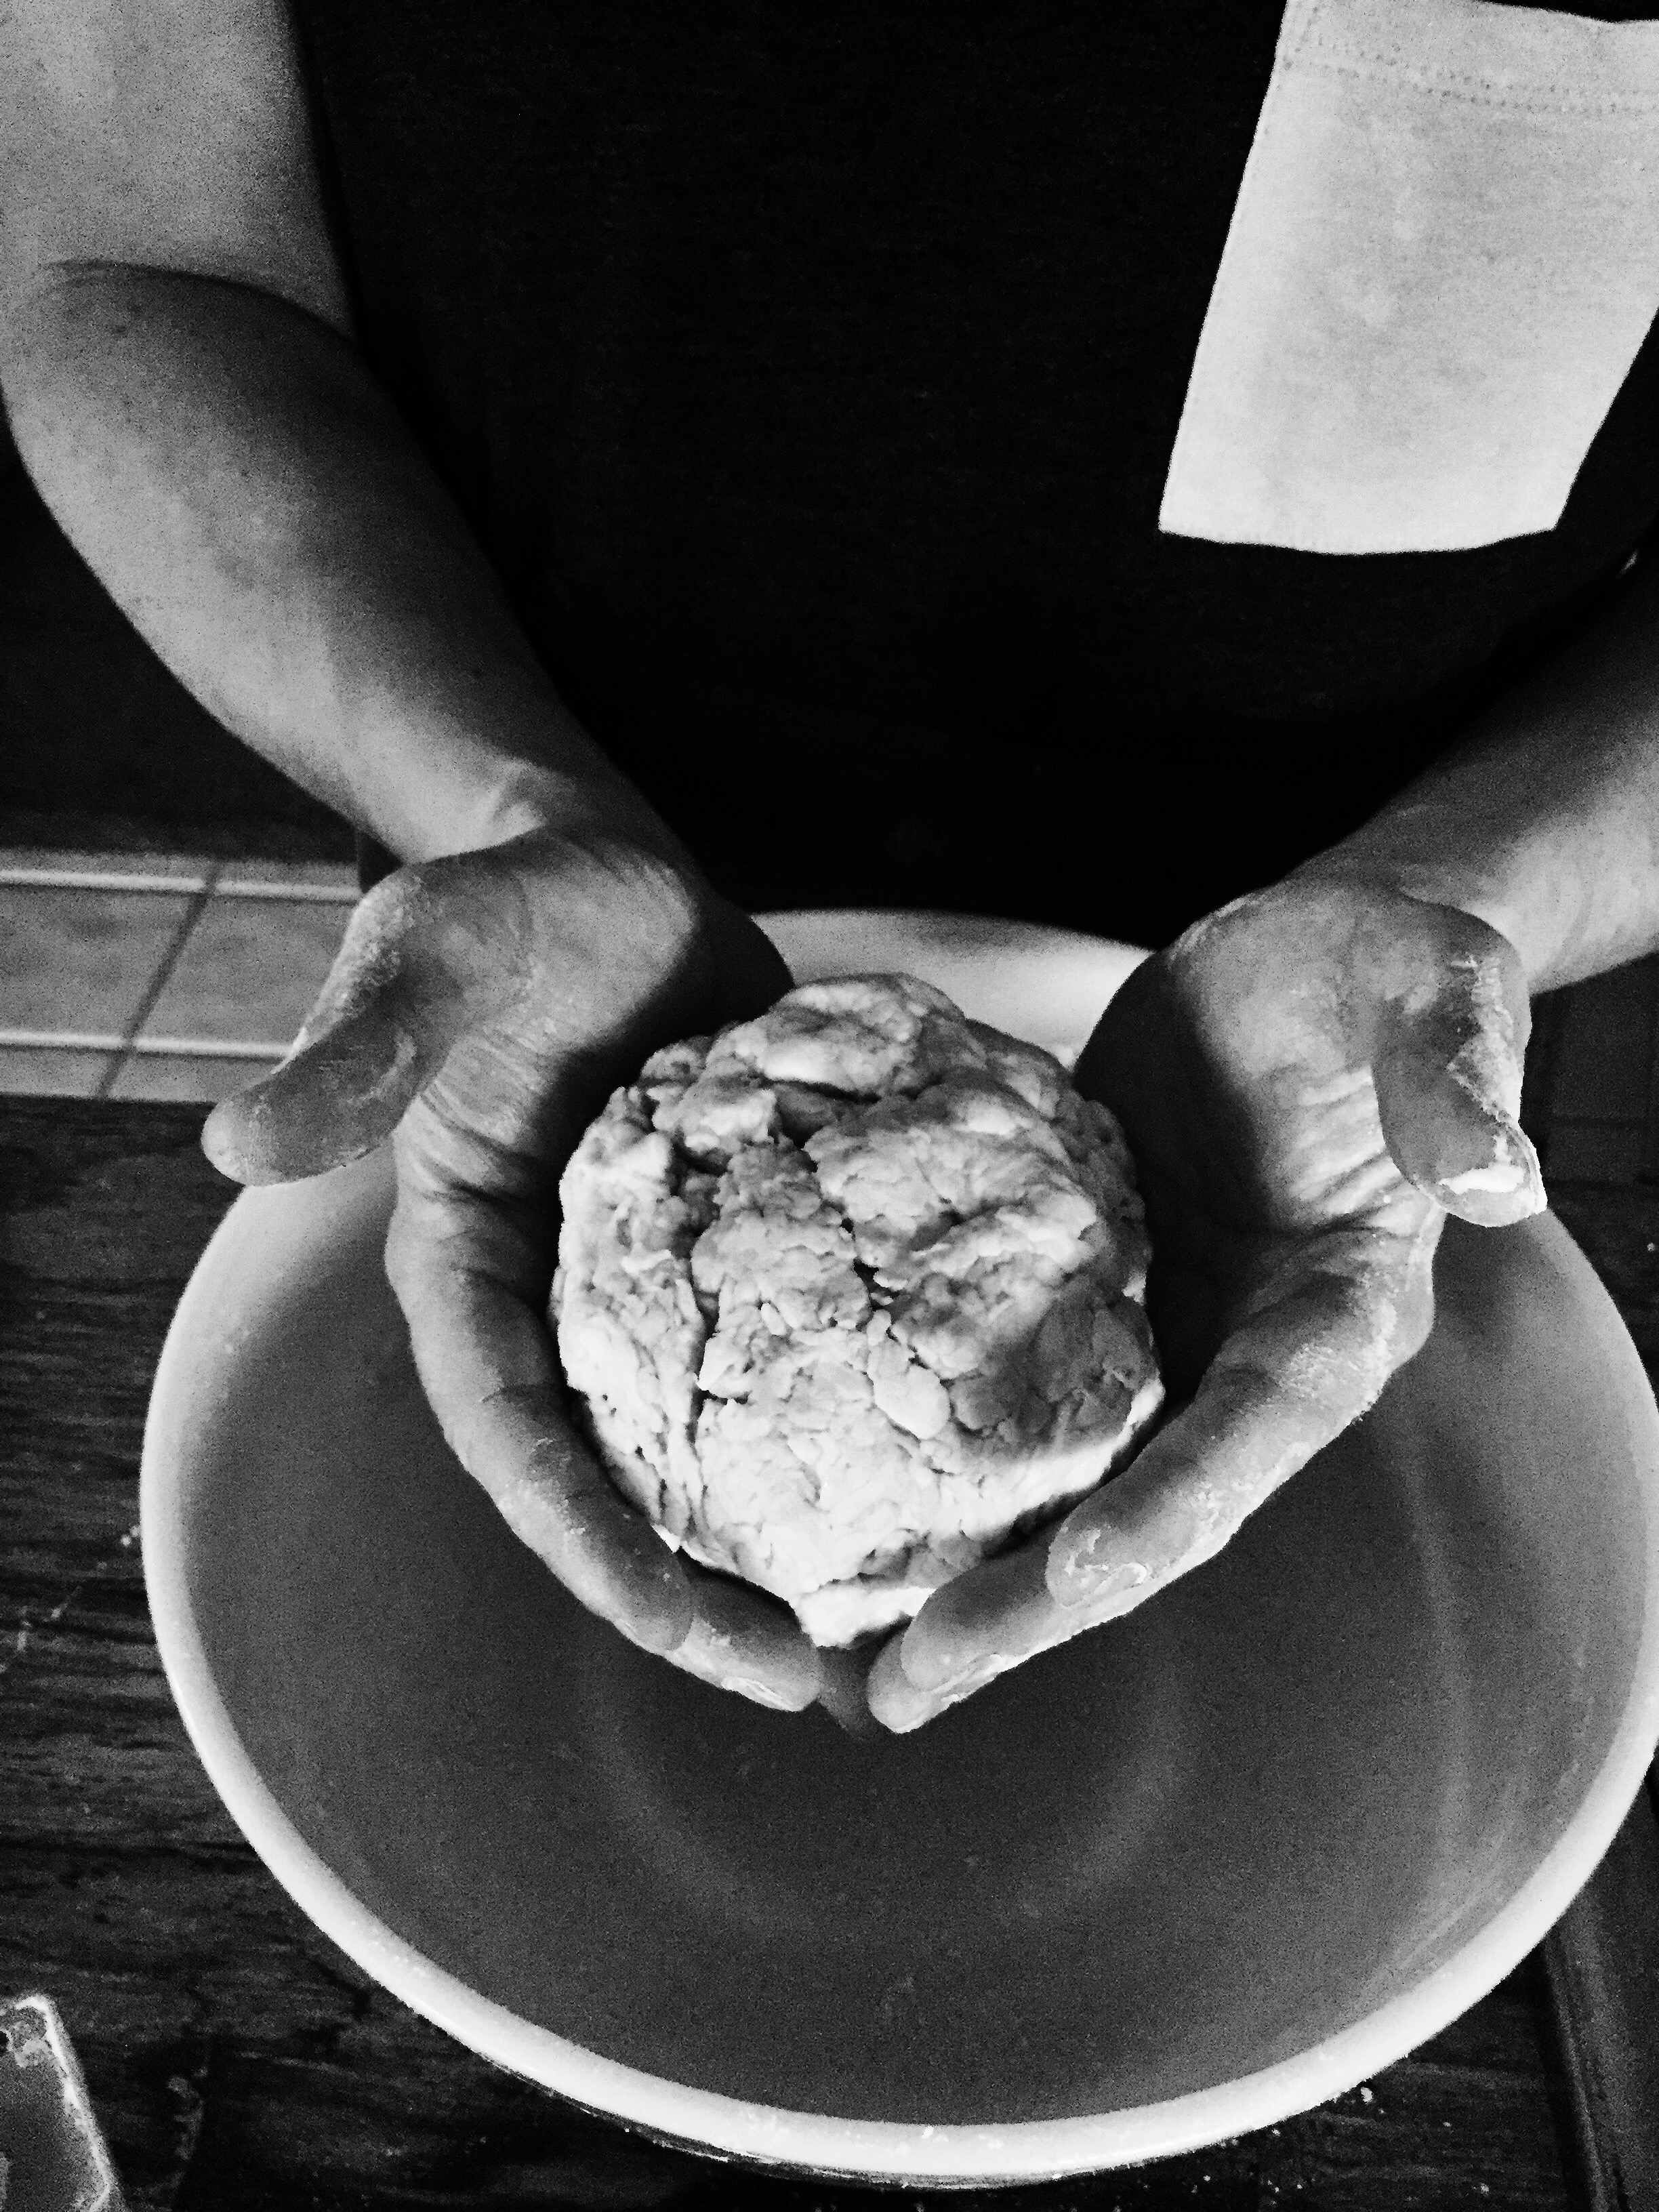
  2. Add the warm water and mix to form a shaggy dough ball.
  3. Cover with plastic wrap and let rest 8 to 12 hours or overnight.
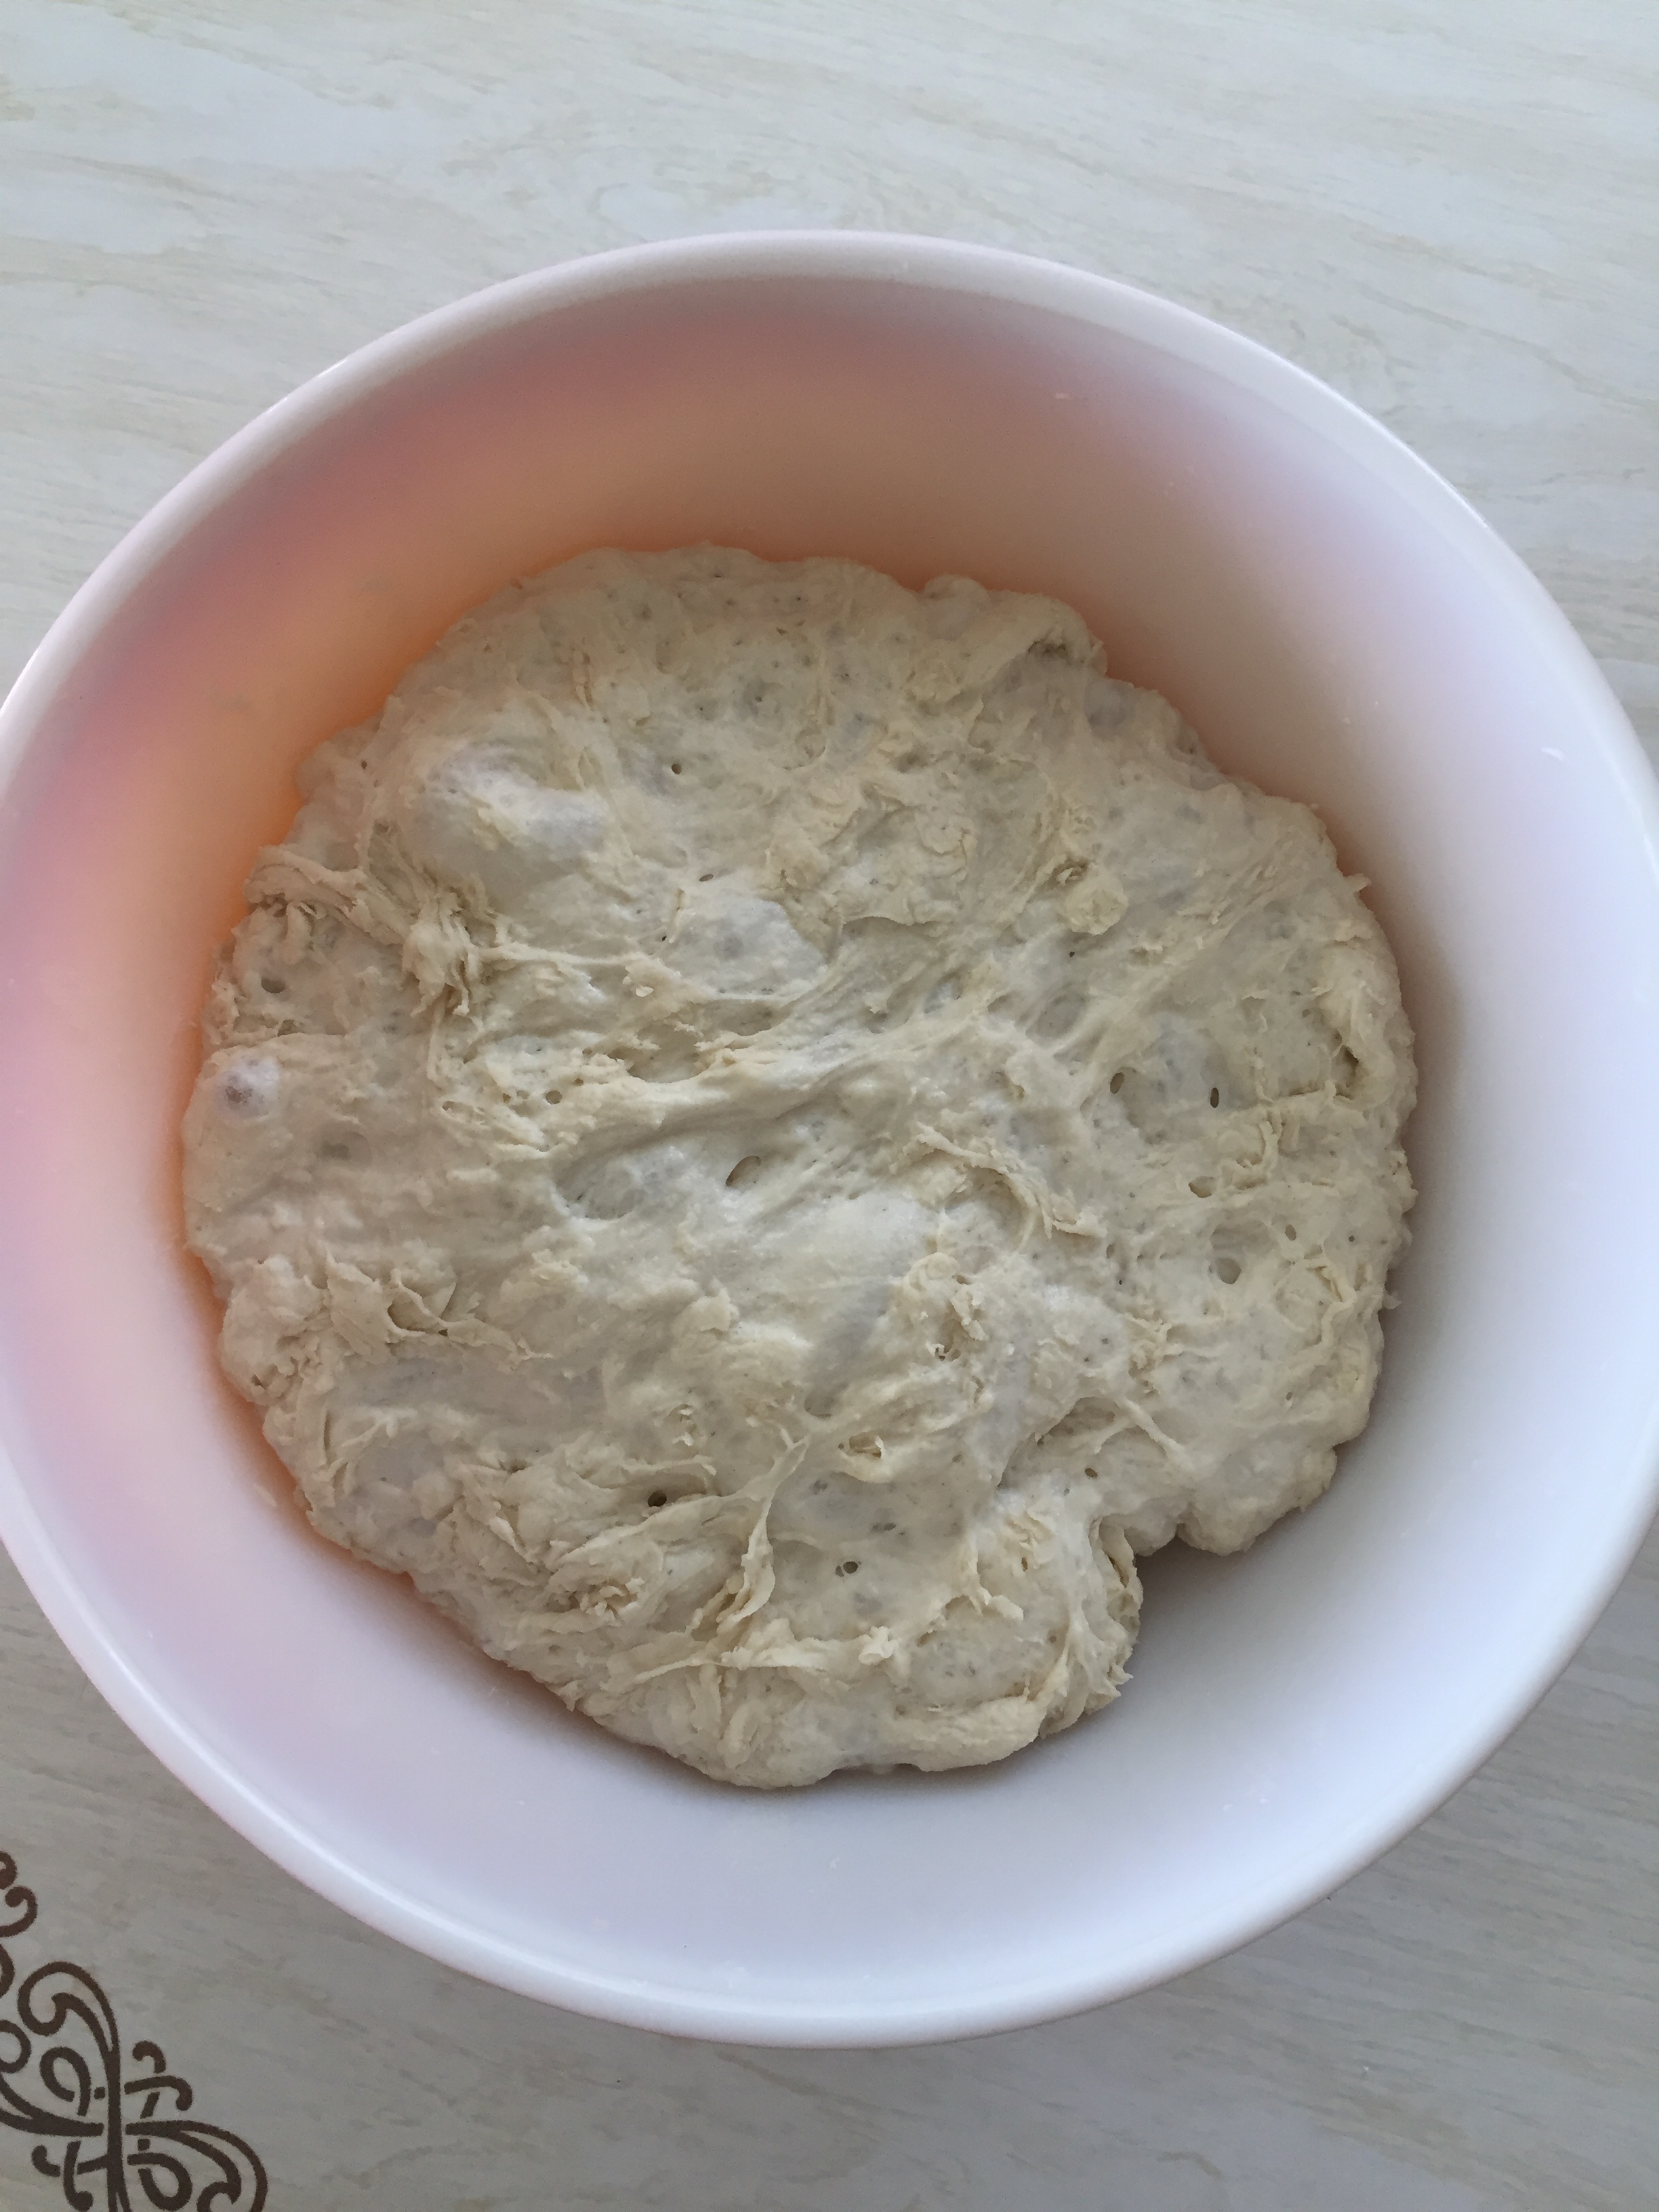
Phase 2

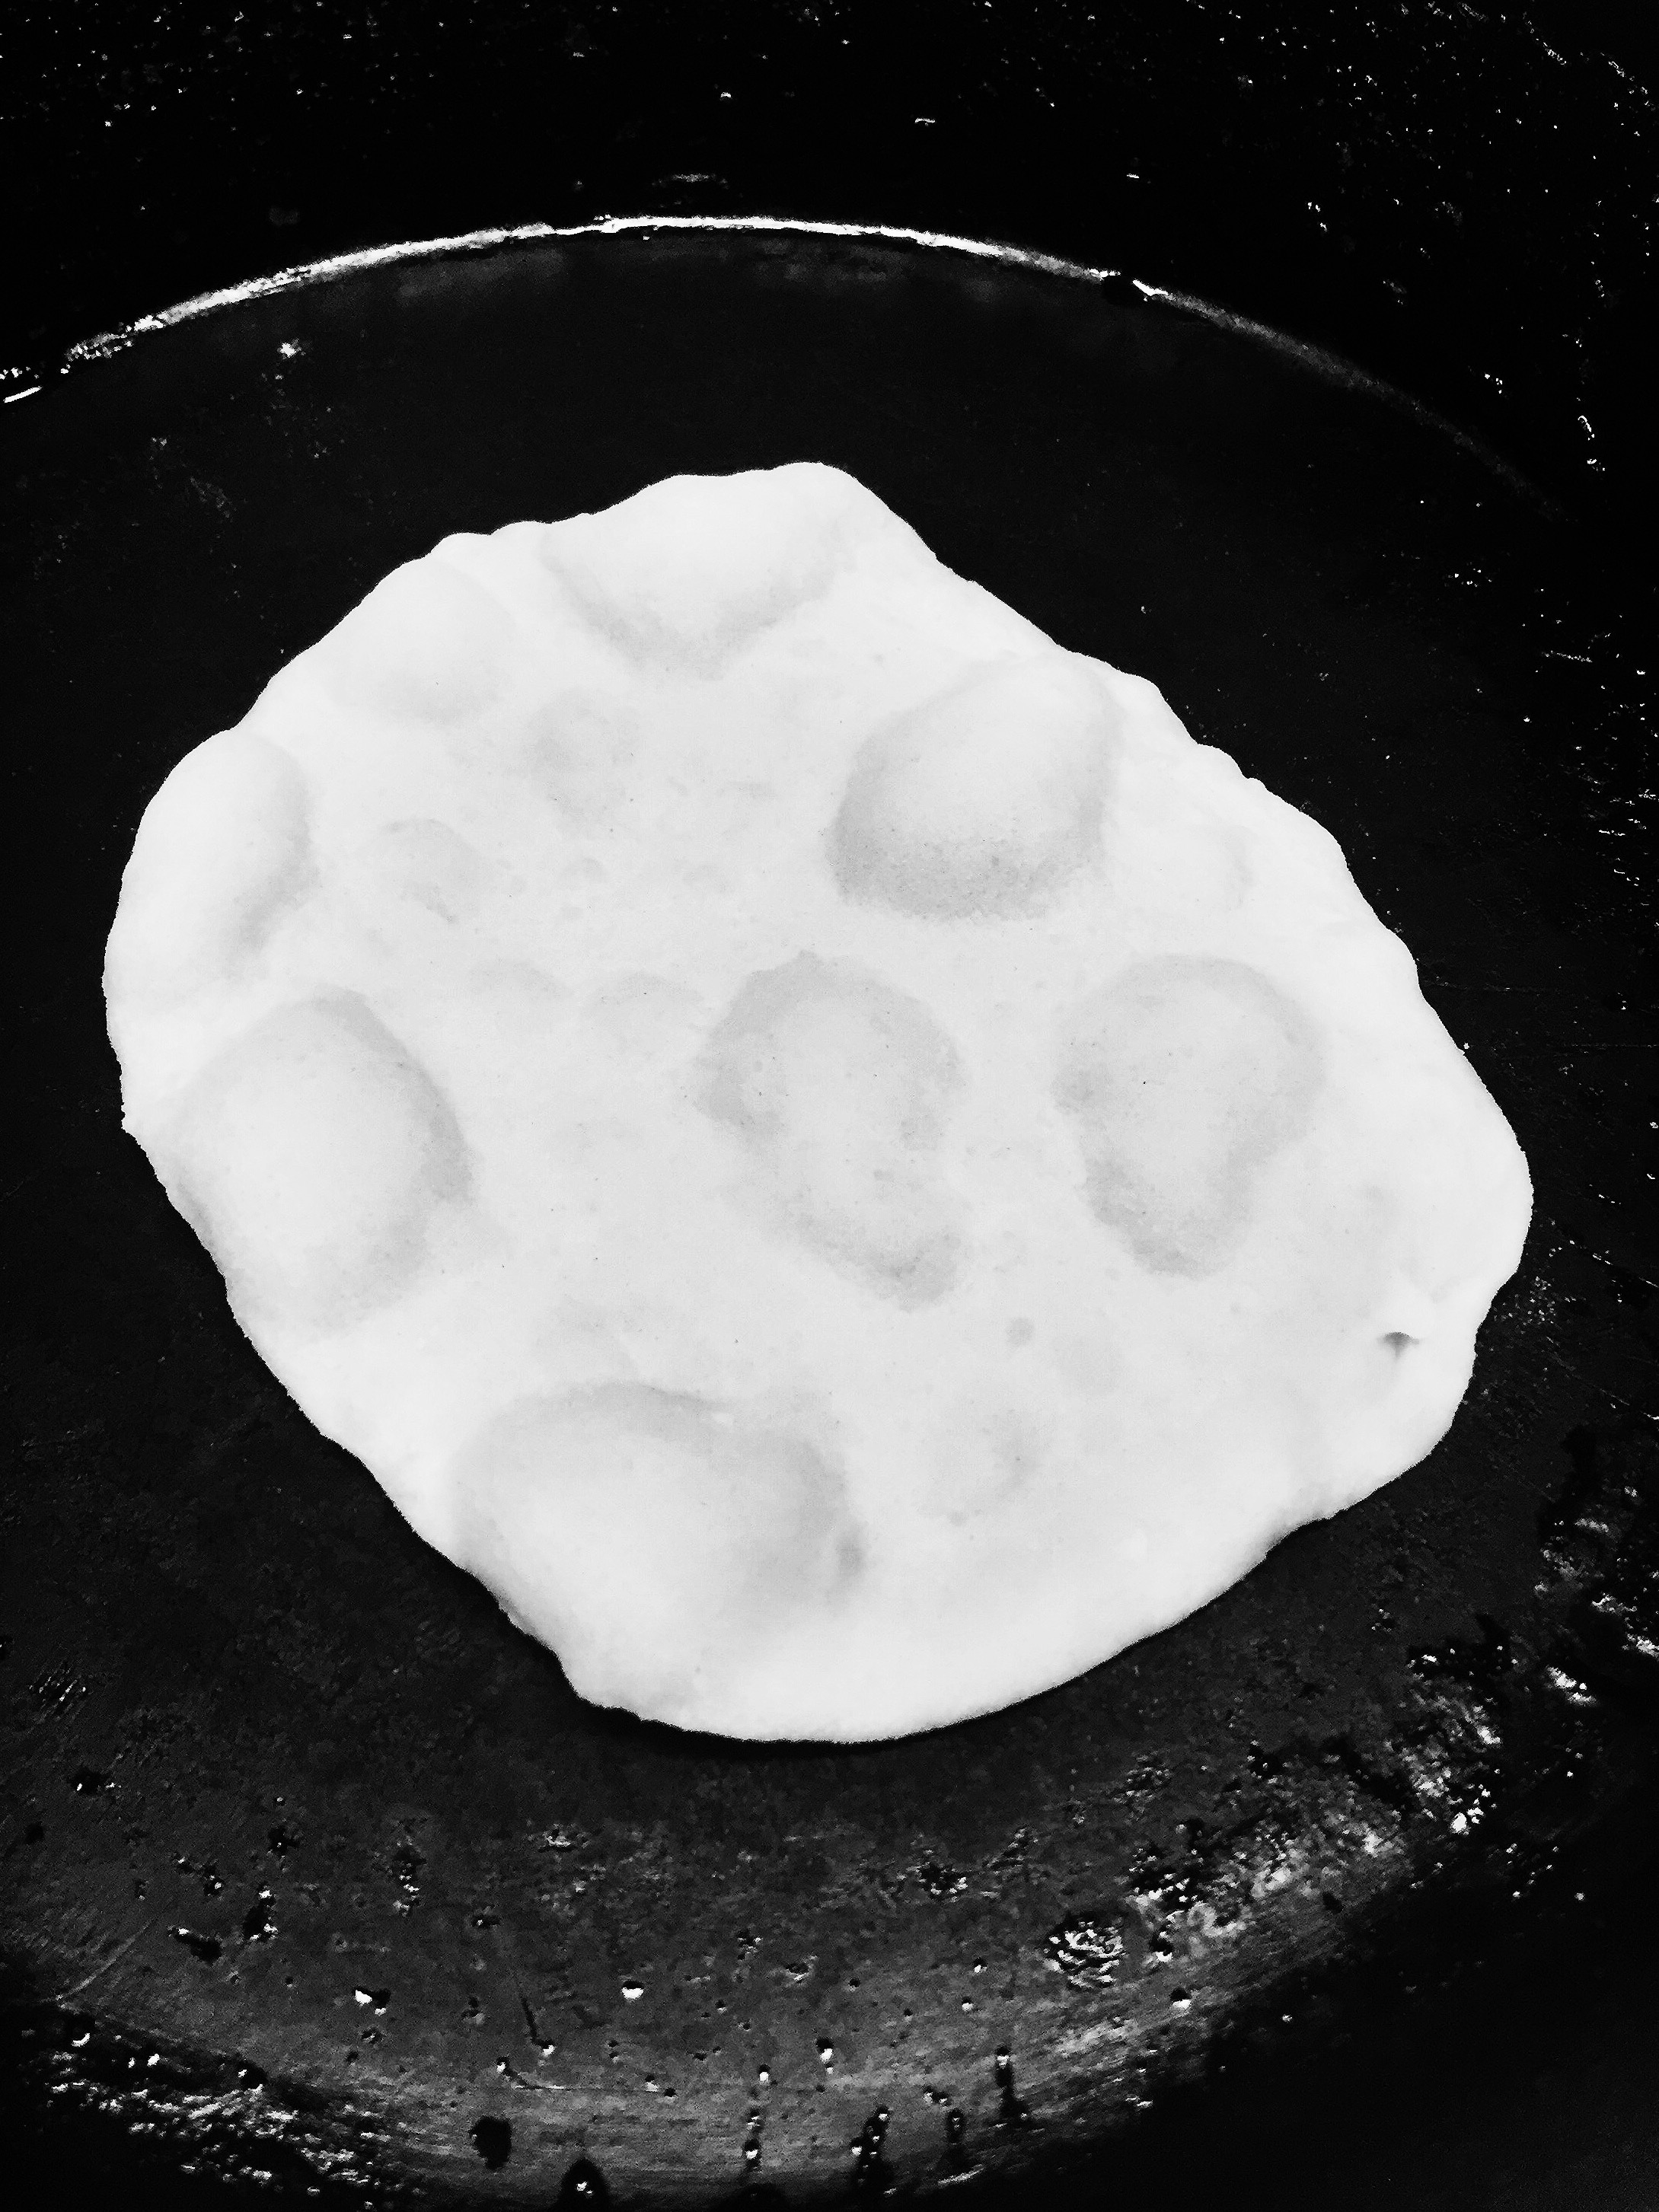
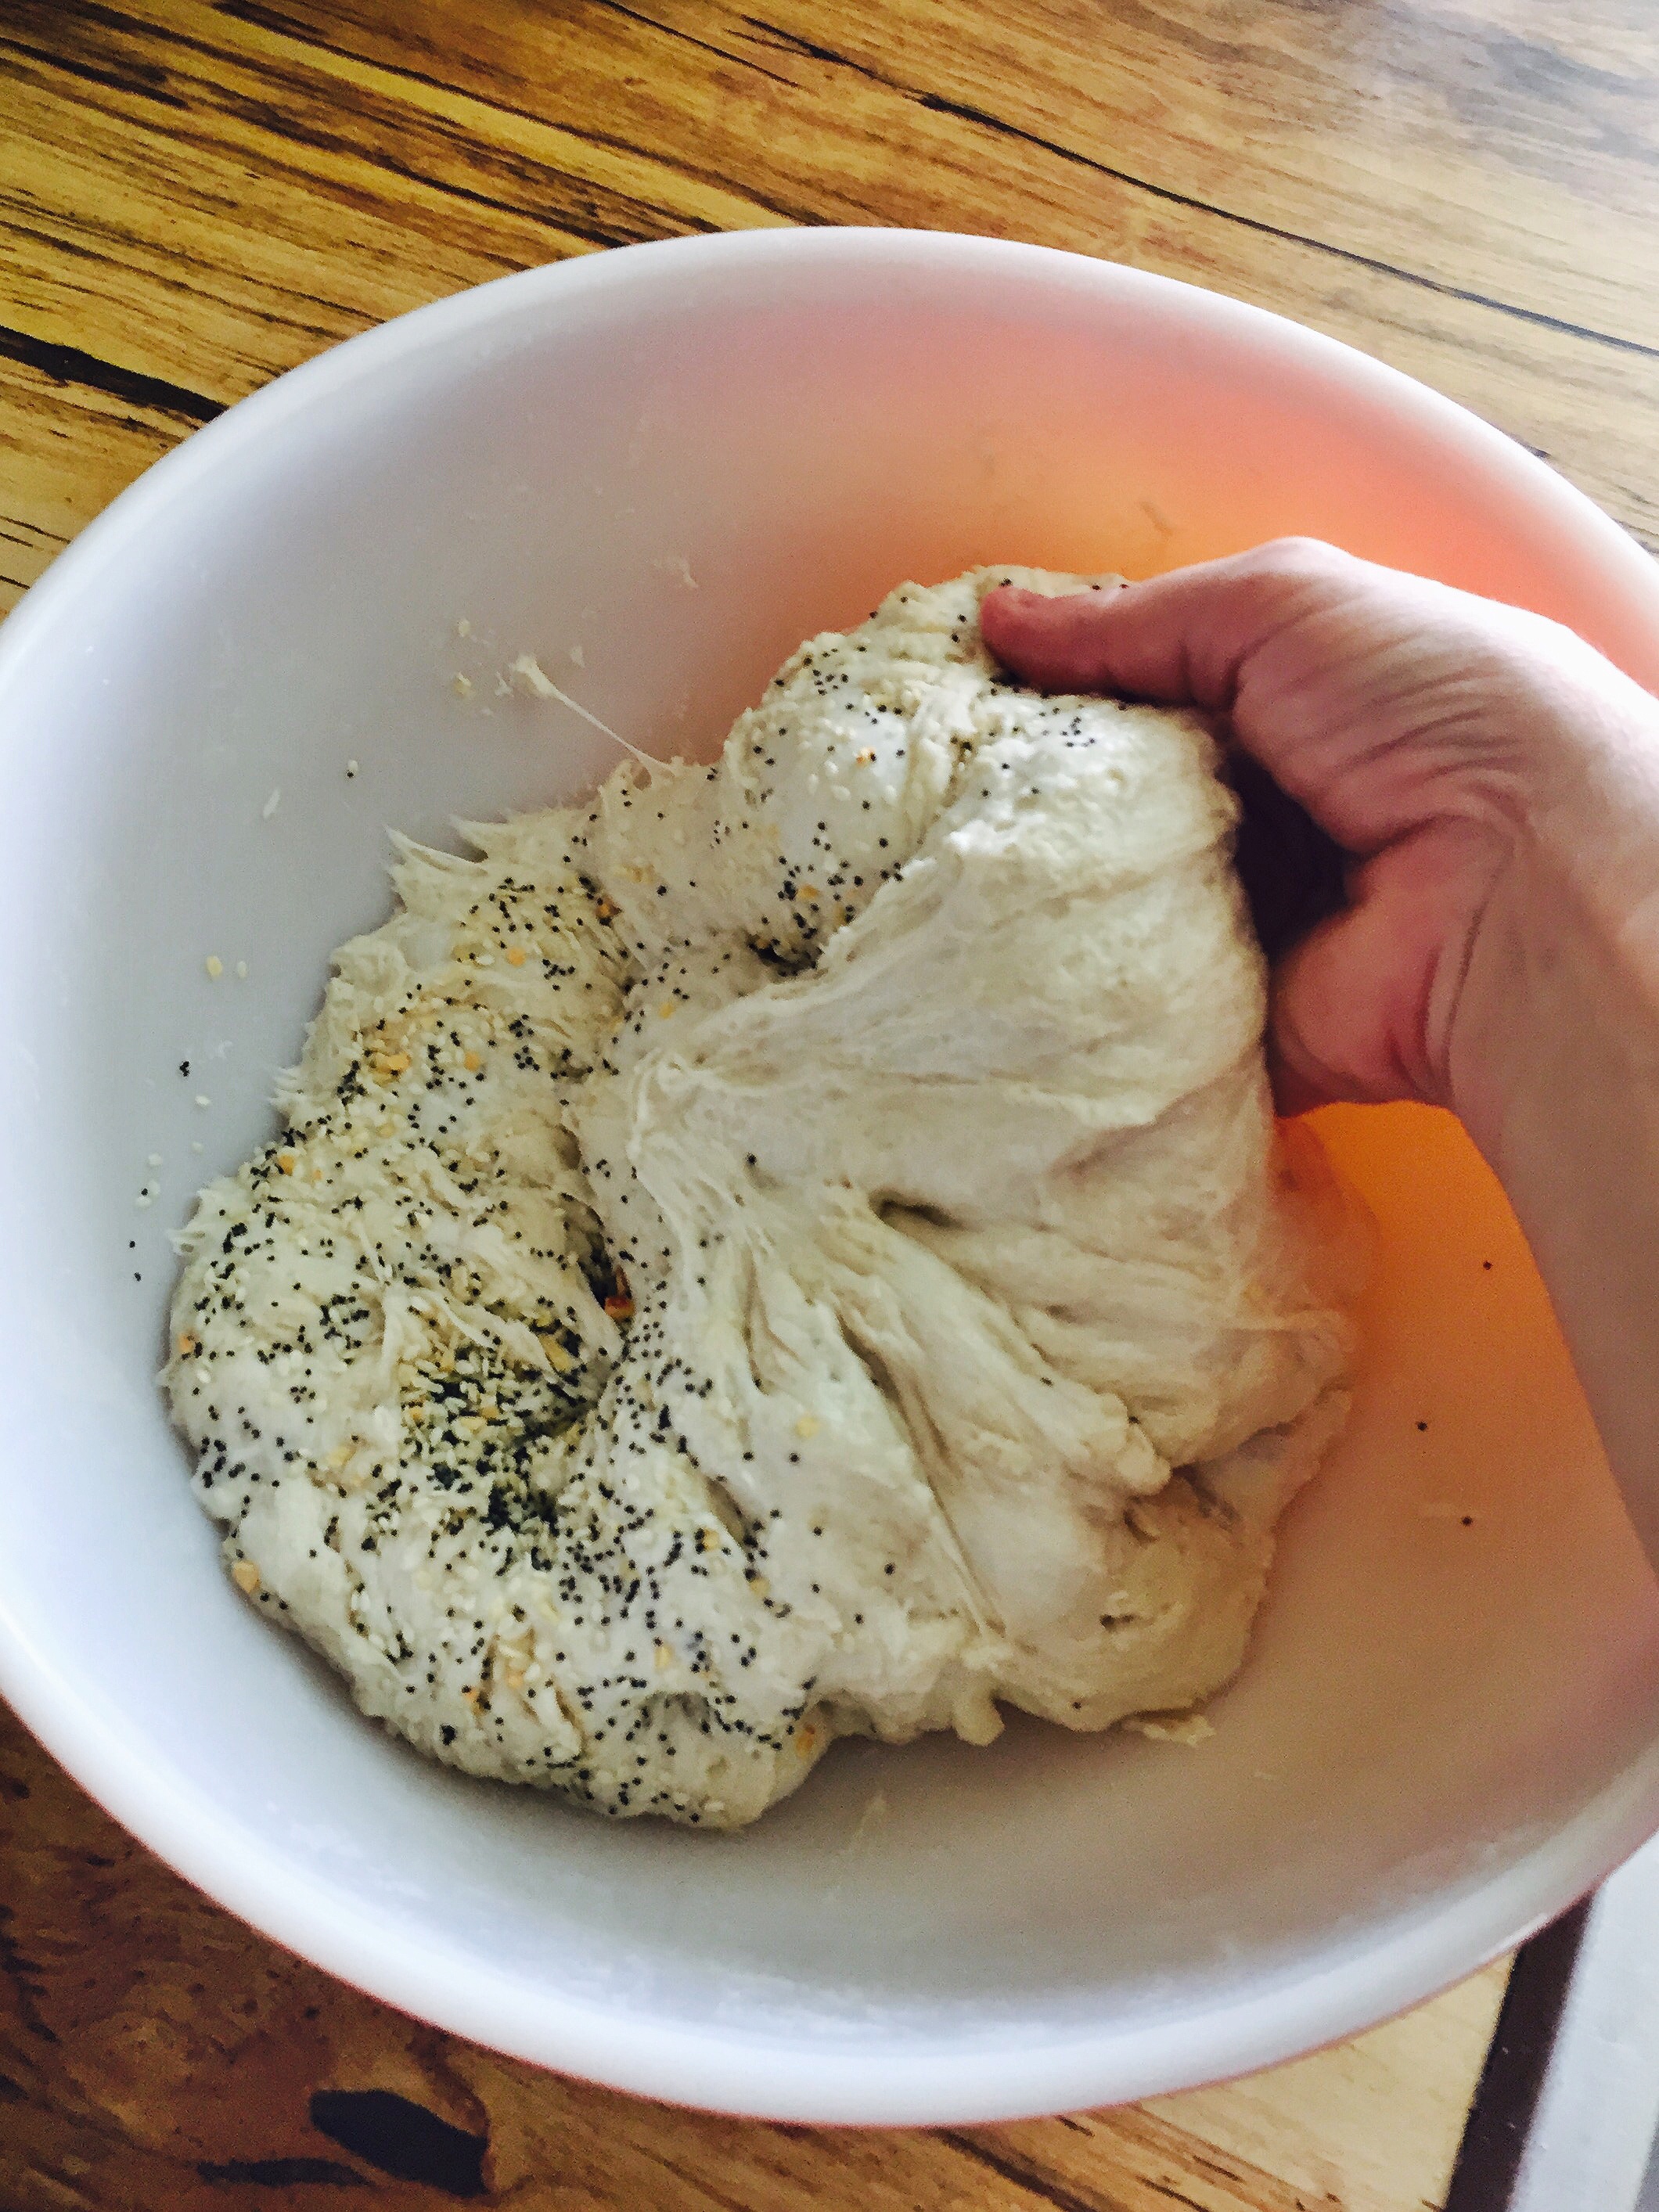
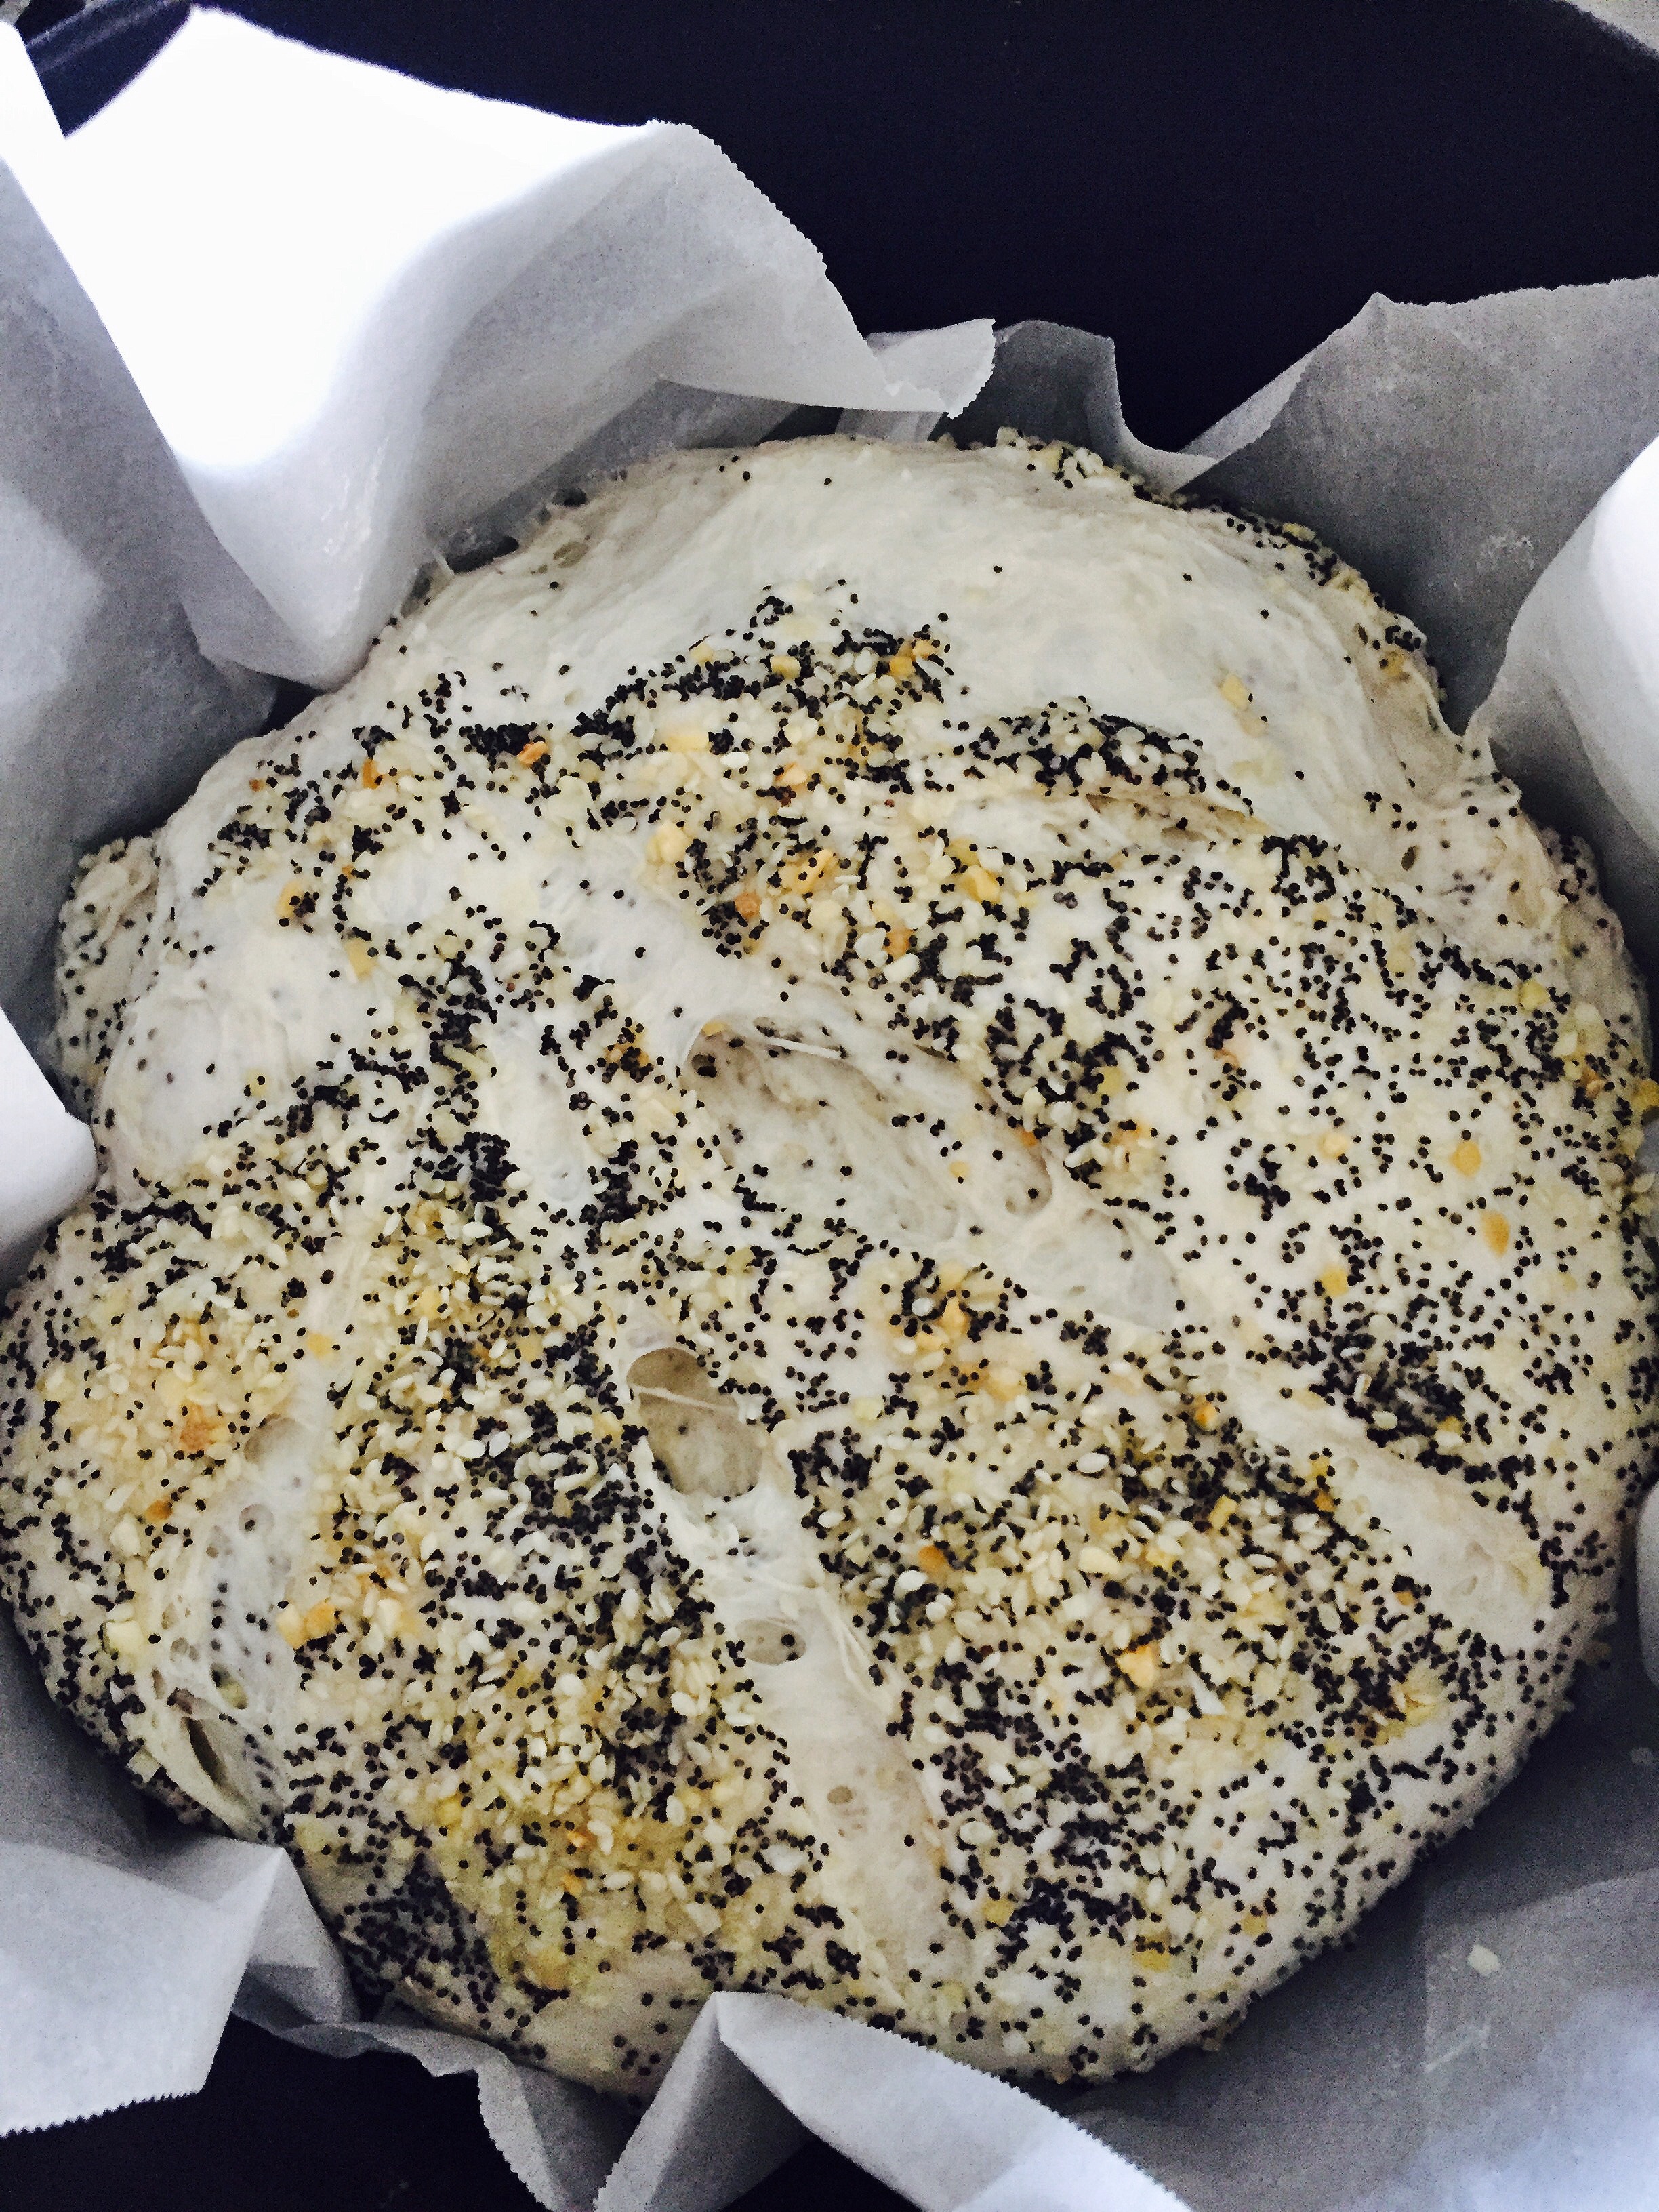
  1. Remove the cover and you'll notice the dough swelled and now appears quite wet and sticky.
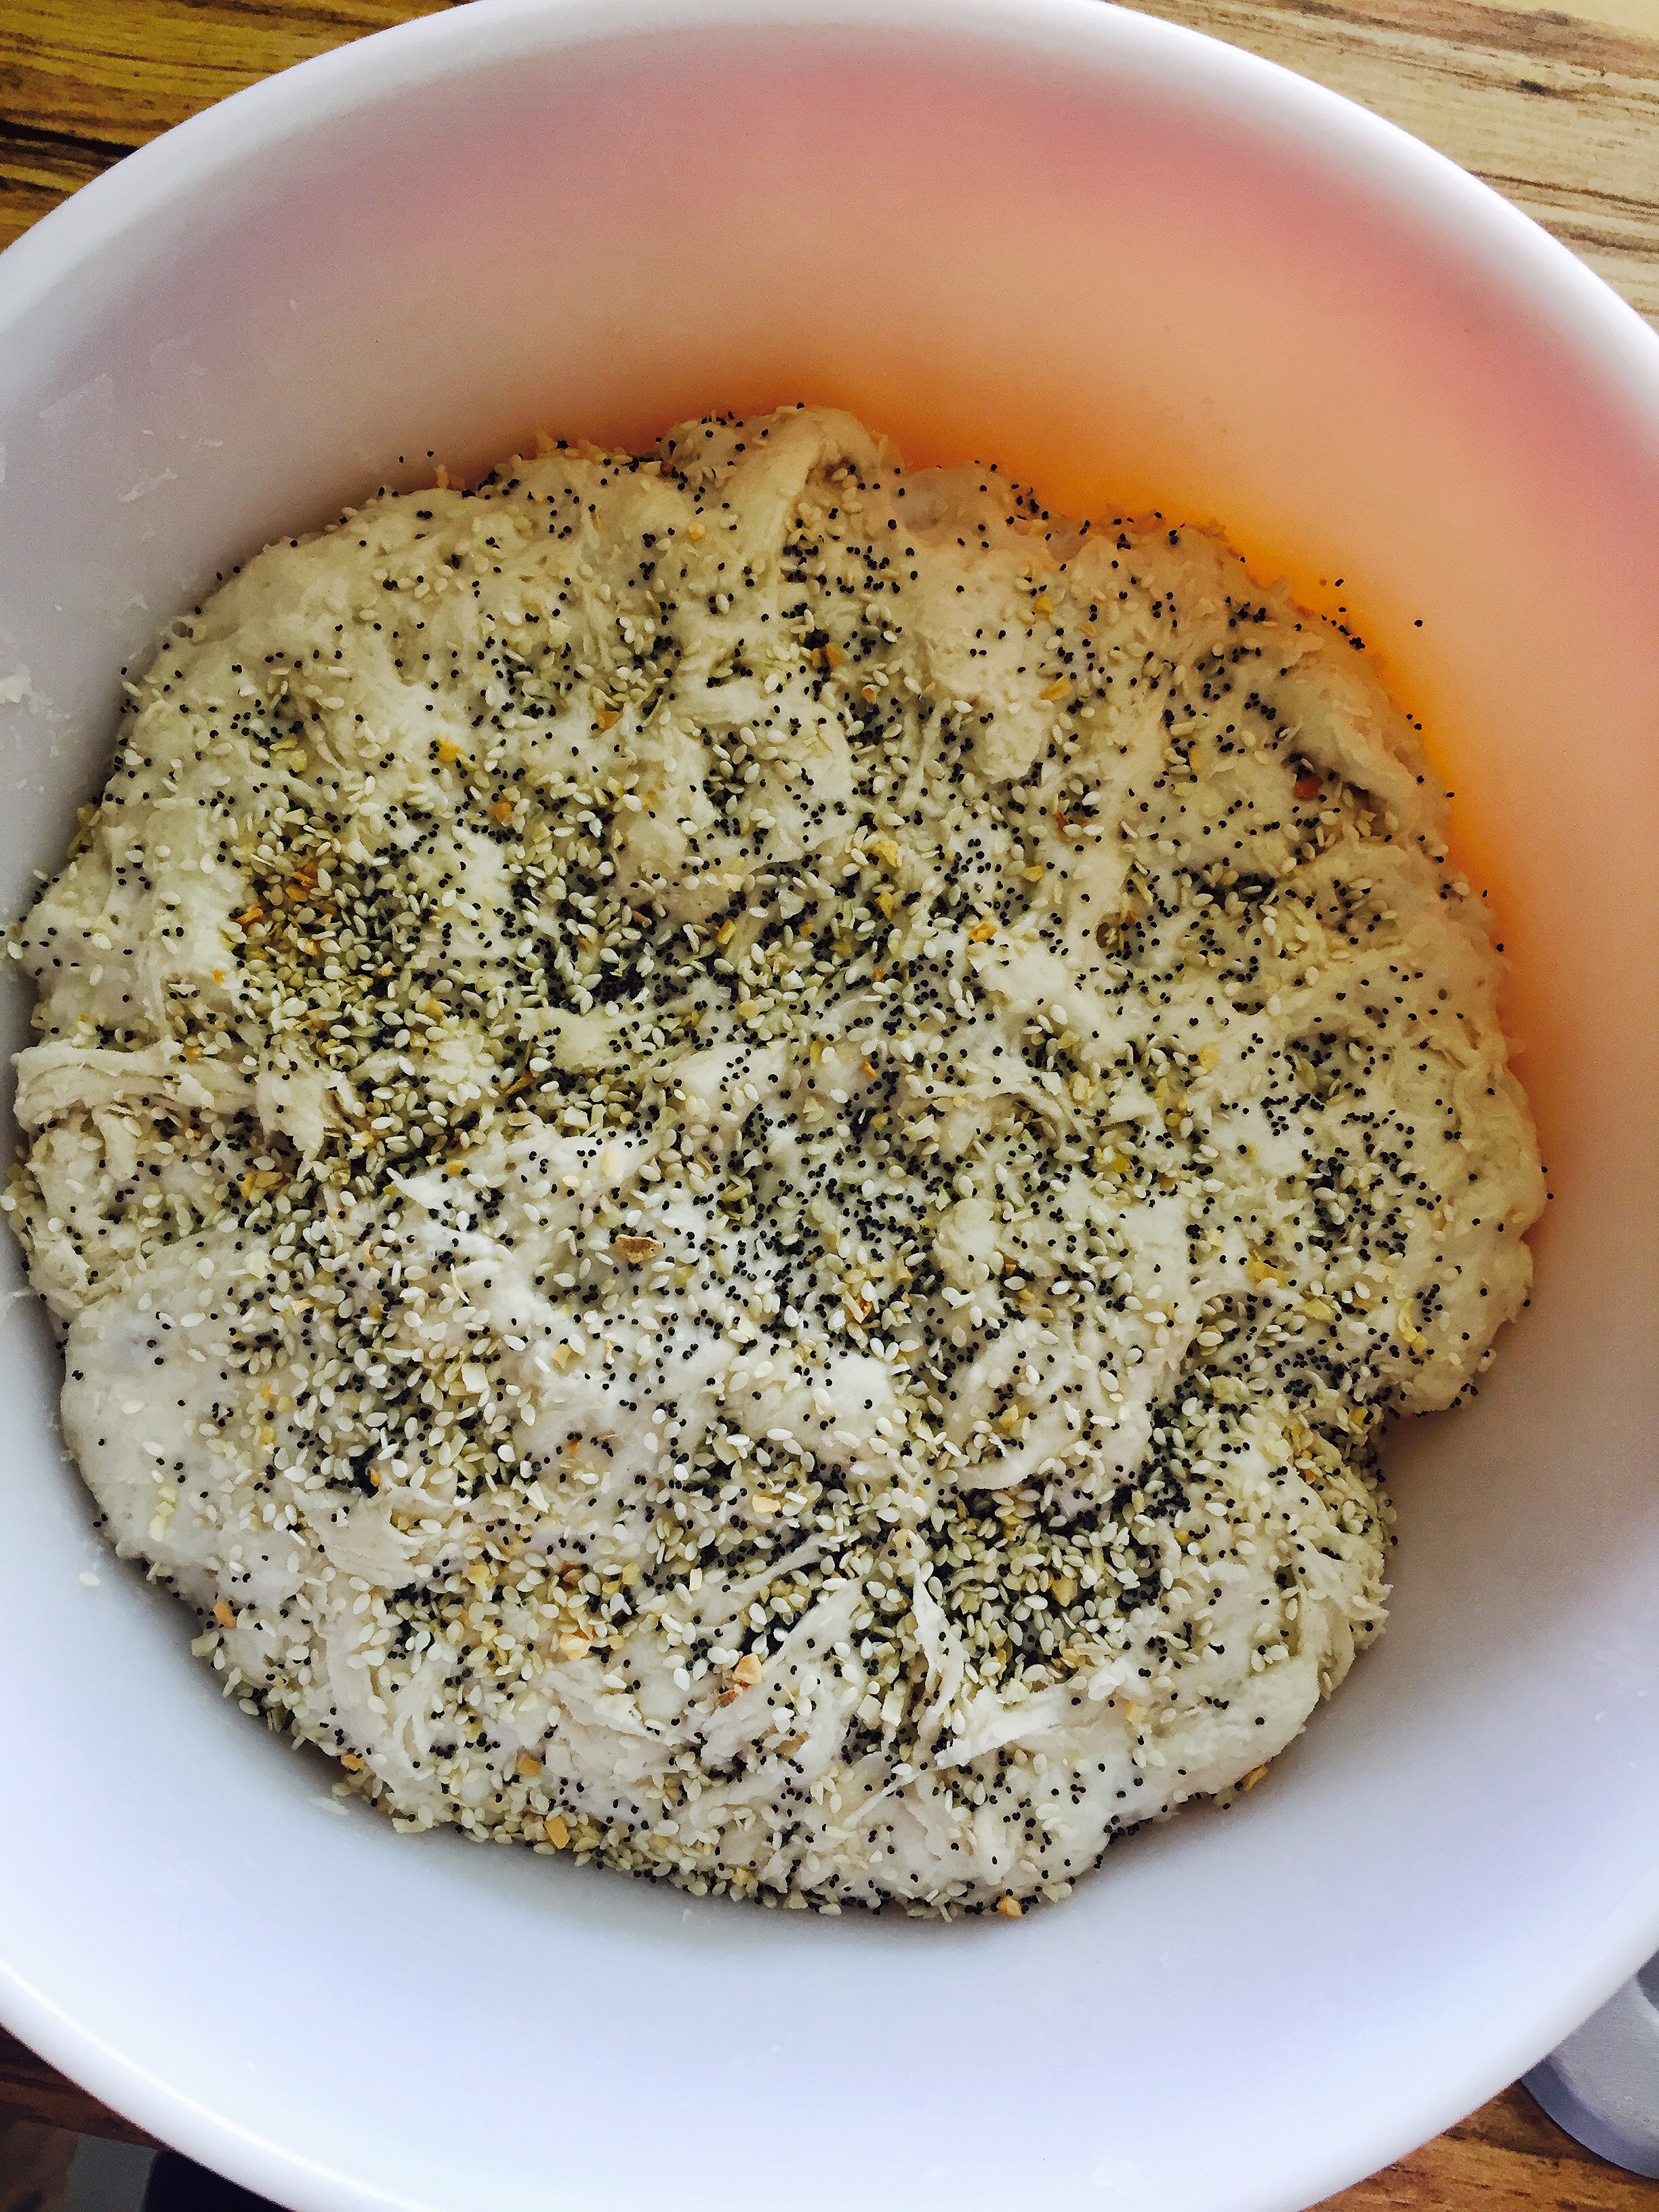
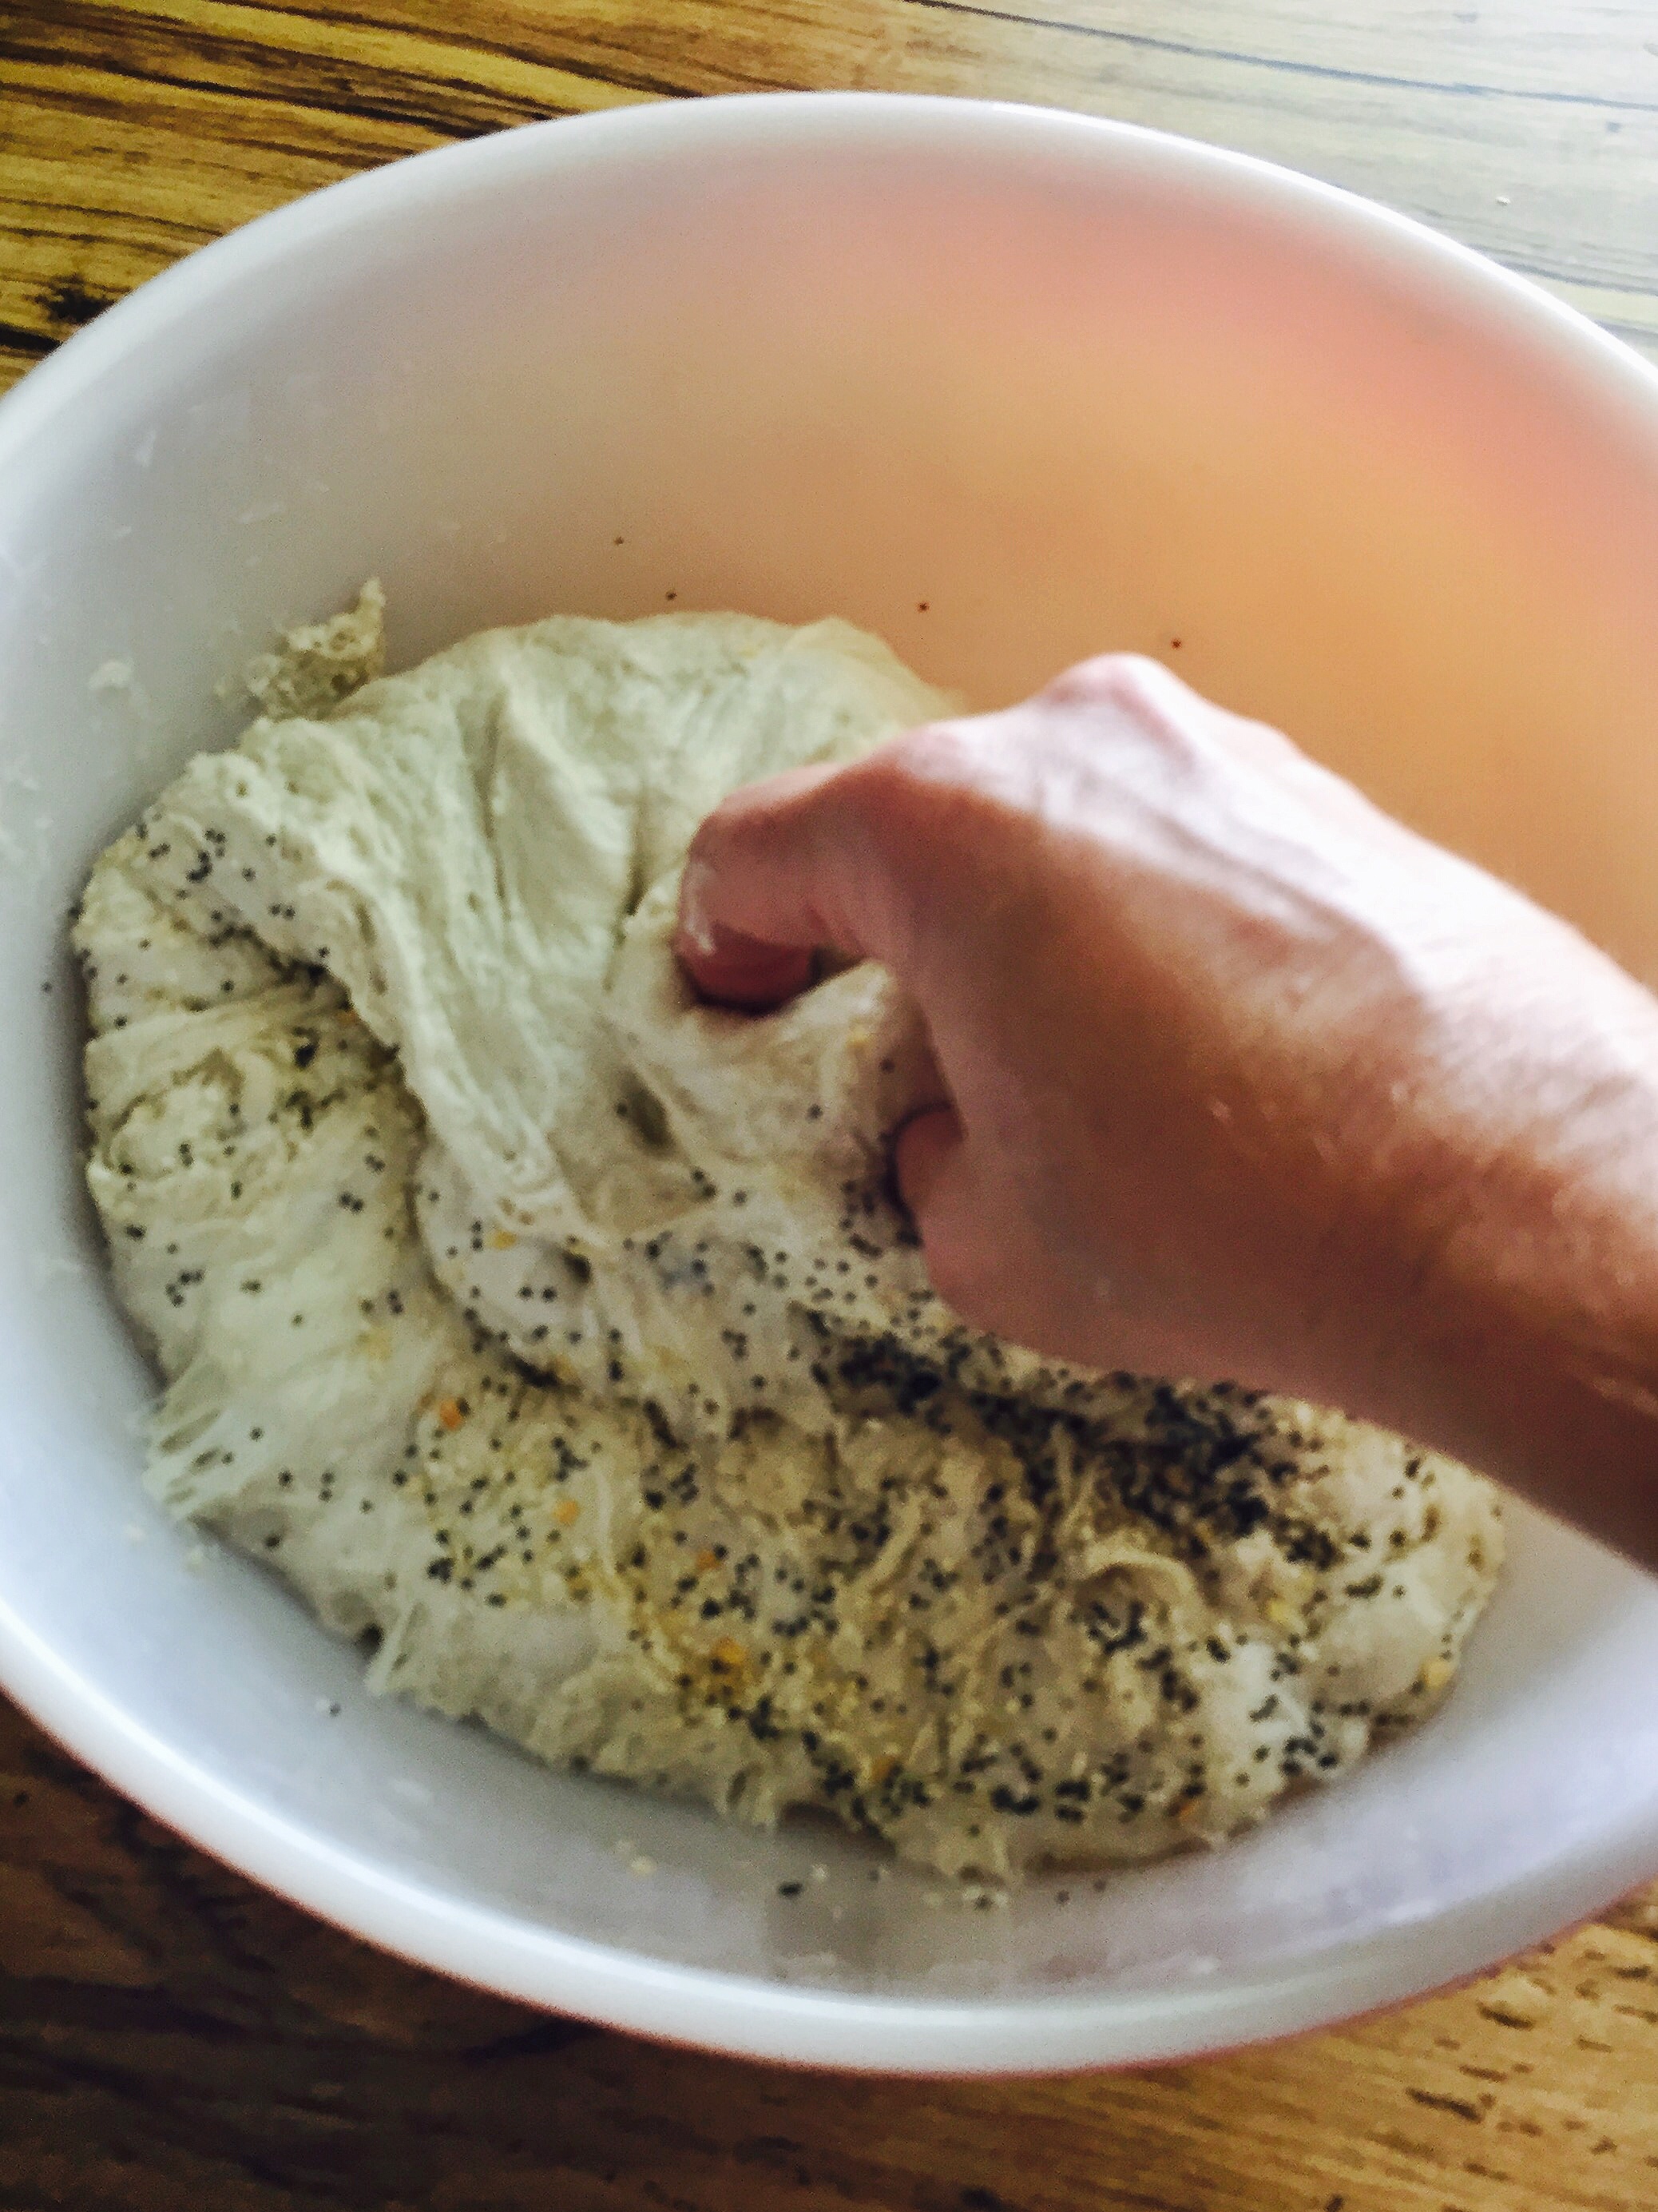
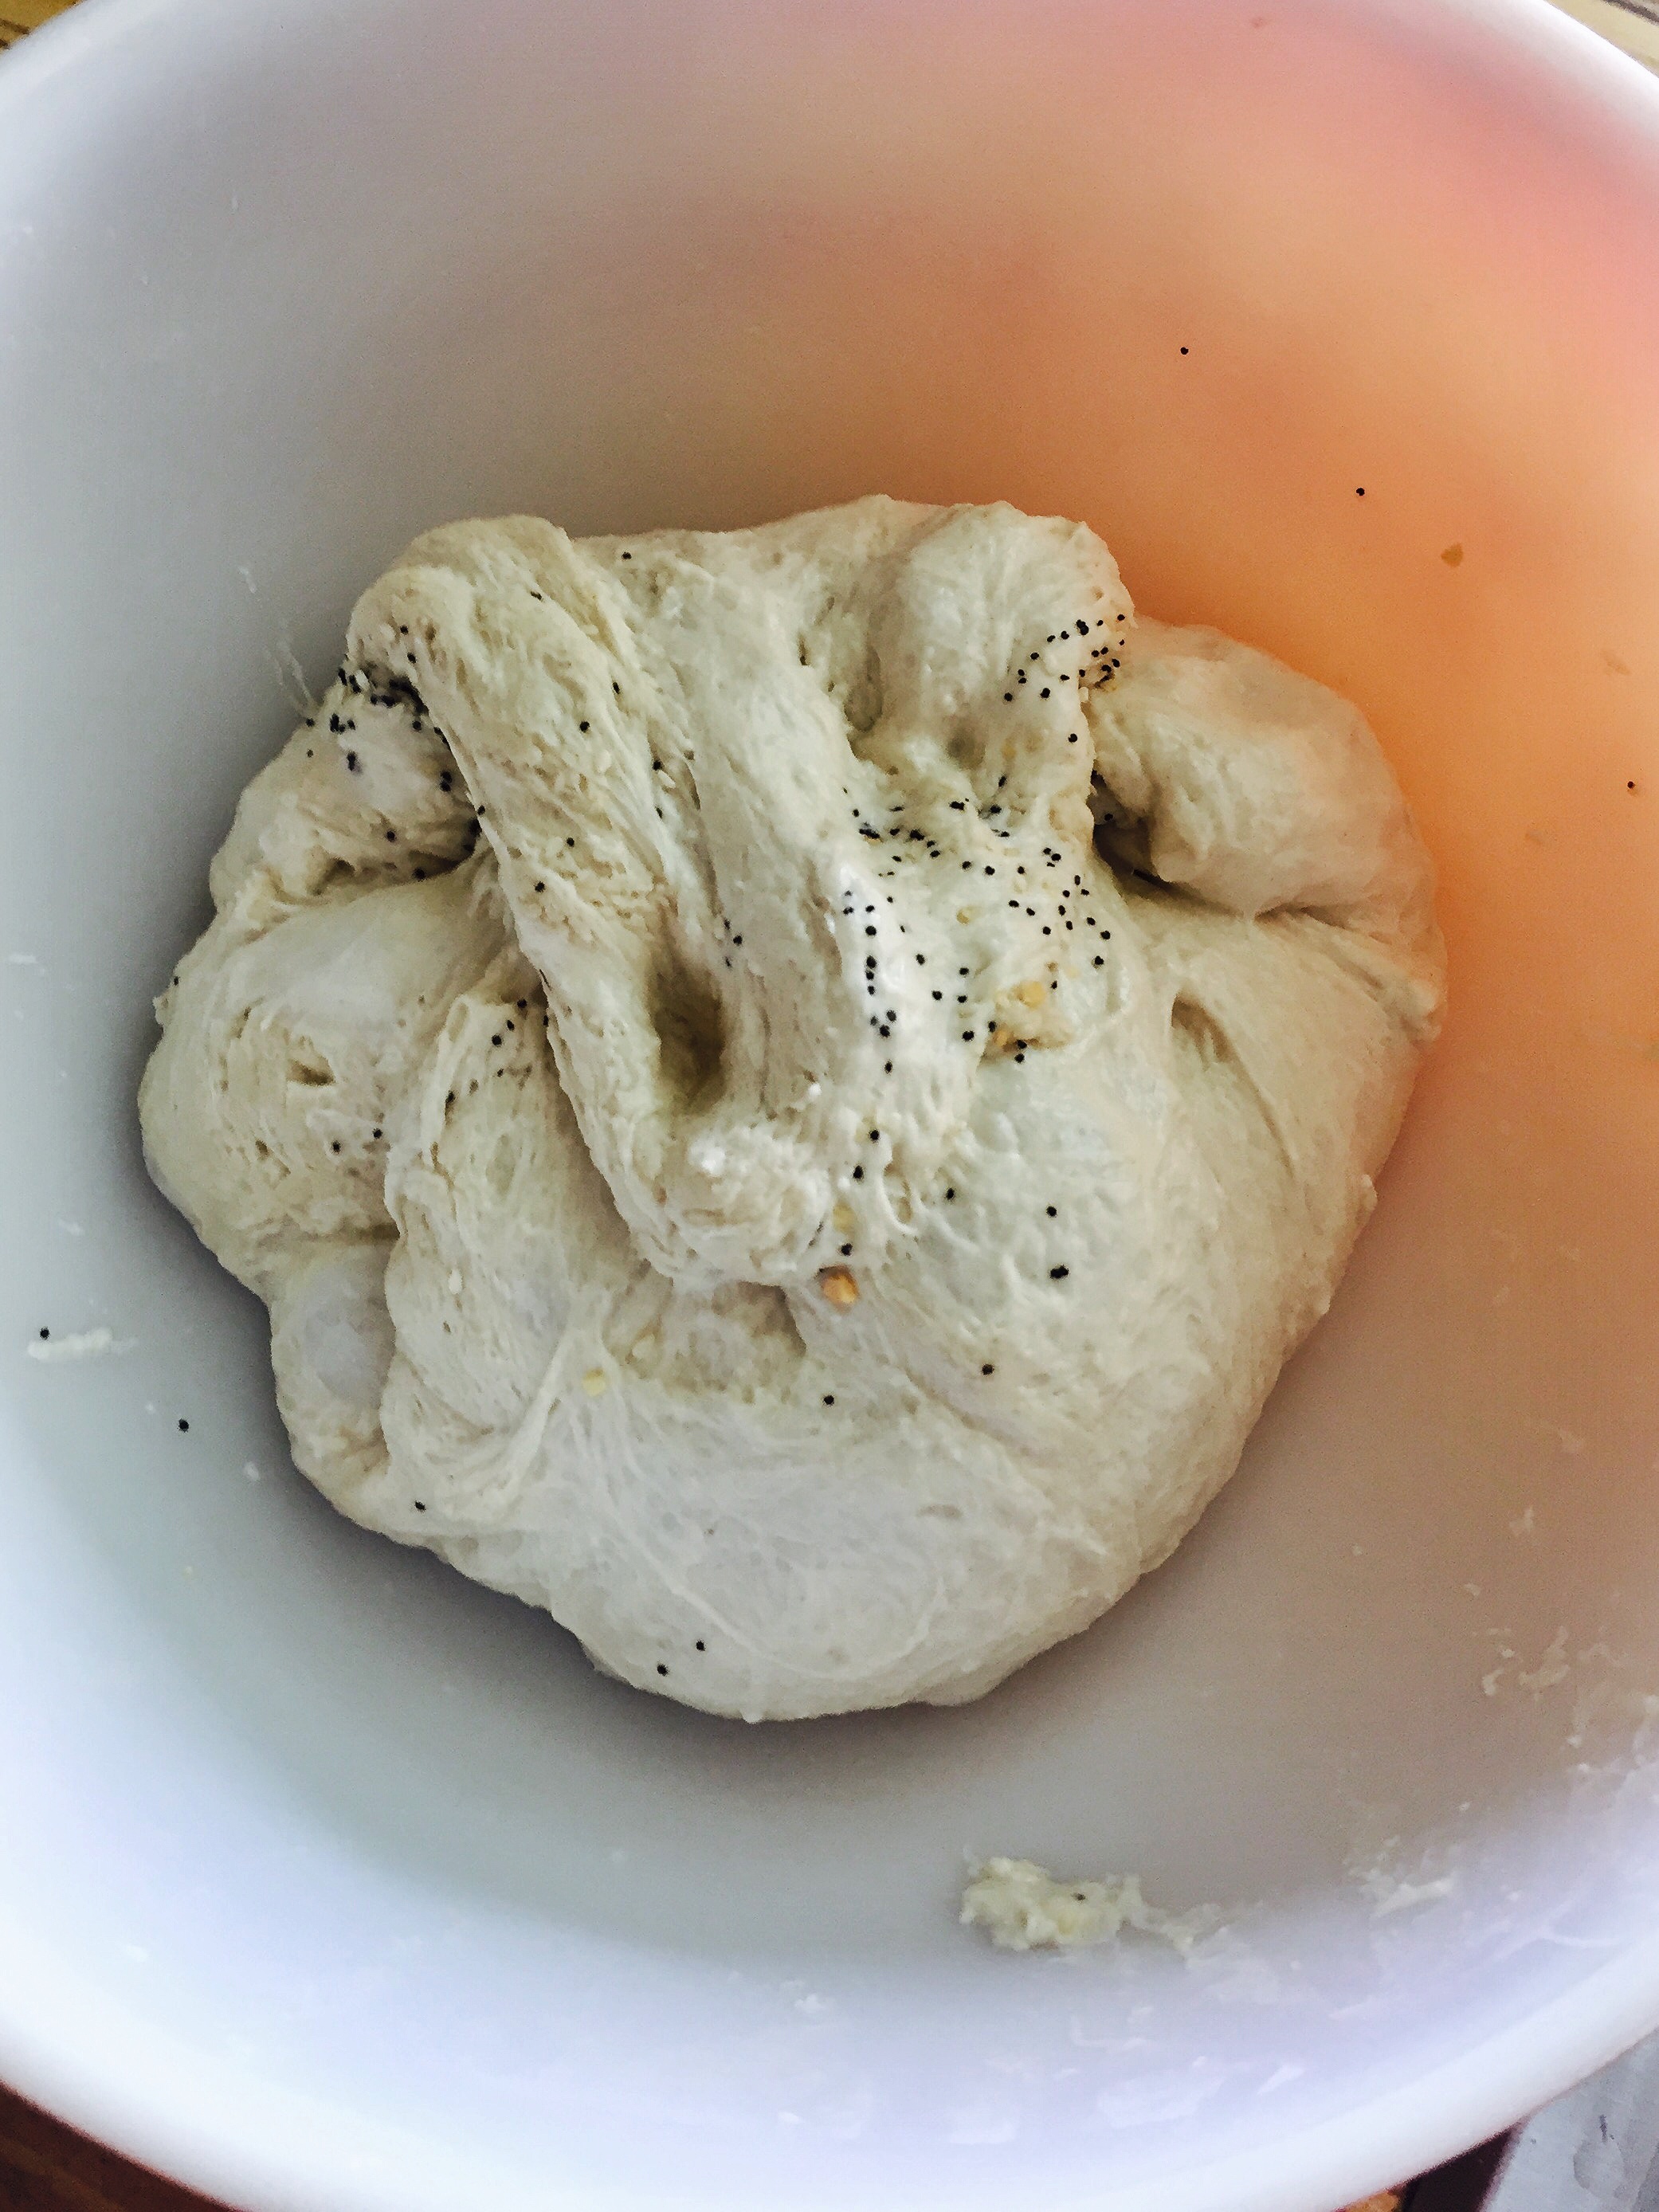
  2. Sprinkle a layer of seed over the surface of the dough, and then with a wet hand, reach in and lift the dough from the bottom and fold it onto the top.
  3. Rotate the bowl slightly and continue with a wet hand to fold the dough over, hiding the seeds within. Do this until all the seeds are now on the inside of the dough.
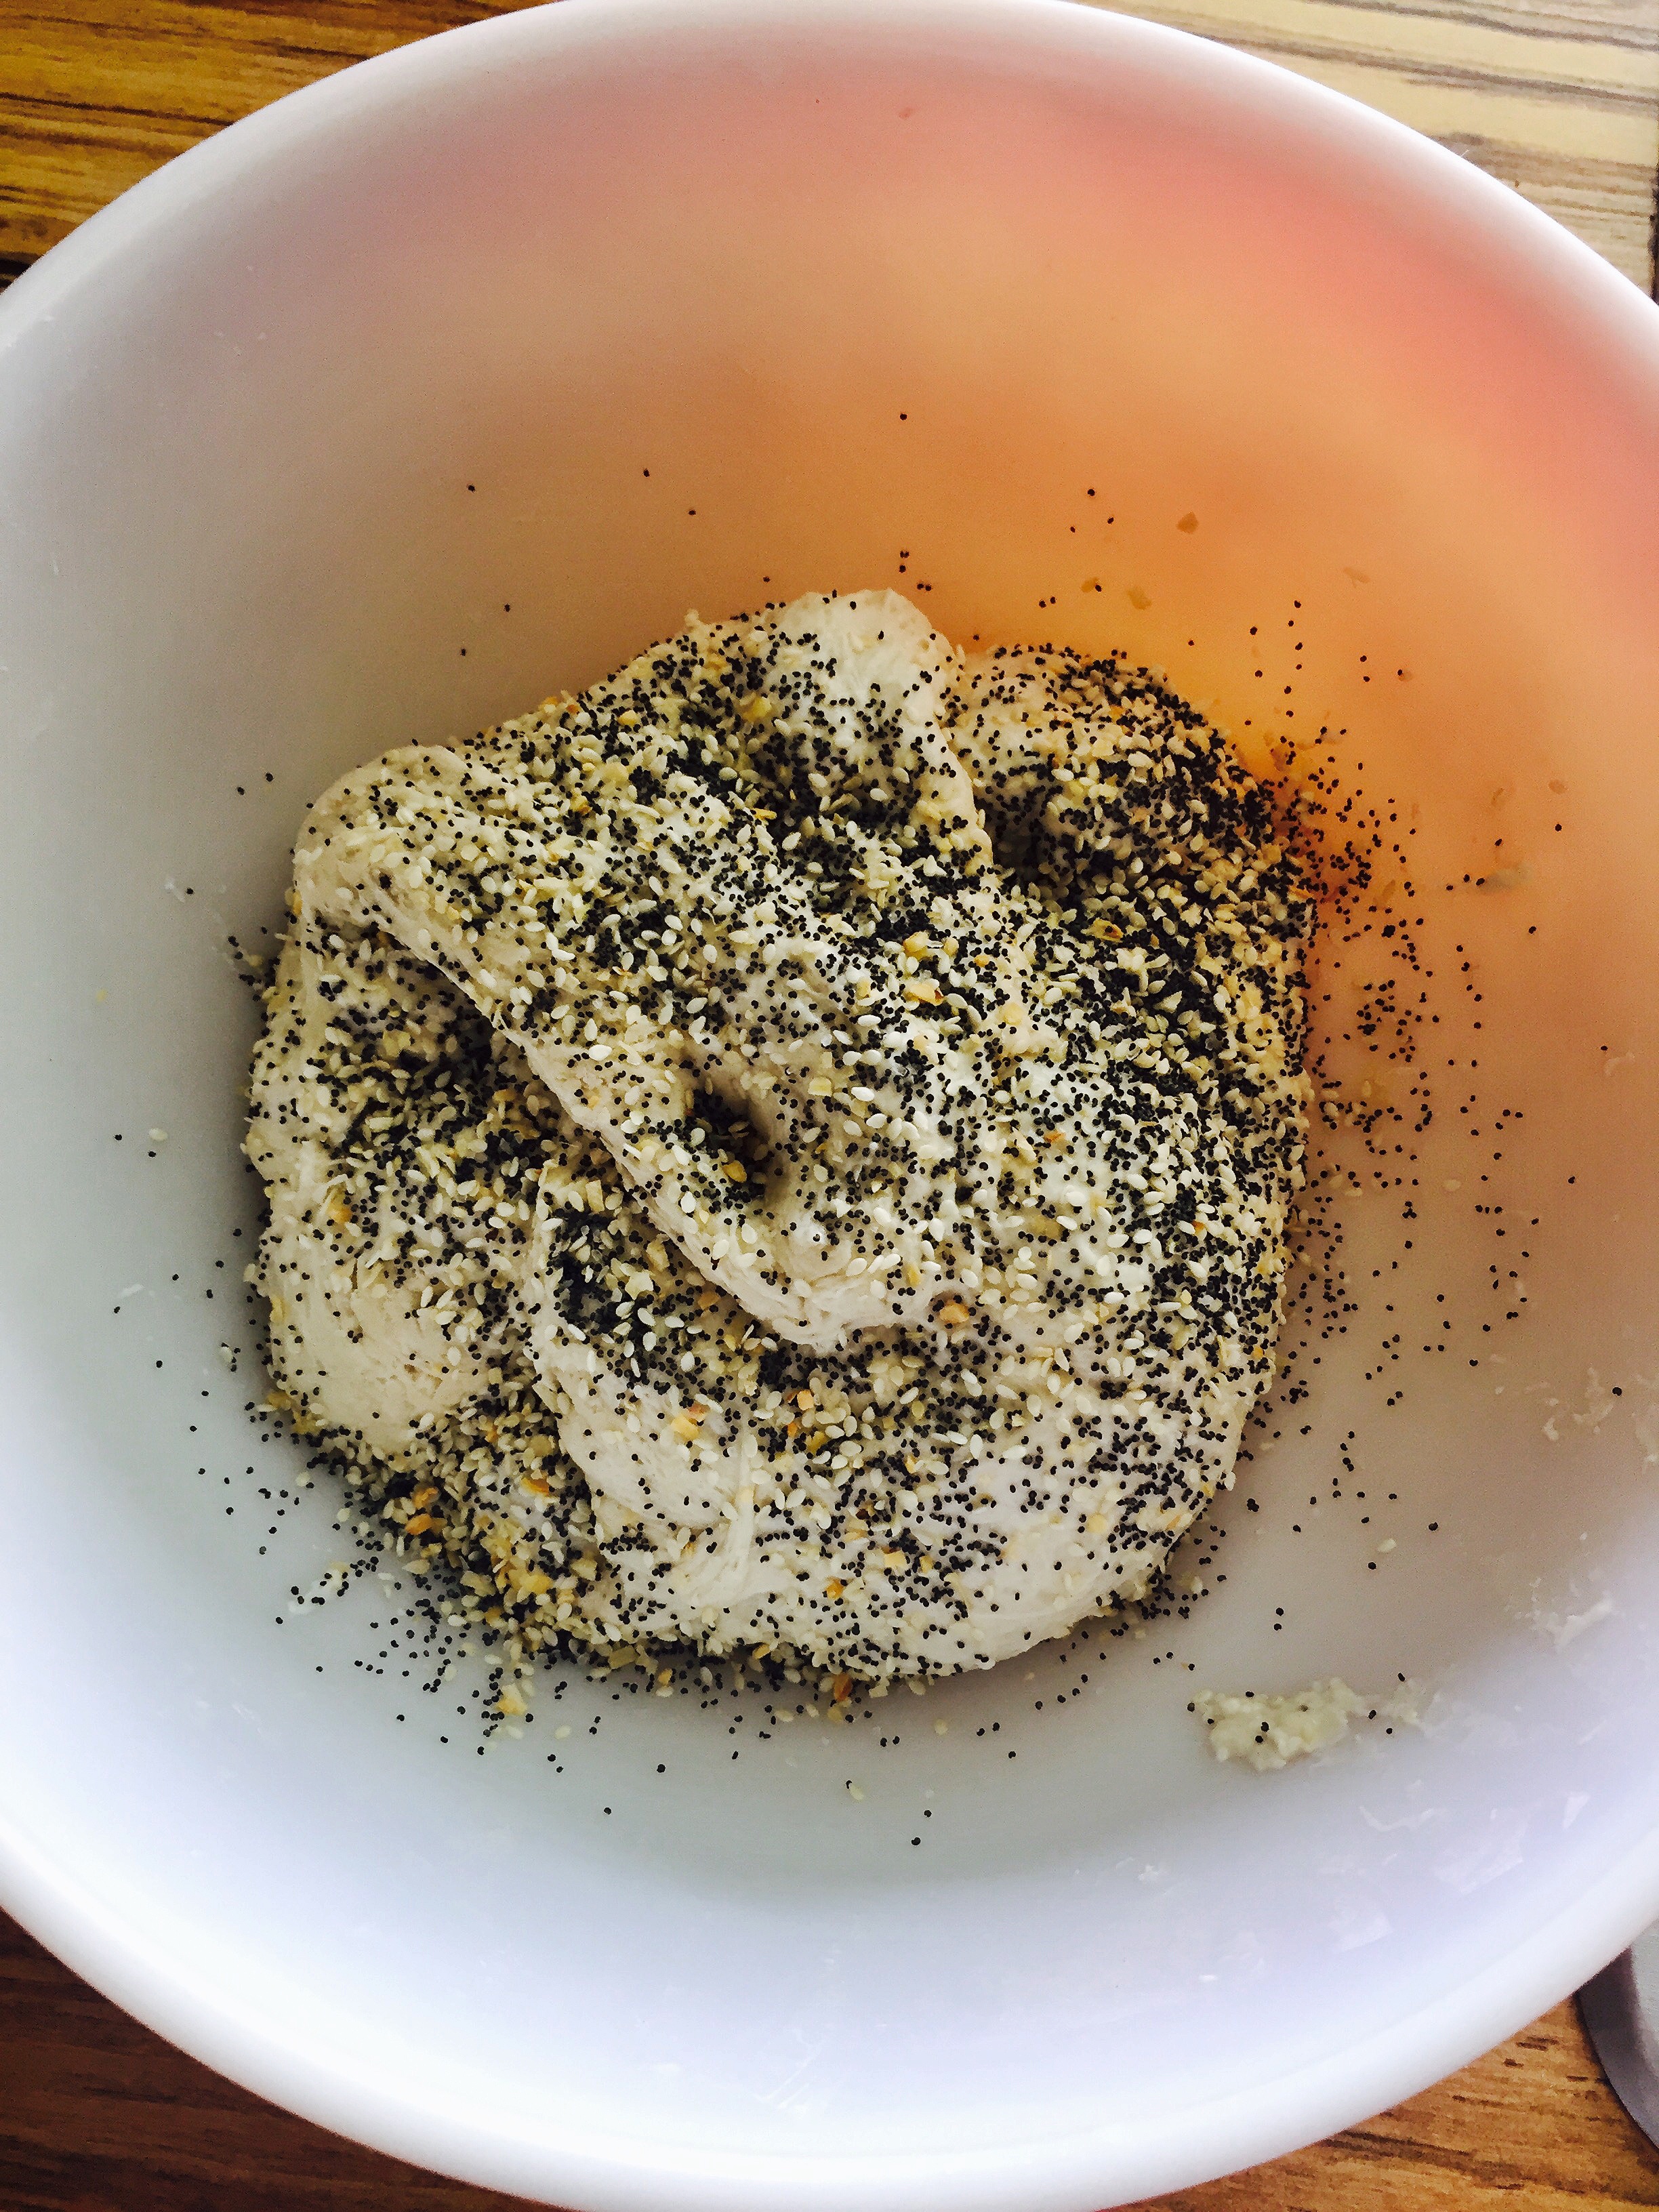
  4. Next, add another light layer of seeds to the top surface and repeat the process of folding the seed into the dough. This method makes for easy kneeding of high hydration doughs while incorporating the seeds at the same time.
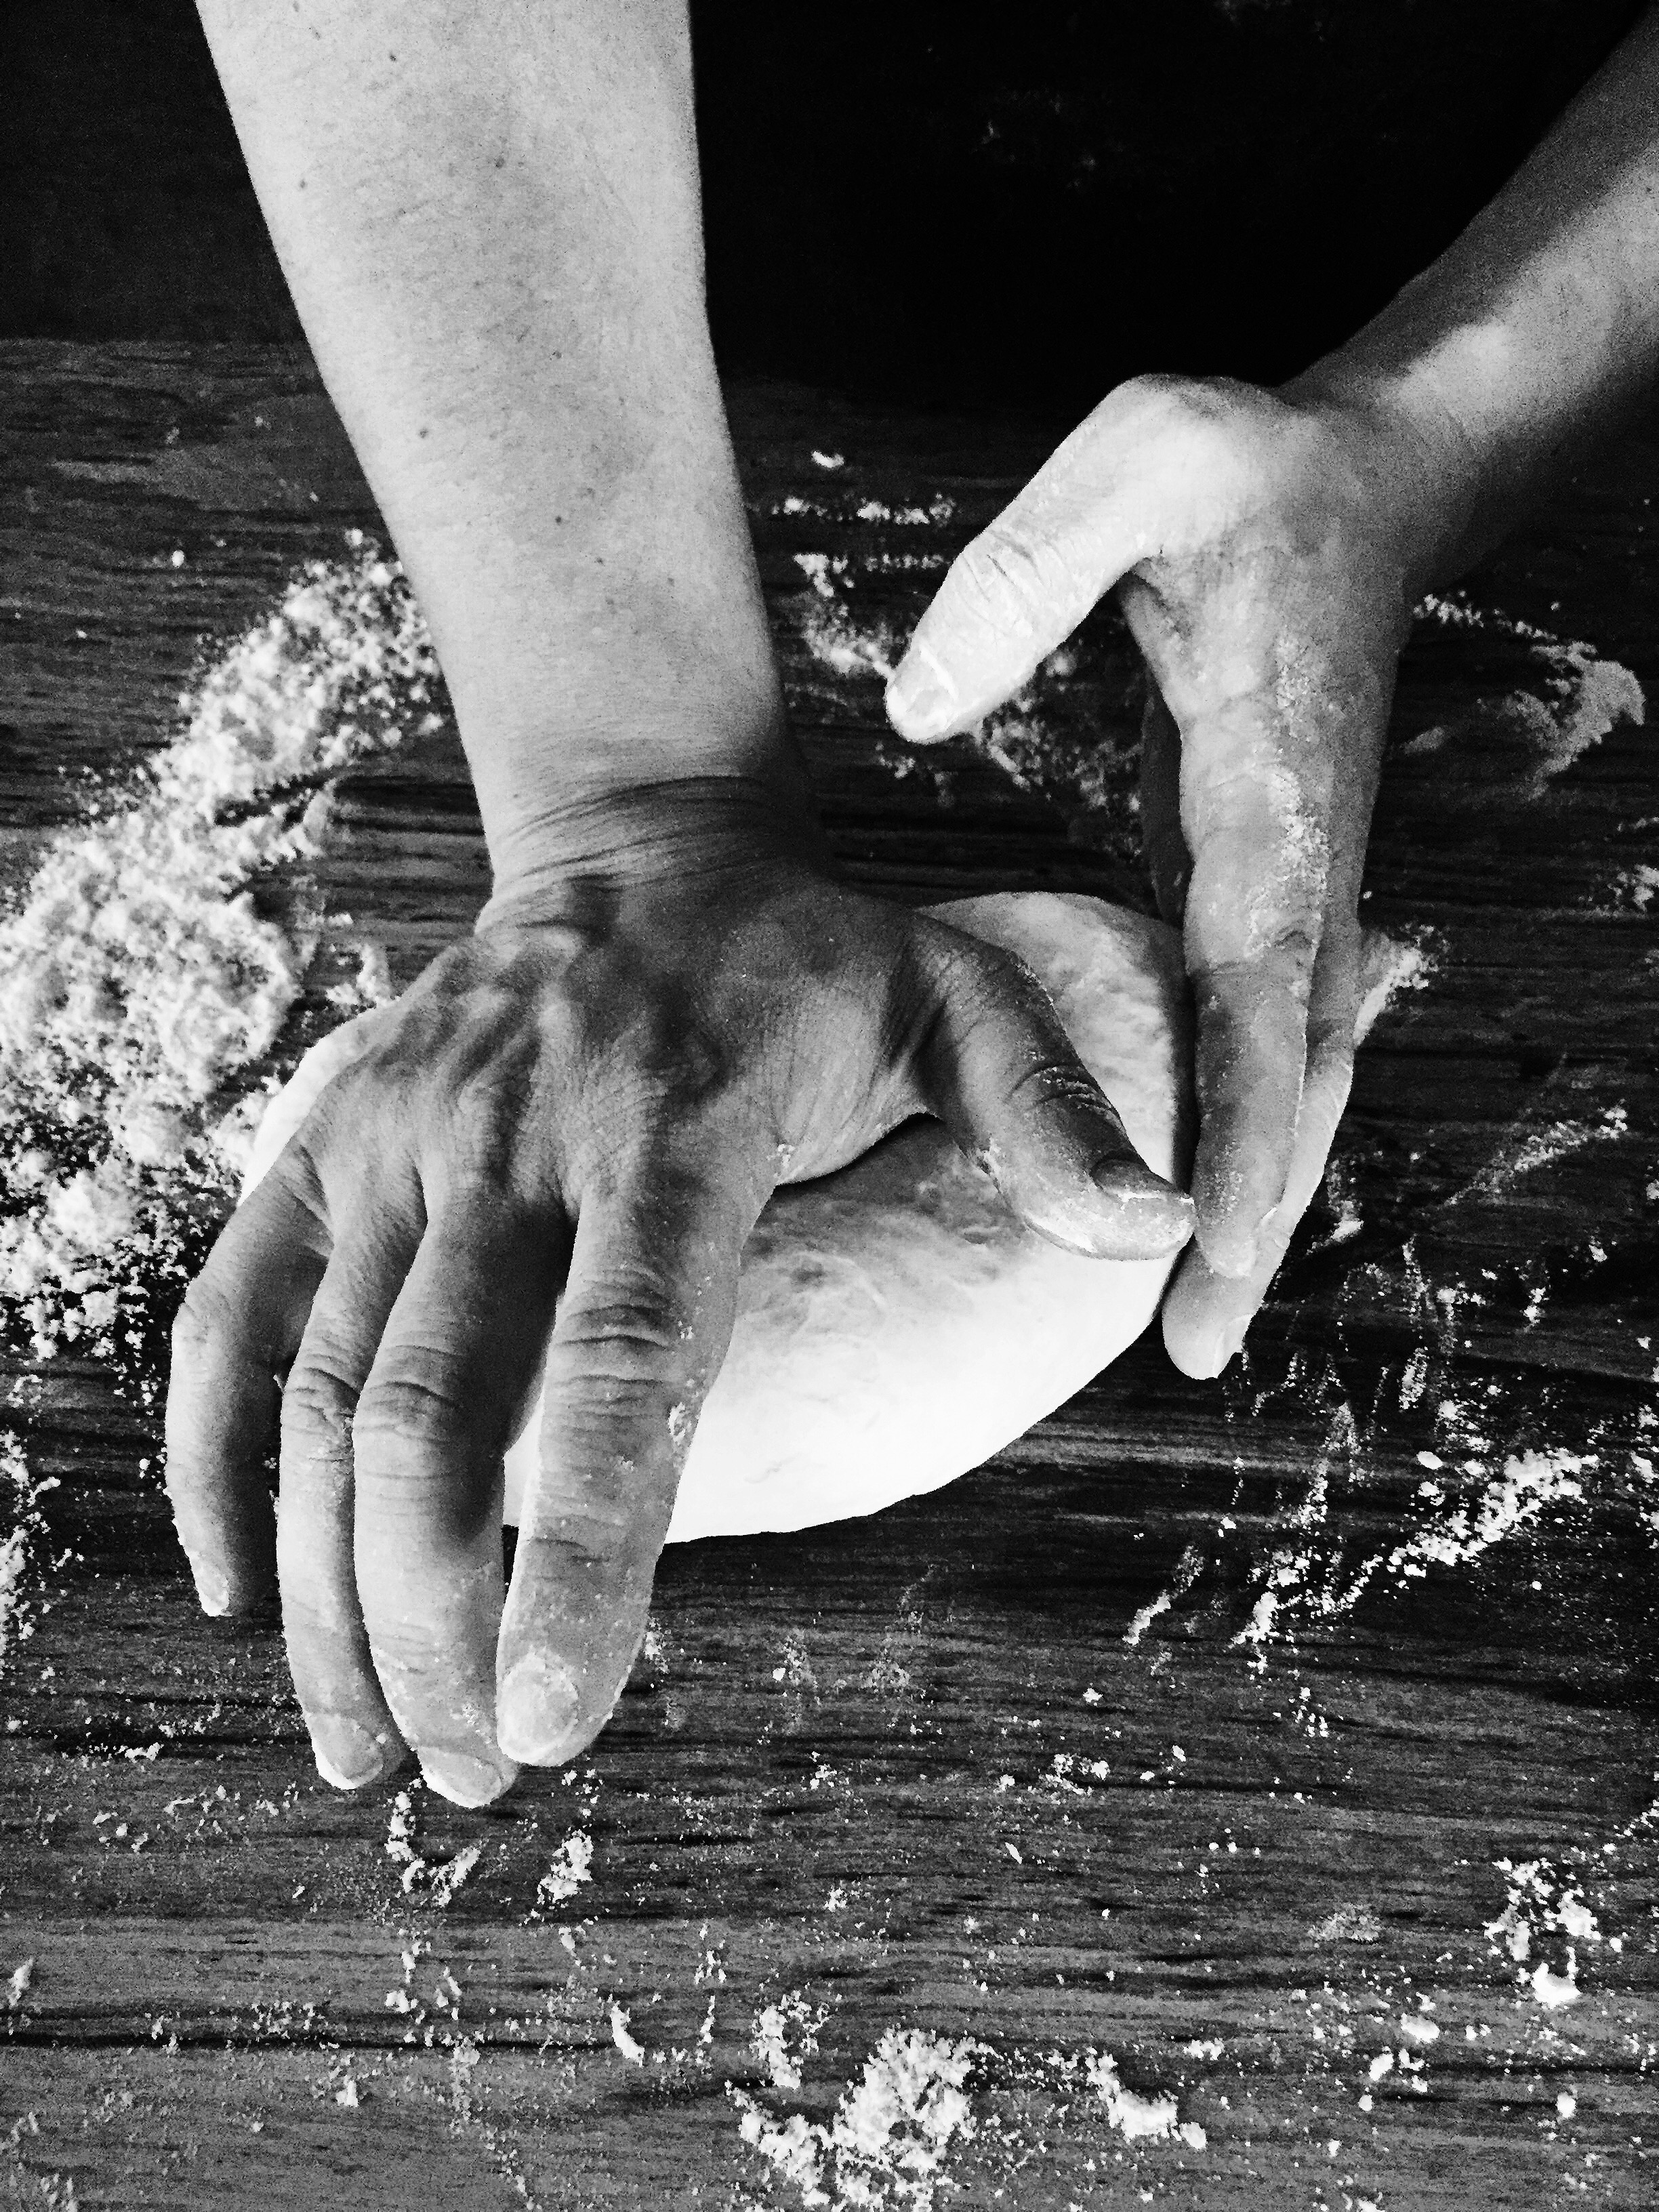
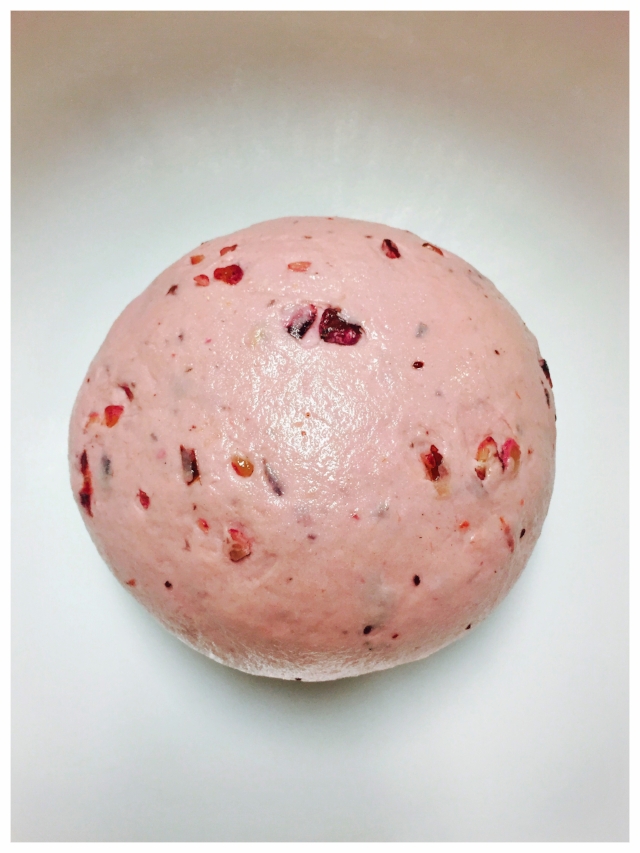
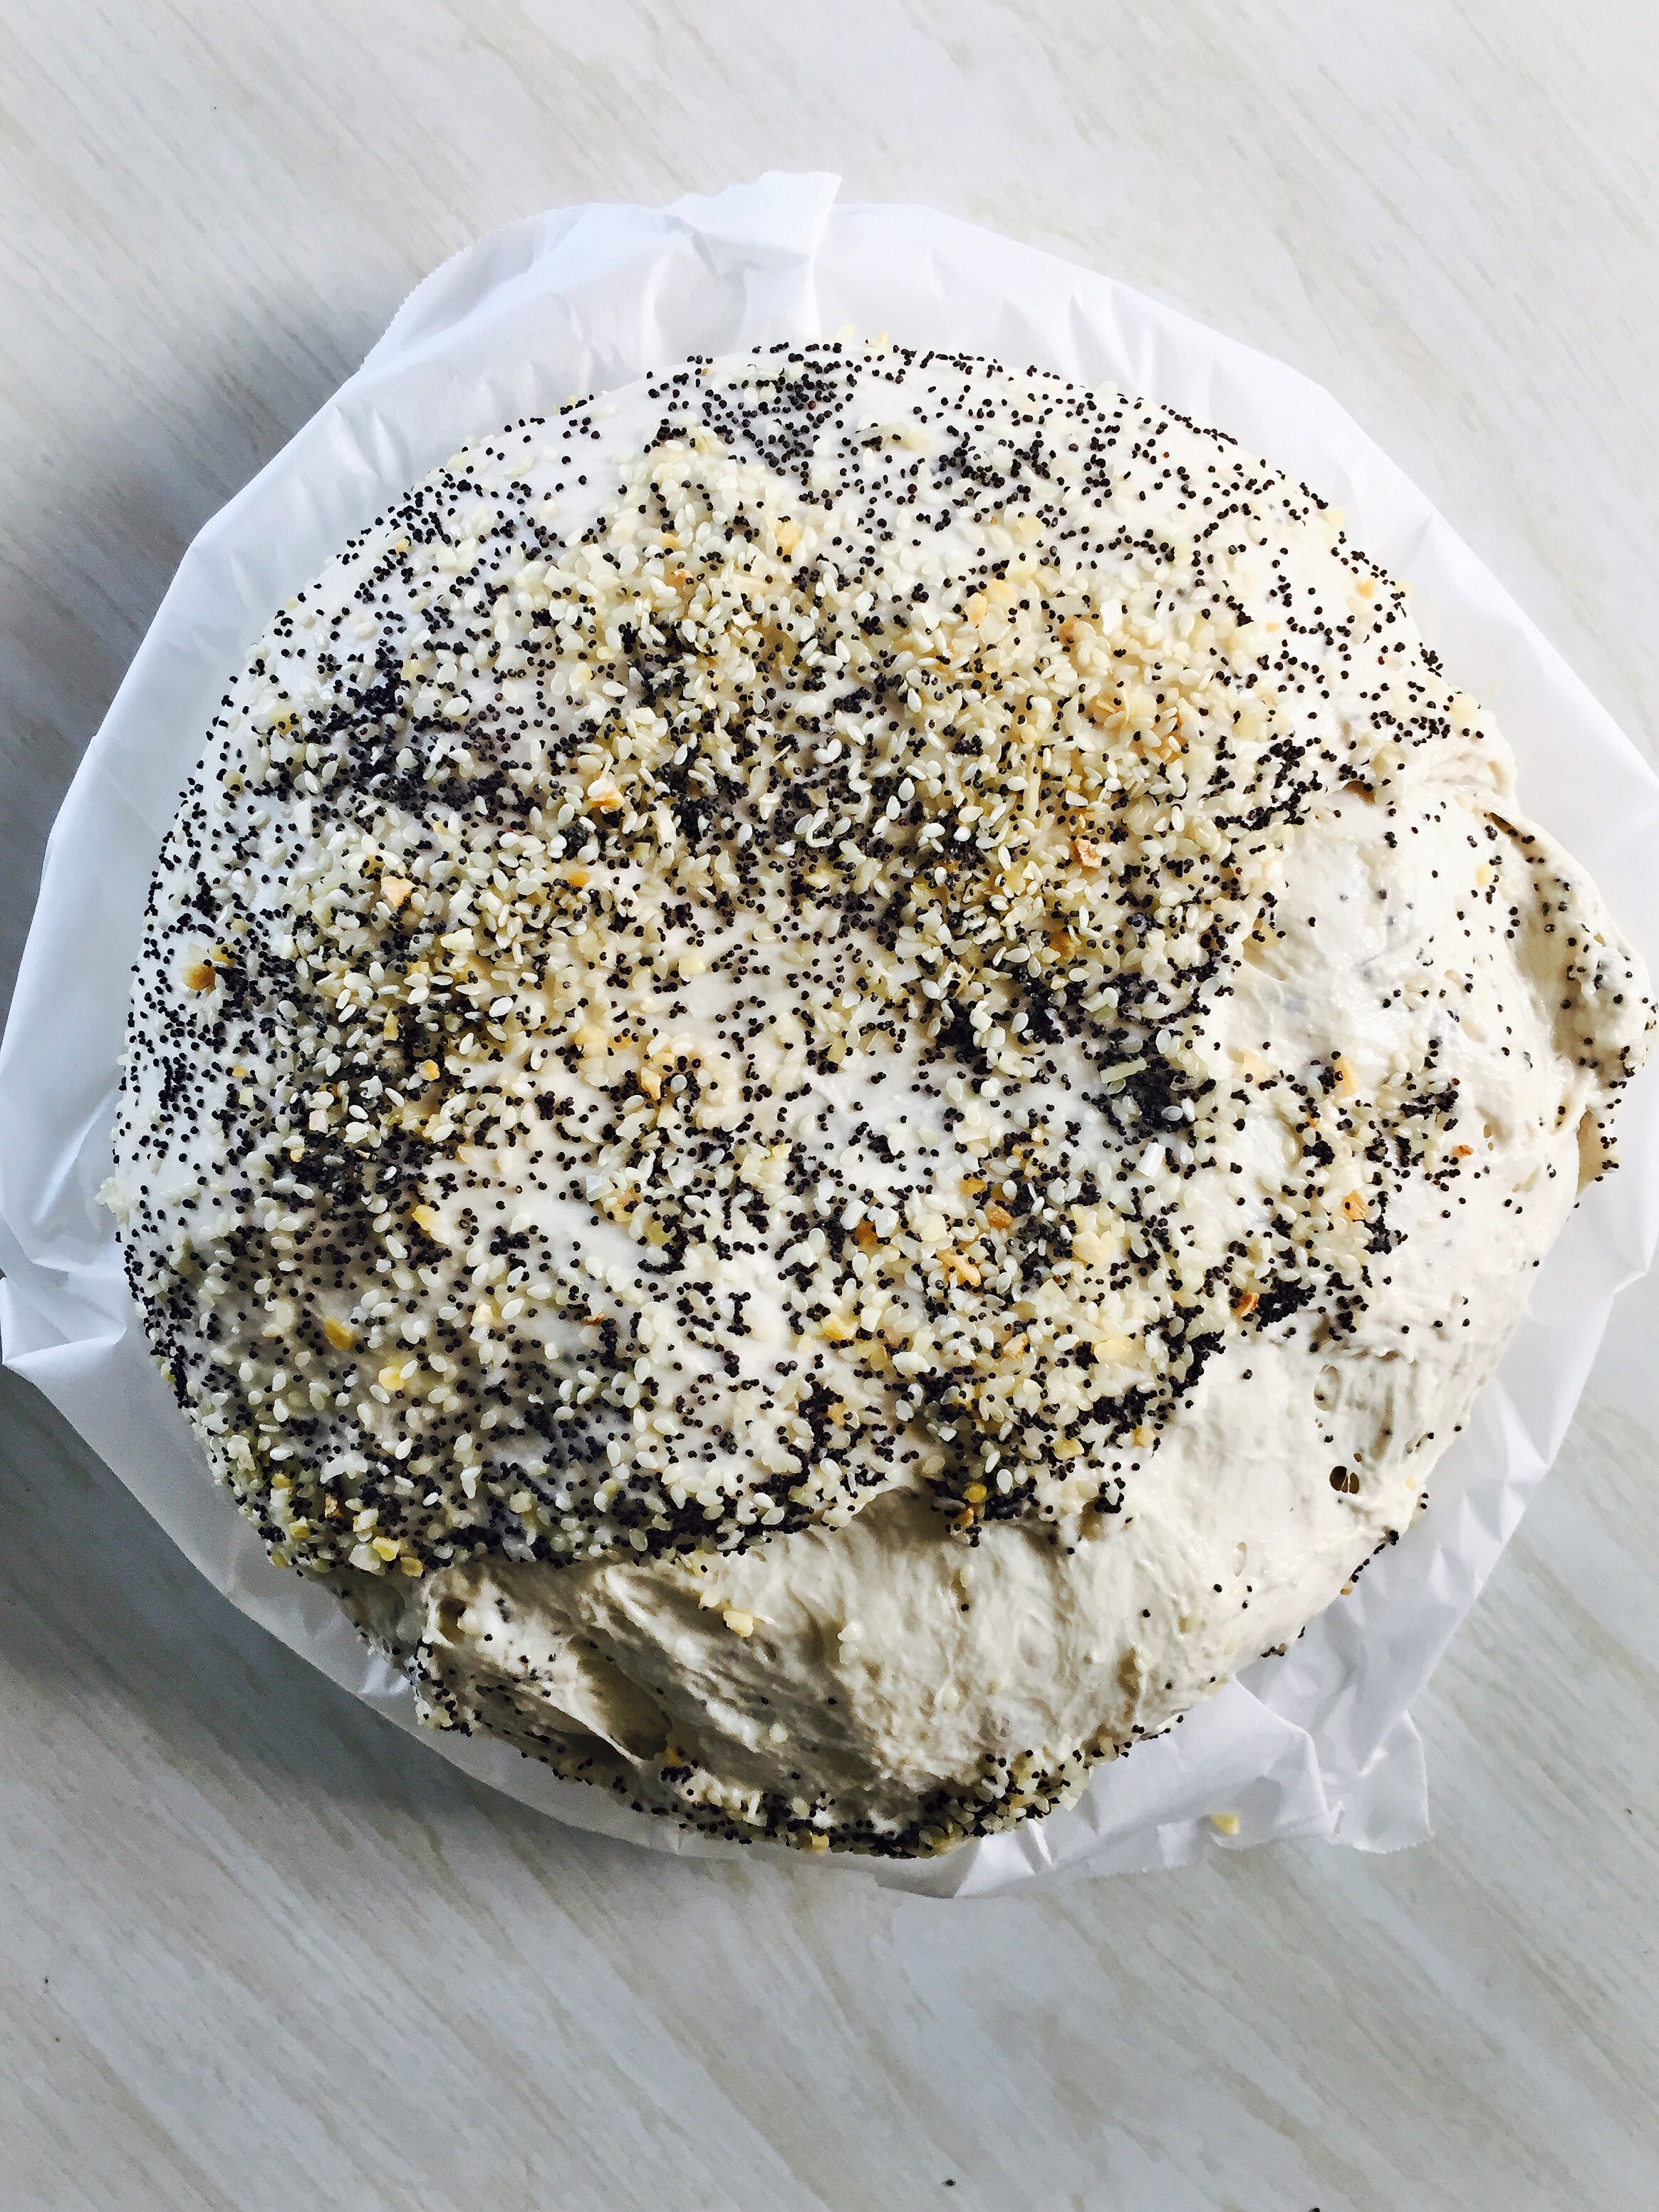
  5. Once the seed are folded thoughout, you can then shape the dough on a lightly floured surface.
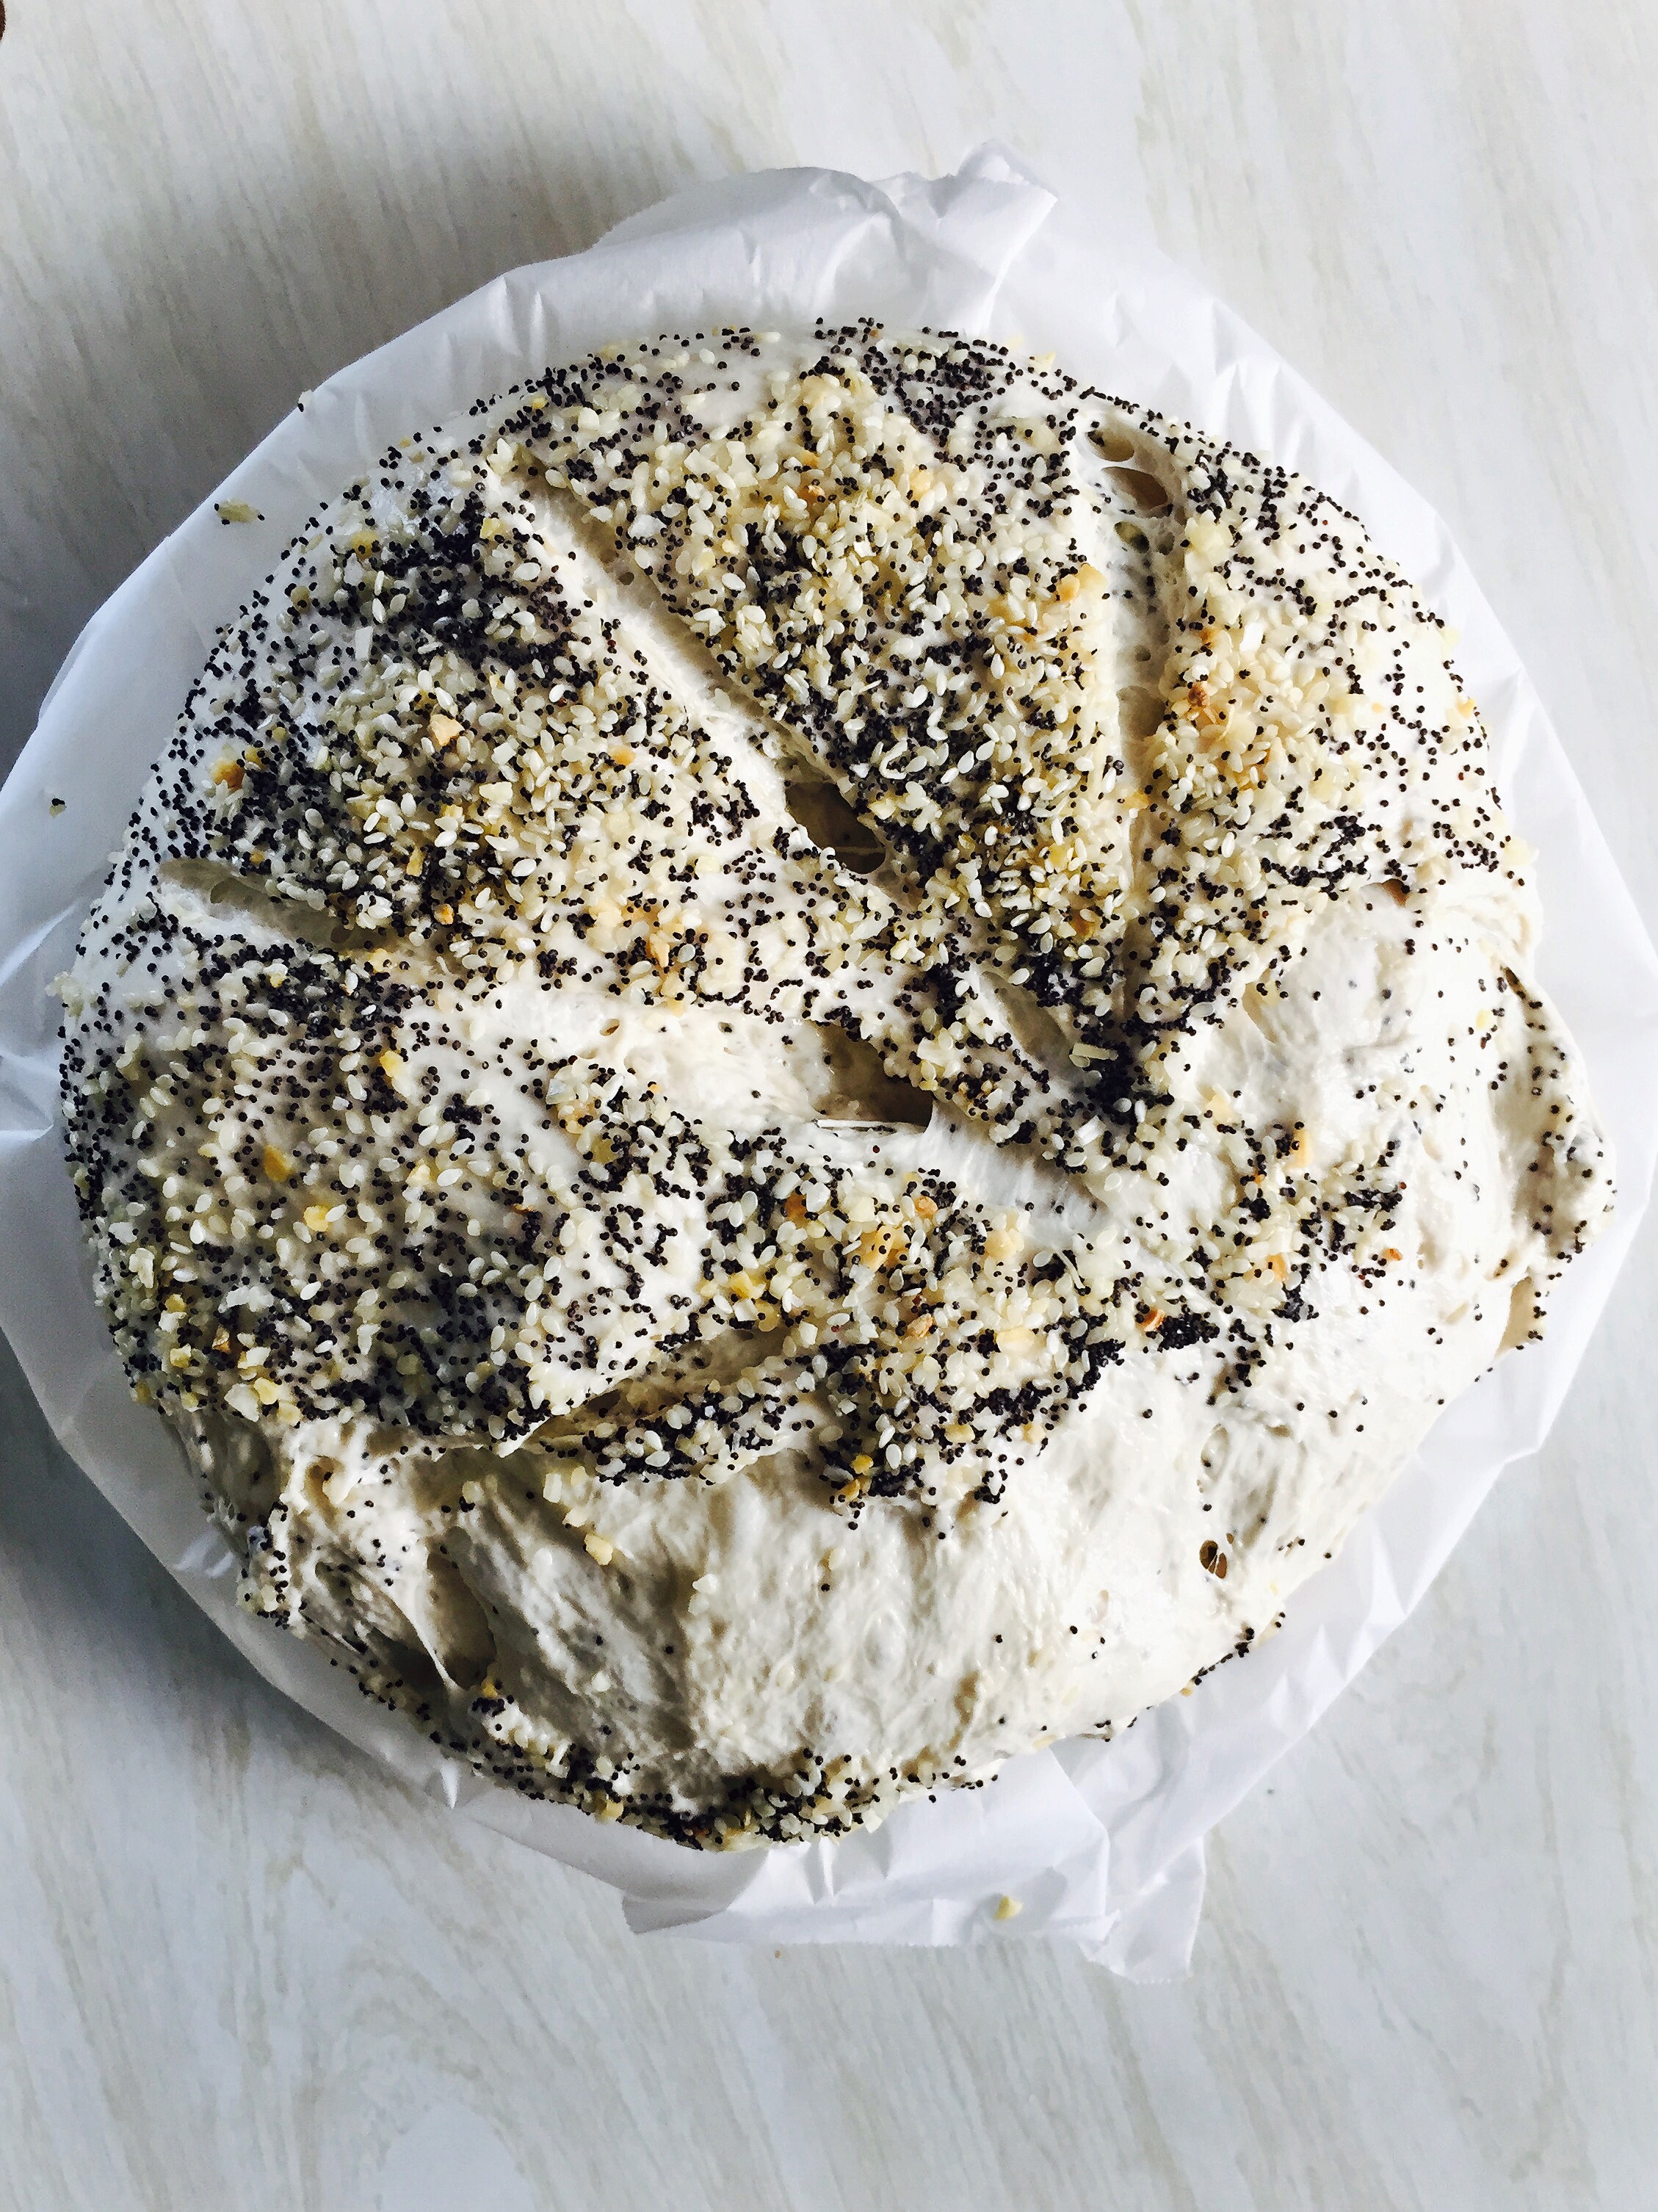
  6. Shape the dough into a smooth round form, and then place the dough on a piece or parchment paper resting in pie pan.
  7. Sprinkle the last of the seed on top of the dough and then cover and let rest for an hour or until double in size.

Phase 3

  1. Preheat your oven and the empty Dutch Oven to 450 degrees F.
  2. Once it's preheated to temp, remove the cover from the dough and score the top.
  3. Then remove the Dutch Oven from the oven and carefully transfer the dough with the parchment paper and place it into the Dutch Oven securing the lid on top.
  4. Bake the dough for 30 minutes.
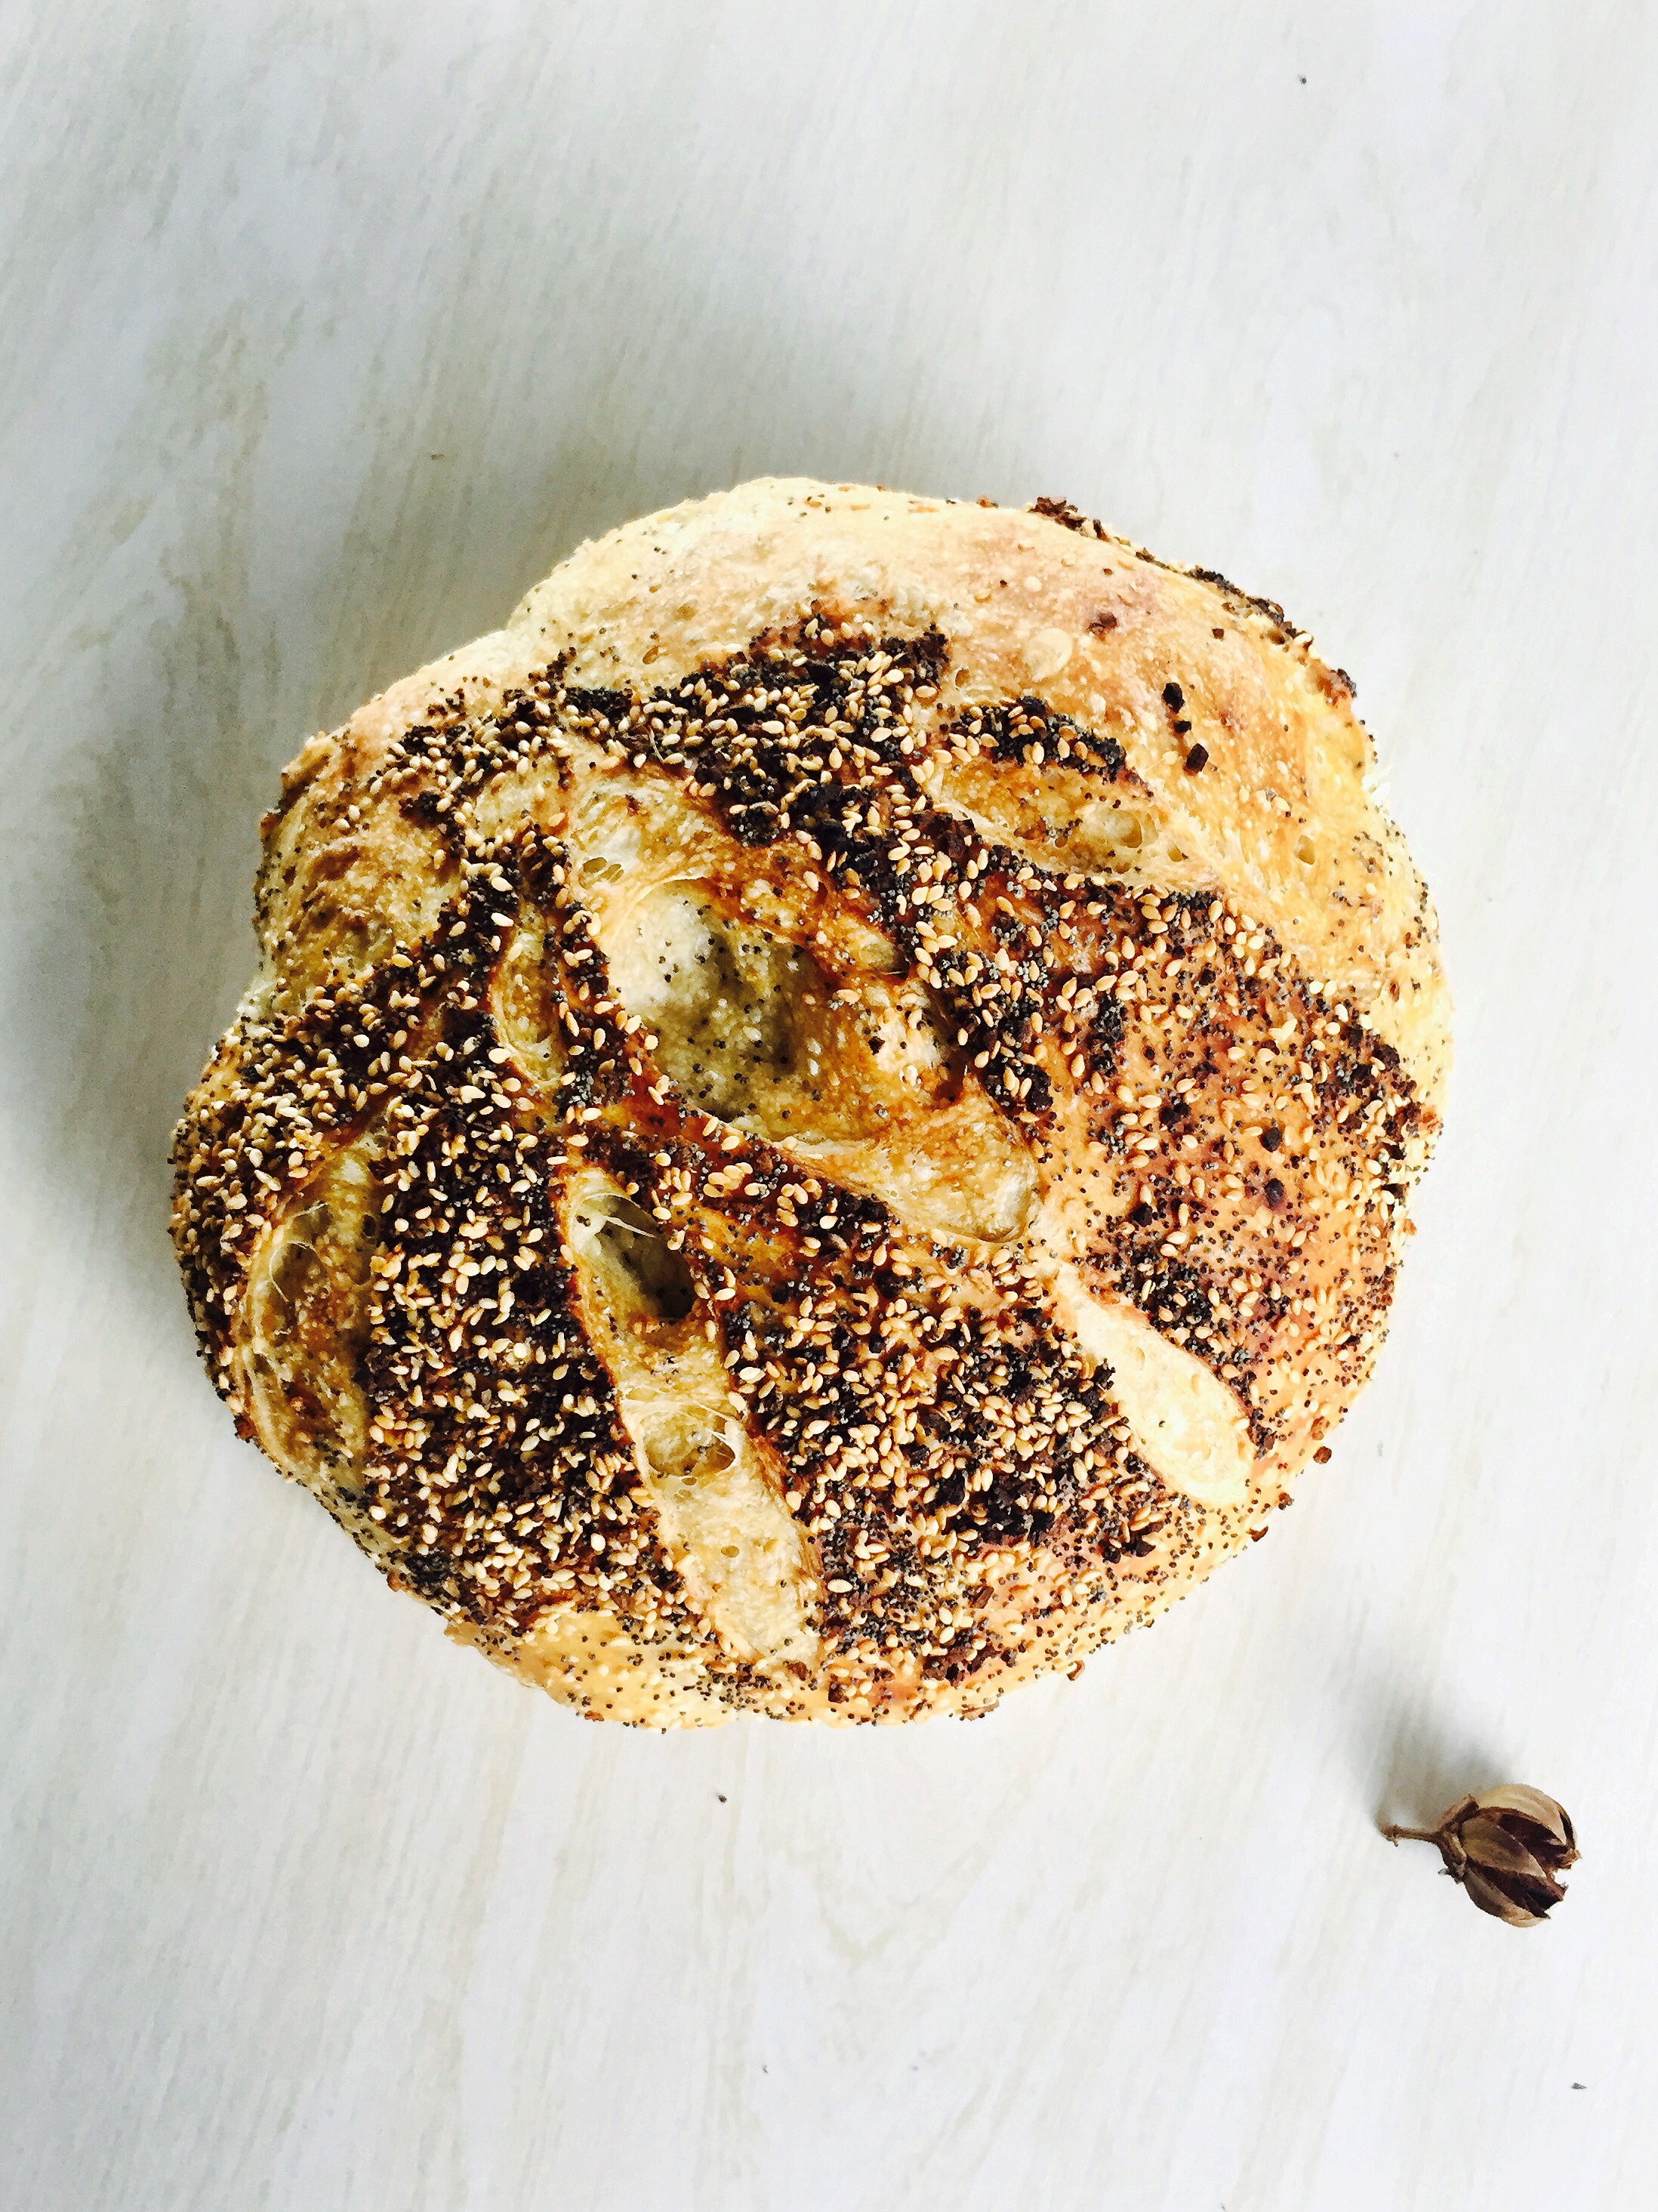
  5. Remove the lid and lower the temperature to 415 degrees F. and bake for 10-15 more minutes until the crust is a deep golden brown.
  6. Remove the bread and cool on a wire rack.
  7. Invite friends and enjoy!
April 19, 2019 /Ashley Look
how to feed a senior, Full Moon Baking Club, April 2019, Spring, Homemade bread, baking bread, breaking bread, community building, togetherness, community gathering, Brene Brown, Braving the Wilderness, Dutch Oven, flour, salt, yeast, seeds, seed bread recipe
Full Moon Baking Club, Recipes
Comment
Basic bread recipe from the Full Moon Baking Club, made utilizing the dutch oven baking technique.

Basic bread recipe from the Full Moon Baking Club, made utilizing the dutch oven baking technique.

March 2019: Basic Bread Recipe

March 20, 2019 by Ashley Look in Full Moon Baking Club, Recipes

Calling all makers, gatherers, and aspiring bakers!

It brings me joy to write this to you on March 21st celebrating the Full Moon and also, the Vernal Equinox. This auspicious alignment provides some clarity around my why for this club, which gets me to the why of this recipe. You ready?

Thus far, I have been making things up as I go. I had the idea for the Full Moon Baking Club as a way to bring folks together, break bread honoring it as a community tradition, as well as to archive my own baking pursuits. I was doing the whole Instagram Live thing but honestly, it’s wasn’t quite working in the way I had I hoped. As much as I thought it would feel like a “hang-out” it didn’t and started giving me unnecessary stress. The purpose of the “club" should really be a reason to gather your friends together and enjoy their company. Now, that might include the baking process, however I think the real gift of this club is in the eating.

So, with it now officially being the start of Spring, I thought there’s no better time to plant some seeds of intention. My goal now is to provide you with a baking recipe on every full moon so that you can call-up your crew, invite them over, and offer them something wholesome and handmade. The fun comes from the togetherness and homemade goodies makes those moments all the better.

When I started baking bread, it was an impulsive New Year’s Eve resolution. I was inspired by reading Animal, Vegetable, Miracle by Barbra Kingsolver. It’s mostly an account of her family’s attempt to live off the land. There were lots of homestead-y stories throughout but what stuck with me was that her husband had a weekend ritual of baking bread. It was a subtle reference but by the end of the book, I was ready to pursue bread making. I had zero prior experience. At the time, cooking wasn’t even on my radar. I just remember being moved by the idea and the perceived notion of it’s simplicity. Baking bread, from scratch, at home…

Animal, Vegetable, Miracle: A Year of Food Life
By Barbara Kingsolver

To great surprise, it was easy! My first few loaves where meh… Some were dense. Others were dry. But shortly after I started my pursuits of bread making, things kinda clicked. It didn’t take long to realize that to make bread you just need a basic formula. There are endless bread recipes out there but at their core they are mostly the same. So this month, I’m skipping all the fancy and giving you this basic bread recipe.

Ingredients

  • 3 cups flour (extra for dusting your surface and as necessary)
  • 2 tsp. active dry yeast
  • 1 tsp. salt
  • 1 1/2 cups warm water

Directions

  1. Place all the dry ingredients in a large bowl.
  2. Add in the warm water.
  3. Mix to combine so a dough begings to form.
  4. Form it into a rough ball and then turn out onto a lightly floured surface.
  5. Gather the dough together and knead it for 10 minutes(maybe more) until the dough is smooth and pliable and all the ingredients are well incorporated.
  6. Shape it into a round ball and place it into a large oiled or greased bowl and cover with plastic wrap or a damp cloth to rise for an hour or until doubled in size.
  7. After the first rise, knead the dough again on a lightly floured surface for 5 or 10 more minutes adding flour if necessary to keep from sticking.
  8. Then shape the dough to suit your loaf pan.
  9. Oil or grease the loaf pan and lay the dough in it, cover it, and let it rest for another hour or until it doubles in size.
  10. Preheat the oven to 375 degrees F.
  11. Score the top of your loaf with a few slits or markings.
  12. Bake for 35-40 minutes or until the internal temperature reaches 185 degrees F.
  13. When finished, carefully remove the bread from the pan and cool on a wire rack.

Now here’s the thing when baking bread at home. You need to decide your cooking vessel. You can bake bread on the simplicity of a baking sheet if you don’t have a loaf pan. However, a loaf pan in nice because as the dough rises during the second rise, it rises up. This makes for that traditional sandwich bread shape, instead of out which tends to happen when using a baking sheet. Both methods work so don’t get hung-up on having the right equipment. Just start getting into a habit of making your own bread and you’ll discover the things you want to enhance your hobby.

One investment when you’re ready, is a dutch oven. It’s easily used for all kinds of cooking endeavors and also makes fantastic bread! Dutch oven bread baking helps to trap moisture during the baking process which lends itself to the most amazing crust. If you already have one, you are in luck! Follow the above recipe through Step 7 then skip to the steps below.

Lodge 5 Quart Cast Iron Dutch Oven. Pre-Seasoned Pot with Lid and Dual Loop Handle
Lodge

Dutch Oven Bread Baking

Follow the above recipe through Step 7 then...

  1. Shape the dough into a round shape and place on a piece of parchment paper and set it into a pie pan.
  2. Cover and let rest for an hour or until doubled in size.
  3. Preheat your oven with the dutch oven inside to 450 degrees F.
  4. When it's up to tempurature, carefully remove the dutch oven and set the lid to the side.
  5. Score your dough and then carefully lift the dough by the parchment paper and transfer the whole thing into the hot dutch oven.
  6. Secure the lid and place it in the oven to bake for 30 minutes.
  7. After 30 minutes, remove the lid and lower the temperature to 415 degrees F and continue baking for an additional 15 minutes or the internal tempurature reached 185 degrees F.
  8. When finished cooking, remove the bread from the dutch oven and cool on a wire rack.

So that’s your basic bread recipe. You just need flour, yeast, and salt. Yeast tends to be an ingredient that holds wannabe bakers back, so just seek some out and keep it in the fridge. Once you have the basics of bread baking down you soon realize that pizza on a whim are possible and so much more.

Fleischmann's Active Dry Yeast,0.25 Ounce, 3 Count (Pack of 2)
Fleischmann's

Go forth and bake! And have fun sharing it with friends cause, sharing is caring!

Happy Full Moon and Spring Equinox! I’ll be back next month with a seed bread of some kind Seeds seem very springs. If you have any seed suggestions let me know. I’m going to be searching all the seedy-bread inspiration in preparation. Let me know if you have any favorites.


How to Feed a Senior is a participant in the Amazon Services LLC Associates Program, which is an affiliate advertising program. If you choose to purchase items after clicking on the links above, I will earn a small commission at no extra cost to you. Thank you for your support!

March 20, 2019 /Ashley Look
how to feed a senior, Full Moon Baking Club, Basic Bread Recipe, Dutch Oven, March 2019, Full Moon, Spring Equinox, Vernal Equinox, breaking bread, community gathering, wholesome, homemade bread, scratch, seeds, loaf, Flour, salt, yeast, active dry yeast
Full Moon Baking Club, Recipes
Comment
Handmade flour tortilla recipe from the Full Moon Baking Club, February 2019.

Handmade flour tortilla recipe from the Full Moon Baking Club, February 2019.

February 2019: Handmade Flour Tortilla Recipe

March 06, 2019 by Ashley Look in Full Moon Baking Club, Recipes

Hey Full Moon Bakers!

I’m trying to ease back into all the things after my father’s passing and that includes the Full Moon Baking Club. There is really no better way to make that happen than with a good friend. To be honest, that’s what this baking club is for. Gathering friends, attempting kitchen crafts and ideally eating said crafts with good company. As much as I believe in breaking bread and the power of sharing food to foster togetherness, this was the first month in which I have been able to participate in that vision. Lucky for me (and us) I happen to know one of the best handmade flour tortilla makers this side of the border. He happily shared his recipe, technique, and personal counsel for an epic night of tacos. It was a true reminder that no matter life’s circumstances, good times still await us. We just need to make the time.

Speaking of time, hand making tortillas takes some… Individually rolling out 15 to 20 small pieces of dough is a workout so I suggest enlisting a friend (duh…) to help with the pan frying. You’ll find a rhythm and have fun in the process. And I mentioned the tacos, right? Just make the tortillas. Surely you know how to apply the fixin’s. Check below for the recipe and some step-by-step visuals.

handmade flour tortilla recipe 1.jpg handmade flour tortilla recipe 2.jpg Making handmade flour tortilla dough.jpg Handmade flour tortilla recipe dough 3.jpg handmade flour tortilla recipe dough 4.jpg handmade flour tortilla recipe dough 5.jpg Handmade flour tortilla recipe dough 6.jpg Handmade flour tortilla recipe dough balls 7.jpg Handmade flour tortilla recipe dough balls covered 8.jpg Rolling handmade tortilla dough 9.jpg Frying handmade flour tortilla dough 10.jpg

Ingredients

  • 2 cups flour
  • 1 tsp. salt
  • 1 tsp.baking powder
  • 4 to 5 tbsp butter
  • 3/4 cup hot water

Directions

  1. Mix the dry ingredients together in a large bowl.
  2. Add in the butter and cut it into the flour until you roughly have pea sized pieces throughout.
  3. Pour in the water and stir to combine forming the dough
  4. Knead the dough on the counter until the ingredients are well combined and the dough is smooth and well formed.
  5. Then cut the dough into 15 or 20 individual pieces and form into small balls roughly the size of a golf ball.
  6. Place them on a plate, cover, and let them rest for 20 minutes.
  7. Warm a dry skillet over medium-high and let it heat all the way through.
  8. With a rolling pin, individually roll out each piece of dough. (You want them thin and a good size for serving.)
  9. Without using oil, dry fry the tortillas on each side, turning after bubbles forms in the dough.
  10. Do them one at a time. As you get a feel for the timing you can start to roll the next tortilla out as the previous one is frying. Just be sure to keep and eye on your pan and flip them before burning.
  11. Keep them warm by boiling an inch of water in a pot. Once the water boils, turn the heat off and place a plate with a clean cloth towel or napkin folded on top. Place each tortilla within the cloth after frying. This will keep them nice and warm until all of them are ready to serve. (Sorry, I forgot to take that picture.)
Pork tacos with roasted poblano peppers, arugula, avocado, and fresh papaya salsa with handmade flour tortillas.

Pork tacos with roasted poblano peppers, arugula, avocado, and fresh papaya salsa with handmade flour tortillas.

These were 100% worth it. Good luck and let me know if you make these tortillas!

March 06, 2019 /Ashley Look
how to feed a senior, Full Moon Baking Club, Handmade, flour, tortillas, dough, tacos, recipe, February, 2019
Full Moon Baking Club, Recipes
Comment
Full Moon Baking Club’s November 2018 bread: Cranberry Sauce Bread

Full Moon Baking Club’s November 2018 bread: Cranberry Sauce Bread

November 2018: Cranberry Sauce Bread

December 07, 2018 by Ashley Look in Full Moon Baking Club, Recipes

With the November 2018 full moon falling the day after Thanksgiving, cranberry sauce was begging to be a signature ingredient for the Full Moon Baking Club. Every year I make a cranberry sauce and every year I have leftovers. So this year, I made sauce with a plan. One of my favorite bakeries, Pain D’Avignon in Hyannis, MA makes these delicious cranberry-pecan rolls so I wanted a cranberry sauce that could steer me in that direction. I made this cranberry sauce using some during my Thanksgiving meal and the rest in this bread. It used walnuts instead of pecans but… close enough. My goal was texture.

Speaking of texture, I baked this bread in a dutch oven because it makes a world of difference when it comes to the crust. If you want that crispy/chewy/artisan bread effect at home, bake your breads in a dutch oven. The lid helps trap moisture and produces steam while baking. That humid baking environment, matched with high heat equals crusty loaves that mimic professional bakery results. It’s one of the simplest answers to creating rustic breads in an everyday home kitchen.

If you find yourself needing a dutch oven, I recommend the one linked below made by Lodge Cast Iron. There are a lot on the market, some quite a bit more expansive than others but I prefer this one because it’s affordable, comes pre-seasoned and is made entirely of cast iron. Some have nobs on the lids with a lower heat tolerance than the pot which can throw off one’s cooking plan. Whatever style you prefer, just make sure it’s safe for high temperatures. You’ll need it to handle temperatures of at least 450 degrees for breads.

Lodge L8DOL3 Cast Iron Dutch Oven with Dual Handles, Pre-Seasoned, 5-Quart
Lodge

I forgot to take pictures of the bread in progress so hopefully you checked-out the video when it was all going down on Instagram The high was making pink dough. The low was a mild panic where it suddenly occurred to me I was making a fruit cake. Otherwise, you didn’t miss much. I did however snag a few shots of the cranberry sauce in the works. Also, if you need a holiday gift, this mixing spoon and several others are still available.

Cranberries.jpg Canberry sauce.jpg dough.jpg

Ok bakers, it’s time to get on with this recipe because there are only two weeks till the next full moon. Do you even still have cranberry sauce? Probably not and that’s my fault for being so slow on posting the recipe but all the more reason to archive this recipe for next year! Or, if you’re really game to make bread (which you should be), I encourage you go for it! Just omit the cranberry sauce and see what happens. You might be pleasantly surprised. That’s the beauty of bread. With a little practice, you’ll find it’s a very forgiving art.;)

Ingredients

  • 1 cup warm water
  • 1 cup cranberry sauce
  • 2 tsp. active dry yeast
  • 3 cups flour
  • 1 tsp. salt

Directions

  1. In a bowl mix together the water and cranberry sauce.
  2. Add the yeast and let it disolve.
  3. In a separate, large bowl, stir together the four and salt.
  4. Pour the cranberry mixture into the bowl with the flour and mix to combine.
  5. Mix the ingredients together helping to form the dough.
  6. Gently form the dough in the bowl, then turn it out onto a floured surface.
  7. Knead the dough on the counter for at least 10 minutes, adding more flour as necessary to keep it from sticking.
  8. The dough should become smooth and springy with all ingredients throughoughly combined. Keep kneading if feeling unsure about the consistancy. It's practically impossible to over-knead dough by hand and if anything, more kneading will only improve the texture.
  9. Once well formed, shape it into a ball and place in an oiled bowl, cover it, and let it rest/rise for an hour or until doubled in size.
  10. Once doubled, knead it again for another 10ish minutes, dusting with flour to keep it from sticking if necessary.
  11. After kneading, shape into a round form and place smooth side up on a piece of parchment paper and cover with plastic wrap or a damp cloth. (I like to place my dough and parchment on a pie plate to help keep the round shape during the second rise.)
  12. Let it rise for another hour or until doubled in size.
  13. Preheat the oven and your dutch oven to 450 degrees F.
  14. When the dough is ready, carefully transfer the parchment paper with the dough into the dutch oven. Cover with the lid and bake for 25 minutes.
  15. Next, remove the lid and reduce the temperature to 410 degrees F. Bake for 15 more minutes or until the inside temperature reaches 190 degrees F.
  16. Cool on a rack for 20ish minutes before slicing.
Sliced.jpg

Ok folks, we got two weeks! The holiday and the Full Moon Baking Club countdowns are on so lets role with the festive and make Eggnog Bread! Do people even like eggnog? Probably not, yet somehow it winds up in the fridge every year. Well, this year we are gonna use it up! Eggs, milk and sugar can make for a tasty loaf so let’s just do it and embrace the holiday spirit. And since the full moon is on the 22nd of December, we can count on some leftovers to make holiday french toast.

See you in a couple of weeks! And if you made it this far and have no idea what the Full Moon Baking Club is click here, catch-up, and join us on the 22nd!


How to Feed a Senior is a participant in the Amazon Services LLC Associates Program, which is an affiliate advertising program. If you choose to purchase items after clicking on these links, I will earn a small commission at no extra cost to you.

December 07, 2018 /Ashley Look
how to feed a senior, Full Moon Baking Club, Full Moon, Cranberry sauce, cranberry bread, Thanksgiving, holidays, Pain D'Avignon, Hyannis, Cranberry pecan, Dutch Oven, Lodge Cast Iron, walnuts, crust, texture, artisan bread, home kitchen, mixing spoon, holiday gift, Cranberry Sauce Bread, Eggnog, french toash
Full Moon Baking Club, Recipes
Comment
Full Moon Baking Club’s October 2018 bread: Squash + Maple + Walnut Loaf

Full Moon Baking Club’s October 2018 bread: Squash + Maple + Walnut Loaf

October 2018: Squash + Maple + Walnut Loaf

November 23, 2018 by Ashley Look in Full Moon Baking Club, Recipes

Sorry for the delay! It took a whole month for me to get this posted here but I promise to do better moving forward. My goal is to have the recipe posted before the coming new moon, giving ample time for all to get their bake on! It also gives me a deadline to work towards. The Full Moon Baking Club is part baking creativity and part time tracking. It’s all in effort to account for the slipping of time. And slip it does!!! Most days I have no idea where time goes but at least this monthly infusion of bread baking will hold a mirror up to the hours.

I also want to thank those of you that joined me. I loved seeing your breads and breaking them with you!

IMG_8692.JPG IMG_8696.JPG IMG_8697.JPG IMG_8698.JPG

Ingredients

  • 1 cup squash puree (I used roasted buttercup squash but can pumpkin can replace fresh squash.)
  • 1/3 cup maple syrup
  • 2 tsp. active dry yeast
  • 4 cups flour (and more for dusting)
  • 1/2 tsp. salt
  • 1 cup warm water
  • 1/2 cup chopped walnuts

Directions

  1. In a large bowl, mix together the squash, maple syrup, and yeast.
  2. Add the flour, salt, water and walnuts.
  3. Mix to combine so the dough starts to come together.
  4. Turn out onto a floured surface and knead the dough untils its smooth and well formed (Could take 10 or so minutes.)
  5. Place the dough in an oiled bowl, cover and let rise for 1 hour.
  6. After the first rise, knead the dough again on a floured surface and then place it into an oiled loaf pan.
  7. Cover and let rise for another hour.
  8. Preheat oven to 375 degrees F
  9. Bake for 35-45 minutes and then cool on a wire rack.
Freshly baked and sliced Squash + Maple + Walnut Loaf from the 2018 October launch of the Full Moon Baking Club.

Freshly baked and sliced Squash + Maple + Walnut Loaf from the 2018 October launch of the Full Moon Baking Club.

Disclaimer:

Here’s the thing about homemade bread… It’s great fresh from the oven. Seriously, nothing compares. But later in the week it tends to lose its appeal. The hack for that is heat! You can wrap it in foil with a sprinkle of water and the heat plus moisture will help revive that freshness. Or you can do what I typically do which is make lots of grilled cheese type sandwiches, panzanella salads, and eggs-in-a-hole. There’s nothing like a hot skillet to bring dead bread back to life!

See you soon!

PS- If you are playing Winter Squash Bingo then I feel it’s important to share I used this recipe for #how2ButtercupSquash. ;)

November 23, 2018 /Ashley Look
how to feed a senior, Full Moon Baking Club, October 2018, Squash Maple Walnut Loaf, bread baking, breaking bread, buttercup squash, Winter Squash Bingo, #how2ButtercupSquash, new moon, bread recipe, where time goes
Full Moon Baking Club, Recipes
Comment
#FullMoonBakingClub

#FullMoonBakingClub

The Full Moon Baking Club

November 06, 2018 by Ashley Look in Full Moon Baking Club

Baker’s say what?!

Yep. I'm starting a thing! The Full Moon Baking Club! It's really just an excuse to intentionally get back to my love of breads and and all things baking.

Breads, as you might know, are a timely affair and not to be rushed. It's the fact that they take time that beckons me. They are a chance to slowdown. An edible craft of sorts... So, each full moon, celebrating the magic of the night’s sky, I'm going to release and new recipe. The nights will be long but that's ok. That's the point! It's an excuse to light a fire (or candles), play some music, drink a glass of wine and BAKE something and I invite you to join me!

It’s worth mentioning that club fun is not exclusive to the single evening of the full moon. Personally, this project is about setting the intention of doing something I love more regularly and using the moon cycle as a prompt to keep baking in my repertoire. As for the “club” side of things, your participation between the full moons is what really drives the community aspect. Throughout history there are stories of people gathering for food. “Breaking bread" with someone is considered a gesture of kindness… Honoring the brotherhood of humanity… Across nations and even civilizations, bread has remained a commodity for sharing. So, let's share some! Whether it’s baking together one night a month, sharing the same loaf or batch, or using the same recipe, there’s room at the table for improving our sense of community. I believe that kindness lives large within all of us but opportunities to share that kindness with others can feel fleeting. We’ve been too busy to slowdown long enough to remember that the slowness accounts for our time and our time is the most important thing we can share with another person. I look forward to sharing some of my time with you, and you with us, and us with we and so on… An exploration around the idea of what a “we” can really be… Breaking bread “together” by baking together…

Post your Full Moon Baking Club moments using the hashtag #FullMoonBakingClub so I can break bread with you and you can break it with others. That’s how this can work. Also, keep an eye out for New Moon updates where I’m trying to release hand carved wooden spoons to compliment all the culinary adventures. Every good baker needs a wooden spoon so ya know… It has to happen!

Forever in crumb,

Ashley

November 06, 2018 /Ashley Look
how to feed a senior, Full Moon Baking Club, Bread Baking, Full Moon, Baking Club, edible craft, crumb, break bread, Togetherness, unity, community building, sharing, humanity, gestures of kindness
Full Moon Baking Club
Comment
  • Newer
  • Older
 
Search